When you click on links to various merchants on this site and make a purchase, this can result in this site earning a commission. Affiliate programs and affiliations include, but are not limited to, the eBay Partner Network.
DIY: Oil Cooler and AC Condenser Resistor replacement (found a short cut!)
Hey folks,
I have to say, one thing I appreciate about wrenching on my 993 is that I've discovered it's a bit of a puzzle. With everything so crammed in, 8 out of 10 times, it seems like the Rennlisters before me have found a certain angle or entry way to get access to it. Well I'd like to report that I believe I've found one for replacing the oil cooler resistor!
Once again, kudos to all the RL's before me that have shared their experience and wisdom. Although there are quite a few threads about this, I was using this one off of Pelican.
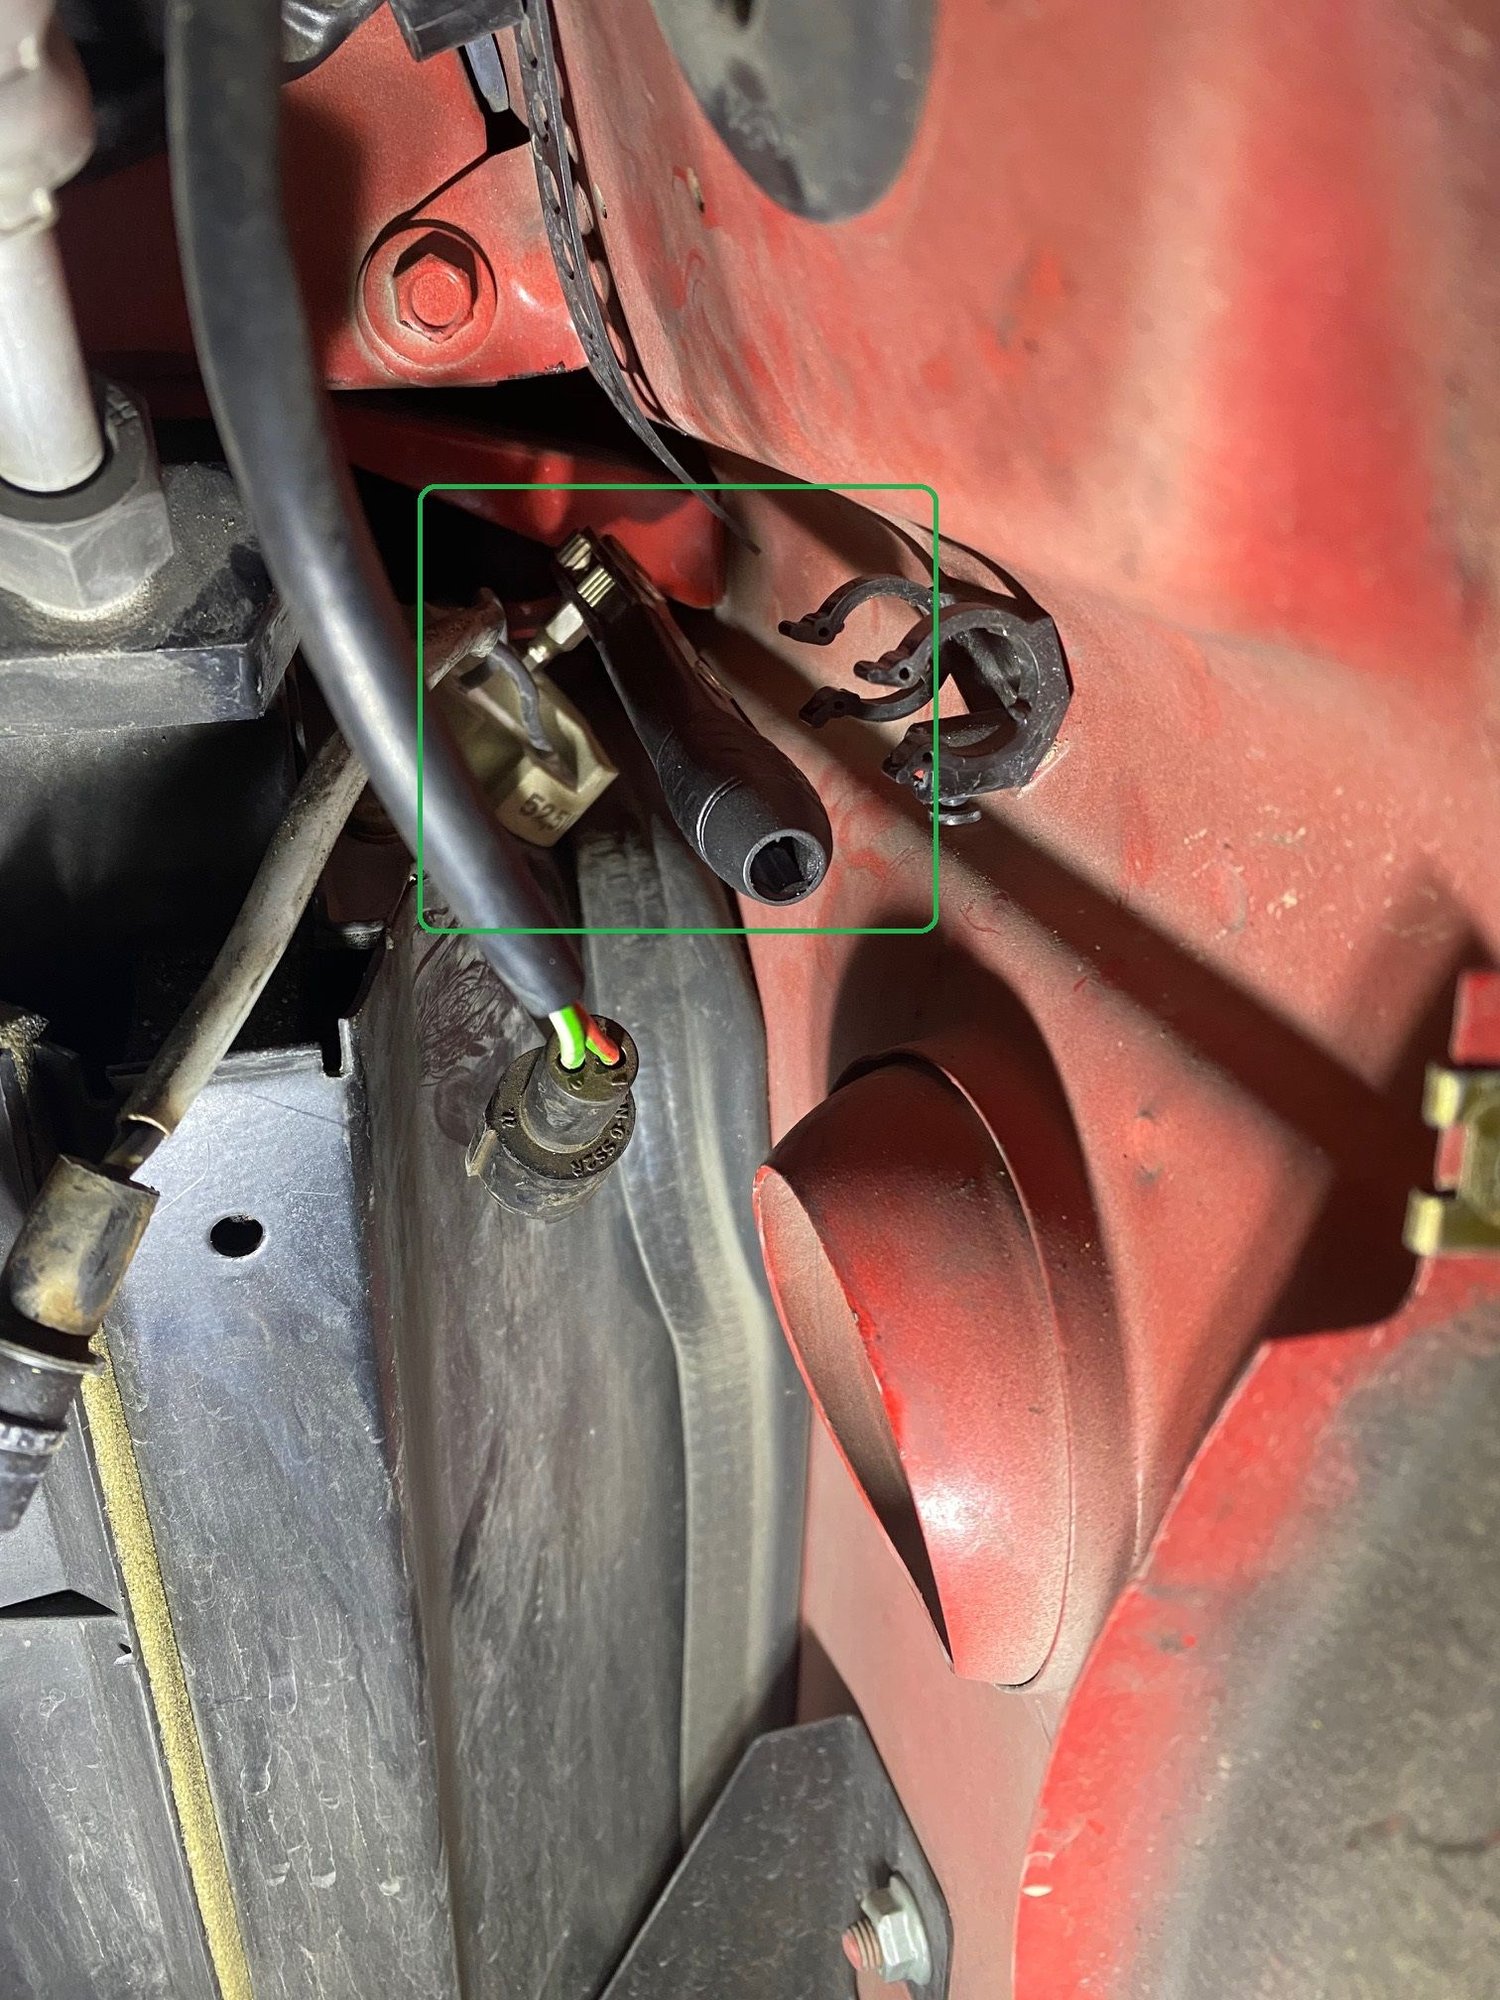
I followed the first few steps with taking off the fender liner. Once I popped off the fender liner, this is basically what you see. I went ahead an unbolted the three 5.5mm bolts circled in red and the resistor is deep inside where the green arrow is pointing,
If you look in where the resistor is sitting, it's a clear shot to it except for the red bracket in the way... so let's move it!
I went ahead and loosened the two 10mm bolts (one in the headlight and the other in trunk) and got the bracket out.
Look how much room there is!
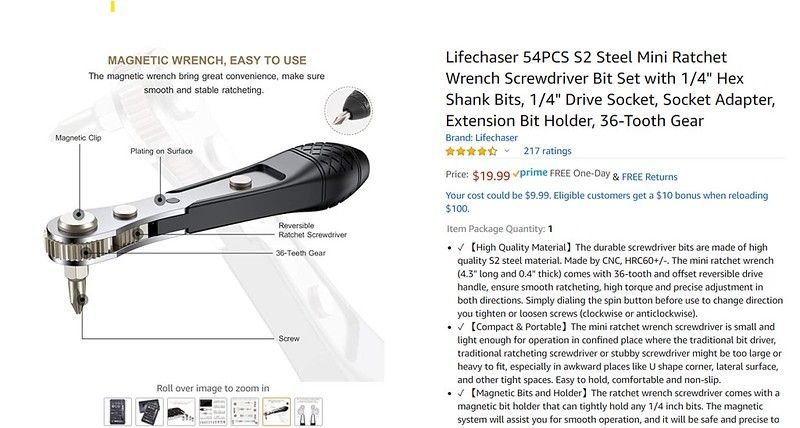
With a stubby ratchet, I was able to removed the 10mm bolt holding the resistor and viola!
Update: I just tackled the AC Condensor (driver side) resistor DIY. This one is much easier and having a stubby screwdriver ratchet really helped.
Same process... take off your driver-side wheel, take off the fender screws (make sure you get that one underneath the front bumper) and then you can see the resistor. Uses a H4 hex bit and viola.
Hope this helps others save some time off this DIY!
Great photographs, thanks. Isn't this the same place where we install Kappi's oil cooler modification?
Thank you.
Yep, just disconnect the cable connecting to the oil temp sensor, and connect Kappi�s cable between the two. Basically an extension cable with some gizmo in it.
I think it might work a little too well. After installing it, the oil temp gauge floats halfway between the 122F and the 194F lines on the pic below, and I was cruising around 4000 rpm for nearly two hours. I would have to purposefully idle in traffic for a while to get it to move upward. I�m afraid that now it won�t hit a high enough temp to burn off condensation. My car also has that open-sided Fabspeed airbox cover so maybe that�s contributing. Anyway, that�s for a different topic.
Update: I had to wait a few days for the new resistor to come in (first one from Pelican was cracked so they next-day air'd me another). Took less than 15 mins to install the new resistor and put everything back together. I read someone superglued the metal plate as well as the screw to the resistor and this helped A LOT so I highly recommend anyone doing this short to do the same. You don't need much... a couple dabs just to hold them in place.
Update: I had to wait a few days for the new resistor to come in (first one from Pelican was cracked so they next-day air'd me another). Took less than 15 mins to install the new resistor and put everything back together. I read someone superglued the metal plate as well as the screw to the resistor and this helped A LOT so I highly recommend anyone doing this short to do the same. You don't need much... a couple dabs just to hold them in place.
Edwin
Have you checked the one in the other fender? It�s probably in two pieces, too. And it�s much easier to get at.
I have not and good idea. How do I know if it�s gone bad? My AC works fine
Edwin
Same idea as the oil cooler one, but with the other relay right next to it. Test to see if the low speed works; if it doesn�t then you�ll need to replace that resistor. They�re the same part number and everything.
This one, for the AC condenser, is closer to the front wheel and you undo it from the top. You should only have to remove the wheel well trim to get to it. You�ll see the pigtail leading to it. 5 minute job.
Found a better pic
Edit: you may actually want to remove the lower part of the front bumper and the bottom bracket thing to clean out any dirt/crud. Sorry I don�t bother to learn the correct terms for some things.
Thanks for the pic! I'm going to do the fuse-jumper test in a bit to see if the condenser fan resistor is also busted
Thank you so much for your great photos and step by step instructions. I had previously removed removed fender liner and then gave up and replaced fender liner. Then I saw your post and got new hope and in a couple of hours replaced old resistor with only one little hiccup I lost the nut for the resistor and had to make a Home Depot run to retrieve a replacement. Other than that I'm a happy camper and hopefully it will correct my overheating issue.
98 C2S

 10-12-2020, 07:51 PM