Build Thread - Project Swine 93 - My Barnfind Outlaw / RS Inspired 993
 09-05-2018, 02:30 AM
#16
Rennlist Member
Great work and progress on the build!
I just had the elephant bump steer correcting tie rods installed and am happy with the results.
I just had the elephant bump steer correcting tie rods installed and am happy with the results.
 09-05-2018, 01:45 PM
#18
great, keep up the good work. Subcribed
09-06-2018, 10:37 PM
#19
Basic Sponsor
Rennlist
Site Sponsor
Rennlist
Site Sponsor
Thread Starter
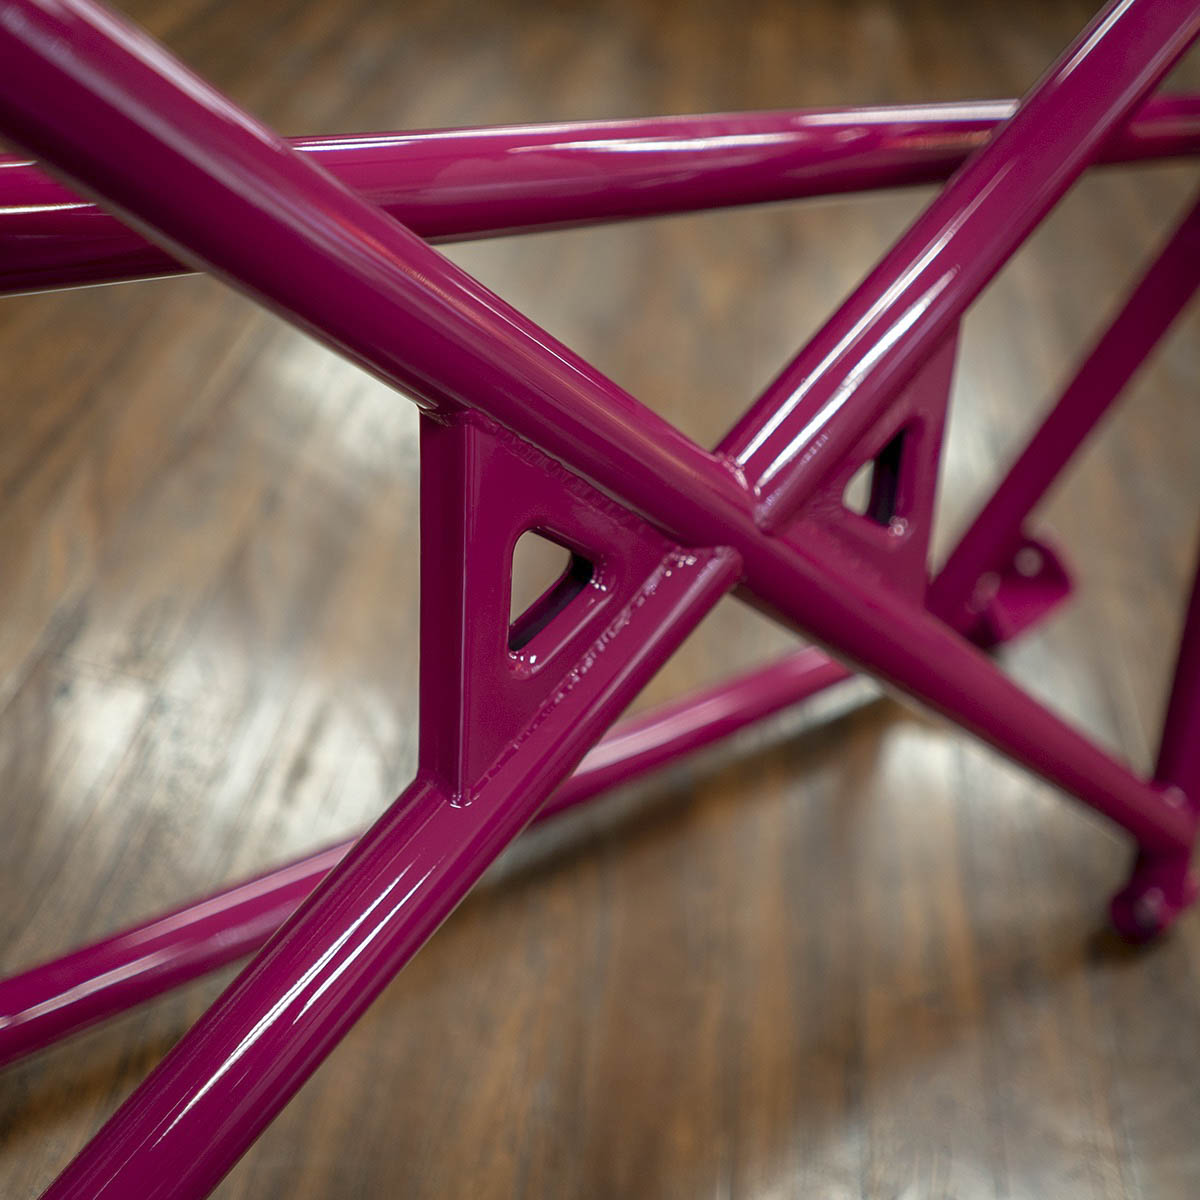
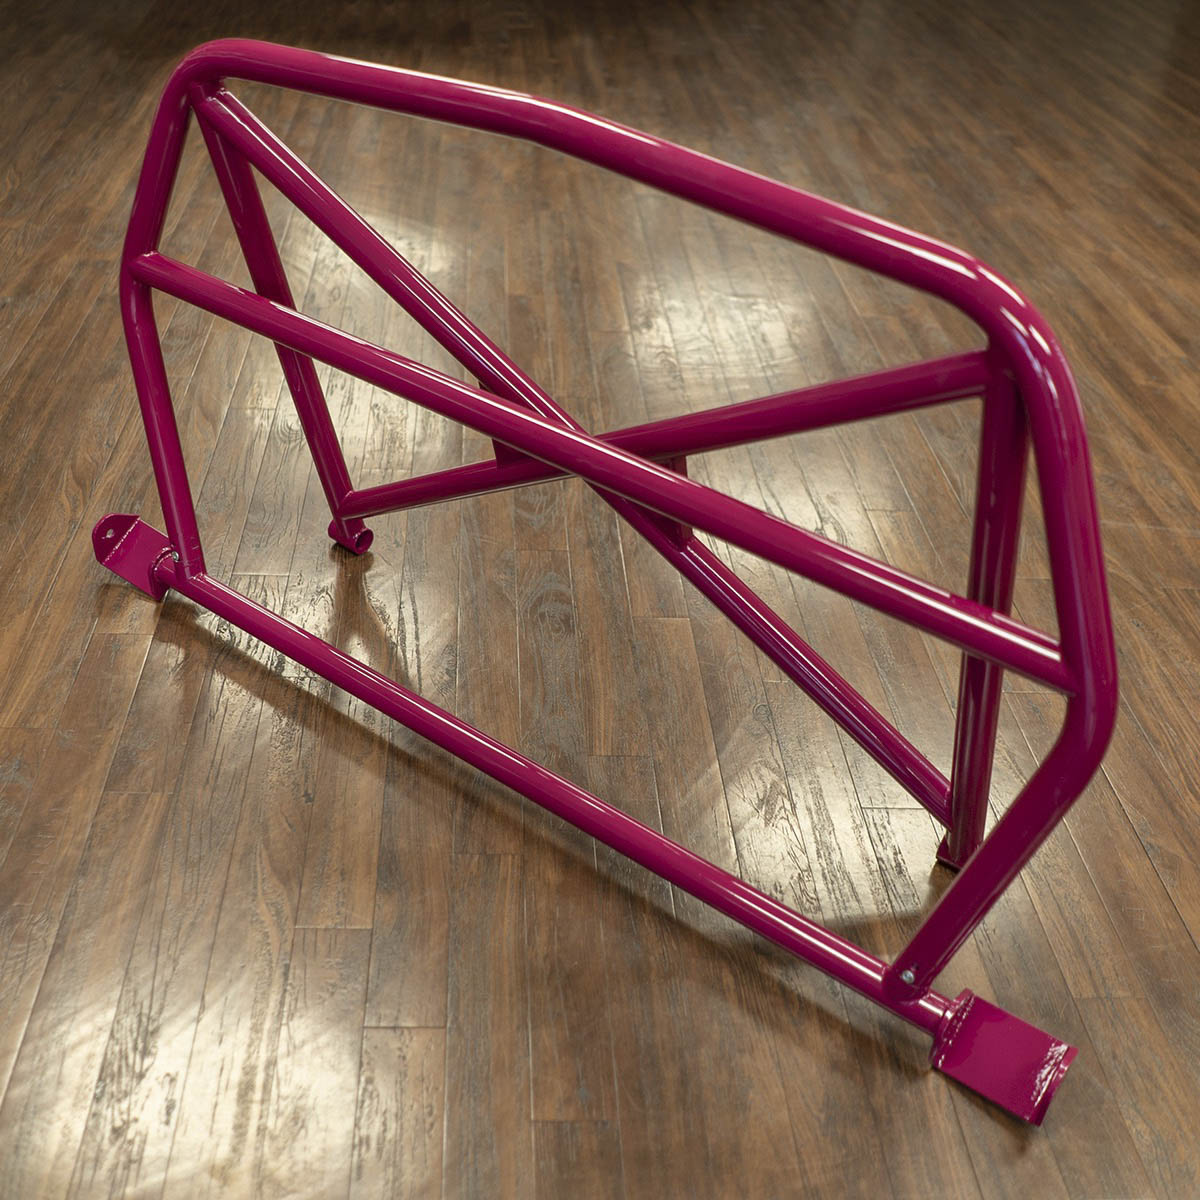
I'm fortunate to be very close to a number of talented fabricators and opted to build my own roll bar for the car from scratch. There are some great options on the market from other vendors, but being a perfectionist I had a number of slight tweaks and improvements. The bar was produced from 1.5" Chromoly for weight savings while still remaining a strong piece, and we used interlocking tubing clamps for a more seamless connection between bars.
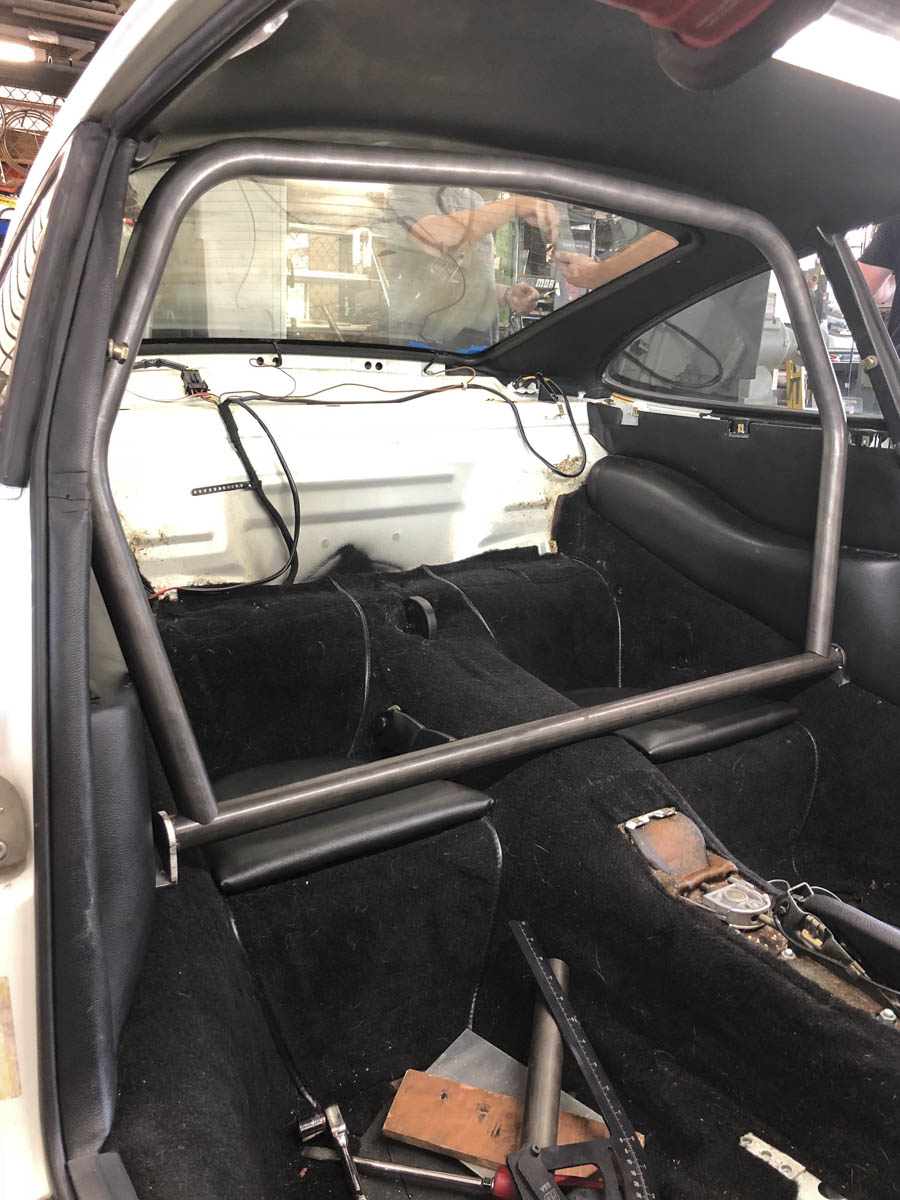
The process starts by taking measurements the old fashion way with tape measures, and angle finders to gauge the interior dimensions and then input those into the computer to create an initial blueprint. Once the design looks good in the virtual world we use our CNC bender to validate the bends with spring-back factored in and create the main hoop in chromoly. In this picture you can see the side mounts positioned and test hoop tac welded in place to verify the dimensions are correct.
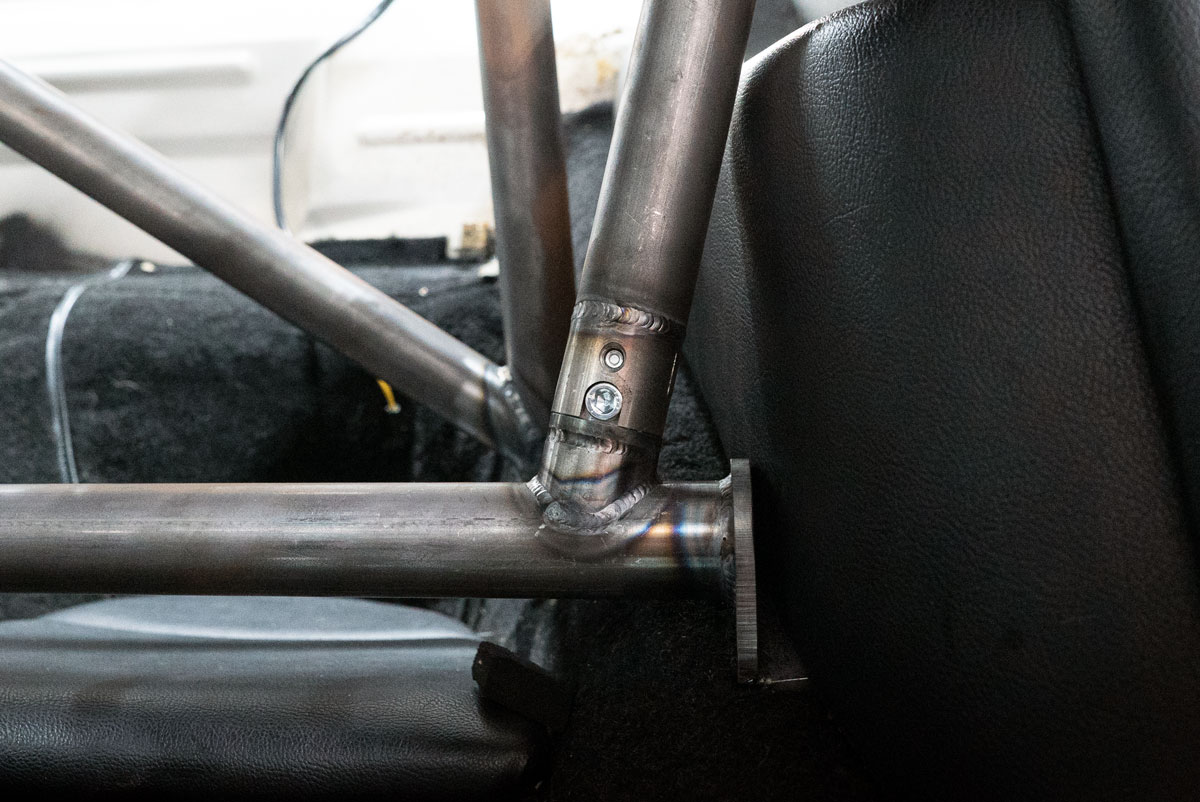
The cross bar gets mounted first and requires the side panels to be removed to access the factory seat belts and mounting holes. To make it easier to install the main hoop and back bars we use a 2 piece interlocking clamp to create a solid joint while still allowing the bar to be removed and installed with the rear interior panels in place.
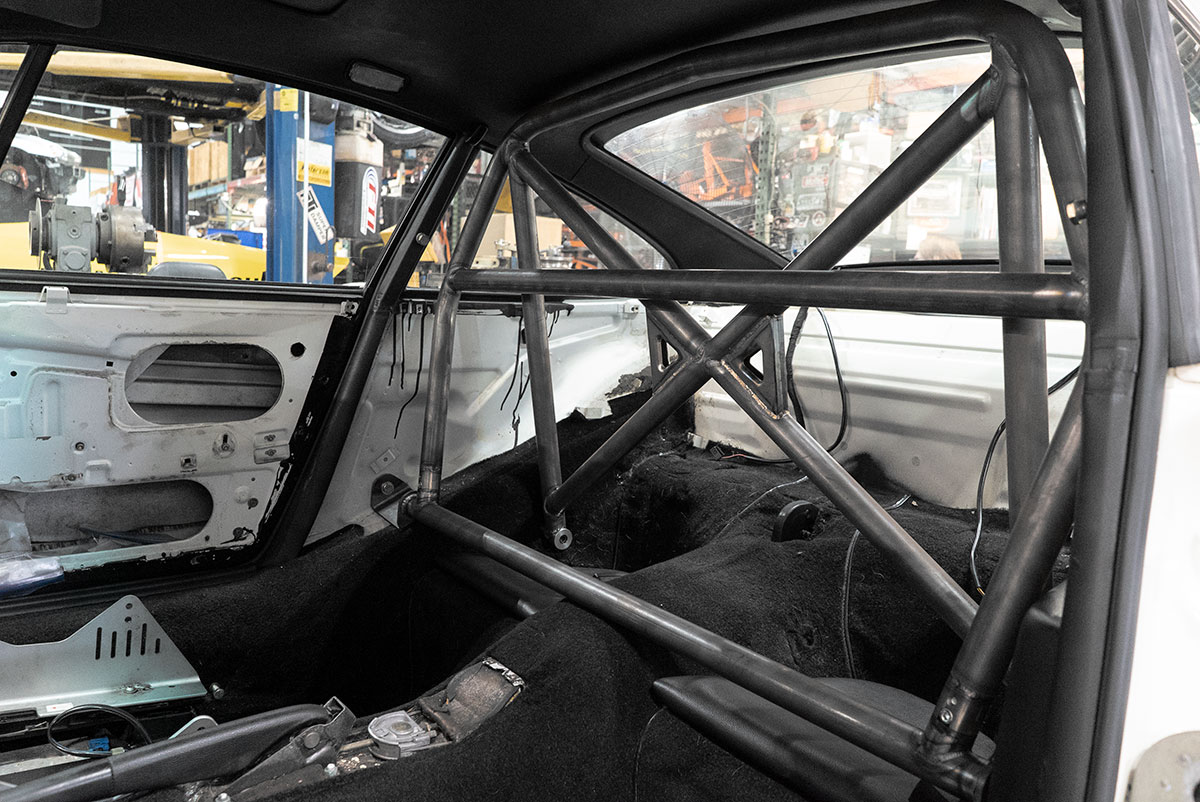
Once fitment was confirmed in the car and I was happy with the end product we created a welding fixture to allow the bar to be repeated, and also keep everything in place during welding. These jig fixtures allow us to re-create additional bars without having the car there by combining the CAD bend data with replicated mounting points from the vehicle.

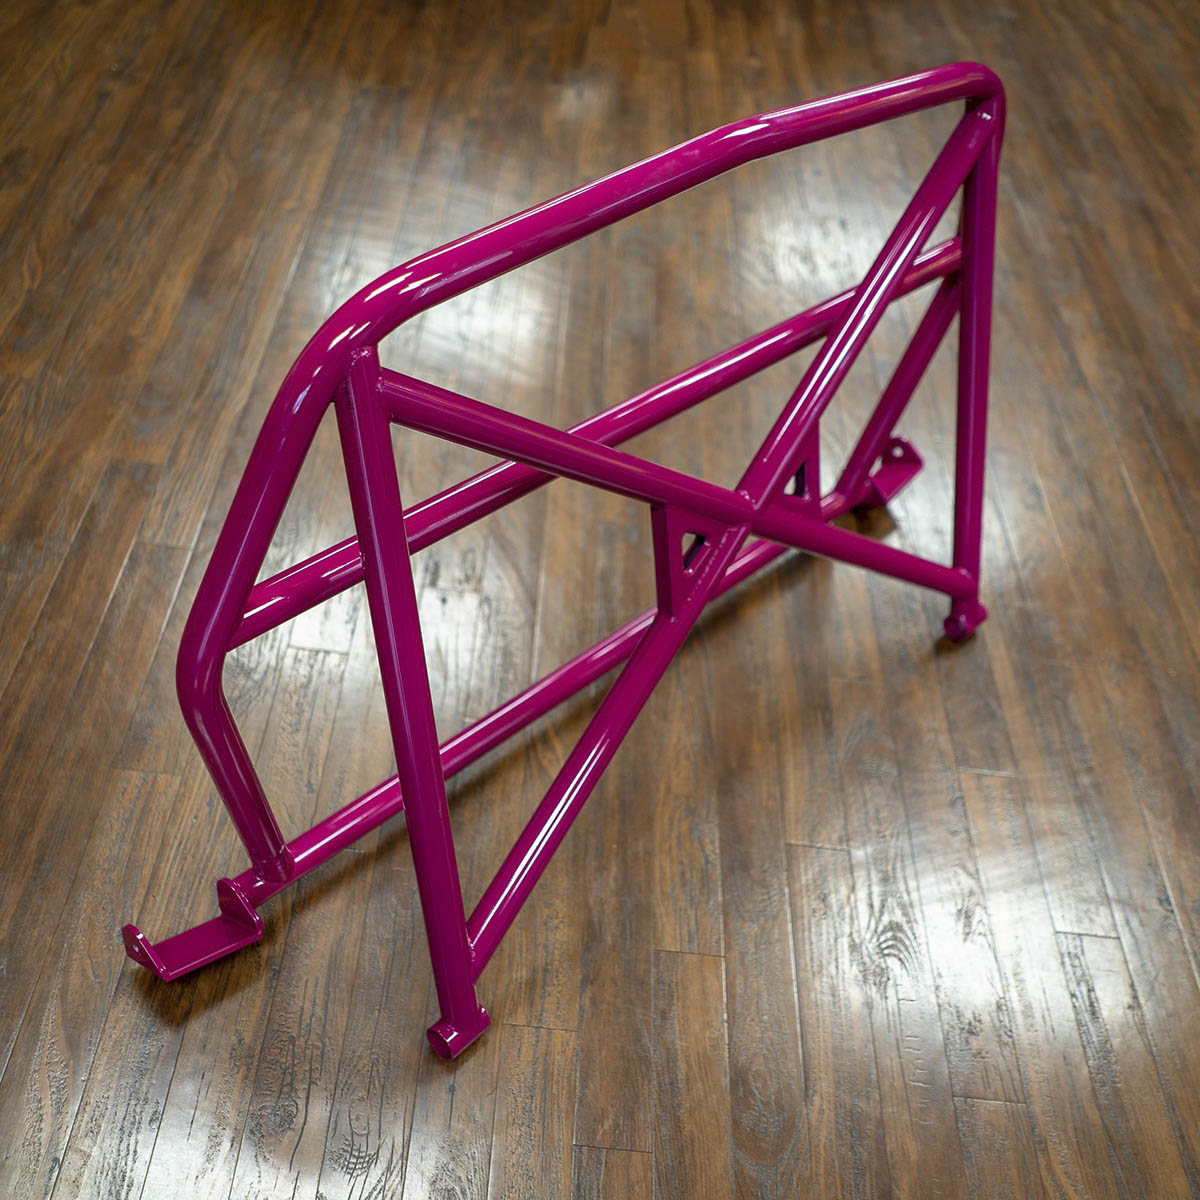
Last but not least my painter coated the entire bar in a fresh coat of Rubystone paint to match the seat backs and help tie everything together on the interior.
The process starts by taking measurements the old fashion way with tape measures, and angle finders to gauge the interior dimensions and then input those into the computer to create an initial blueprint. Once the design looks good in the virtual world we use our CNC bender to validate the bends with spring-back factored in and create the main hoop in chromoly. In this picture you can see the side mounts positioned and test hoop tac welded in place to verify the dimensions are correct.
The cross bar gets mounted first and requires the side panels to be removed to access the factory seat belts and mounting holes. To make it easier to install the main hoop and back bars we use a 2 piece interlocking clamp to create a solid joint while still allowing the bar to be removed and installed with the rear interior panels in place.
Once fitment was confirmed in the car and I was happy with the end product we created a welding fixture to allow the bar to be repeated, and also keep everything in place during welding. These jig fixtures allow us to re-create additional bars without having the car there by combining the CAD bend data with replicated mounting points from the vehicle.
Last but not least my painter coated the entire bar in a fresh coat of Rubystone paint to match the seat backs and help tie everything together on the interior.
__________________
Instagram :Swine11 | TitanMotorsports
Swine11 ReBoot - 964 / 993 Shift Boot Trim Panel
2004 996 GT3 | 1986 Carrera 3.2 (future Keen Project) | 2016 Cayenne Diesel
Instagram :Swine11 | TitanMotorsports
Swine11 ReBoot - 964 / 993 Shift Boot Trim Panel
2004 996 GT3 | 1986 Carrera 3.2 (future Keen Project) | 2016 Cayenne Diesel
Last edited by onelove; 09-07-2018 at 06:20 PM.
09-06-2018, 11:13 PM
#20
Rennlist Member
Nice work on the roll bar. Similar to the DAS roll bar, only better! Interested to know what the total weight is. Thanks, and keep up the great work.
 09-09-2018, 06:46 PM
#23
Basic Sponsor
Rennlist
Site Sponsor
Rennlist
Site Sponsor
Thread Starter
I have a small studio table setup with a paper syc wall with 3 Buff Einstein strobes. I�ve spent a ton of time dialing the strobes in for product photography but it still requires a bit of post work in Photoshop.
09-09-2018, 06:48 PM
#25
09-09-2018, 08:22 PM
#26
Rennlist Member
FD transmission mount will make the car very noisy. I would do the insert solution instead which would still improve shifting precision.
Also the AWD to 2WD brace from FD motorsports will keep the drivetrain more stable and should be considered.
Also the AWD to 2WD brace from FD motorsports will keep the drivetrain more stable and should be considered.
09-09-2018, 08:35 PM
#27
Basic Sponsor
Rennlist
Site Sponsor
Rennlist
Site Sponsor
Thread Starter
Thank you, I looked back at a number of articles in helping me make decisions
It's my understanding that it's one or the other ? Since the nose cone is different on the C4 trans, it has a "side mount" vs "center mount". Right now I've got the FD upgraded side mount which has urethane inserts. I'm sure it will be slightly stiffer than stock and transmit some more noise which is fine, but curious if others have gone back and swapped the nose and bracing for the C2 version over this solution.
The center cone Is NLA from Porsche and while I've found suitable aftermarkets the cost being 4-5x the FD mount might save it for a later day once I do a full R&R of the trans.
The center cone Is NLA from Porsche and while I've found suitable aftermarkets the cost being 4-5x the FD mount might save it for a later day once I do a full R&R of the trans.
09-10-2018, 11:48 PM
#28
Basic Sponsor
Rennlist
Site Sponsor
Rennlist
Site Sponsor
Thread Starter
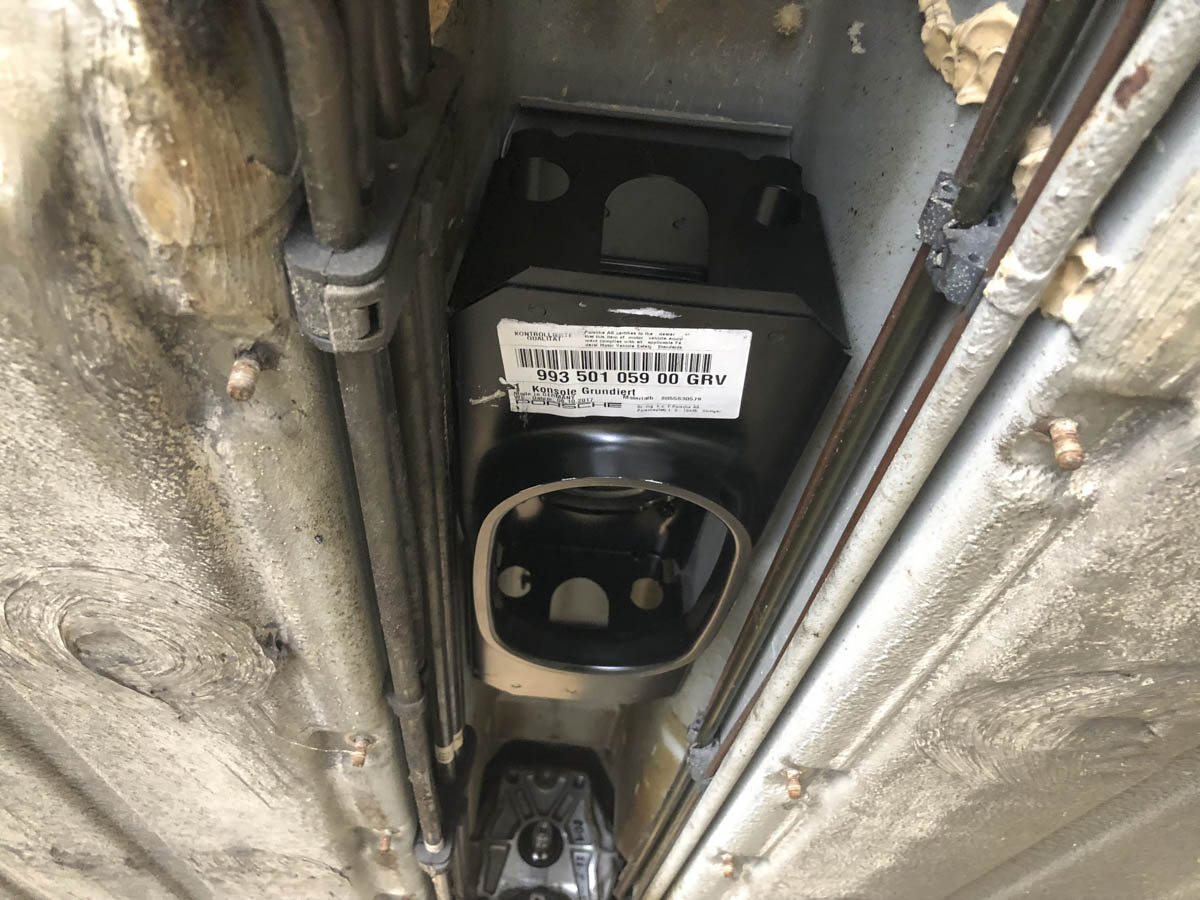
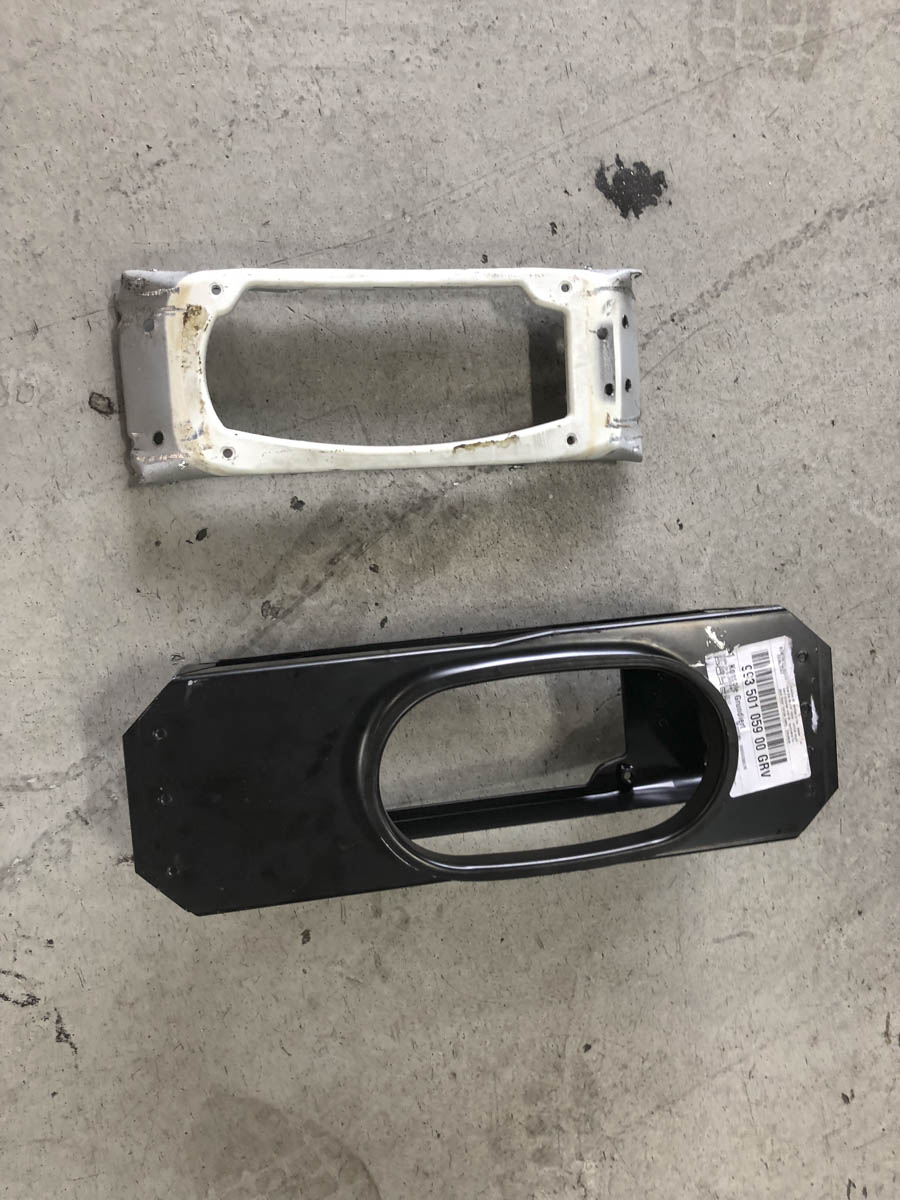
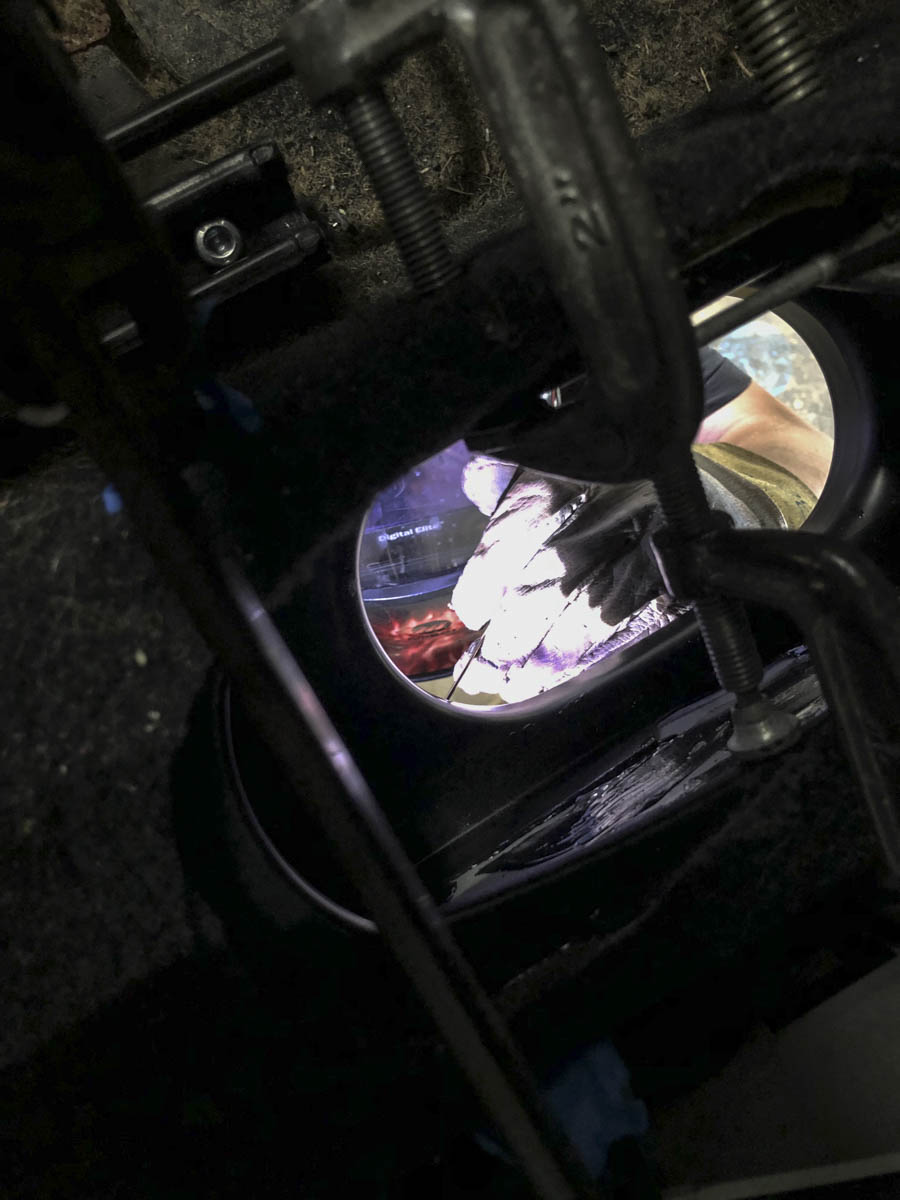
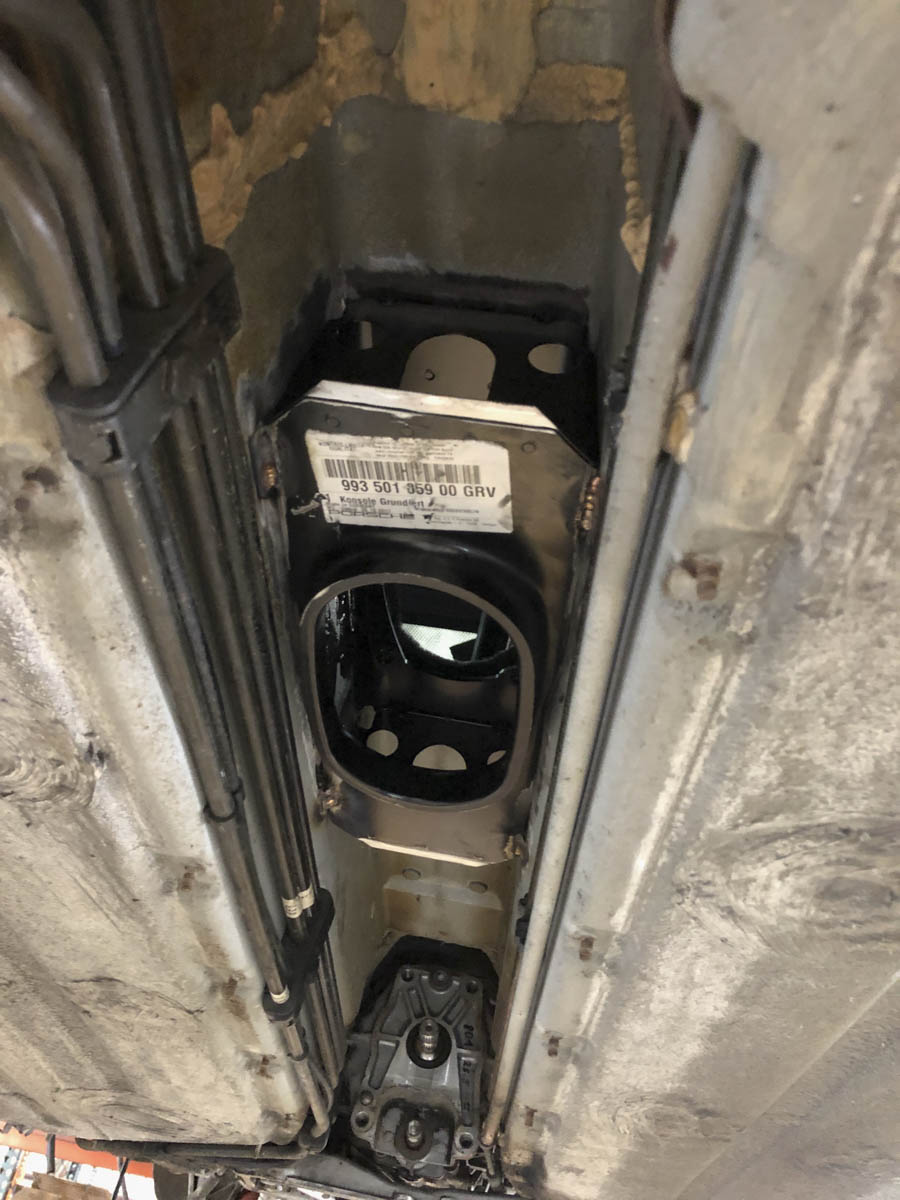
Started the AWD to RWD Conversion, with the AWD unit out, the C2 shift box needed to be installed ( 993 501 059 00 ). Test fitted it in place with the existing tunnel to verify fitment once the torque tube was removed.
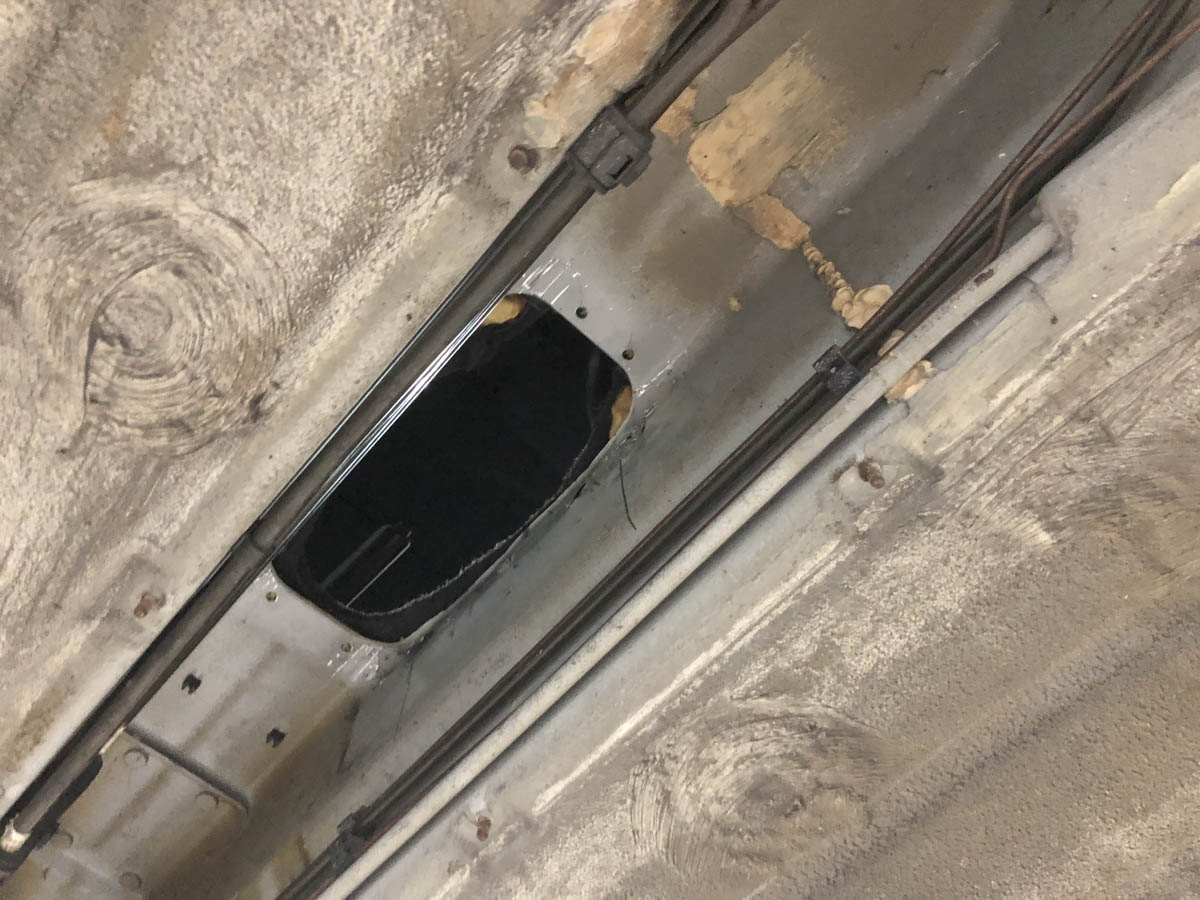
To get the old panel out I drilled the visible spot welds out and then used a chisel and some light finessing to help pry the old shifter plate out of the tunnel.
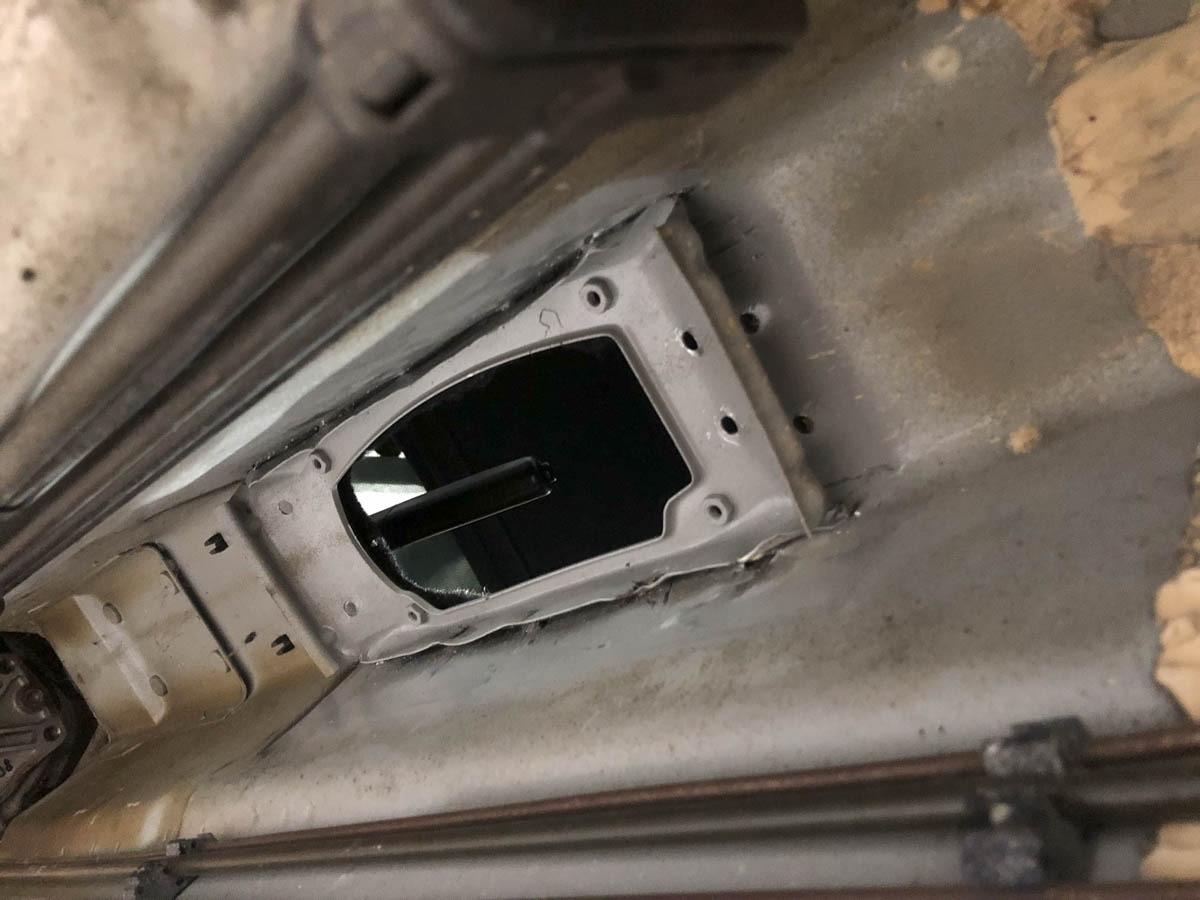
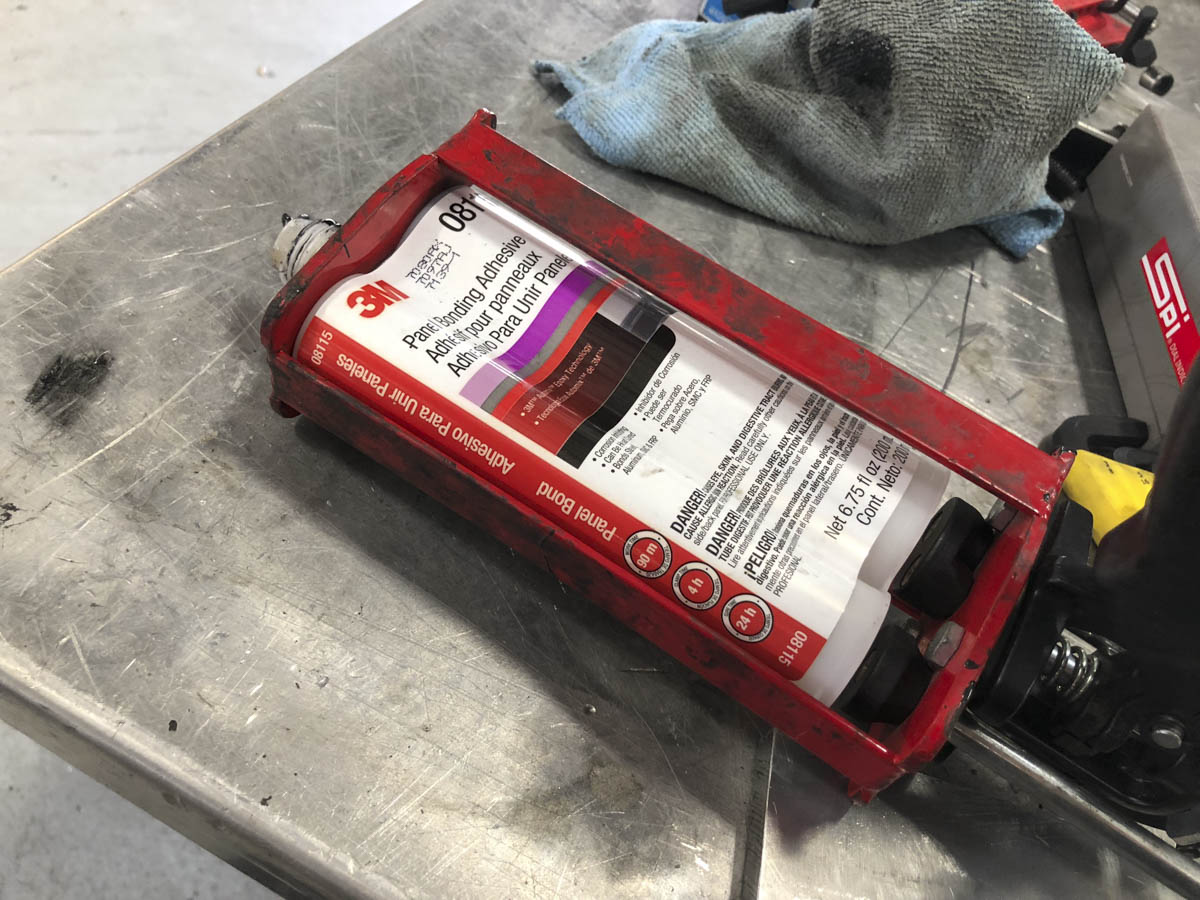
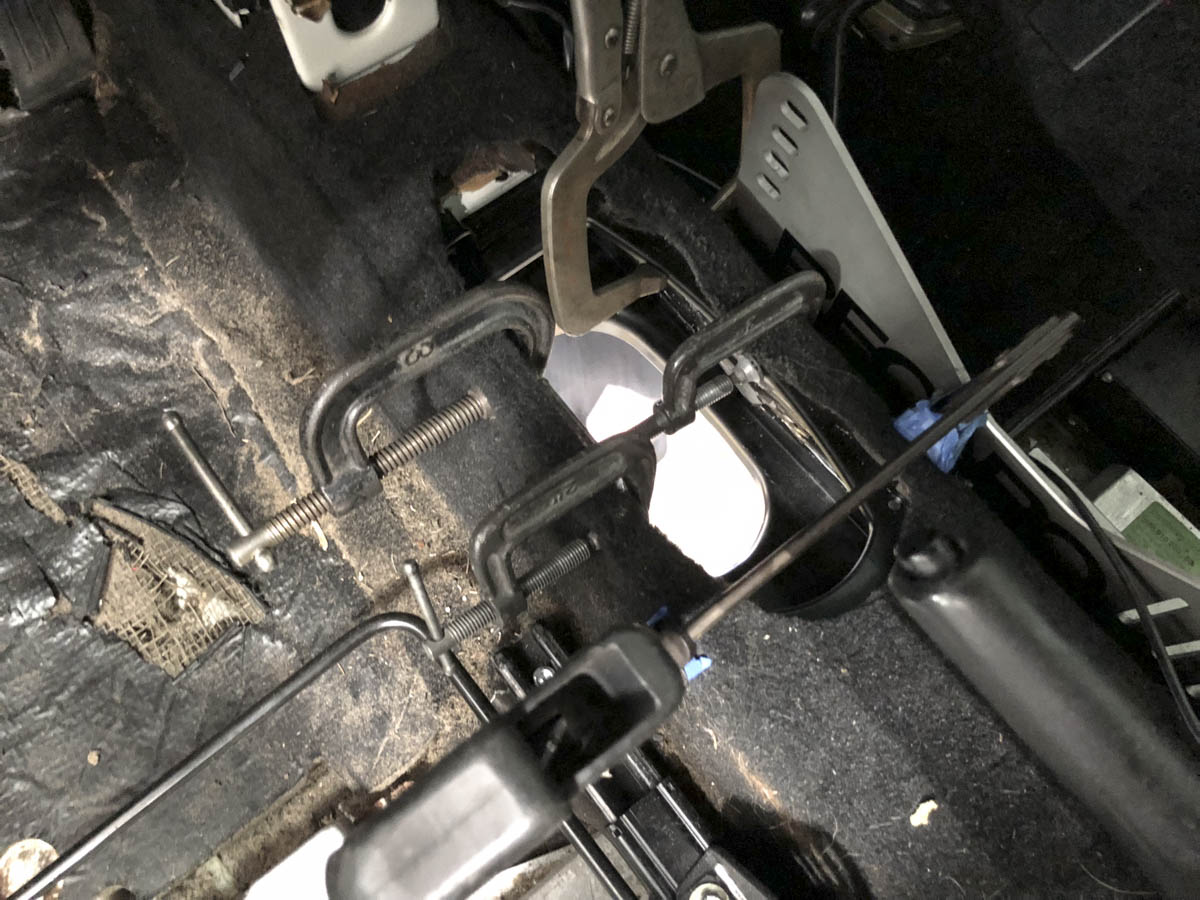
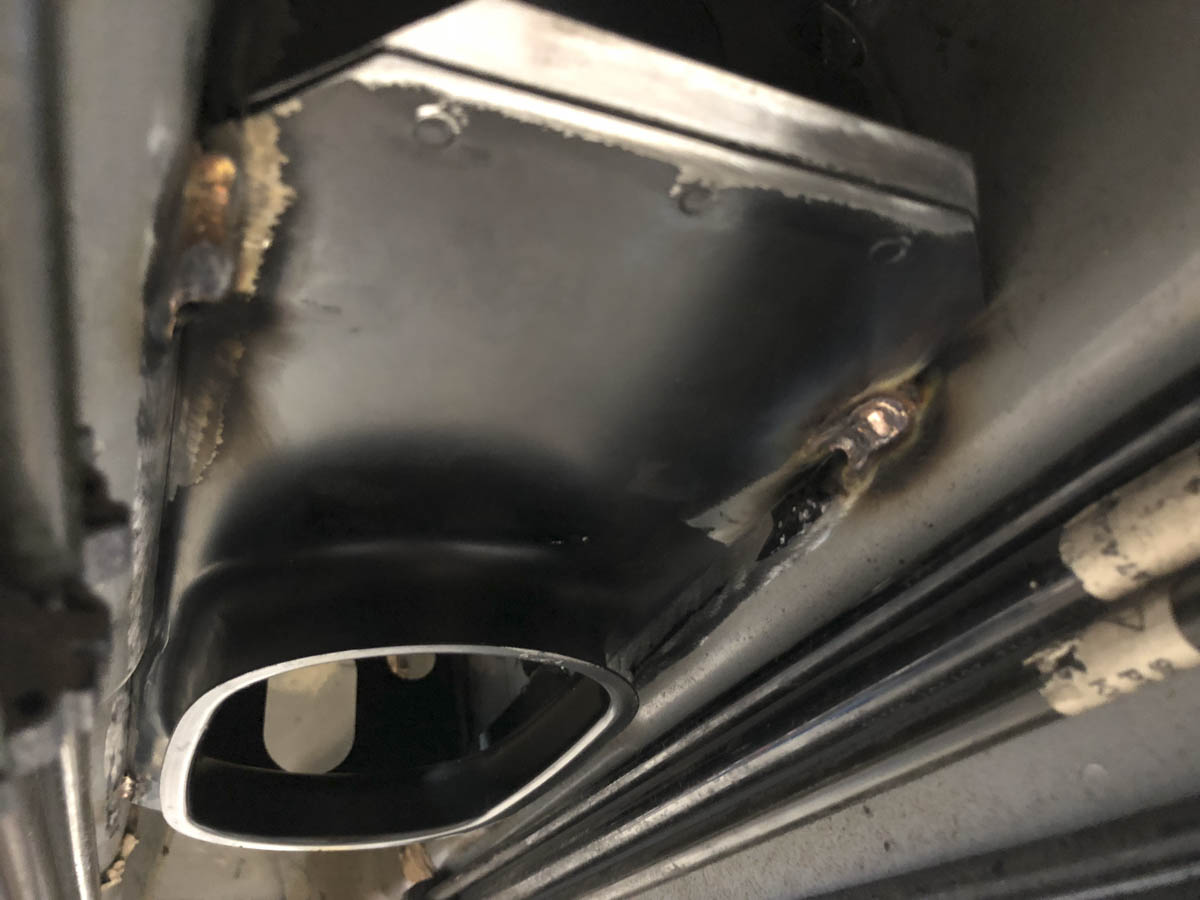
With the old panel removed it was time to install the C2 version, the mounting points were prepped and 3M panel bond was applied to the portions of the panel that couldn't be reached with the torch. With the panel bond applied I clapped the side walls from the interior to hold the shift box in place while the panel bond cured and help support it during welding.
A few carefully placed stitch welds with the tig and this part of the conversion is complete, it'll get a few coats of paint to help prevent corrosion.
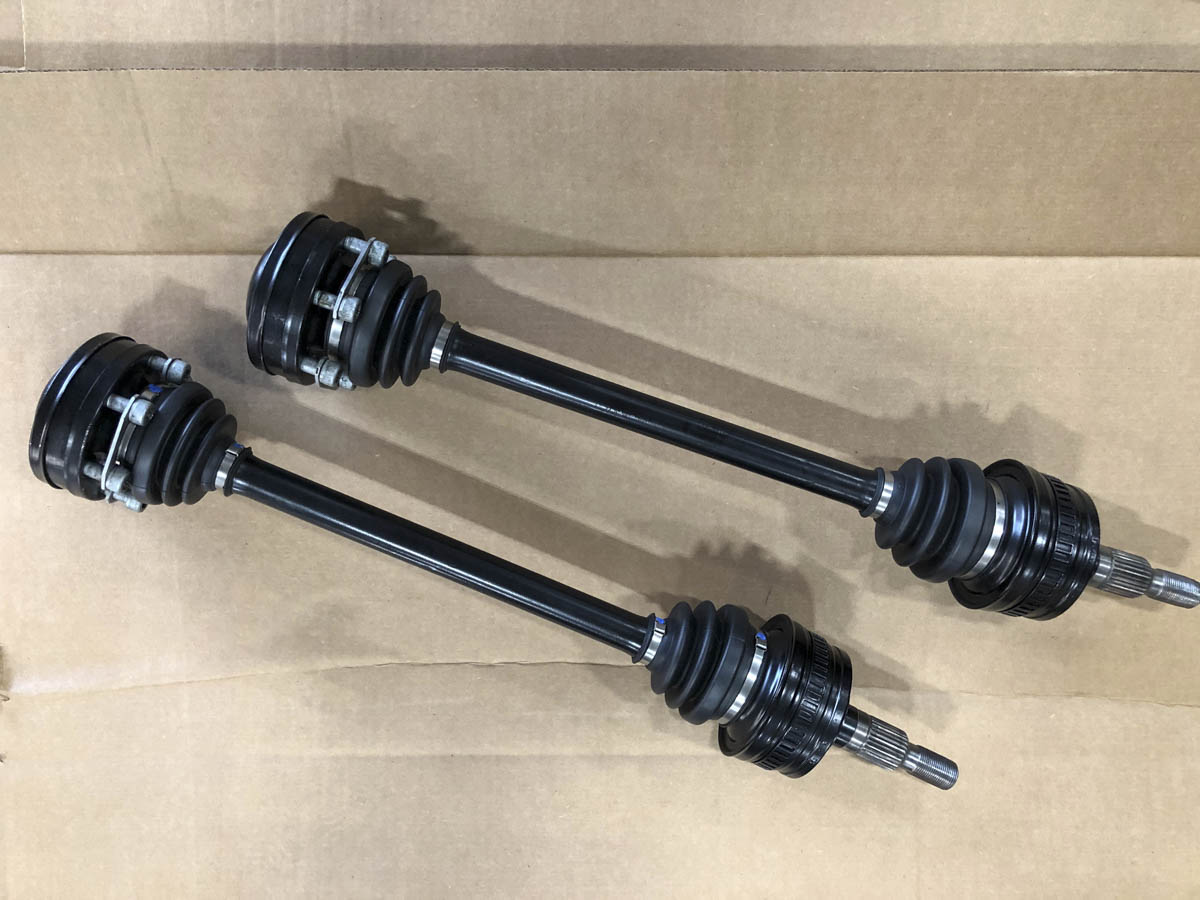
I noticed a slight tear in one of the rear CV boots, so both the left and right got treated to a complete overhaul by a local specialist. Next up the front axles will get torn down so that I can harvest the outer stubs to keep the ABS rings happy and complete the 2WD conversion. I could buy the C2 ABS rings and proper bolts, but plan on saving some budget in this area by using what I have and harvesting and lightening what I've got in the lathe.
To get the old panel out I drilled the visible spot welds out and then used a chisel and some light finessing to help pry the old shifter plate out of the tunnel.
With the old panel removed it was time to install the C2 version, the mounting points were prepped and 3M panel bond was applied to the portions of the panel that couldn't be reached with the torch. With the panel bond applied I clapped the side walls from the interior to hold the shift box in place while the panel bond cured and help support it during welding.
A few carefully placed stitch welds with the tig and this part of the conversion is complete, it'll get a few coats of paint to help prevent corrosion.
I noticed a slight tear in one of the rear CV boots, so both the left and right got treated to a complete overhaul by a local specialist. Next up the front axles will get torn down so that I can harvest the outer stubs to keep the ABS rings happy and complete the 2WD conversion. I could buy the C2 ABS rings and proper bolts, but plan on saving some budget in this area by using what I have and harvesting and lightening what I've got in the lathe.
09-11-2018, 08:23 AM
#30
Rennlist Member
I have the FD Transmission mount and love the noise! Shifts are precise with the short shift kit and golden rod.