When you click on links to various merchants on this site and make a purchase, this can result in this site earning a commission. Affiliate programs and affiliations include, but are not limited to, the eBay Partner Network.
Hey all, I bought this 1995 C2 almost 2 years ago and have just gotten started doing some upgrades/mods/repairs.
This was spurred on by a couple things. The first issue I was having was a very sloppy shifter, along with a clunking noise and difficulty shifting when doing high load shifts. The clutch pedal was also occasionally sticking up high in its travel. I initially thought the trans bushing was the culprit as the motor mounts appeared fine on visual inspection. When I jacked the rear of the car up I was greeted by thick black hydraulic fluid spilling all over my garage floor. Initially I had a small heart attack thinking the motor let go somehow, or I cut an oil line, but then I realized my oil isnt that dark and started looking for the real culprit. The passenger side motor mount was toast. This round of upgrades included First function street (yellow) transmission bushing insert and Rennline semisolid motor mounts with street (yellow) inserts.
My impression is that these have made an enormous difference in the car. Shifting is now much smoother without any slop or clunking. I have much less trouble with the clutch (also bled the clutch while the car was up). A lot of people noted increased NVH with the mounts and yes, there is some. To quantify it, there is definitely some gearbox/diff whine noticeable at lower speeds. Not that big of a deal for a car like this in my opinion.
Up next FDM shifter and goldenrod.
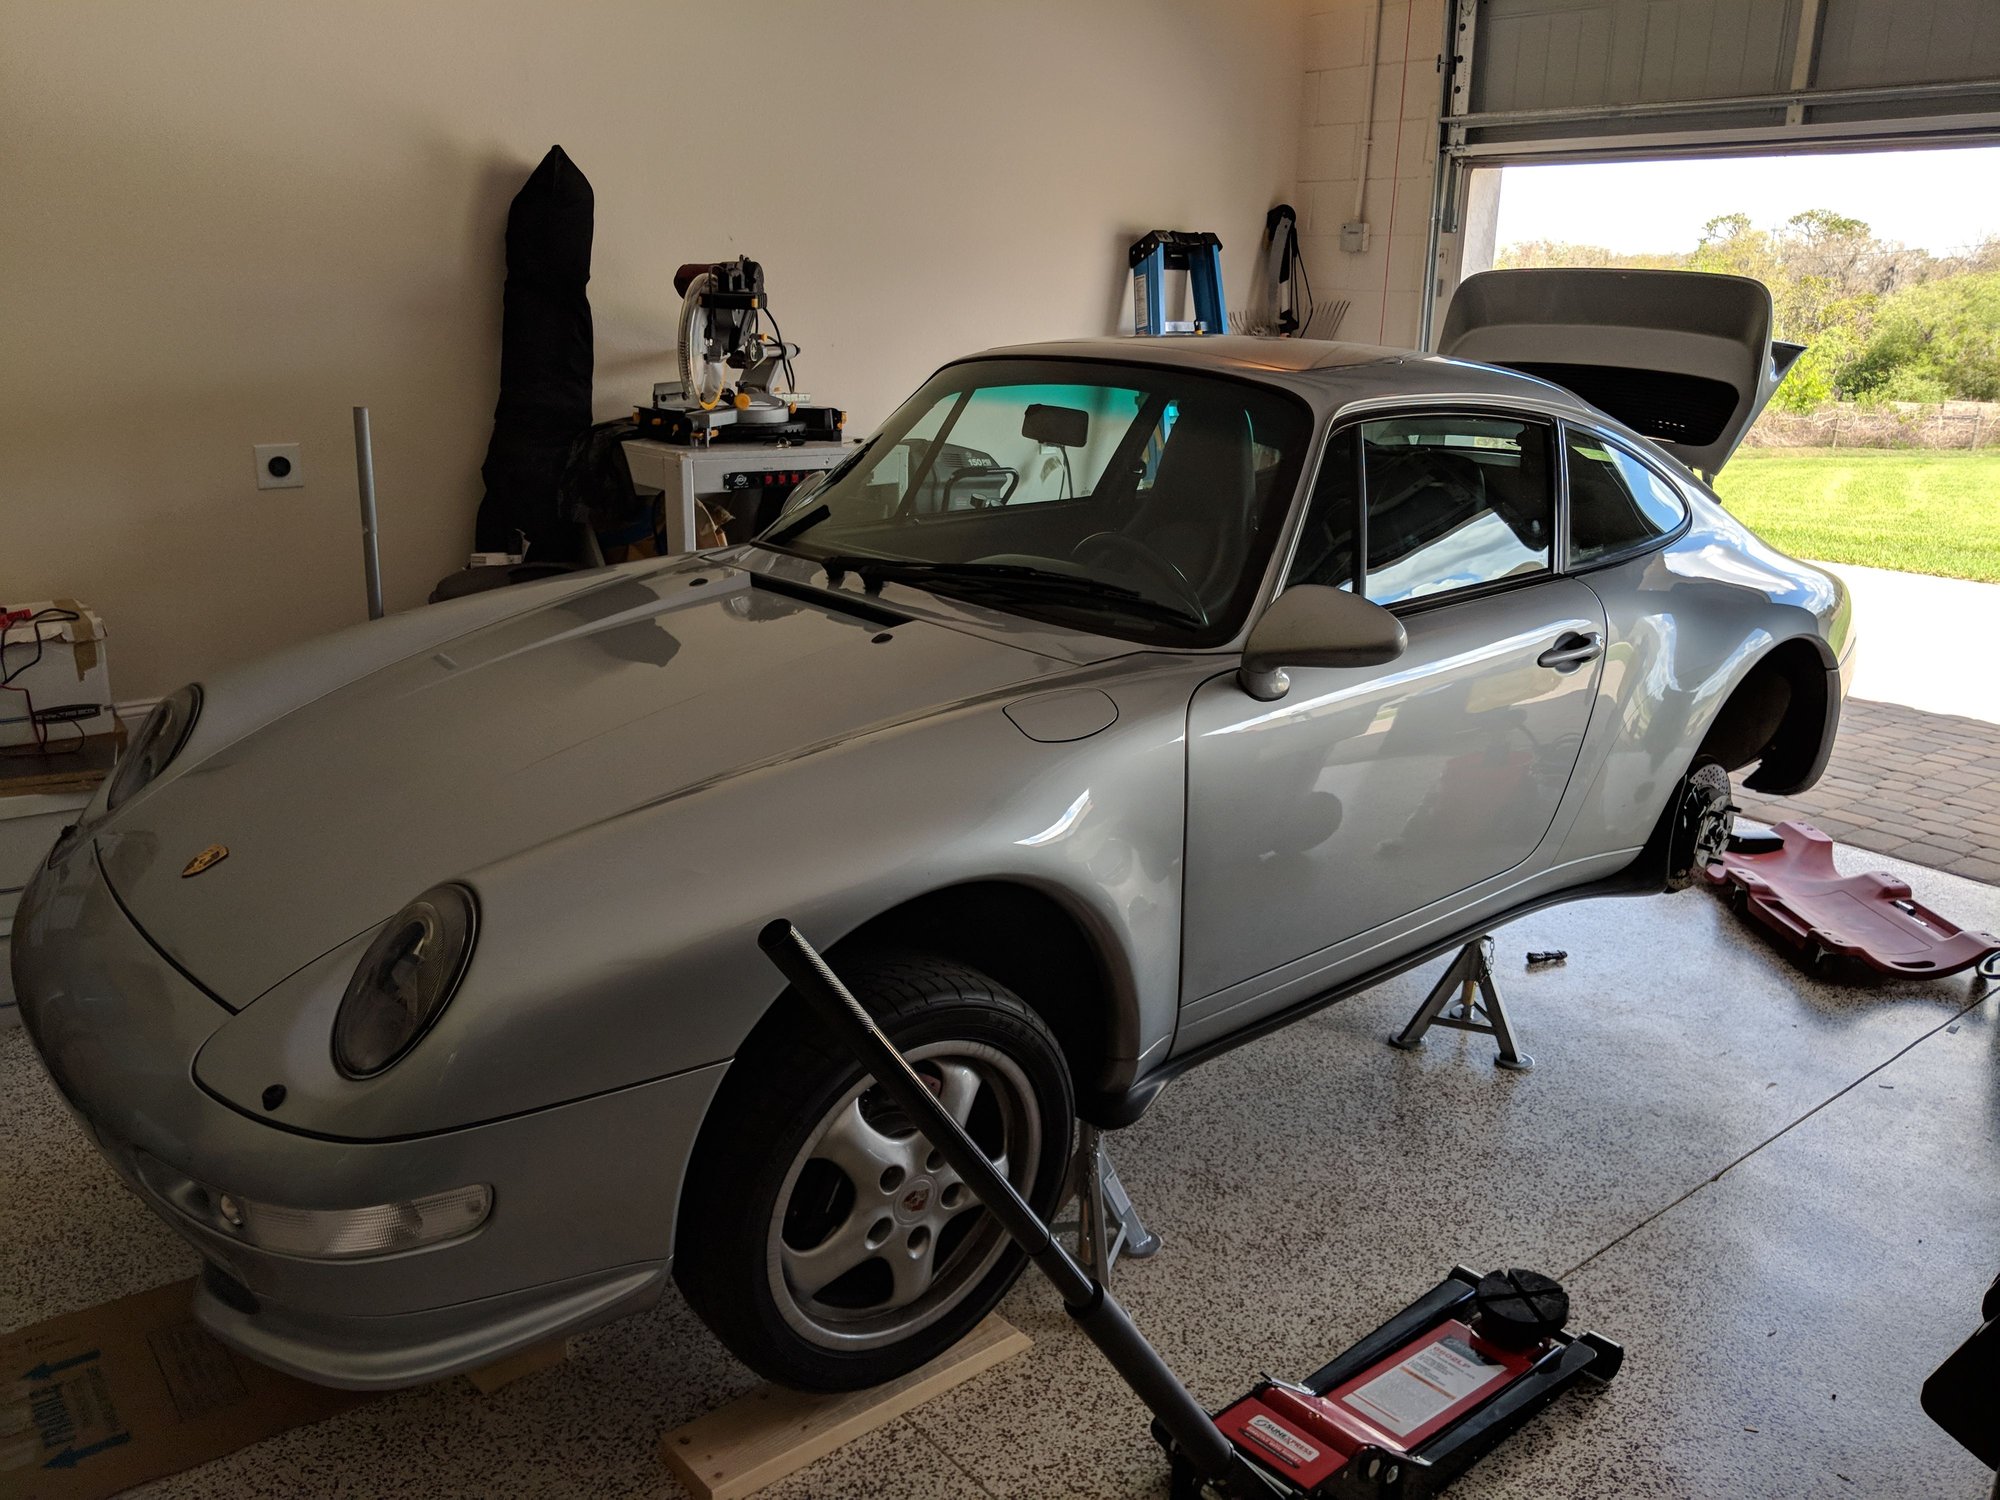
1. Car on jack stands
2. Leaky passenger motor mount
3. Extremely clean leak free engine case. Got very lucky with this car. There is only a slight "sweat" of oil on the timing chain cover. Not even enough to drip.
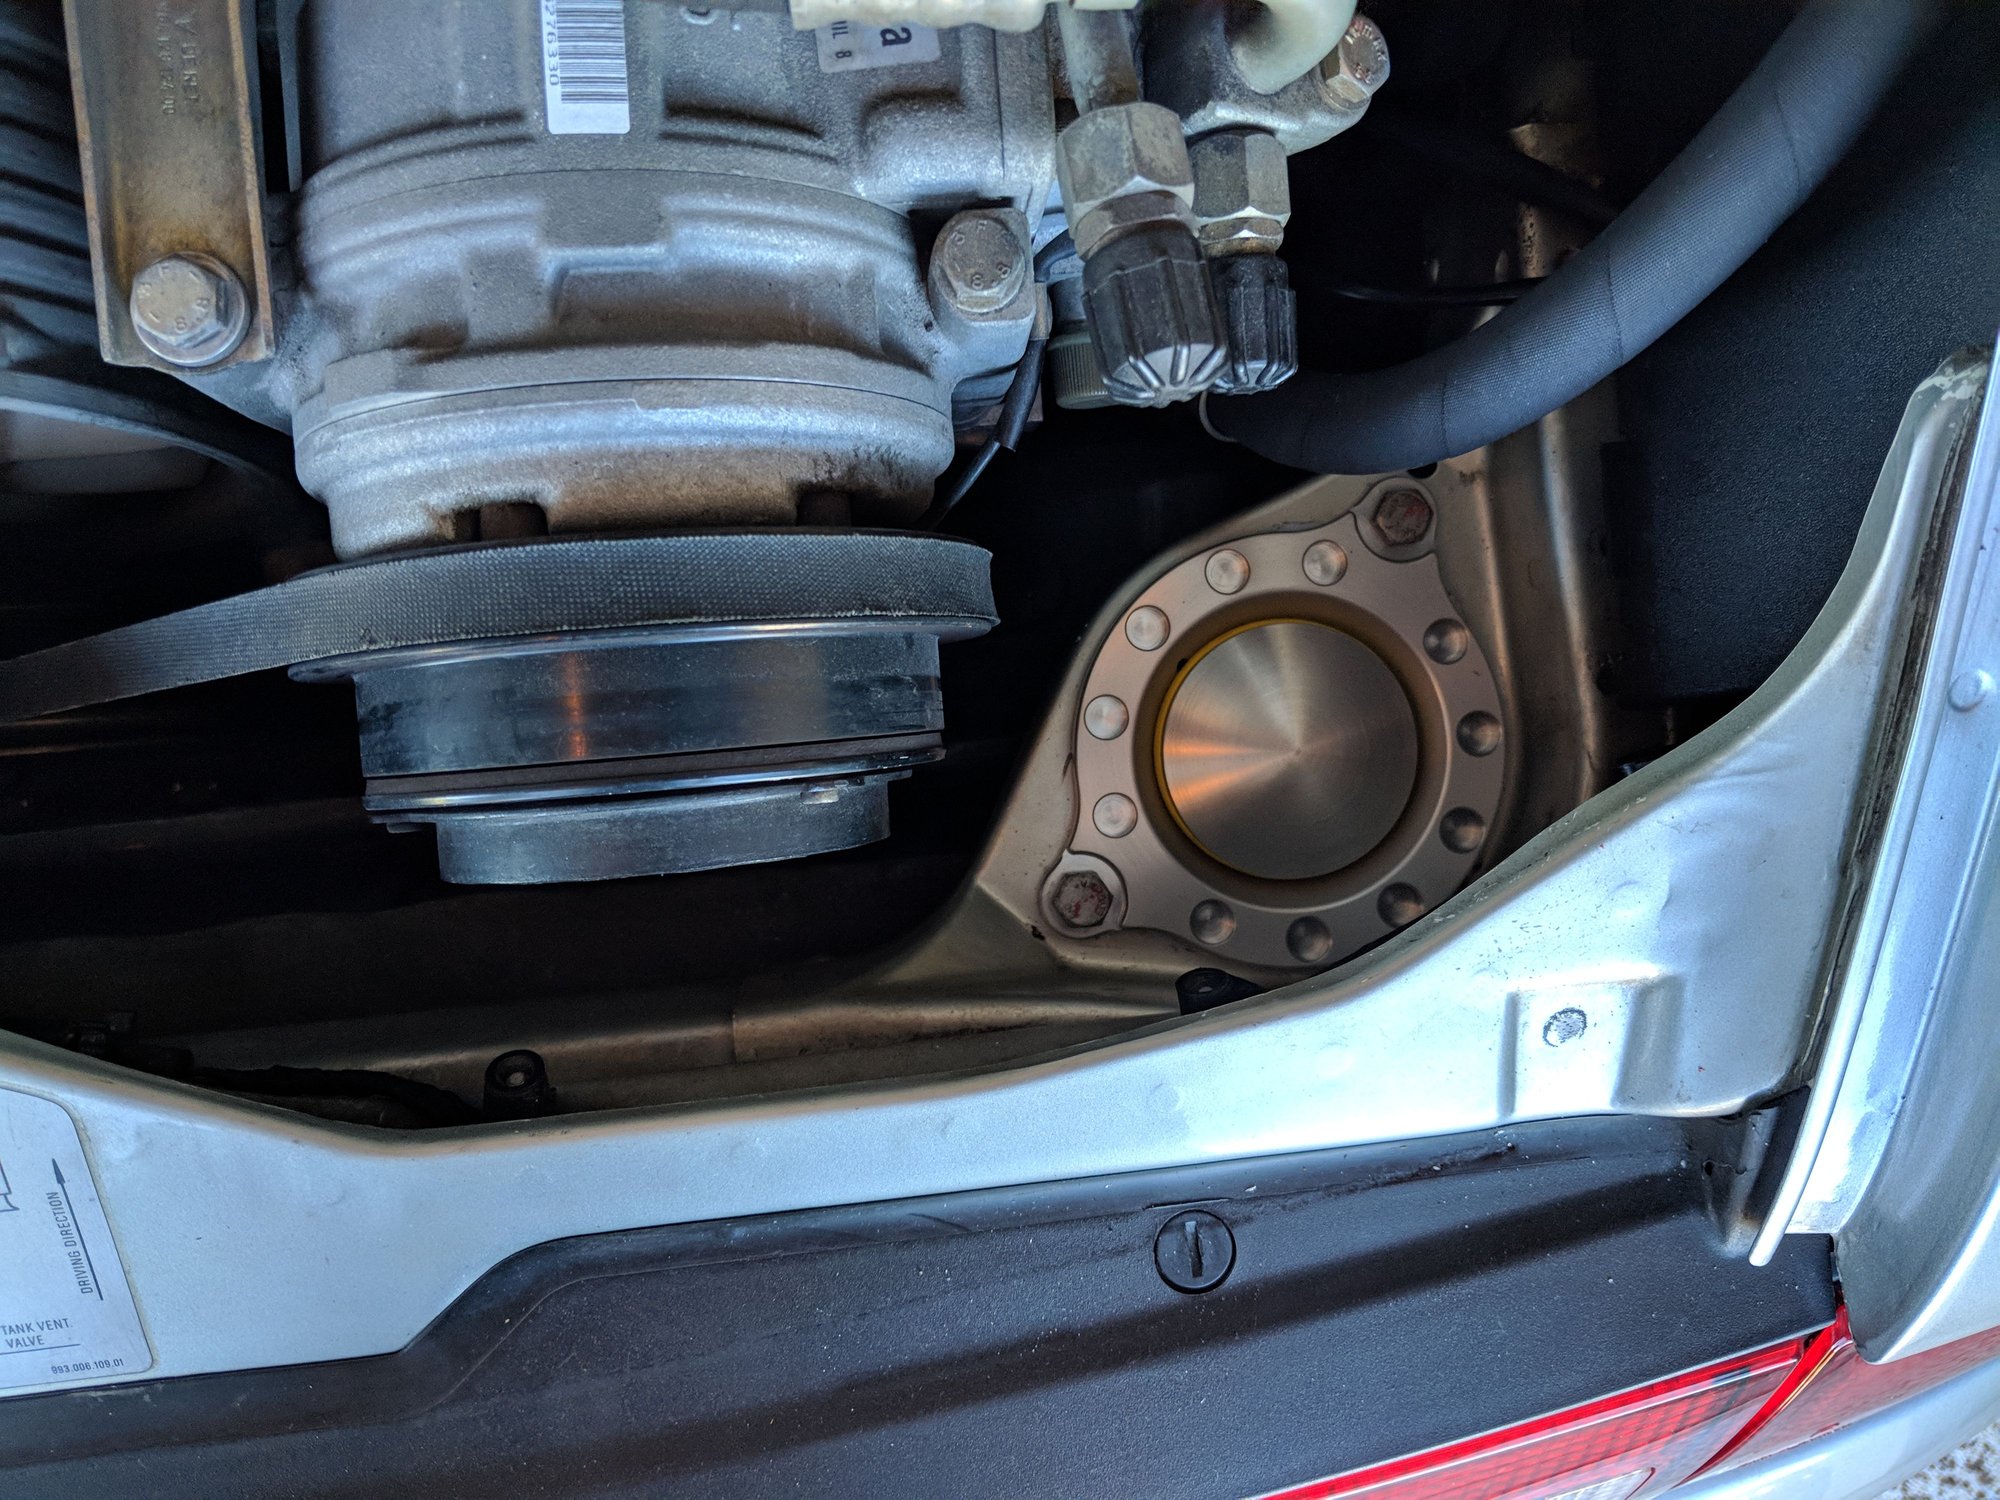
4. Rennline mount. Very pretty, very easy to install.
I'm not 100% sure on the bumper, car came with it when I bought it. Its not filled, so I'd assume its a euro bumper.
For suspension it has a pretty fresh ROW spring/shock setup, and has had its steering rack redone several years ago. Still works well without any leaks. Any suggestions for other steering improvements?
Right on. Nice work and welcome. Are you also going to replace the transmission mount. That�s on my to do list.
I did the function first insert. It seems the actual bushing is rather hard to change out without removing the engine/trans. I'll just wait till I have to drop them for service to swap it out.
Just replaced my engine mounts last week too, went with Wevo and like them. Also noticed some more NVH but not bad, but then again I have Fister III....
Another good thing I didn't realize before from the new engine mounts is my muffler tips are actually lineup now. I had hard time before to get them aligned and didn't realize was due to bad engine mounts.
On the suspension upgrades, I would recommend replacing the control arm bushings if they are still the originals. I went with walrod's and greatly improved my steering feels.
A really easy and simple DIY upgrade that, in my opinion, dramatically makes for enhanced brake feel is to replace the 4 brake hoses to each caliper. The upgrade seems to make the brake peddle feel more direct. I used braided DOT approved lines. The DOT lines use crimp fittings on the ends where the non-DOT fittings seem to use some other method to clamp on the end fittings. A power bleeder that attaches to the brake reservoir makes brake bleeding a quick one-man job. Also be sure to use use high quality flair nut wrenches that do not flex such as Snap-On or the polished chrome Craftsman wrenches. The inexpensive ones will distort the flair nuts when removing the lines resulting in ruining the fittings before popping them loose. I learned an interesting trick is to use some clear nail polish to seal the threads where the bleeder screws enter the caliper bodies once done bleeding. Seems to preserve the bleeder screw threads for future bleeding.
A really easy and simple DIY upgrade that, in my opinion, dramatically makes for enhanced brake feel is to replace the 4 brake hoses to each caliper. The upgrade seems to make the brake peddle feel more direct. I used braided DOT approved lines. The DOT lines use crimp fittings on the ends where the non-DOT fittings seem to use some other method to clamp on the end fittings. A power bleeder that attaches to the brake reservoir makes brake bleeding a quick one-man job. Also be sure to use use high quality flair nut wrenches that do not flex such as Snap-On or the polished chrome Craftsman wrenches. The inexpensive ones will distort the flair nuts when removing the lines resulting in ruining the fittings before popping them loose. I learned an interesting trick is to use some clear nail polish to seal the threads where the bleeder screws enter the caliper bodies once done bleeding. Seems to preserve the bleeder screw threads for future bleeding.
I don't know about the "polished chrome Craftsman" flare nut wrenches, since they are now manufactured in China and are nowhere near their previous quality standards and materials; but if you can find an old set of Craftsman metric flare nut wrenches that say, "drop forged" and "Made in the USA", grab them!
I stole a set from a seller on Ebay, for $25
Blue Point, Proto, and Matco, are all of high quality, as well!
P.S. I like your choice of the adjustable Rennline motor mounts. Very clean looking product.
If the suspension has not been upgraded or refreshed with something other than the crappy Monroe's that are OEM for the car, that would be a next great point of focus... don't forget bushings while you're in there.
No pictures for this one, but heres what I accomplished this weekend.
- Installed FD short shifter with all associated linkages (golden rod etc)
- Finally fixed my clutch pedal. I had the sticky pedal, so I replaced the clutch master cylinder and the kinematic arm. The pedal feel is fantastic now and engages smoothly.
These two small things have made the car a ton more enjoyable to drive.
Nice car and mods. FD SSK and golden rod are awesome.
FYI - I had a similar seepage from the timing chain covers. Not enough to drip off the engine but I still went ahead and sprung for new gaskets for both the timing and lower valve covers. Probably overly **** but I like the car a lot.


 03-03-2018, 05:31 PM


