When you click on links to various merchants on this site and make a purchase, this can result in this site earning a commission. Affiliate programs and affiliations include, but are not limited to, the eBay Partner Network.
. Almost any will do, I chose that one because it's small but there's plenty of space.
Momentarybuttons. Almost any will do but keep the depth behind the panel to less than 1".
Steps:
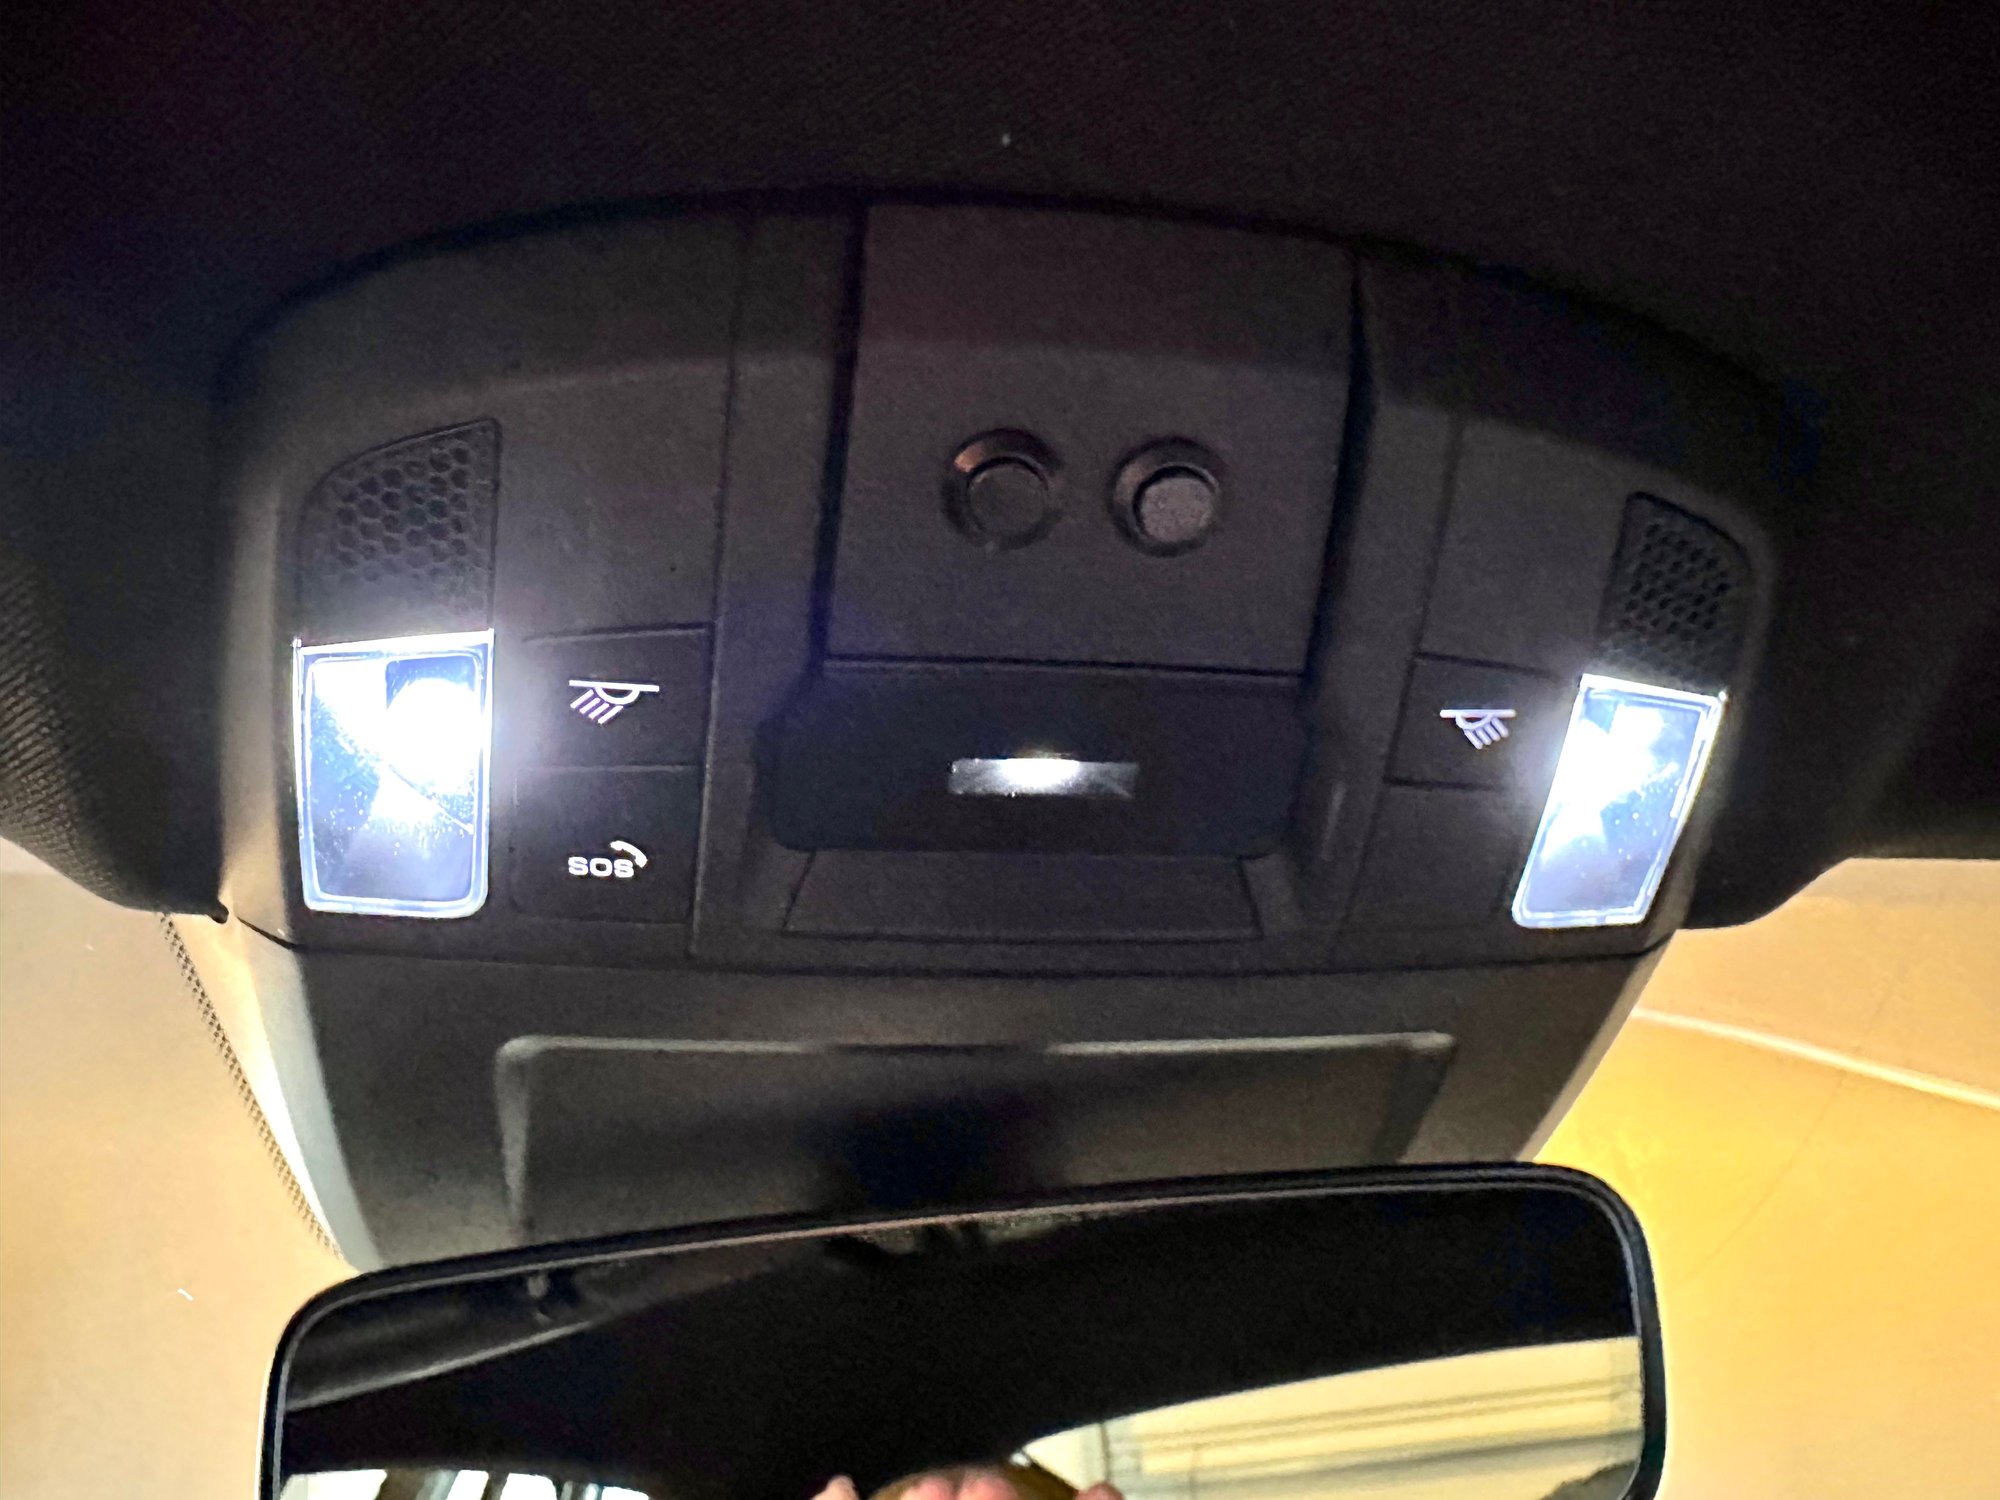
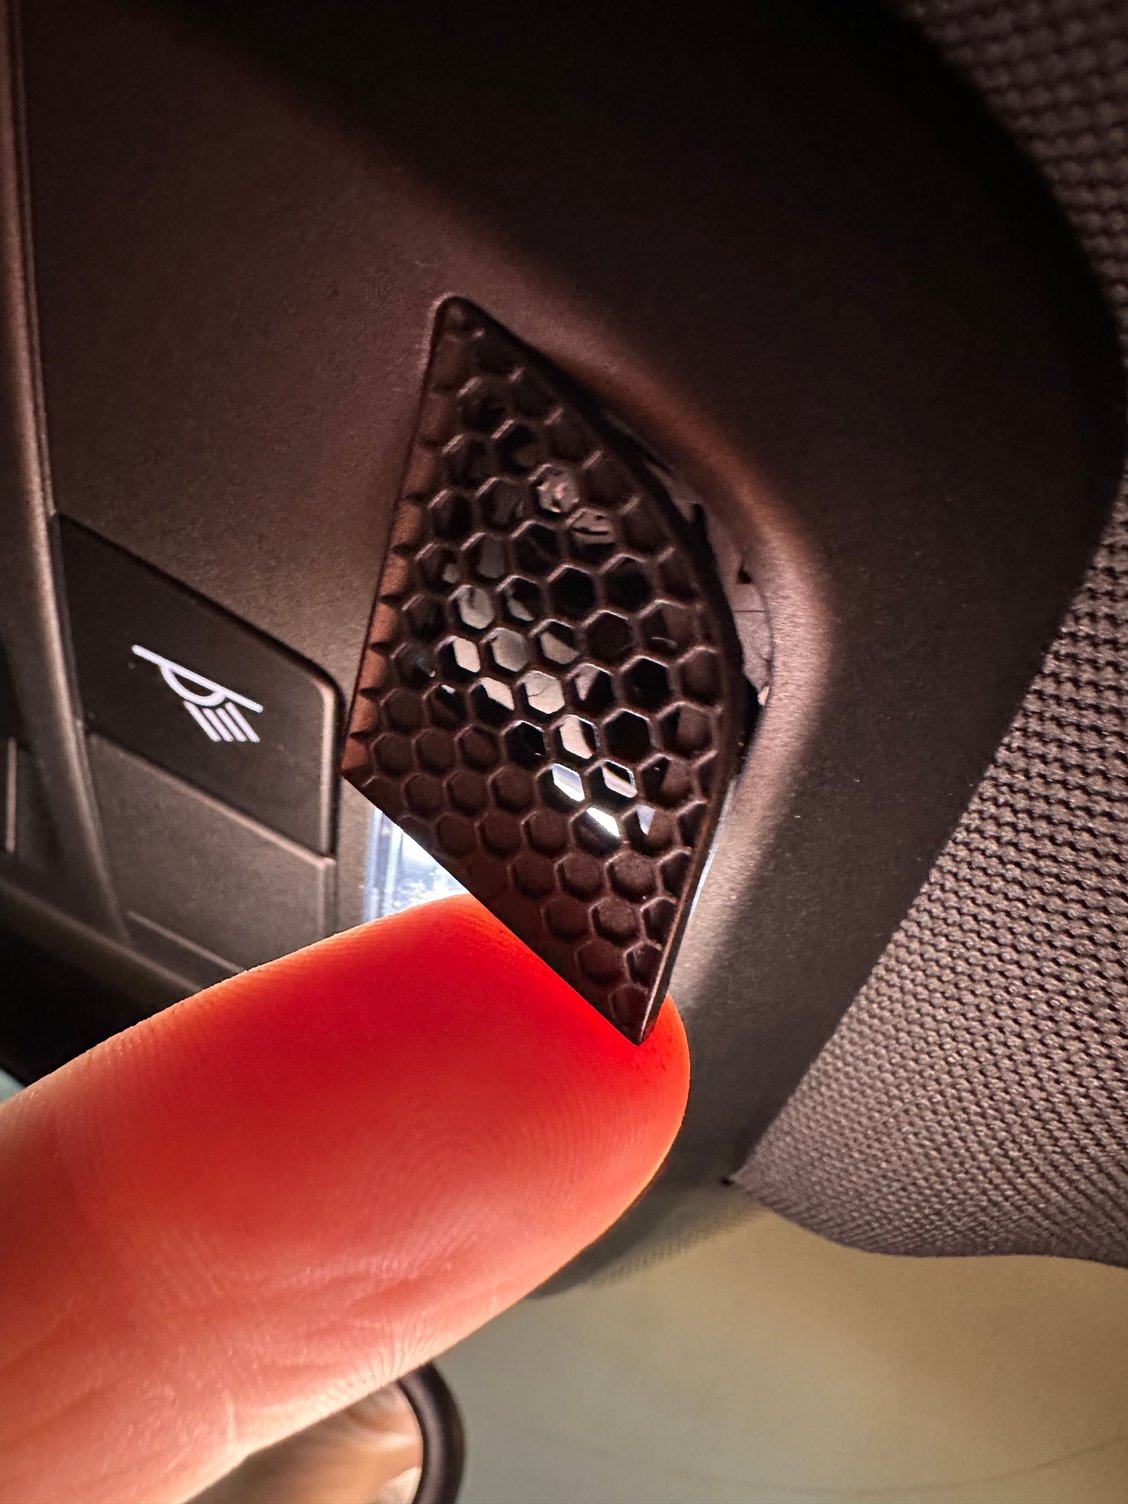
1. Open tiny grill on passenger side of overhead console. No need to open the driver's side grill.
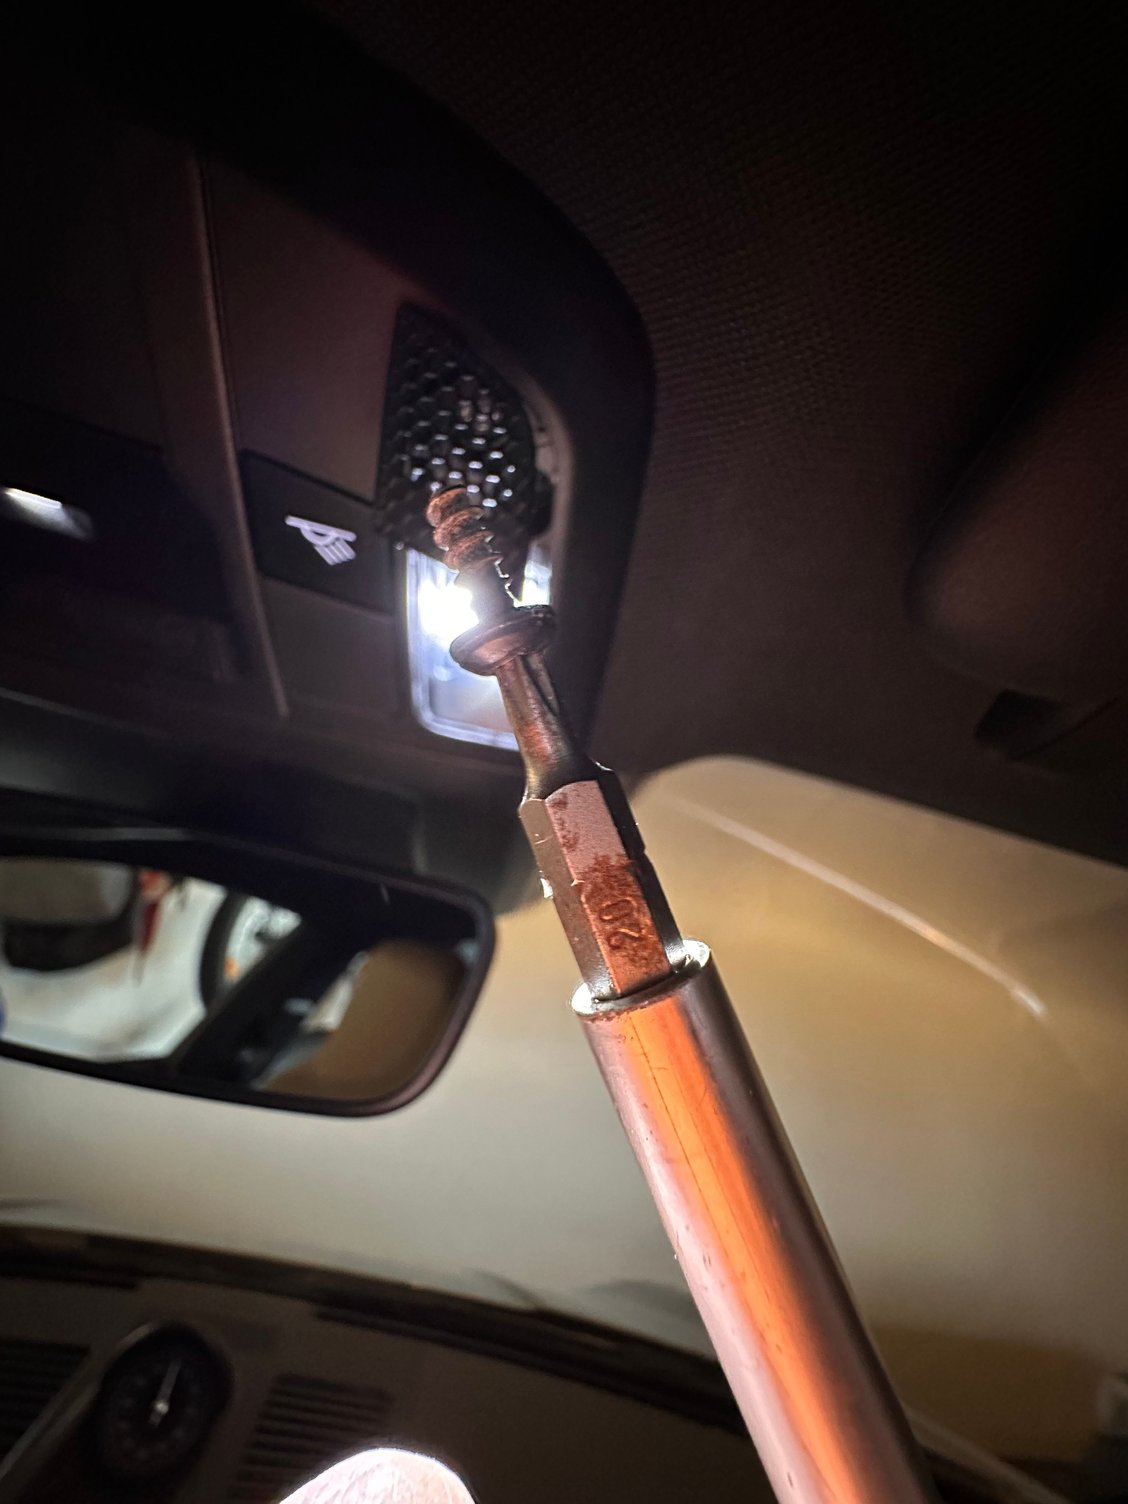
2. Use a T-20 bit to remove the screw behind the grill.
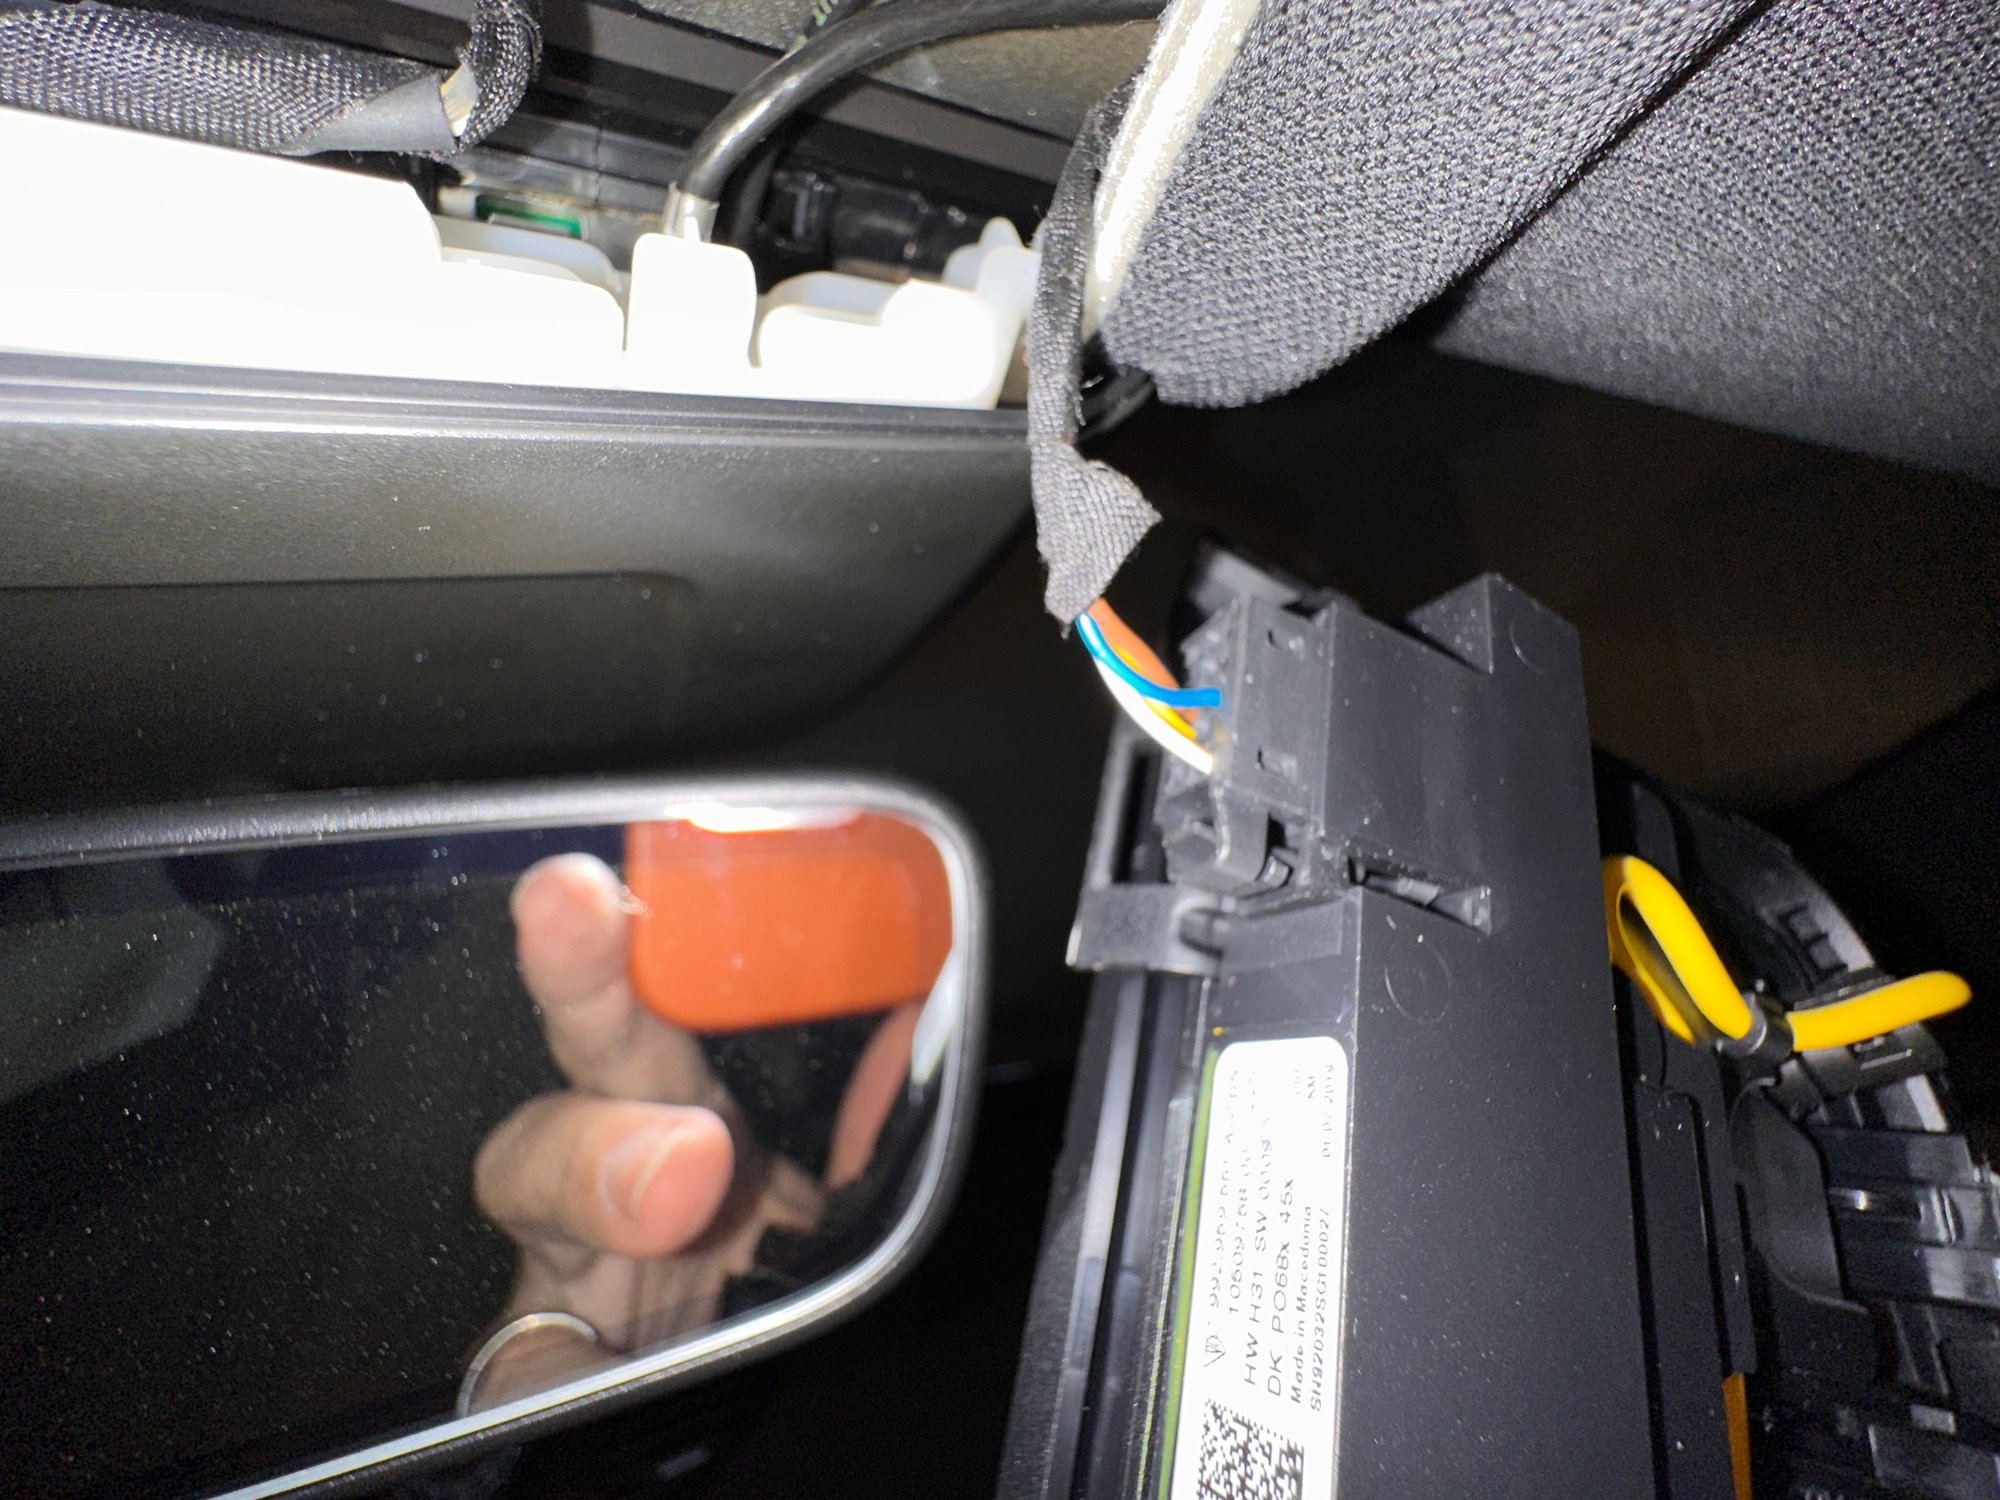
3. Pull the overhead console down from the rear edge, then slide it to the right. Use a flathead screwdriver to push the clip on the wire harness and release it.
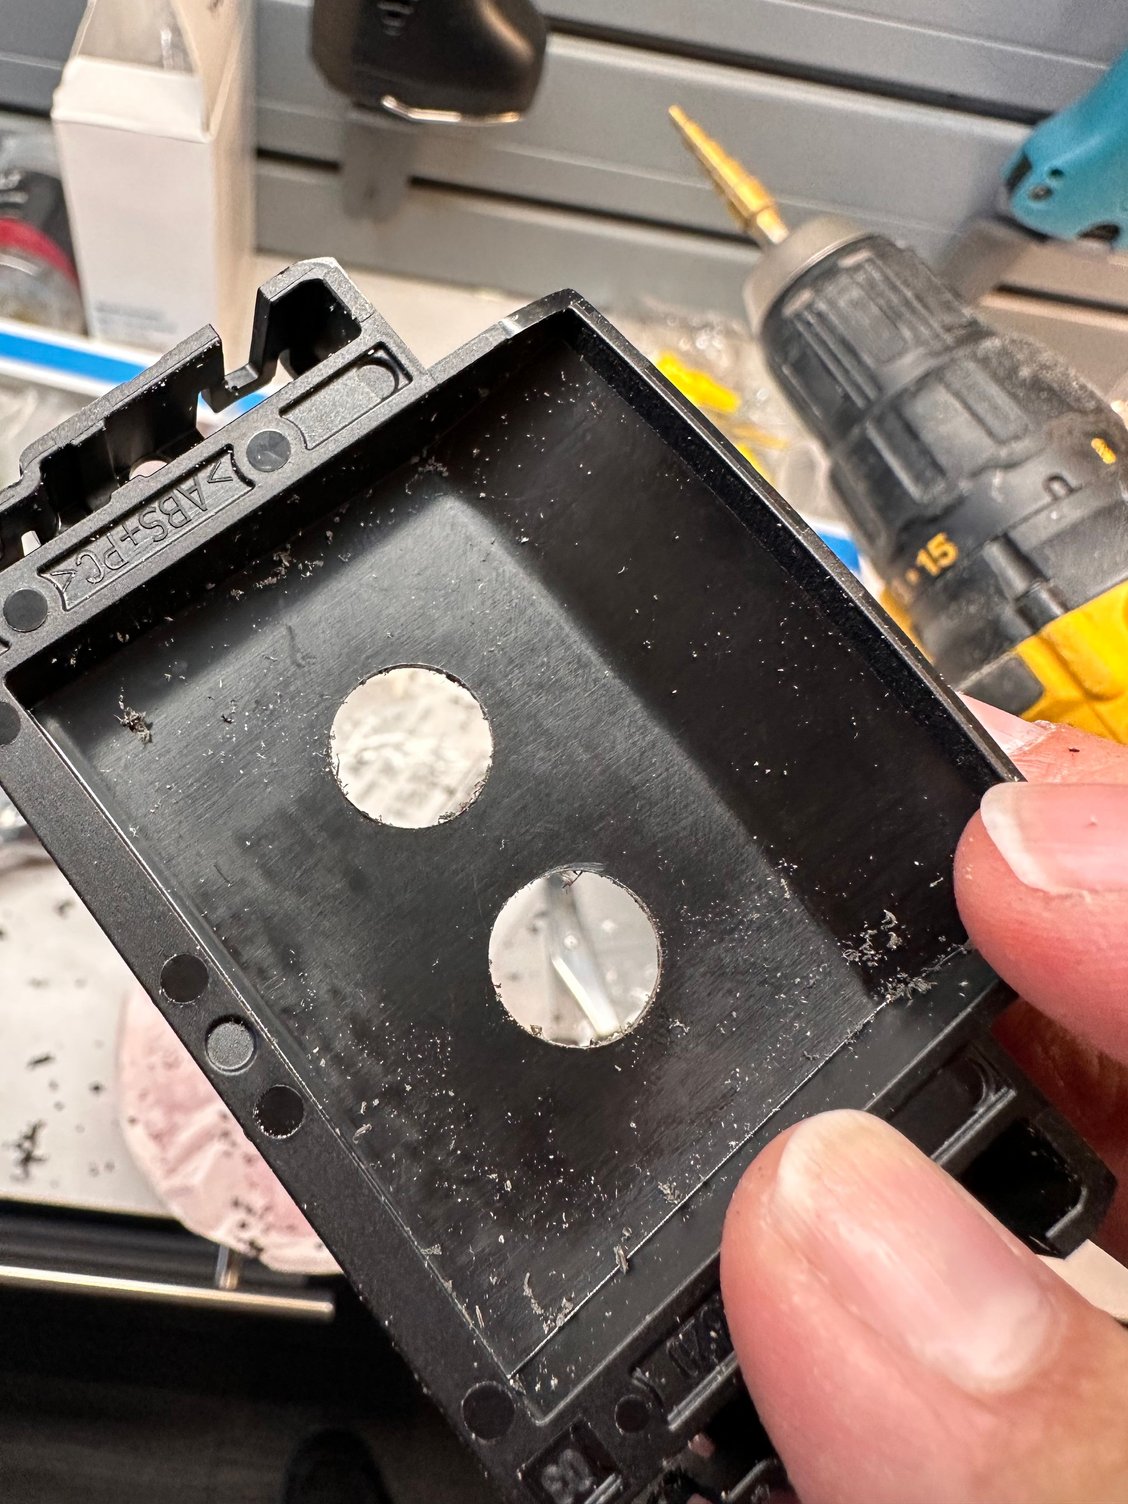
4. Remove the center plastic panel by using a small flathead screwdriver to release the four clips.
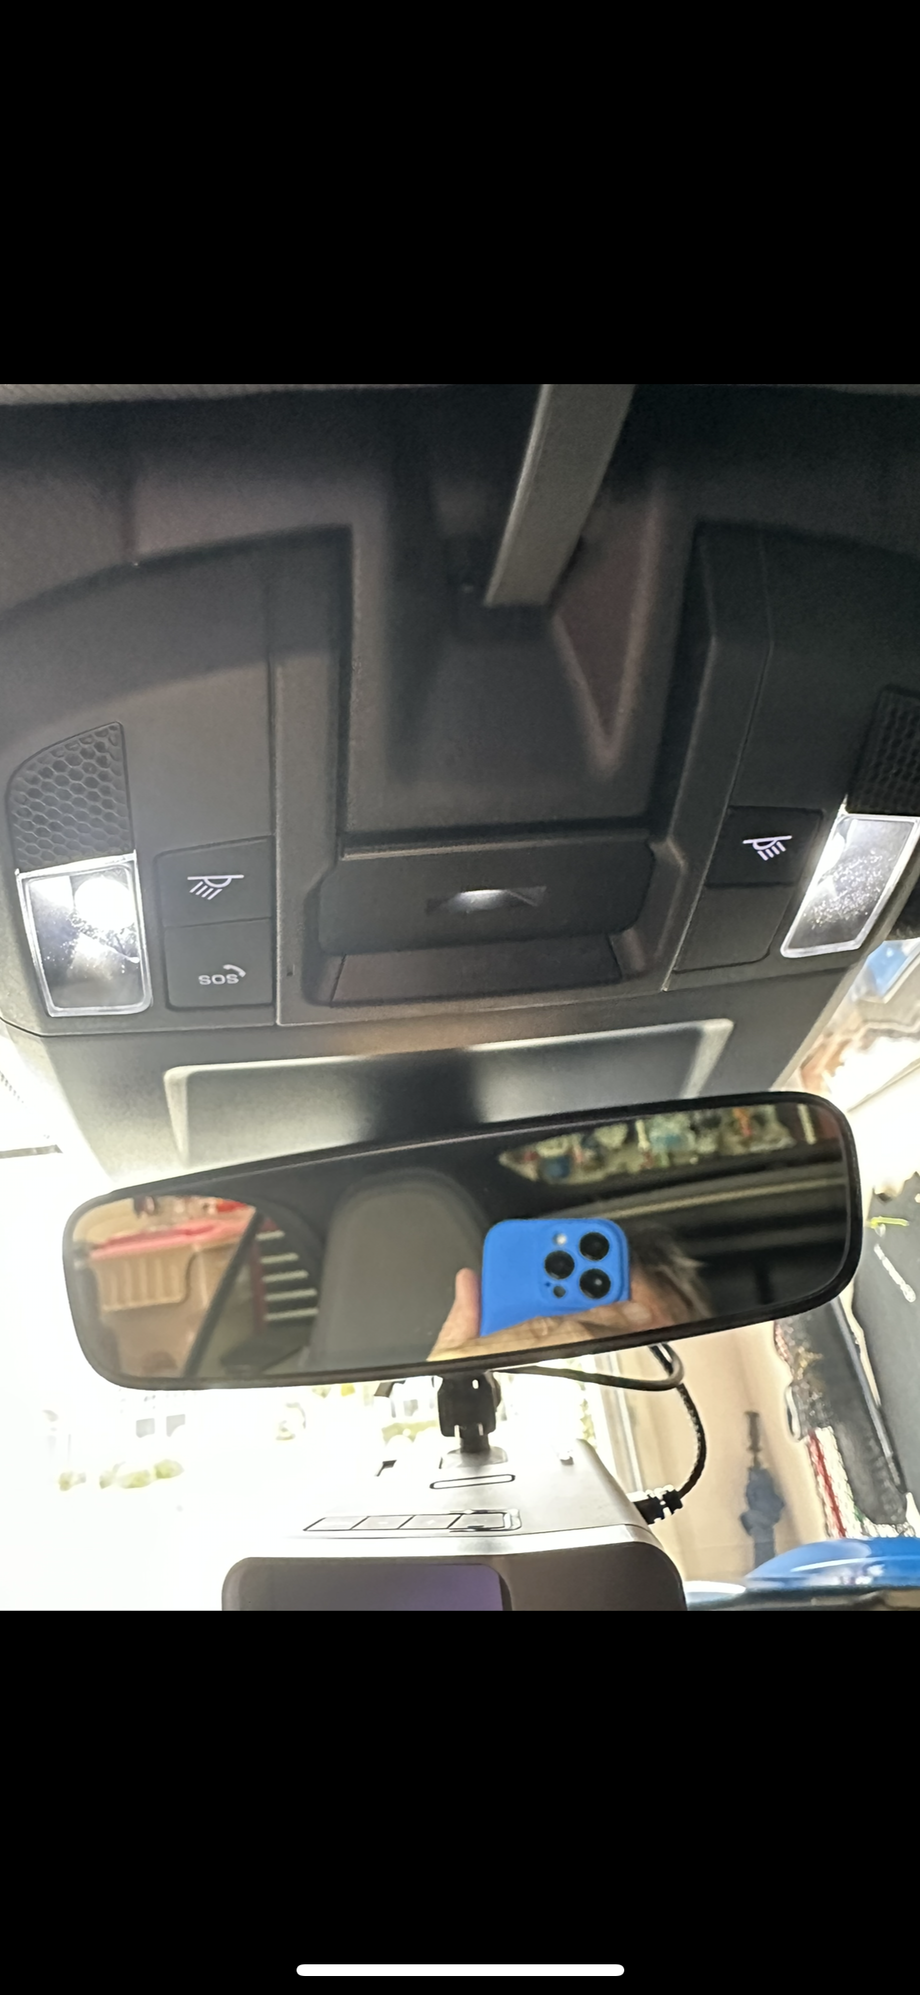
5. Using the inside of the panel, measure about 5/8" from each side and mark the center point for your holes. Use a step bit to drill the holes, from the inside of the panel, 12mm wide if you're using my suggested buttons.
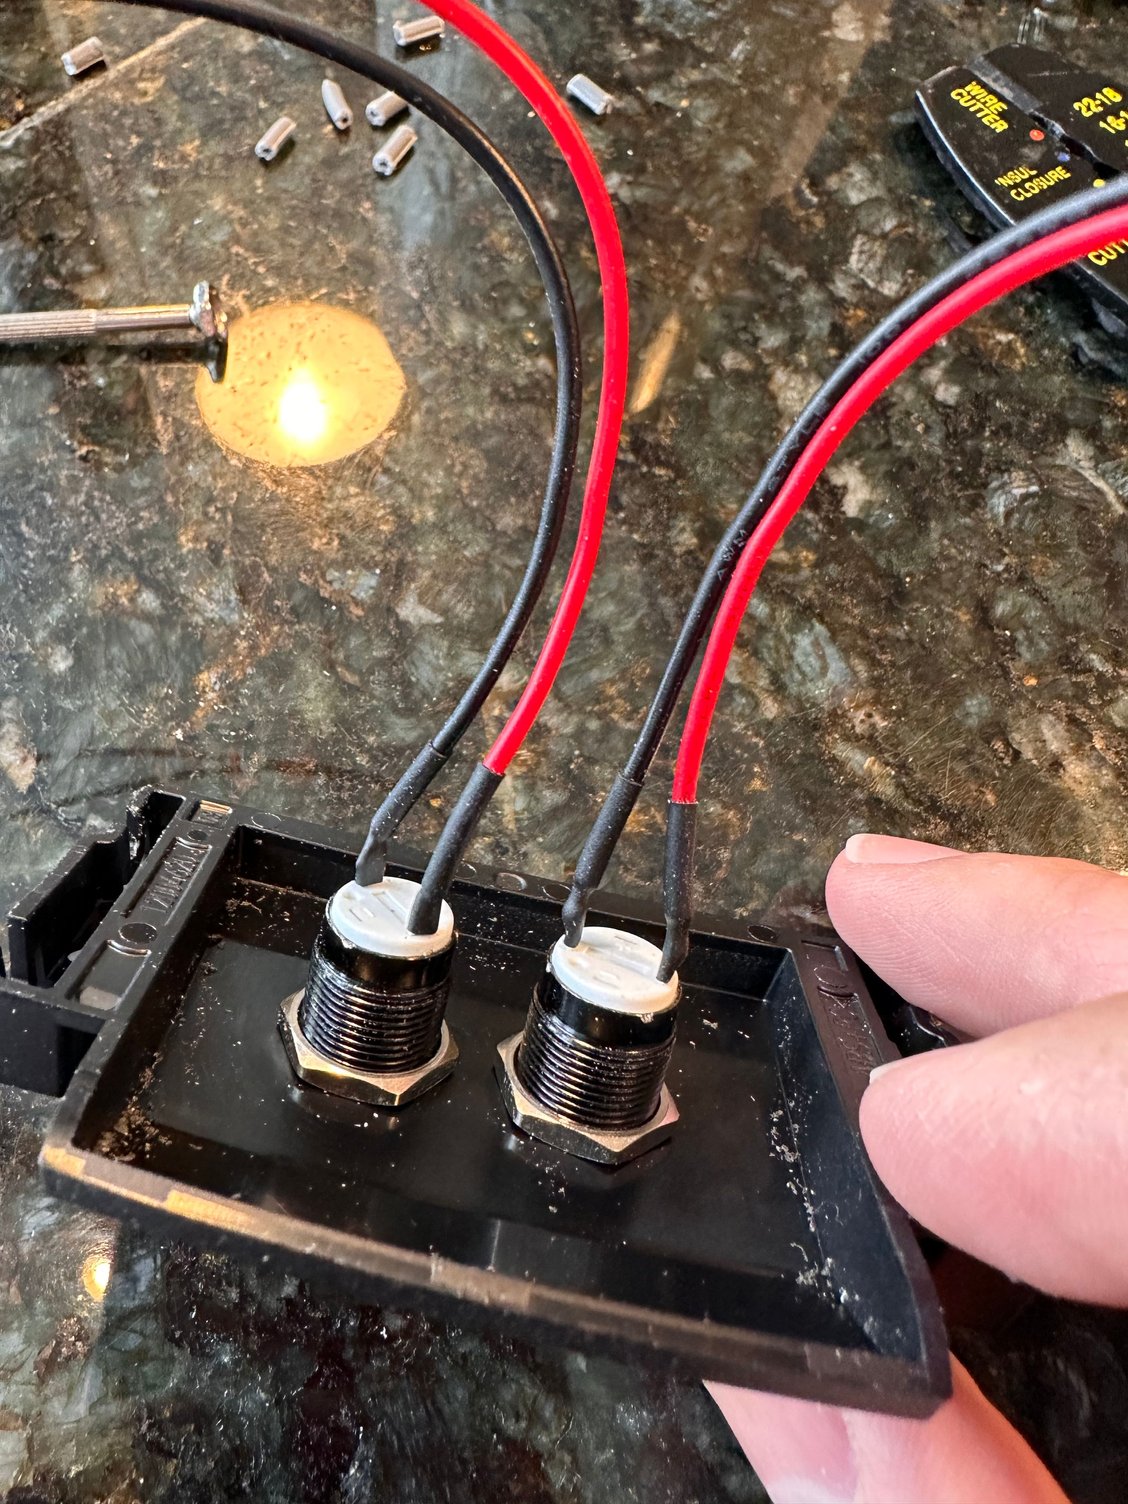
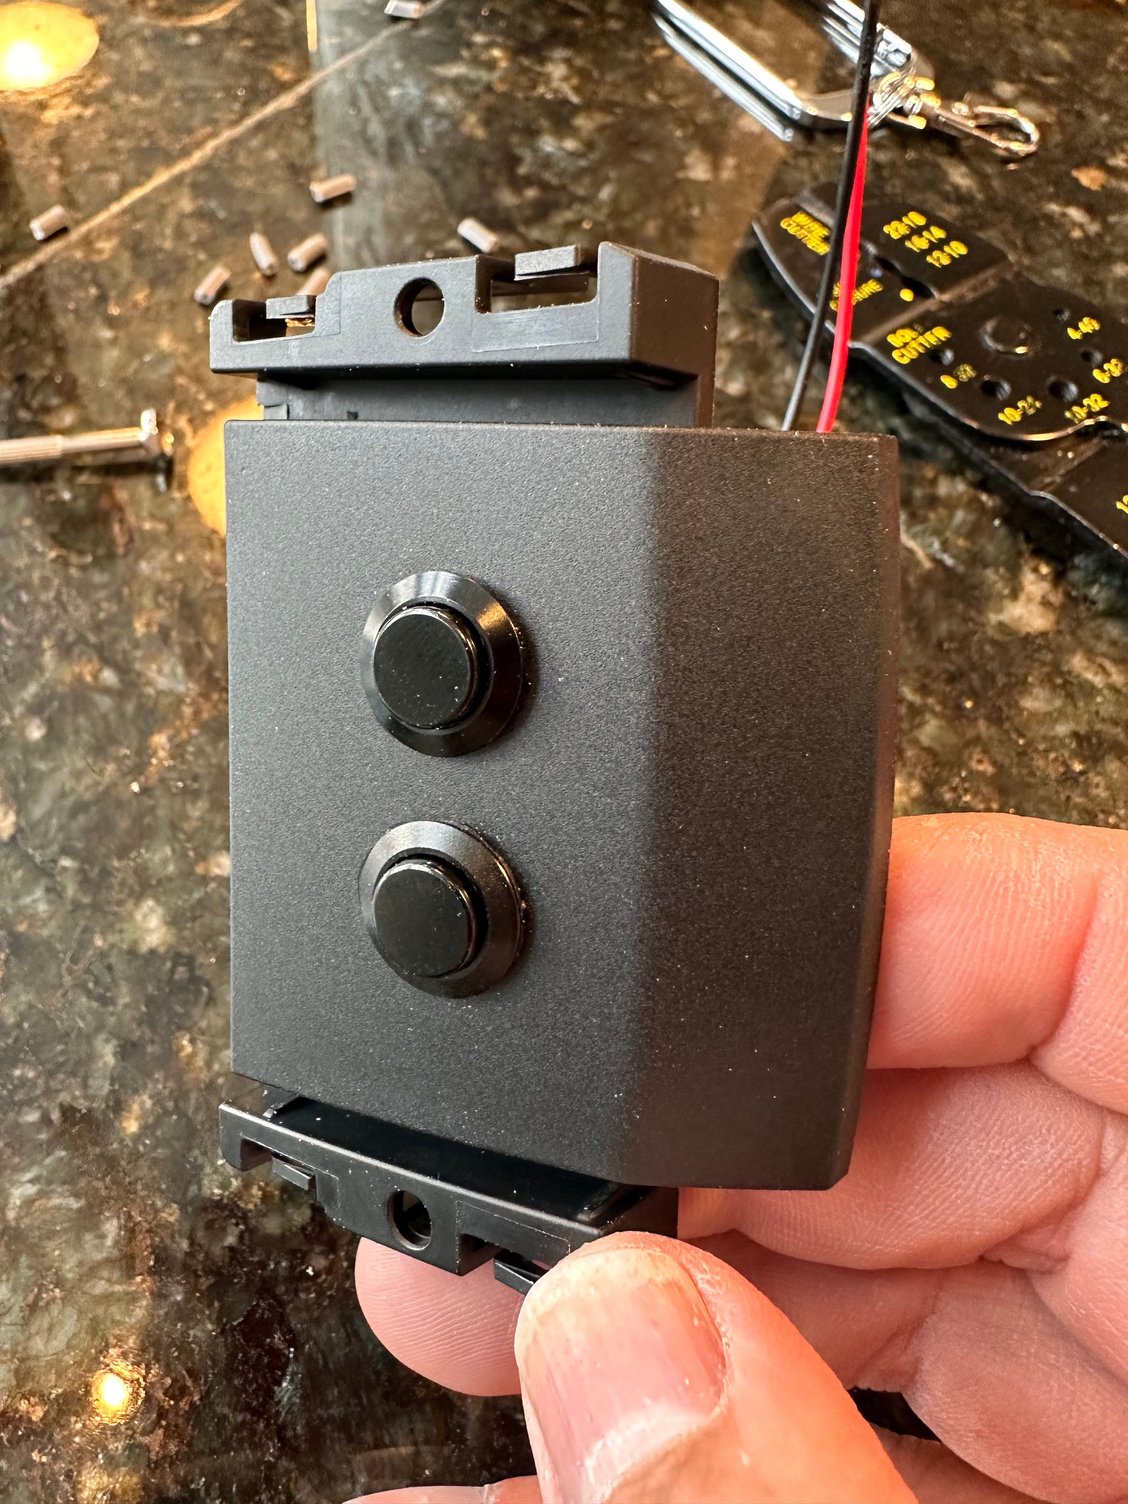
6. Insert the buttons into the holes with the wires facing inside. Tighten them down finger tight. There's a rubber gasket so don't twist too hard.
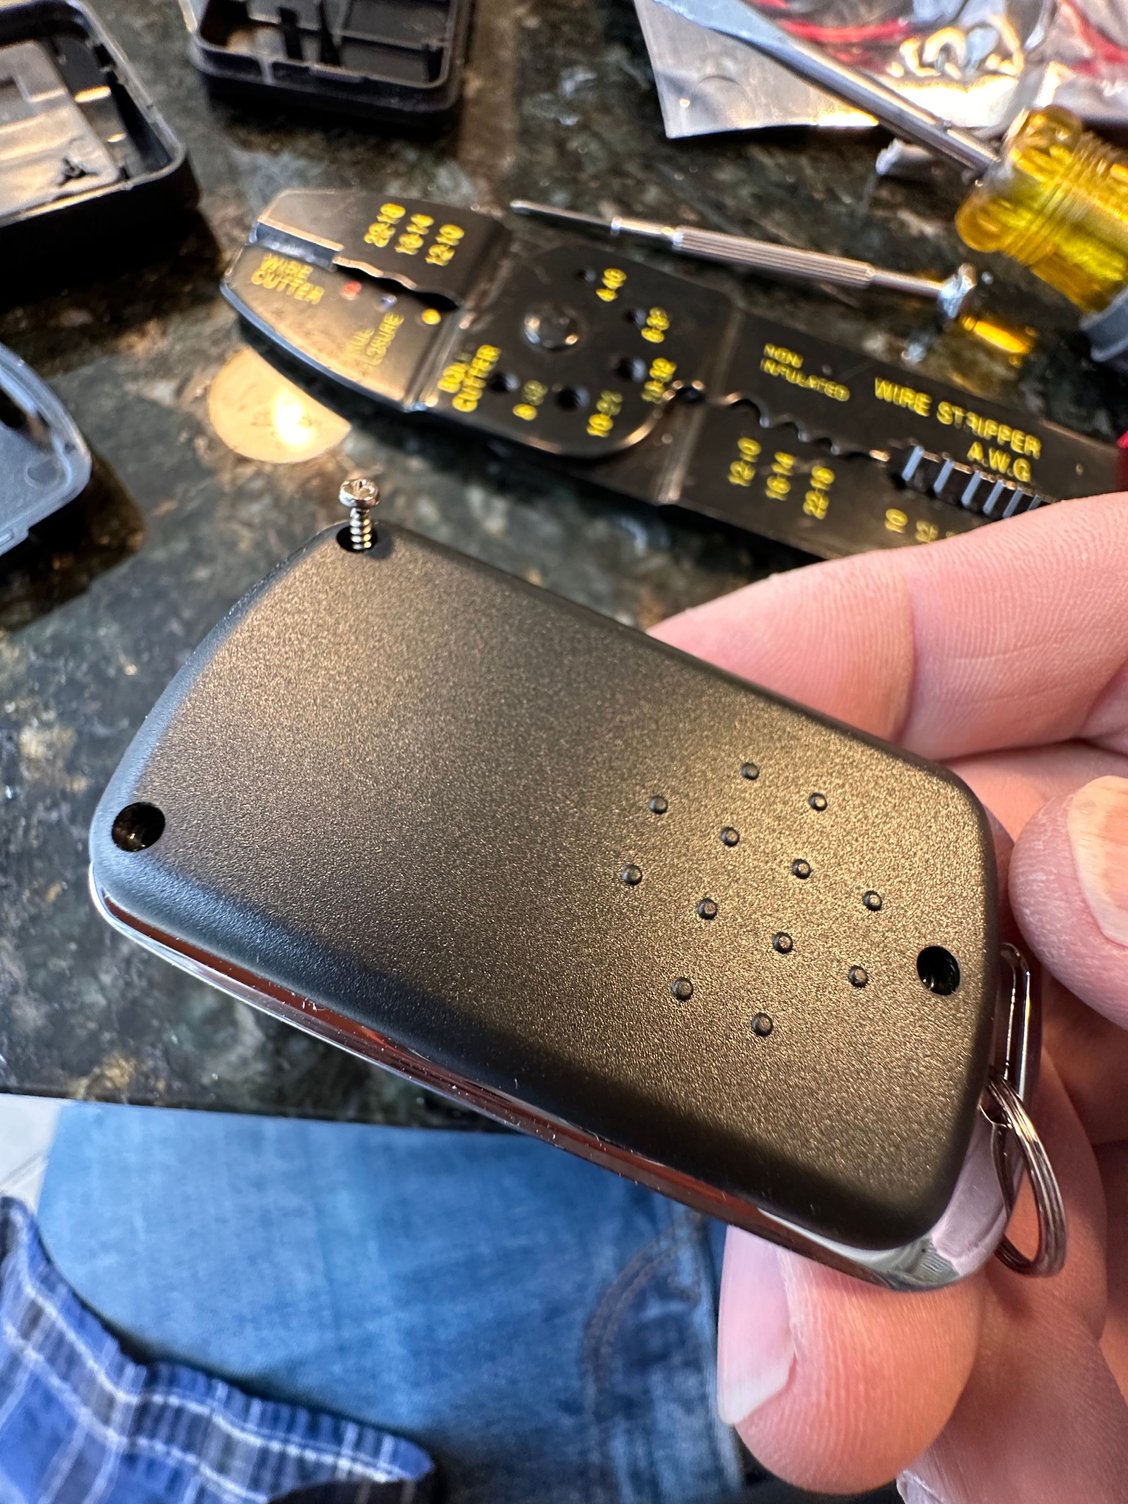
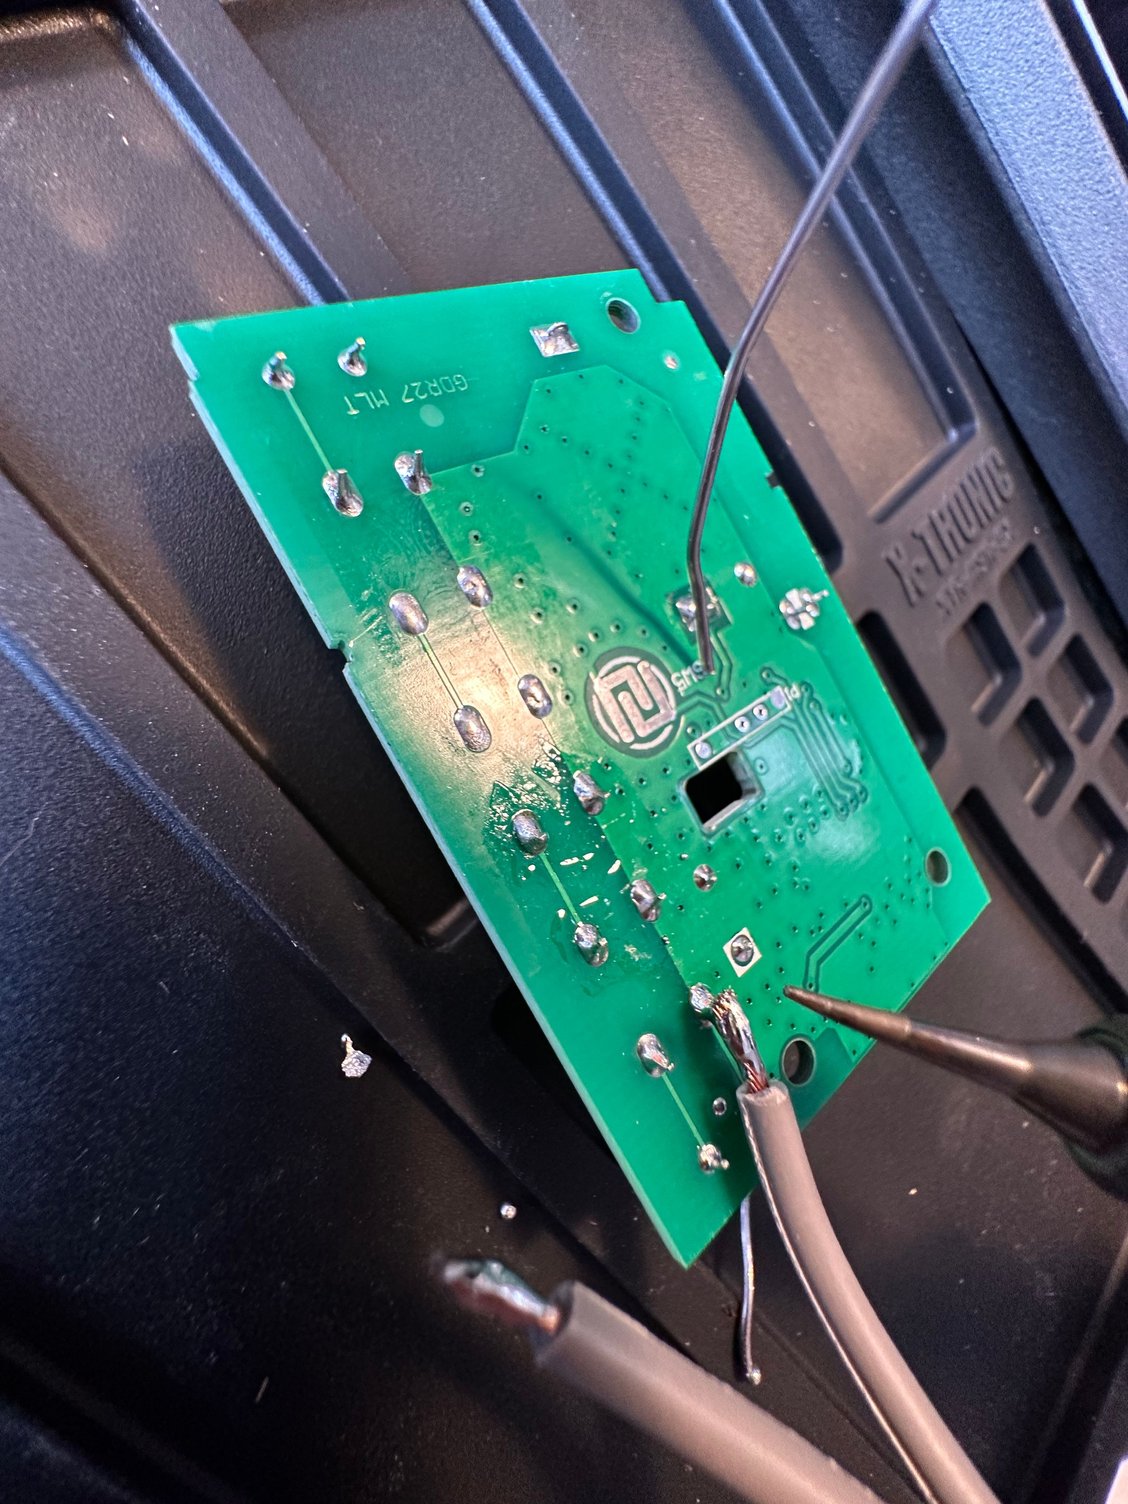
7. Program your garage remote to open your doors. Make note of the location of the buttons so you know which pins match up. Disassemble your garage remote.
8. Solder the wires from your buttons to the matching pins on the circuit board. It helps to tin the wires. If you don't know how to solder, me neither. I watched a YouTube video and did a good enough job.
Positive/negative/black/red does not matter. Do pay attention to which button opens which garage door so your left button opens your left door.
Connect the wires so they lay flat rather than perpendicular.
Depending on your opener, it might be easier to solder to the back of the pins.
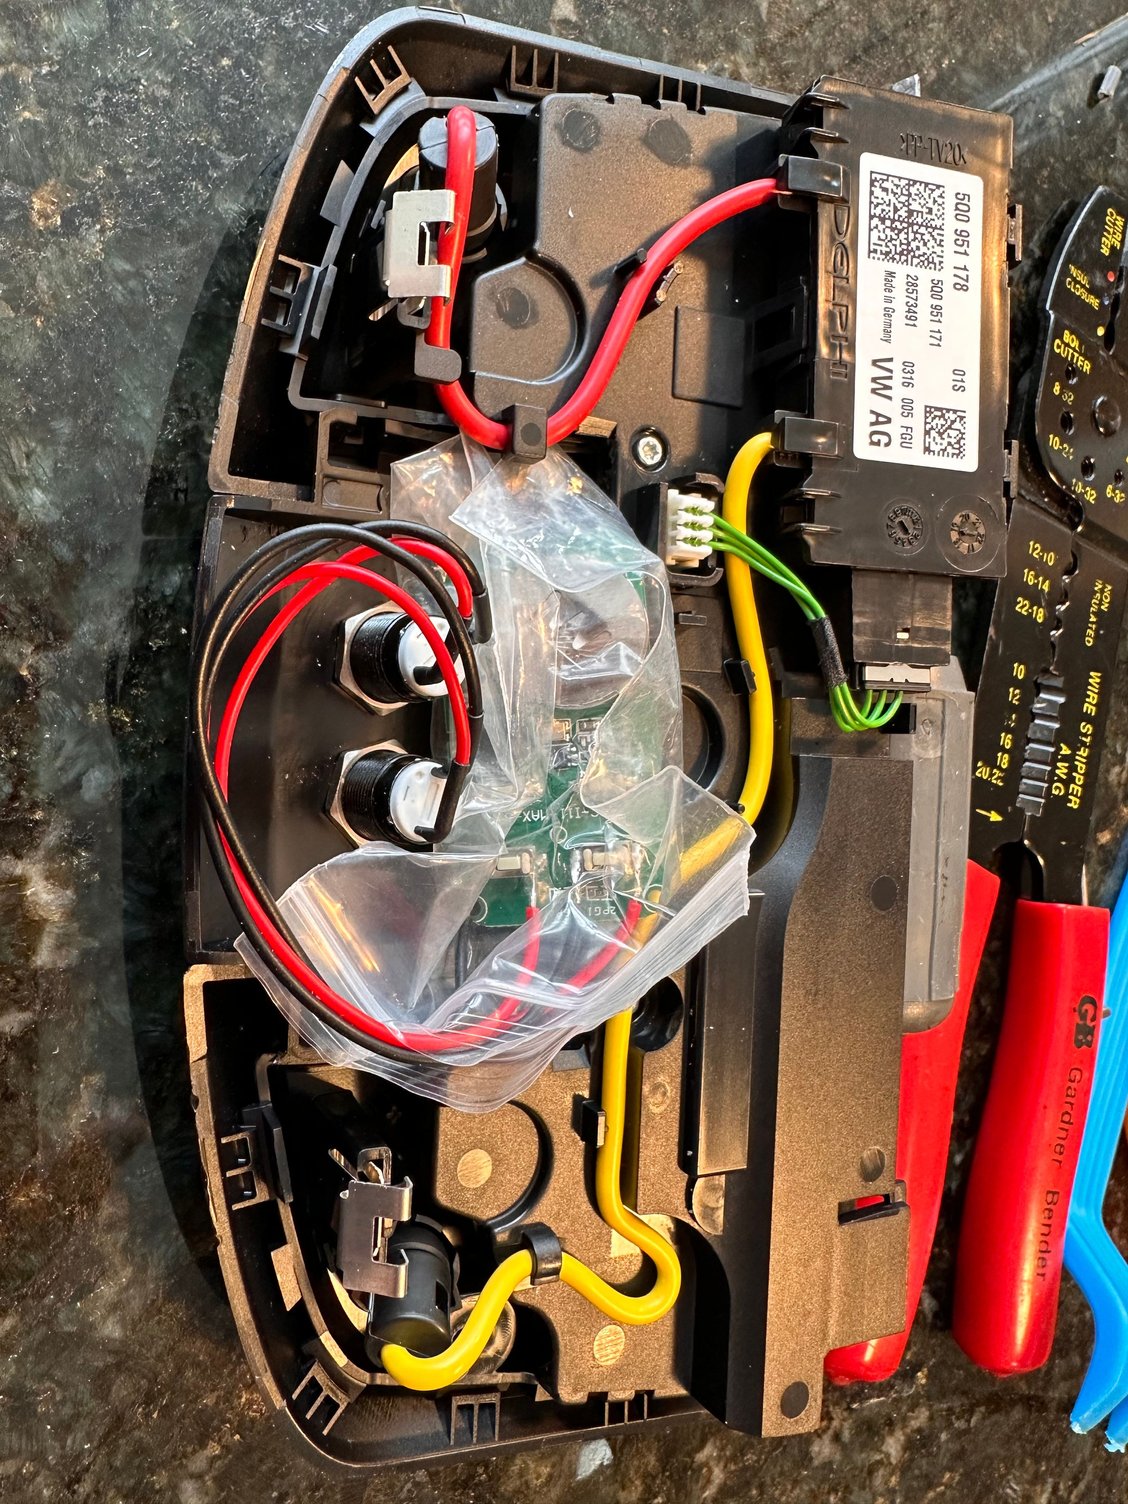
9. Insulate your circuit board with a bag or something. Reattach the center panel to the overhead console. Fit the circuit board in a gap.
10. Reattach it to the car by sliding it left and then pushing up. Remember the harness, which just snaps back in. Replace the screw. Be careful replacing the grill because the hinge can come loose and is fragile.
I wonder how hard it would be to run a 12V>3V step down adapter to drive it with vehicle switched power, rather than the battery...
Not hard. The part is like $7 and there's power in the console to tap into... Just solder it to the +/- battery leads. I figured the battery lasts 2-5 years so it probably wouldn't be worth it.
Unfortunately on cab roof securing latch is in that spot but shows what can be done when thinking outside the box 🤣🤣🤣
You could put the buttons anywhere. I felt like the center console was too prominent, so my second choice was the steering column which seems to have plenty of space behind it.
figured the battery lasts 2-5 years so it probably wouldn't be worth it.
I think you're probably right. I sometimes leave a car outside... It's extremely unlikely, but in those cases, if someone got into the car without the key, I'd hate for them to also have access to the garage...
Regardless, slick work. Bookmarked so I can follow in your footsteps someday...


 03-11-2023, 07:11 PM