When you click on links to various merchants on this site and make a purchase, this can result in this site earning a commission. Affiliate programs and affiliations include, but are not limited to, the eBay Partner Network.
You're not too far off. Most of what we consider "signature" series projects at Musicar are roughly in the 20-30k range. Some more extensive projects have been double that.
awesome, I spent a nice chunk of change on my old B5 S4 that was in Car Audio and Electronics back in the day, it was fun, but boy was that car heavy as **** with the whole show trunk and screens everywhere! How much weight is all the audio adding?
awesome, I spent a nice chunk of change on my old B5 S4 that was in Car Audio and Electronics back in the day, it was fun, but boy was that car heavy as **** with the whole show trunk and screens everywhere! How much weight is all the audio adding?
I would guess less than the difference between a svelte driver and a less than svelte driver… or about 50lbs total.
awesome, I spent a nice chunk of change on my old B5 S4 that was in Car Audio and Electronics back in the day, it was fun, but boy was that car heavy as **** with the whole show trunk and screens everywhere! How much weight is all the audio adding?
Originally Posted by SFAVGUY
I would guess less than the difference between a svelte driver and a less than svelte driver… or about 50lbs total.
I would estimate similar — not enough to make a difference in a non-tracked car.
UPDATE:
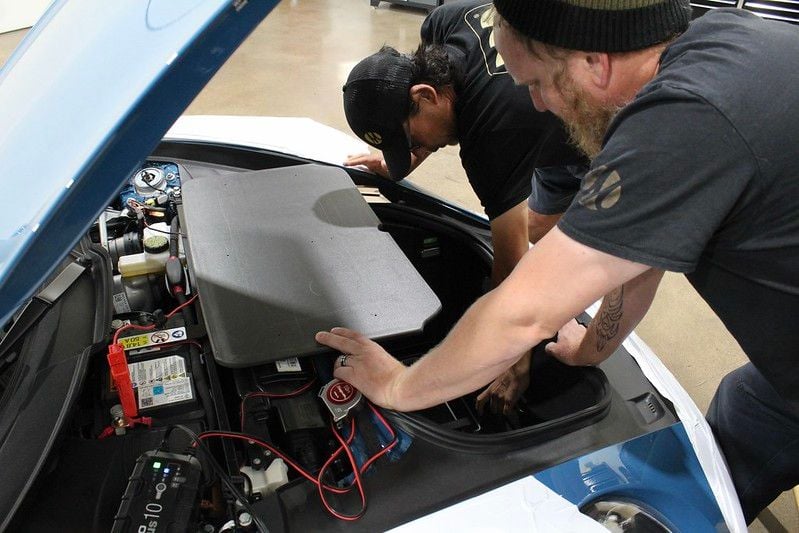
We've finished up with all of the wiring and now it's onto the fun stuff — cover trim and subwoofer enclosure. Here are some photos of the power wire and signal run.
For the signal, we had to run a four-conduct wire into the cabin for each pair of channels in the system. This will ultimately connect to the factory amplifier's wiring harness under the passenger floorboard.
p.s — meet Patrick, the lead tech on this project. He's an incredibly detailed installer as you can see by this project thus far.
For the main power we decided to use a single 1/0ga fused lead fed into a distribution block with independent 4ga fused leads to each amplifier.
With all of the wiring done and the system tested we can move onto the design process for the trim and enclosure. I don't have too much to share in that category, but should hopefully have more for you all this afternoon!
This looks all very nice and clean. Just dawned on me that having the battery in the frunk is nice - all power cables are short. Not like front engine cars where its a bit of a hassle. But the longer I look at that effort and cost I can't stop thinking - is it worth up to $30k in a sports car that is by nature rather noisy to start with? Its not a show design (all nicely hidden and almost invisible), so its really for an audiophile fanatic. Would have never guessed that someone spends this kind of money ($30k) on a $175k noisy sportscar. But good for him whoever it is.
While not an insignificant amount of money it doesn’t even approach some systems, and it could very easily compete in a sound quality comp and likely do well. Remember they judge those cars while parked without the engine running.
If you’ve never sat in a really well designed car audio set up it might surprise you on just how good it can sound, even in a loud sports car. Same goes for the home audio world, if you like your audio set up at home, then I suggest you don’t listen to a properly designed theater or 2 ch set up, the difference is huge.
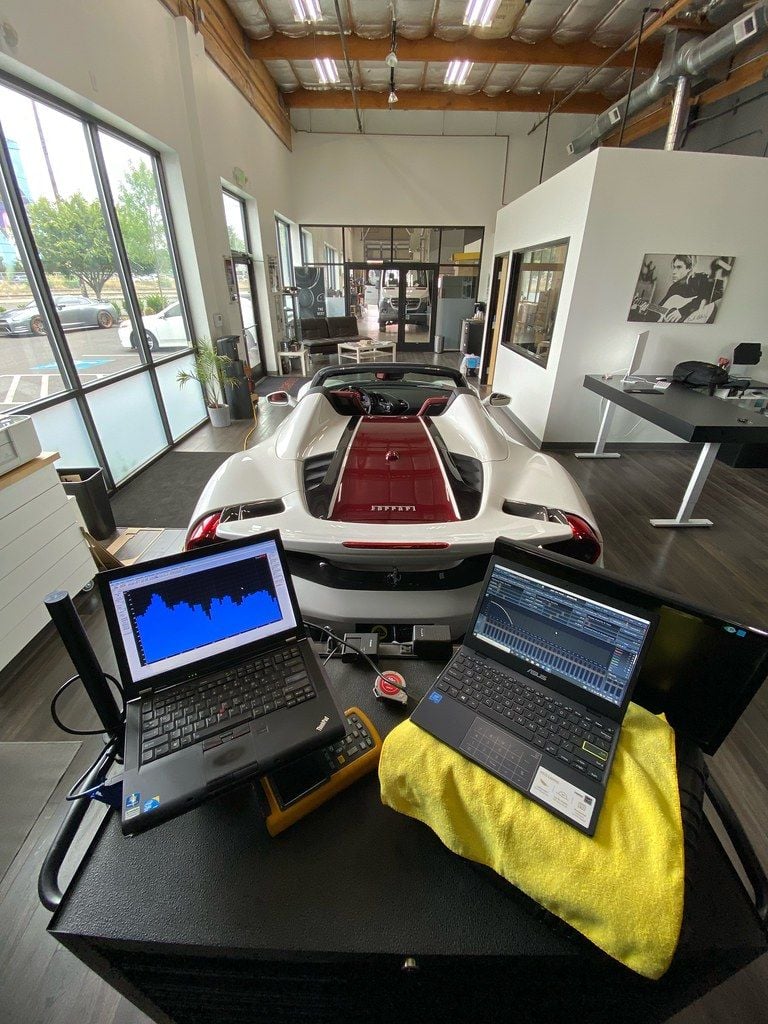
I've been slacking on the updates the past few days — had a large audio and radar/laser project in a 488 Pista to finish up and that took my focus away for a minute.
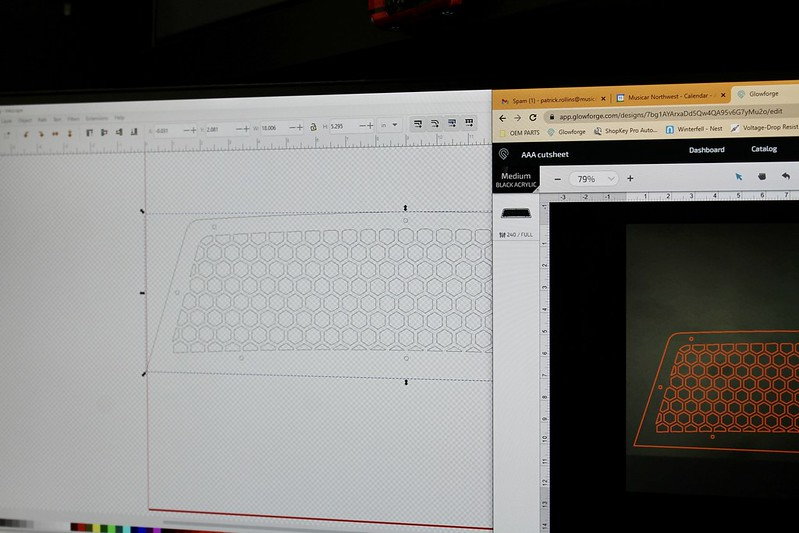
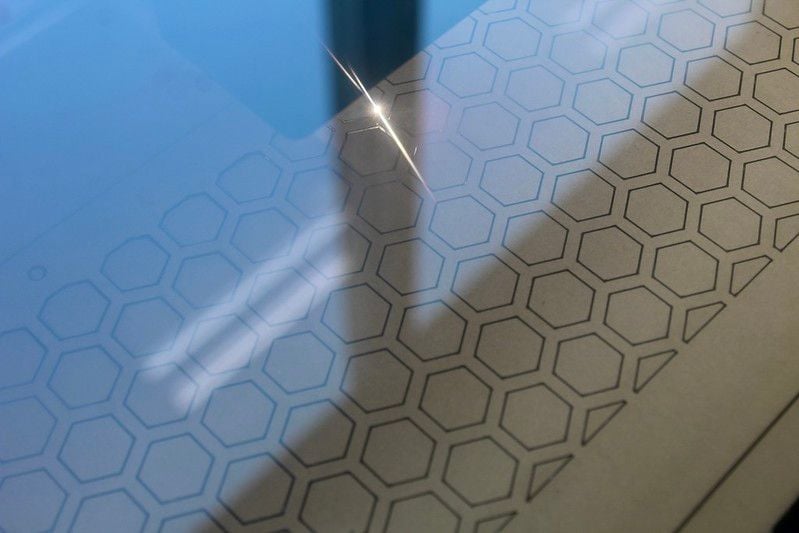
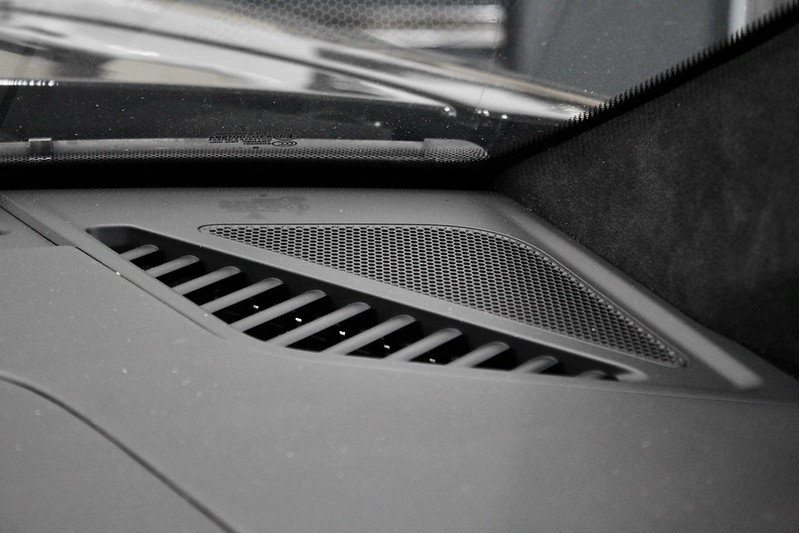
At the end of last week we wrapped up the design and fabrication on the cover panels in the boot. We start with a 1/2" thick expanded PVC base that gets machined to fit the circumference of the boot. We also flush powerful magnets into the bottom of that and the top of the amplifier rack so it snaps into place. Gravity would hold it, but this is just an extra measure to keep it from bouncing around in the frunk if there's nothing on top of it. We also integrated a grille for ventilation. The amplifiers are designed to be mounted in areas without much airflow, but the more room we give them the better it feels.
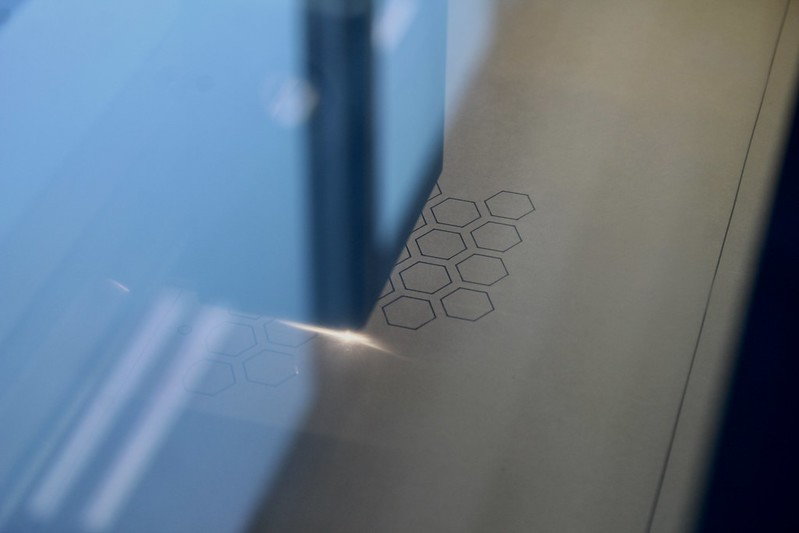
The grille/vent was designed in software and laser-CNC cut.
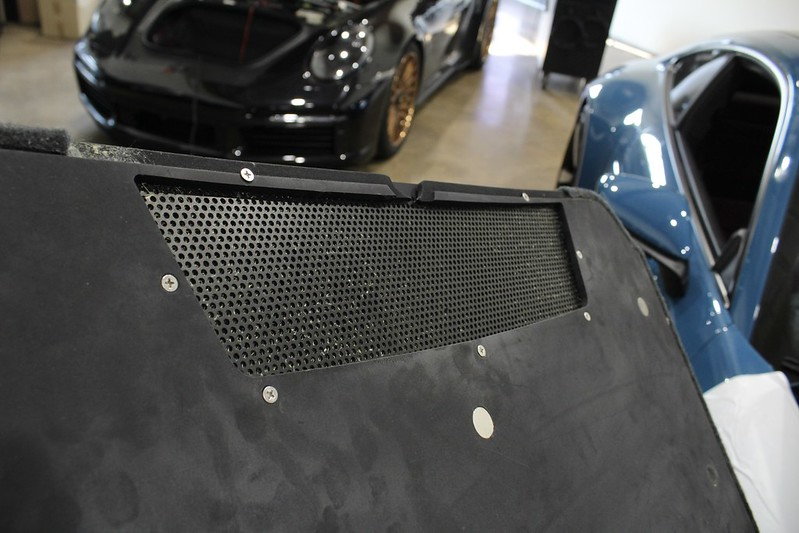
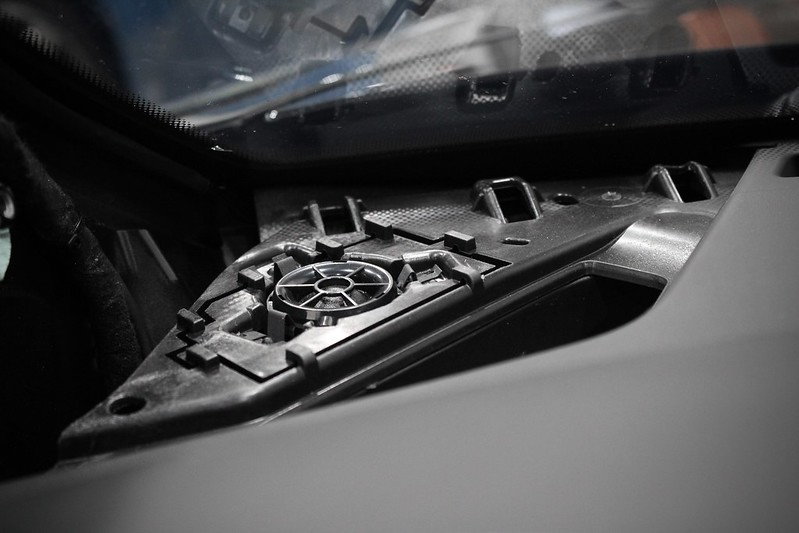
Here's a shot of the underside of the vent and the magnets embedded in the panel.
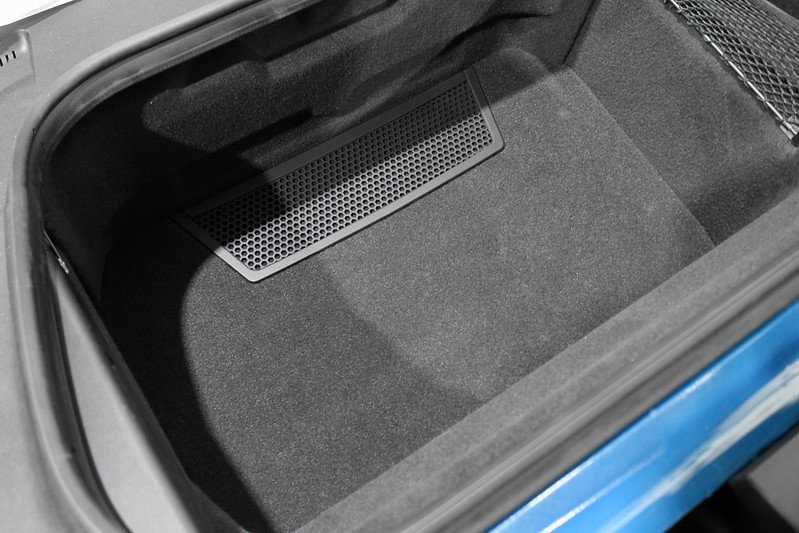
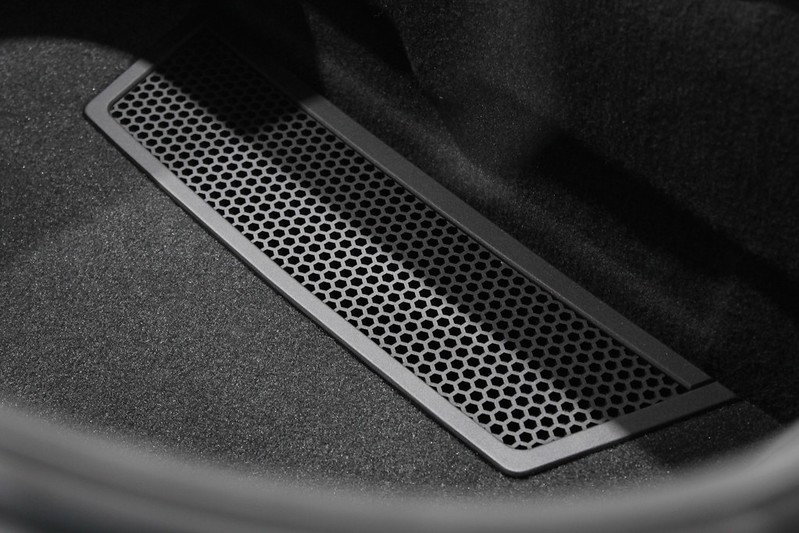
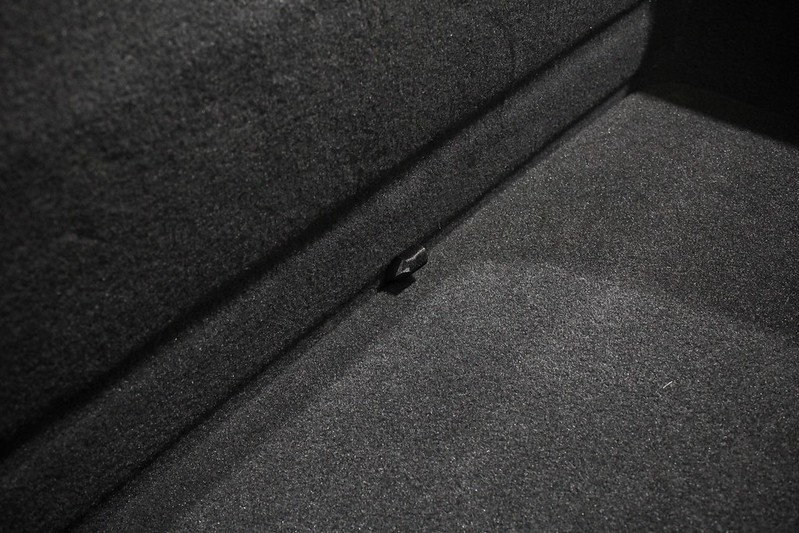
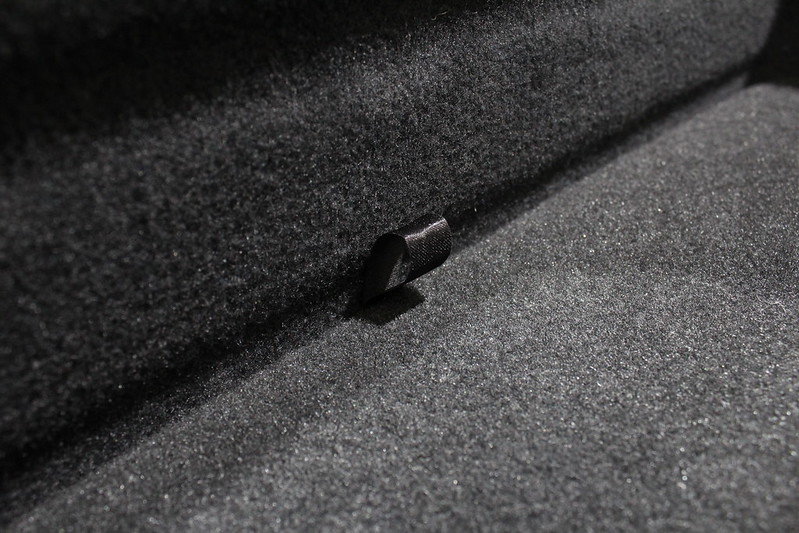
The grille was painted grey and the carpet was dyed to match the factory trunkliner. We used a bit higher quality carpet than the factory liner for a more premium feel. We also added a fabric loop at the backside to help make removal easier.
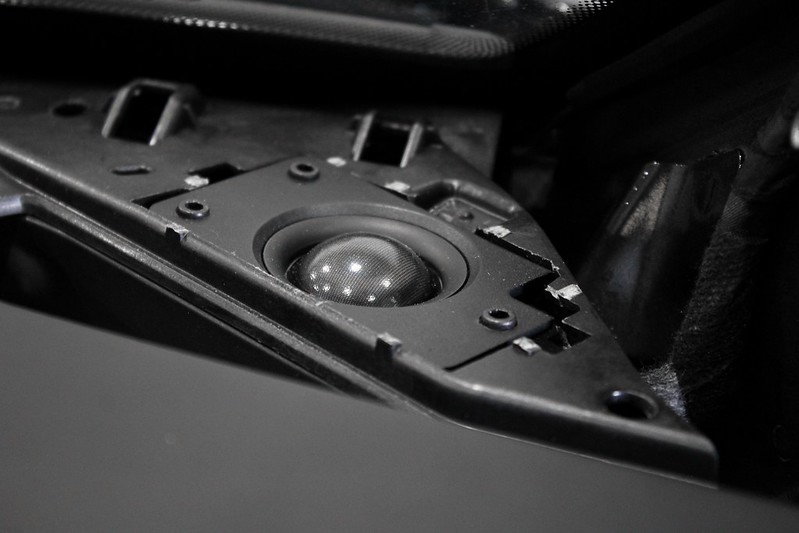
We also got the tweeters installed into the dash.
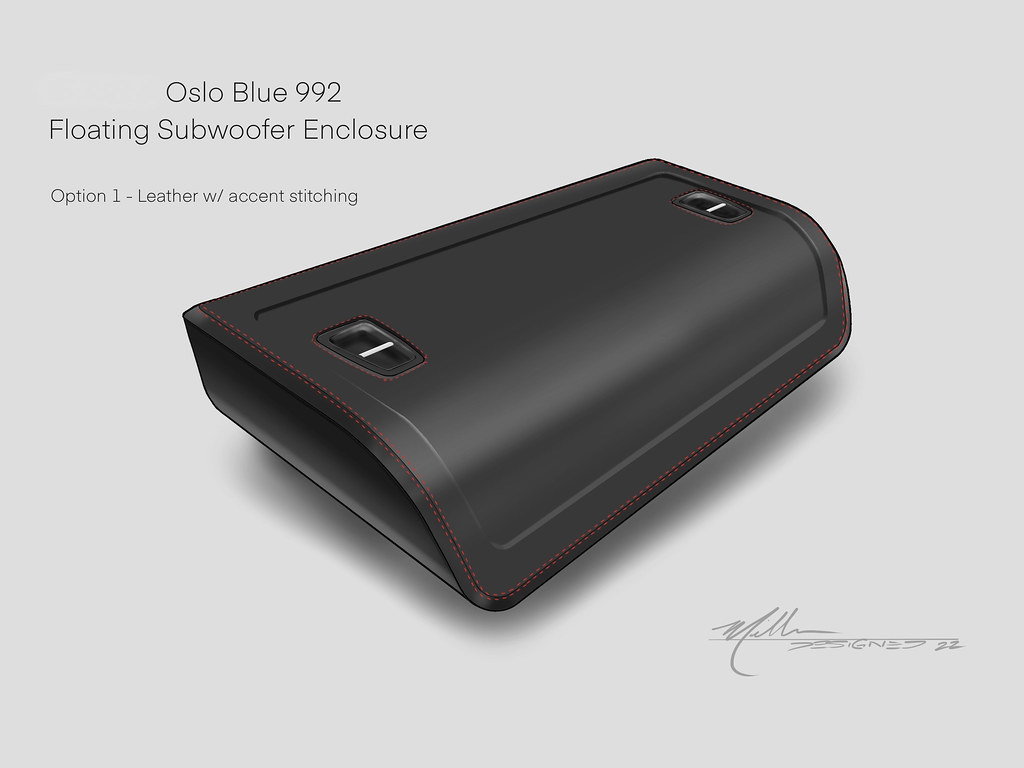
Currently waiting for the client to approve the subwoofer enclosure design so I can share that on here, too!
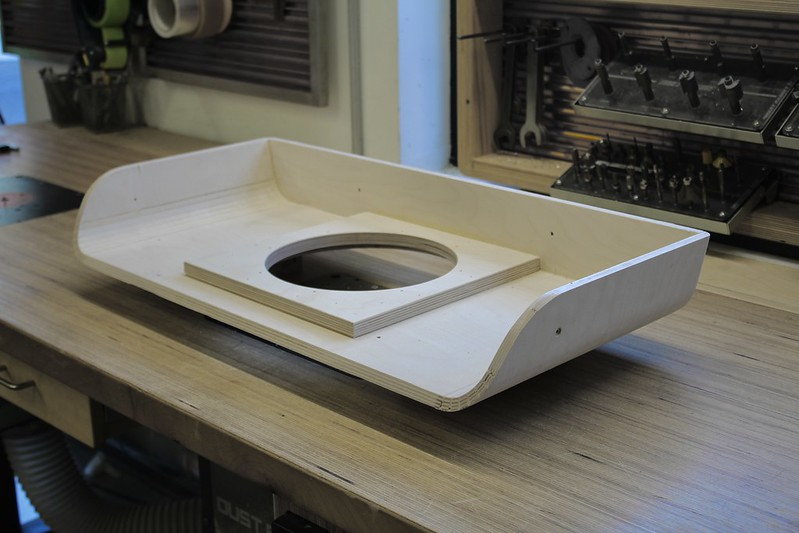
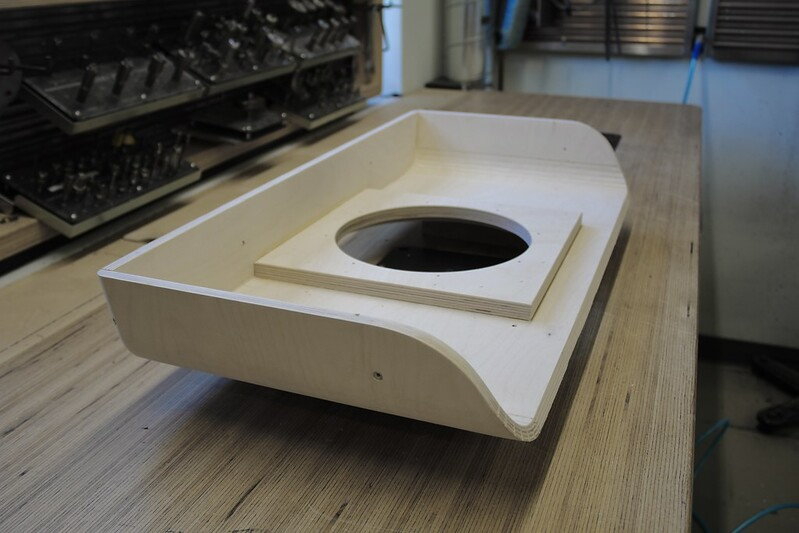
The enclosure is a floating design, meaning it has hidden risers that give the appearance that the whole piece is floating rather than sitting on the package tray. We'll also reuse the OEM tie-down hooks as our enclosures main mounting point, bringing them up to the top of the new enclosure and extending hardware to the original location. The sides will get covered in Alcantara and the top gets full leather with deviated stitching to match the rest of the interior. That will actually get sent out to be done by Exclusive Option in California, who has already done an exorbitant of work to the car.
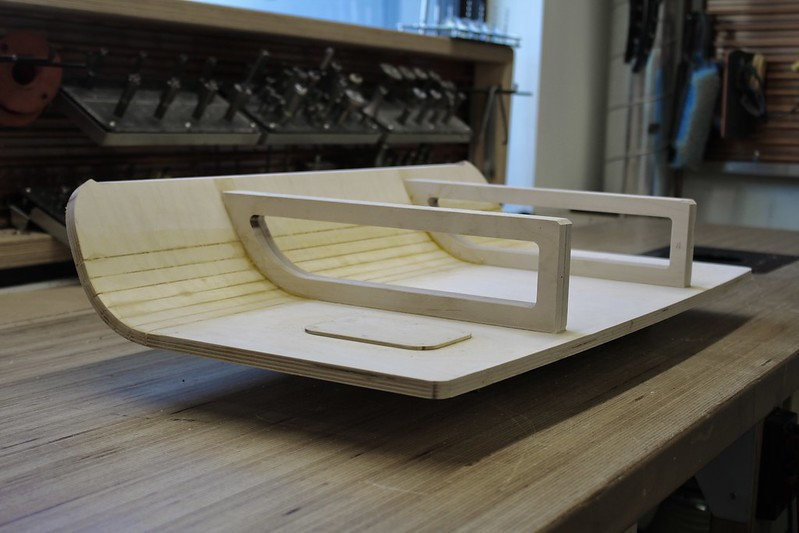
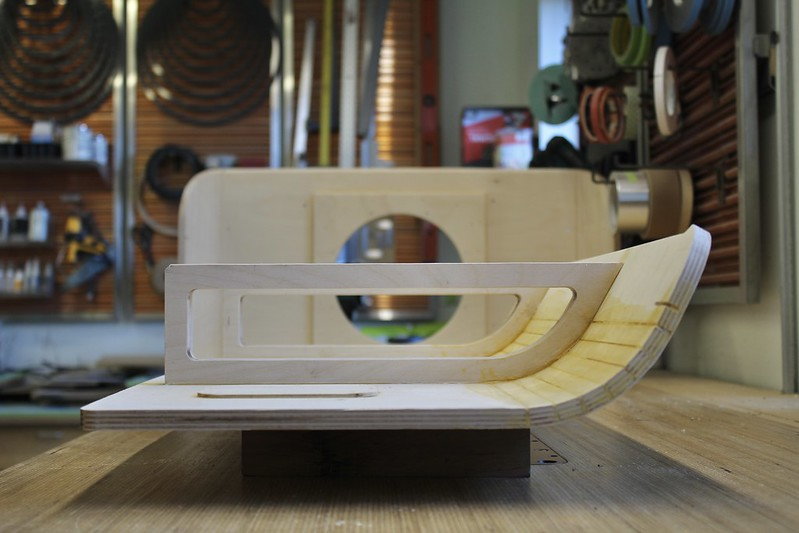
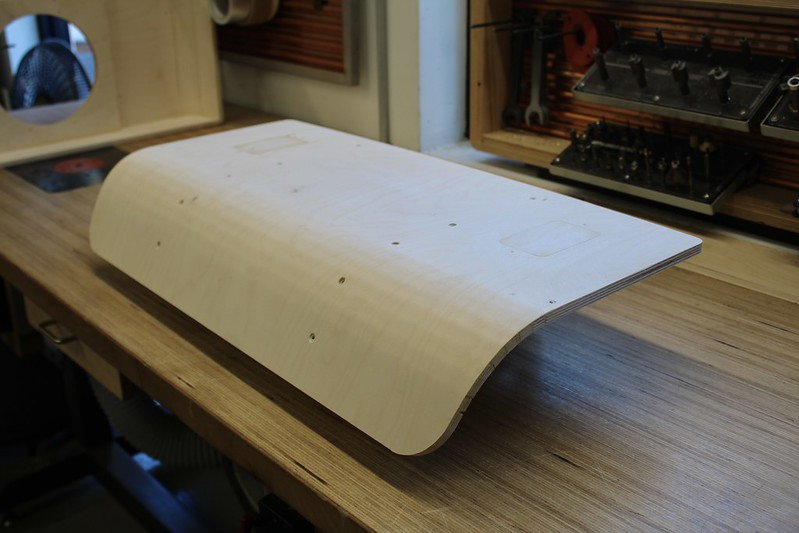
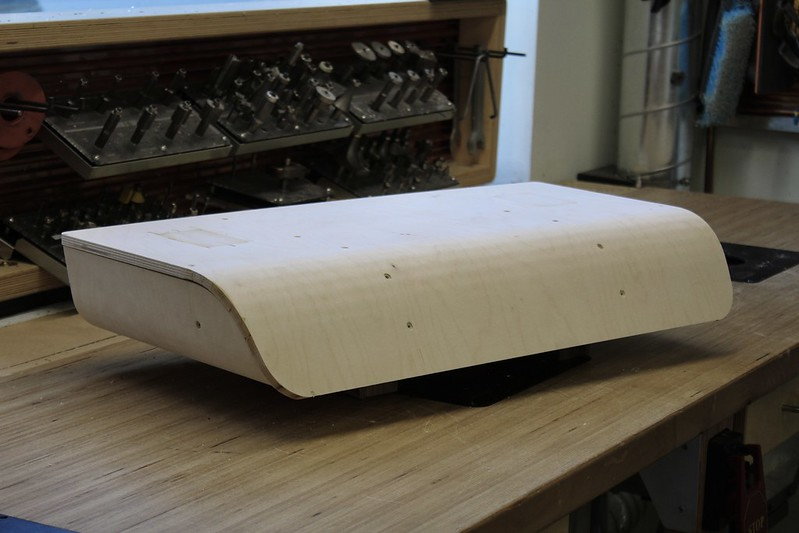
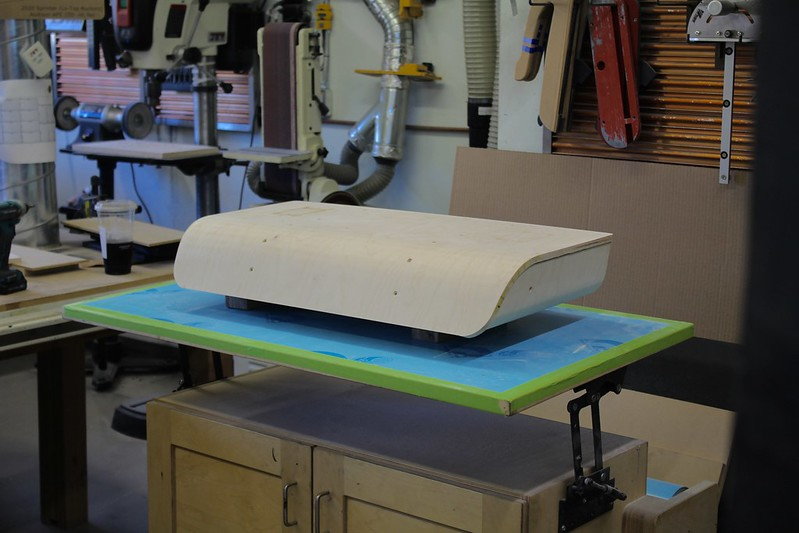
We took a bit of a break on this project as our schedule overlapped with a dealer service, but it's coming back next week to finalize the build. Right now we're working on finishing up with the core subwoofer enclosure. Small change, we are not including the hooks/tie-down and are instead going for a more stealth aesthetic.
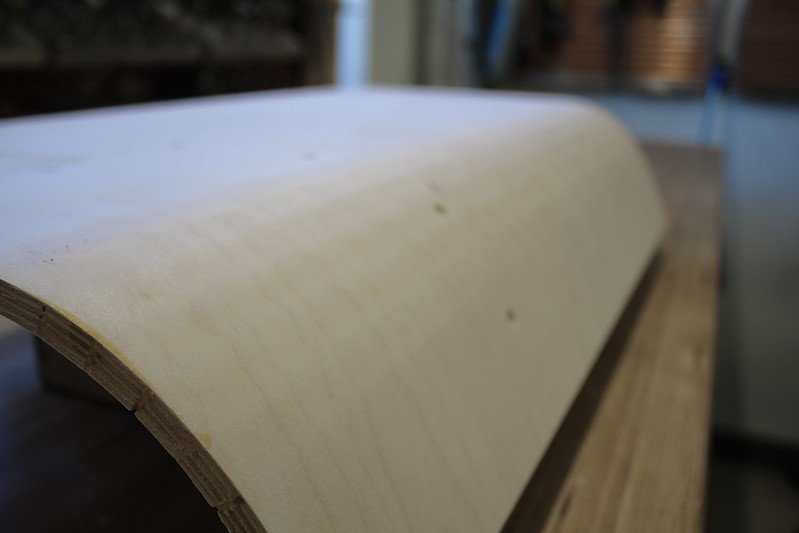
The base structure is made of 3/4" baltic birch. This is a very strong material while still being one of the lightest options available for enclosure construction. The process of curving the wood is called "kerfing" and it takes some very precise calculations to pull off a uniform bend, especially when the clamshell design includes a bend on both halves. The CAD rendering of the finished product helps determine the angles needed to that all of the edges line up perfectly once shaped. We want to ensure that the walls can't flex so there are some braces added in for more structural support. Any flex in the enclosure translates to loss of acoustic energy, which is a very bad thing for sound quality.

 08-11-2022, 01:42 PM