Notices
991 2012-2019
Sponsored by:
Sponsored by:

Interior LED Bulb Upgrade 991 911 (Video)

Thread Tools
 
Search this Thread
 
Old 11-26-2016, 02:55 AM
  #1  
Franko T
Rennlist Member
Thread Starter
 
Franko T's Avatar
 
Join Date: Jul 2016
Location: North America
Posts: 422
Received 156 Likes on 76 Posts
Default Interior LED Bulb Upgrade 991 911 (Video)

Another quick video on upgrading your old school bulbs with LED

Super easy, and highly recommended

Old 11-26-2016, 12:06 PM
  #2  
Sidvicious7
Burning Brakes
 
Sidvicious7's Avatar
 
Join Date: Jan 2015
Posts: 820
Received 131 Likes on 82 Posts
Default

Nice video Franko I replaced all my regular bulbs with LEDs in January. The door light assembly lenses need to be removed completely. I used tape around the leather to prevent marring. The light is removed from the back side and pull straight out from the twist style base. Thx for sharing.
Attached Images  
Old 11-26-2016, 02:03 PM
  #3  
Porsche_nuts
Nordschleife Master
 
Porsche_nuts's Avatar
 
Join Date: Jan 2010
Location: New York
Posts: 5,266
Received 1,118 Likes on 667 Posts
Default

Franko - any T10 194 LED bulb will work?
Old 11-26-2016, 04:03 PM
  #4  
Franko T
Rennlist Member
Thread Starter
 
Franko T's Avatar
 
Join Date: Jul 2016
Location: North America
Posts: 422
Received 156 Likes on 76 Posts
Default

Pretty much, just remember the doors need a shorter one. Here is what I used, https://www.amazon.com/GENSSI-Interior-Replacement-Miniature-CANBUS/dp/B01FRL0LP0

Try to get a half decent one so it doesn't burn out fast and is bright.
Old 11-26-2016, 05:05 PM
  #5  
Sidvicious7
Burning Brakes
 
Sidvicious7's Avatar
 
Join Date: Jan 2015
Posts: 820
Received 131 Likes on 82 Posts
Default

Here is the before and after bulb to LED replacement for the interior door lights. Here is the website where I purchased the LEDs.

http://store.ijdmtoy.com/5-SMD-T10-L...s-p/10-011.htm
Attached Images  
Old 11-27-2016, 01:17 PM
  #6  
Porsche_nuts
Nordschleife Master
 
Porsche_nuts's Avatar
 
Join Date: Jan 2010
Location: New York
Posts: 5,266
Received 1,118 Likes on 667 Posts
Default

Thanks!
Old 11-27-2016, 01:52 PM
  #7  
rkwfxd
Burning Brakes
 
rkwfxd's Avatar
 
Join Date: Jul 2015
Location: Whittier
Posts: 1,234
Received 46 Likes on 23 Posts
Default

Originally Posted by Sidvicious7
Nice video Franko I replaced all my regular bulbs with LEDs in January. The door light assembly lenses need to be removed completely. I used tape around the leather to prevent marring. The light is removed from the back side and pull straight out from the twist style base. Thx for sharing.
OK so.... as I am looking at this and as I understand it, use a flat blade screw driver or small trim removal tool and slide it UP into the small slot on the bottom of the light assembly and then gently pry the entire light and lens cover OUTWARD away from the door.

Correct?

TIA

Also, have any of you looked into doing the same for the sun visors and small lights up near the rear view mirror.

Finally,

Awesome video. Thank you
Old 11-27-2016, 02:41 PM
  #8  
Sidvicious7
Burning Brakes
 
Sidvicious7's Avatar
 
Join Date: Jan 2015
Posts: 820
Received 131 Likes on 82 Posts
Default

Originally Posted by rkwfxd
OK so.... as I am looking at this and as I understand it, use a flat blade screw driver or small trim removal tool and slide it UP into the small slot on the bottom of the light assembly and then gently pry the entire light and lens cover OUTWARD away from the door.

Correct?

TIA

Also, have any of you looked into doing the same for the sun visors and small lights up near the rear view mirror.

Finally,

Awesome video. Thank you
I'm attaching a photo that pinpoints the two locations where you need to pry with a plastic trim tool. If you elect to use a small bladed screw driver, tape the tip. I also used tape on the panel to avoid scuffs or marring.

BTW: If you happen to remove the clear and red lens without the housing, don't be alarmed. The lens will snap on providing you don't break it. Good luck.
Attached Images  
Old 11-27-2016, 04:27 PM
  #9  
rkwfxd
Burning Brakes
 
rkwfxd's Avatar
 
Join Date: Jul 2015
Location: Whittier
Posts: 1,234
Received 46 Likes on 23 Posts
Default

Oh wow. Thank you. That is completely different from what I thought. Pry at those two spots from the top.

Thank you very much.
Old 11-27-2016, 04:31 PM
  #10  
Sidvicious7
Burning Brakes
 
Sidvicious7's Avatar
 
Join Date: Jan 2015
Posts: 820
Received 131 Likes on 82 Posts
Default

Yes, work each side a bit at a time. Be patient and don't rush.
Old 11-27-2016, 05:11 PM
  #11  
Franko T
Rennlist Member
Thread Starter
 
Franko T's Avatar
 
Join Date: Jul 2016
Location: North America
Posts: 422
Received 156 Likes on 76 Posts
Default

For bottom door lights, I would suggest this
https://www.amazon.com/Philips-Xtrem.../dp/B00OYT1322
Old 12-04-2016, 02:11 AM
  #12  
daberlin
Racer
 
daberlin's Avatar
 
Join Date: Jan 2012
Location: Los Angeles, CA
Posts: 491
Received 49 Likes on 12 Posts
Default

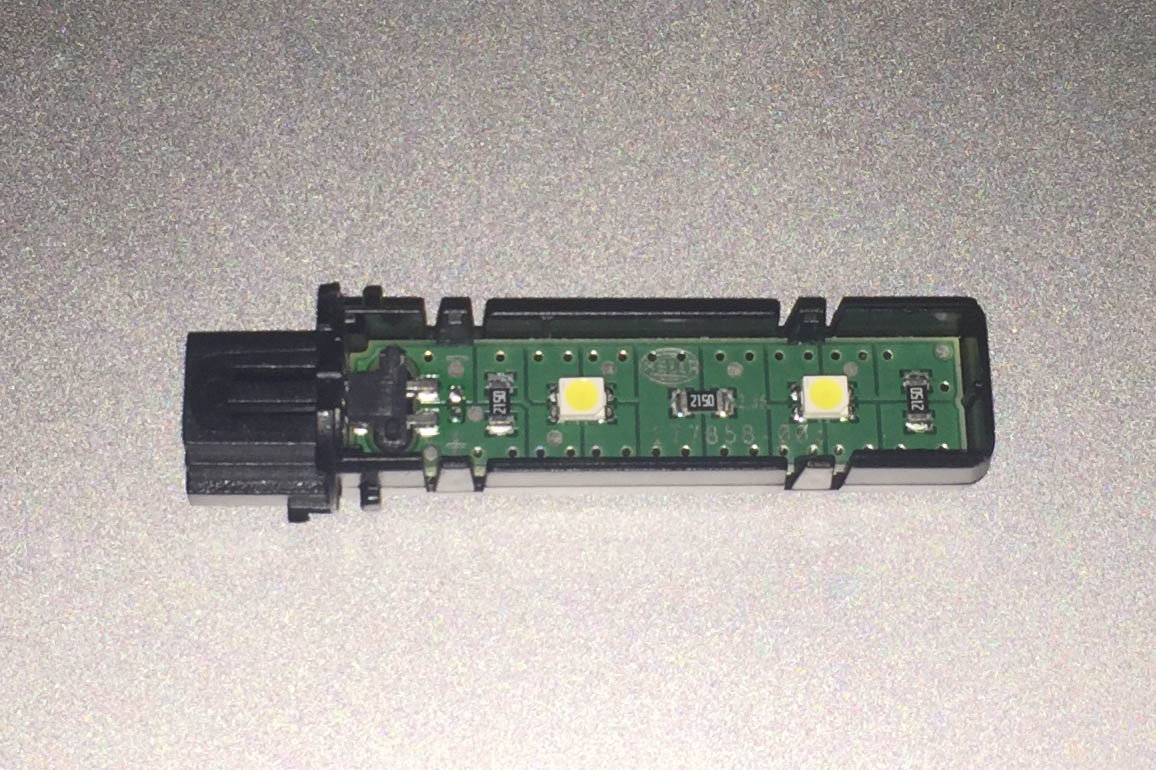
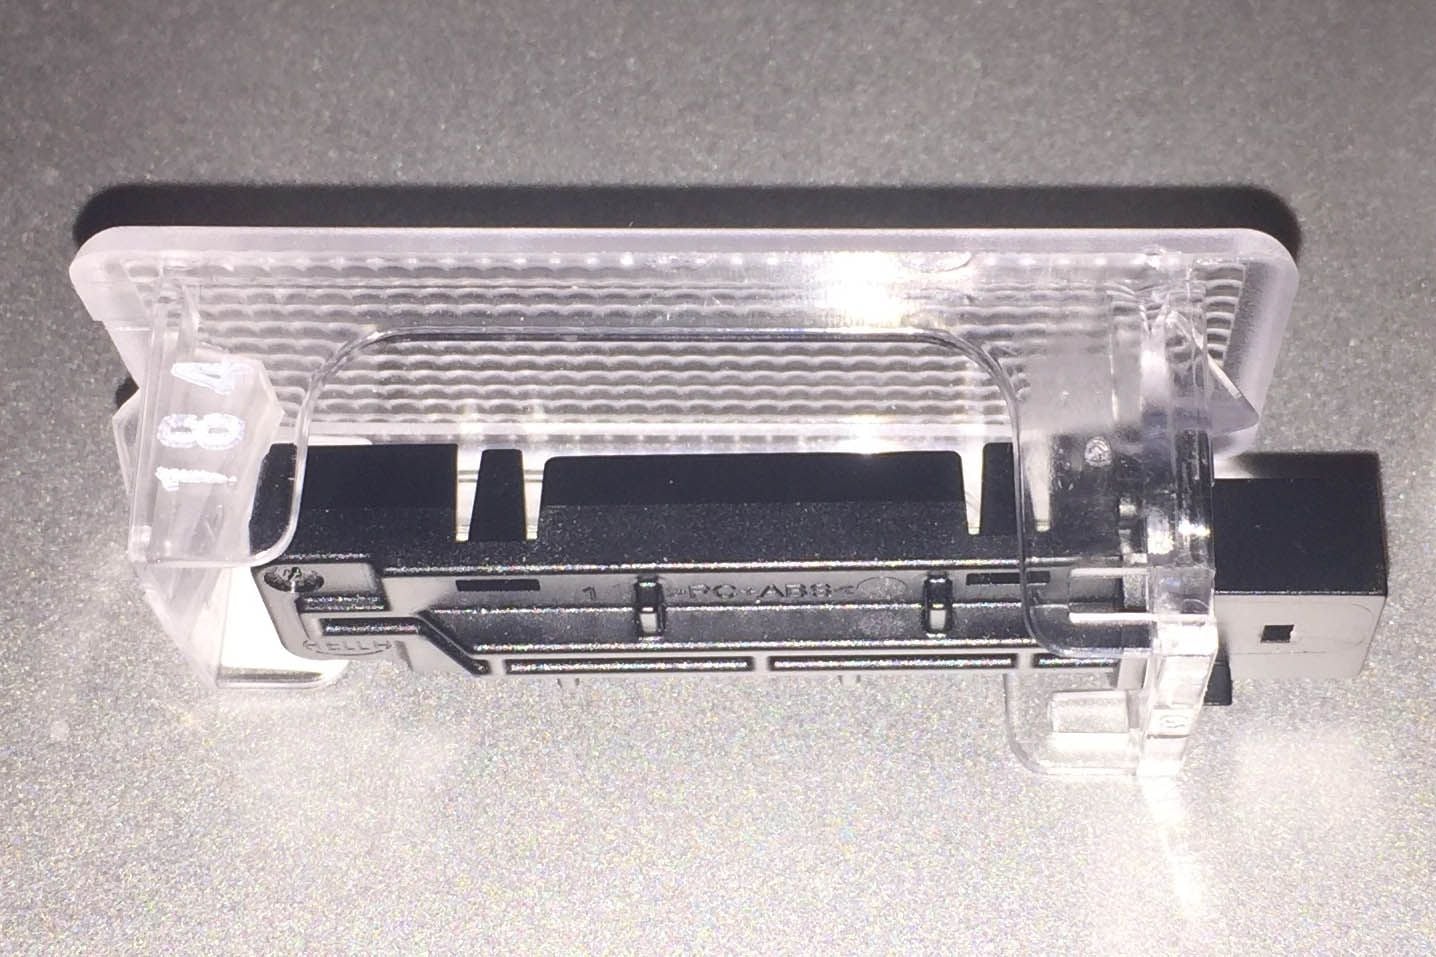
Note - Some 991.1 cars already come with LED interior lights. For example, the LED module for the passenger footwell is part #991 632 133 00 and looks like:


Old 12-04-2016, 04:56 PM
  #13  
ChrisP2773
Intermediate
 
ChrisP2773's Avatar
 
Join Date: Sep 2016
Location: NY
Posts: 35
Likes: 0
Received 1 Like on 1 Post
Default

Is this a DIY project or does or can a Porsche dealership do it? I am looking for assistance in the South Florida area.
Old 12-04-2016, 07:13 PM
  #14  
daberlin
Racer
 
daberlin's Avatar
 
Join Date: Jan 2012
Location: Los Angeles, CA
Posts: 491
Received 49 Likes on 12 Posts
Default

Originally Posted by ChrisP2773
Is this a DIY project or does or can a Porsche dealership do it? I am looking for assistance in the South Florida area.
You mean 'should' a Porsche dealership do it? NO. Easy DIY and as simple as changing a lightbulb in a Honda.

Have a set of good interior trim tools such as this one:

https://www.amazon.com/Motivx-Tools-...ior+trim+tools

1. Using a thin trim tool to gently remove the sides of each interior light.
2. Gently squeeze both ends together to remove the light housing from the car.
3. Squeeze down on the electrical connector to separate it from the light housing.
4. Swap and replace the bulbs (once it has cooled off, or wear gloves).

That's it.
Old 12-11-2016, 10:21 PM
  #15  
BusDriverBob
Track Day
 
BusDriverBob's Avatar
 
Join Date: Oct 2016
Location: Florida Suncoast
Posts: 21
Received 1 Like on 1 Post
Default

Just finished installing the LED's in the frunk and glovebox. BIG difference! Thanks, Franko T and Sidvicious7!


Quick Reply: Interior LED Bulb Upgrade 991 911 (Video)


All times are GMT -3. The time now is 11:44 PM.