Notices
991 2012-2019
Sponsored by:
Sponsored by:

Wire Mesh Radiator Insert Installation

Thread Tools
 
Search this Thread
 
Old 12-20-2015 | 05:45 AM
  #1  
CSK 911 C4S's Avatar
CSK 911 C4S
Thread Starter
Rennlist Member
 
Joined: Jun 2014
Posts: 3,825
Likes: 859
From: Dickson, TN
Default Wire Mesh Radiator Insert Installation

I had the Rennline wire mesh inserts in a box for some time so I decided to install them tonight. I found it easier then expected to install.

From start to finish with tools put away and garage cleaned up it took about 4 hours.

Used these DIY's:

http://www.6speedonline.com/forums/9...r-removal.html

http://www.6speedonline.com/forums/9...-part-2-a.html

I have the sport design front bumper and I mistakenly purchased the 5 piece mesh kit Item Number E157.152 for cars that have a center radiator so I could not install the center mesh. I should have bought Item Number E157


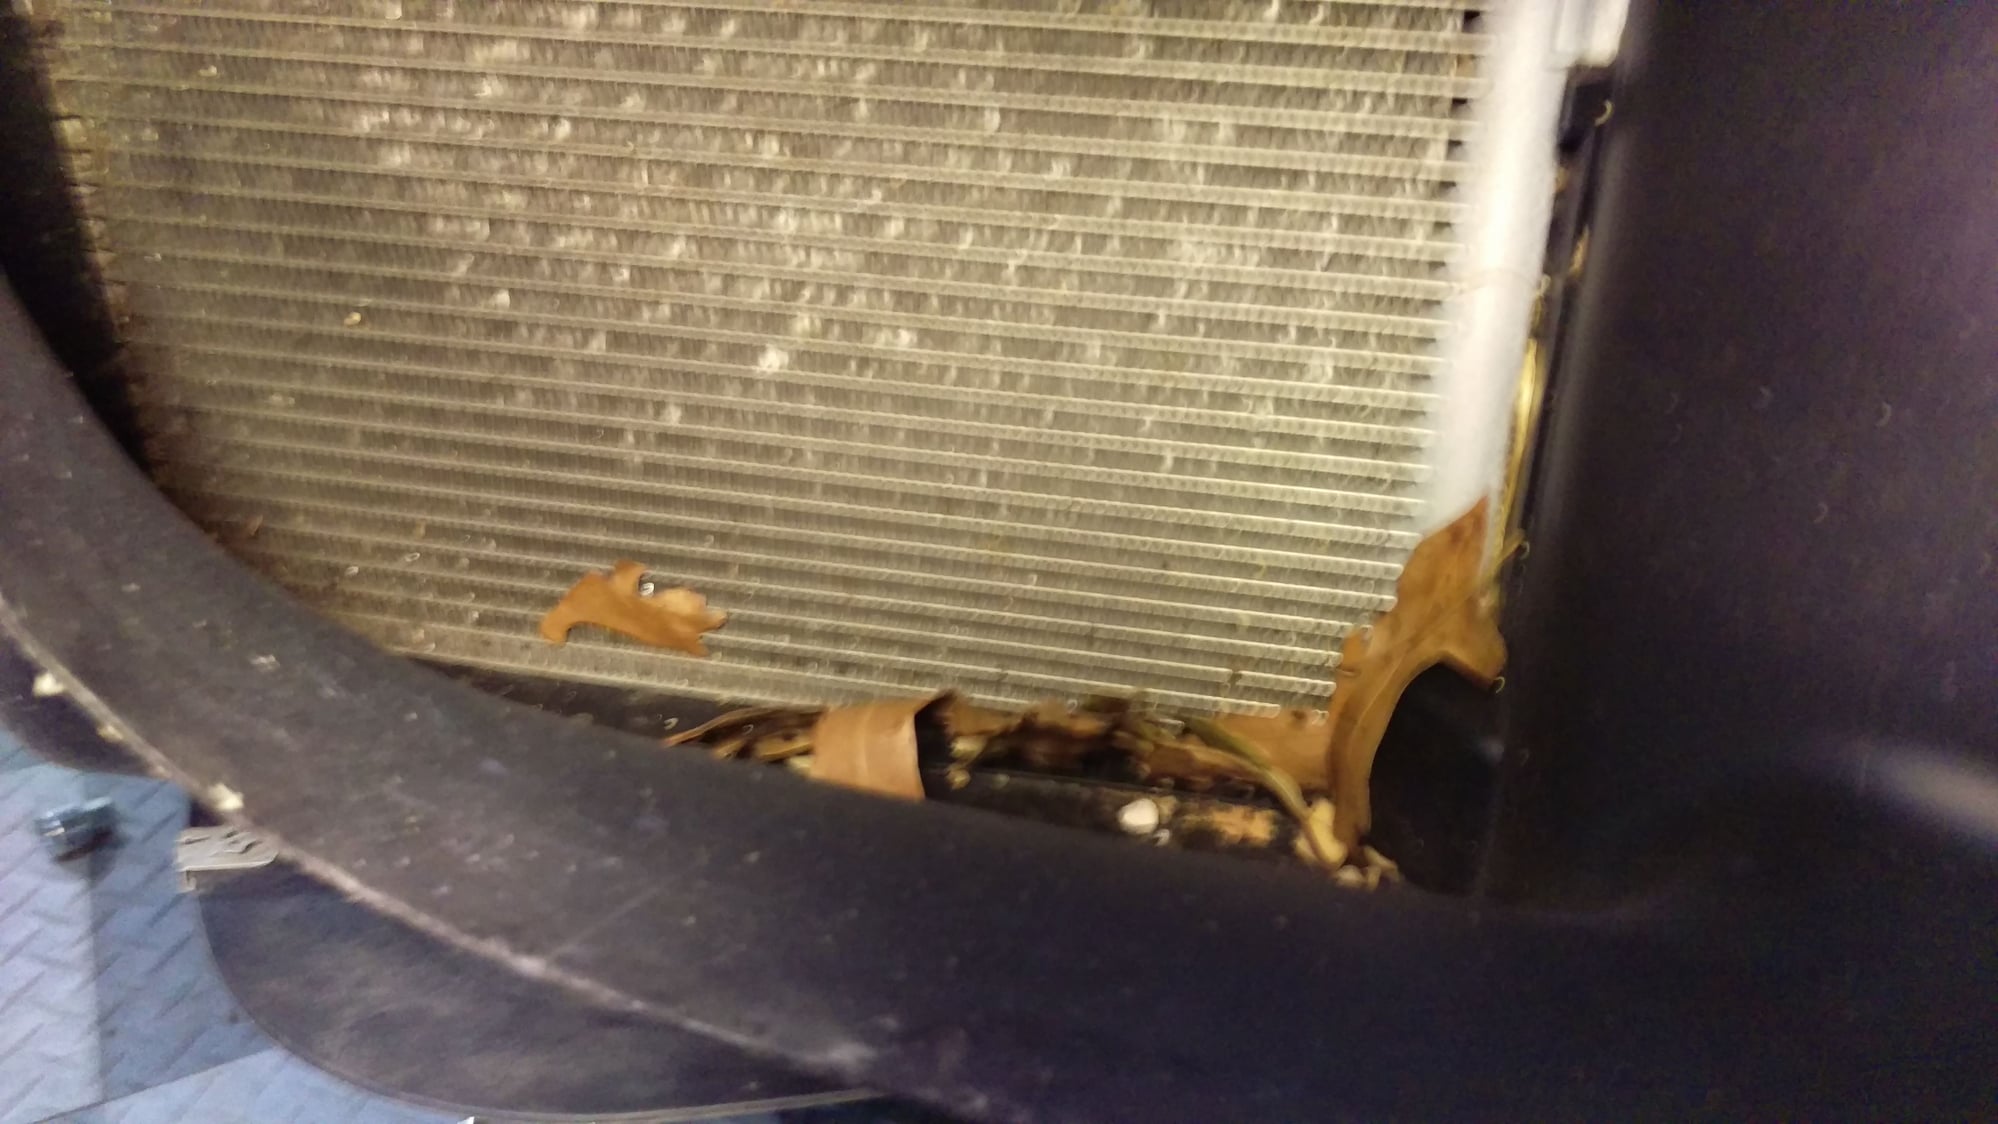
Leaves and rocks. I used a shop vac to clean out all the road debris hiding behind the bumper and stuck in the radiator.


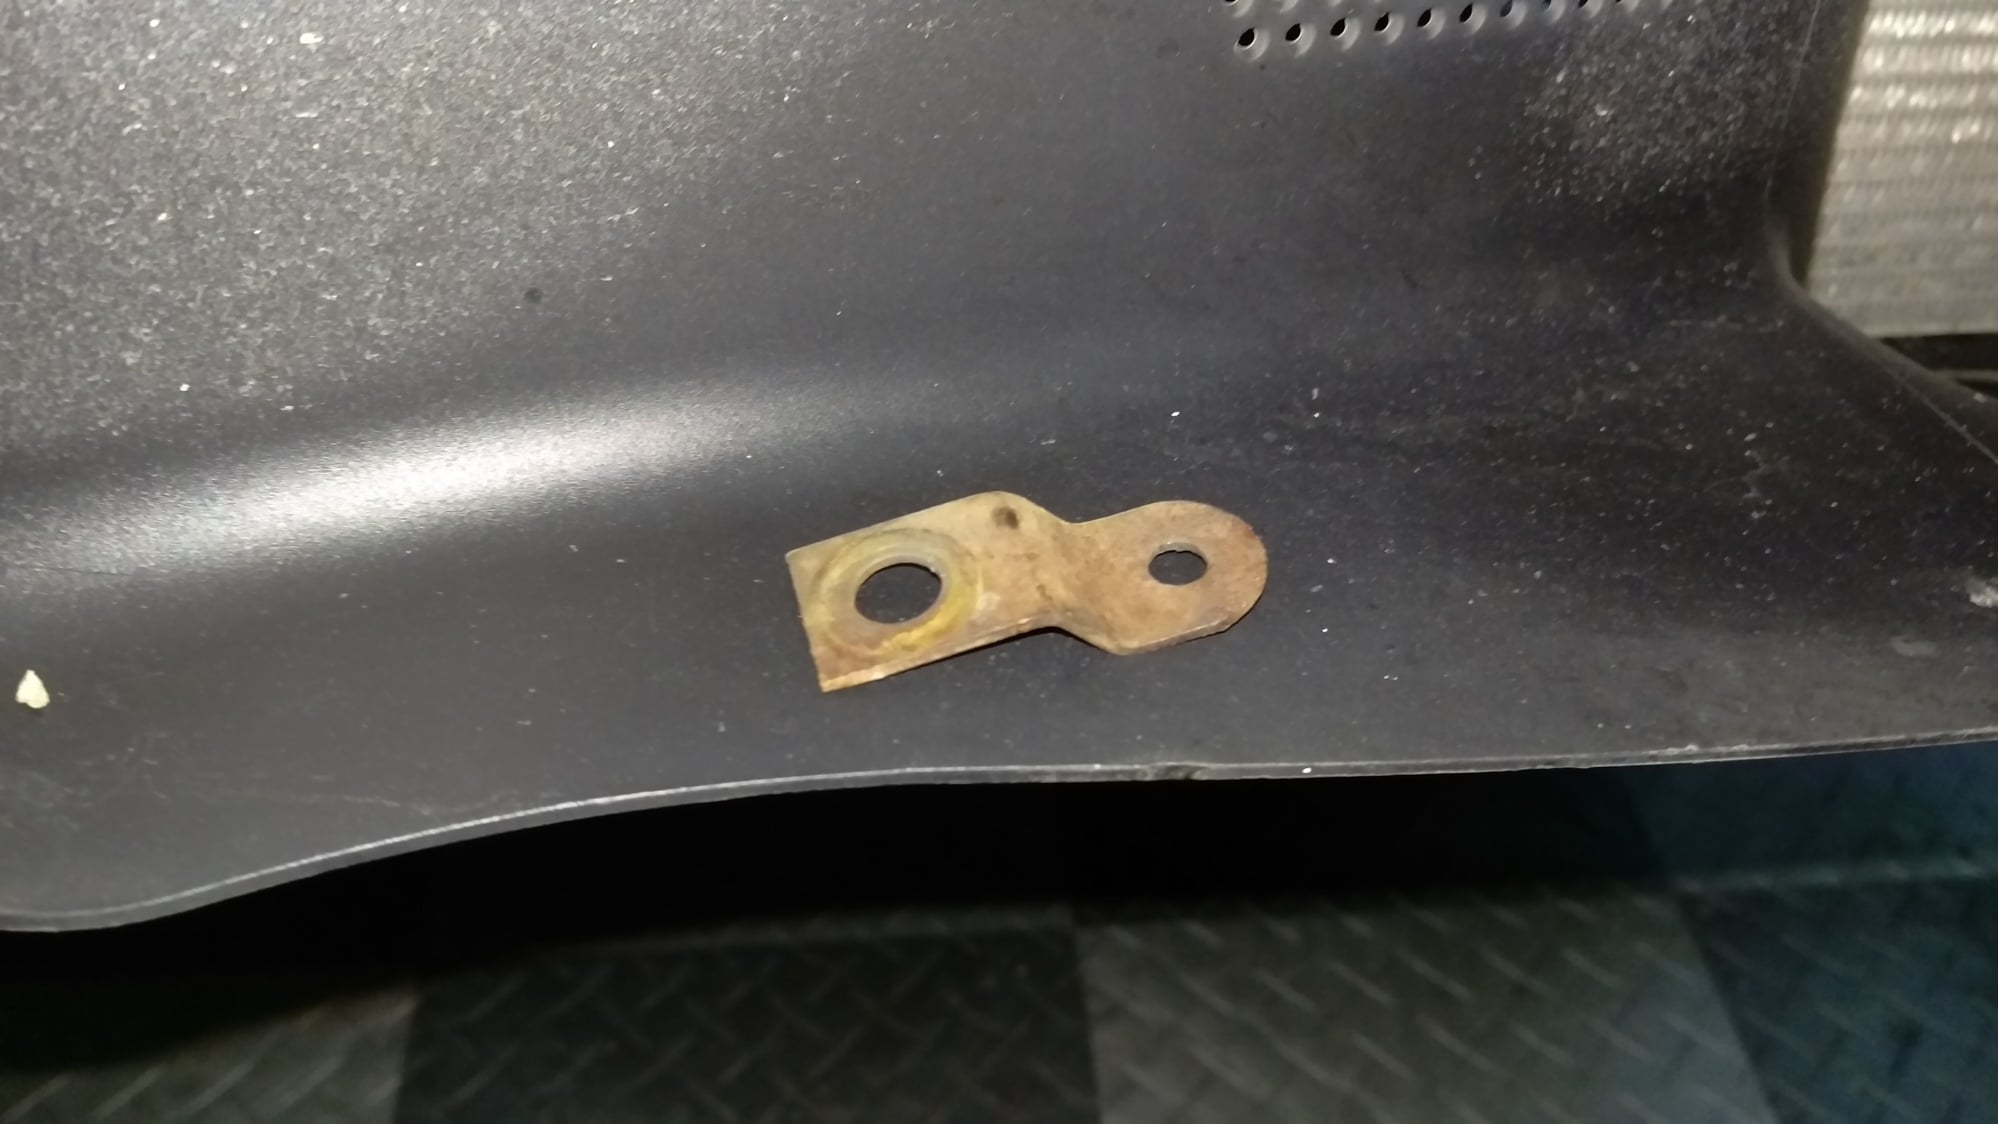
Even found this metal piece next to the radiator. Must have picked it up at some point in time.


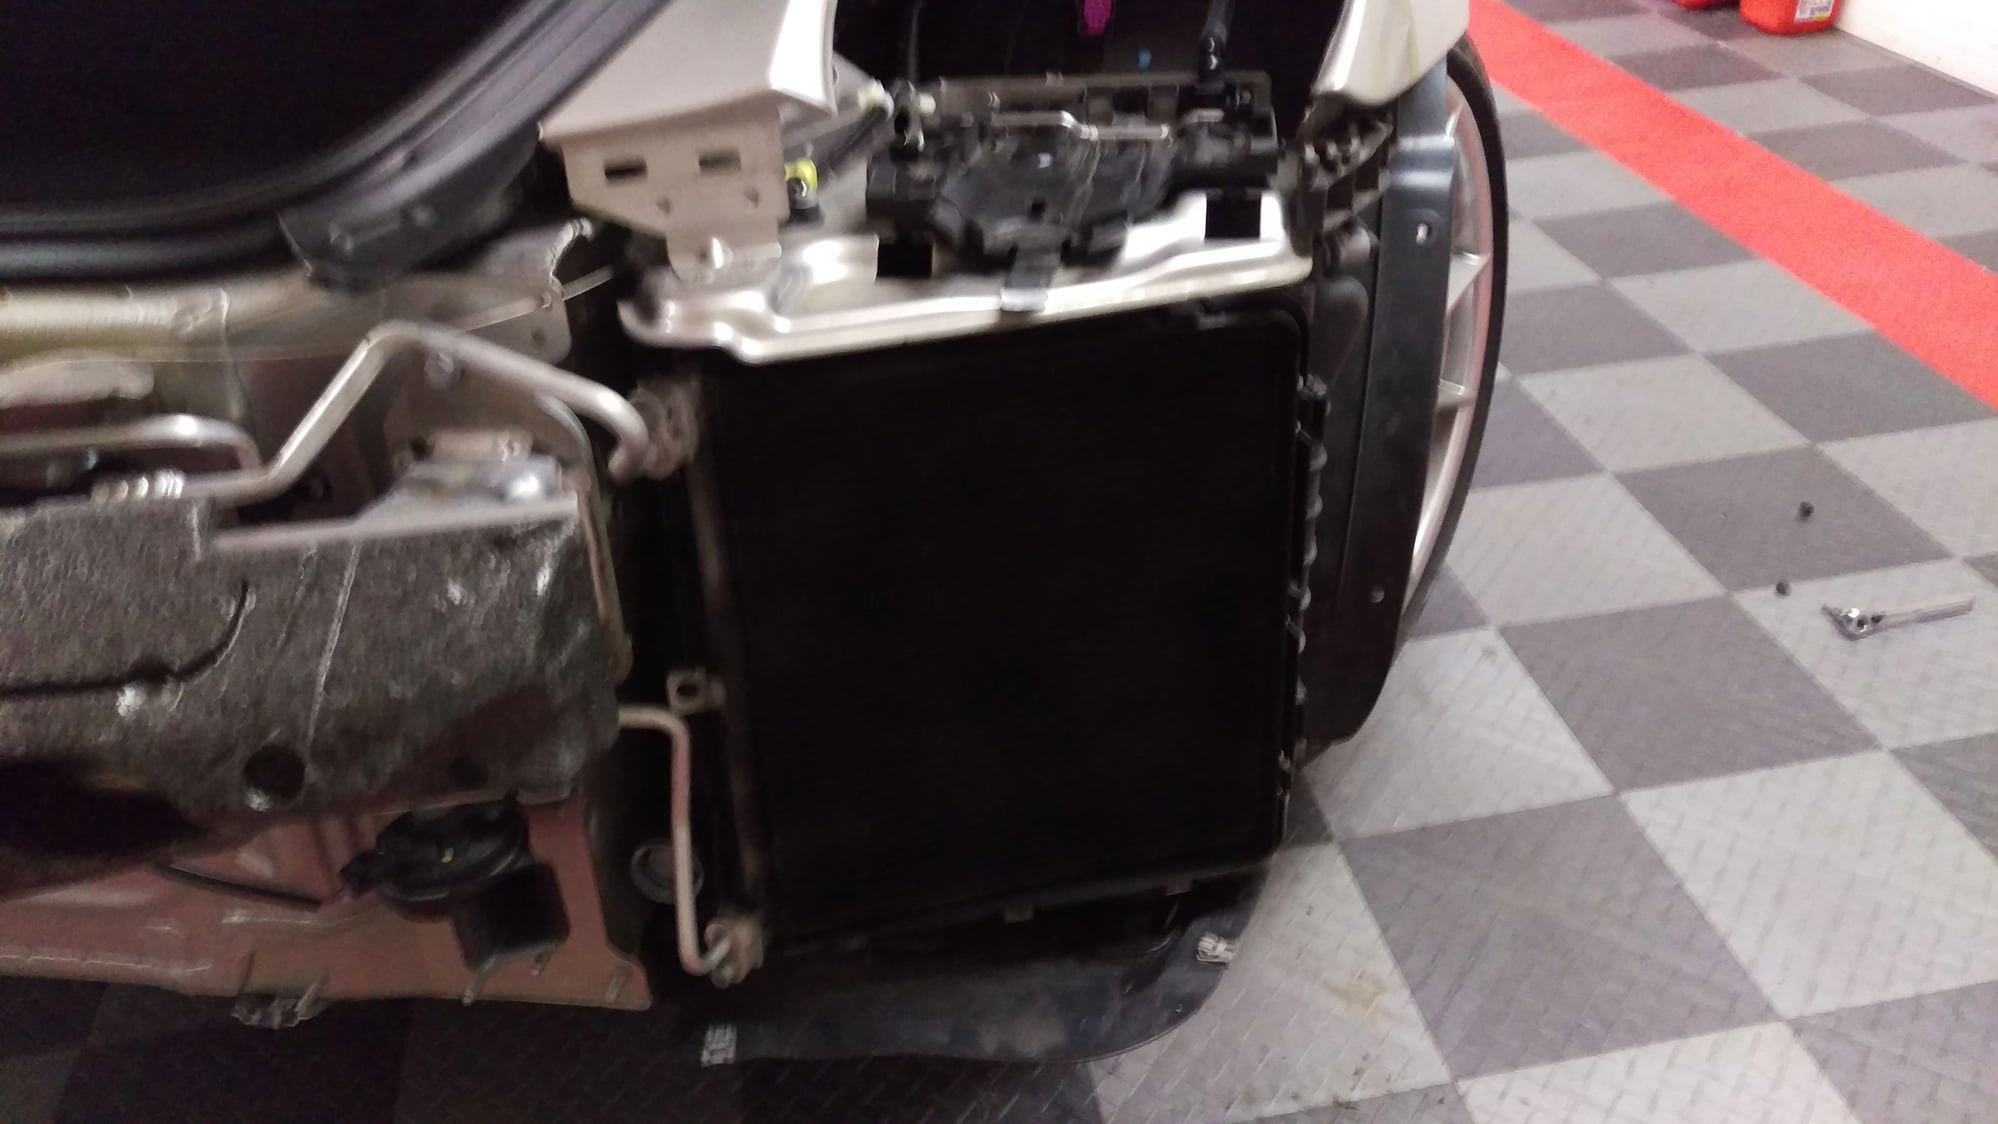
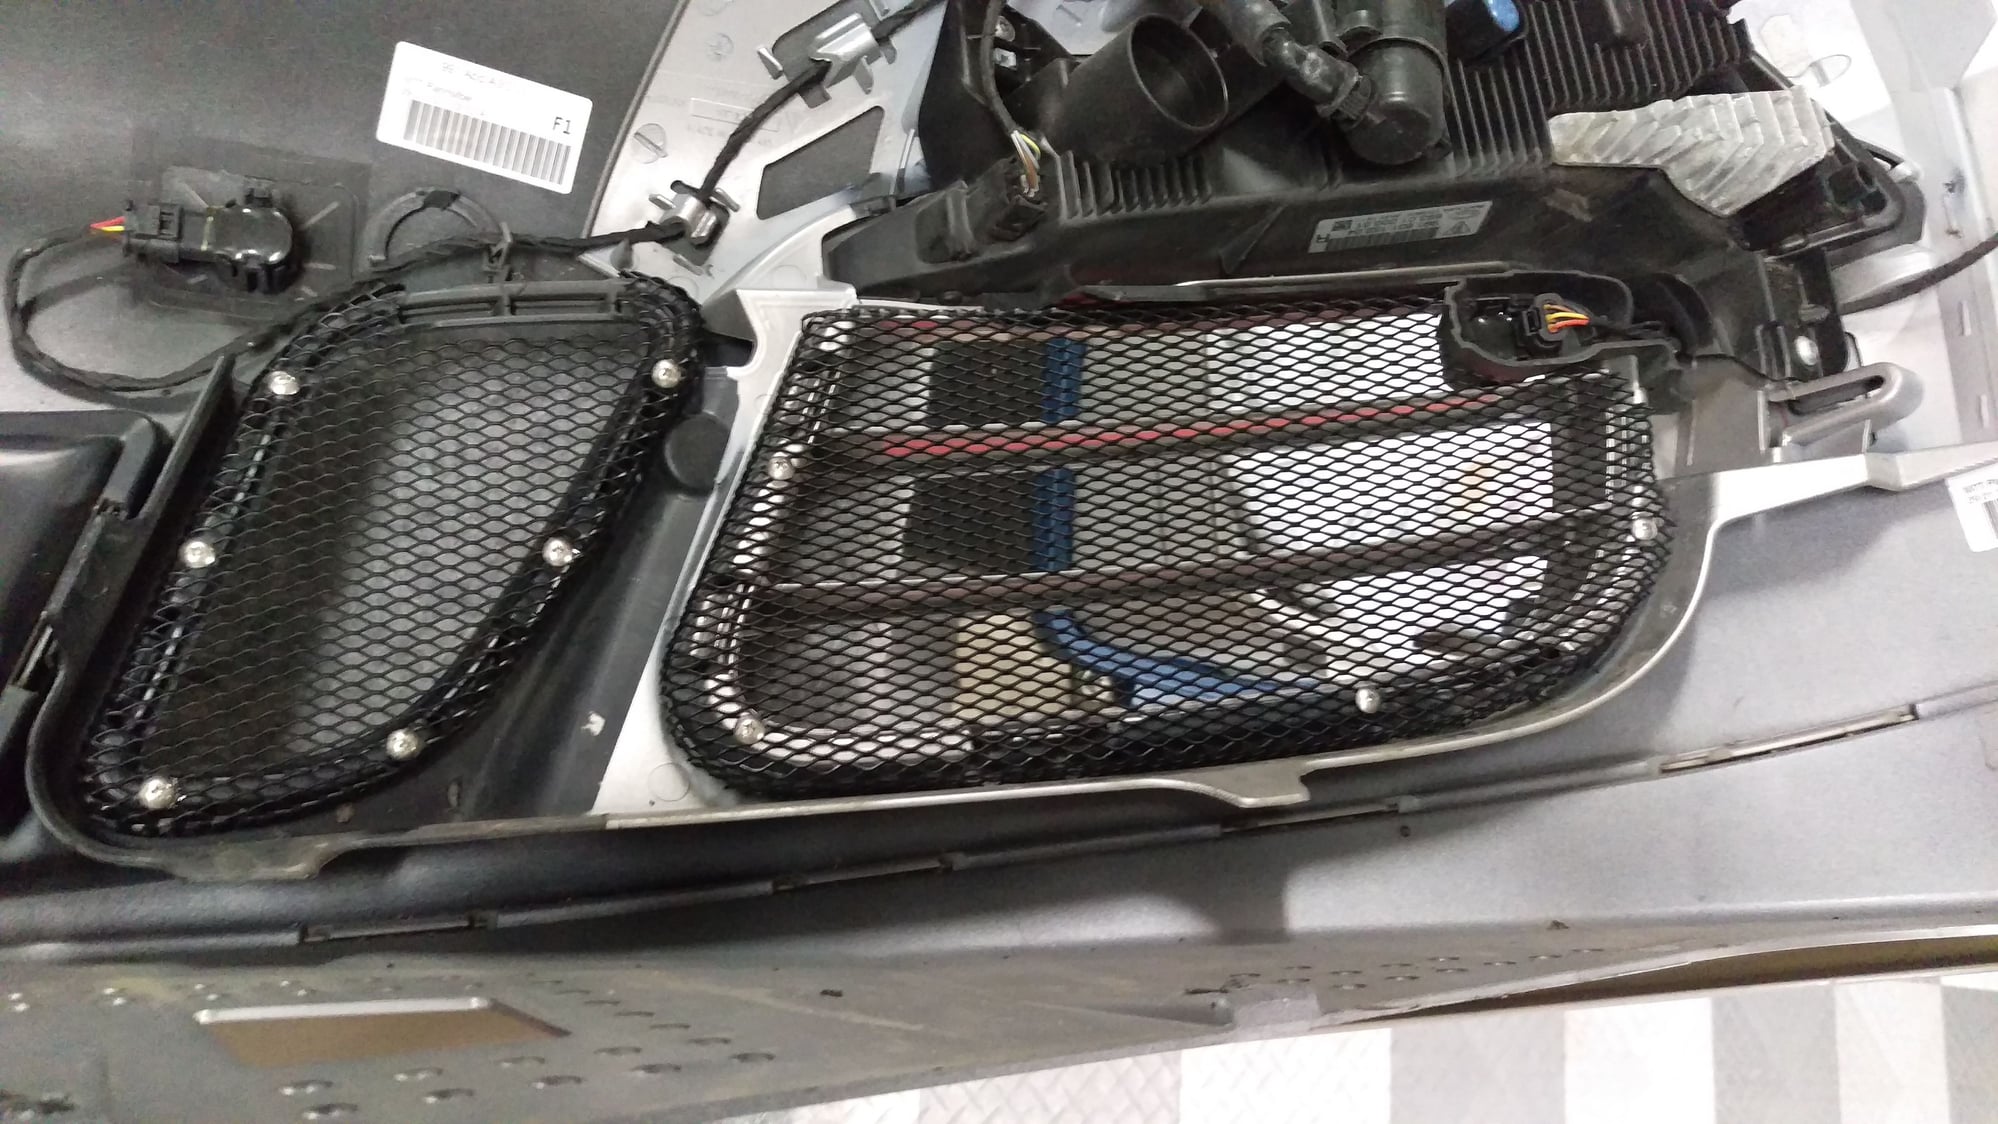
Like some I did a light dusting with black spray paint to tone down the silver radiators.
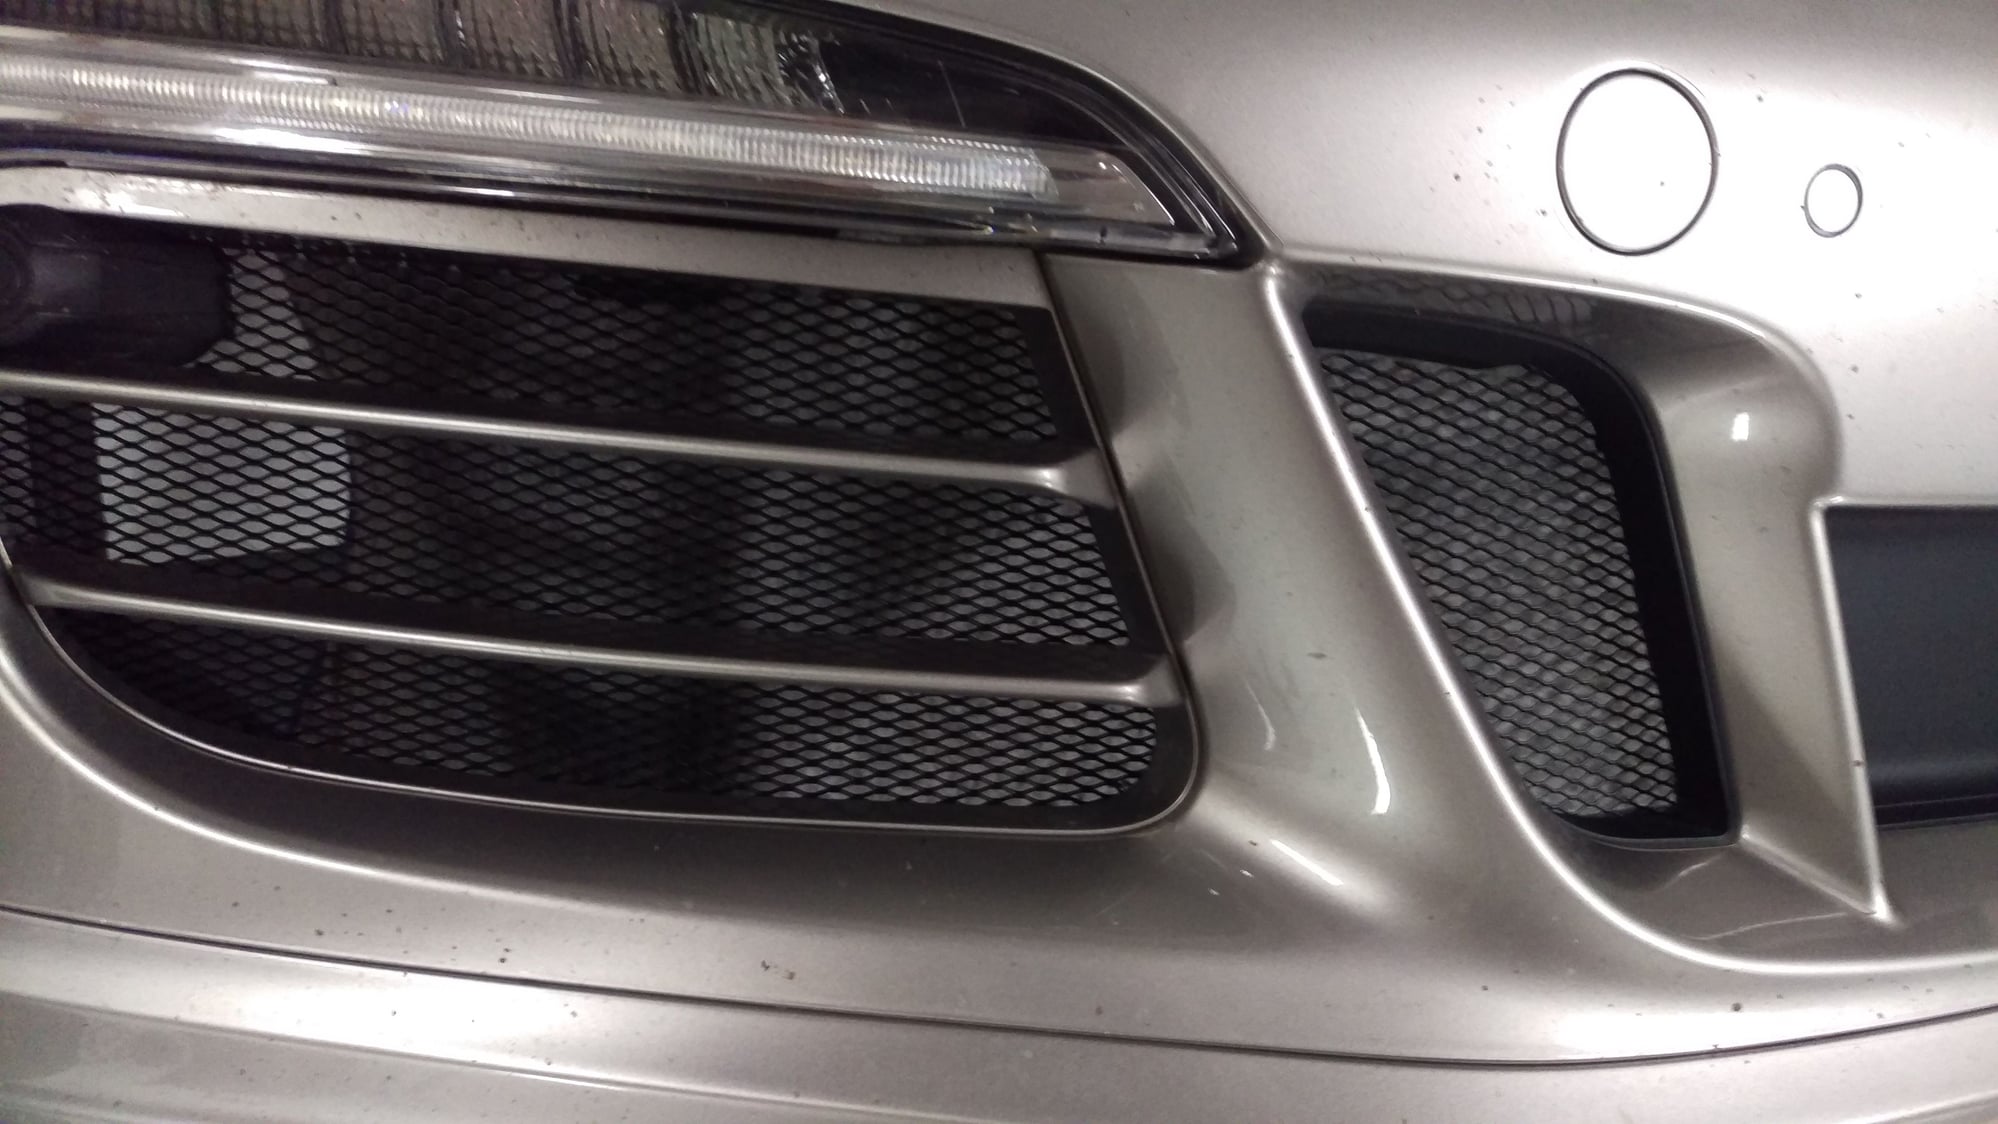


Mesh installation.


Looking good.


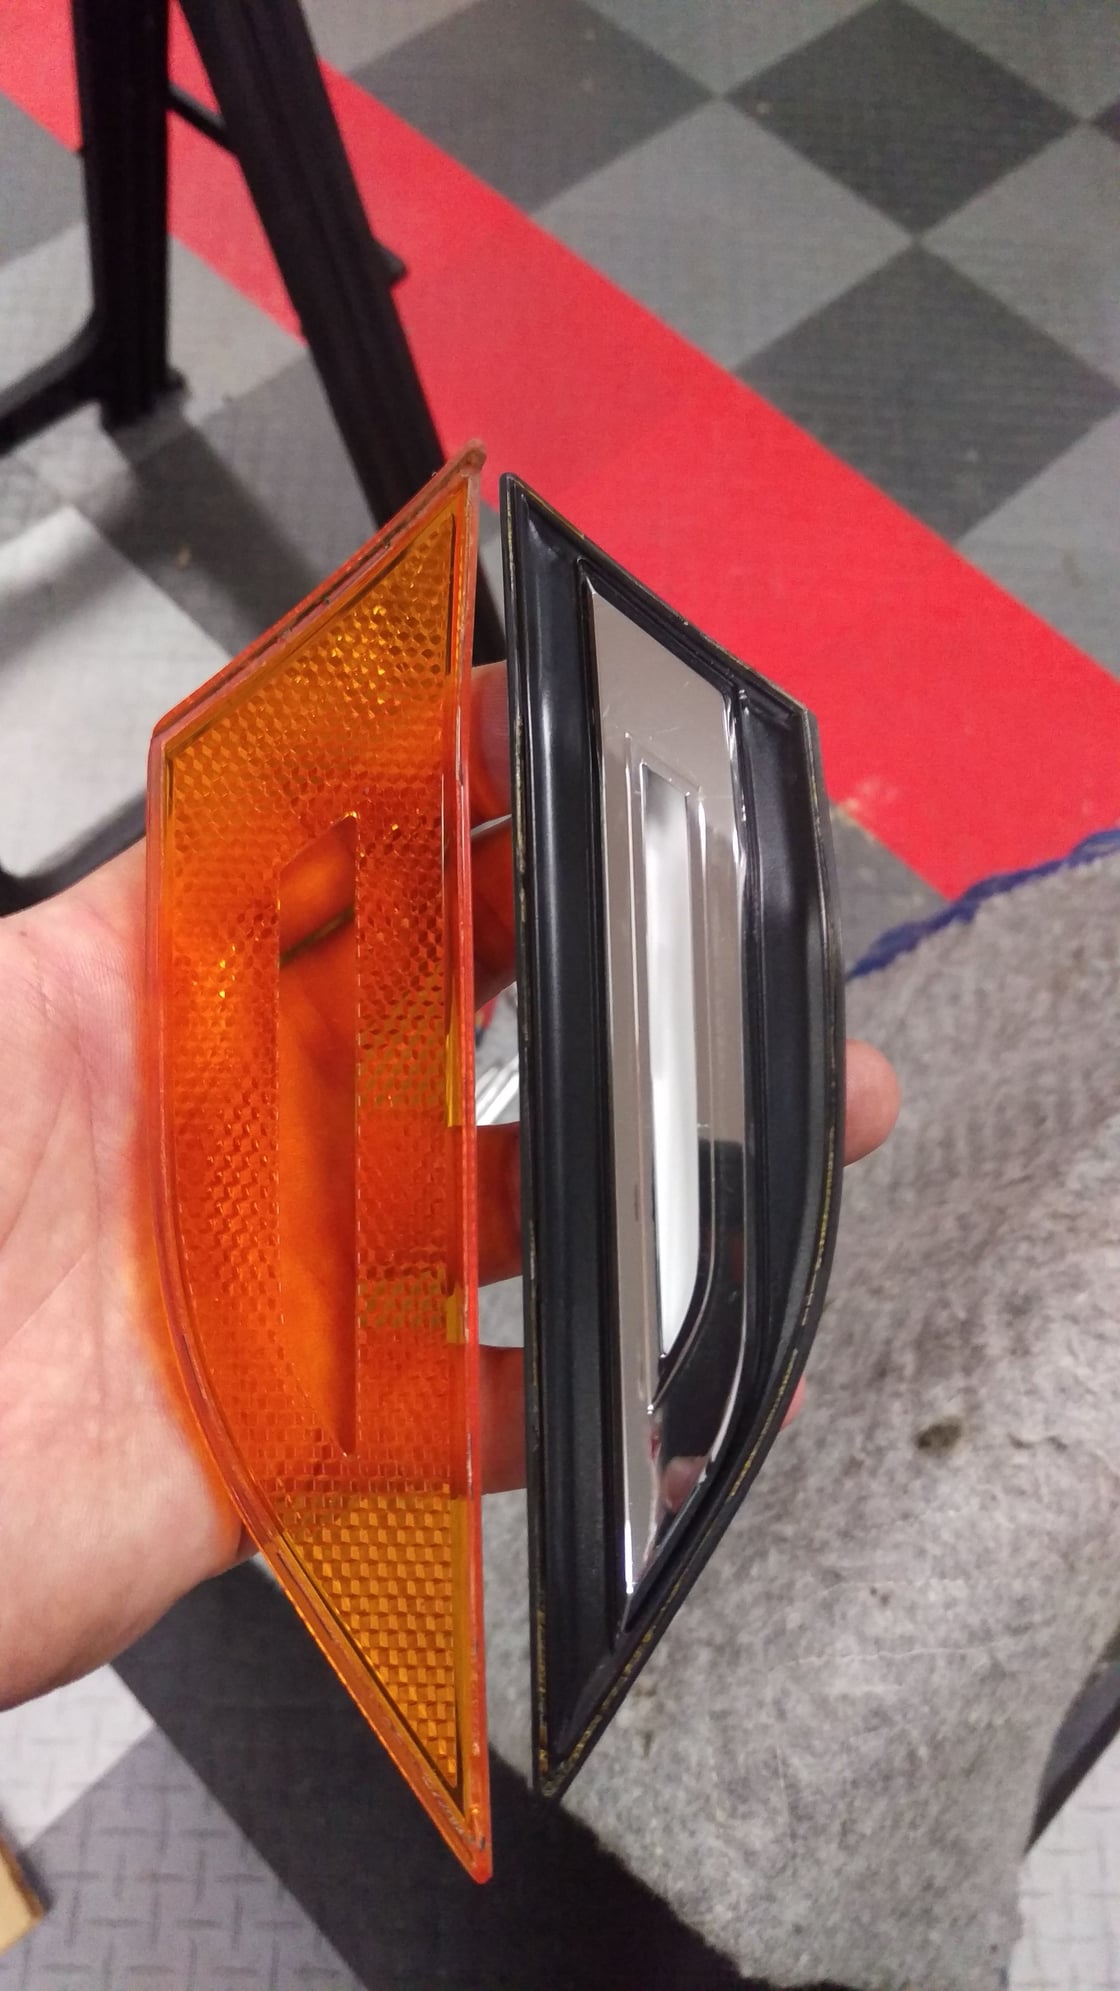
During removal I had one casualty. Fell apart in my hand once removed.


Last edited by CSK 911 C4S; 12-20-2015 at 11:40 AM.
Old 12-20-2015 | 07:15 AM
  #2  
St8haus's Avatar
St8haus
Racer
 
Joined: Oct 2015
Posts: 377
Likes: 28
From: Coachella Valley
Default

Wow that really looks great! Are you happy with the quality of the mesh? Looking forward to full install pics. Also, any tips you can share when removing the front bumper? Also post pics of the clear corners installed; very nice choice I think they will look great on your color
Old 12-20-2015 | 11:14 AM
  #3  
TorqueChap's Avatar
TorqueChap
Three Wheelin'
 
Joined: May 2010
Posts: 1,615
Likes: 14
From: Philadelphia
Default

CSK, would LOVE that center mesh! PM sent
Old 12-20-2015 | 11:28 AM
  #4  
Mlbraptor's Avatar
Mlbraptor
Burning Brakes
 
Joined: Aug 2013
Posts: 1,223
Likes: 2
From: North Carolina
Default

You are the man. I would never be able to get mine back together..
Old 12-20-2015 | 11:35 AM
  #5  
CSK 911 C4S's Avatar
CSK 911 C4S
Thread Starter
Rennlist Member
 
Joined: Jun 2014
Posts: 3,825
Likes: 859
From: Dickson, TN
Default

Originally Posted by Mlbraptor
You are the man. I would never be able to get mine back together..

I would say don't sell yourself short but if you know your limitations, that's good as well.

The only tough thing was to get to the connector that powers up the day time running lights/blinkers as talked about in the DIY. Why did they hide it they way they did escapes me. It could have been easily placed in the headlight bucket area for easy access.
Old 12-20-2015 | 11:48 AM
  #6  
CSK 911 C4S's Avatar
CSK 911 C4S
Thread Starter
Rennlist Member
 
Joined: Jun 2014
Posts: 3,825
Likes: 859
From: Dickson, TN
Default

Originally Posted by 997.2 GTS
Wow that really looks great! Are you happy with the quality of the mesh? Looking forward to full install pics. Also, any tips you can share when removing the front bumper? Also post pics of the clear corners installed; very nice choice I think they will look great on your color
Quality: It's pre formed metal mesh with some fasteners. The Rennline kit fit great, good instructions. Once in hand, could it have been DIY'ed like some other have done? Sure, but it was nice to get it in a kit ready to go.

Tips: The DIY's linked above are right on point. The only thing I did different was to remove a few more fasteners that held the wheel well liner in place so I could get my mitt back far enough to disconnect the electrical connector for the daytime running lights.

On the side markers. I'm not really a clear corner type of guy so I'm just going to glue my orange LED's lights back together. Looking at my other light it has also cracked almost completely in 2. Darn cheap Porsche parts. ;D

Here's another other pic. I will wash the ride later today and I'll snap a few more.


Last edited by CSK 911 C4S; 12-20-2015 at 12:43 PM.
Old 01-31-2016 | 10:20 PM
  #7  
Oh1-911's Avatar
Oh1-911
Rennlist Member
 
Joined: Dec 2015
Posts: 42
Likes: 8
From: Oregon
Default

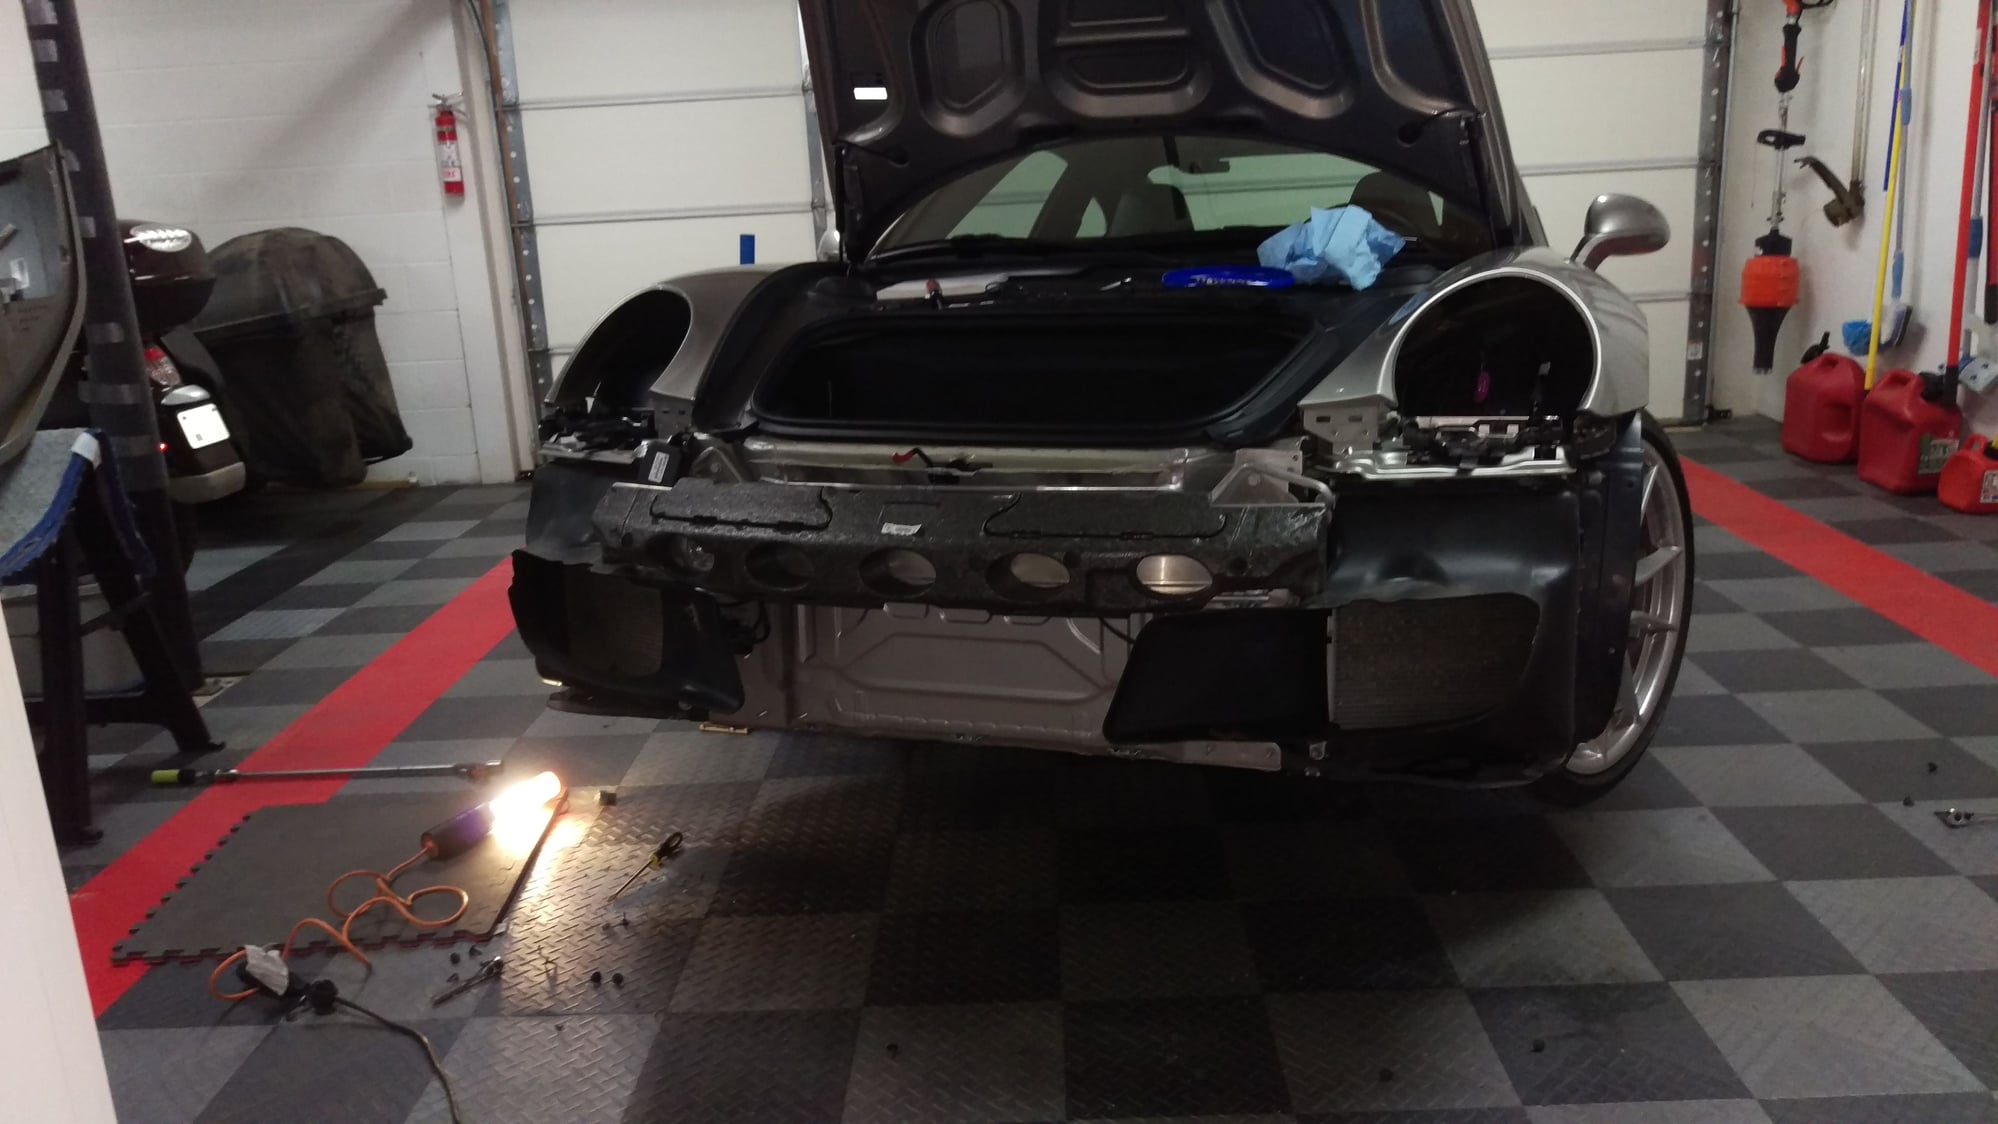
I installed the Rennline grills today on my C2. The 991 front bumper removal takes a little more time than the old 996 did! Clips, headlamp washer hose, and the wiring connectors on either side under the headlamp buckets.
Old 01-31-2016 | 10:39 PM
  #8  
rye595's Avatar
rye595
Advanced
 
Joined: Mar 2010
Posts: 93
Likes: 37
From: Boulder, CO
Default

Funny - I have the same project to tackle, and the exact same garage floor pattern! Thought I might get to it today, but other projects got in the way. It's nice to hear it isn't too rough.
Old 02-01-2016 | 08:10 AM
  #9  
plenum's Avatar
plenum
Burning Brakes
 
Joined: Dec 2013
Posts: 899
Likes: 57
From: Chalfont, PA
Default

Just caught-up on this OP... Great Job CSK! Looks really nice. Rennline produces a top-quality product!
Old 02-01-2016 | 09:08 AM
  #10  
R_Rated's Avatar
R_Rated
Banned
 
Joined: Jan 2016
Posts: 4,389
Likes: 42
From: Where aspirations are natural
Default

Looks like a good reason to get LED clears!

How long did it take you to get the front bumper off?
Old 02-01-2016 | 09:25 AM
  #11  
plenum's Avatar
plenum
Burning Brakes
 
Joined: Dec 2013
Posts: 899
Likes: 57
From: Chalfont, PA
Default

Originally Posted by R_Rated
How long did it take you to get the front bumper off?
Take a look at the DIY posts CSK references.... Even going slow, getting the front cover off shouldn't take 30 minutes, 45 if you are super-slow.
Old 02-01-2016 | 03:14 PM
  #12  
drsubie's Avatar
drsubie
Instructor
 
Joined: Sep 2015
Posts: 146
Likes: 4
From: Seattle, WA
Default

It took me ~4 hours as well; literally 3.5 hours of that was in removing the damn bumper; drilling/screwing in the mesh covers was < 30min.

I too broke 1 side of the side marker light--entirely avoidable if I was more clear on their removal (you have to really pull the light rearwards then pry out).
Old 02-01-2016 | 03:21 PM
  #13  
cliffd's Avatar
cliffd
Rennlist Member
 
Joined: Aug 2013
Posts: 154
Likes: 4
From: Cary, NC
Default

being old and knees not being great, i have the local Porsche dealer installing tomorrow. $200 plus grilles all in, not bad.
Old 02-01-2016 | 04:02 PM
  #14  
CSK 911 C4S's Avatar
CSK 911 C4S
Thread Starter
Rennlist Member
 
Joined: Jun 2014
Posts: 3,825
Likes: 859
From: Dickson, TN
Default

Originally Posted by cliffd
being old and knees not being great, i have the local Porsche dealer installing tomorrow. $200 plus grilles all in, not bad.
That's pretty good and wise.
Old 02-01-2016 | 04:05 PM
  #15  
Homeles's Avatar
Homeles
Three Wheelin'
 
Joined: Dec 2012
Posts: 1,663
Likes: 132
From: SC
Default

Originally Posted by cliffd
being old and knees not being great, i have the local Porsche dealer installing tomorrow. $200 plus grilles all in, not bad.
Leith?


Quick Reply: Wire Mesh Radiator Insert Installation


All times are GMT -3. The time now is 07:23 PM.