When you click on links to various merchants on this site and make a purchase, this can result in this site earning a commission. Affiliate programs and affiliations include, but are not limited to, the eBay Partner Network.
It was a nice change from the typical black I would have ordered.
The only down side is the splotchiness of the seats either from sweat, water, or what ever is causing it.
It seems after sitting in the garage the staining is nonexistent but sit it out in the sun and they show up.
The ventilated seats are pretty trick but I would probably not order another car with them just because of this.
I have a platinum grey interior and I would agree with this. I don't have two-tone, though - the black upper part looks great! (Especially in leather!)
Anti seize use comes from experience with me. Similar 6 mm bolts froze into the aluminum front struts on my previous 996 that sheered off.
What is the reason Porsche does not recommend it?
In general, it leads to overtorqueing the plugs because it also serves as a lubricant. I still use a very small amount spread thinly on the threads closest to the ceramic insulator.
Just picked mine up from having the four year service done. It certainly wasn't cheap but at least I don't have to worry about it for four more years hahaha!
While I don't have a 991 yet (looking at a few right now), I've done similar work on my 911SC, 996, 987 & 997. Overall, my Porsche's have been the most pleasant cars I've ever wrenched on, and oem parts from internet sources I've also found to be very reasonably priced.
One note, the bolt's shown in the picture below are male 'E-Torx' head and should be removed with a Torx socket. You might get a regular socket to work (just like you can often get a hex driver to work on a female torx-head bolt), you will eventually run into a bolt too tight and strip it.
Torx sockets are pretty reasonably priced...
PS: Those who feel authorized dealers should be used for every bit of work ever performed IMHO are missing out on a huge part of the Porsche ownership experience. And there isn't a dealership in the world that is going to 'void your warranty' for doing your own service work like this. Sure, if you strip your spark plug threads they aren't going to fix it for you under warranty, but the idea that your car would instantly lose all warranty coverage the minute you turn a wrench on it is absurd.
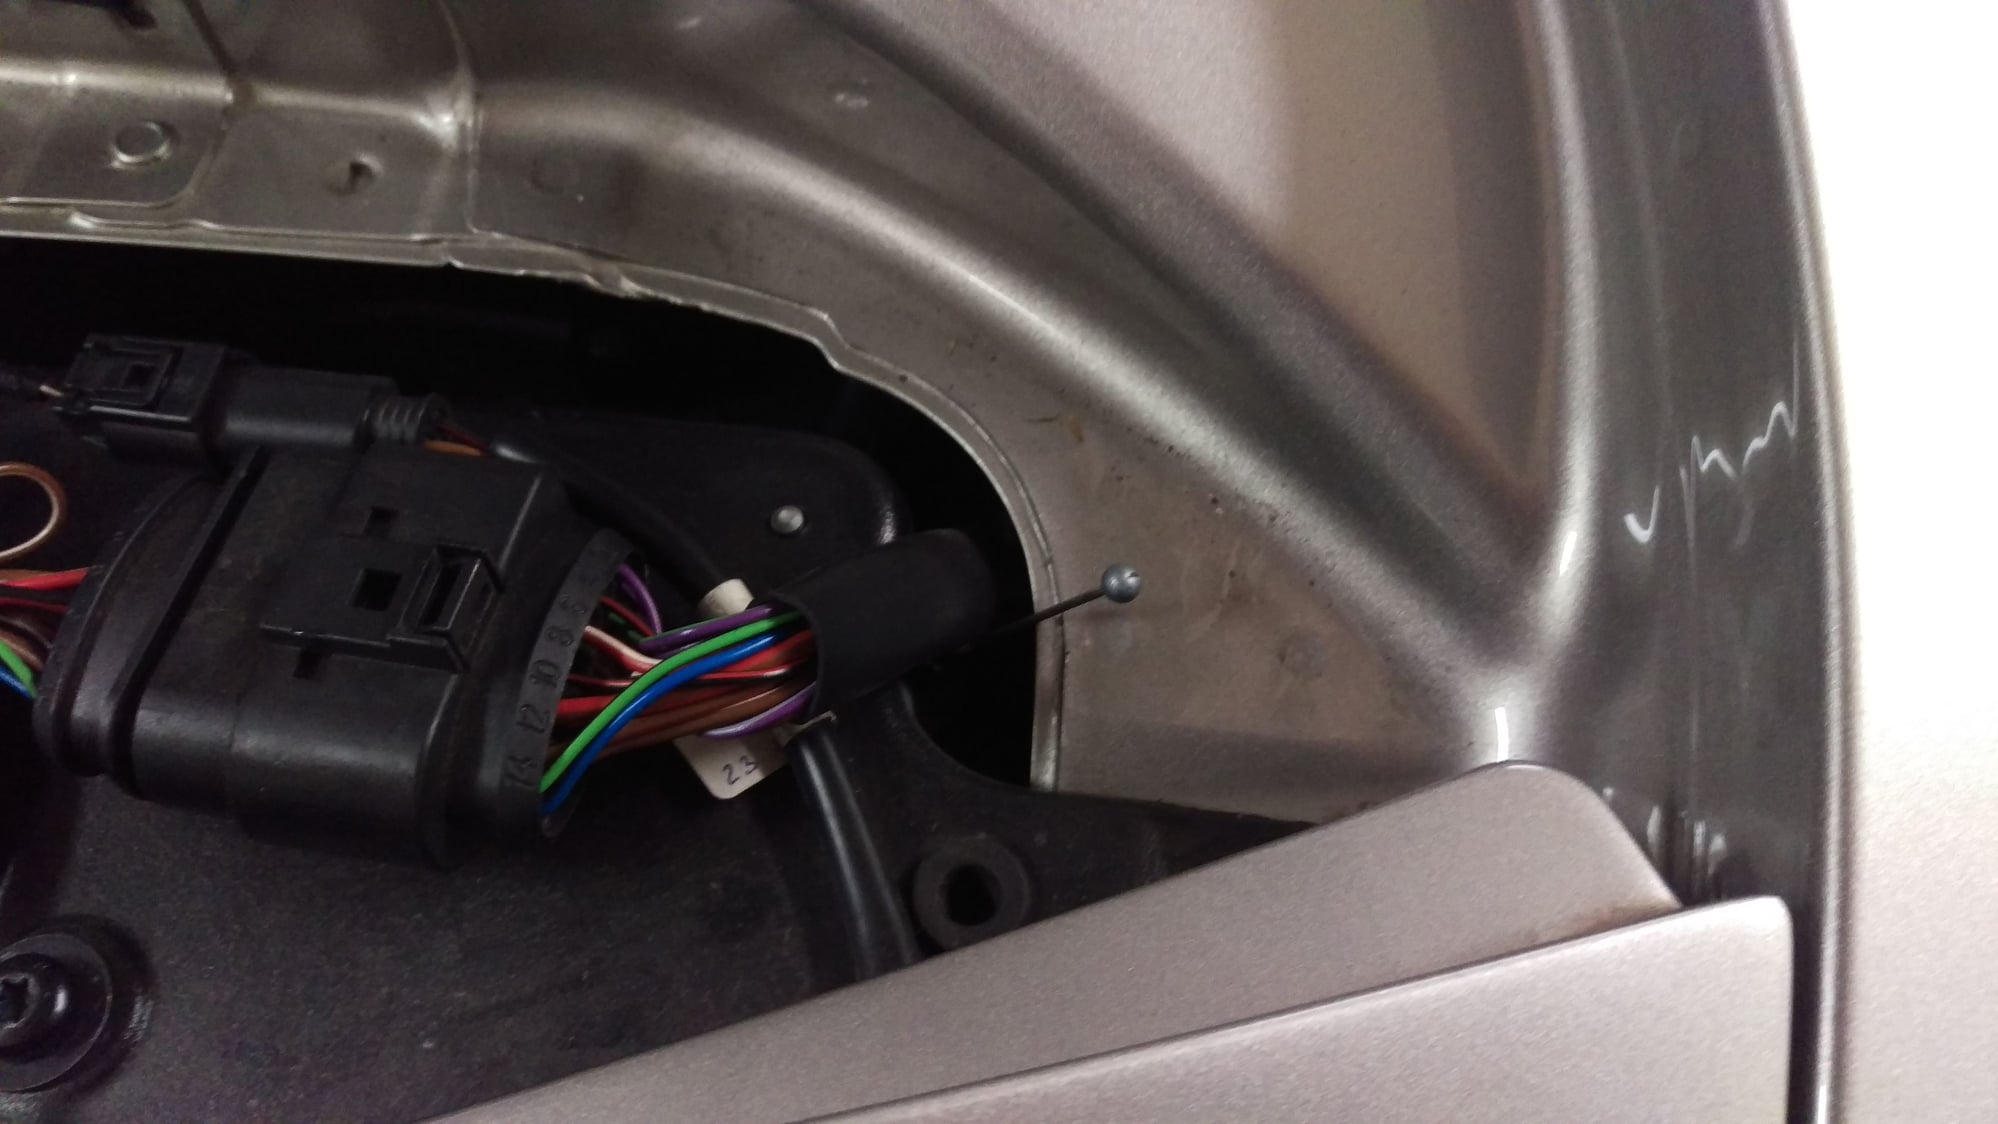
The wire with the little ball is your engine cover manual release. It generally resides under the black plastic cover above you rear passenger side tail light.
Originally Posted by CSK 911 C4S
Another question for you DIY guys.
What in the world is this little wire with a metal ball on the end.
It's located under the right side engine cover and it can be pushed down and then it pops back up.
And this other fluid reservoir. It has a dip stick and it looks like power steering fluid. Is this the PDCC fluid bottle? In looking at other 991 engine pictures this bottle is not visible.
Funny how so many people are led to believe that when they bring their cars into their shiny palatial dealerships, are greeted by the hired German in a 3 piece suit and tie, then are charged exorbitant maintenance fees for what amounts to a $40 oil change, they believe they are getting the best 'caviar' treatment their money can buy...
when in reality, the basic maintenance routine is so easy a high-school drop out can do it; er, wait...that's exactly who performs your basic maintenance at your stealership...
Exactly. And it is almost always low-man-on-the-totem-pole that does the oil changes, not the 'master mechanics'. It's the job the car wash guys and car porters get promoted into.
Funny how so many people are led to believe that when they bring their cars into their shiny palatial dealerships, are greeted by the hired German in a 3 piece suit and tie, then are charged exorbitant maintenance fees for what amounts to a $40 oil change, they believe they are getting the best 'caviar' treatment their money can buy...
when in reality, the basic maintenance routine is so easy a high-school drop out can do it; er, wait...that's exactly who performs your basic maintenance at your stealership...
Oil change is oil change. The local Wash and Lube place will do a change for $26.99 if you bring in your own parts; if you don't have jack stands, then it's the way to go. Several BMW people I know go there: the BMW dealer wants $180 for the same service (including parts). 7 quarts of full synthetic is $35, filter is $10, so that's $72 vs $180, or if you have the Wash and Lube place do it, they charge $80 total. Bonus; they are super nice, been there forever, and let my 5-year old walk down into the bay to watch them work!
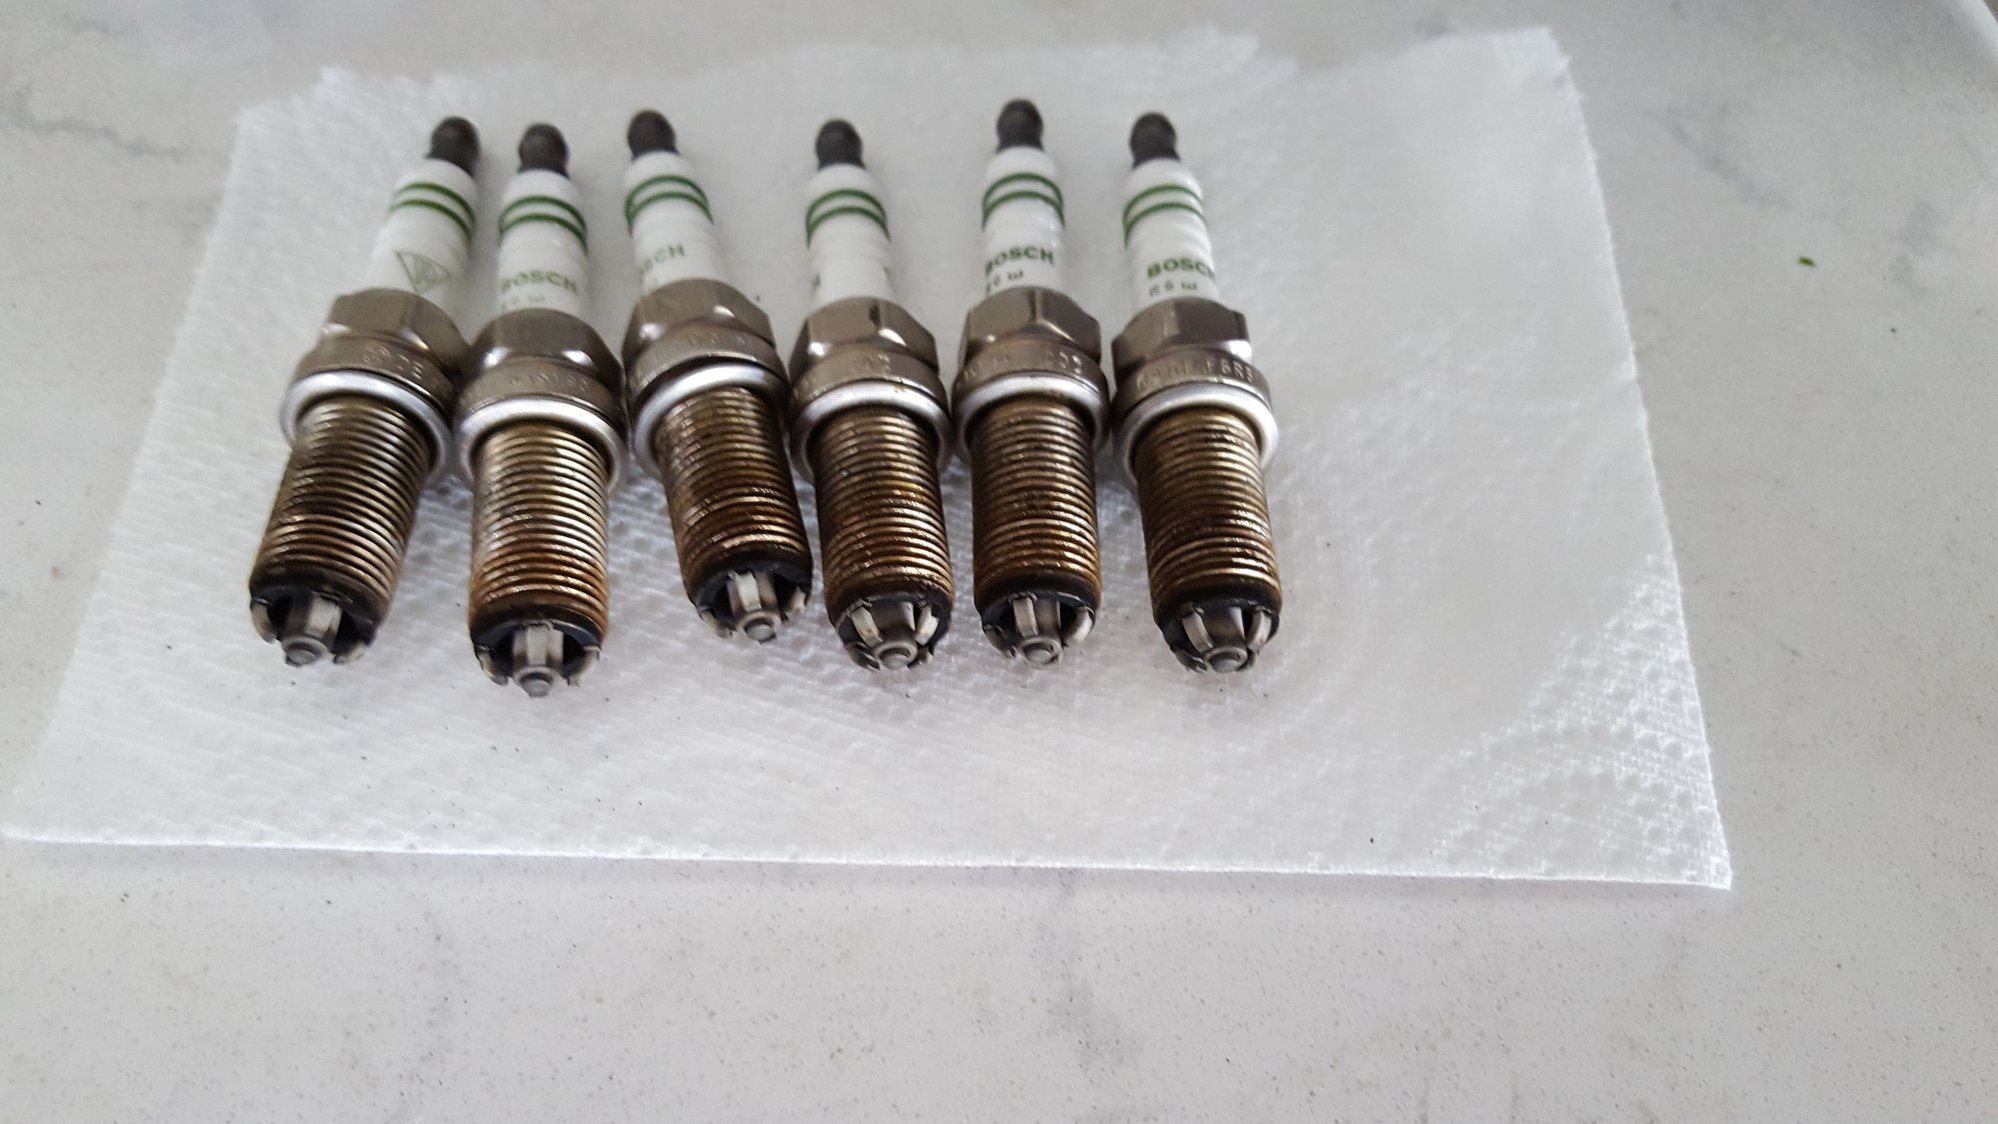
Yesterday I completed the spark plug change. Took me about 3 hours, but I'm slow with getting my car up on stands, removing wheels, etc. My car is 4 years and 2 months old, and has almost 26k miles.
Here's a picture of the old plugs. How do they look?
I bought Bosch FGR5NQE04 rather than the "Porsche" plugs. Only difference appears to be color of the stripes and the word "Bosch", which is green on the plugs I took out, and blue on the plugs I bought.
Here's a few extra pics for those considering doing this on their 991 C2S:
This picture shows the right side as soon as you take the wheel off (the left side looks almost exactly the same.
This is a closer view showing the two heat shield, and the 2 bolts per shield that need to be removed.
And this shows what it looks like (on the right-hand side) after the heat shields are removed.
Unlike the original poster, I did not have to move any brackets. With the right combination of extensions (I had a 3", 6", and 10" wobble, all 3/8" drive) and a swivel, I was able to get into all the plugs. It did require some sensitive wiggling of the extensions in order to get the spark plug socket to release the plug after installation, rather than releasing from the extension and staying with the plug inside the tube.


 06-20-2016 | 11:49 AM