When you click on links to various merchants on this site and make a purchase, this can result in this site earning a commission. Affiliate programs and affiliations include, but are not limited to, the eBay Partner Network.
OEMExtinguishers OEM Fire Extinguisher LWBS Kit Install Guide
Here at OEMExtinguishers, we strive to provide every bit of detail to make purchasing, and installing as simple as possible. With these becoming more common to be installed after receiving your new car, or even when purchasing used, we wanted to provide a full installation guide to be accessible to everyone. Link to a downloadable PDF here
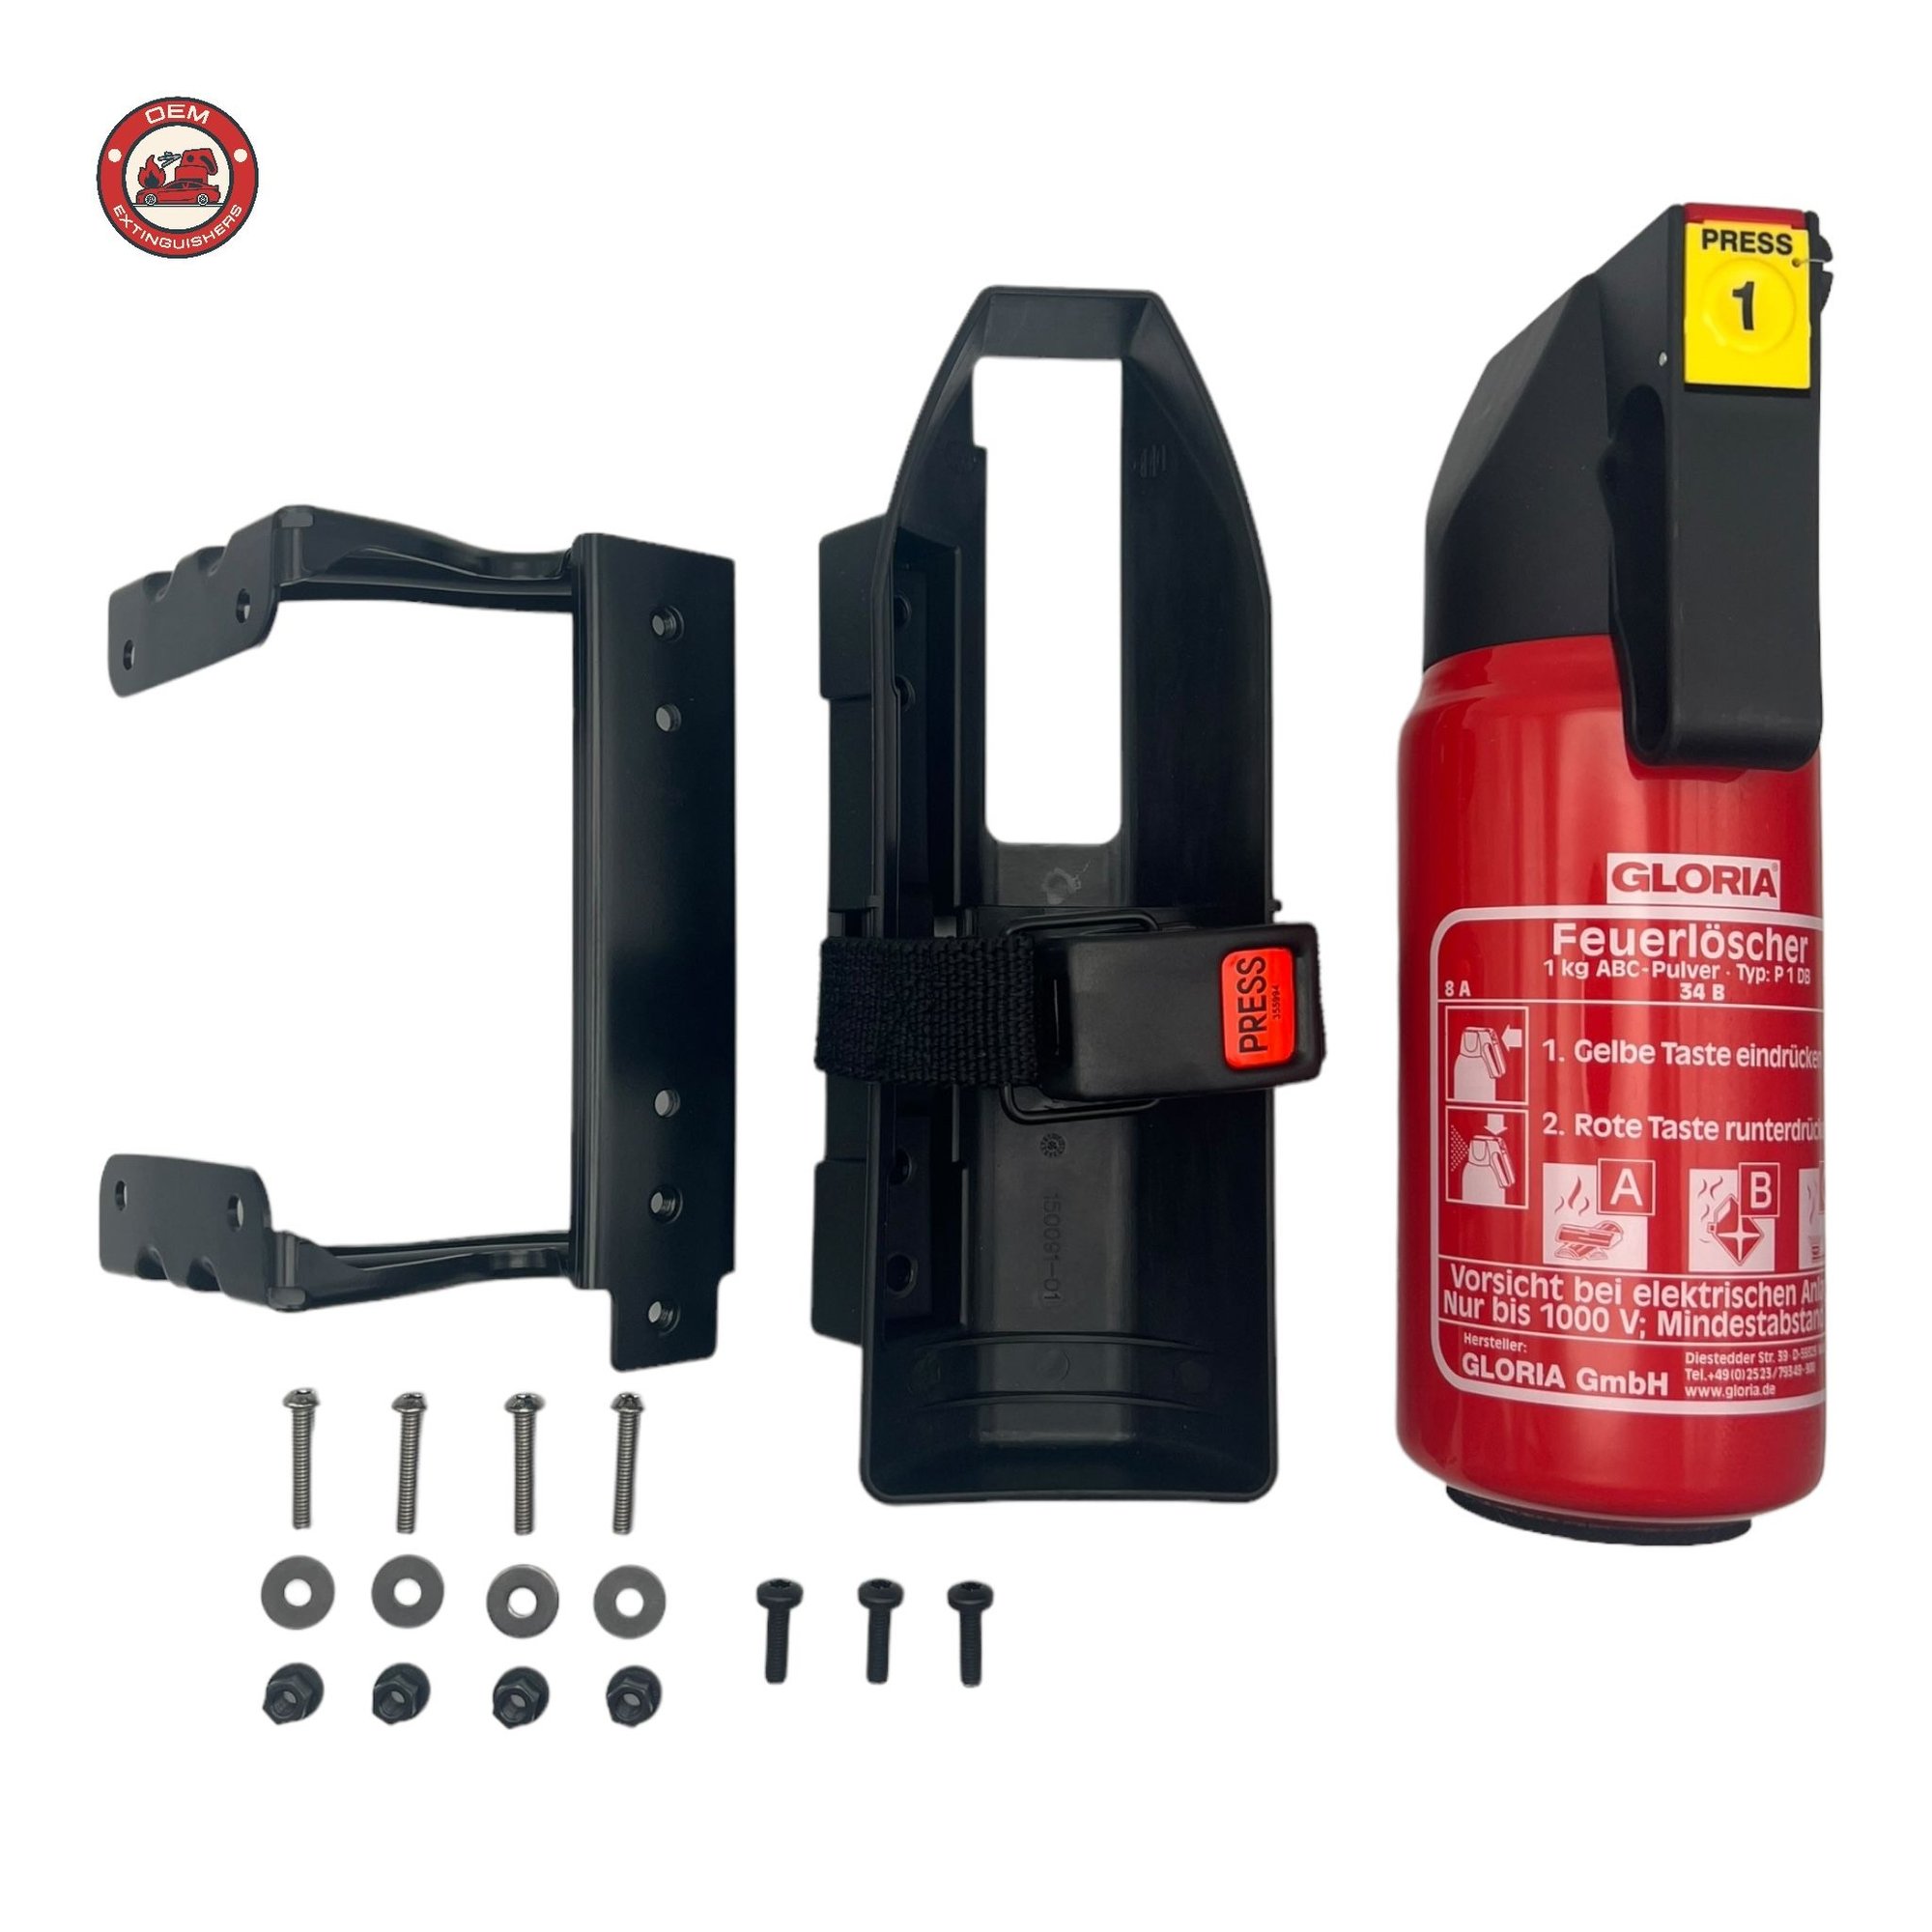
3x M6x20 Screws (for mounting holder assembly to seat)
Step 1: First we will need to remove the seat cushion on the passenger seat. Start with the backrest at the bottom, these are held in by Velcro. Once the backrest is out, you can now pull the bottom cushion starting at the back. Once the Velcro has released, at the front of the seat is a trim lock that will need to be released.
Step 2: (OPTIONAL) This step is optional as you don�t not need to unbolt the seat, but is highly recommended to prevent pinching any wires when installing the fire extinguisher bracket. If opting to unbolt the seat, this does not require you to remove the seat from the car. Just to simply lean it back to see the bottom of the seat.
To unbolt the seat, slide the seat all the way back and remove the 2 E12 bolts at the front. Then, slide the seat to the front and remove the 2 E12 bolts at the rear.
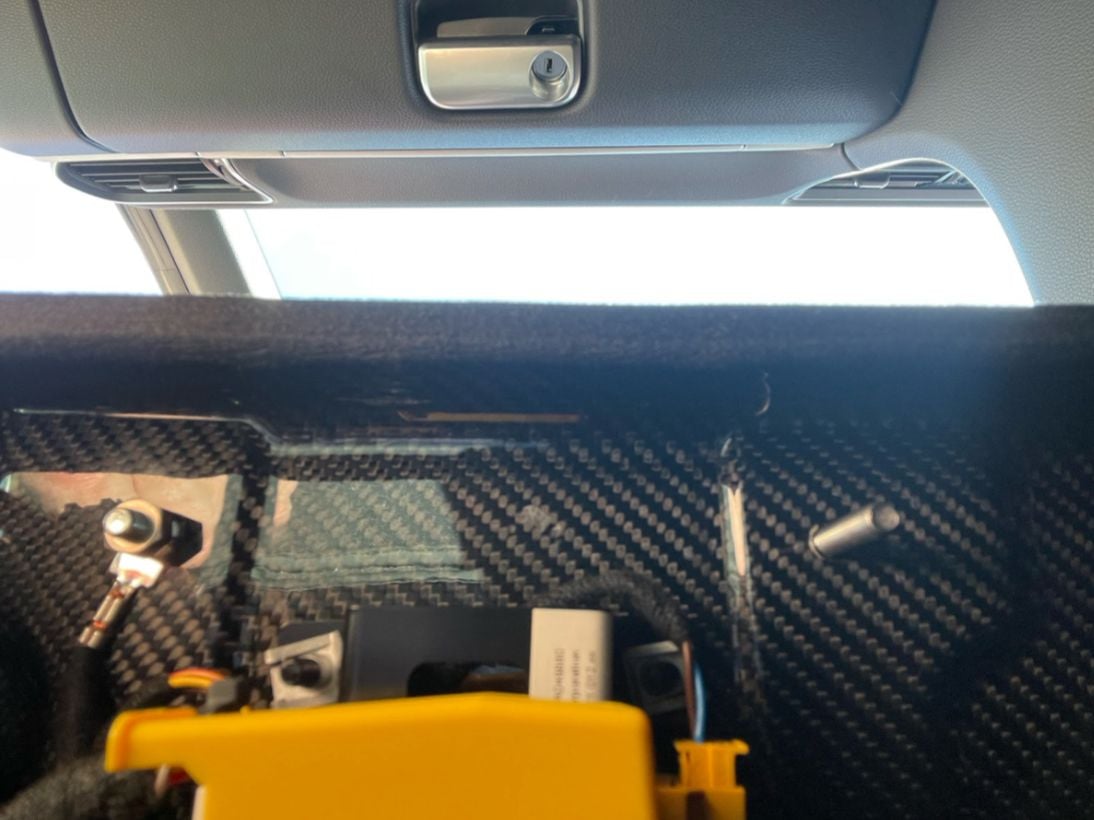
Step 3: From the bottom of the seat, you will find 4 holes. 2 may be occupied by studs holding ground wires (depends on model and options). The non occupied holes, take one of the M6x25 bolts and push it through the felt covering on the top side of the seat. If your seats have the ground wires (pictured below) remove them temporarily using your 10mm socket.
Step 4: Now that you have located the 4 mounting holes, from the topside insert your M6x25 screws/washer into the non-studded holes. Proceed to bolt the bracket to the seat using the supplied hardware and your T27 Torx. The finished product should look like this picture (side)
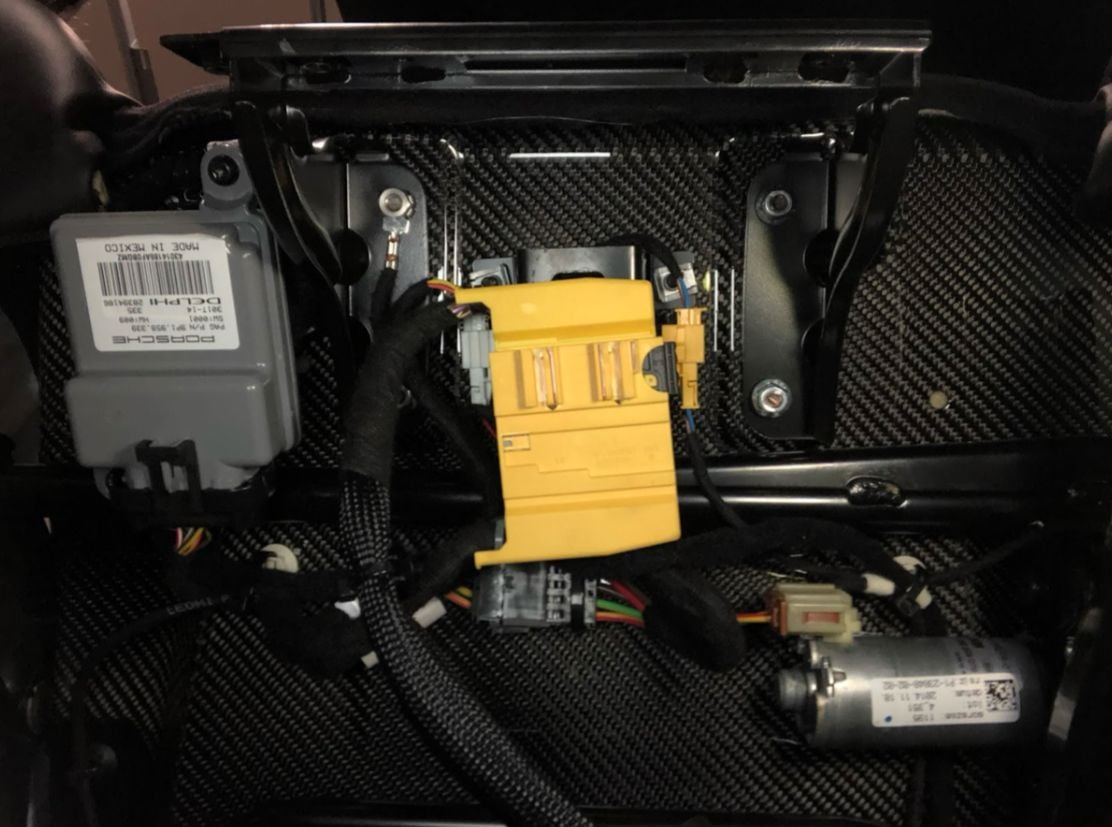
Step 5: Be sure to reconnect the ground wires exactly as pictured above, failure to do so may result in failed electronics.
Step 6: If you opted to unbolt the seat, at this time you should reinstall the 4 E12 bolts in the opposite process of Step 2. Once completed, verify seat moves forward and back freely.
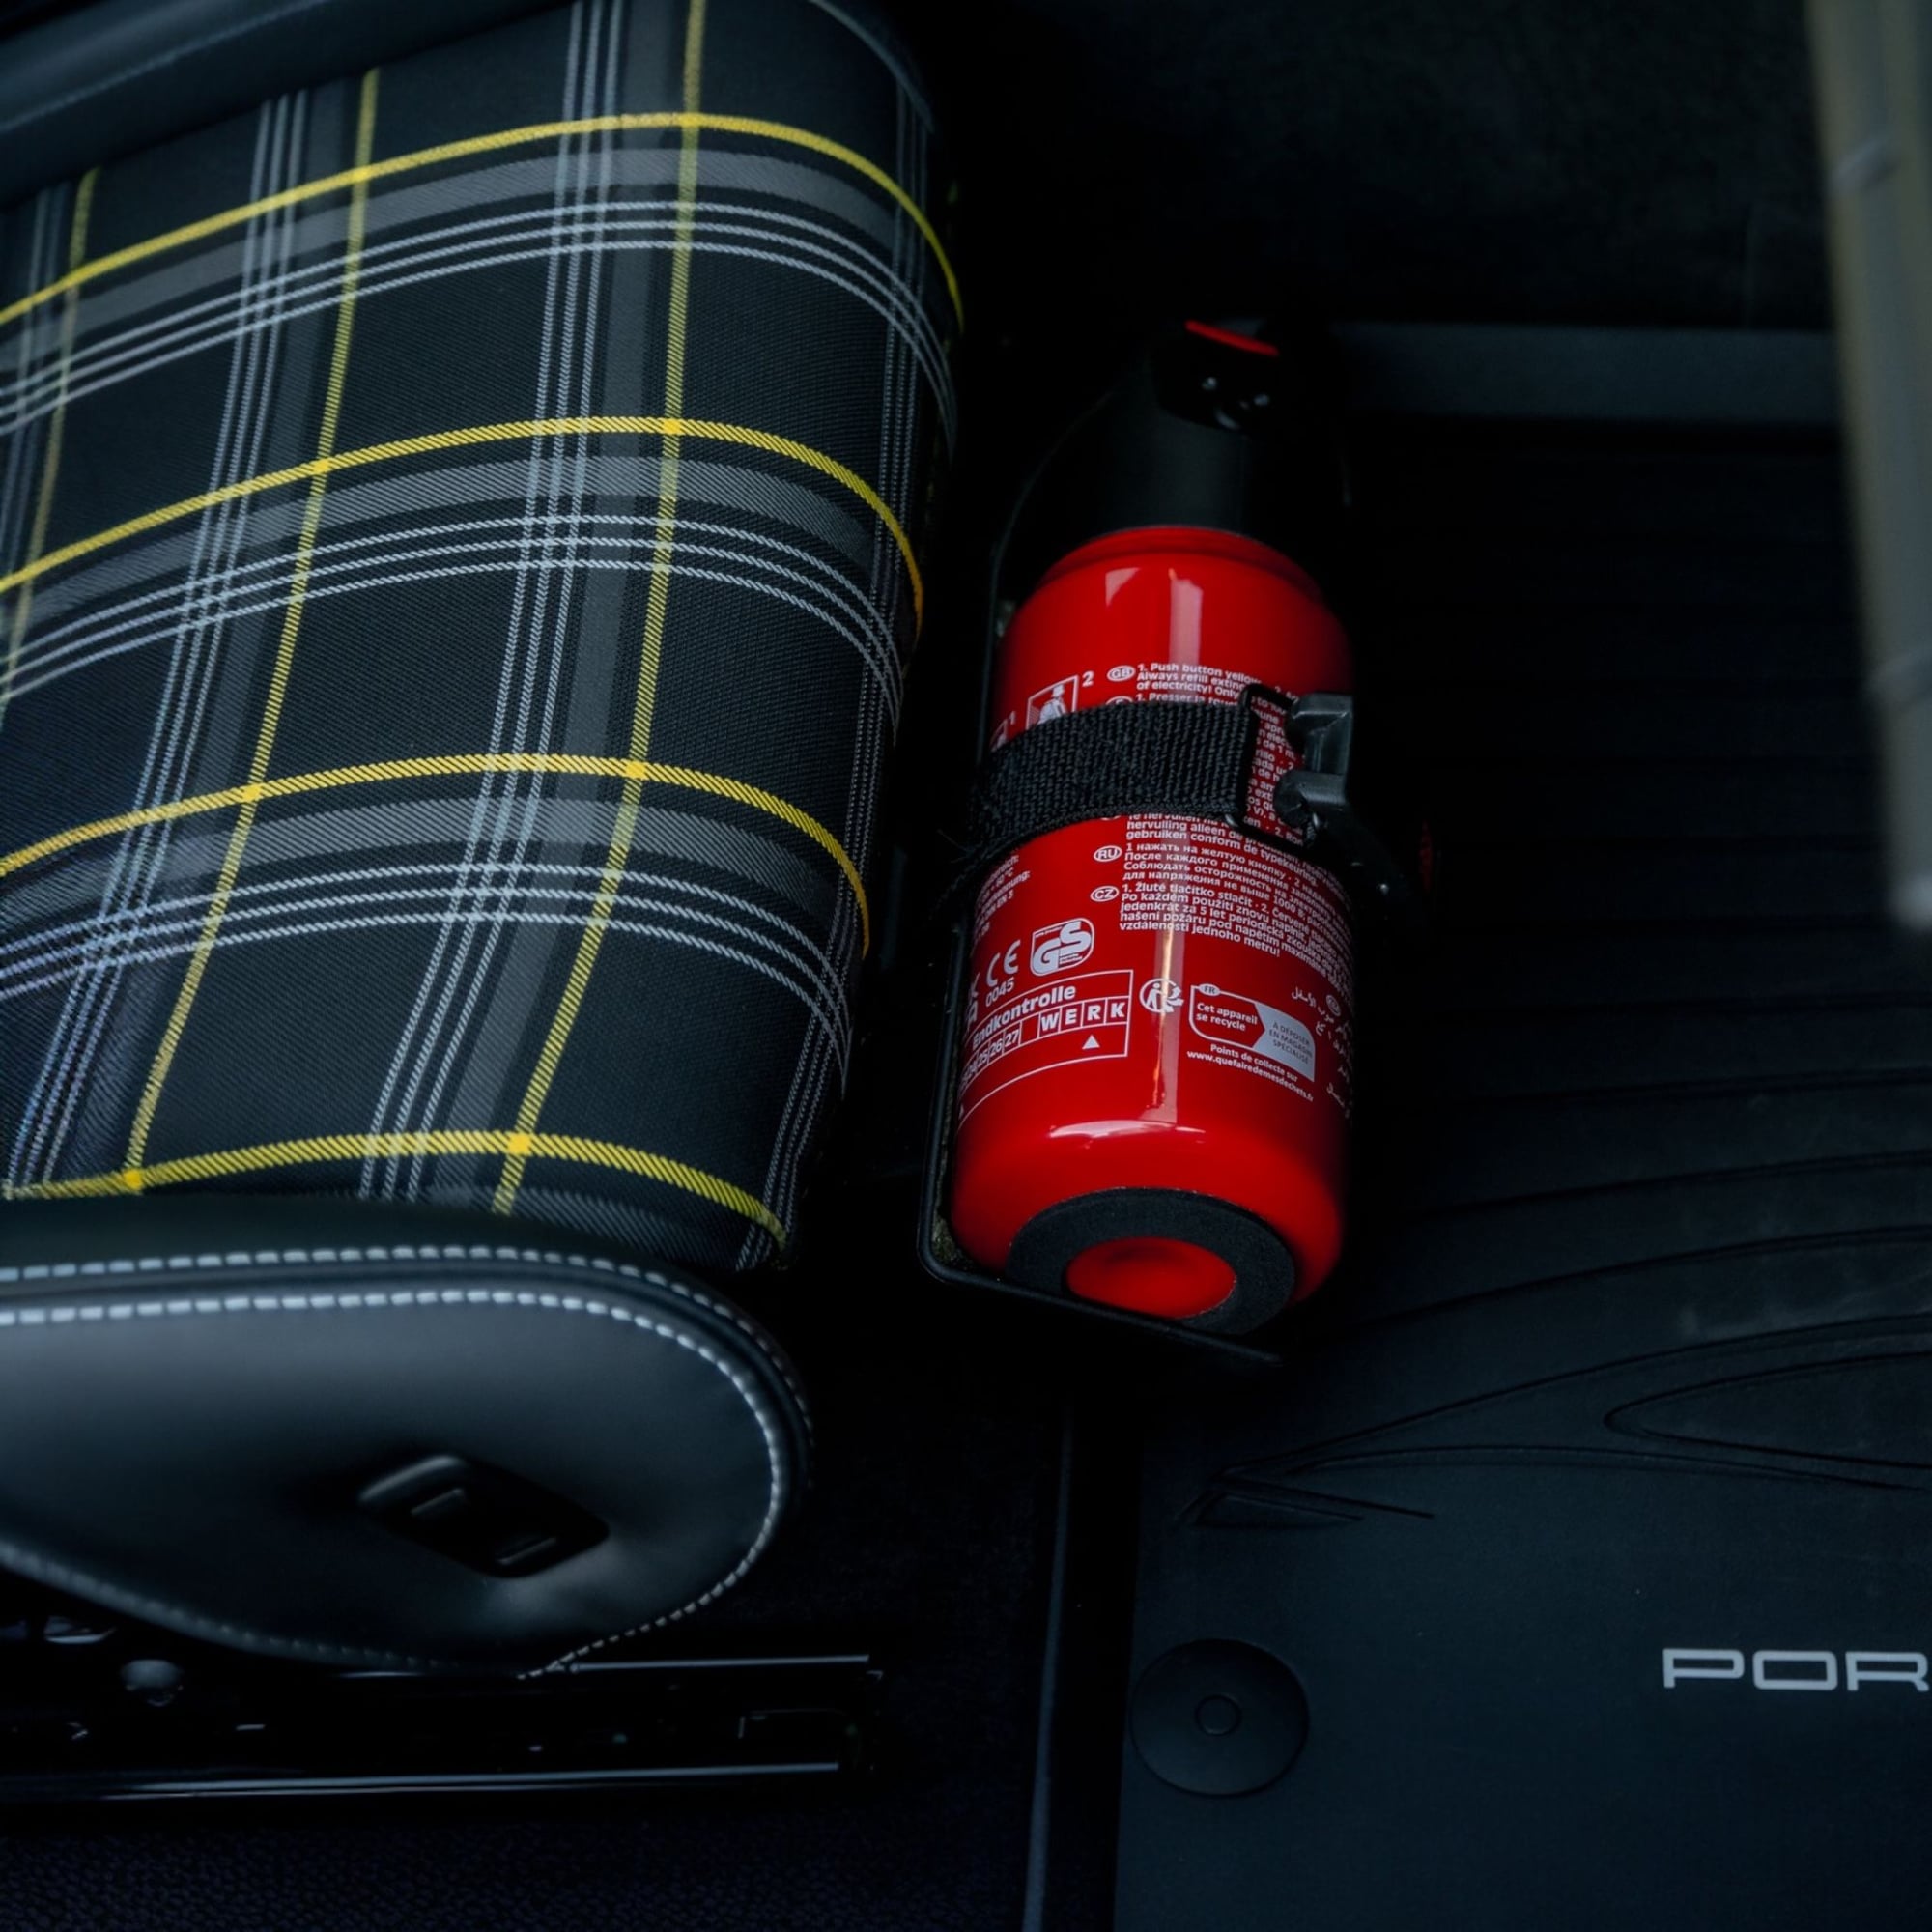
Step 7: Use the supplied M6x20 screws and your T27 Torx to install the holder assembly to the seat bracket. Once completed, you can now insert your fire extinguisher and this install is complete!
OEMExtinguishers thanks you for your purchase, and we are always available for assistance if needed!

 06-26-2024, 01:29 PM