DIY 991.1 C2S Radiator Screen
#16
Racer
Thread Starter
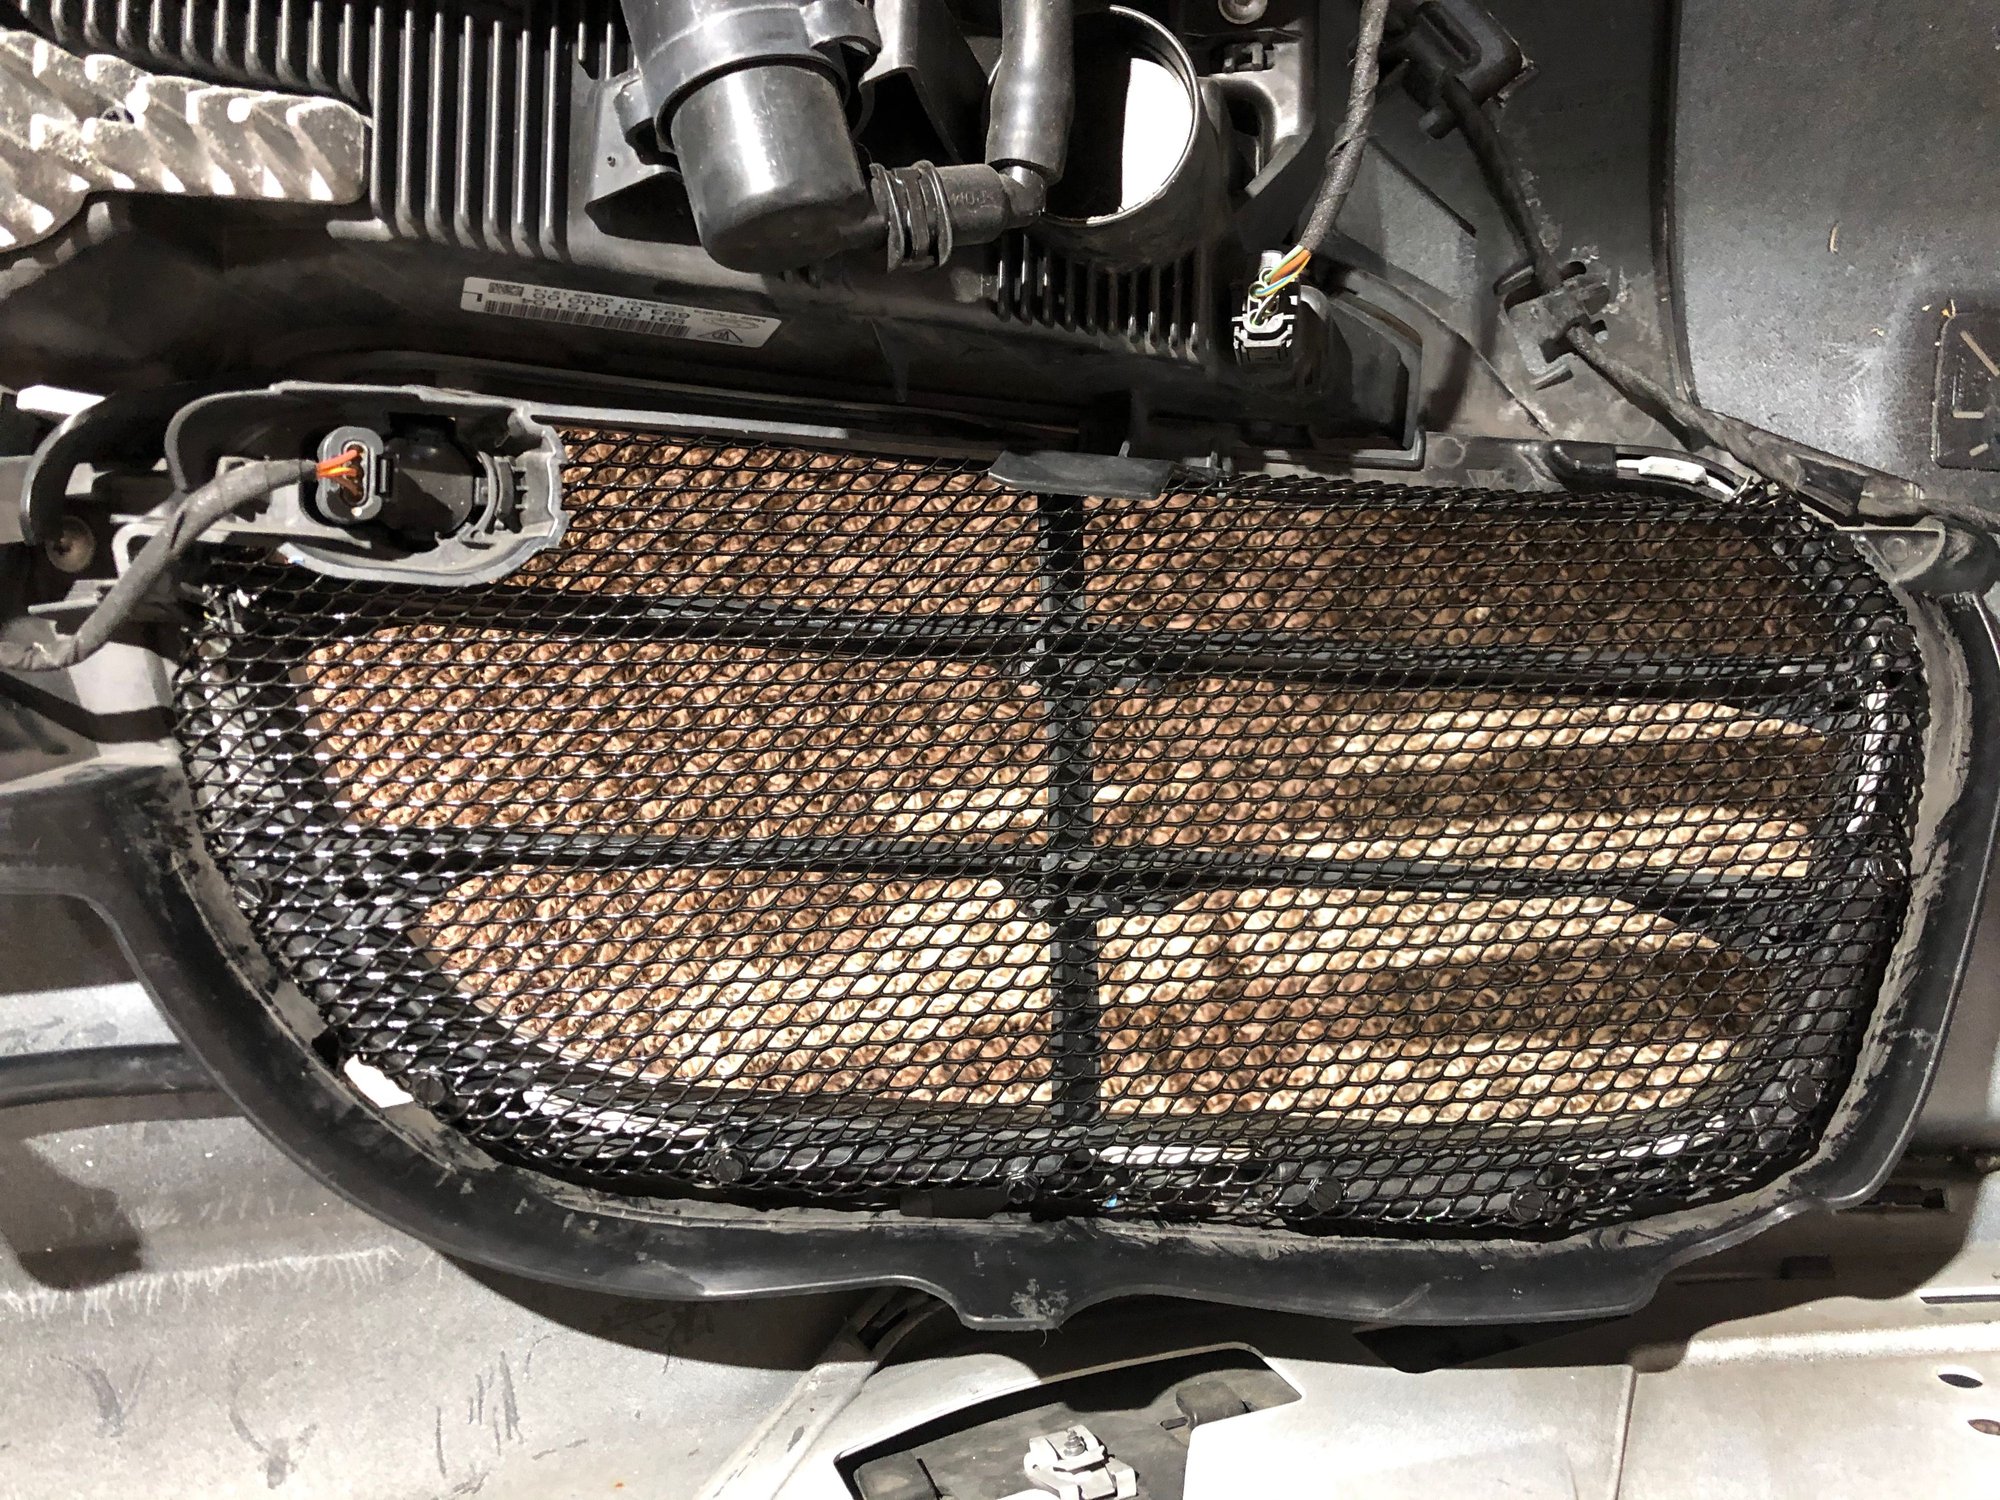
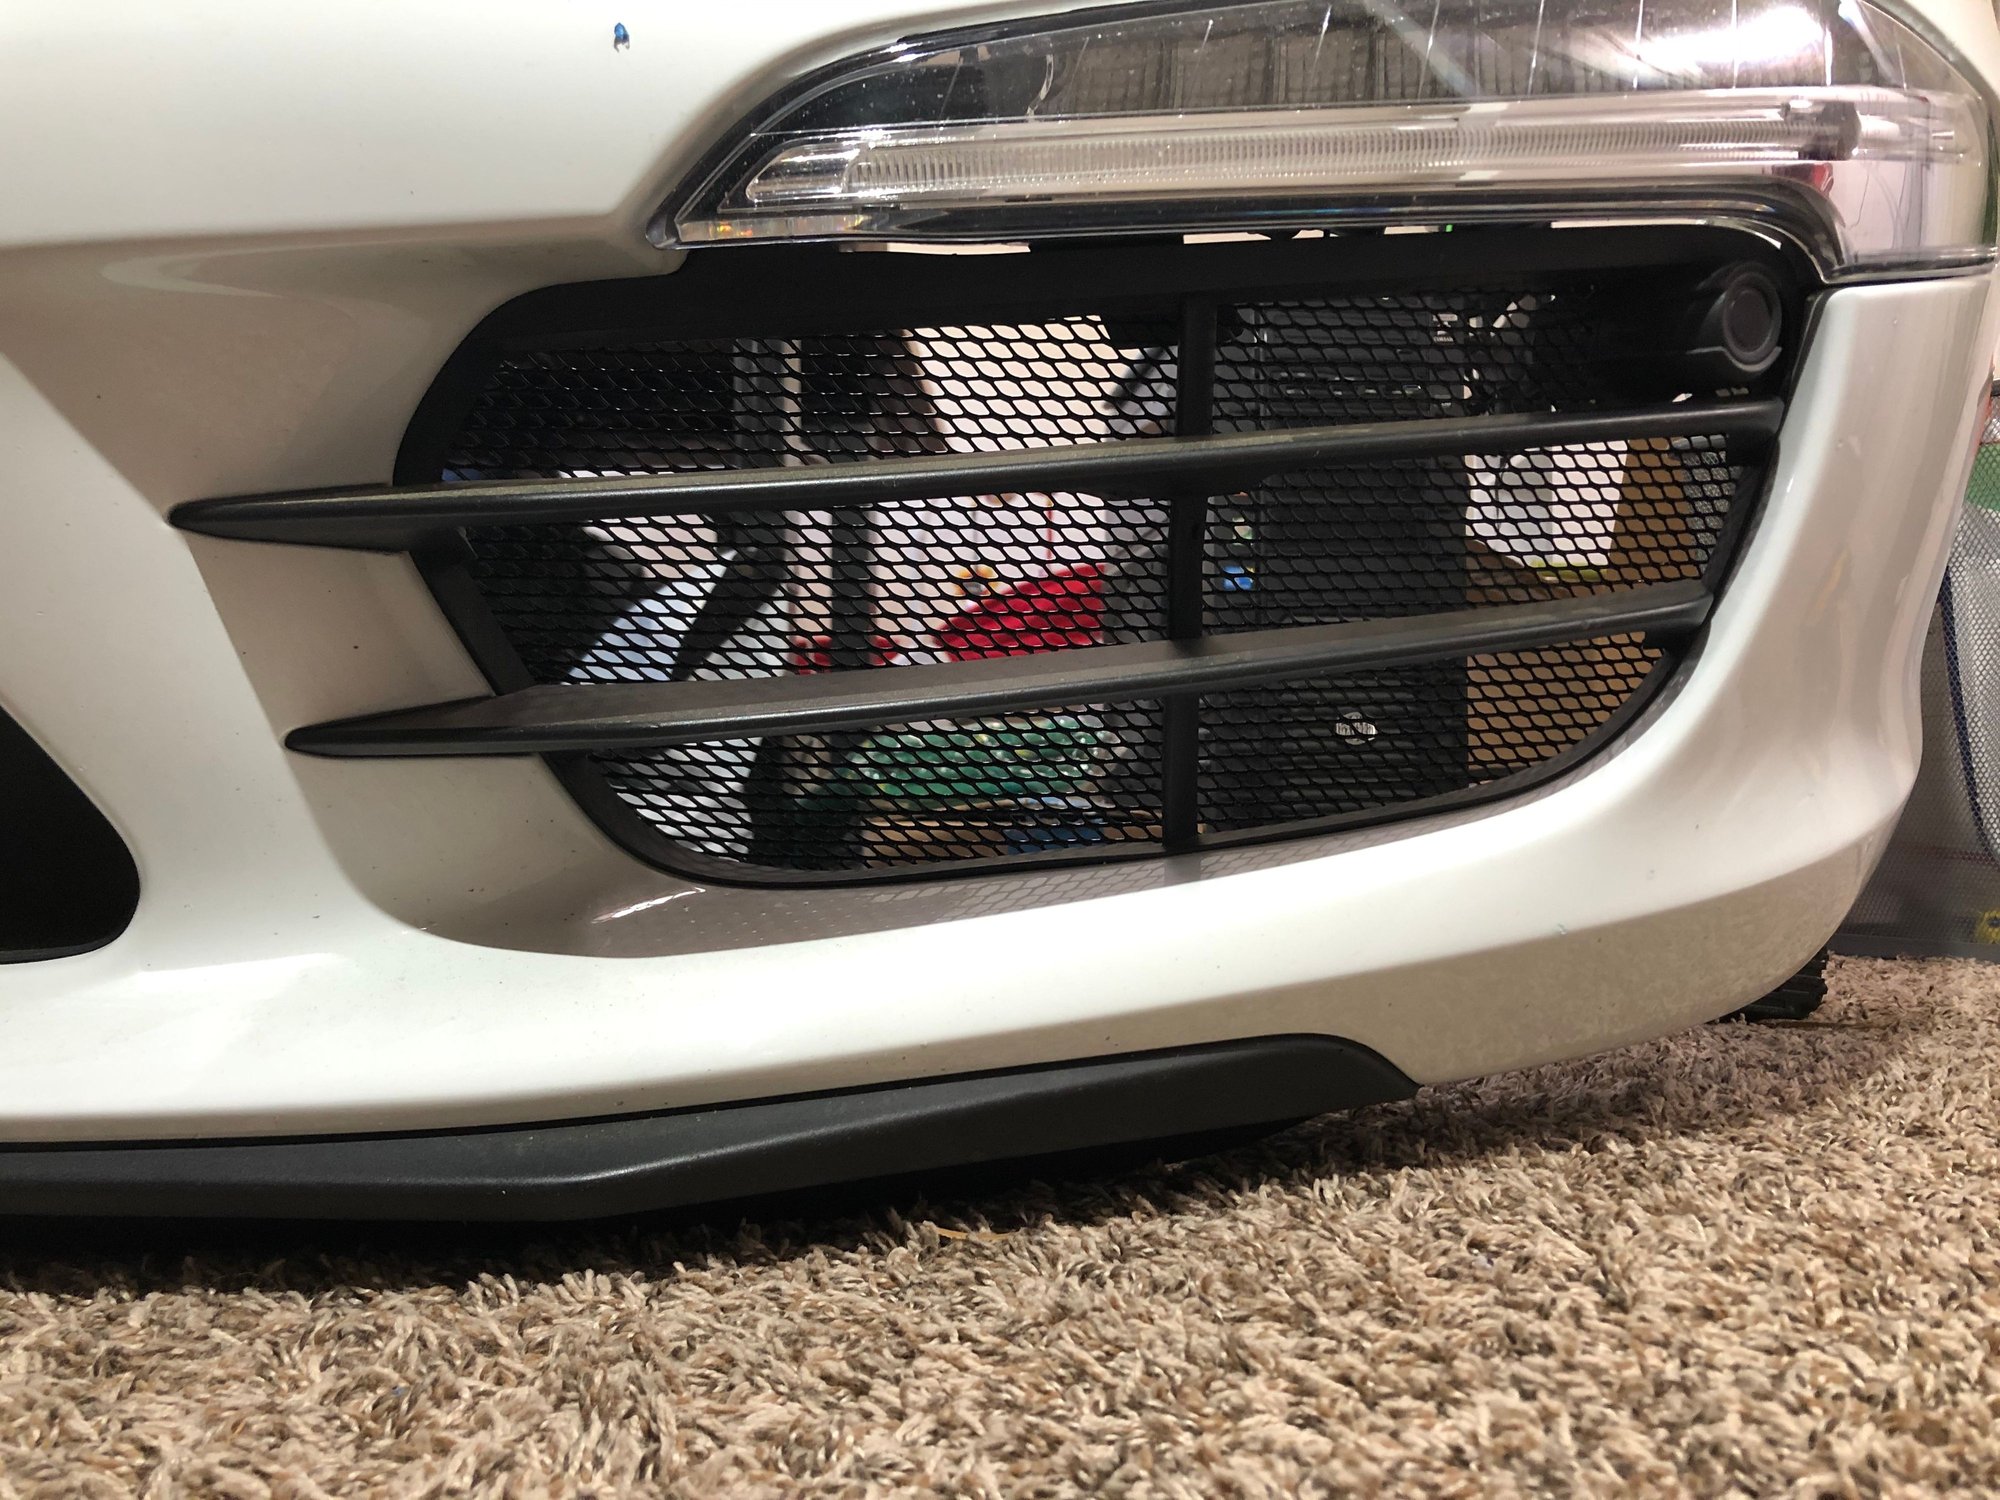
I installed custom grills I made myself. You can order the grill material from www.customcargriills.com. I selected the following grill pattern (small diamond) in a powder coated high gloss black. Refer to attached picture.
I also attached a template you can print, “zoom-out” on your printer to match the size of the left & right radiator vents. You will require (12) #8 Truss 3/8” screws. I recommend you try to locate black screws vs stainless. If you can’t locate black screws just paint them or use a permanent marking pen.
1.) Grill Material: I ordered 12” x 48” material which is sufficient for both radiators (Left & Right).
2.) Screws: I spray painted the screws with black paint before mounting them. Just ensure you scuff the heads of the screws with sand paper so the paint will bond properly.
3.) Grill Template: Make a template out of cardboard; you only require a single template, (If you make a template for the left side, just flip cardboard and you have a mirrored match for the right side)
4.) Place cardboard template over grill material and use painters tape around the edge (perimeter) ensure you leave extra material around the edge so you can text fit the grill around the backside of the radiator grill vents. The material can be manipulated by hand to form around the vents.
5.) Cutters: I used a narrow set of scissors and small diagonal cutters to cut the material. (CAUTION!) The grill material edges are super sharp, so exercise some safety guideline, otherwise you will likely end up with some bloody fingers.
6.) Mounting Grill Material: Follow the second attached picture to reference where to place the screws. I used a 1/16” drill bit to make a pilot hole. Don’t apply too much pressure but just enough to tap into the plastic flat edge around the vent. If you apply too much pressure you will likely blow a hole through the outside facing area of the bumper.
7.) Screws: Secure the screws with a hand screwdriver. Using a hand screw driver will mitigate the possibility of stripping the pilot hole.
Best of luck.


