When you click on links to various merchants on this site and make a purchase, this can result in this site earning a commission. Affiliate programs and affiliations include, but are not limited to, the eBay Partner Network.
Great thread on brakes! My question is what must you do re brake fluid? Are there any cautions when it comes to that?
Do you mean as in when you use the pad spreader to push the pads in? Yeah, so I just keep an eye on the MC and make sure the fluid doesn't come up through the vent and make a mess. I put some rags around the mouth just in case. But to be honest I don't recall the fluid rising much at all when I did mine, but I only had to spread the pads enough from about 7mm wear. (my rotors were lipped which was the primary reason I did pads and rotors).
From: Reno/McCarran, NV - Bay Area, CA - NW Burbs of Chicago, IL
Originally Posted by acwild70
Which Brake Pads do you guys like? I have a �12 C2S
Spirited street use- No track
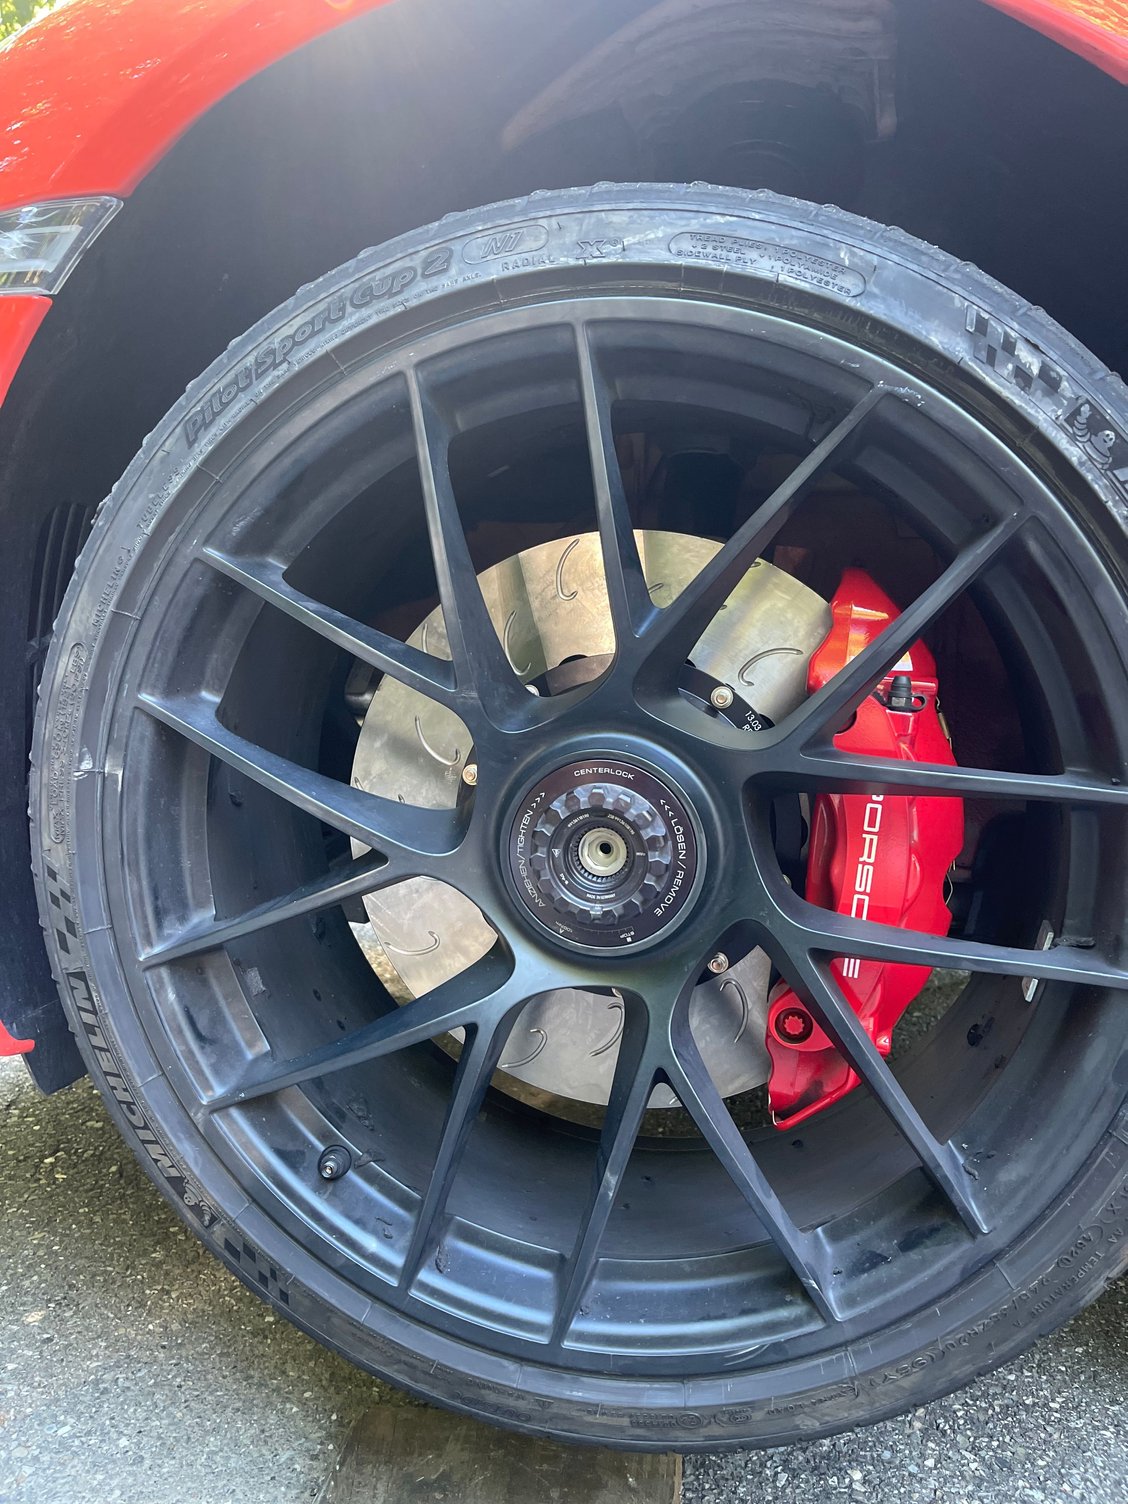
Preferably something with low dust� it seems to drive me crazy on these Black wheels� unless you have better suggestions
Thanks
There are two very popular options from Endless - MX72 and Premium compound. MX72 is an excellent option if you want to increase the performance over the stock pads while reducing the dust. However, if the ultimate goal is to reduce dust output as much as possible without sacrificing too much on initial bite, overall friction and all the other attributes Porsche intended the brakes to have then Endless Premium is a top contender.
Great thread on brakes! My question is what must you do re brake fluid? Are there any cautions when it comes to that?
Consider brake fluid flush while you are doing brake pad/rotor replacement. You are already there anyway so minimal extra labor. Some use this opportunity to also switch to SS brake hoses.
There are two very popular options from Endless - MX72 and Premium compound. MX72 is an excellent option if you want to increase the performance over the stock pads while reducing the dust. However,
if the ultimate goal is to reduce dust output as much as possible without sacrificing too much on initial bite, overall friction and all the other attributes Porsche intended the brakes to have then Endless Premium is a top contender.
LOVE my MX72. Pedal feels better, initial bite is better, overall braking feels better, dust is significantly reduced, no noise, held up great on a track day... and the blue pads look nice in the caliper... You get what you pay for.
Last edited by AdamSanta85; 06-17-2021 at 12:11 PM.
This thread with the links to step by step guides and the youtube video was very helpful as I went through rotor replacements at all four corners.
The biggest time suck with the whole job was dealing with the stupid center lock wheels, but they aren�t too bad now that I�m used to them.
I ran into some issues as the wrong pads showed up and I didn�t notice until I went to install them. There�s enough life on the old pads for street driving, but no way could they make it through another track day.
I decided to stick with Ferrodo DS2500 pads as they�ve worked well on the street with only a bit of noise and they�ve held up well on track.
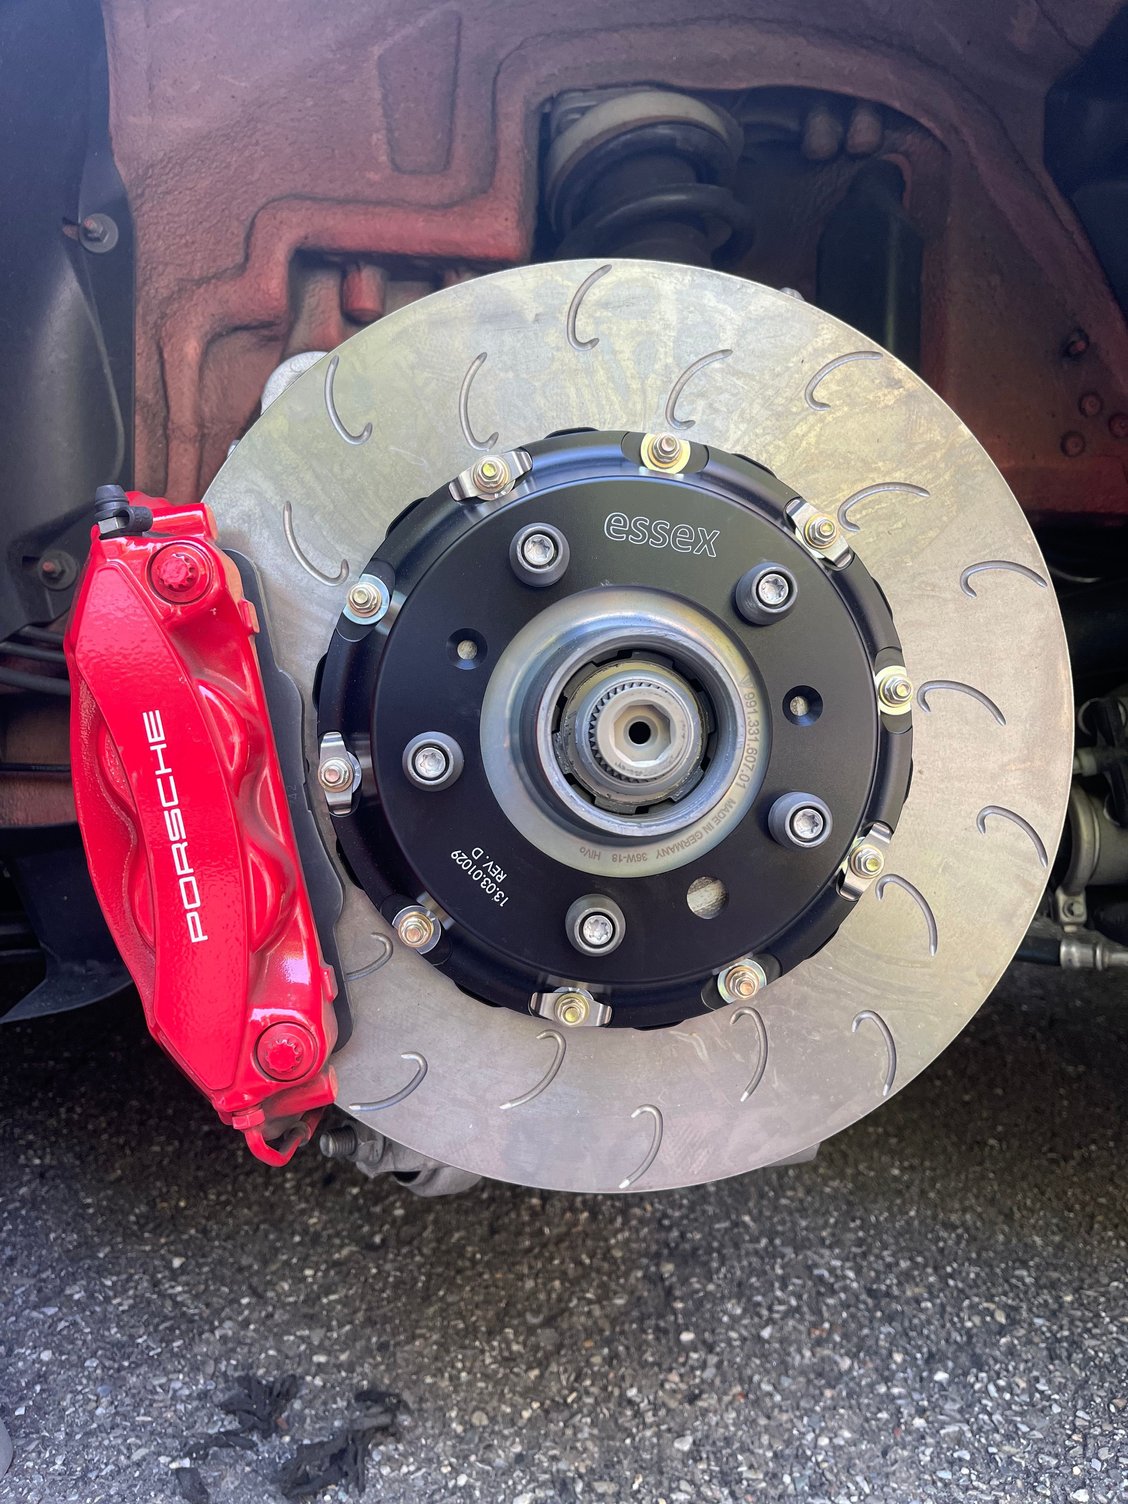
For rotors, after 11.5k miles and ~14 track days, the OEMs were thoroughly cooked in the front - considerably cracked and small chunks breaking loose from the outer edge of the rim of the discs. The rear rotors were in much better condition, but I made the choice to swap out all four with Essex�s APracing 2 piece rotors. Essex very helpfully includes longer caliper bolts and spacers for the rear to accommodate the new 350mm rear size (up from I think 330mm OEM).
I also added Tarret�s caliper and brake line bracket studs to the front while I was in there. I probably won�t be swapping pads enough to truly merit the stud kits, but it seemed better than Porsche�s (allegedly) single use caliper bolts.
The Precision Instruments torque wrench and breaker bar kit and Jack Point stands were a huge help.
If the correct pads arrive in time, the next track day is July 12th at LRP with CVR, so I�m eager to see if I notice any difference in brake performance.
Thanks again to all who contributed to this thread and also to Essex whose customer service and products both make for a winning combination.
(and, no� I am not obsessive about the cleanliness of my car. I hope no one is triggered!) 🤣
Just replaced my factory pads (7,000 miles on them) with Hawk Ceramics this weekend. I have black wheels and I had to stop the semi-metallic dust. The factory pads are for sale, btw ($100 + shipping) if anyone wants them. I also installed the Tarrett Engineering caliper studs. Some say the rears are more difficult, but I found them to be much faster as only the pad wear sensor and the caliper have to be removed.
Also, here's a tip to make it easier on you. Disconnect the wear sensor, remove the rear caliper and THEN remove the pad wear sensors from the brake pads. It is much easier to get to them after the caliper has been removed. I highly recommend the Tarrett Engineering studs. Re-installing the calipers was much easier than when using the OE bolts.
I also installed ECS spacers 5mm front and 3mm rear while I was at it.
Last edited by cutlass476; 06-21-2021 at 01:25 PM.
Just replaced my factory pads (7,000 miles on them) with Hawk Ceramics this weekend. I have black wheels and I had to stop the semi-metallic dust. The factory pads are for sale, btw ($100 + shipping) if anyone wants them. I also installed the Tarrett Engineering caliper studs. Some say the rears are more difficult, but I found them to be much faster as only the pad wear sensor and the caliper have to be removed.
Also, here's a tip to make it easier on you. Disconnect the wear sensor, remove the rear caliper and THEN remove the pad wear sensors from the brake pads. It is much easier to get to them after the caliper has been removed. I highly recommend the Tarrett Engineering studs. Re-installing the calipers was much easier than when using the OE bolts.
I also installed ECS spacers 5mm front and 3mm rear while I was at it.
I have the black wheels as well and the dust is driving me crazy�. How do those Hawks Feel?
I just did the rear rotors and pads on a 2013 c2. The information on this site and YouTube have been priceless. A couple of things to share:
(1) I found the easiest way to remove the sensor cable is to use a small Allen wrench. Hook the small end in the clip and pull with the other end. It makes unclipping the sensor a breeze. See picture showing what I did. I had unclipped the sensor at this point.
(2) I was torn on how to raise the car from the back as I was reading all sorts of opinions. I ended up raising the car from the back via the middle of the rear cross member and then used esco jack stands in the designated rear jack points. Although not a fan of the height cause putting the wheels on was a pain. If I had to redo I would get shorter jack stands. Any recommendations?
(3) Rotor screw was warped. Invested in a impact screwdriver which was worth it. Did not want to go through the hassle of drilling.
So many people on RL have recommended the JackPoint stands that I went ahead and purchased a pair too. I�m able to jack up the rear of the car in conjunction with these and simultaneously place normal jack stands up front. While they seem to always be out of stock, I contacted him and got on a wait list and got them reasonably/acceptably quickly.
Ark 20- thank you for the Allen wrench tip and photo. I went ahead and bought a Quick Jack ($1,000) which was best $ I have spent since it works on 911, Tacoma, and wife and children’s vehicles too. Garage ceiling too low for a 2 post or 4 post lift.
I just did the rear rotors and pads on a 2013 c2. The information on this site and YouTube have been priceless. A couple of things to share:
(1) I found the easiest way to remove the sensor cable is to use a small Allen wrench. Hook the small end in the clip and pull with the other end. It makes unclipping the sensor a breeze. See picture showing what I did. I had unclipped the sensor at this point.
(2) I was torn on how to raise the car from the back as I was reading all sorts of opinions. I ended up raising the car from the back via the middle of the rear cross member and then used esco jack stands in the designated rear jack points. Although not a fan of the height cause putting the wheels on was a pain. If I had to redo I would get shorter jack stands. Any recommendations?
(3) Rotor screw was warped. Invested in a impact screwdriver which was worth it. Did not want to go through the hassle of drilling.
Happy to answer any questions.
I have two Jackpoints and two Esco stands. Both work well. If I had some cash laying around, I would order another pair of Jackpoints.
Great tip on the sensor connector/Allen wrench. Getting that connector unseated was a significant pain in the rear when I did my front pads and rotors in Feb. FWIW I used my cordless 1/2" impact wheel gun on the brake disk rotor screw; made short work of getting them out.
Question: for the rears especially, did you have to do anything extra to account for the parking brake, in terms of retracting the old pads, or resetting the parking brake after the brake service?
Last edited by Rich_Jenkins; 10-04-2021 at 10:49 AM.
Question: for the rears especially, did you have to do anything extra to account for the parking brake, in terms of retracting the old pads, or resetting the parking brake after the brake service?
Other than not engage the parking brake I didn�t do anything different that what I would expect to do for the fronts which I�m planning to do over the coming weekend. Also I wasn�t aware that the parking brake needs to be reset. I didn�t get any alerts for it.
Another tidbit is that my old sensors only had one indicator while the new one had 2. I attached the sensor which is on the inside pad first by pulling it ,as much as possible, in the caliper from the back and attaching to brake pad before setting the brake pad in the caliper. I then set the outside brake pad in the caliper and plugged in the other sensor. Pushed it carefully with a small screw driver till it set. Once both sensors were clipped then I used the small screw driver to place the wires in the place holder at the back of the caliper.
Ark 20- thank you for the Allen wrench tip and photo. I went ahead and bought a Quick Jack ($1,000) which was best $ I have spent since it works on 911, Tacoma, and wife and children�s vehicles too. Garage ceiling too low for a 2 post or 4 post lift.
I had been eyeing the quick jack but I don�t work on cars enough to warrant the cost. Just this past month I changed my sons Lexus rotors/brakes and now doing mine. Next time I jack up either cars for maintenance would be early next year. Maybe if it goes on sale I might reconsider. Now you got me thinking LOL.


 06-16-2021 | 06:25 PM