When you click on links to various merchants on this site and make a purchase, this can result in this site earning a commission. Affiliate programs and affiliations include, but are not limited to, the eBay Partner Network.
I like the emblem on my rear so I will not tell you to leave them off since it looks to barren back there to me with nothing there, but it is your car. If you are not doing PPF though leave them on since why take the chance they will not be in the exact place afterwards? I used a great installer and it never recommended that they come of...sounds like your place is just lazy to not want to work around them.
I am having a professional detailer do a paint correction and apply a ceramic coating to my black 991.1. He assures me the best way to do this is to remove the rear lettering so he can really cover the back effectively. He also assures me he can get them back in exactly the same location using stencils, etc. Any input on this would be greatly appreciated.
For simple paint correction and coating on a new car, we would opt to leave the badges on the car and properly mask them off.
For paint protection film, you would definitely want to remove them
What he said.
I had paint correction and ceramic coating done on my new GTS and the coating was applied to the badges. I asked the shop that did the work if they would remove the badging and they said they could remove the badging if I insisted but felt that it wasn't necessary. Good enough for me.
I had paint correction and ceramic coating done on my new GTS and the coating was applied to the badges. I asked the shop that did the work if they would remove the badging and they said they could remove the badging if I insisted but felt that it wasn't necessary. Good enough for me.
Same here, black too. Never even considered taking badges off, even for me that would be overthinking it.
totally agree here. For PPF you want to remove them to get a clean look and have no seems but your detail should be able to work around them just fine for a paint correction and ceramic coating.
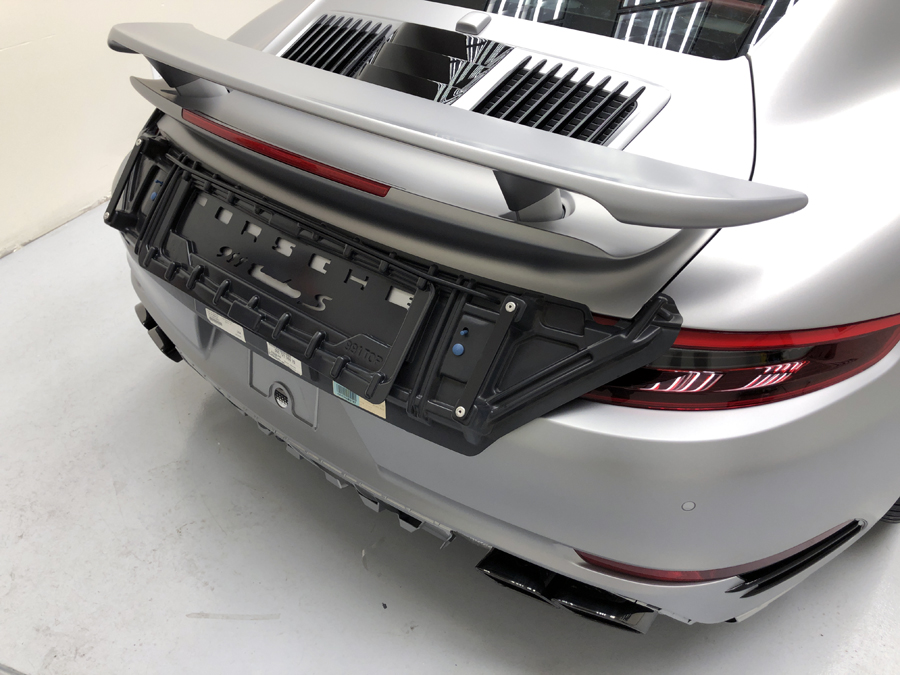
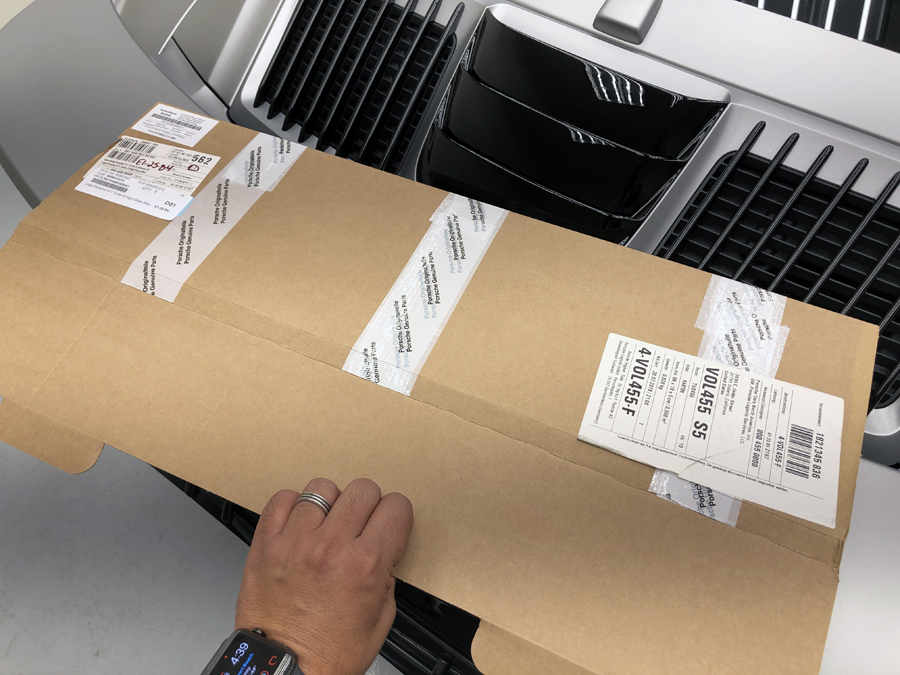
I had my 2018 991.2 GTS fully wrapped in ClearGuard Nano PPF and then had the entire car ceramic coated using GTECHNIQ Crystal Serum Black. Agree with what was said earlier that for PPF you absolutely want the rear badges removed. My detailer had an account with Porsche for parts so they simply included the replacement badging in my PPF pricing as a complete package.
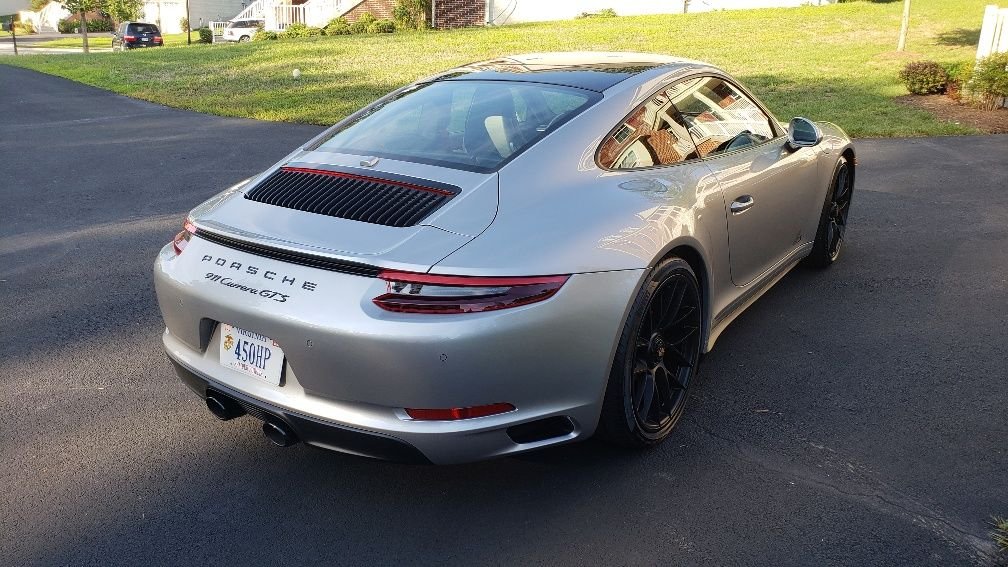
I too was very nervous about getting the letters back on "exactly" straight. I took before and after photos to have something to compare to. Do you notice any difference?
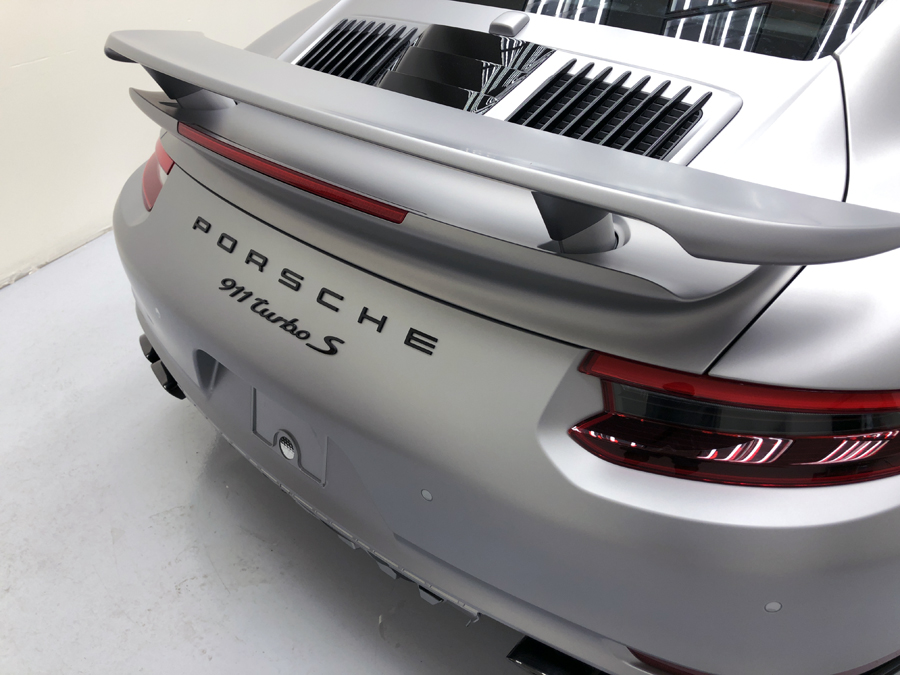
Before (original factory badges)
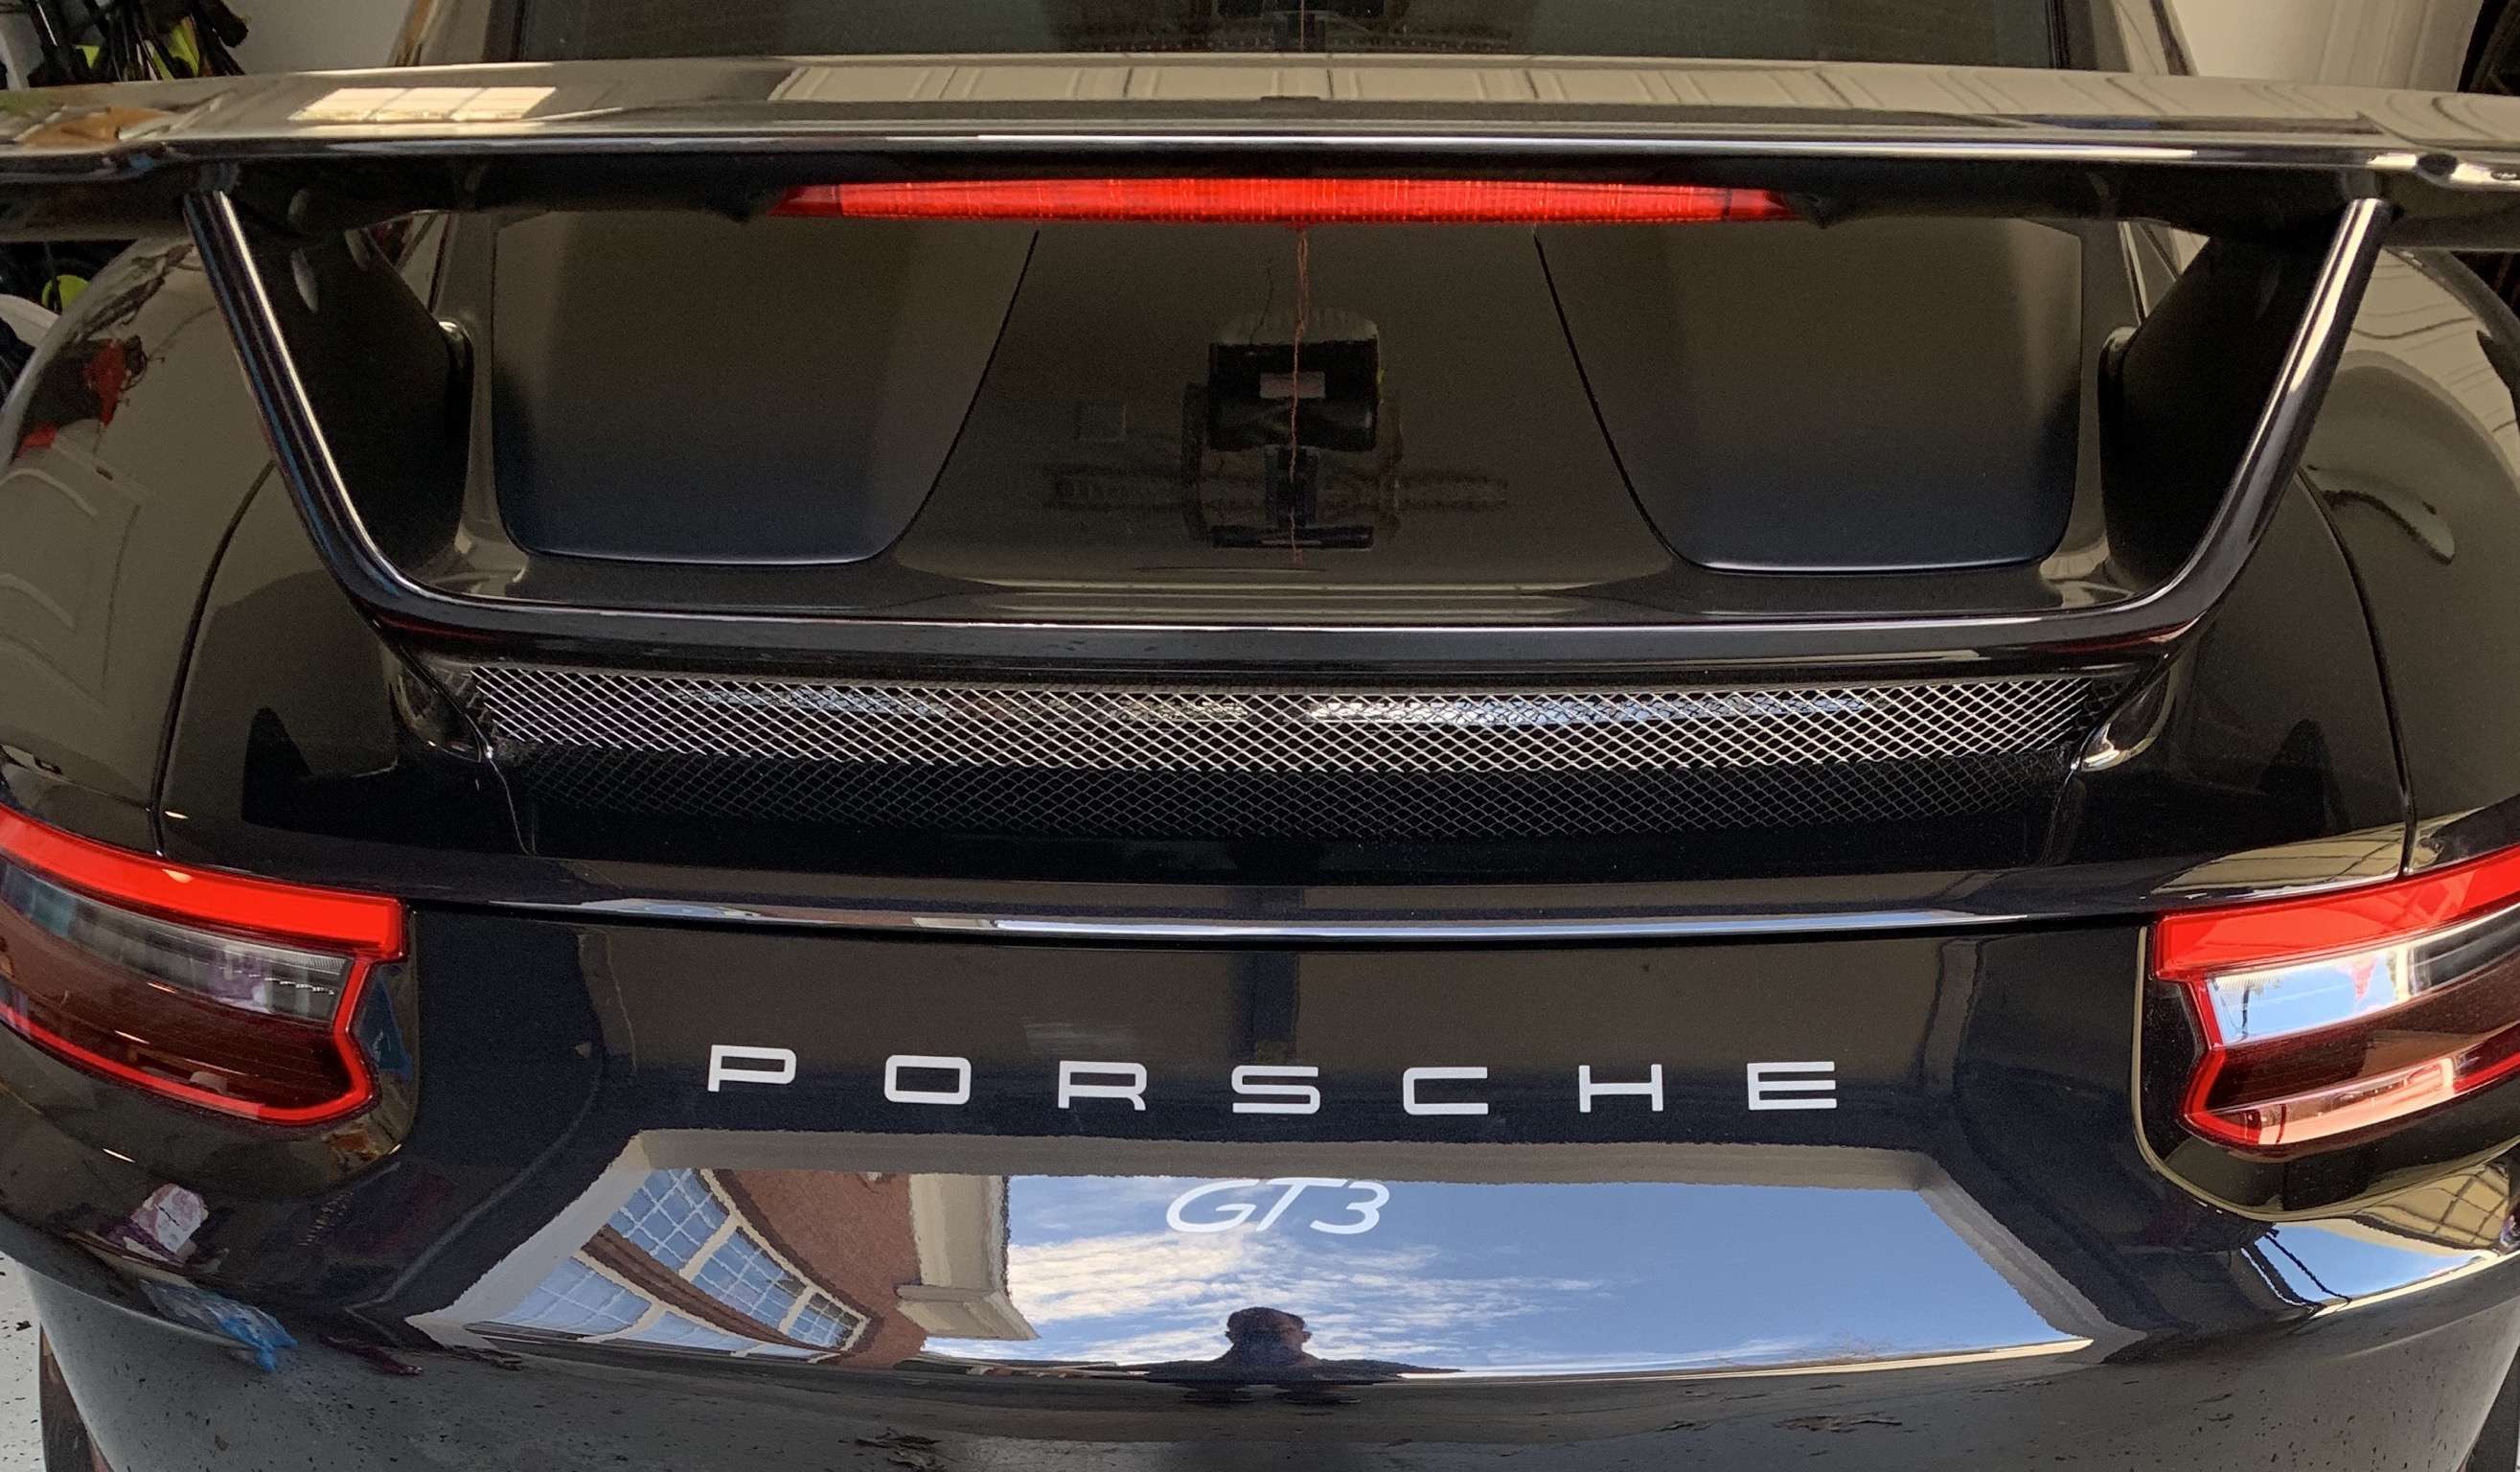
After (new badges installed by detailer)
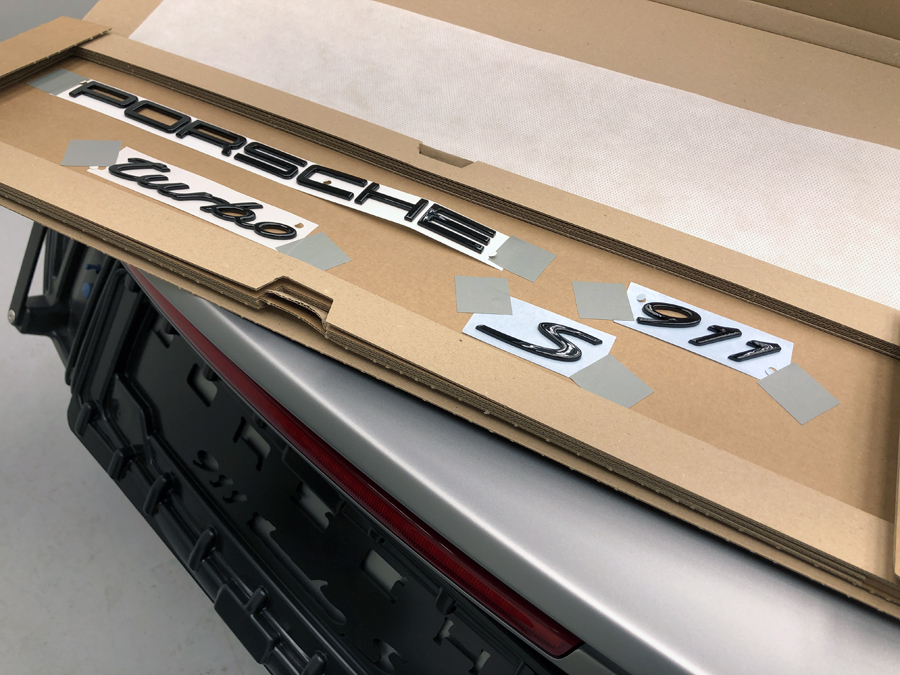
Final, comment. Do not bother trying to re-use lettering after it's been pulled from the car. There is virtually no way to reattach them with any sense of reliability. The glue is all but destroyed once they are stripped from the car.
I am having a professional detailer do a paint correction and apply a ceramic coating to my black 991.1. He assures me the best way to do this is to remove the rear lettering so he can really cover the back effectively. He also assures me he can get them back in exactly the same location using stencils, etc. Any input on this would be greatly appreciated.
your installer is correct. To do a proper paint correction, it’s more effective to remove letters, but only if the rear bumper is badly scratched up or swirled.
as many have suggested, if the imperfections are minor, they can be hand polished and will match the surrounding areas just fine.
we DO remove them on major corrections and also remove them on EVERY ppf install.
i can tell you on the 991.2 cars, factory has been placing them slightly off. We have the master jig and library of all the 991 cars, and we find there are ones that are slightly lower than what the jig has. Our local Porsche dealer also tells us they have problems time to time as when they remove letters, and go back to install them with jig, the ghosting from previous letters don’t match up with the jig.
for us, we just compound/polish the ghosting snd have a new surface to apply letters to using the proper jig from Porsche.
OK, unlikely your detailer would screw it up this bad, but another reason to NOT have the lettering removed unless your guy has the proper template/jig shown above...
OK, unlikely your detailer would screw it up this bad, but another reason to NOT have the lettering removed unless your guy has the proper template/jig shown above...
I had my 2018 991.2 GTS fully wrapped in ClearGuard Nano PPF and then had the entire car ceramic coated using GTECHNIQ Crystal Serum Black. Agree with what was said earlier that for PPF you absolutely want the rear badges removed. My detailer had an account with Porsche for parts so they simply included the replacement badging in my PPF pricing as a complete package.
I too was very nervous about getting the letters back on "exactly" straight. I took before and after photos to have something to compare to. Do you notice any difference?
Before (original factory badges)
After (new badges installed by detailer)
Final, comment. Do not bother trying to re-use lettering after it's been pulled from the car. There is virtually no way to reattach them with any sense of reliability. The glue is all but destroyed once they are stripped from the car.
That P in the after photo looks off to me (lower than the rest of the word). After looking at it more, the O and maybe the R are also off/misaligned. Maybe it's the angle of the photo...
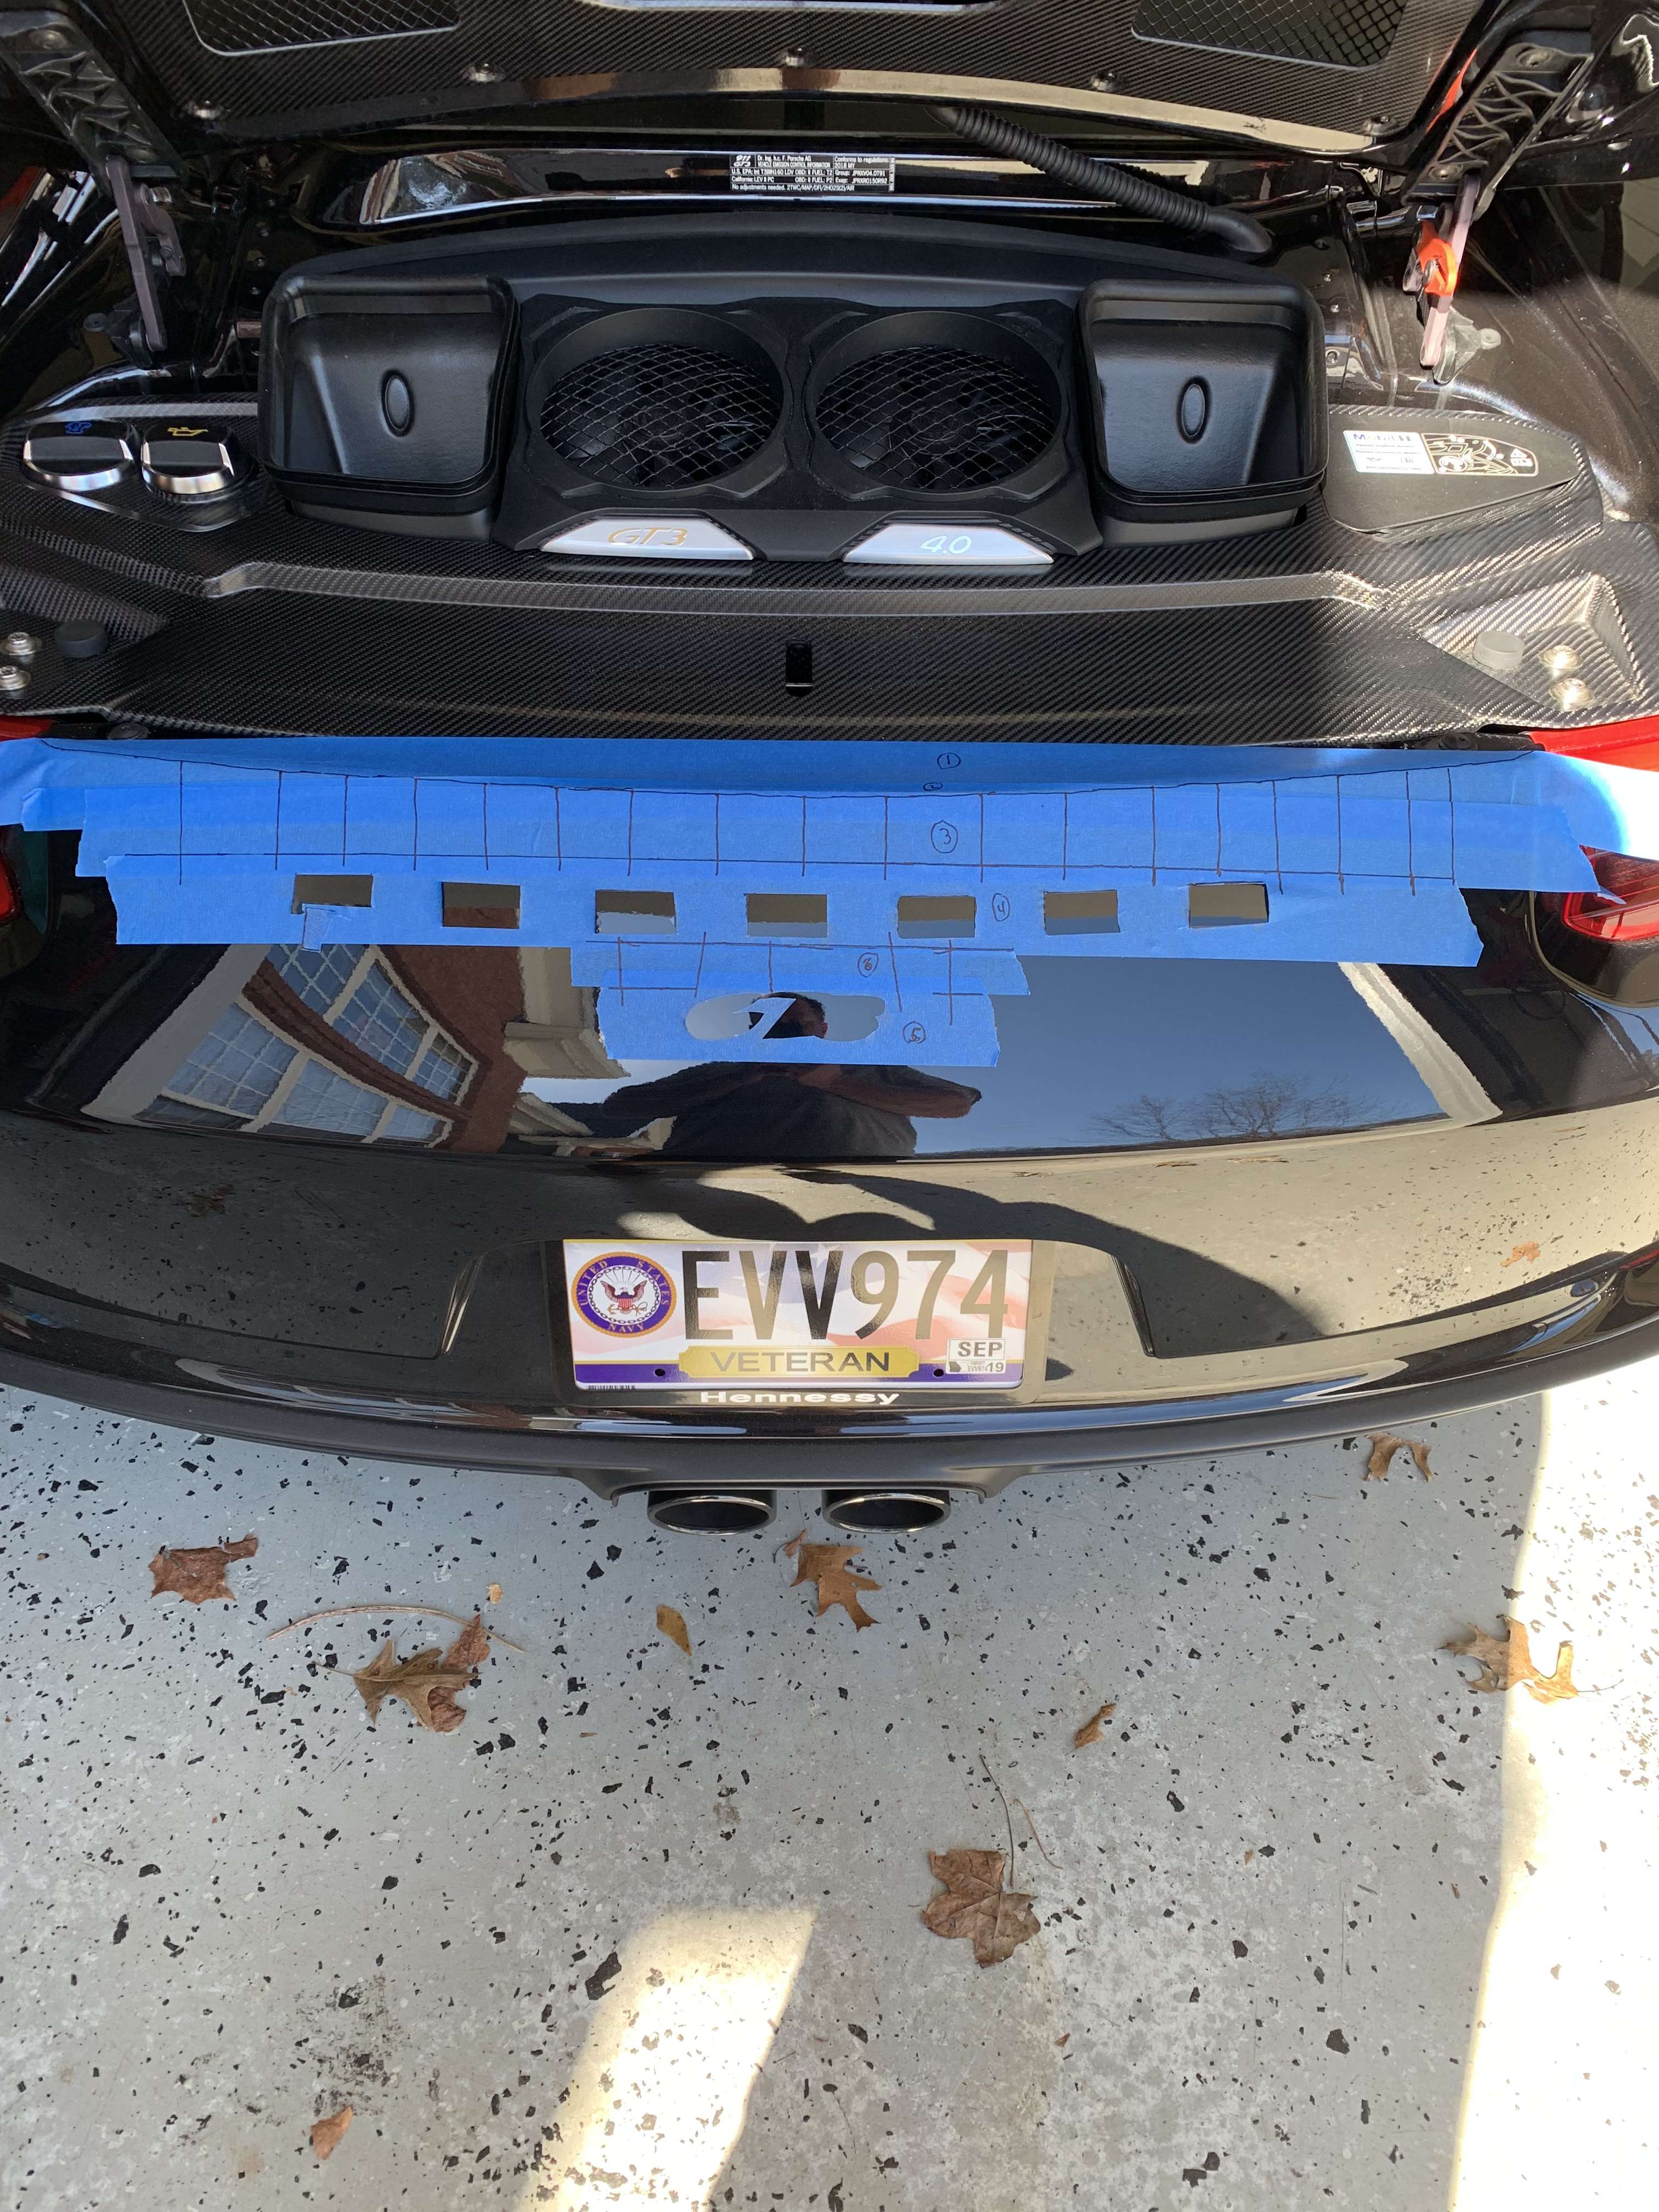
I decided that especially with the wing, there was just a sea of black back there, so I put the letters back on, but with a caveat. I cut them out of gray metallic vinyl to match the satin platinum wheels, and also because it bugs me when dirt gets caught in the lettering. I made a stencil before removing the letters.
and used it to reapply. I scanned the letters I removed, converted it to a cuttable file and used my vinyl cutter to make the replacement ones.
Initially I placed the stencil slightly off center, so it took me two tries, but I think it came out alright.
OK, unlikely your detailer would screw it up this bad, but another reason to NOT have the lettering removed unless your guy has the proper template/jig shown above...
Maybe that's to match how the owner pronounces the brand?
I had my 2018 991.2 GTS fully wrapped in ClearGuard Nano PPF and then had the entire car ceramic coated using GTECHNIQ Crystal Serum Black.
Did the detailer put the PPF over the GTS logo on the doors? And if so, how does it look afterwards? The logo is kind of satin before. Is it more glossy after?


 02-05-2019, 08:24 PM