
Painted Rotor Hats & Vent Fins
 01-16-2019, 09:30 AM
#1
Banned
Thread Starter

Join Date: Jan 2013
Location: Chicagoland Area
Posts: 26,141
Likes: 0
Received 5,404 Likes
on
2,513 Posts
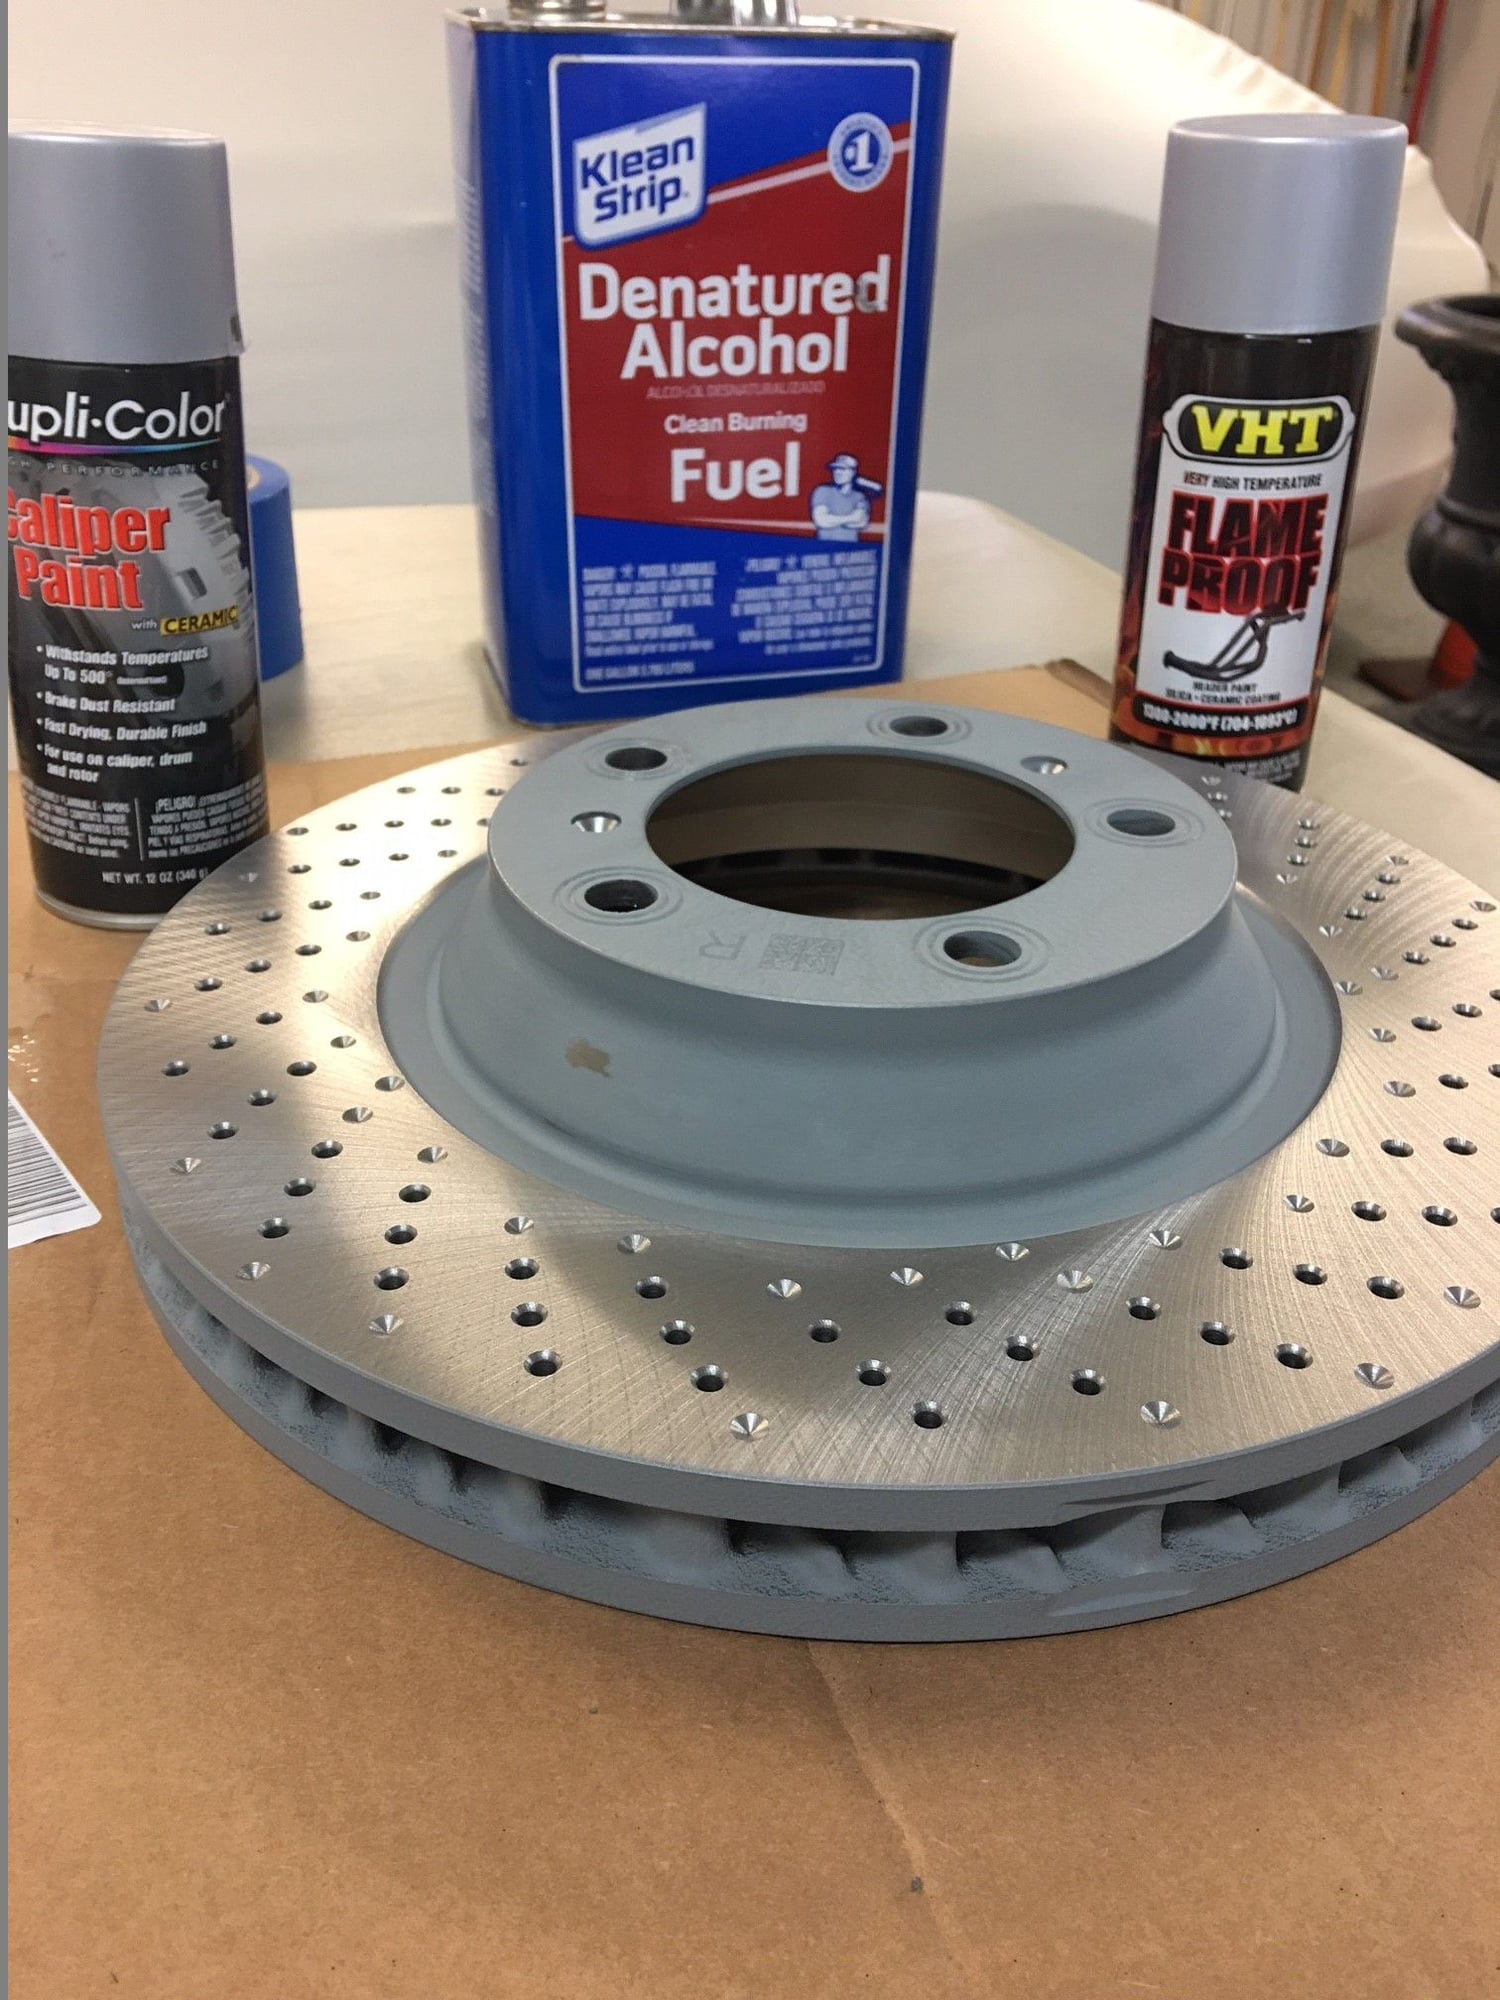
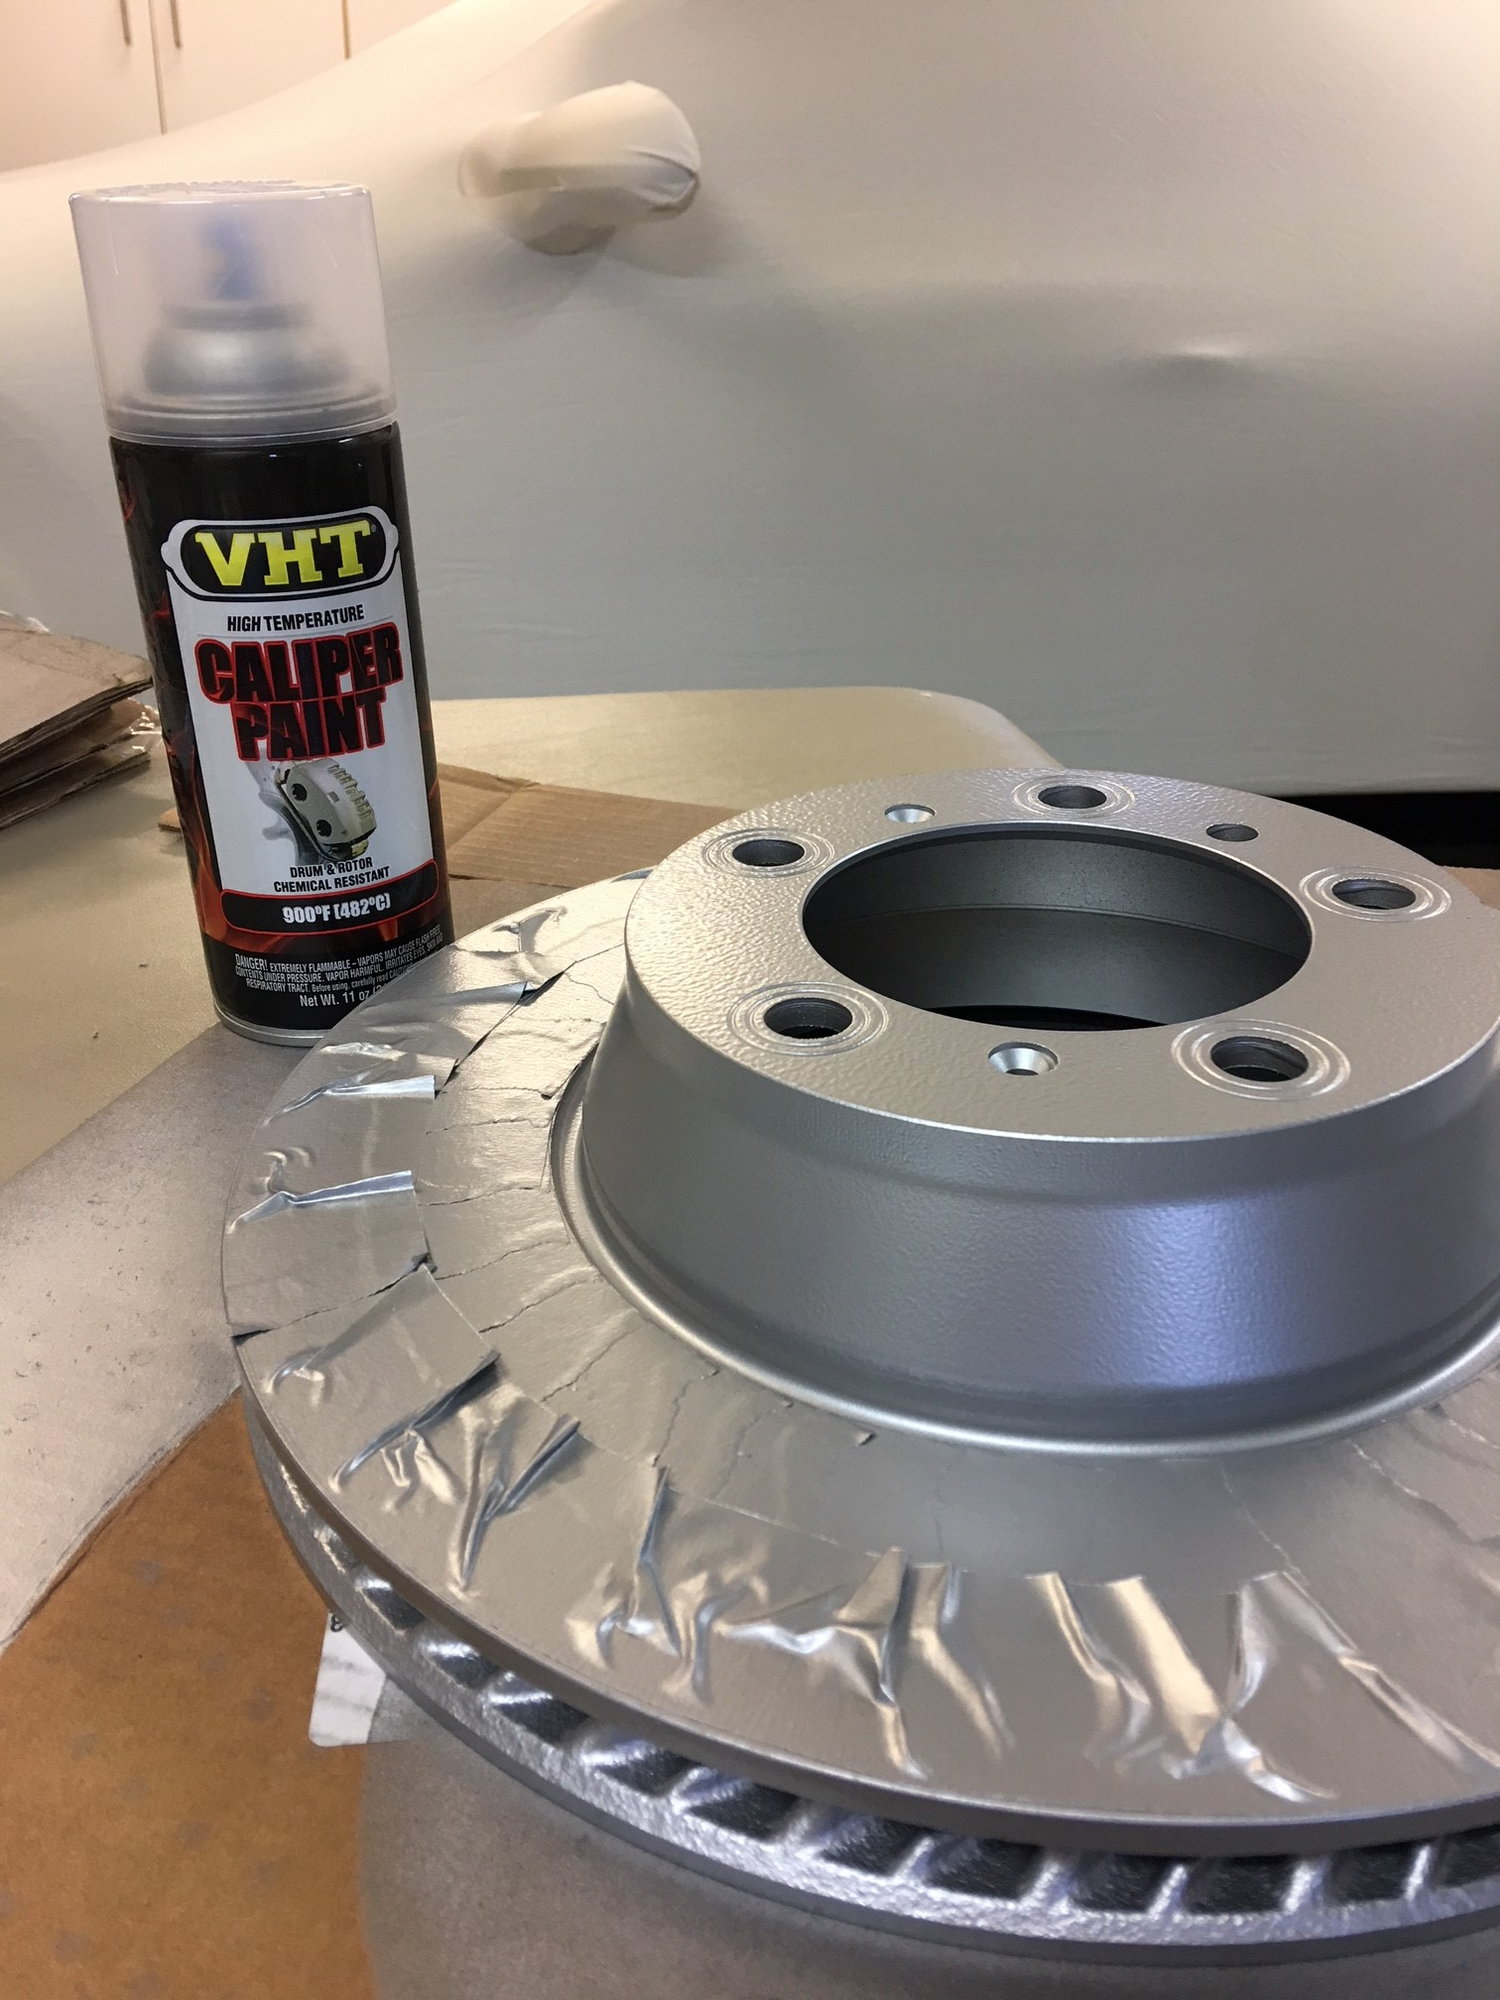
Here's a super easy & fun project I did recently to pass time in the workshop during car hibernation season. Rennlister BradB will teach me how to do a complete brake job this Spring/Summer:
I did 2 coats of the Dupli-Color Caliper Paint (final), and 2 coats of the VHT Silver Paint (base). I wanted to see which color I liked best. They were very-very similar. Just follow the directions on the can. Basically, light coats, let dry about 10 minutes between coats, all the coats need to be laid down within the first 1 hour. Then, with the rotors still prepped with painter's tape, I let cure for 7 days (per instructions) and topped with 2 more coats of VHT Caliper Paint Gloss Clear. Final step, was next day, bake in oven at 200 degrees for 60 minutes, per instructions to increase heat and chemical resistance.
In a few days when I get home, I'll take some pictures of the end product after the bake and tape removal.
Last edited by LexVan; 01-16-2019 at 09:56 AM.
 01-16-2019, 09:33 AM
#2
Banned
Thread Starter
Join Date: Jan 2013
Location: Chicagoland Area
Posts: 26,141
Likes: 0
Received 5,404 Likes
on
2,513 Posts
Remove the "made in Germany" sticker and wipe everything down with the denatured alcohol:
 01-16-2019, 09:34 AM
#3
Banned
Thread Starter
Join Date: Jan 2013
Location: Chicagoland Area
Posts: 26,141
Likes: 0
Received 5,404 Likes
on
2,513 Posts
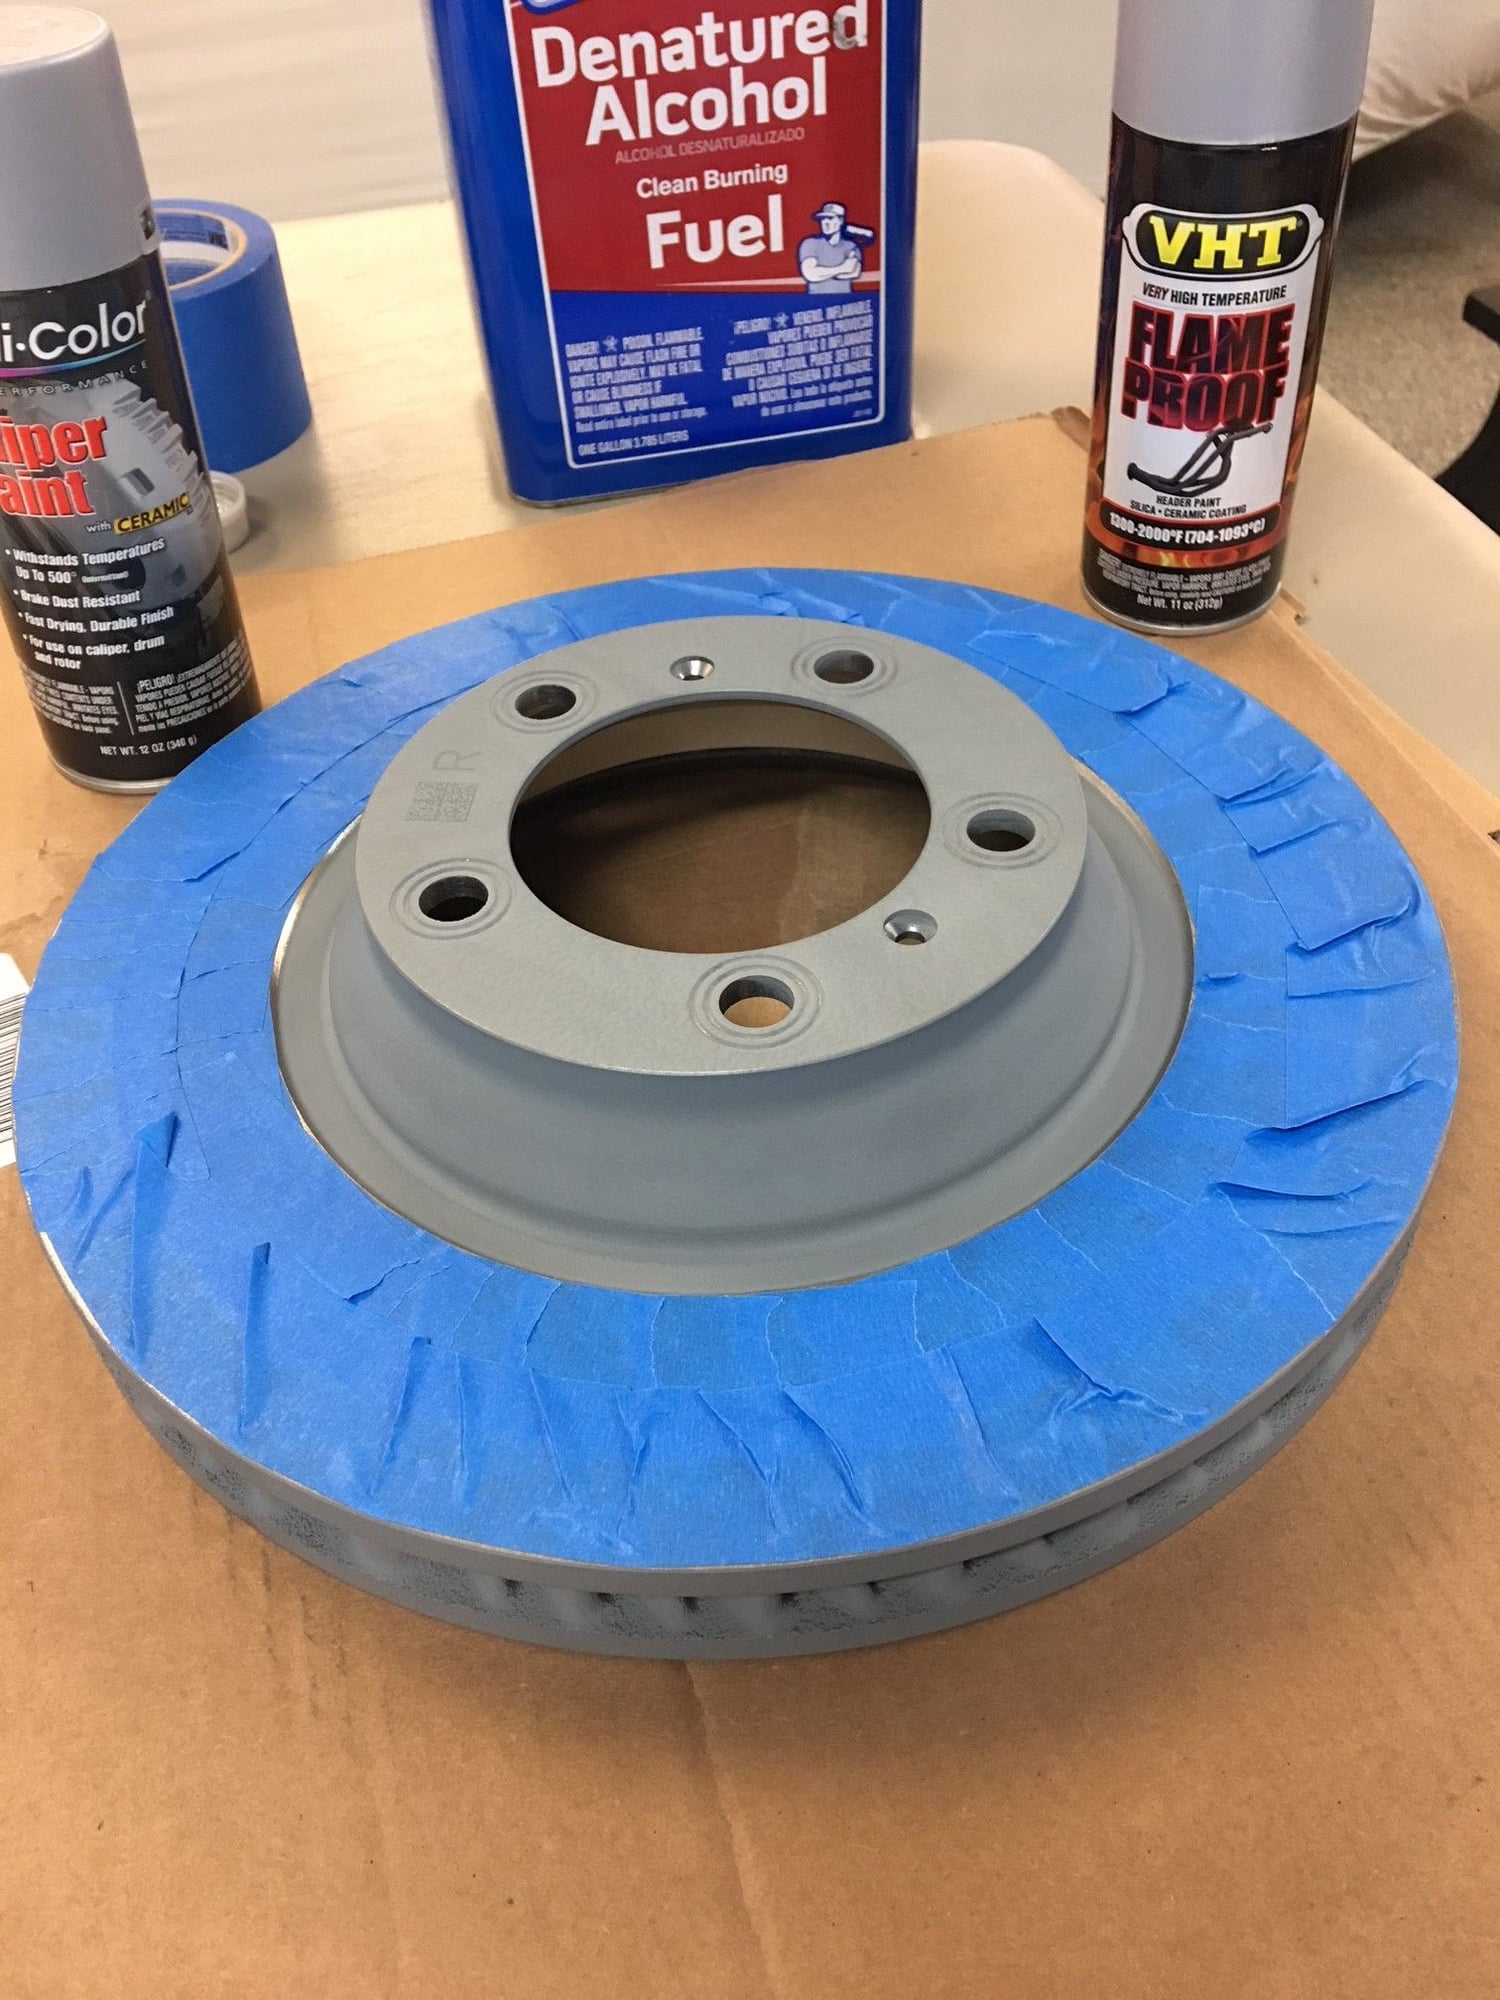
Maybe not necessary, but easy enough to tape off areas I did not want painted:
 01-16-2019, 09:41 AM
#4
Banned
Thread Starter
Join Date: Jan 2013
Location: Chicagoland Area
Posts: 26,141
Likes: 0
Received 5,404 Likes
on
2,513 Posts
First pass of the paint:
 01-16-2019, 09:45 AM
#5
Banned
Thread Starter
Join Date: Jan 2013
Location: Chicagoland Area
Posts: 26,141
Likes: 0
Received 5,404 Likes
on
2,513 Posts
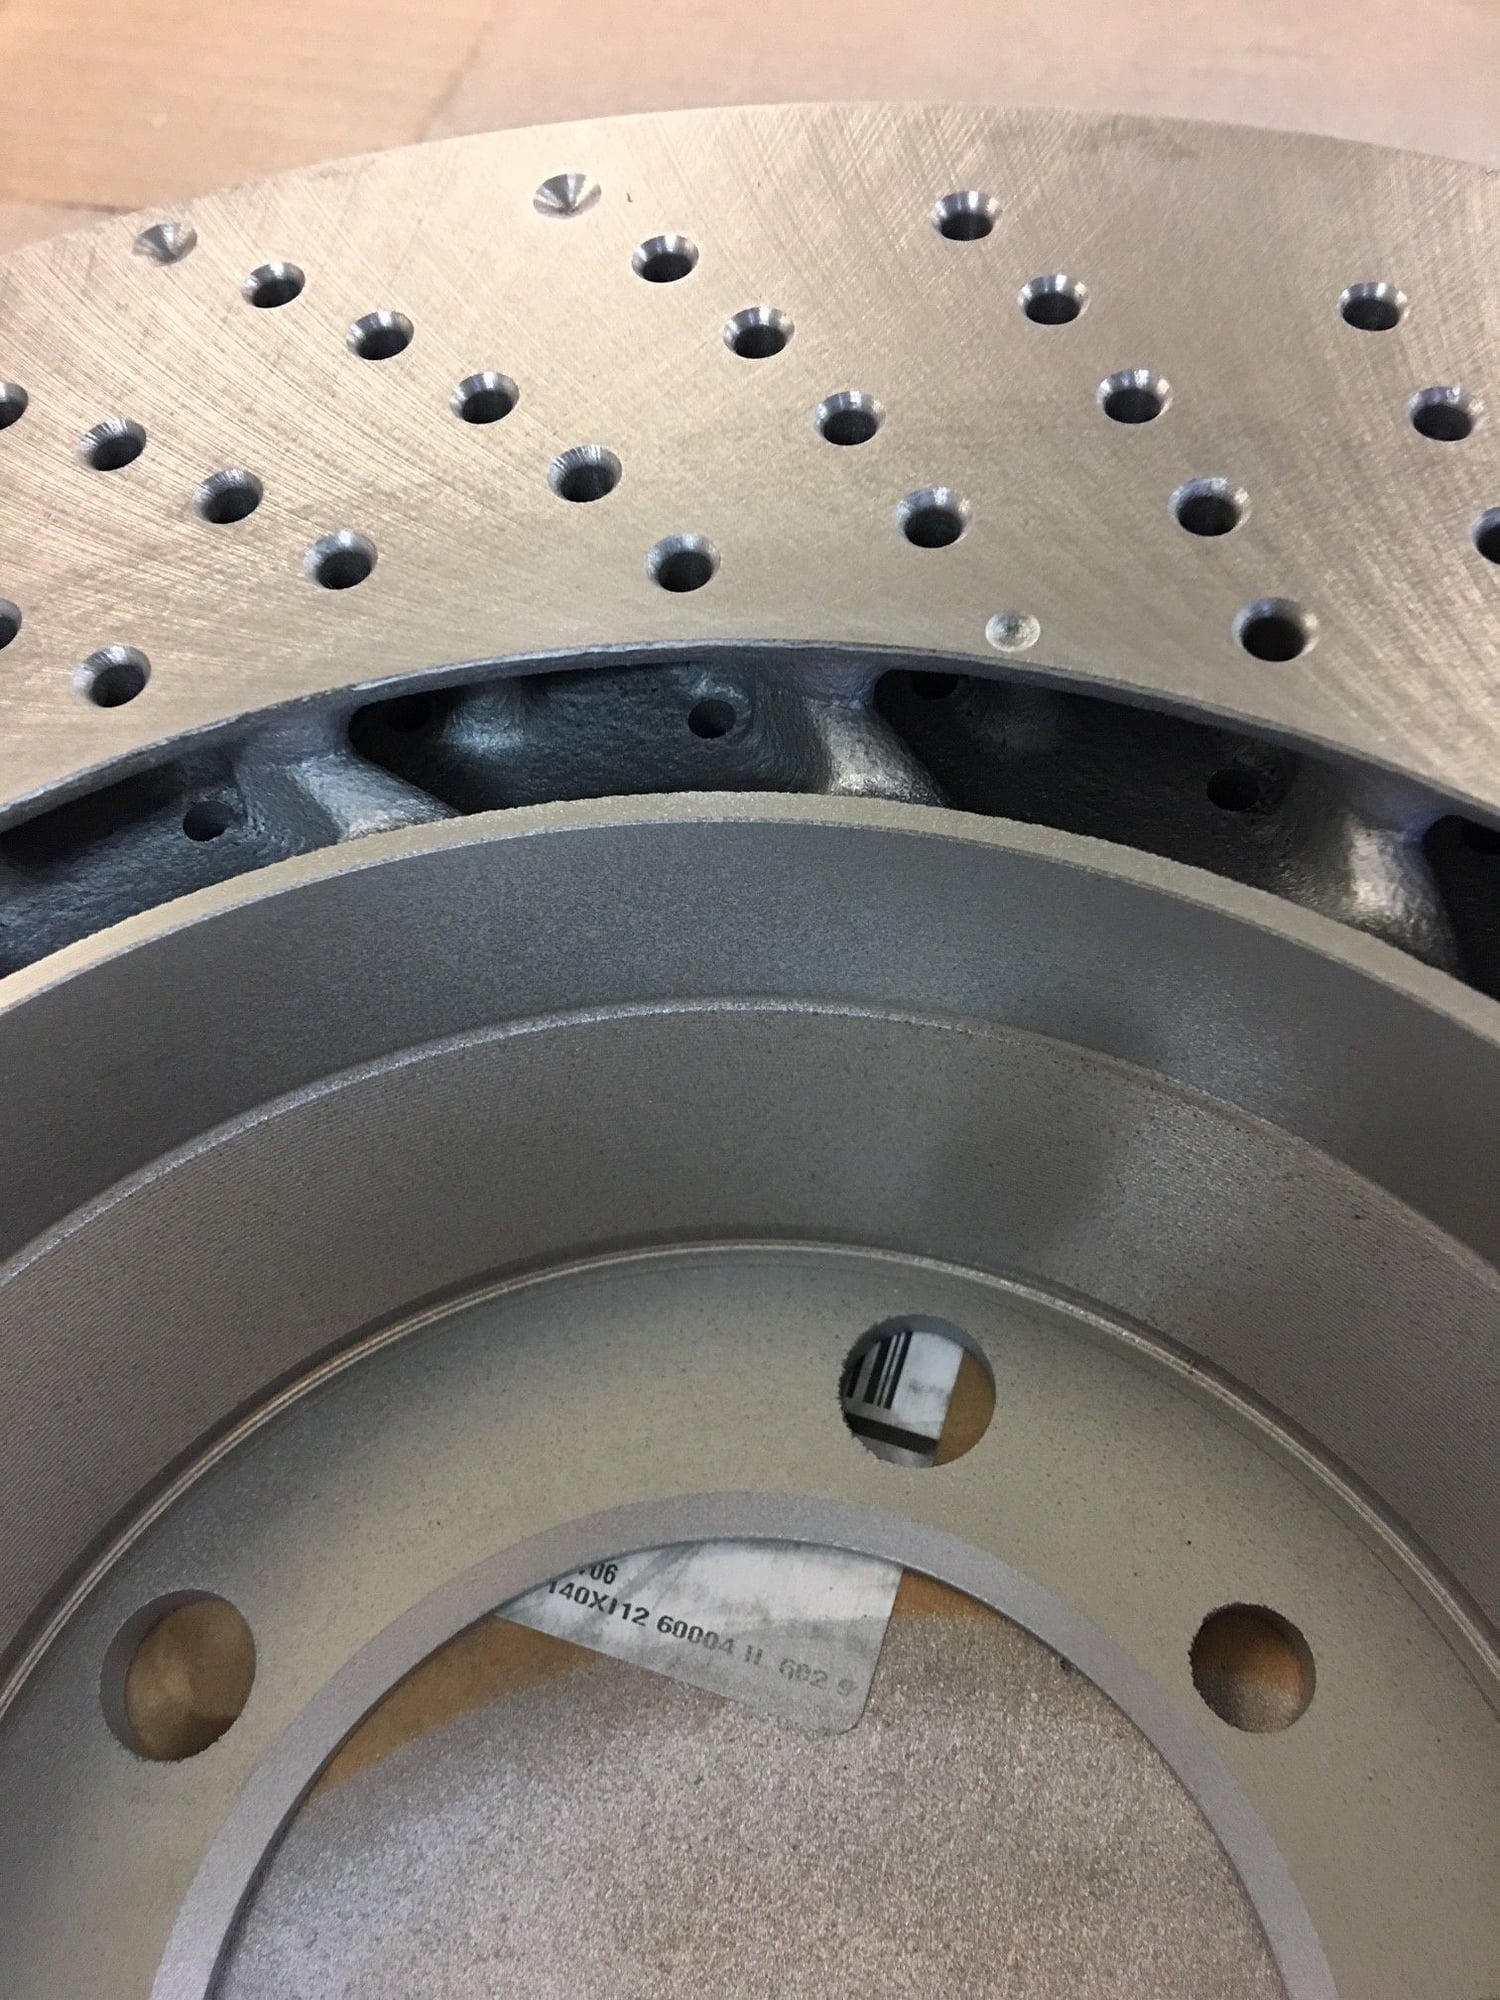
Since I had extra paint, and the fist steps were so easy, I tried to find a way to get some paint on the back side, probably completely unnecessary, but, heck, I had extra paint:
 01-16-2019, 09:49 AM
#6
Banned
Thread Starter
Join Date: Jan 2013
Location: Chicagoland Area
Posts: 26,141
Likes: 0
Received 5,404 Likes
on
2,513 Posts
 01-16-2019, 09:53 AM
#7
Banned
Thread Starter
Join Date: Jan 2013
Location: Chicagoland Area
Posts: 26,141
Likes: 0
Received 5,404 Likes
on
2,513 Posts
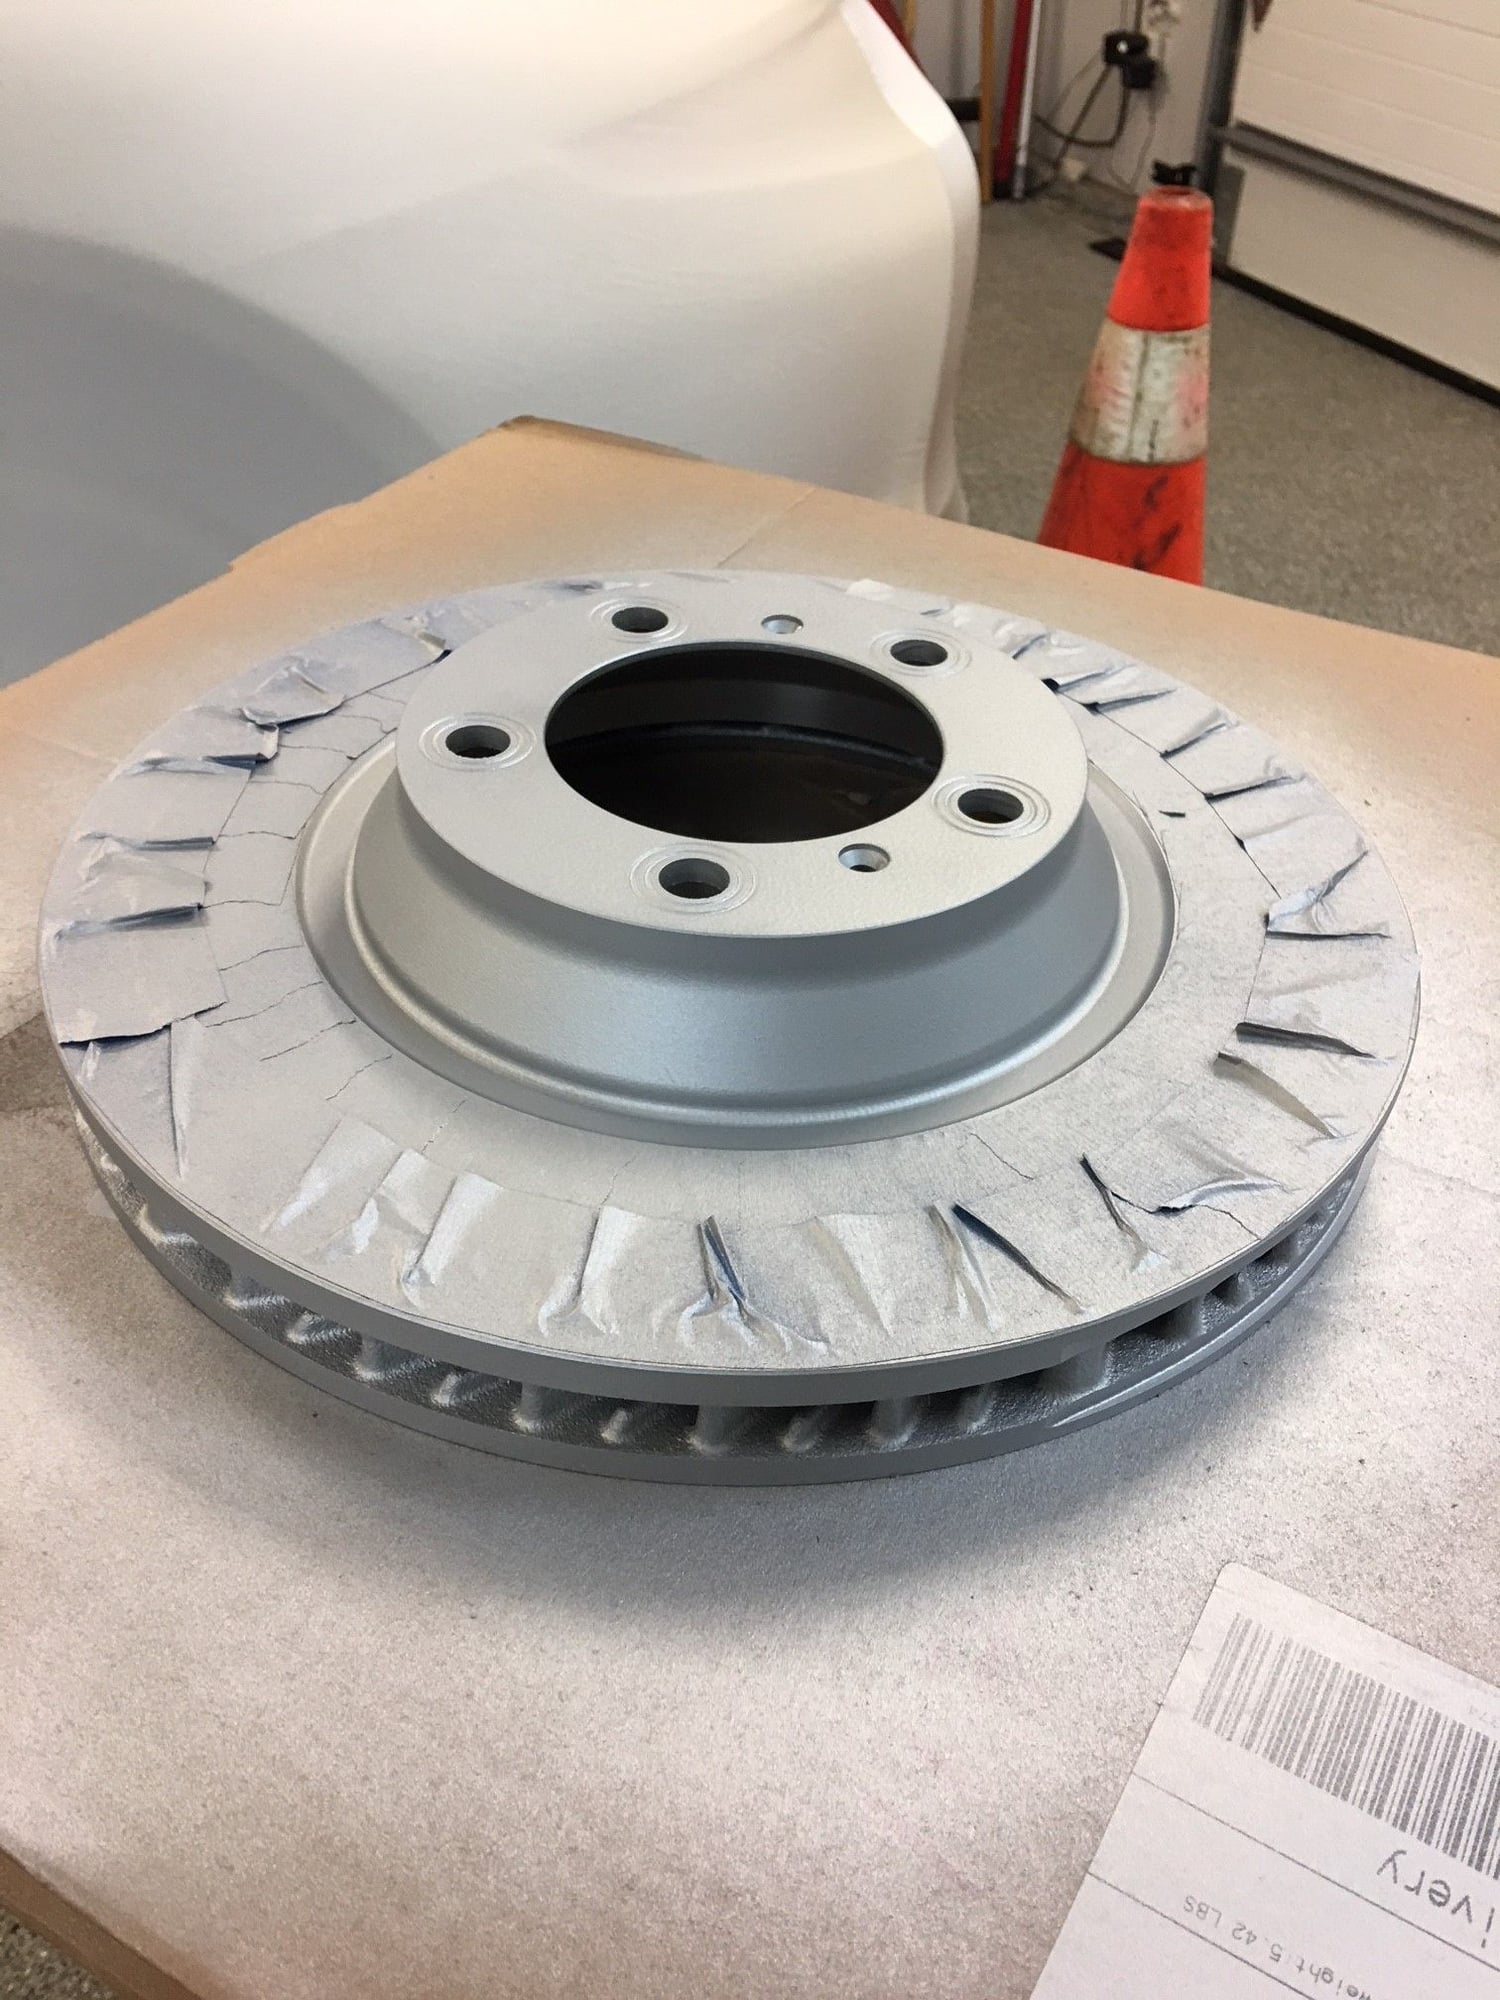
After 7 days of curing and ready for VHT Gloss Clear (all paints were from Napa Auto Parts), and before baking:

Trending Topics
01-16-2019, 10:02 AM
#10
Banned
Thread Starter
Join Date: Jan 2013
Location: Chicagoland Area
Posts: 26,141
Likes: 0
Received 5,404 Likes
on
2,513 Posts
Thank you, CLeagones.
Thank you, Flatsick. I did not. Now ya got me thinking my screw heads won't match the silver paint. LOL. Oh well, I'm saving a little weight at least.
Thank you, Flatsick. I did not. Now ya got me thinking my screw heads won't match the silver paint. LOL. Oh well, I'm saving a little weight at least.
01-16-2019, 10:11 AM
#12
Banned
Thread Starter
Join Date: Jan 2013
Location: Chicagoland Area
Posts: 26,141
Likes: 0
Received 5,404 Likes
on
2,513 Posts
 01-16-2019, 10:38 AM
#14
Banned
Thread Starter
Join Date: Jan 2013
Location: Chicagoland Area
Posts: 26,141
Likes: 0
Received 5,404 Likes
on
2,513 Posts
01-16-2019, 10:42 AM
#15
Rennlist Member
I'm happy to report I did not destroy my wife's oven. I made chili the same day to mask any odors, while she was away:
