When you click on links to various merchants on this site and make a purchase, this can result in this site earning a commission. Affiliate programs and affiliations include, but are not limited to, the eBay Partner Network.
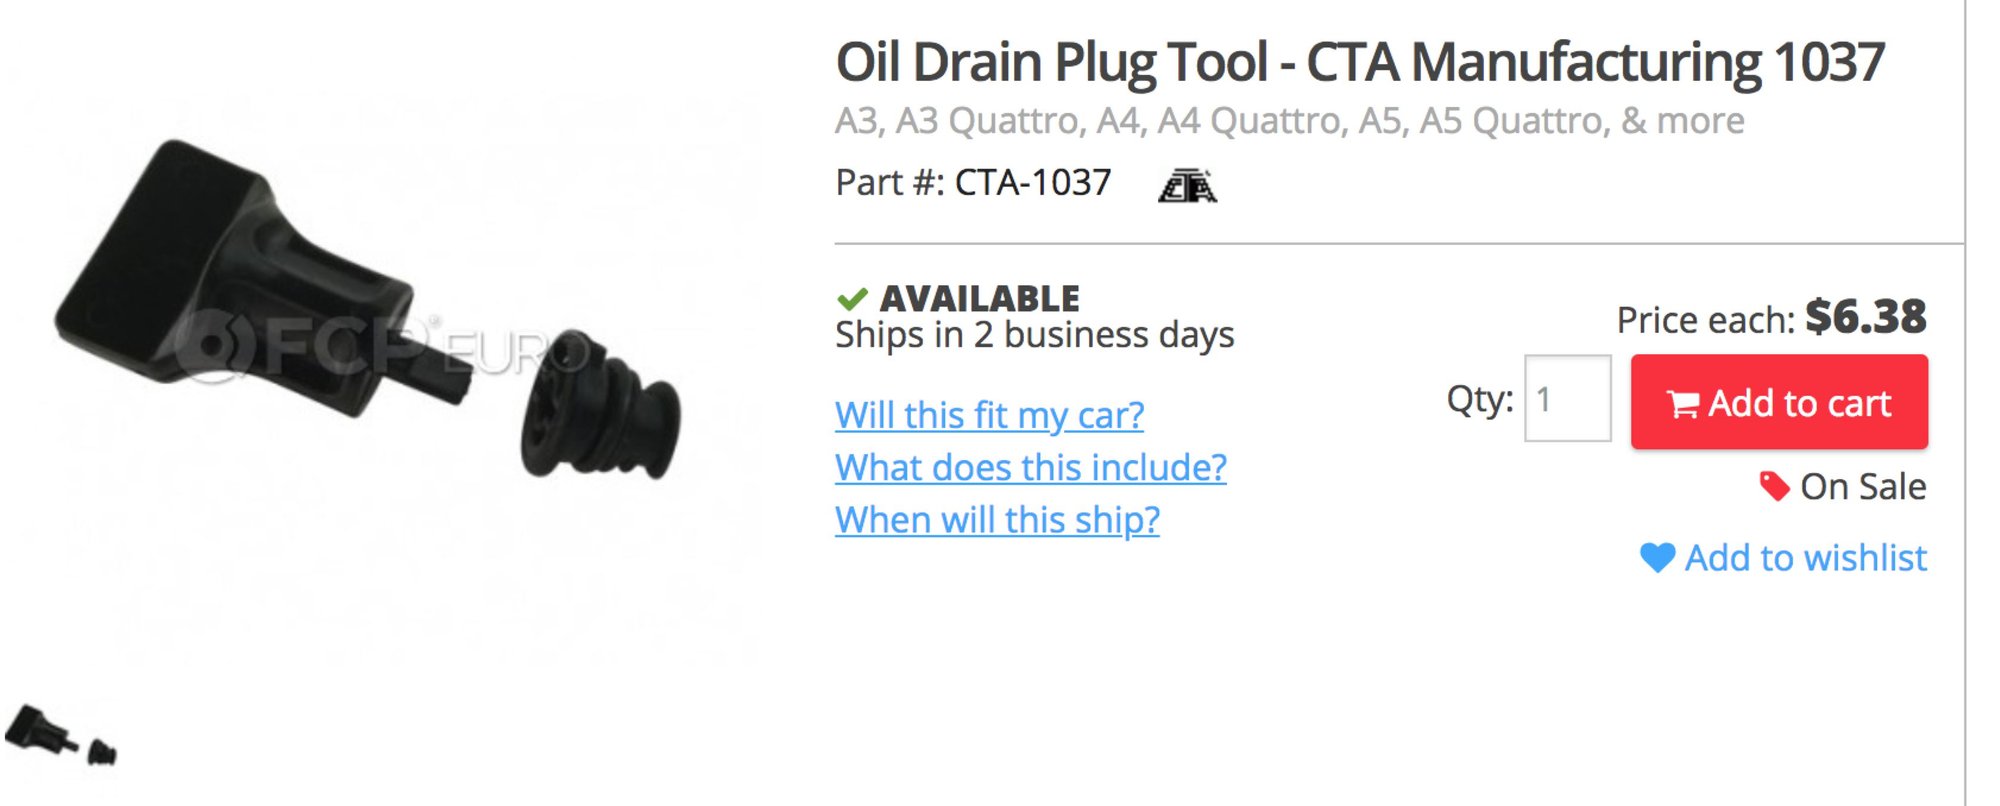
FCPEuro (great parts site!) also has the proper tool for removing the plug for a few bucks... I'm sure a screwdriver works just fine, but for $6 bucks, I'll definitely order the specific tool next time I do an FCPEuro order. They also have the plugs for $4 each.
FCPEuro (great parts site!) also has the proper tool for removing the plug for a few bucks... I'm sure a screwdriver works just fine, but for $6 bucks, I'll definitely order the specific tool next time I do an FCPEuro order. They also have the plugs for $4 each.
I ended up buying the tool after I did the oil change. The only reason I didn't get it before was that it would not arrive on time for the Saturday I had available to do the work. But now I have it for the next time!
Screw driver worked fine for me on the plug. My oil/filter change took quite a bit longer, this for a car up in the air on JackPoint stands. Not so easy to get fan connectors to disengage. Not so easy to get plugs to pull up from metal because I didn't know that for the fan wires there is a serrated plug but also a locator one...one needs to pry up the correct (serrated) side. Had a bit of trouble fitting the filter and its cap. Video mentions resistance to push the filter all the way in, but there is also resistance to force the filter cap through the top of the filter so that one can actually get the filter top threads to start screwing down on the filter housing. (Oh...the filter was once dealer-changed...I'm sure it took me 50-60 ft lbs of torque or more to get it loose. It was tight. Not to mention that I found an un-connected wire fitting plug.) Then there was the fact that the spoiler wouldn't move once I was ready to lower it...red light just kept blinking. Once I got the car back on the ground eventually it closed...have no idea what I did or why. Also, the oil level wouldn't register until I drove the car a few miles. I put in 8 quarts and once the car registered it say "all OK" but in fact the green line was only about 1/4 up from "too low." I added close to another quart.
There is a great step by step photo guide for the oil/filter change, but all in all this video was the most helpful. I had my laptop in the garage next to the car and watched it step by step. Great stuff. Thanks!!! Oil sample was mailed to Blackstone today...only 2000+ miles on the oil, but several hours of track time. Expecting no bad news in the Blackstone report.
Thank you for your kind words!
It is nice to know the video was helpful. By the way, what you say about "...there is also resistance to force the filter cap through the top of the filter..." is exactly what I was referring to at the 8:42" mark on the video!
After your comments on how the dealer exceeded the torque, and left a cable un-attached, makes me think that a careful owner would be more meticulous getting all these things right, all while having fun doing it.
Great video and thanks for posting it. I've actually watched your video a couple of times directly on YouTube even before buying my 991.2 just because I wanted to learn.
The one thing that baffles me and perhaps this is because I don't know too much about the mechanical structure of the engine is how the oil pan and screw cap are made of plastic. I've done a number of oil changes on my wife's bimmer and the oil pan and screw were both made of metal. How is it possible for these parts in such a high performance vehicle to be made of plastic. Again, I plead ignorance in the mechanical aspect. I'm a DIYer for vehicle maintenance as far as oil & brakes but not much else. Thanks in advance for someone who can educate me here. Much appreciated.
Tier1Terrier, I have no technical expertise re metal versus plastic but can offer a layman's observation: every time I've had a problem with a leaking oil pan plug it was with cars (Jeep, Volvo, BMW, 911 SC) using metal parts. Our 911 has survived several oil/filter changes (one DIY by me) with nary a leak. I "used to be" a DIYer on brakes, but as I've matured I've found other things to do with my time...plus, as much as I trust myself...when it comes to an occasional track use car, my inclination is to go with the pros.
Thanks for the video. I've never attempted to DIY anything on my car but this does look very easy and no way I need to pay my stealer $550+tax for that lol. two questions - how do you guys document that you did the oil change? And how do you clear the maintainance light on the dash?
Thanks for the video. I've never attempted to DIY anything on my car but this does look very easy and no way I need to pay my stealer $550+tax for that lol. two questions - how do you guys document that you did the oil change? And how do you clear the maintainance light on the dash?
My car is on CarFax and I�m able to add the DIY maintenance as well as attach receipts for documentation. As for resetting the reminder on the dash, you�ll need to get one of those OBD tools which I still haven�t gotten yet but I�m leaning toward the Icarsoft Por v3.0.
It is nice to know the video was helpful. By the way, what you say about "...there is also resistance to force the filter cap through the top of the filter..." is exactly what I was referring to at the 8:42" mark on the video!
After your comments on how the dealer exceeded the torque, and left a cable un-attached, makes me think that a careful owner would be more meticulous getting all these things right, all while having fun doing it.
Re dealer, exactly right. I did the oil change on my 2017 C2 myself for the first time a few months ago and found 2 missing grommets and a broken connector keeper. All previous work was at the dealership. I am not impressed with a dealer who treats a customer's car in that way and even more happy that I will be doing all routine and light maintenance on the car myself going forward.
how do you guys document that you did the oil change?
I take pics of the work in progress with my iPhone, then email pics to myself describing what was done. I print that and place in my receipt file for the car.
I did this with brake fluid change last month:


 07-21-2018, 04:40 PM