When you click on links to various merchants on this site and make a purchase, this can result in this site earning a commission. Affiliate programs and affiliations include, but are not limited to, the eBay Partner Network.
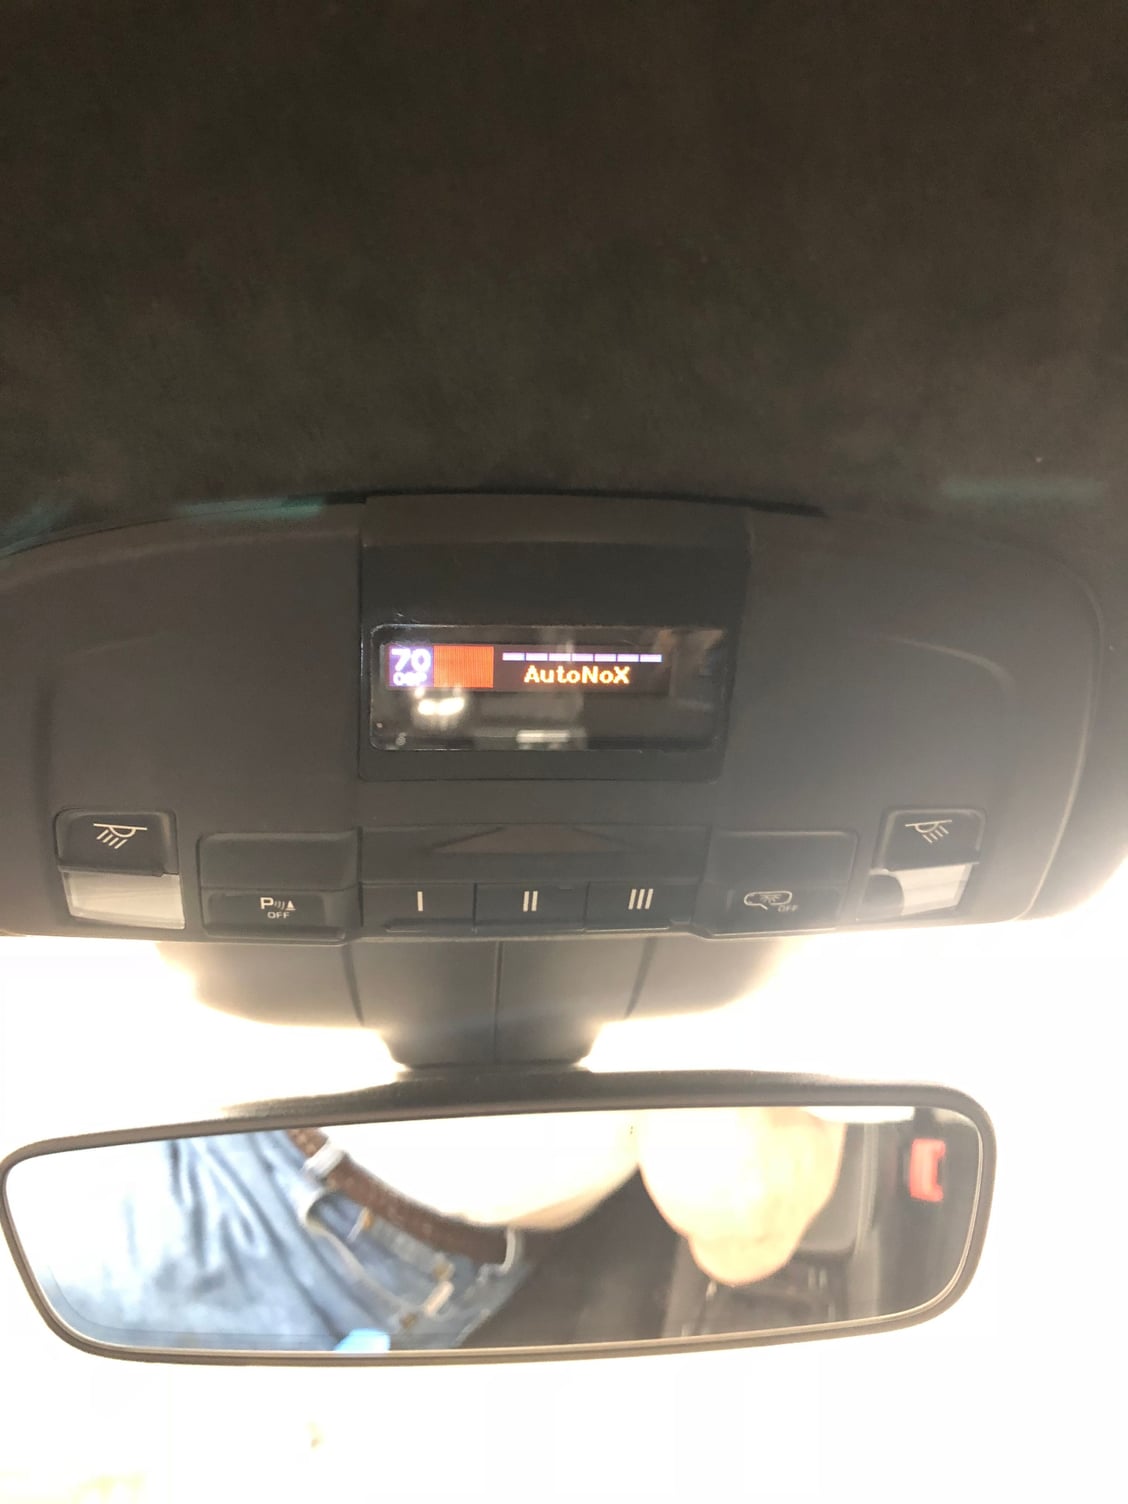
I recognized the Escort Radar controls that appear to be embedded in your ashtray. I have a similar stealth setup with my '16 GTS4. Had Escort 9500 CI radar/laser jammer installed with front/rear detectors and the controls embedded in the ashtray. The readout is etched into upper left hand corner of my rearview mirror . Pretty trick. Has saved my bacon several times and well worth the price.
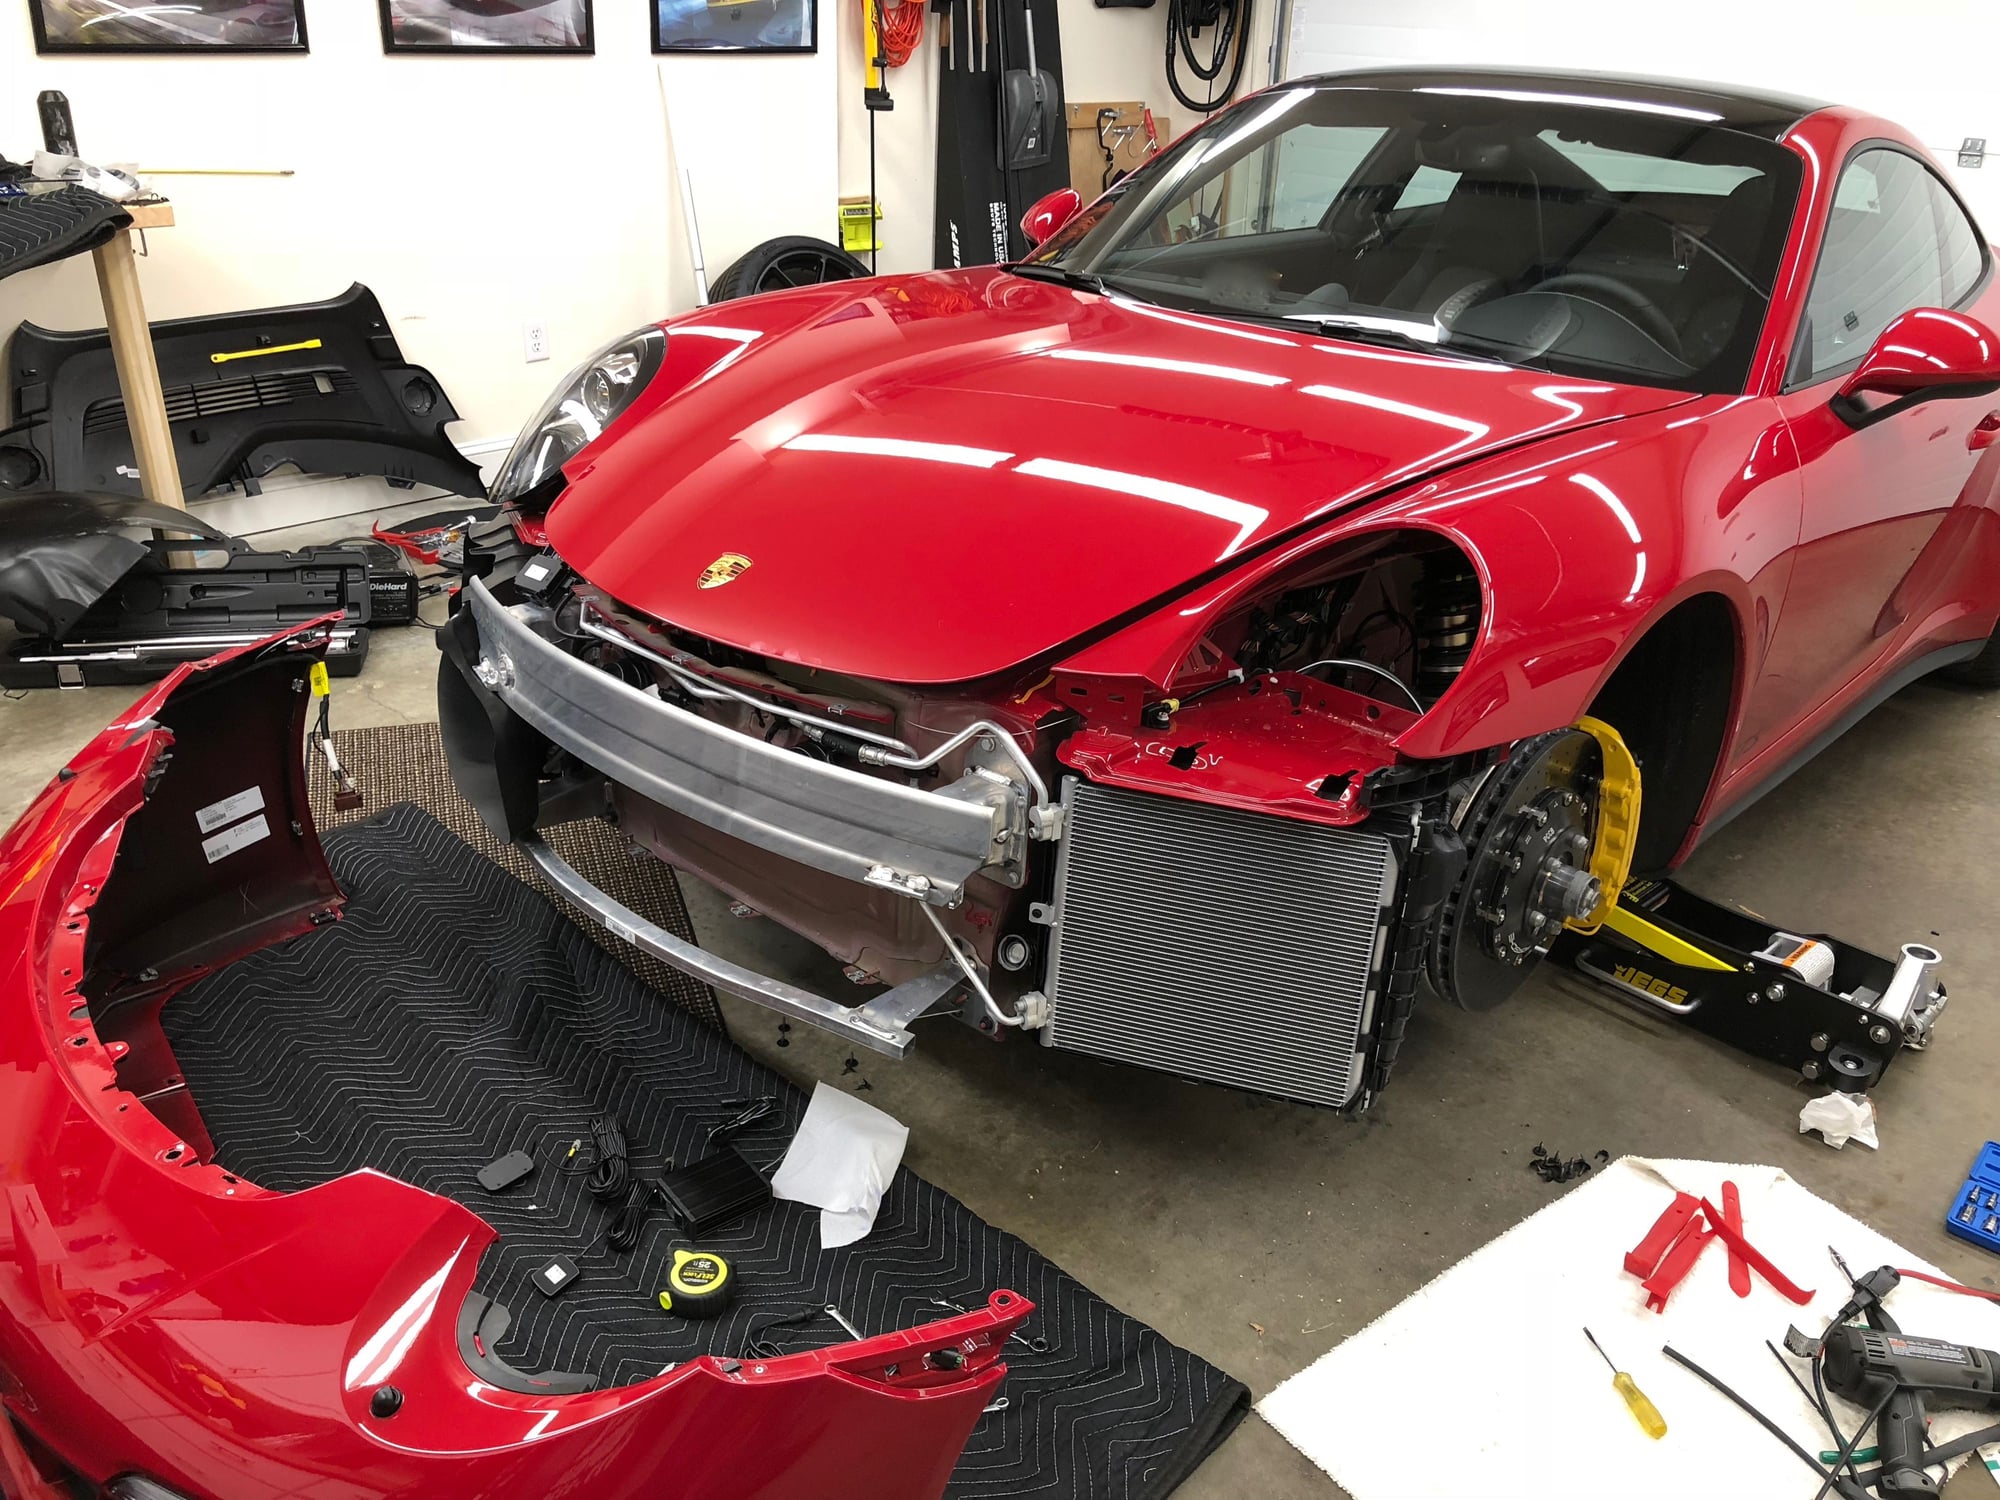
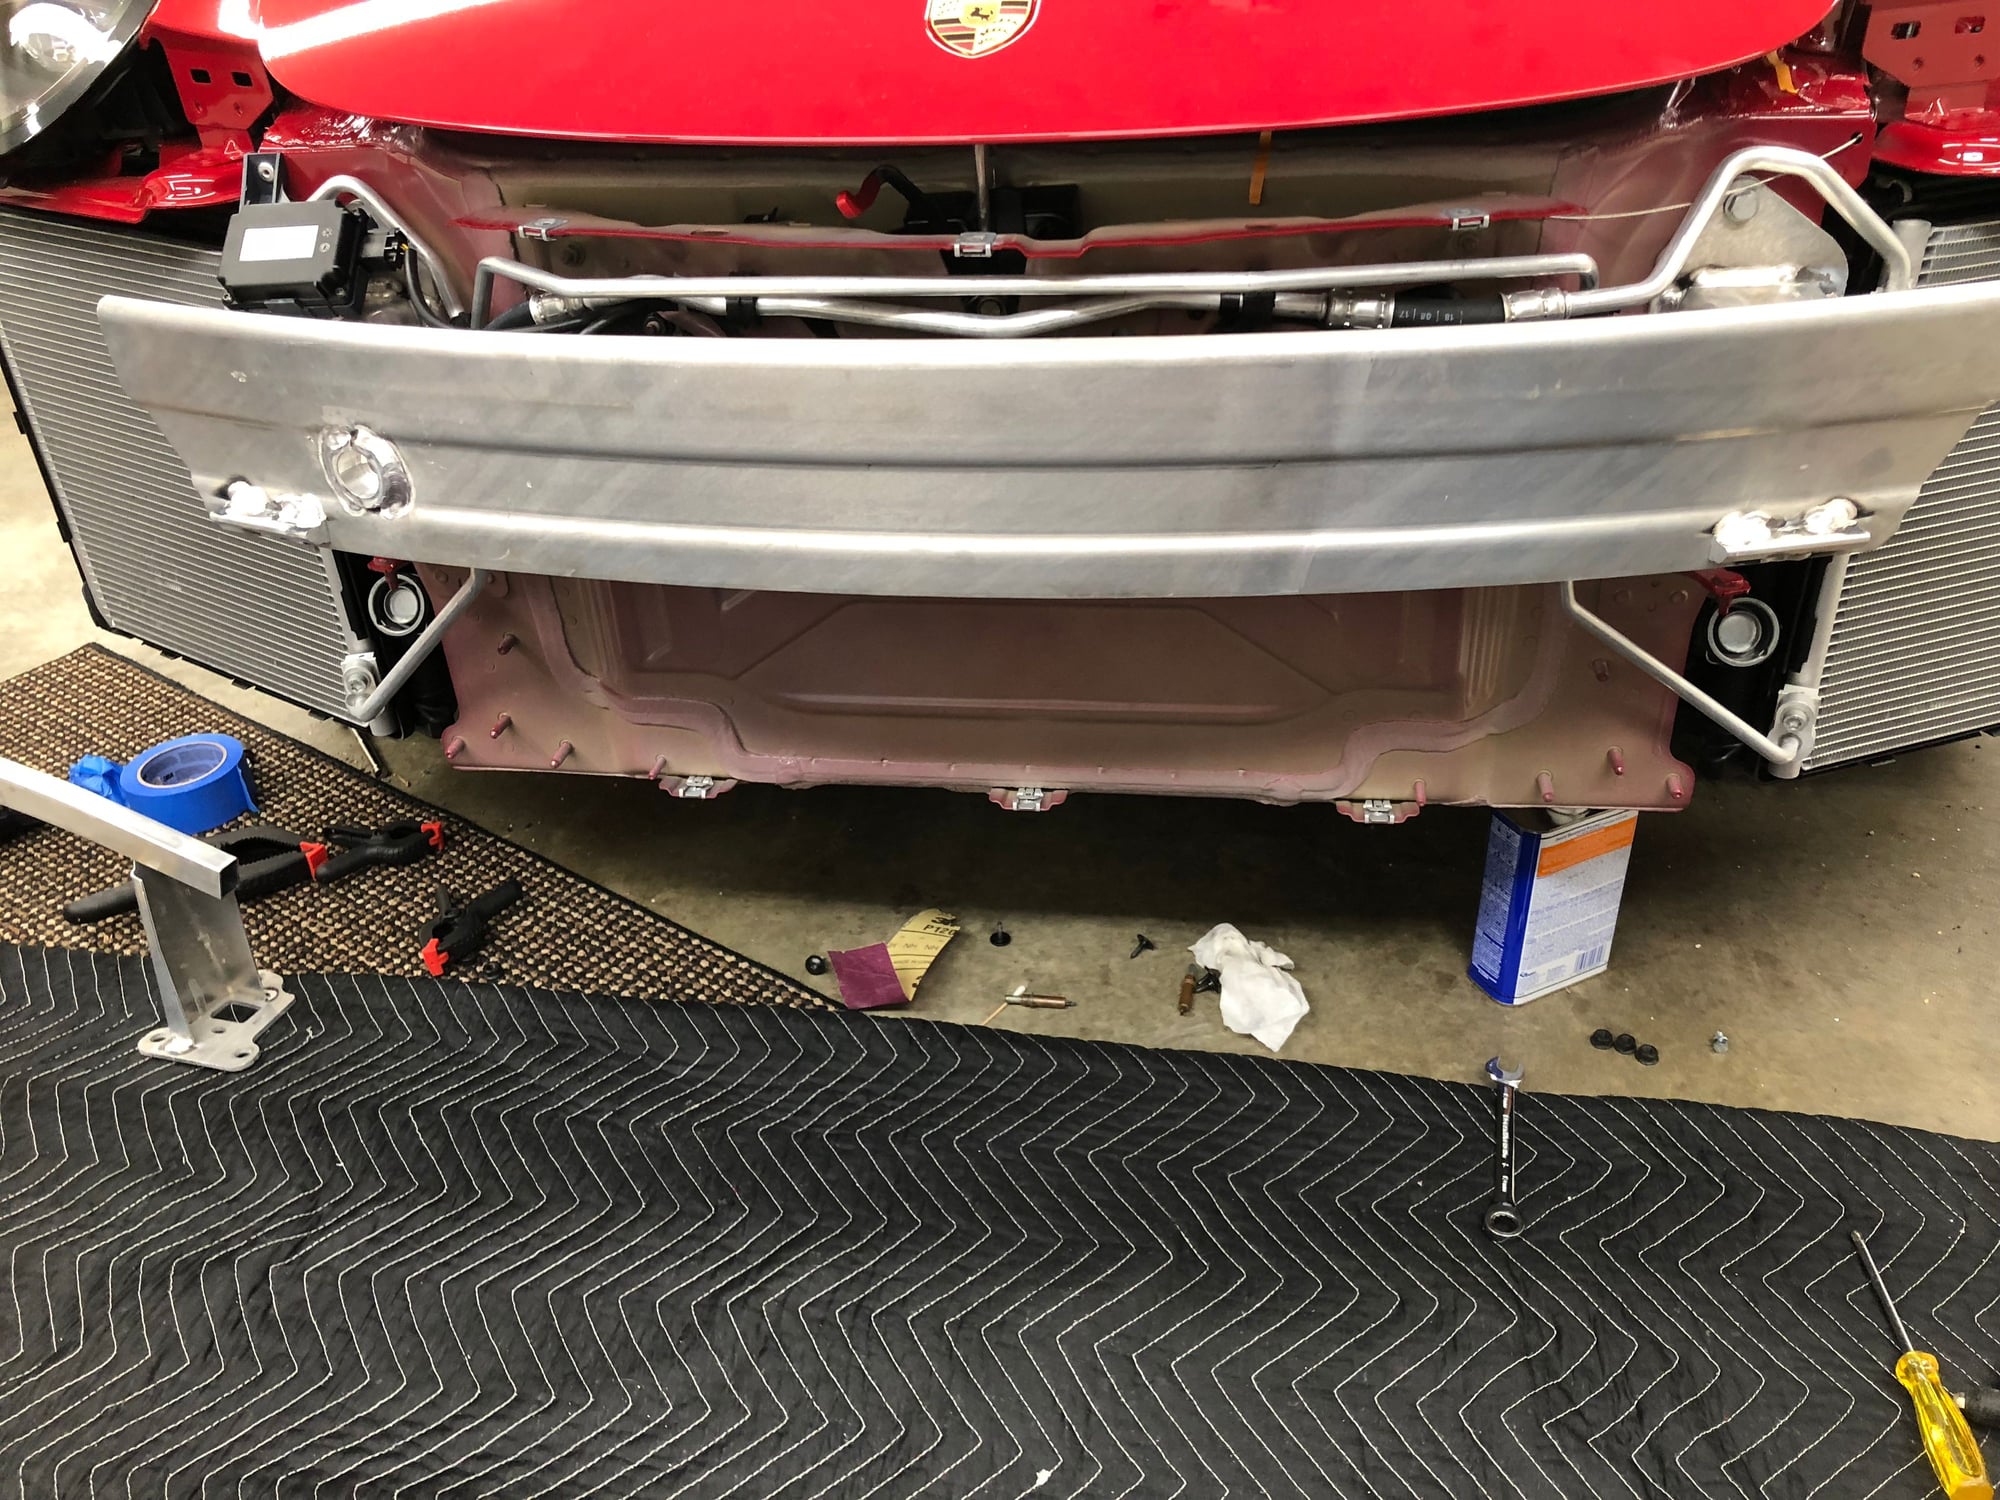
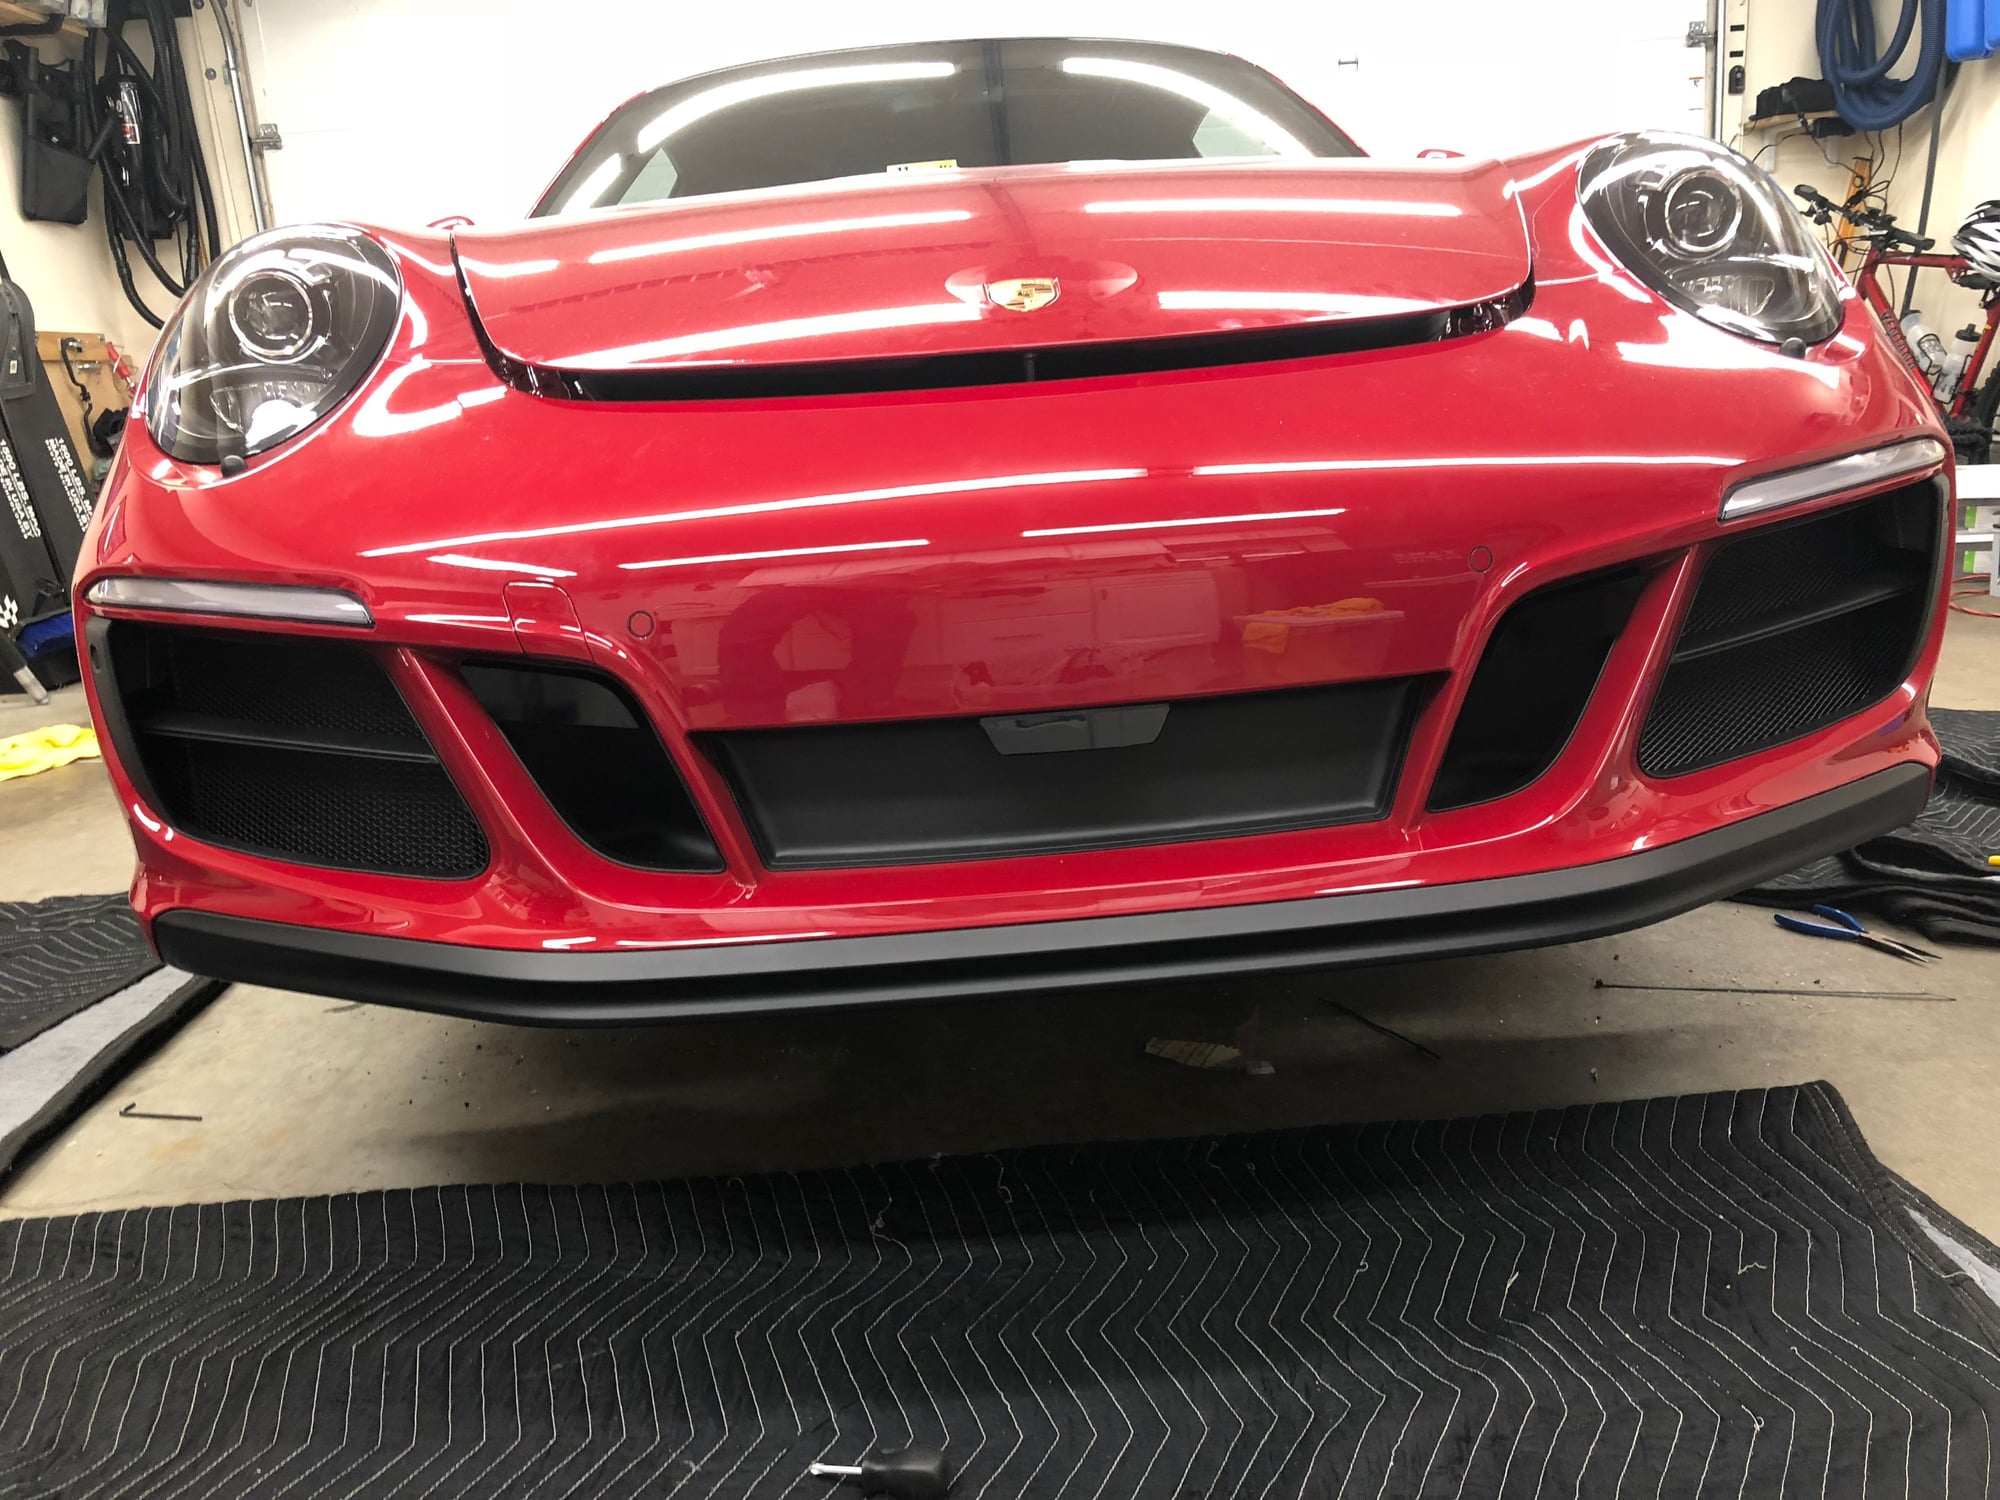
Front bumper off and getting down to business. Left air intake housing already removed:
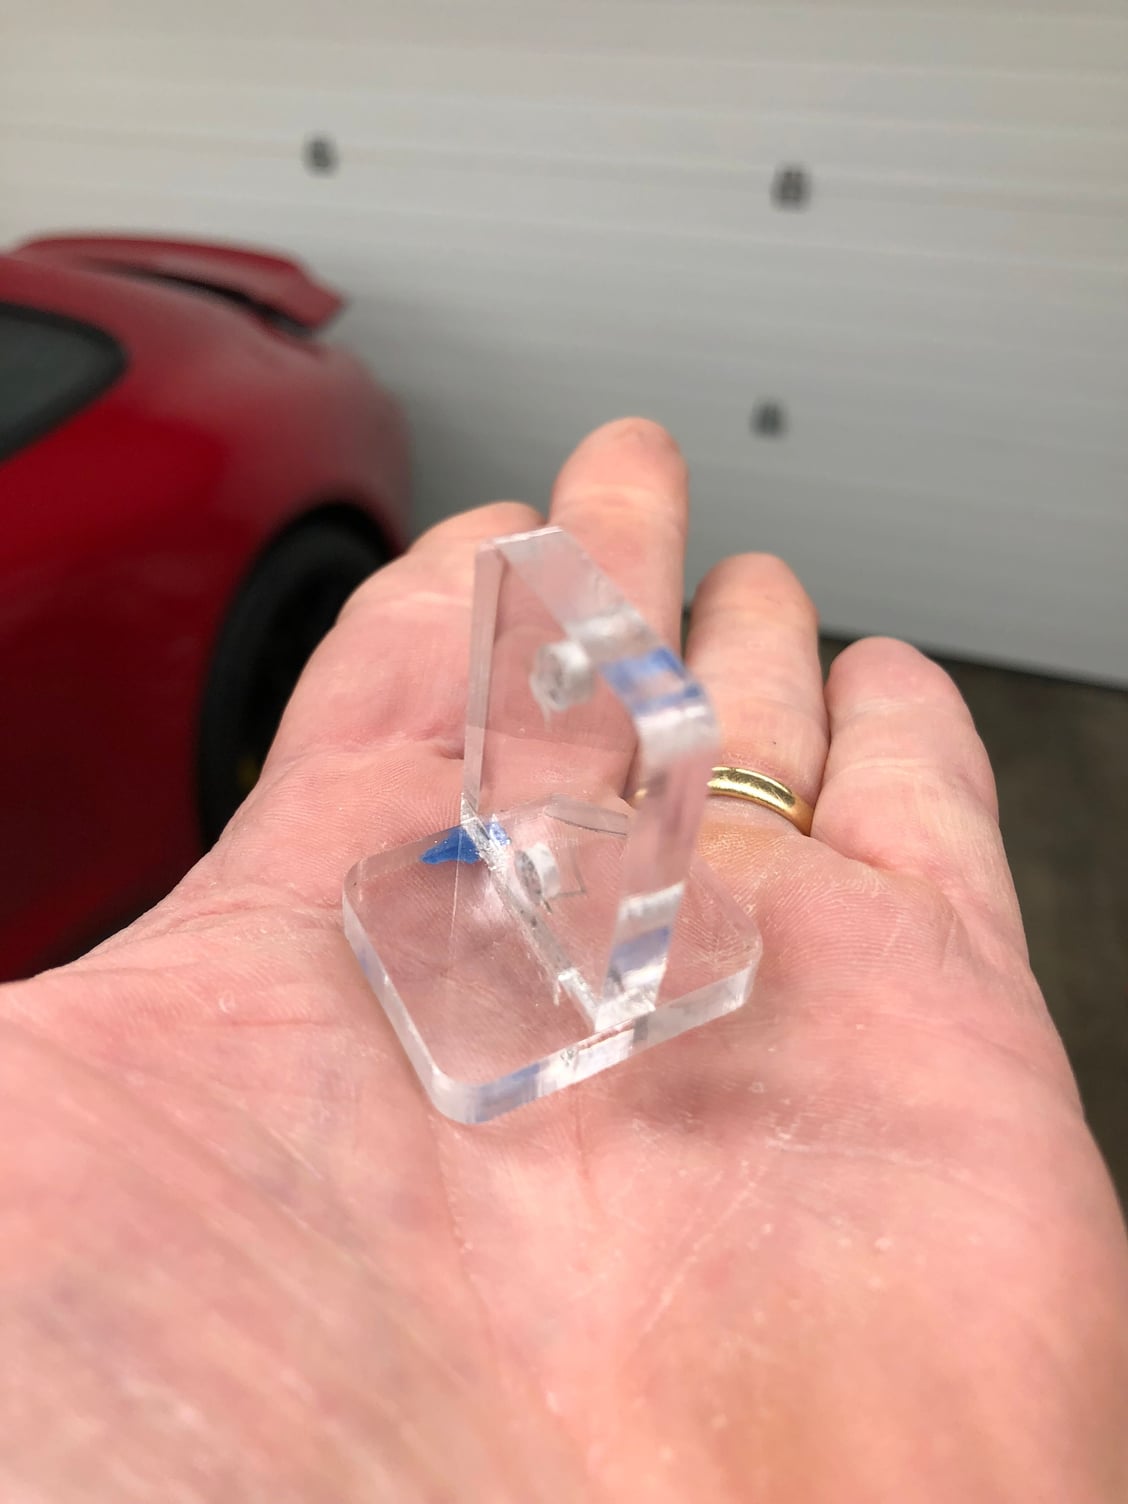
Jig supplied by Musicar for drilling box beam for L & R sensor attachment. I called them up before I realized they sent the jig. Conversation went something like this, ‘Nick, how do you accurately drill holes to attach the sensors?’ He said ‘use the jig we sent’. I said ‘I didn’t get a jig’. He said ‘we sent you one’. Then I noticed a small clear acrylic piece and asked ‘is this the jig?’. ‘Yep’. I’m thinking how in the hell is this small piece of plastic going to allow me to accurately drill the sensor holes? Once I had the front bumper off it became clear, sort of. As it turned out the jig was both very accurate and very clever.
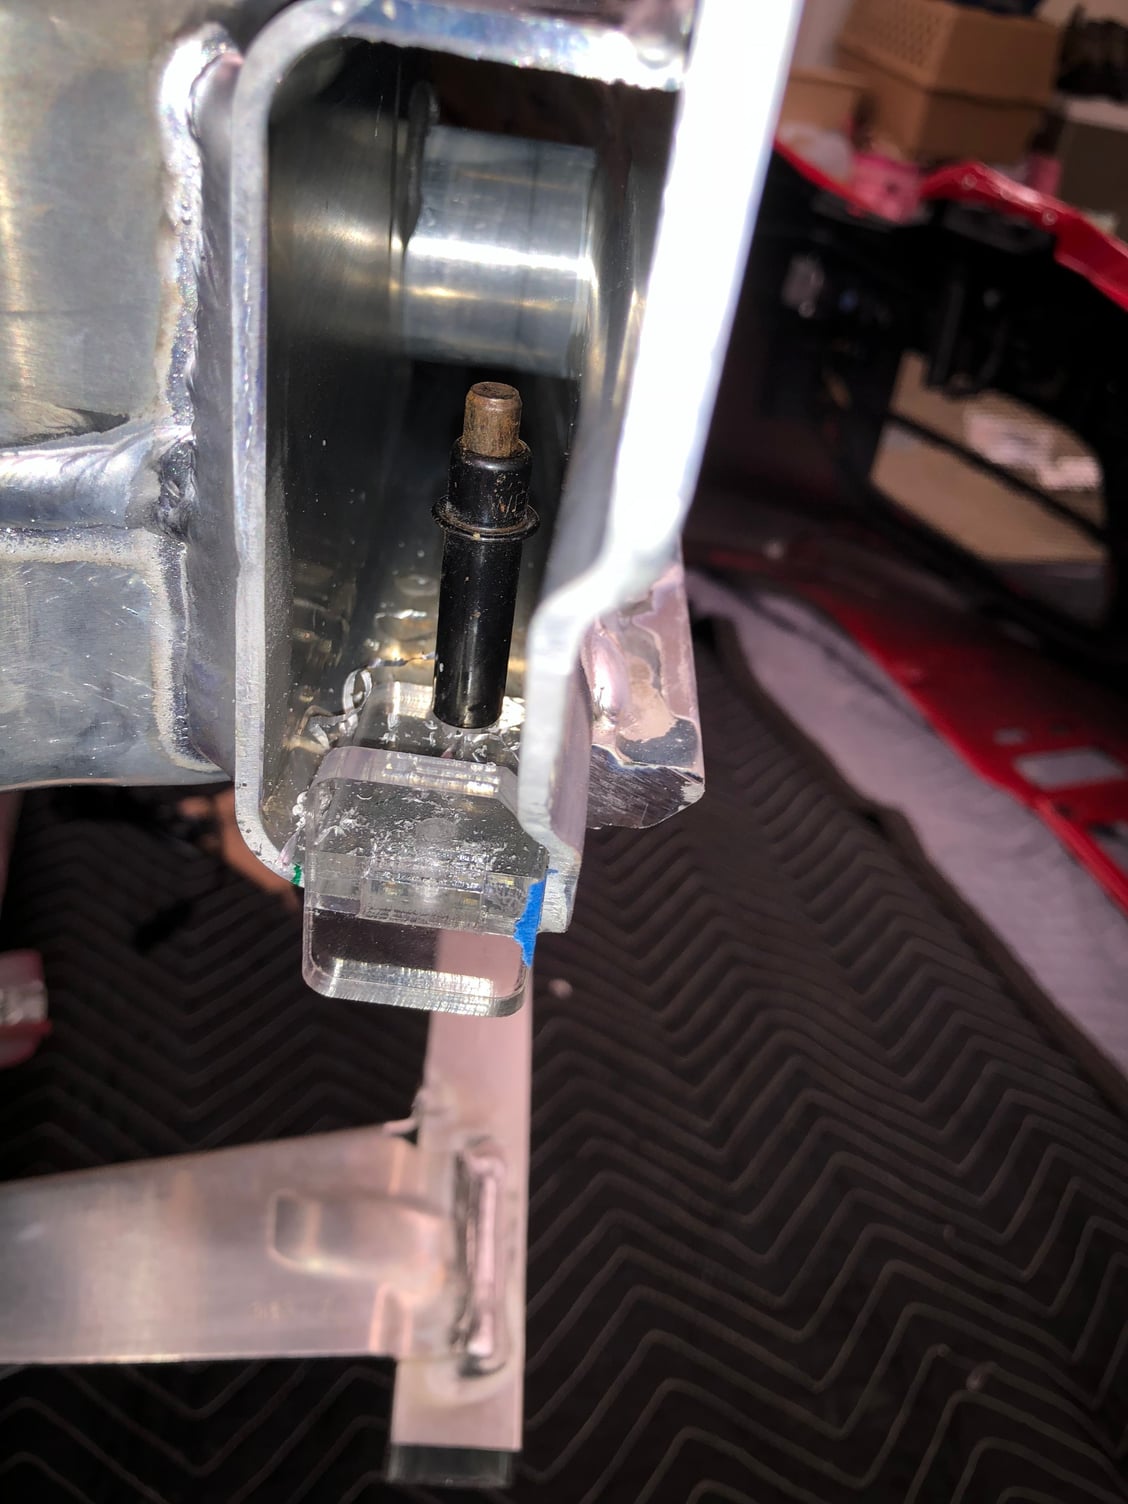
It goes in each end of the front box beam when drilling the holes like so:
I taped it to the box beam so it wouldn’t move, then drilled the inboard hole. I have restored an airplane, and built one from a kit (the multi-color biplane in my Avatar), so I have a lot of aviation related tools, like clecos, which is a temporary attachment pin. I put one in the inboard hole I just drilled, to keep the hole spacing accurate, and then drilled the second hole, on the outboard side:
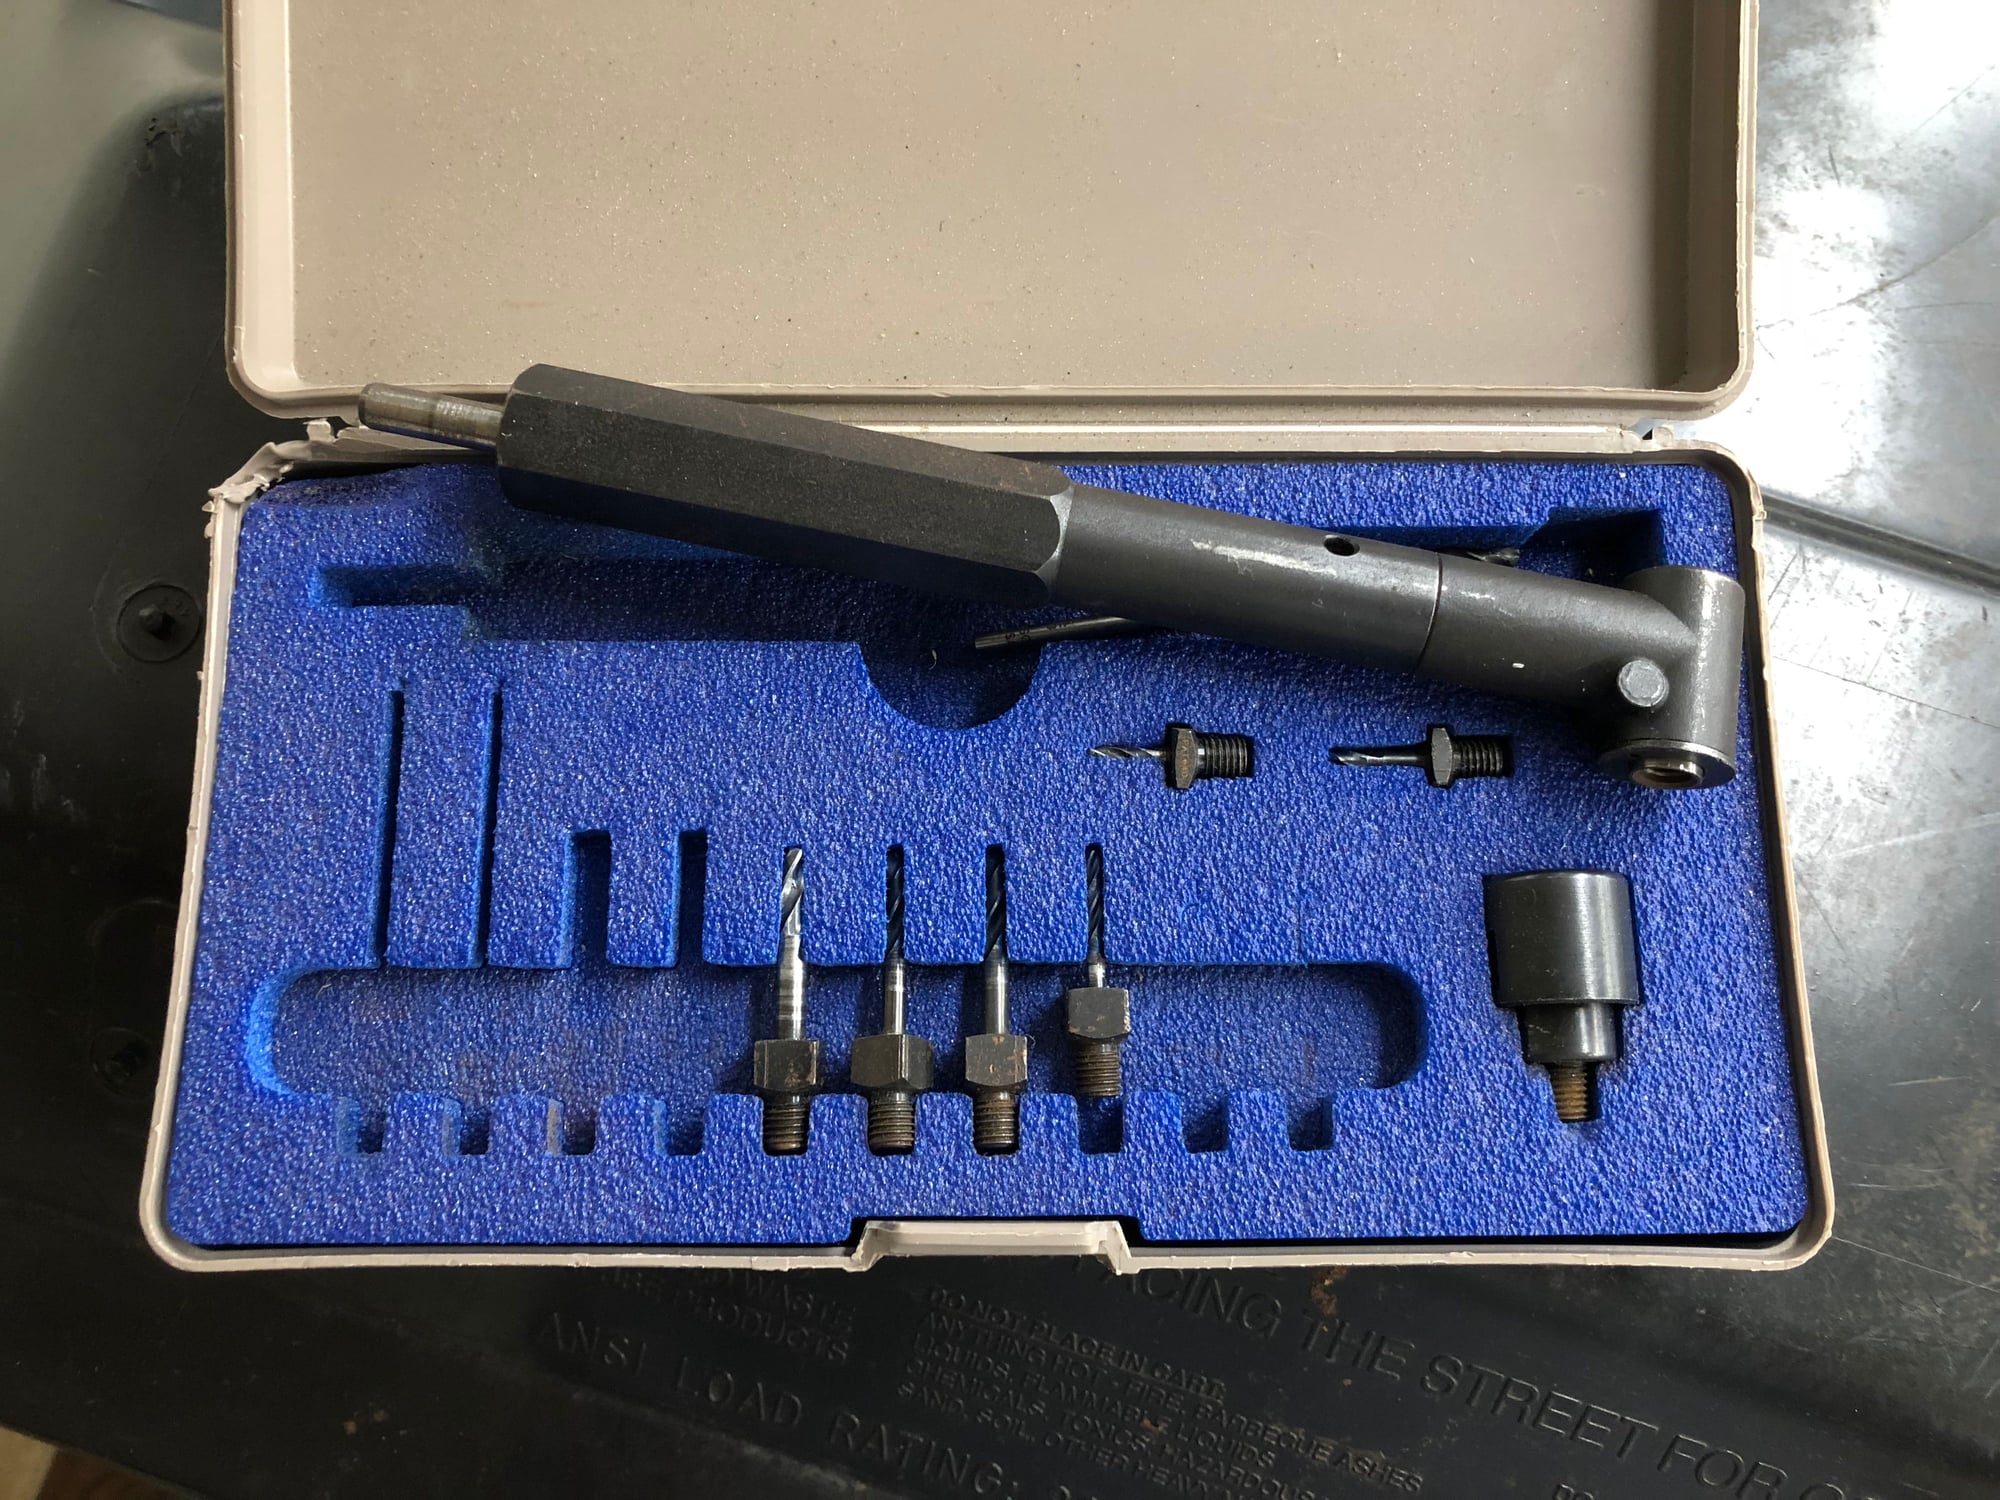
I have an aviation type right angle drill arrachment. The drill bits screw into the chuck, and the drill bits are sized for either rivets or screws. IMO it's required for this job:
Once I had the pilot holes drilled, I needed to enlarge them for the 1/4” bolts, but the lower bumper cover support had to be temporarily removed because I couldn’t get the drill in there to drill the 1/4” holes.
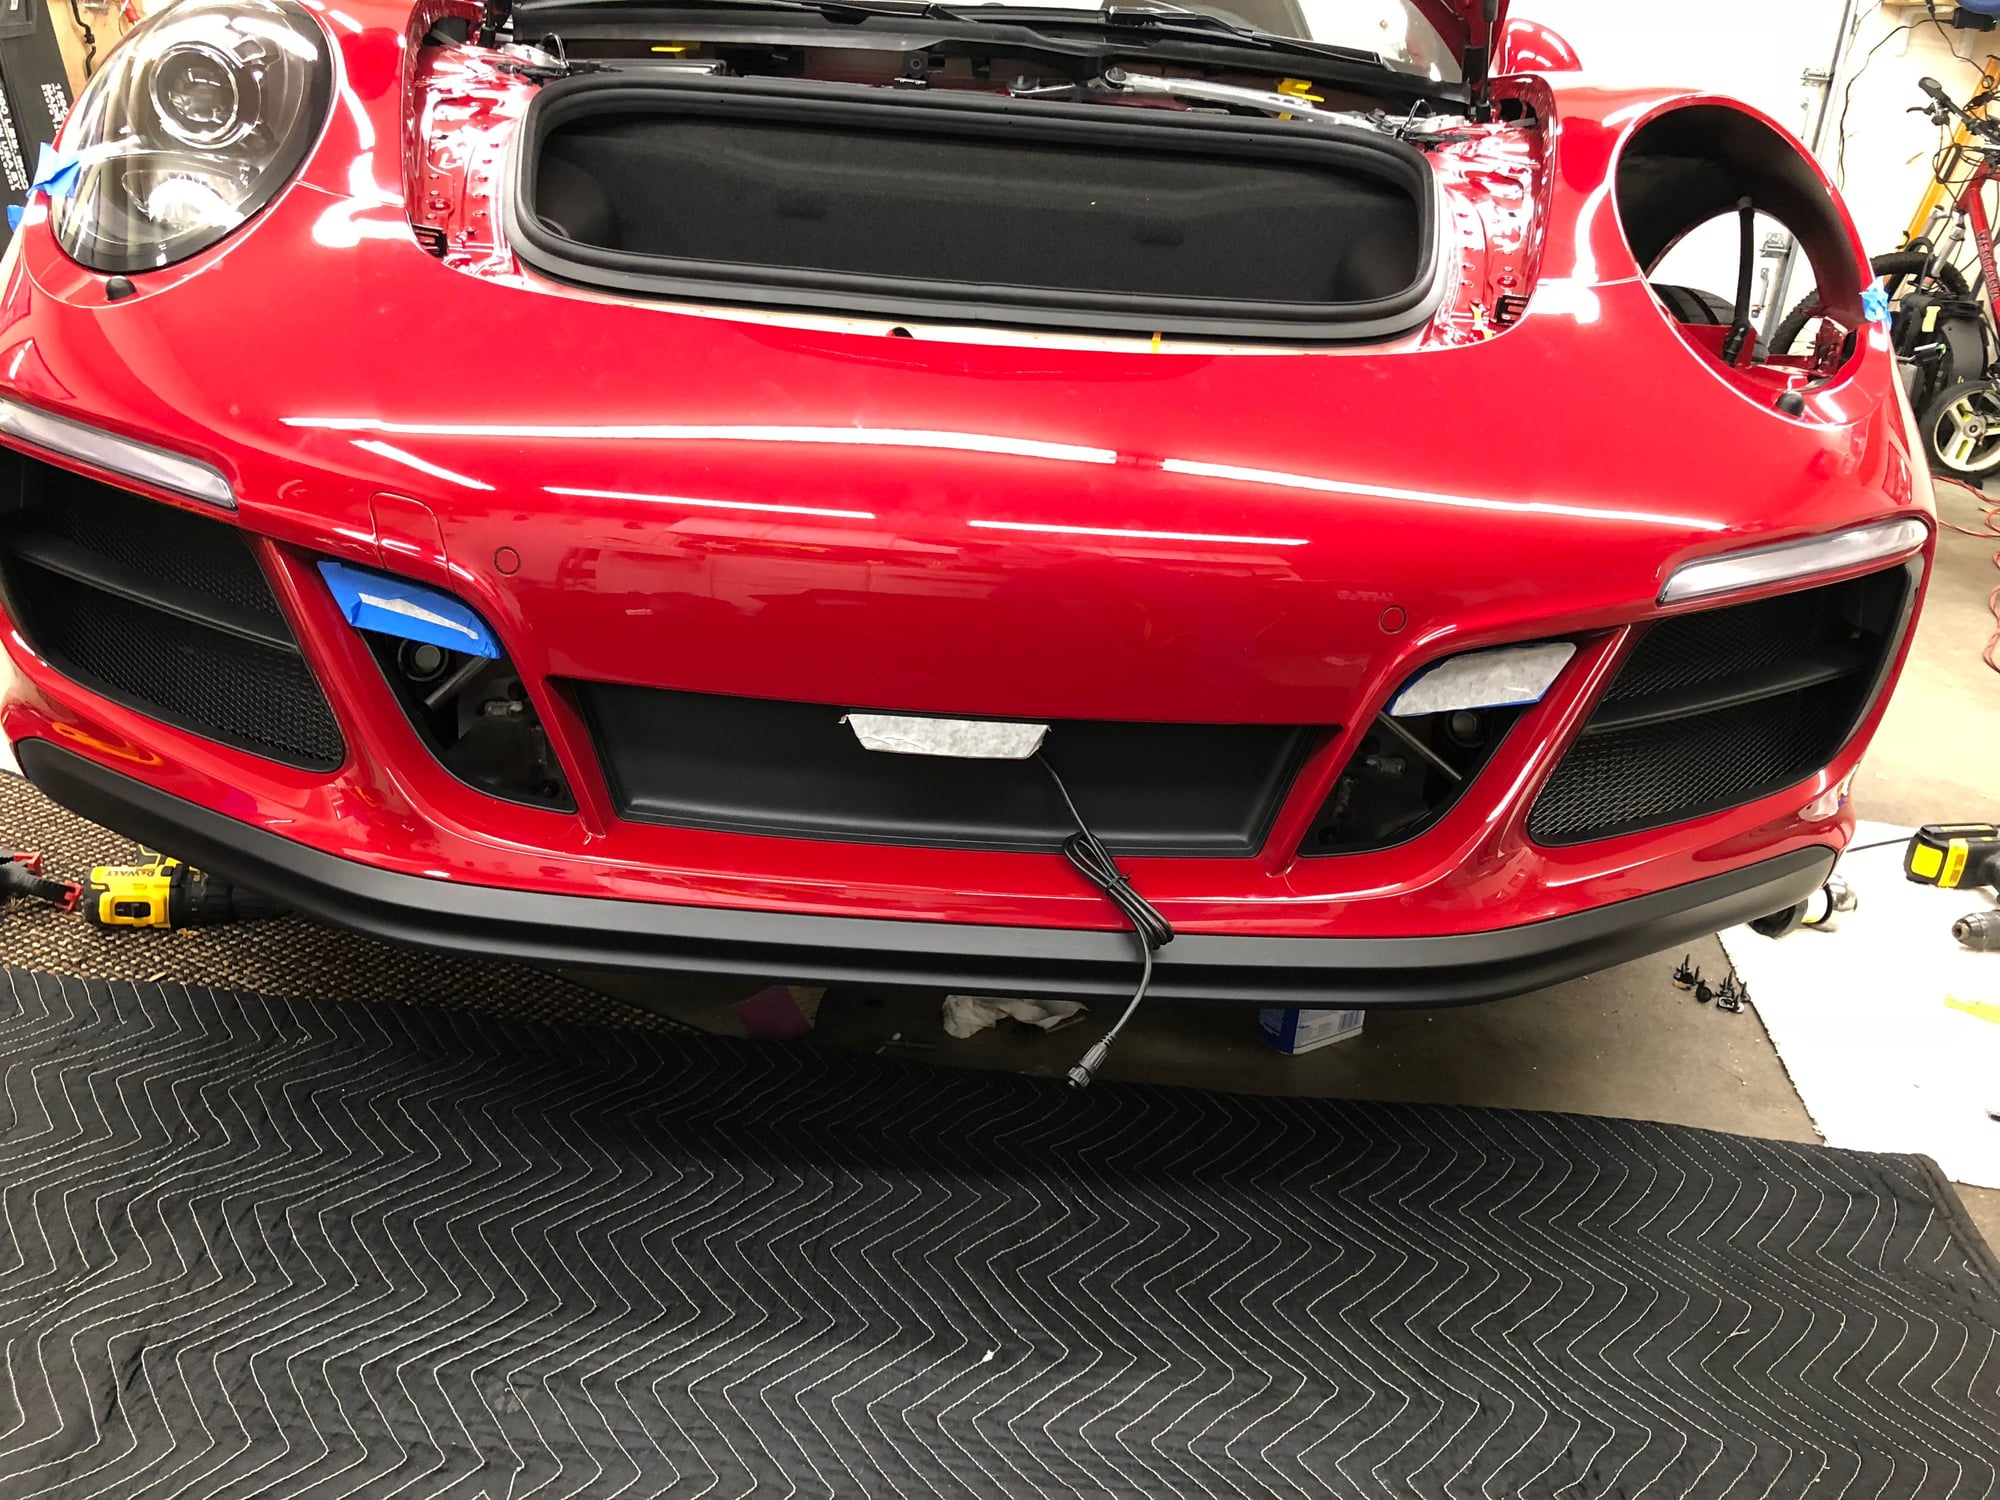
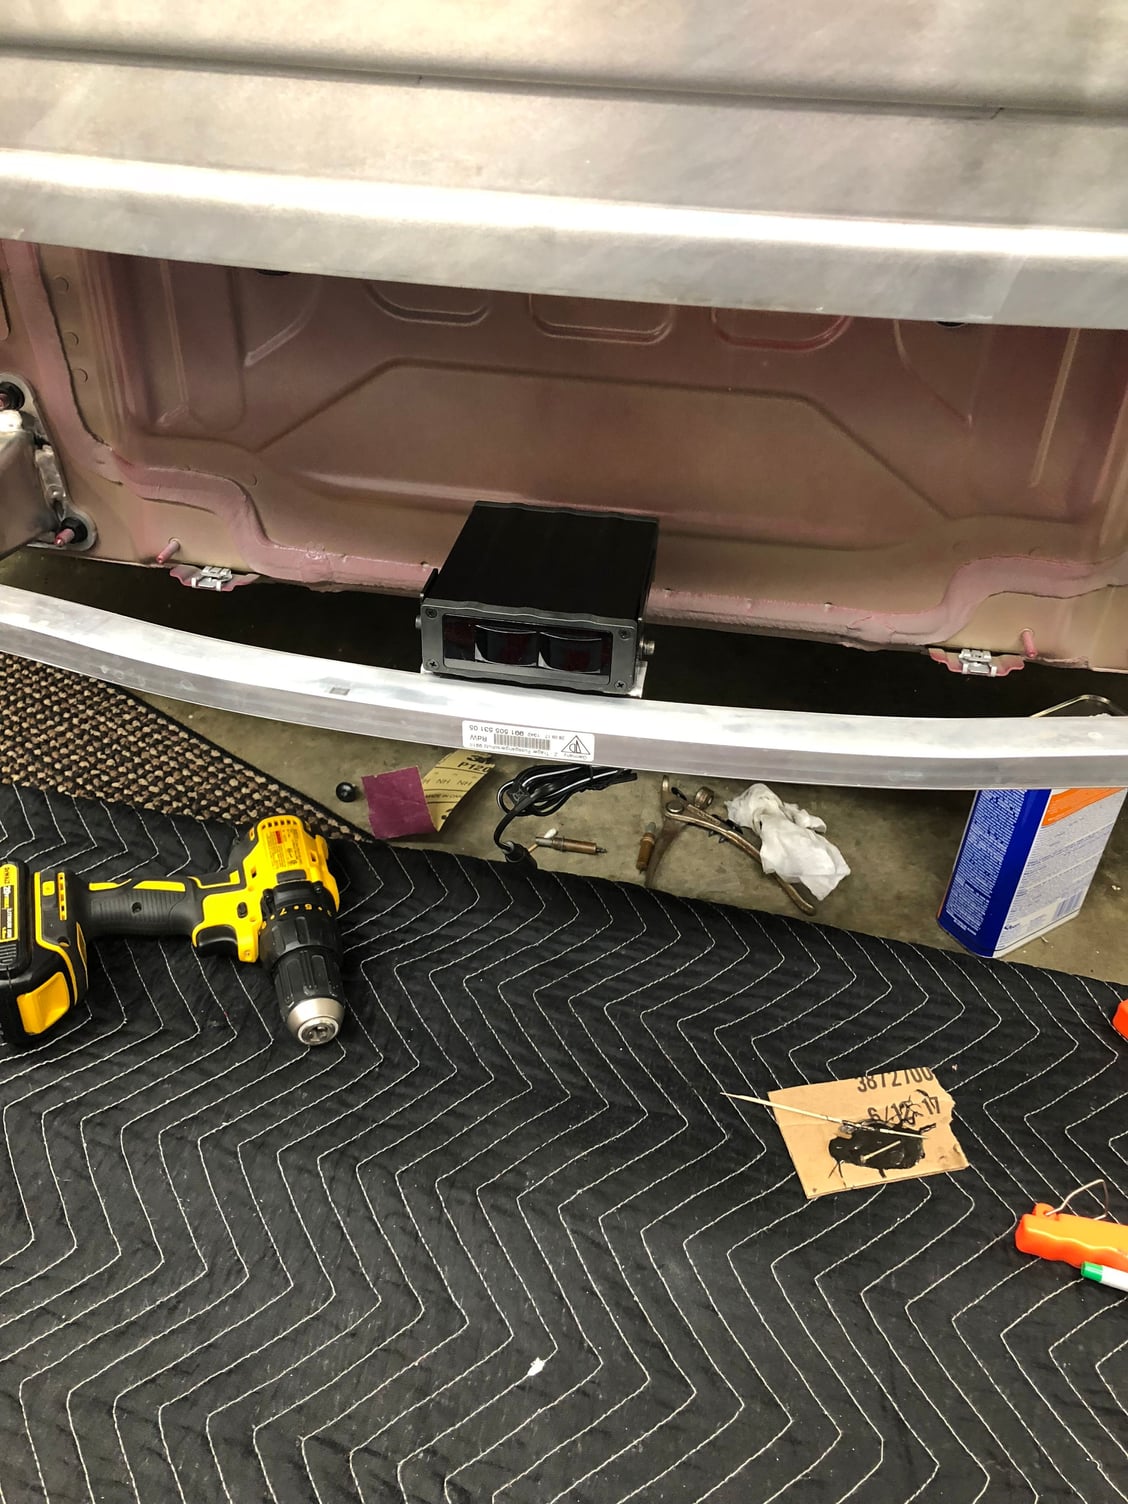
I temporarily attached the front bumper to see how it all fit, here is the result. The middle sensor is held in place by rare earth magnets:
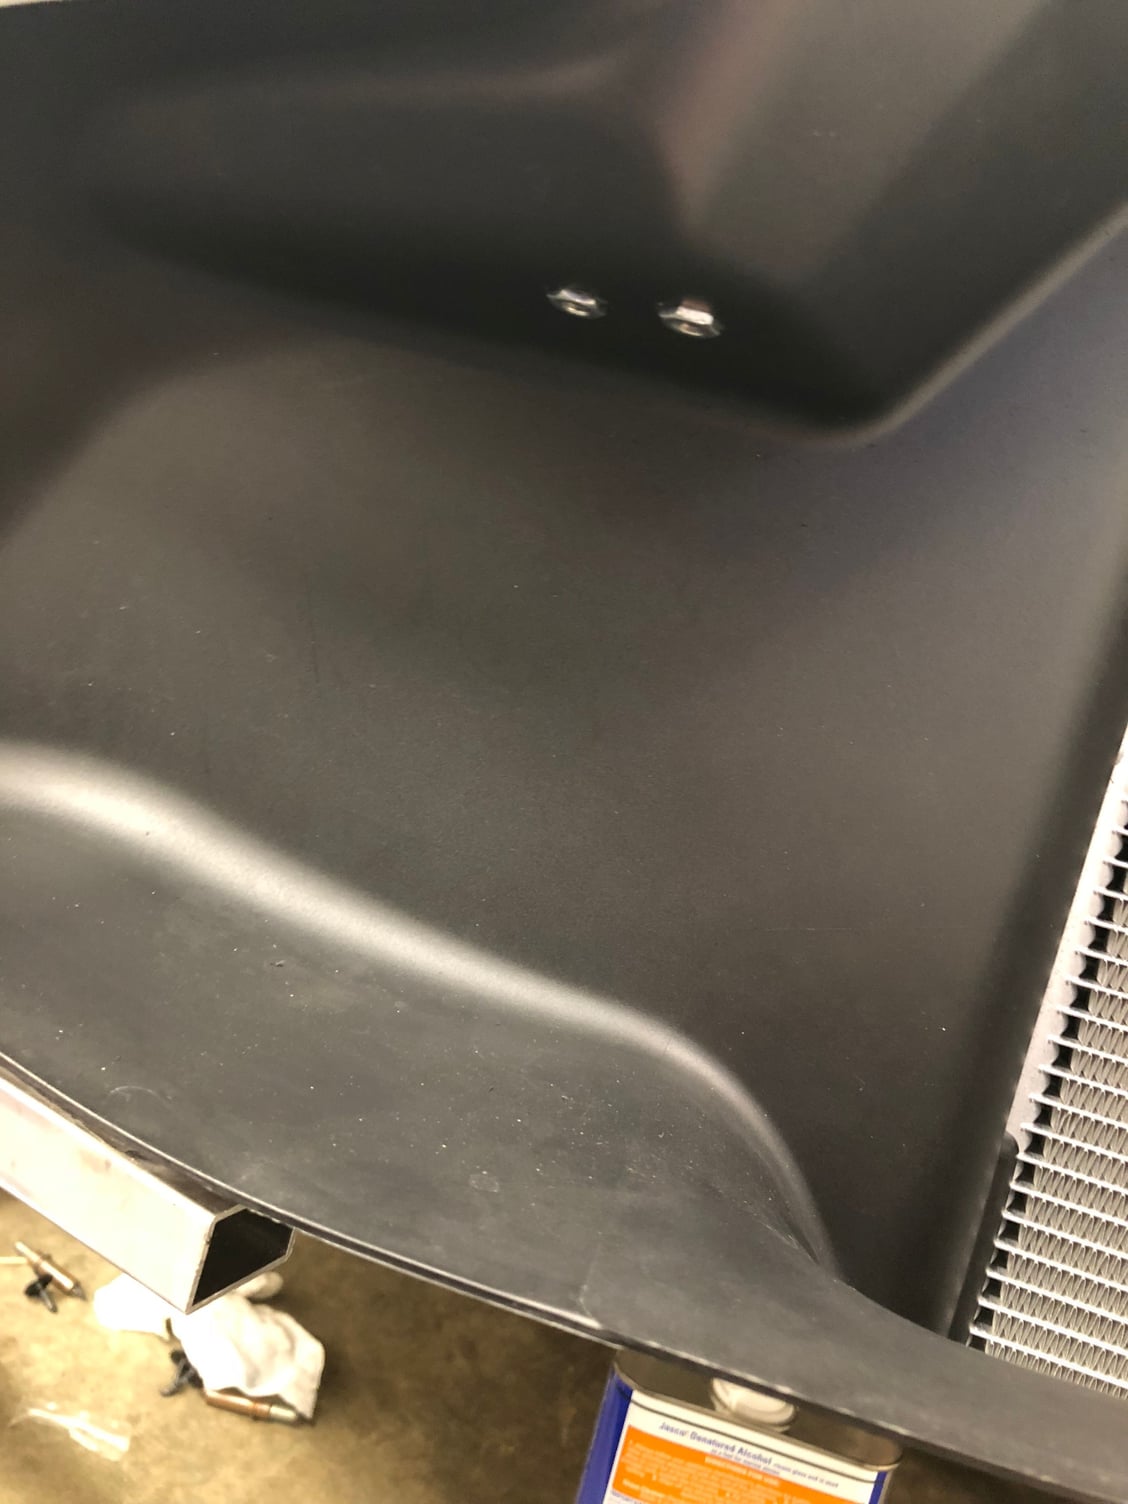
The L & R sensors are screwed to the box beam with a 1/2” spacer. So the next task was to accurately drill two holes in the intake housings for the spacers to protrude a little. Came out nice:
Last task was to mount the front radar antenna. I used a piece of aluminum angle which was riveted to the lower bumper cover support using aviation grade 1/8” pulled rivets (if they are good enough for airplanes, they'll work just great on an automobile!), coupled with some JB Weld. It ain't going anywhere. I would like the antenna higher but there not a good place for it, so I copied the location from Musicar's GTS installation:
Flickroll where are you located? I just ordered the same car and live in CT. Would love to PM or discuss with you. Just joined so I dont think I have PM privileges..
Quick update. Finished the forward area today, and have a sh**load of wires laying on the driver�s floorboard. Tested both systems and all seems well. Can�t reallybteast Radar in my garage but I bought an inexpensive laser transmitter to check the sensors and that is working great. Also tested the �parking sensors� which is what ALP advertised what their system does, and then I did a system update and not it is now running in �defense mode, and the parking sensors work great too. Actually better than Porsche OEM. Tomorrow I hope to pull the rear bumper and pull 3 wires forward into the cabin. After than the seat comes out and I�ll finish it up. Here are a few pics.
Super! How did you get the wires through the firewall. Did you have to drill or able to use an existing hole?
I asked Nick that question and they go through front side of the big rubber wire passthrough by the steering column. You look in the cabin at the passthrough point numerous times and then once you think you have a good spot you punch through with a pick, and go look inside again to make sure that is where you want it. Once I was satisfied then I used a step drill to enlarge the pick hole to a size that will allow passage of the cables. There are 5 wires coming through...3 sensors, and 2 GPS antenna wires (Escort & ALP use a GPS). After you get the wires cable tied how you like it, remove any tape you have wrapped around the wire bundle on both sides of the hole. I then used black RTV and used a lot until the wires were a gooey mess between all of the wires , and then pushed it through one final time. Then I applied a liberal quantity of RTV around the the wires and the rubber grommet. You cannot get to the inside part of the rubber so the sealing has to take place outside the car. What I did is essentially what Porsche does with wires through the passthrough. It is well sealed and I don't think I'll have any problem with water seepage.


 02-23-2018 | 09:39 PM