When you click on links to various merchants on this site and make a purchase, this can result in this site earning a commission. Affiliate programs and affiliations include, but are not limited to, the eBay Partner Network.
Yes, absolutely! I’m waiting for a replacement gasket to arrive. What I’ve gleaned from others, and from my experience working on it, is that the factory-installed carbon fiber console surround trim may have small differences regarding the fasteners and/or posts. Makes them extra tight, it seems. Anyway, clearly the amount of force and manipulation I have to use to get these things to release, is taking a toll on the rubber gasket. It also, in places, prevents me from getting tools beneath the trim, in order to to work the fasteners loose. I’ll have to rip the gasket material out around certain posts.
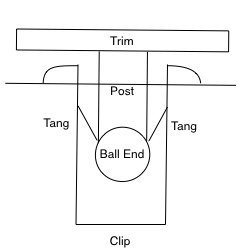
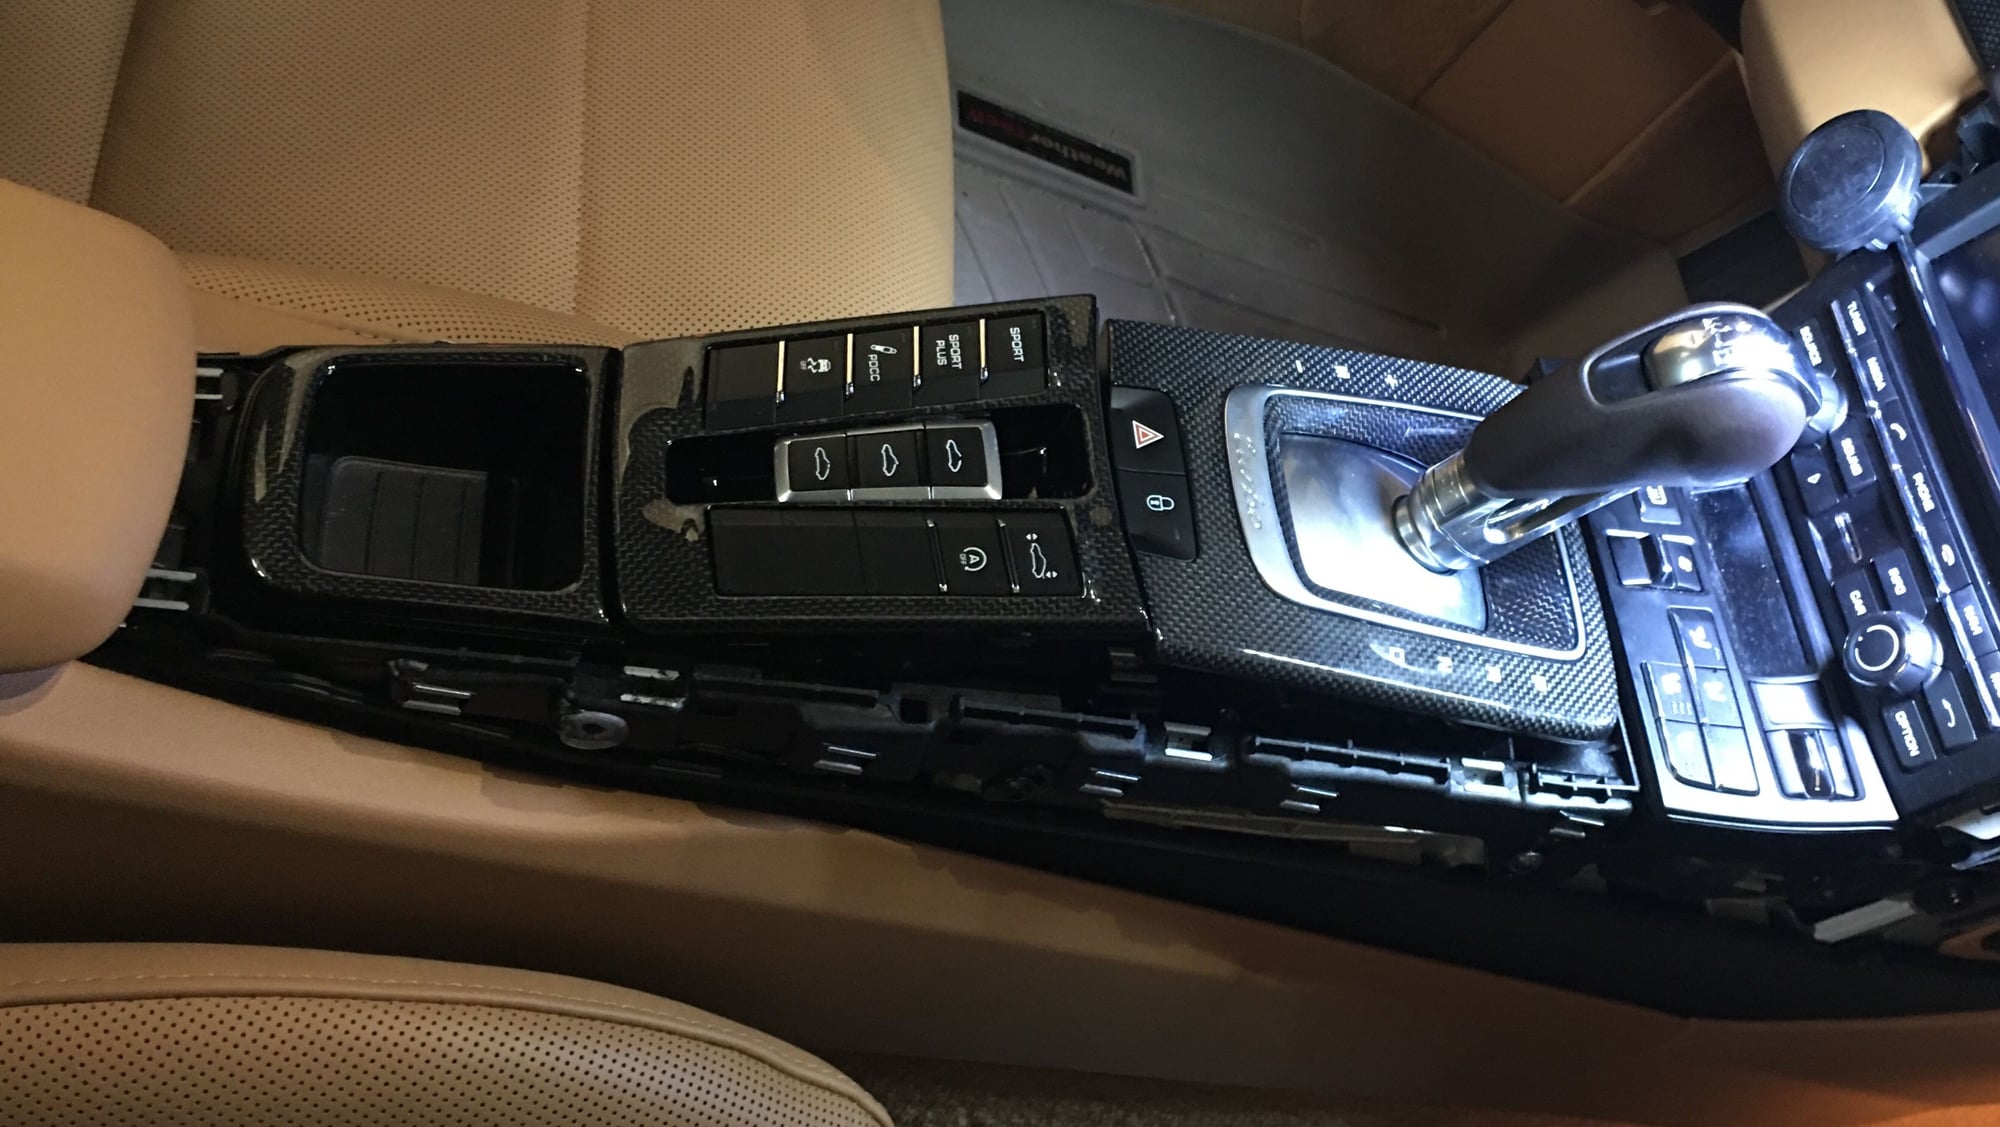
Thanks for everyone’s patience. A few unexpected difficulties. Primarily, my problems stemmed from the design and quality of the clips in the base section of the console. They grab the ball ends of the mounting posts carbon fiber (OEM) surround trim, when they are pressed straight into them.
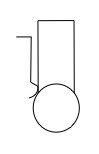
Here’s a rough sectional drawing of the clip and inserted post, to give you a visual:
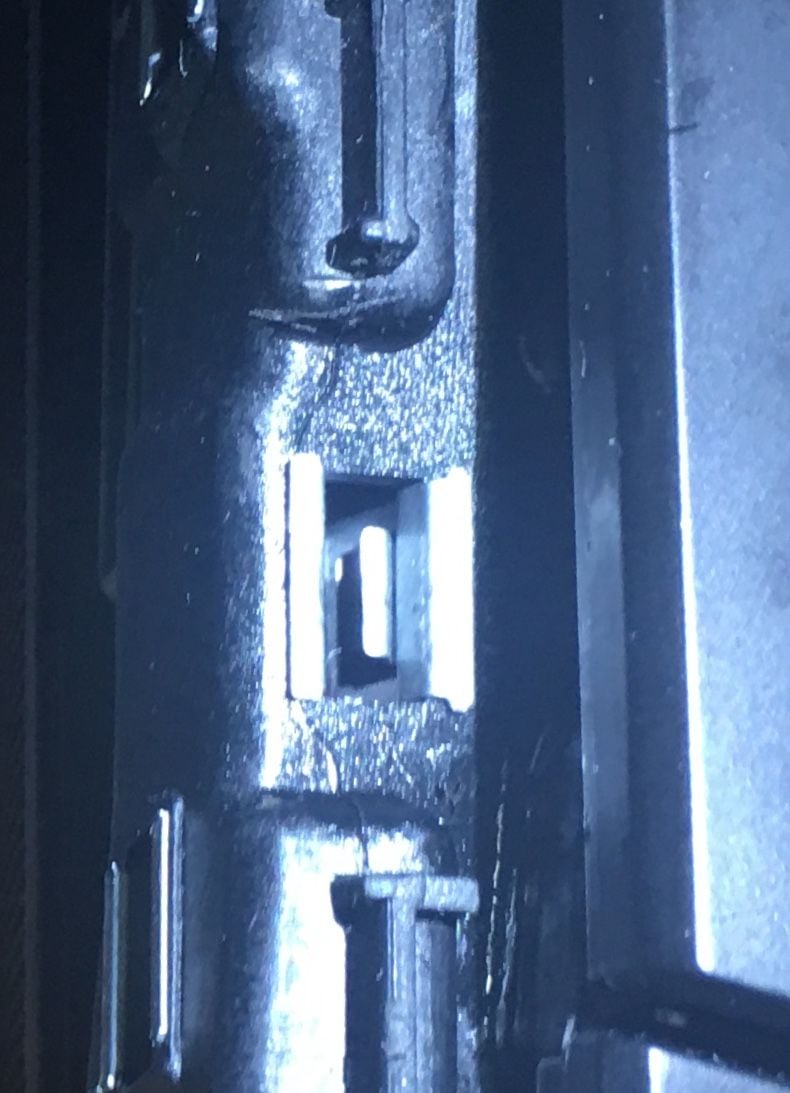
First the clips are composed of a soft steel, and galvanized. As opposed to stainless, spring steel—as you’ll find elsewhere within the components of the center console. Because of the softness of the metal, and the rougher surface of the galvanized metal, some tangs that have grabbed the ball end of the posts, will stick. And pulling the posts up and out of these clips, will bend the tangs up to the opening. Here’s one of the three clips that I had with hardest time with. Notice the clip’s inner tang bent up near the opening.
And because the clips metal, pushing such tangs back into position with a screw driver, will immediately break them. So, they are not particularly reusable. If they were made from properly resilient metal, and the tangs were shaped so that the ball-end posts could be pulled out, and they wouldn’t snag and bend out. Audio plugs and jacks are a good example of the kind of design that I’d like to see. The tang is bent to be used as detent that releases the ball end with the appropriate amount of pulling pressure. But otherwise holds the plug securely in.
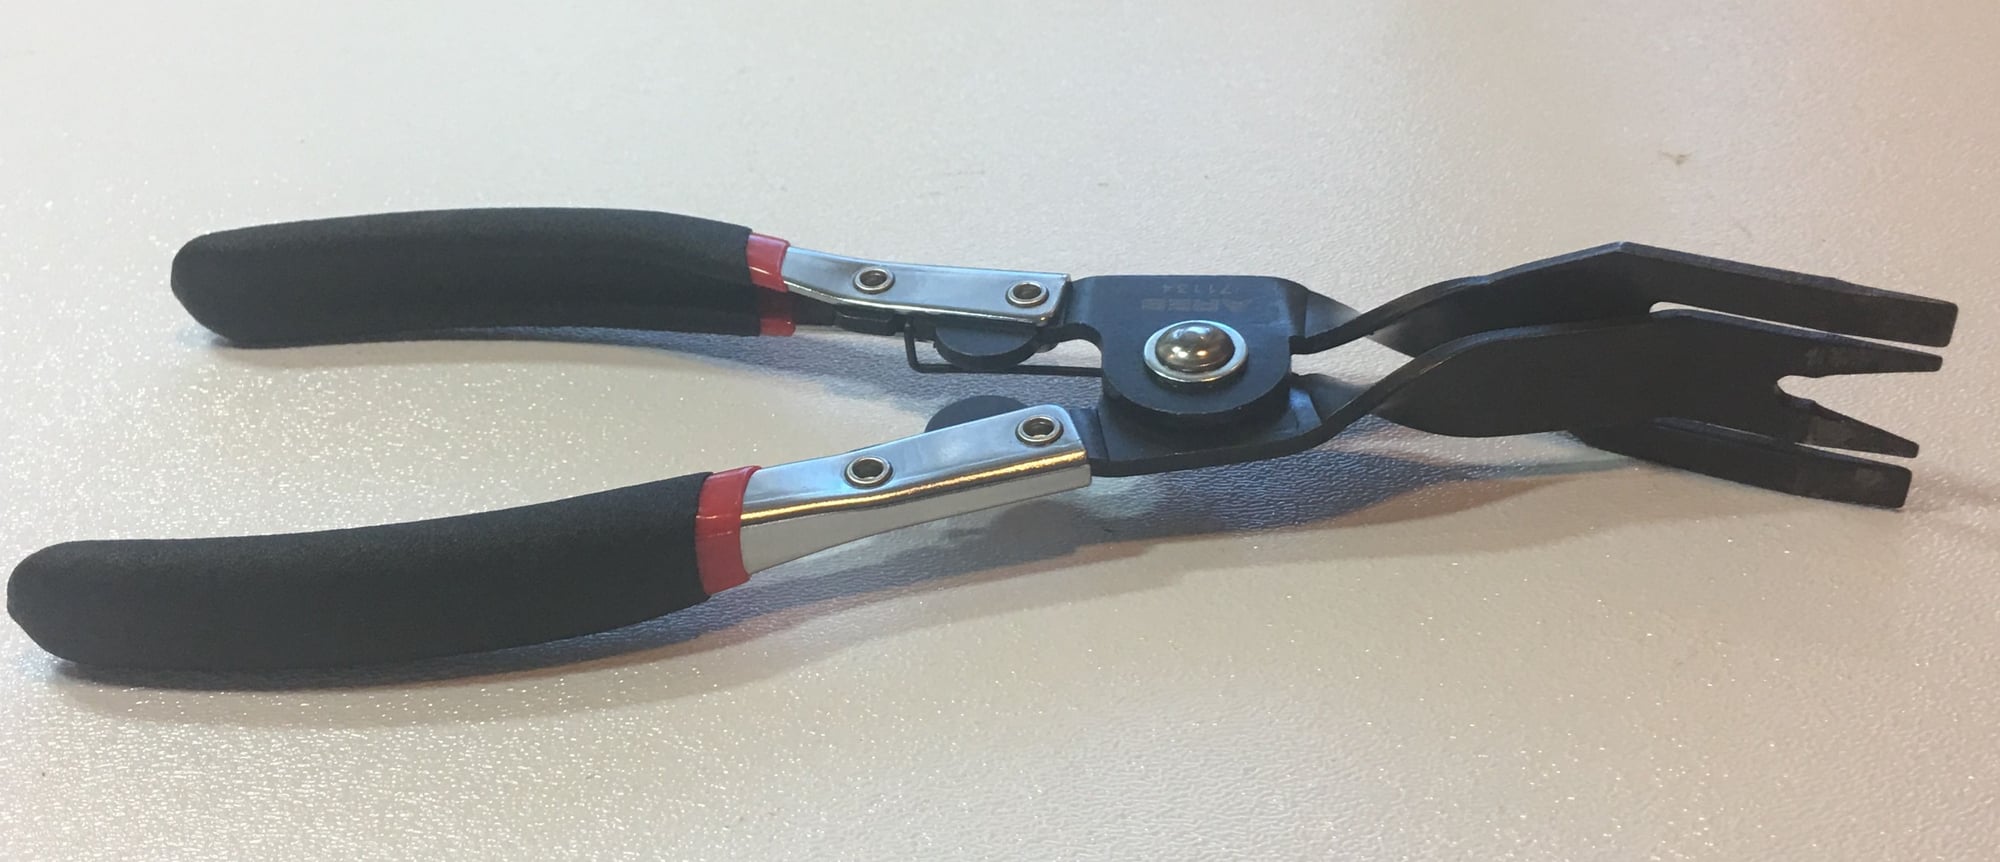
What took the most time was waiting for the delivery of a special tool and a new console surround gasket. The tool was essential in pulling the posts straight up. Prying the trim up with nylon tools was also necessary. But, even though the CF trim surround base is made of metal, these posts were so stuck, damaging the trim was easy to do.
The most problematic clips/posts required that I tear out the base gasket, to be able to fit *any* kind trim tool under it. Once I manage to pull the gasket out, using the pliers (above) was essential. I, personally, couldn’t manage to do it in any other way.
I’ve read other accounts of removing the trim, and with trim tools, the console surround trim pop right up, with a very reasonable amount of force. Hats off to them. My experience, as you’ve read, was not that. Was this unique to me because of a bad batch of clips? Is there something different about the OEM CF trim? Am I that mechanically challenged? Maybe. I’m open to any and all explanations.
Okay... The “ashtray” switch box, and shift surround popped in. Daniel, at DBCarbon, said some customers found installing the ashtray a challenge. I installed them in sequence (ashtray->switch box->shifter surround), and didn’t have any problems. Here, I have them sitting in-place, stacked in order of installation, ready to be carefully positioned, and pressed in.
Dumb question alert!
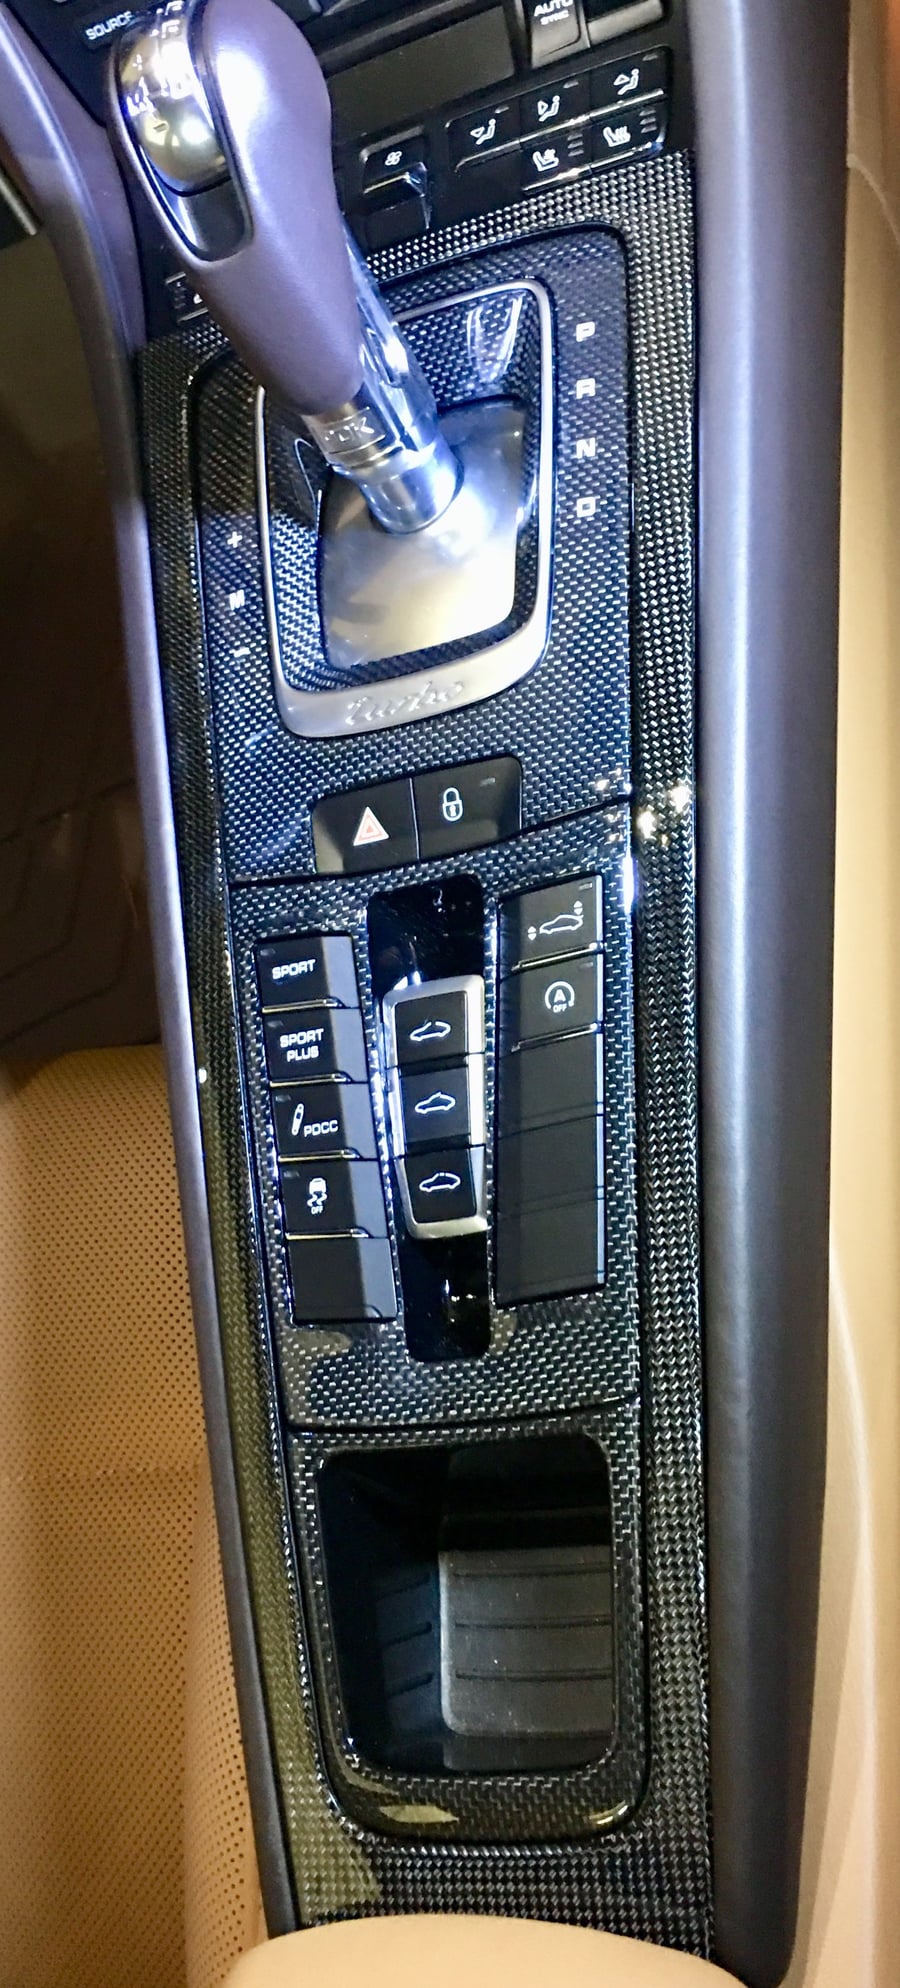
Does the carbon finish match perfectly? Looks a bit off from the photo but I'm guessing it's just the flash from the photo?
Looks pretty clear that the weave itself is different... the OEM pieces are darker and the weave looks like it is running in a different direction. Likely less noticeable without the flash mind you.
Daniel and DB are the best. Waiting on a rear bumper valance and exhaust surround for my TTS. Worked with Daniel on interior package for my previous 4S. Great communicator awesome quality product.
Yep, it’s too bad that door panels with the accent strips recesses that are filled in with matching leather, can’t be upgraded with aluminum, wood or carbon fiber trim.
Thanks for posting this thread, nice job on the write up and pics. I would love to ditch the brushed AL in my black leather interior and go CF like the GTS has however until not all the other places offering CF interior pieces have not had the door trim. Interesting, browse the pictures and it appears there are no clips on the back of these pieces, just 3M adhesive strips. Makes sense these should be able to be changed as i would think it reduces the number of door panel SKUs the factory would need on hand.
Curious - anyone attempted to remove their door trim panel strips and have any tips on how you did it?
thanks
... interesting that the cup holder is the actual assembly and not just the face to the door flap.
I'm waiting on my DB Carbon door trim pieces and per Daniel, they will be delivered in early June. I ended up ordering the Porsche center console and carbon dash trim from Suncoast and installation took all of 10 minutes. It looks really nice and once I get my DBC door trim installed, I'll call it complete on my interior.
I'm waiting on my DB Carbon door trim pieces and per Daniel, they will be delivered in early June. I ended up ordering the Porsche center console and carbon dash trim from Suncoast and installation took all of 10 minutes. It looks really nice and once I get my DBC door trim installed, I'll call it complete on my interior.
Thanks for blazing this trail on the CF door trim. Please post back here with thoughts and pictures once you get the DBC parts.


 02-12-2018, 10:06 PM