When you click on links to various merchants on this site and make a purchase, this can result in this site earning a commission. Affiliate programs and affiliations include, but are not limited to, the eBay Partner Network.
This is what I would be willing to pay also, If they had a proven track record for fit I would be tempted.
I'm going to let them try and start establishing that track record, just ordered. Now to hope for fast shipping since I already made an appointment with paint shop. Will report back.
I'm going to let them try and start establishing that track record, just ordered. Now to hope for fast shipping since I already made an appointment with paint shop. Will report back.
Looking forward to hearing your thoughts on these, look interesting considering the price.
I'm going to let them try and start establishing that track record, just ordered. Now to hope for fast shipping since I already made an appointment with paint shop. Will report back.
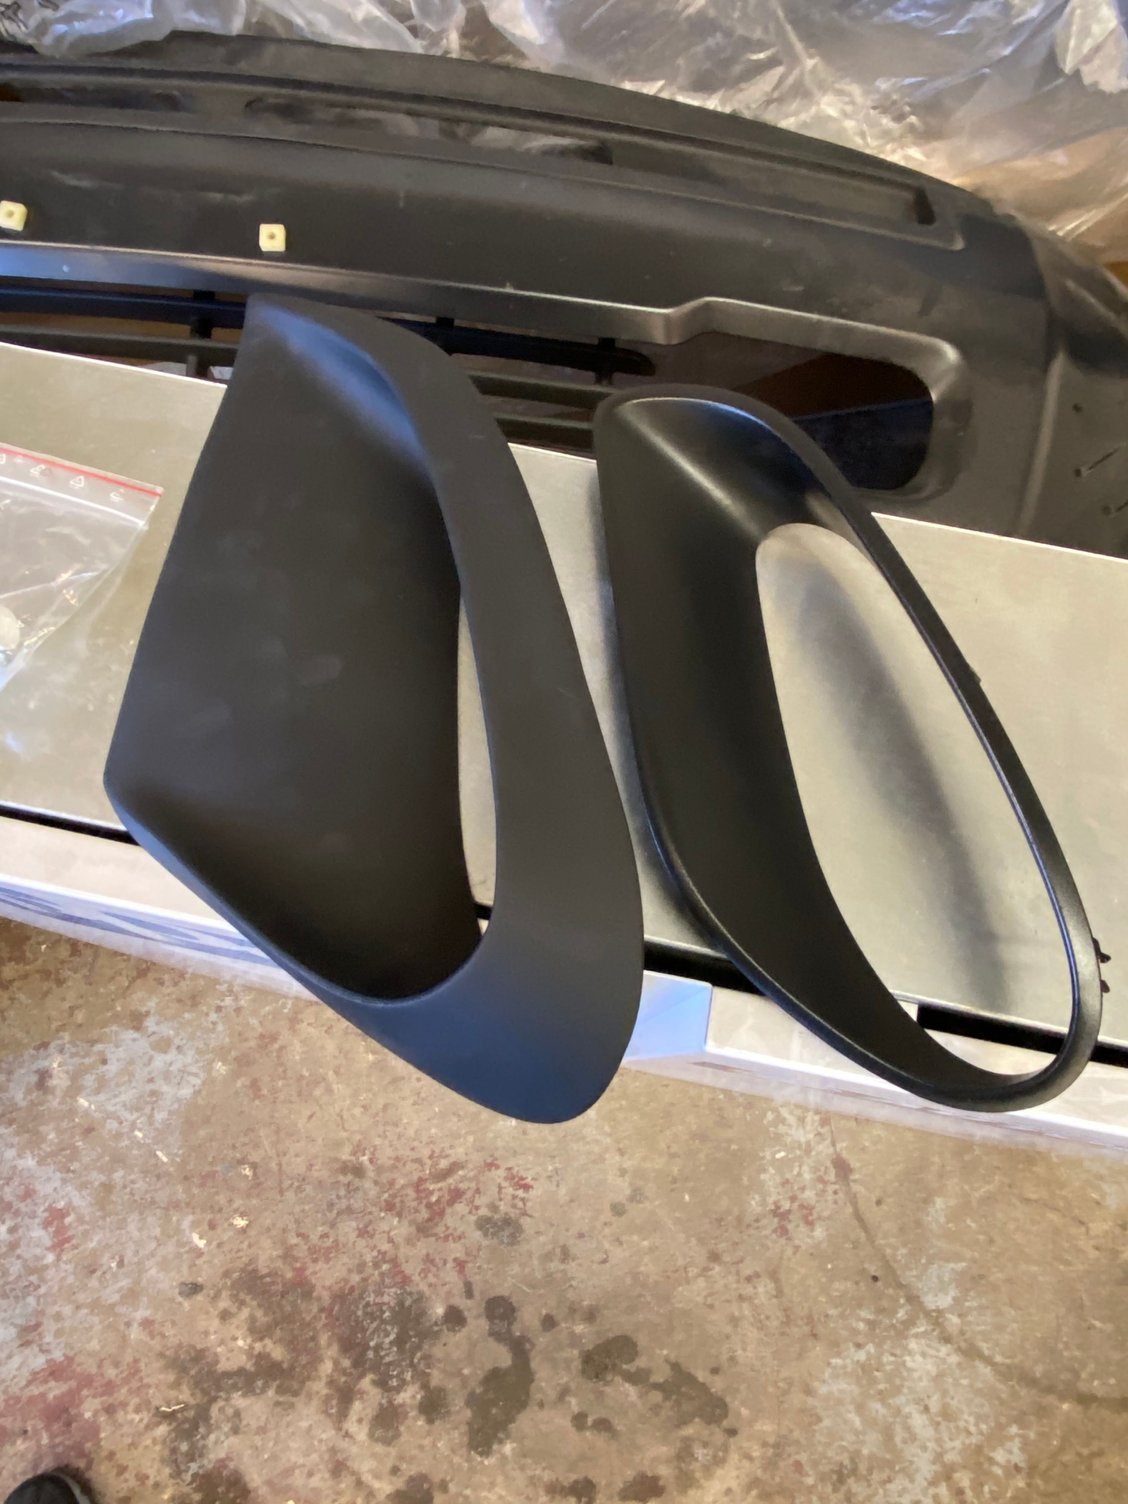
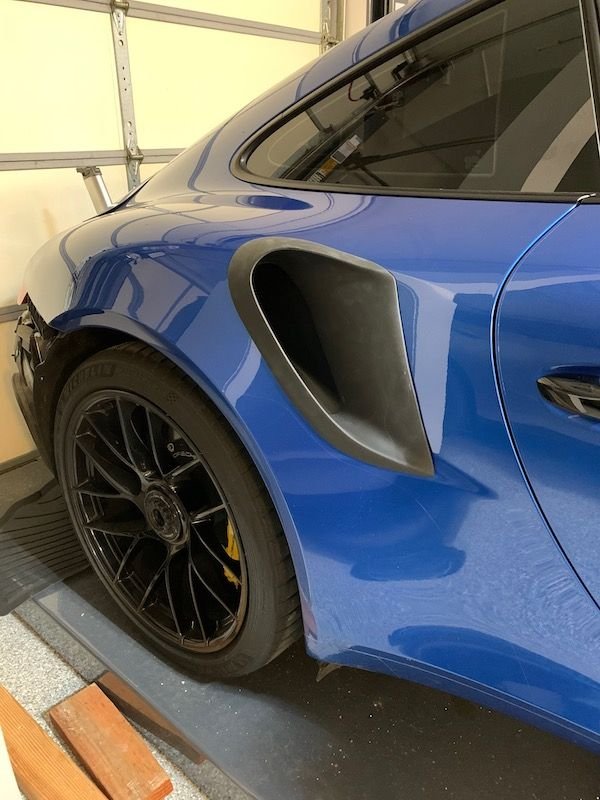
Got the vents today, they arrived in just over a week. First observations, they are made of some sort of composite and not plastic like the OEM ones. They don’t have mounting clips for install but Moshammer includes a tube of adhesive. I test fit them and was very pleased by the way they fit. Going to have them painted hopefully soon and install them. For the price I would definitely buy them again. Sorry for the terrible pictures, I was trying to take a few while the body shop was test fitting them.
^^^ You could also consider having them clear-filmed once they're painted so they don't get beat to all heck.
PPF should be able to be wrapped on them prior to install.
^^^ You could also consider having them clear-filmed once they're painted so they don't get beat to all heck.
PPF should be able to be wrapped on them prior to install.
that�s a good idea, I�m going to see if they can do it.
Got the vents today, they arrived in just over a week. First observations, they are made of some sort of composite and not plastic like the OEM ones. They don�t have mounting clips for install but Moshammer includes a tube of adhesive. I test fit them and was very pleased by the way they fit. Going to have them painted hopefully soon and install them. For the price I would definitely buy them again. Sorry for the terrible pictures, I was trying to take a few while the body shop was test fitting them
these are glued on? Like to the painted body of the car?!
these are glued on? Like to the painted body of the car?!
Yes, but I don�t know much about the adhesive they gave me in the kit. I don�t know how permanent the stuff is or if it can be removed if need be. My entire rear quarter panels have PPF so in my case nothing will touch the paint. I�ll know more as the body shop digs deeper. They just took a quick look at them yesterday.
Some more info about the Moshammer side vents. They initiated shipping immediately, but took two weeks for me to receive. The second week they just sat in a FedEx facility near me "waiting for verification" that they had been cleared by US Customs at some point.
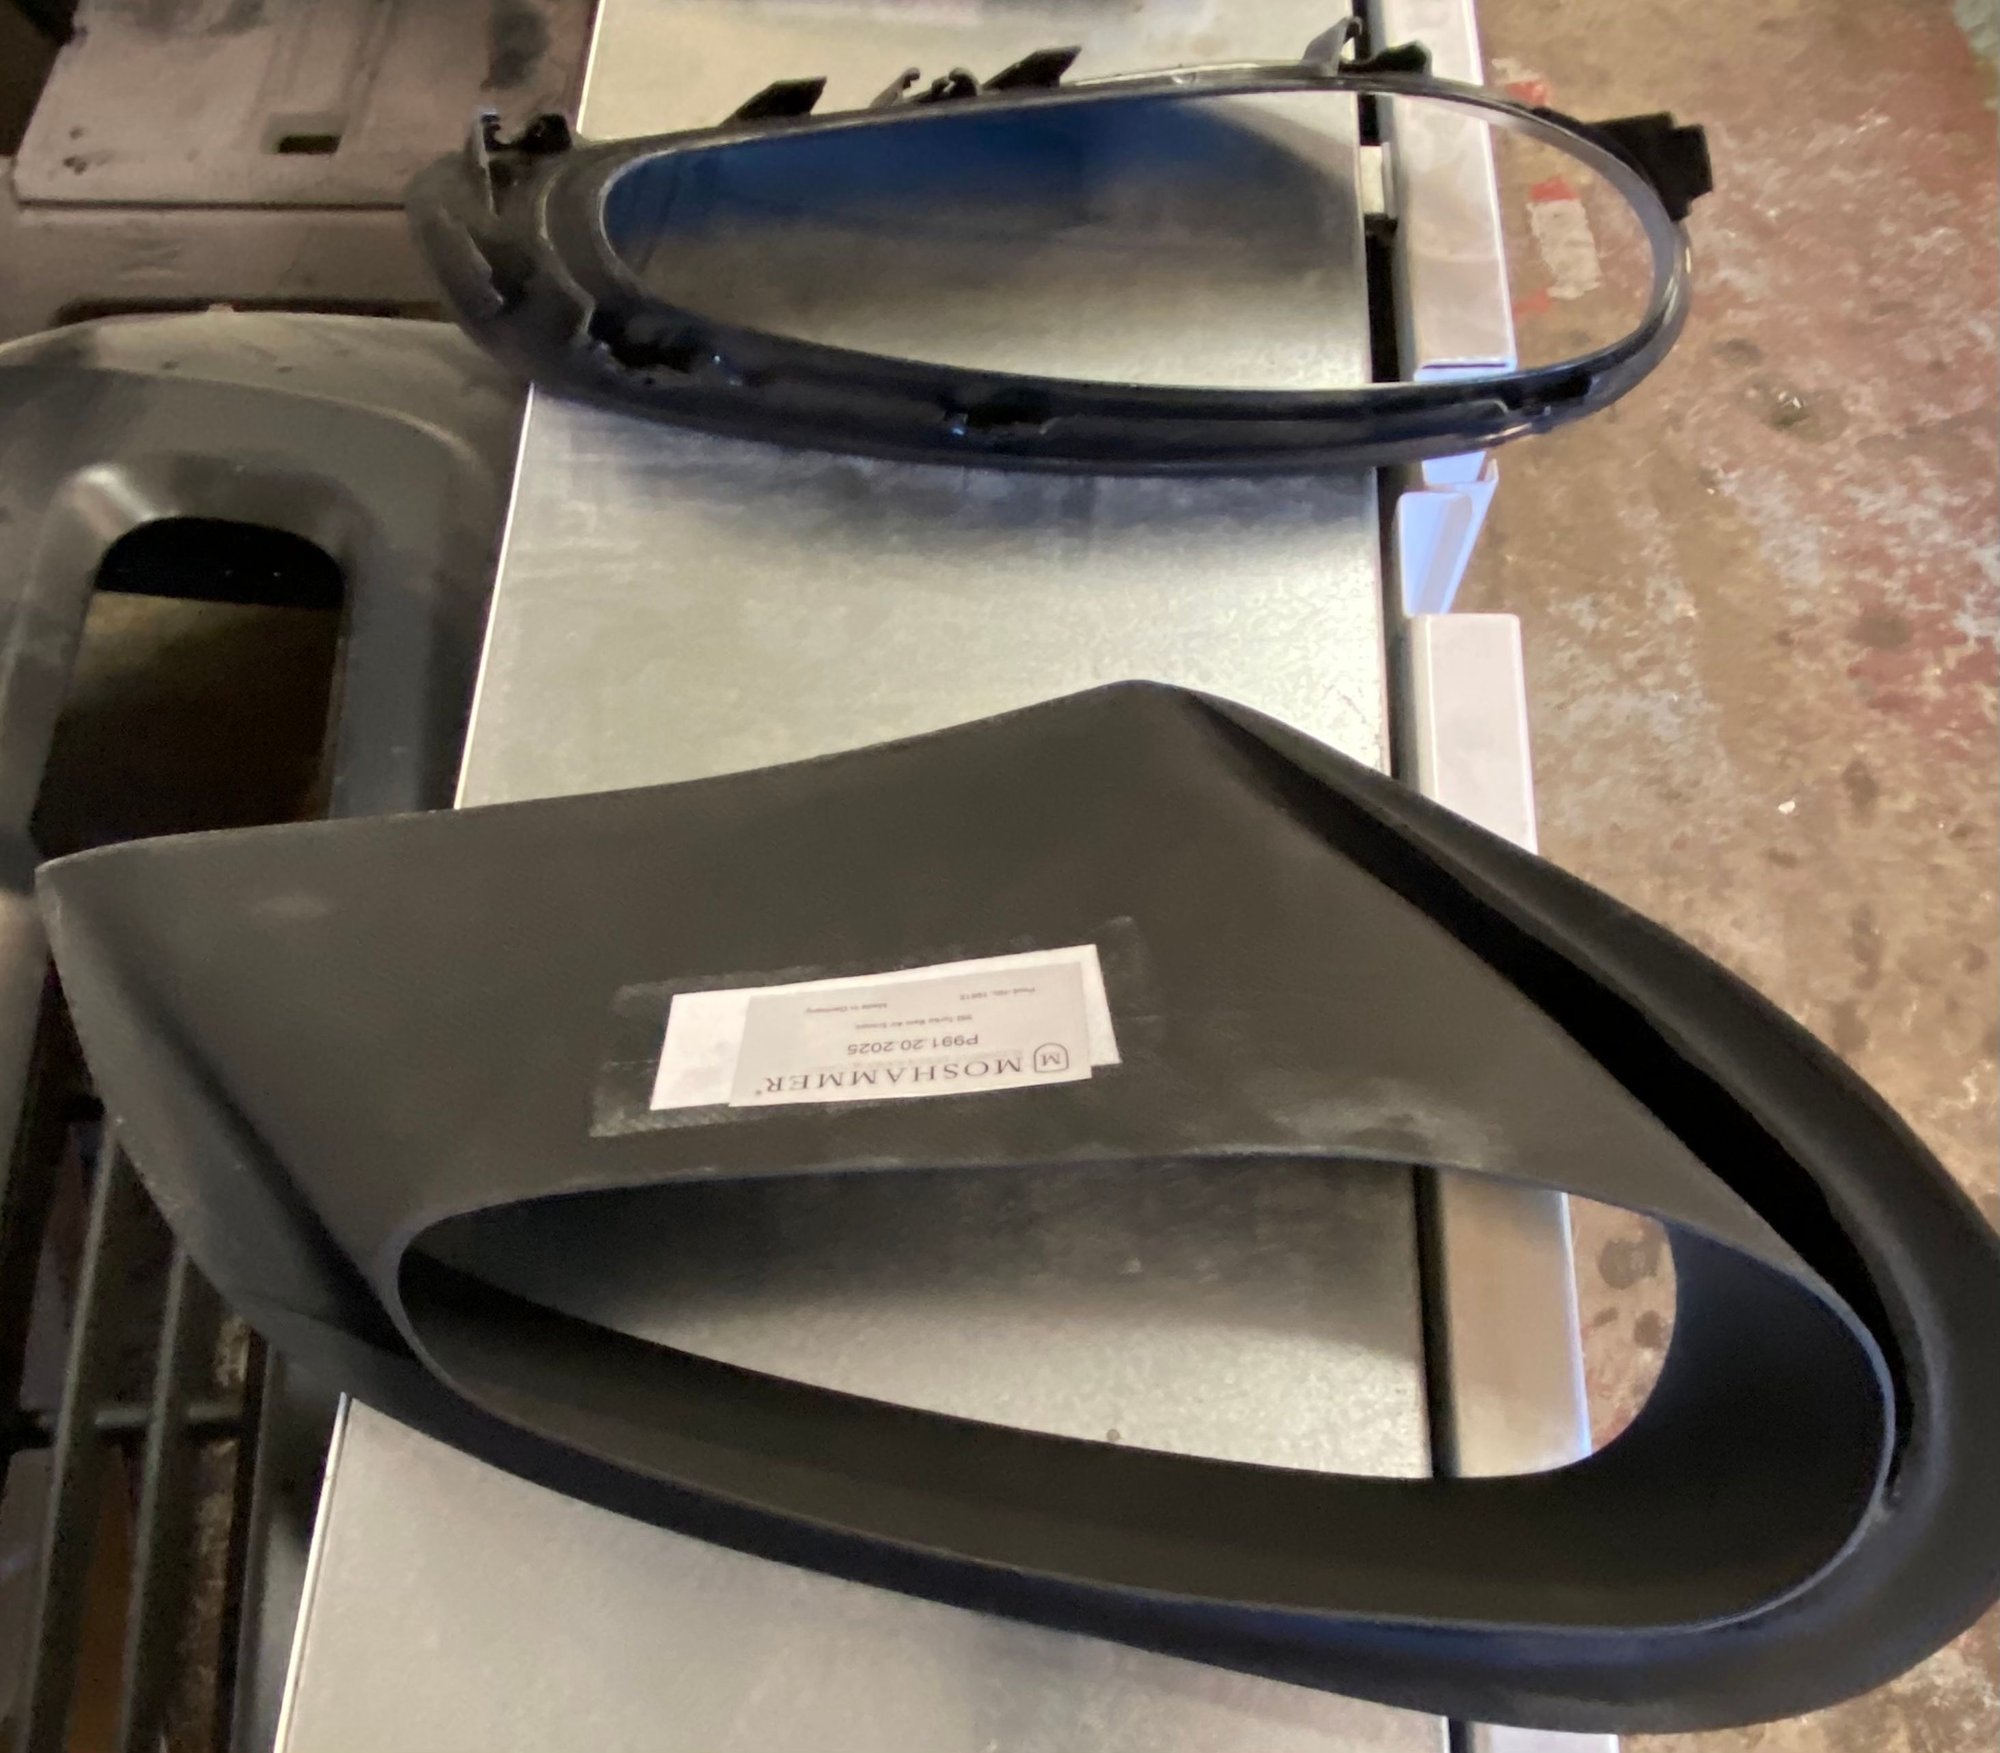
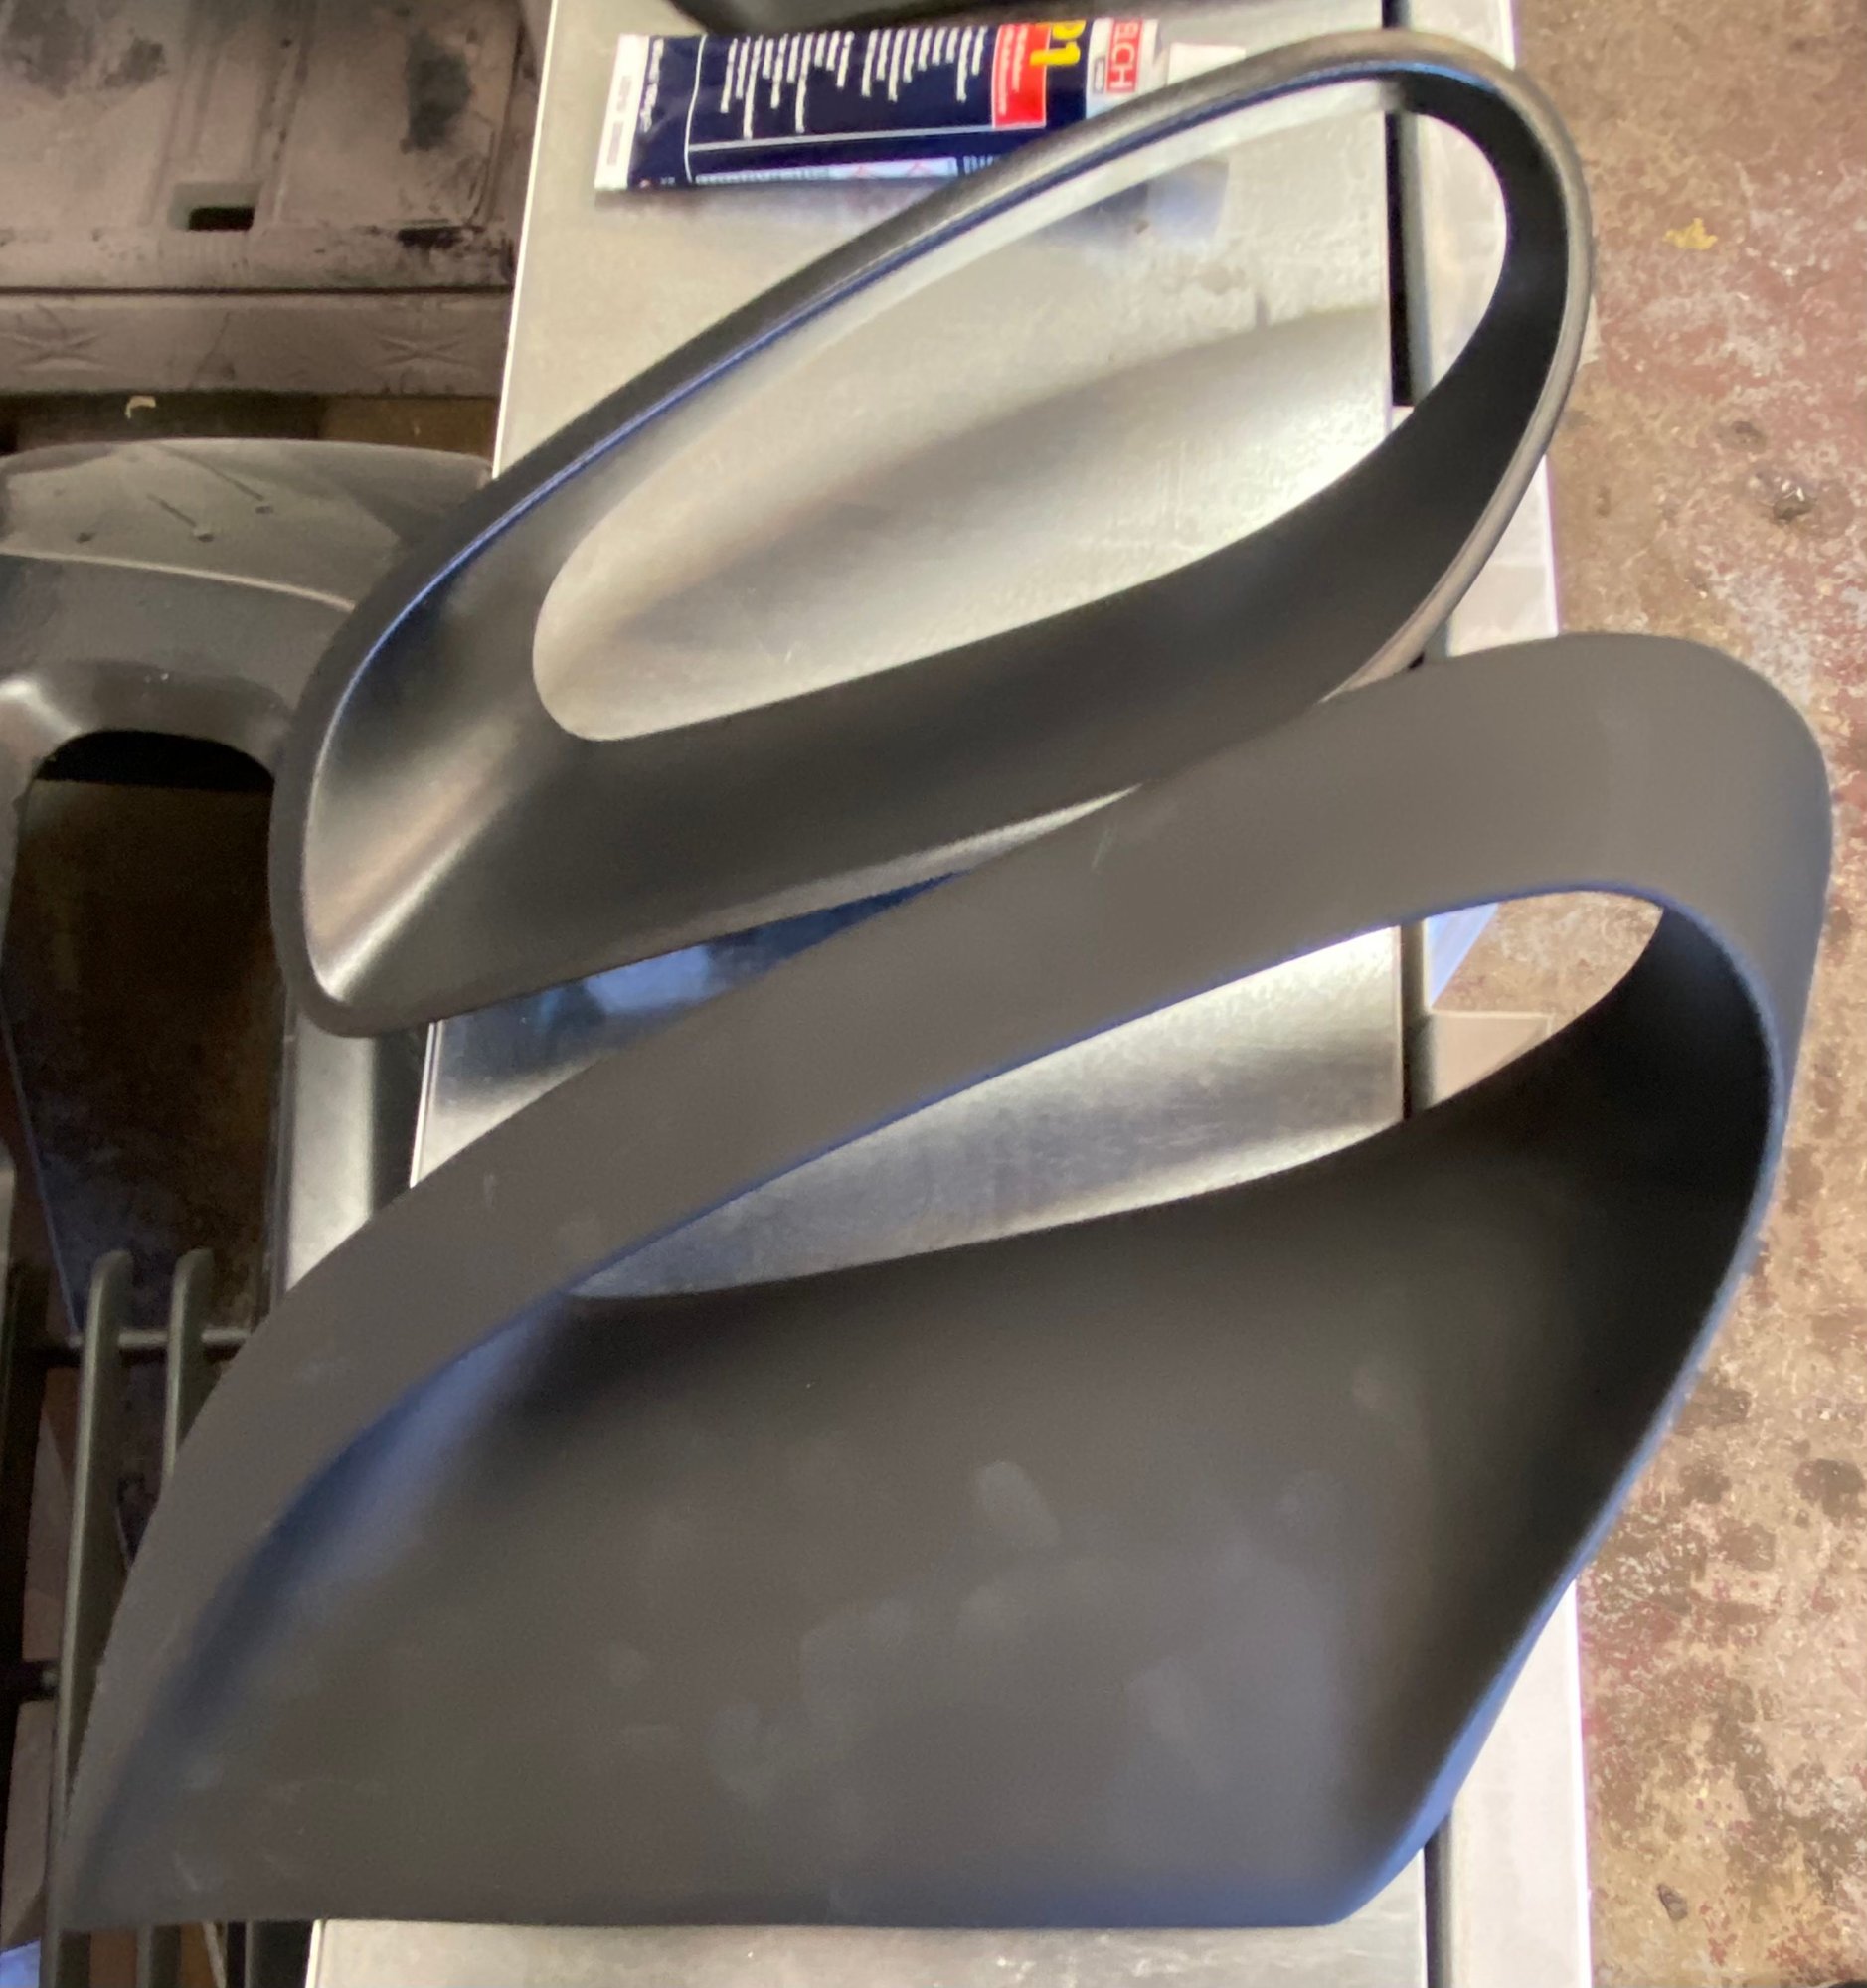
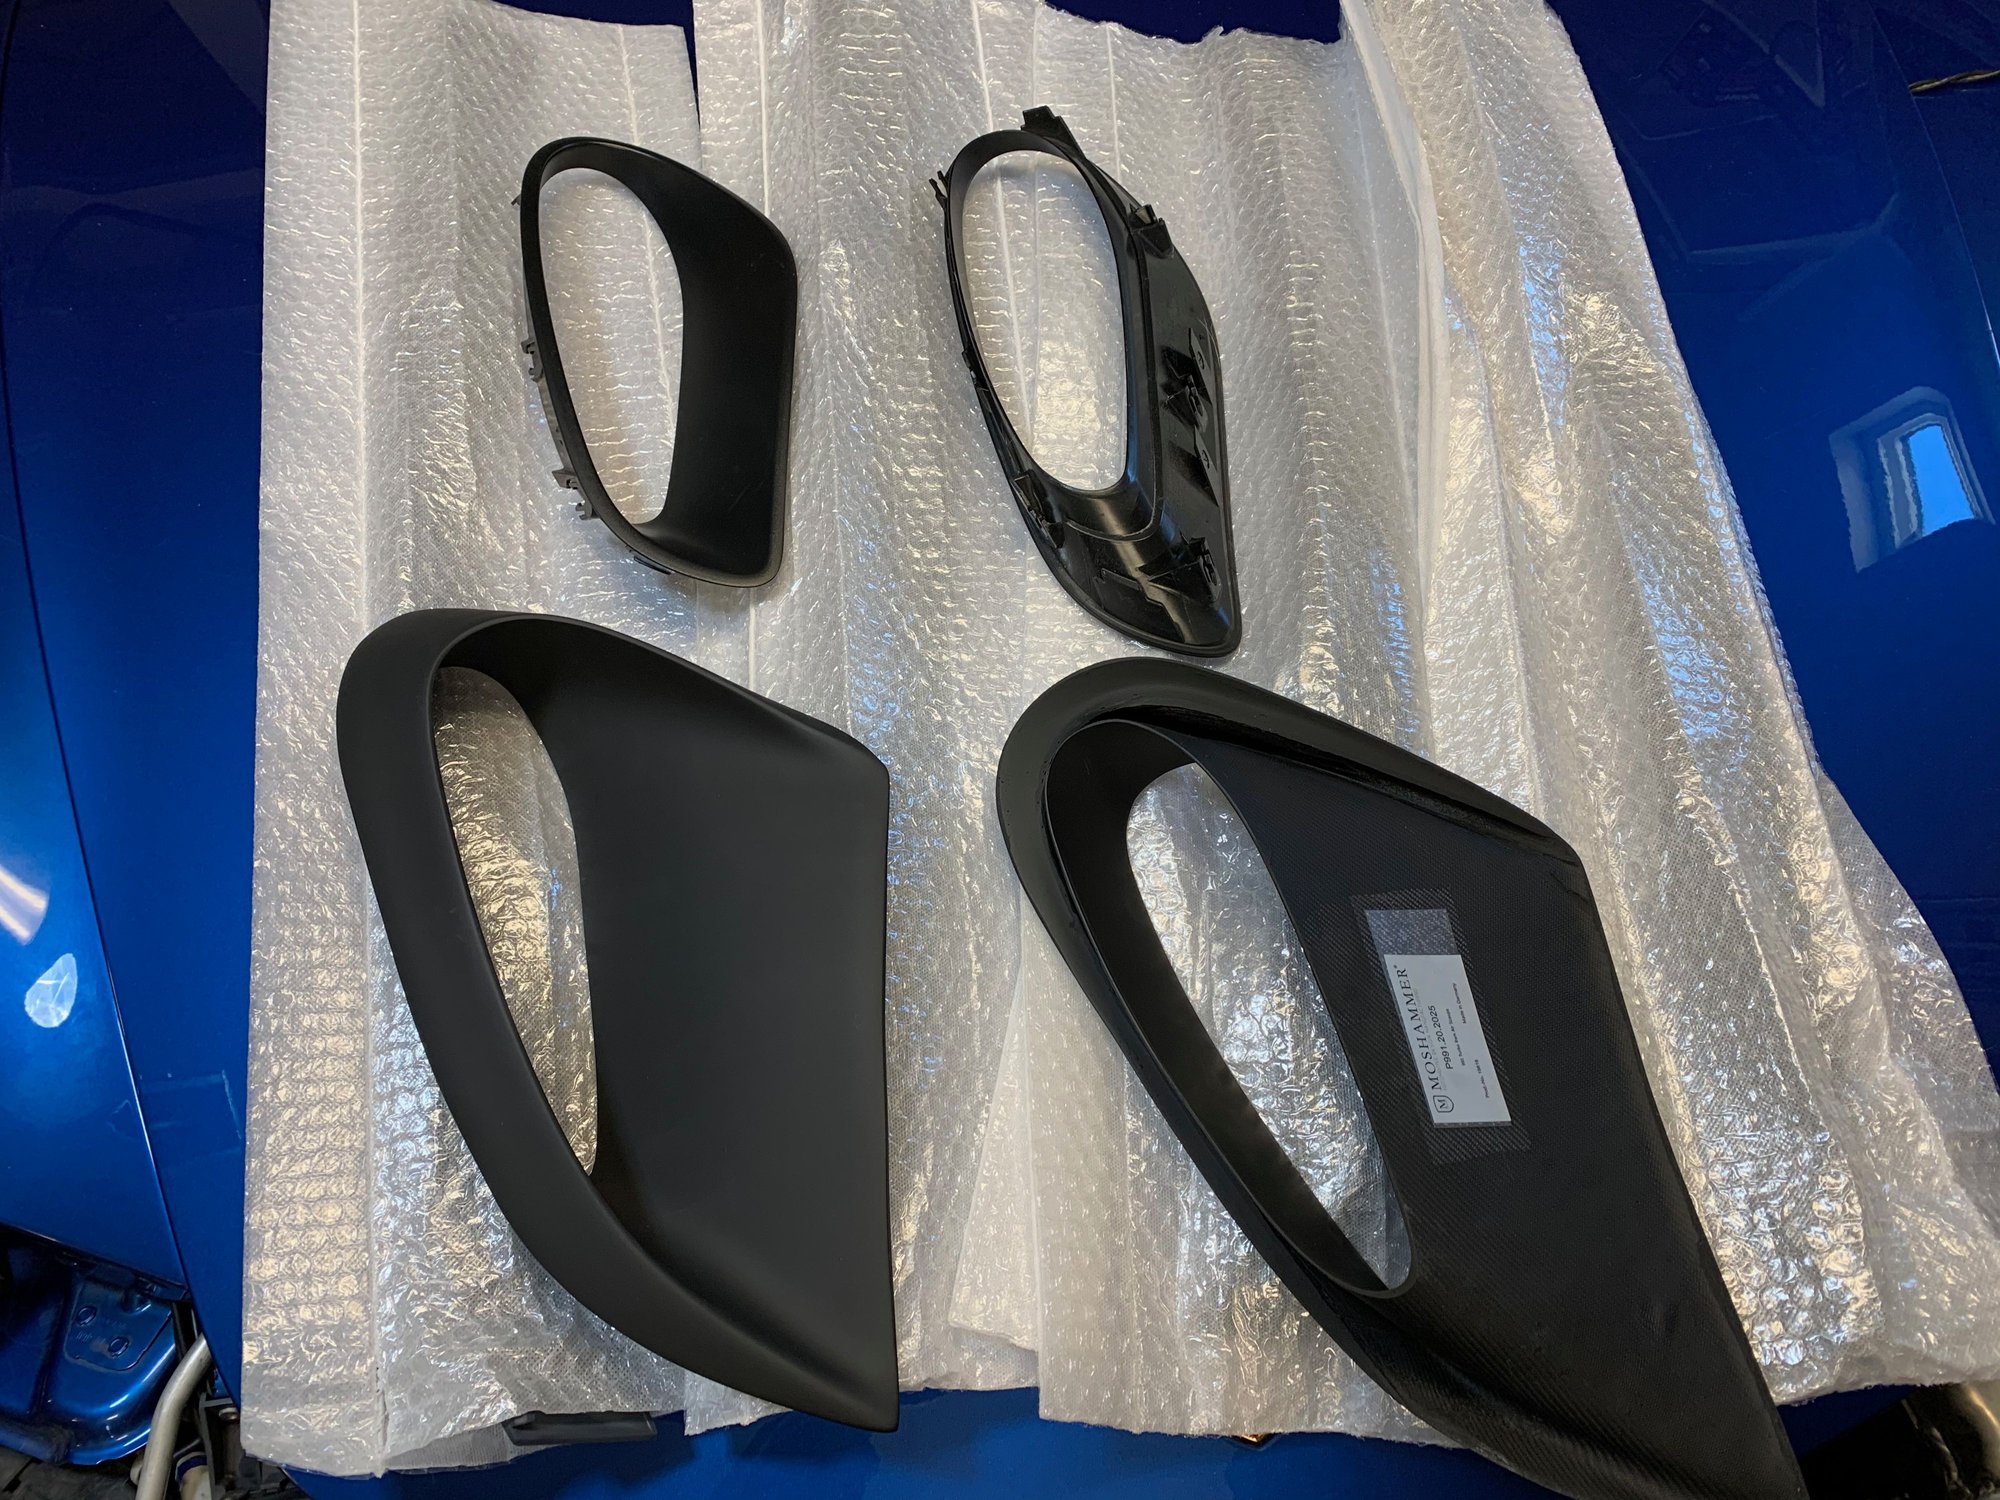
Both sides of the Moshammer pieces next to the OEM.
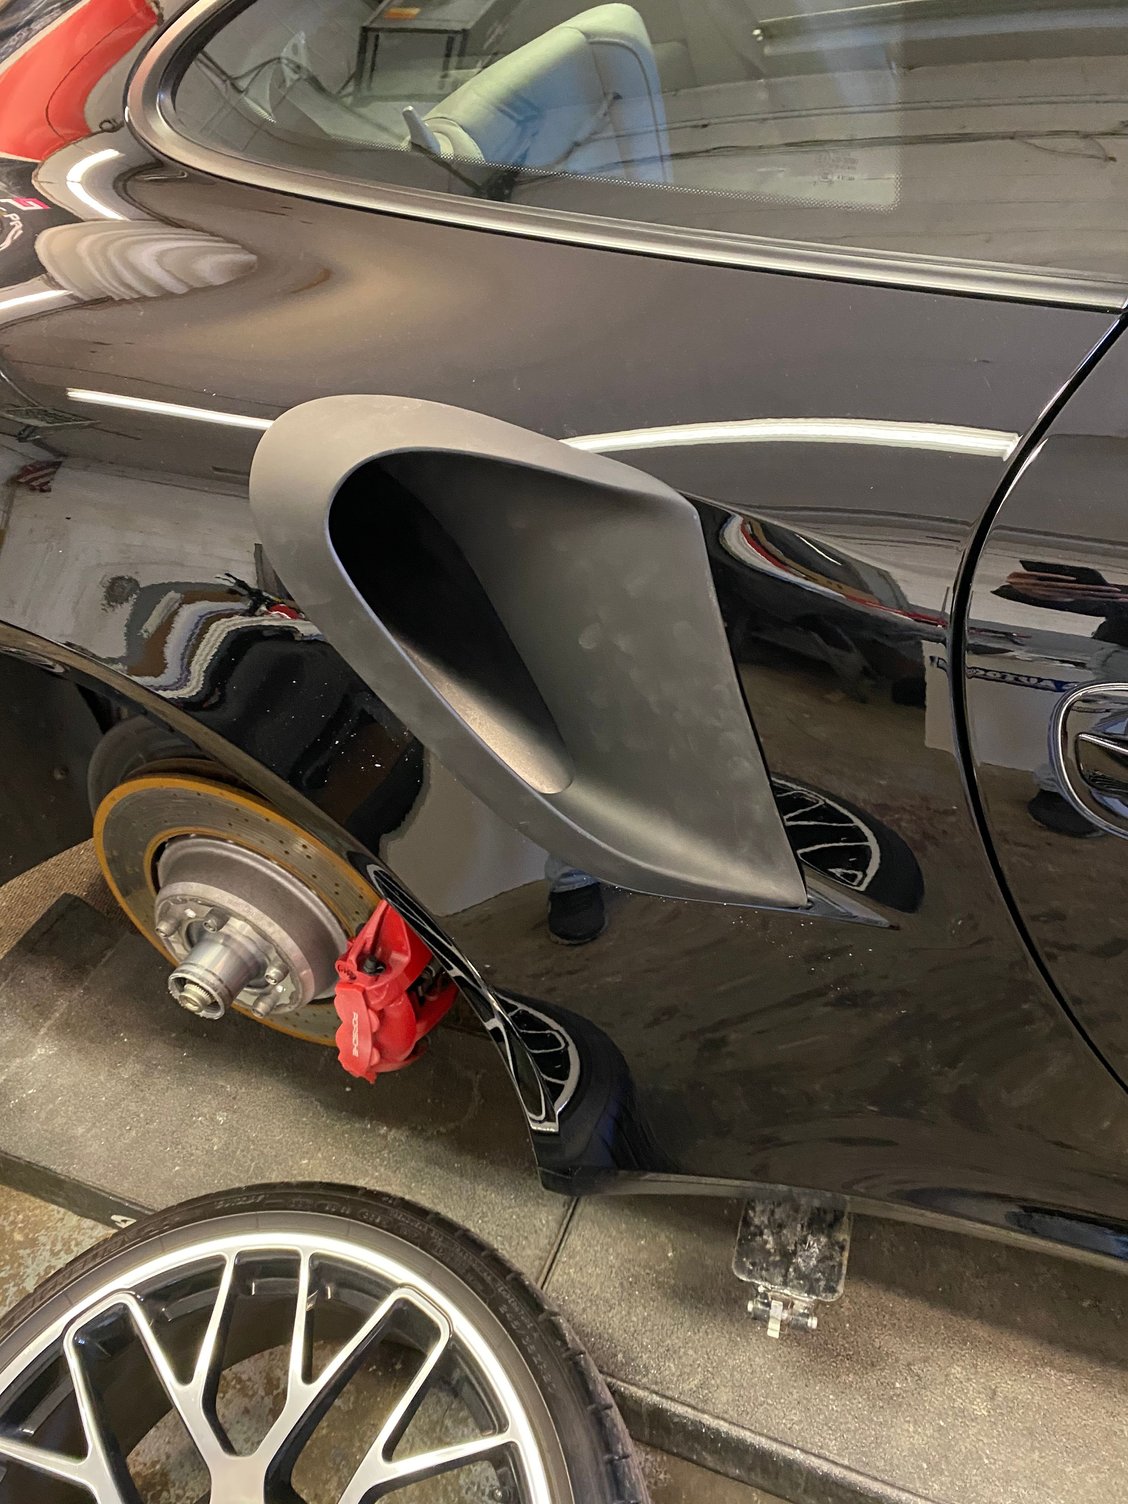
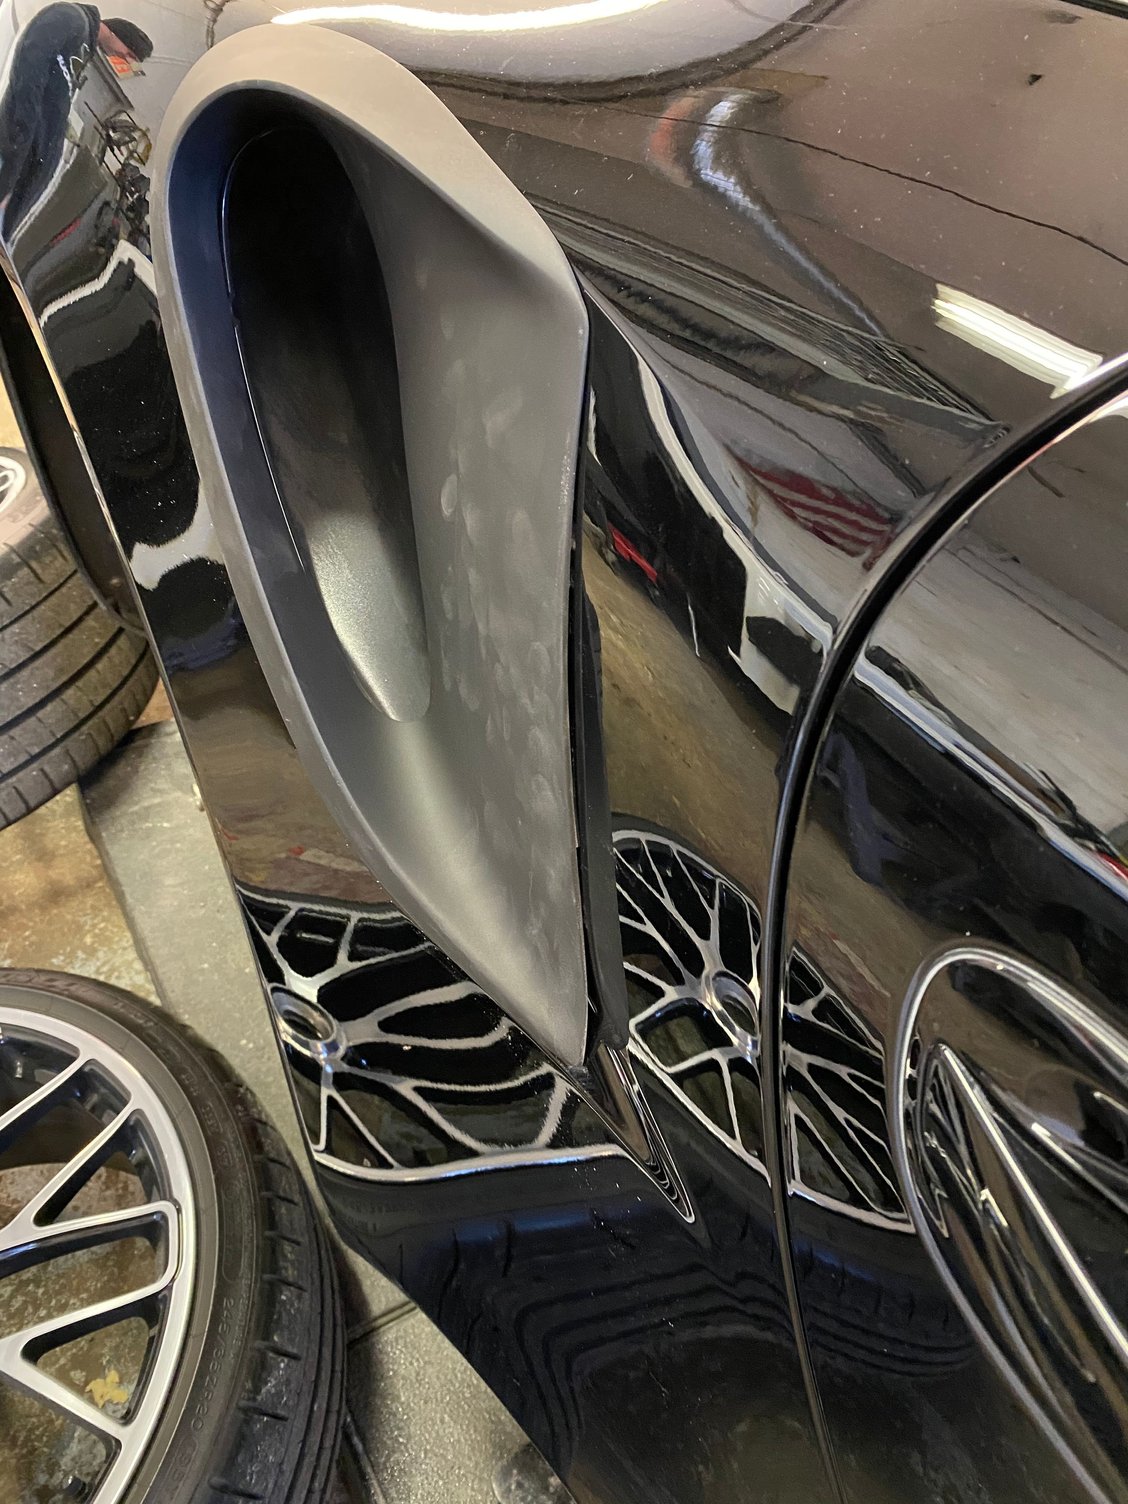
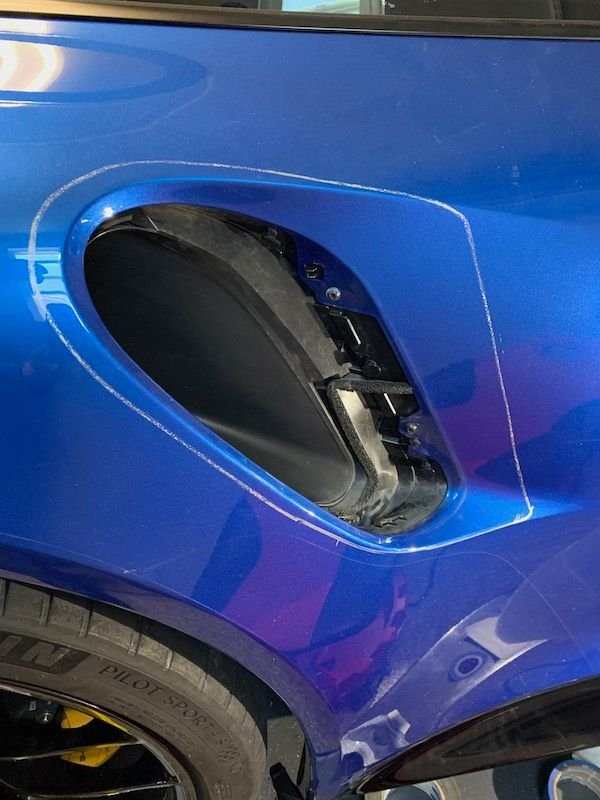
I knew they wouldn't have clips like OEM, but I figured they would "seat firmly" in an exact position. I was briefly concerned that the leading edge could sort of "float around" while I tried to test fit the piece. But it became clear that there was a specific position that caused that leading edge to sit perfectly flush with the body, I just had to find that position partly by eye rather than fully by feel.
This shows a quick test-fit with a small piece of tape to hold it in place.
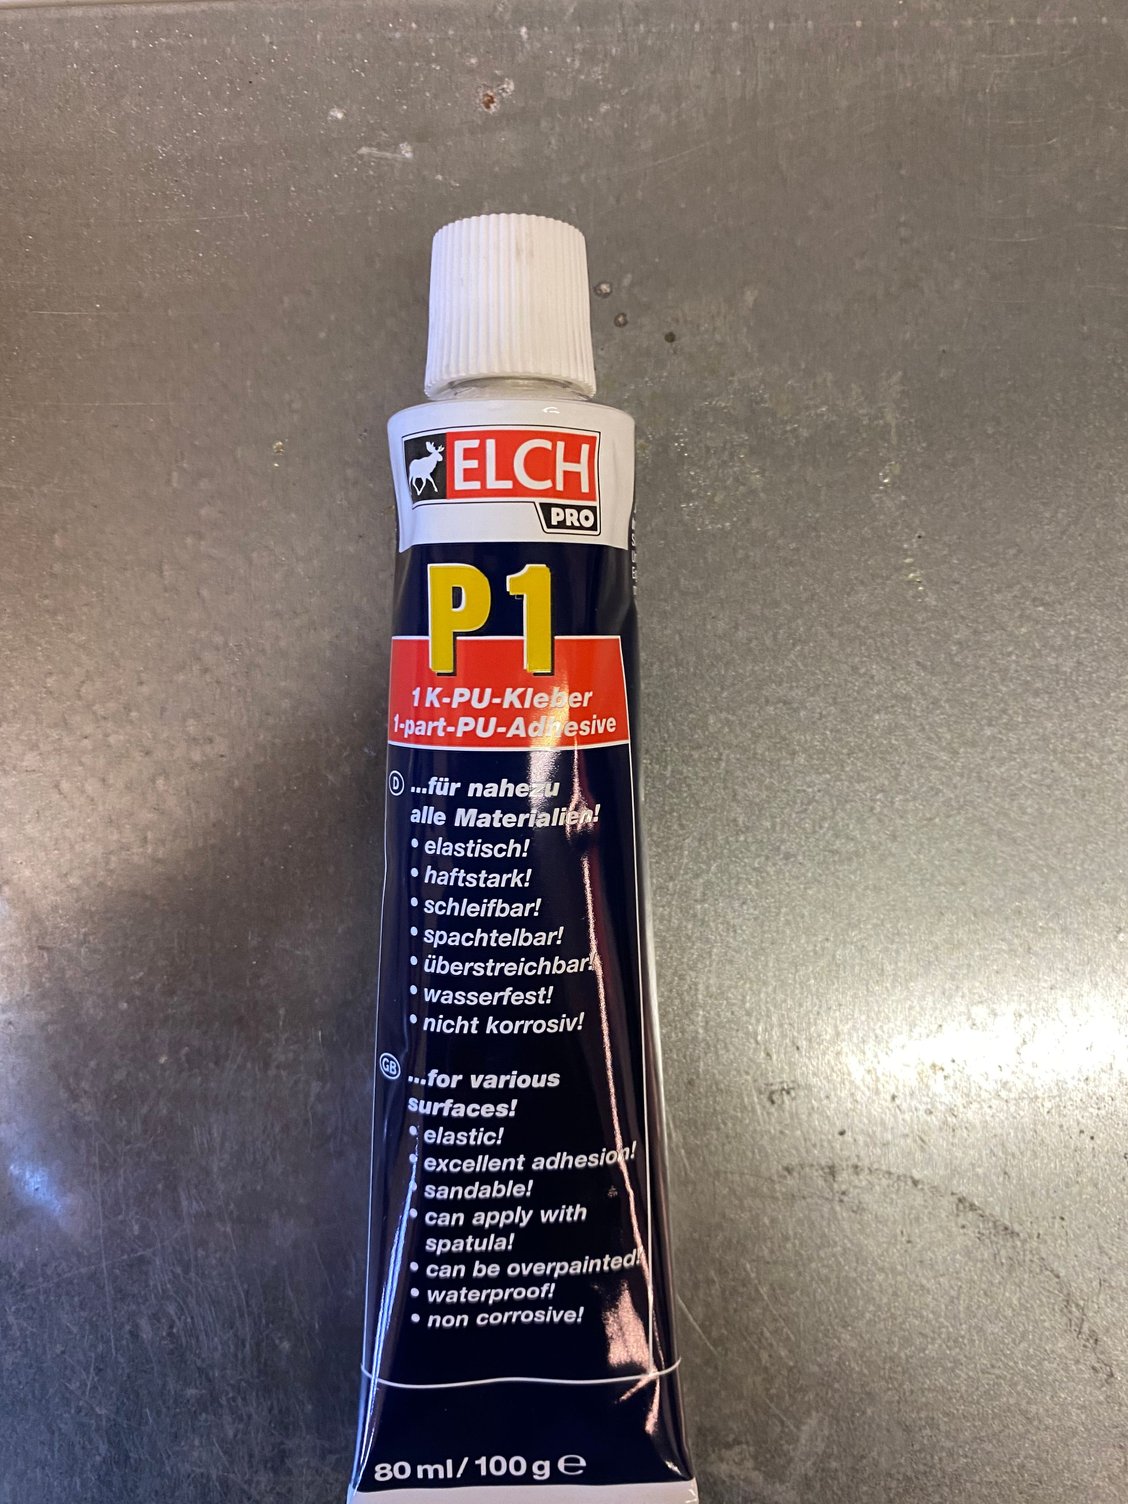
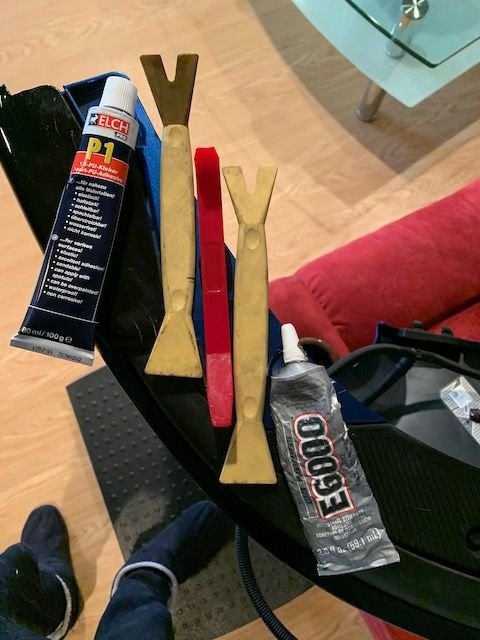
As 991NY noted, Moshammer included a tube of adhesive "Elch P1". It is described as for bonding automotive body parts. With the first word in the description being "elastic" I thought it might allow for easy removal similar to a great product I keep finding more and more automotive uses for, E6000 sealant. It is sold at both hobby and automotive stores. I decided to do a test of both on an already-scratched bit of paint on the underside of my front bumper. Used the two products to glue some plastic tools to the paint.
After pulling the test parts back apart the next day, I would never use this black P1 stuff for this particular application, unless you were sure you would never want to remove the side vents. Far too aggressive on the level of adhesion. I had to do significant scraping, then use adhesive dissolving solvent to get the rest of it off. To get the vents to fit snug at the leading edge, I think you'll need some adhesive right to the paint of the quarter panel. I believe the E6000 on the other hand, will be perfect for this job. It is crystal clear, dries to a more elastic gummy consistency, and held the test-plastics quite firmly without overdoing it. But the best part is it was completely removed from the paint by simply rubbing at it with my thumb for about 30 seconds.
Pic of residual after a minute of removal effort - Black is the P1, the E6000 is almost all gone, you can see just a smidge of it left above the black stuff, that was easily cleaned off the rest of the way after the pic .
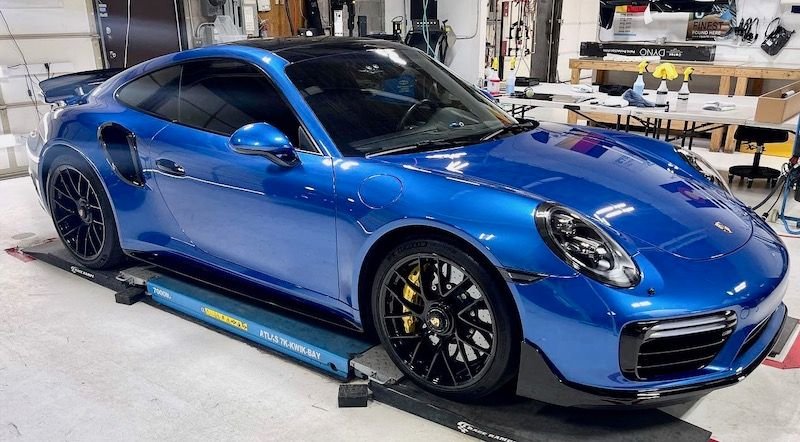
Vents are off to the paint shop for now, but bottom line is I'm completely happy with the parts. I like the looks even better than the OEM GT3RS pieces, price is not awful, and I feel that the final fitment will be excellent. Maybe I'll write Moshammer advising they ditch the awful P1 black goo.
Just saw SConn mention he will be doing Moshammer vents soon, and it reminded me to update this thread w a couple tips.
I can't overemphasize how important it is to ignore the Elch P1 adhesive they send with the vents. This stuff is an excessively severe and permanent adhesive for this application. It's better suited for say bonding landscaping blocks. I can't imagine what would happen if you ever needed to remove the vents from the body if you used this stuff.
Sorry to repeat myself, but the E6000 adhesive I noted above is ideal for this. Plenty strong enough, but can be separated as well as cleaned off paint easily.
The Moshammer vents not only have no clip-in feature like some other options, they don't readily seat themselves in an exact and no-doubt-about-it position. Test fit them before adhesive, and look for the position that gets the leading edge most flush with the underlying body panel.
Once I felt I could hold the unglued piece in the right spot, I found it helpful to draw an outline for the target position.
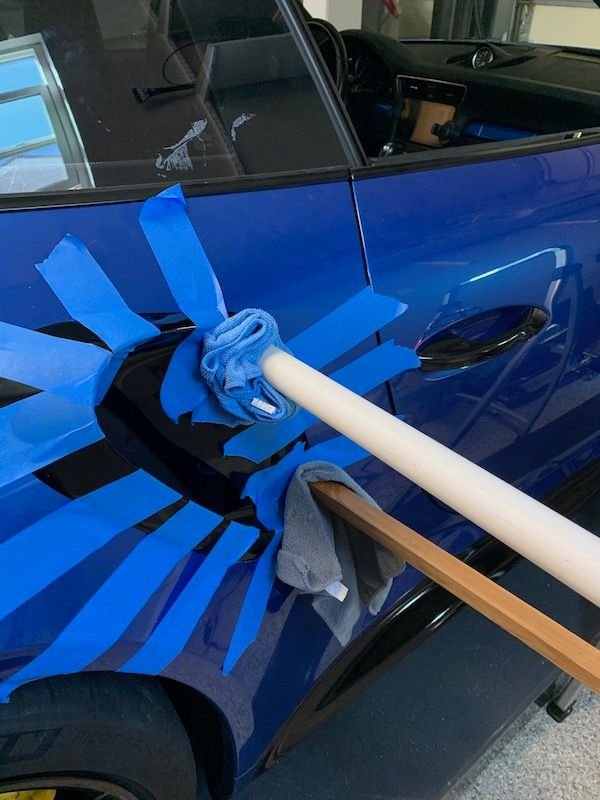
Try to "feel" where the solid contact points are between the vent and the body panel, to locate the adhesive. Try to not go too crazy with the amount as it will ooze and follow gravity a bit.
It takes longer for the E6000 to set strongly than I could hold with my hands, so I propped pieces of wood or PVC between the work and the garage wall, with varying amounts of folded rags, to get just enough tension to hold it firmly in place. If I had relied on only the blue tape and not the props, it would have dried with too big of a gap, especially at the leading edge of the vent.
Left it overnight like that. Despite the extra work due to the product not clipping in place, I'm very happy with the results of my all-gloss-black-trim project.

 02-15-2021, 02:56 PM