Notices
991 GT3, GT3RS, GT2RS and 911R 2012-2019
Sponsored by:
Sponsored by:

Did some DIY maintenance and have some questions….

Thread Tools
 
Search this Thread
 
Old 06-04-2022, 11:48 PM
  #1  
elgato13
Instructor
Thread Starter
 
elgato13's Avatar
 
Join Date: Dec 2019
Location: Bay Area
Posts: 169
Received 55 Likes on 45 Posts
Default Did some DIY maintenance and have some questions….

Hey everyone,

I’ve done 4 track days in my GT3 and decided to do some maintenance/mods at the same time.

I did an oil change/brake flush and swapped out my PCCB rotors over to some AP Racing J Hooks with Ferodo DS 1.11 pads. Also swapped in the Tarett caliper studs since I’ll be doing a lot of DIY.

I don’t know what the alignment/camber settings are so I was wondering how many shims f/r a stock GT3 comes with? Getting under the car it looks like a 4mm shim on the front and rear of the car but I don’t know if it comes that way from the factory. I’m planning to get a track alignment but would like to know if I’m already working with some negative camber.

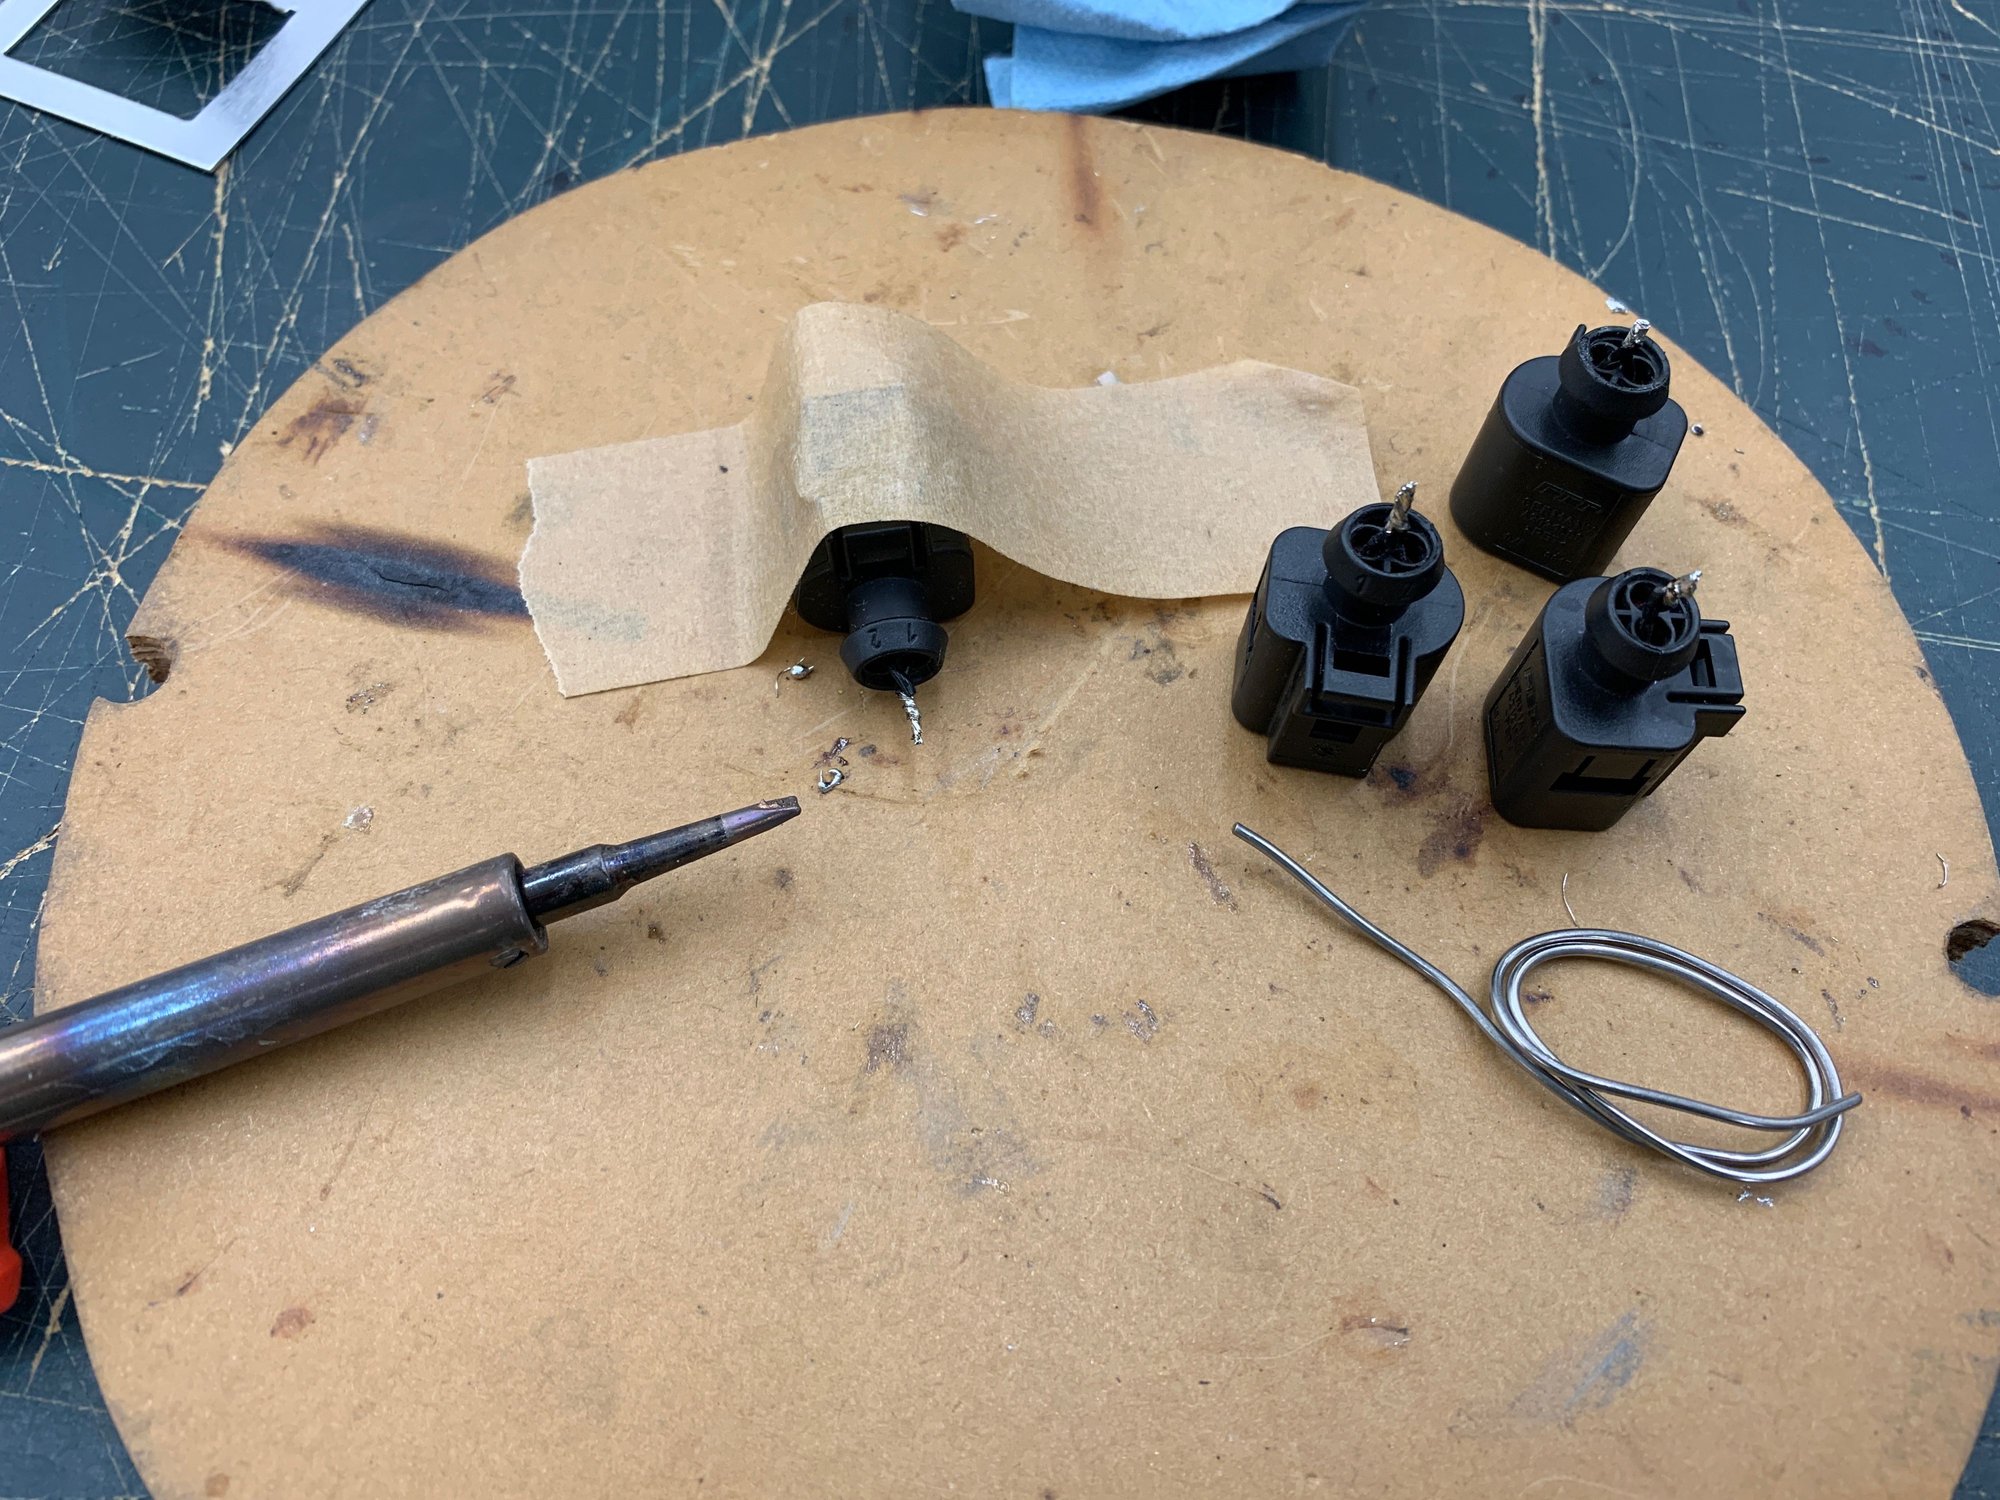
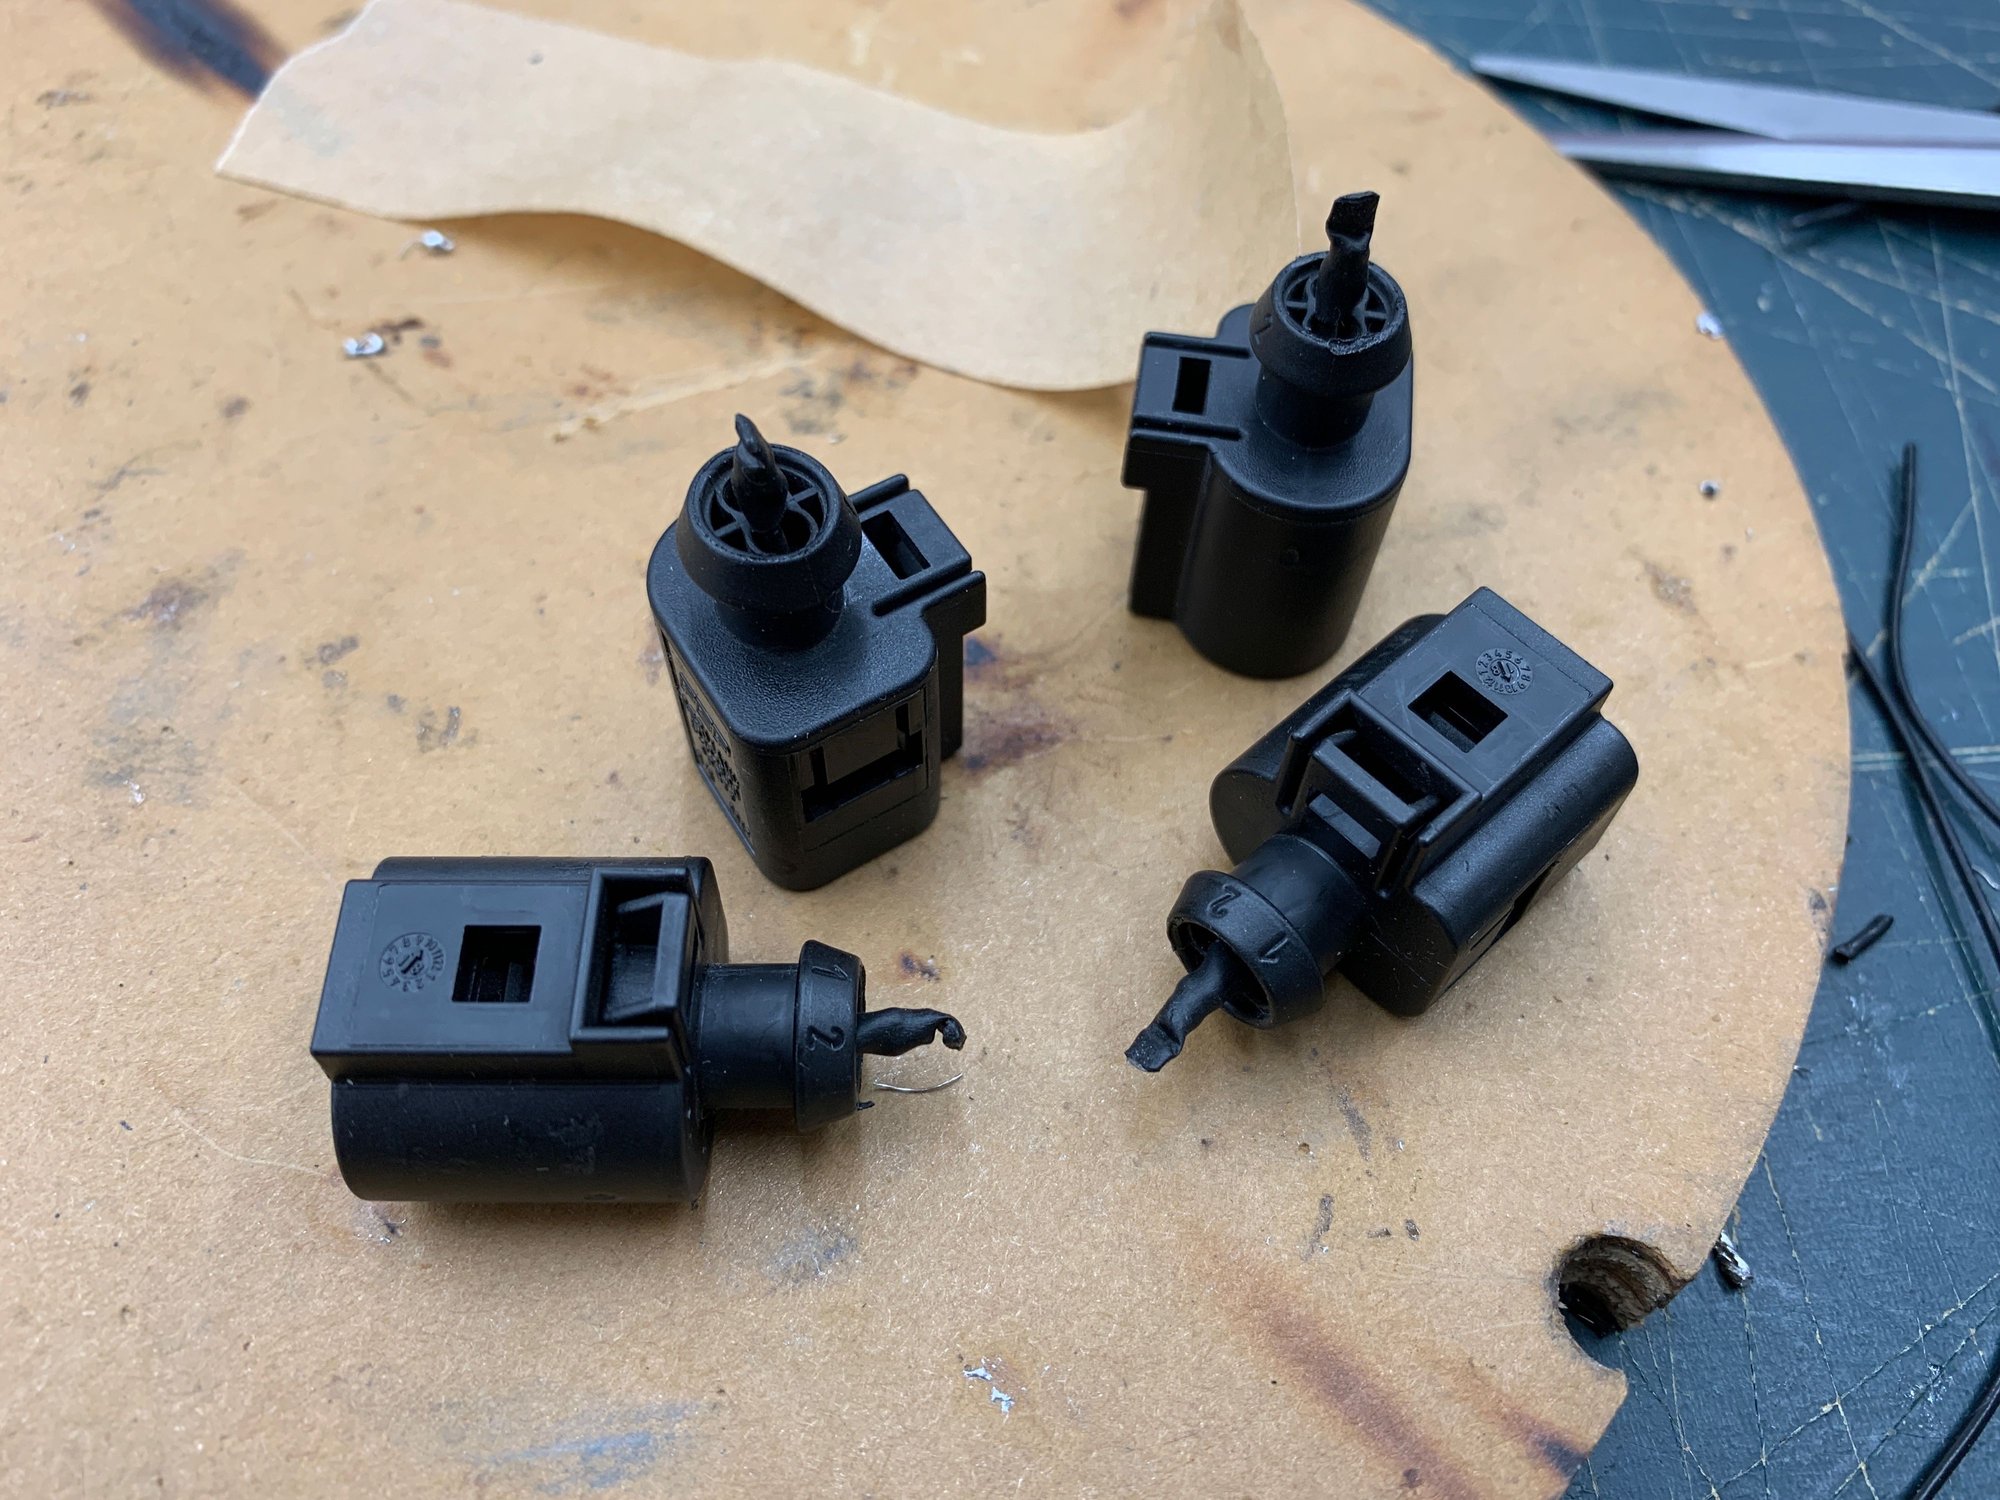
Also, the brake sensors on the rear went back in no problem but I had a lot of trouble with the front pads, the opening looks almost too small to fit all the way flush. Is this a common issue or are people tying off the sensors?
Old 06-05-2022, 04:59 PM
  #2  
GrantG
Addict
Rennlist Member

 
GrantG's Avatar
 
Join Date: Jun 2002
Location: Denver
Posts: 18,095
Received 5,019 Likes on 2,838 Posts
Default

I think the cars are delivered without shims.

For the brake pad sensors, I personally prefer to buy cheap replacements on Amazon and solder the wires together (bypass the function).

There are cheaper ones, but these work:

URO Parts 7L0907637C Brake Pad...
Amazon Amazon
The following users liked this post:
Larry Cable (06-06-2022)
Old 06-05-2022, 05:06 PM
  #3  
elgato13
Instructor
Thread Starter
 
elgato13's Avatar
 
Join Date: Dec 2019
Location: Bay Area
Posts: 169
Received 55 Likes on 45 Posts
Default

Thanks Grant, I was doing the same on my Cayman with the brake sensors but wasn’t sure if I was missing something.
Old 06-05-2022, 06:55 PM
  #4  
CarManDSL
Rennlist Member
 
CarManDSL's Avatar
 
Join Date: Feb 2012
Location: Surrey, BC
Posts: 790
Received 351 Likes on 200 Posts
Default

Solder, then shrink tube with adhesive makes a better seal.


Cut the insulation as close to plastic as you can, twist and solder.

Heat shrink tubing with adhesive.
Old 06-06-2022, 02:15 PM
  #5  
elgato13
Instructor
Thread Starter
 
elgato13's Avatar
 
Join Date: Dec 2019
Location: Bay Area
Posts: 169
Received 55 Likes on 45 Posts
Default

Thanks for the pictures, I've never done it that high up on the sensor but it makes total sense.


Quick Reply: Did some DIY maintenance and have some questions….


All times are GMT -3. The time now is 06:25 AM.