When you click on links to various merchants on this site and make a purchase, this can result in this site earning a commission. Affiliate programs and affiliations include, but are not limited to, the eBay Partner Network.
Installed OEM Hood Emblem on GT3RS/911R Hood to Replace Sticker
So everyone may not agree with this, but personally I really don't like the stickers for the GT3RS and 911R hood. I understand it saves weight, but seriously, how much weight it really saves, so many extra options are put on these cars that weight much more than a badge. Without further debate, I decided to try find a clean way to install the Porsche hood crest on the car to replace the sticker. For all the steps I created a template out of tape so I was able to place the badge in the same location as OEM. My first try was to buy an OEM 991 Hood crest and I filed and sanded smooth the attachment pegs on the back of the badge. I then used automotive 3M adhesive tape and cut it to shape on the back of the badge. This worked great and once on its like any other stuck on badge, very difficult to remove. This is the easiest and least invasive process, but I decided to take it one step further.
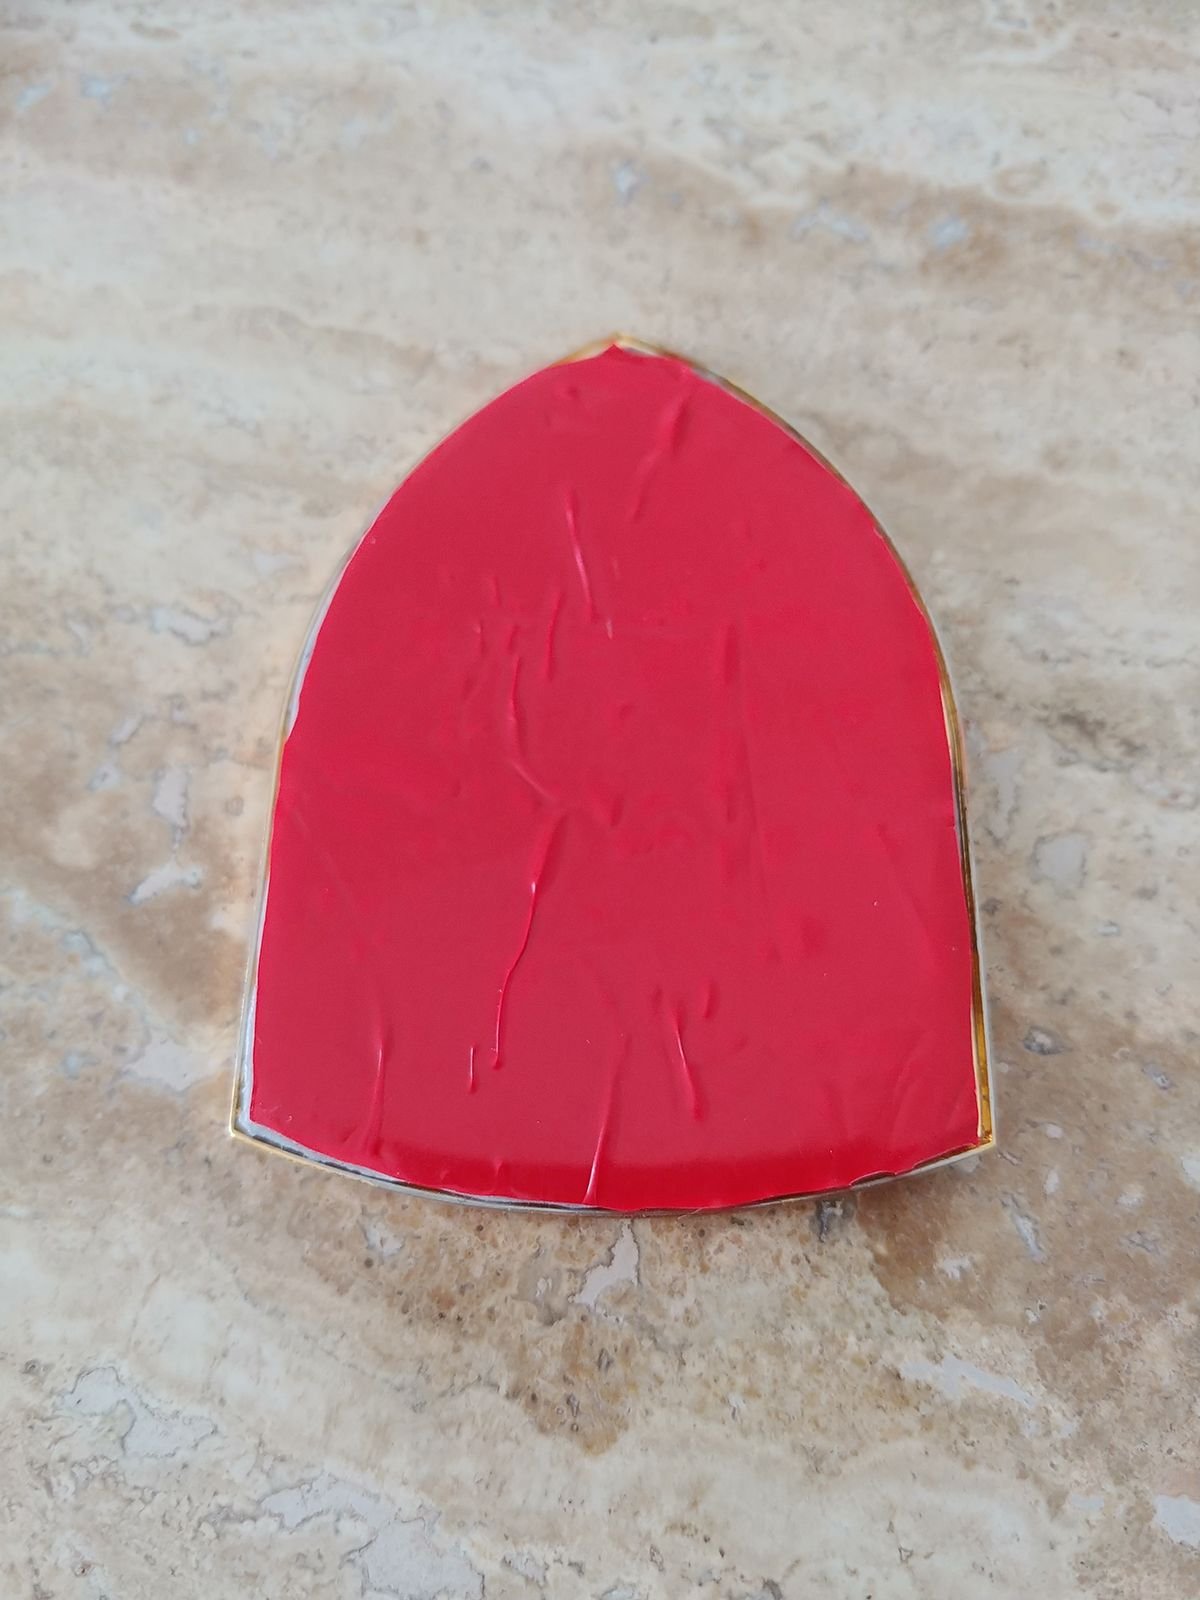
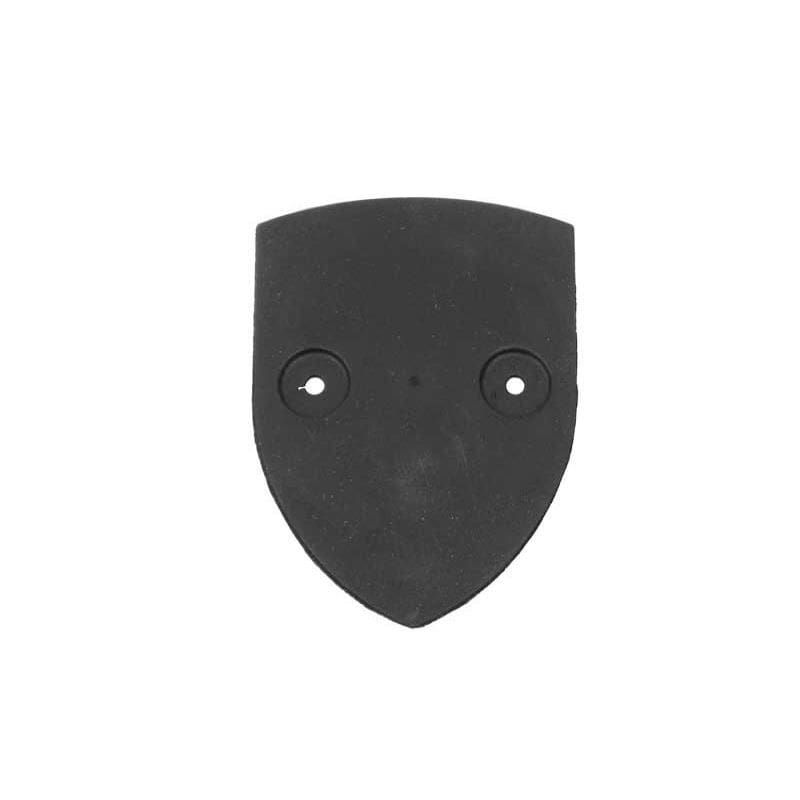
The 997 Hood emblem, actually sits flush on the surface and uses a black rubber gasket around the outside of the badge. It is then attached by speed nuts from the backside of the hood like the 991 and many other models. The difference with the regular 991 models, is that the emblem sits in a recessed pocket and only has a gasket that's the size of the badge, meaning it is not visible. So I purchased another 991 badge and nuts, but also purchased the rubber badge gasket from the 997.
Warning, this next step is not for the faint of heart!
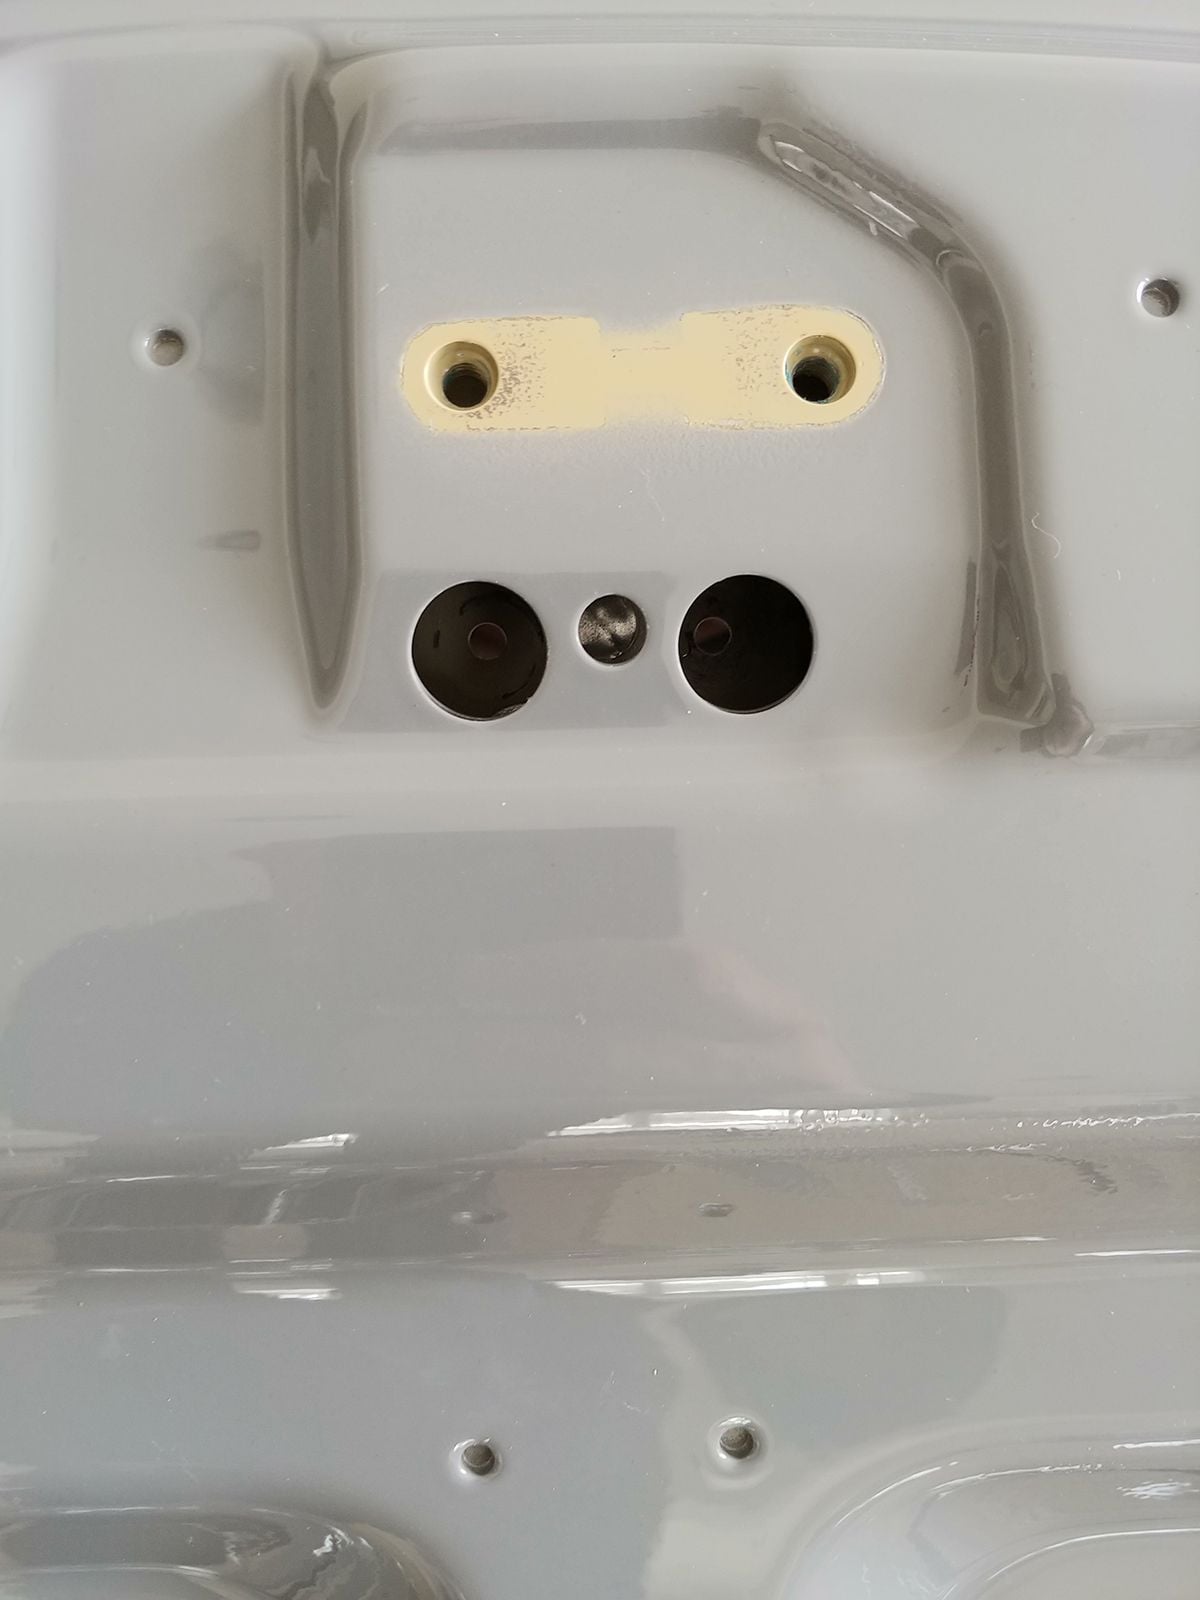
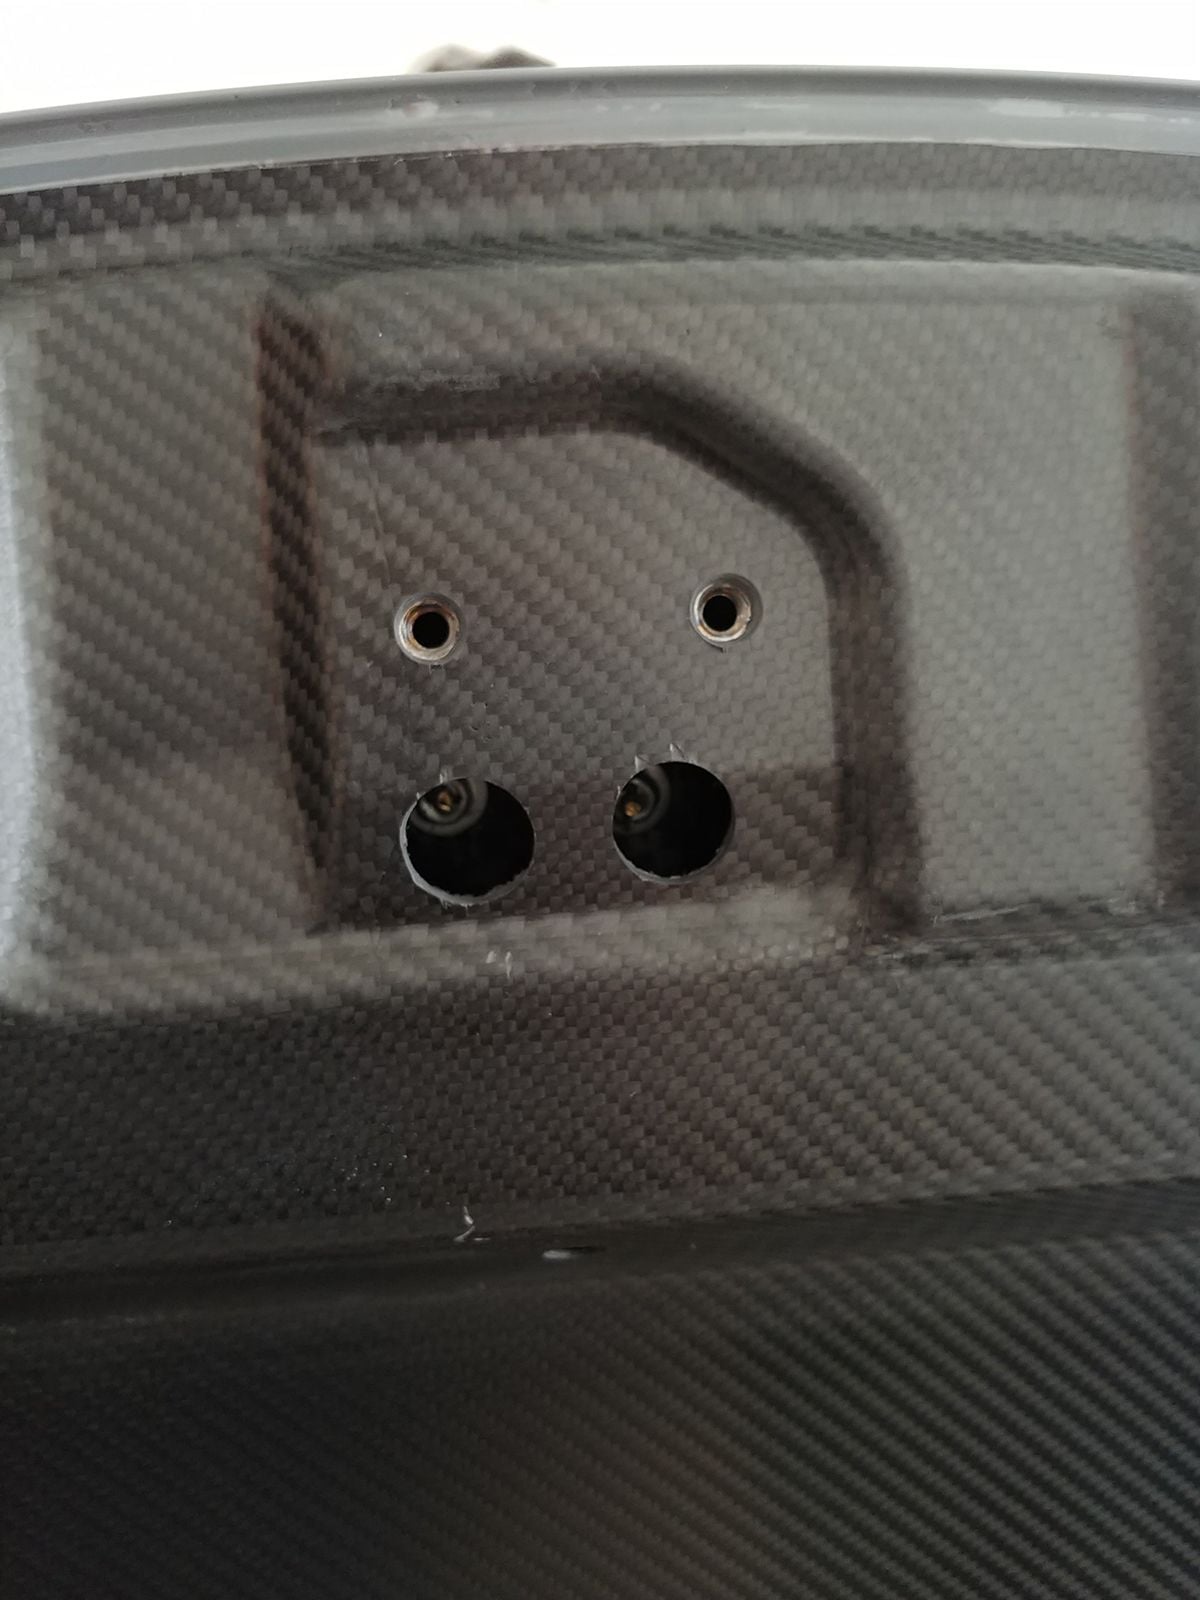
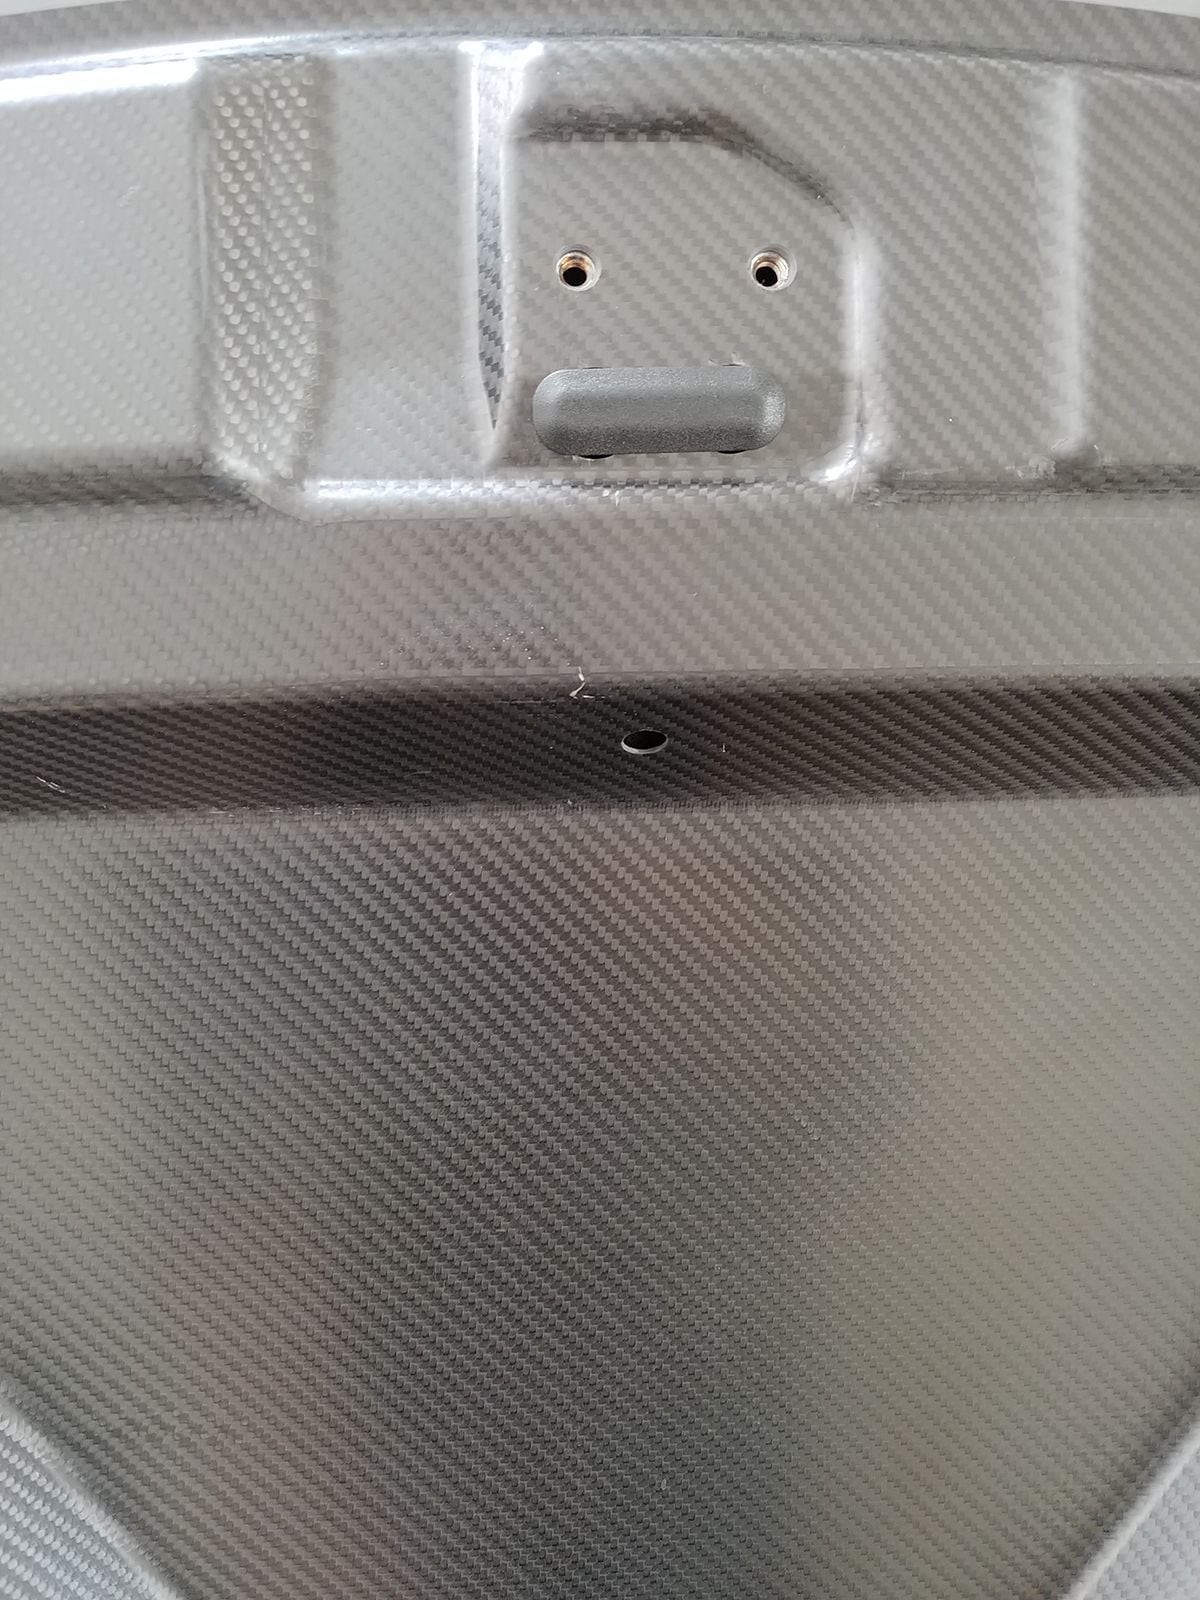
To install it, I had to of course drill some holes for it to fit. I created a template around the badge so I was able to mark where the badge goes. I first looked at a regular 991 hood to see where the holes are for the access to the speed nuts. There is a little plastic cover you have to remove on the back of the hood to access them. I then took a template of the holes on the backside and drilled into the same spot on the GT3RS Carbon hood. I then used a dremel sanding drum to clean it all up.
After that I used the OEM rubber gasket that came with the 991 badge to use as a template to know where to drill the holes for the badge on the front side of the hood. I then carefully drilled two holes the same size as the holes in the regular 991 hood. Drilling through carbon is stupid easy, but you have to be careful of course.
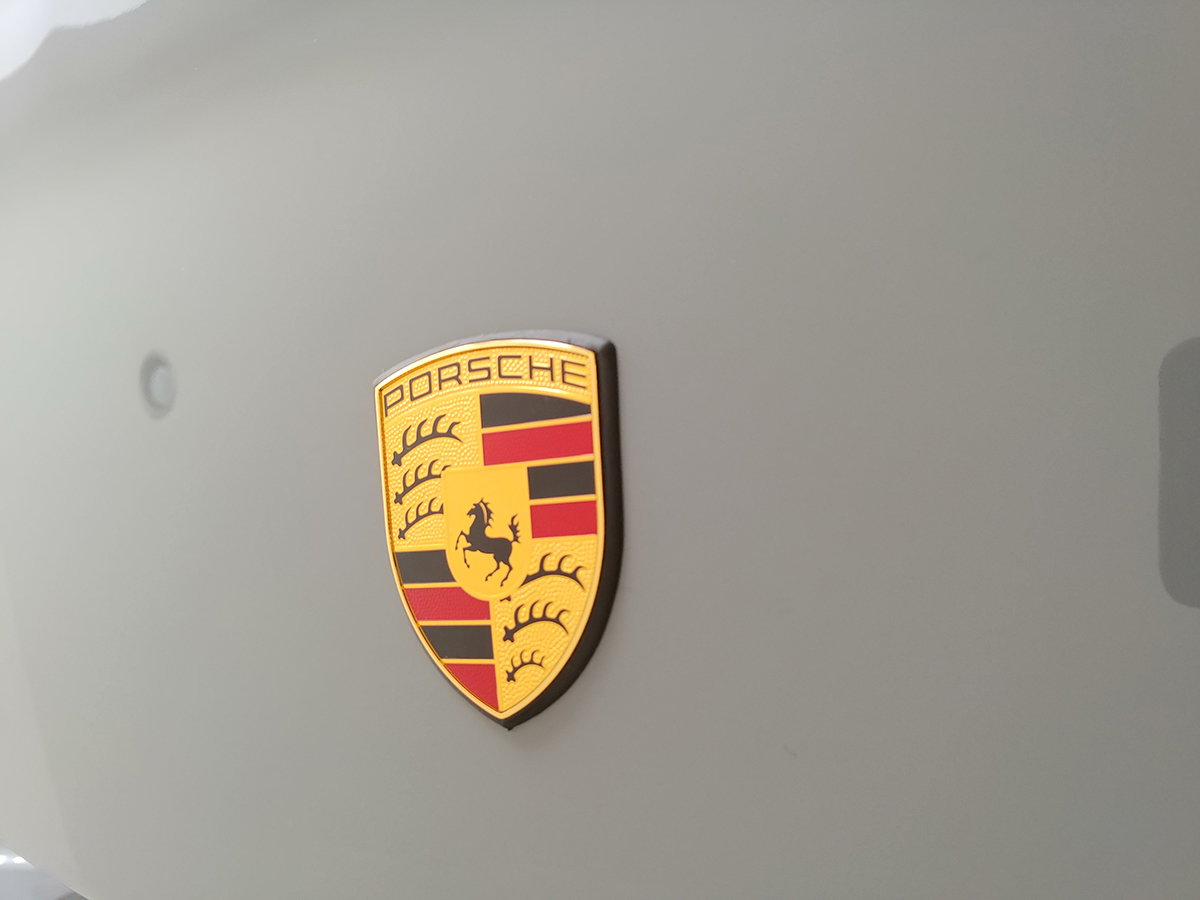
Lastly I installed the hood emblem just like you normally would. Because the holes are slightly bigger than the prongs, you should have room to adjust the badge to make sure its straight. Very happy with the result. Looks and feels like OEM, probably because its using all OEM parts and methods
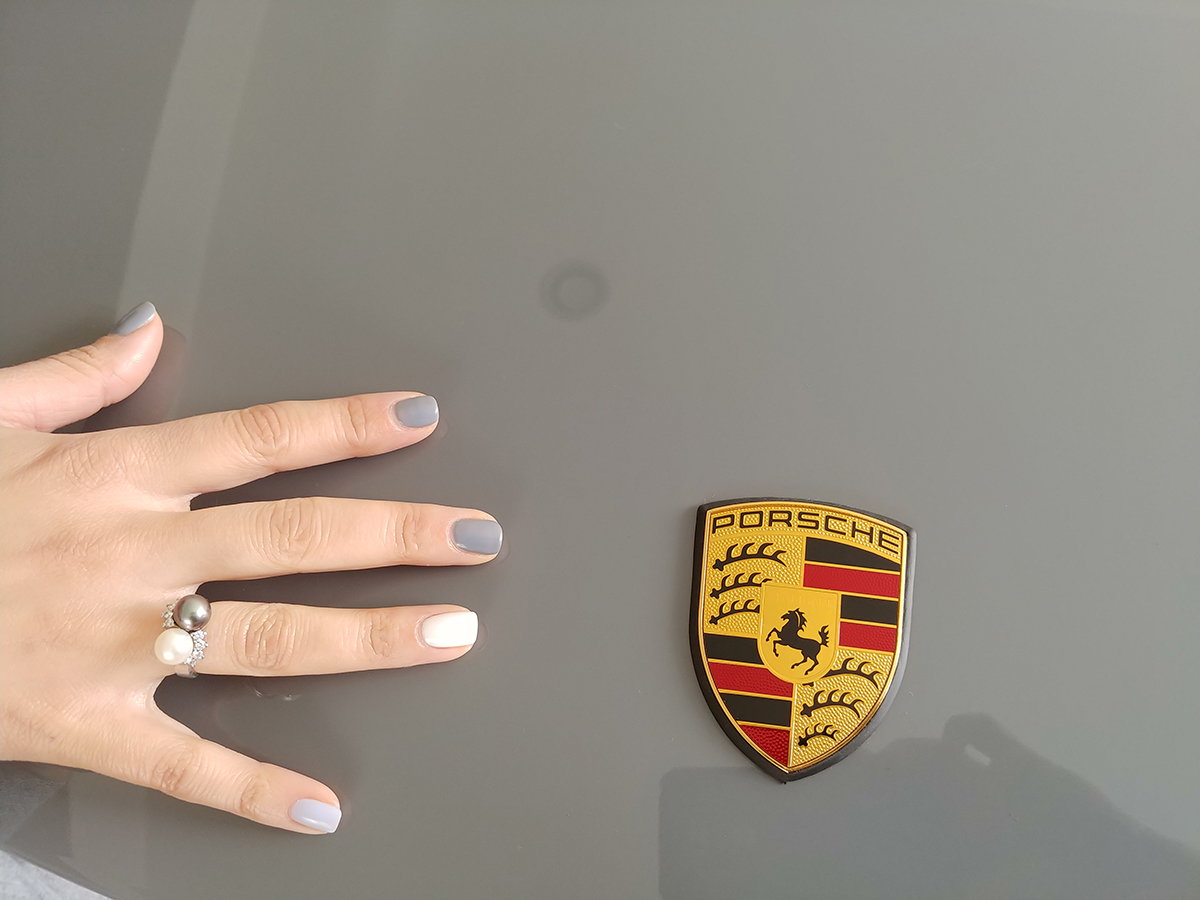
My wife went to get her nails done, and I guess her getting Nardo Grey nail polish, is her way of trying to get my attention haha.
Final step is take the same plastic cover from the 991 hood, and use it to cover the two holes made on the backside of the hood. Done!
On a side note, if anyone is interested in the less evasive method, I have the hood badge with the prongs shaved off and new 3M tape for sale ready to be installed.

 03-03-2019, 07:08 PM


 Respect!

