When you click on links to various merchants on this site and make a purchase, this can result in this site earning a commission. Affiliate programs and affiliations include, but are not limited to, the eBay Partner Network.
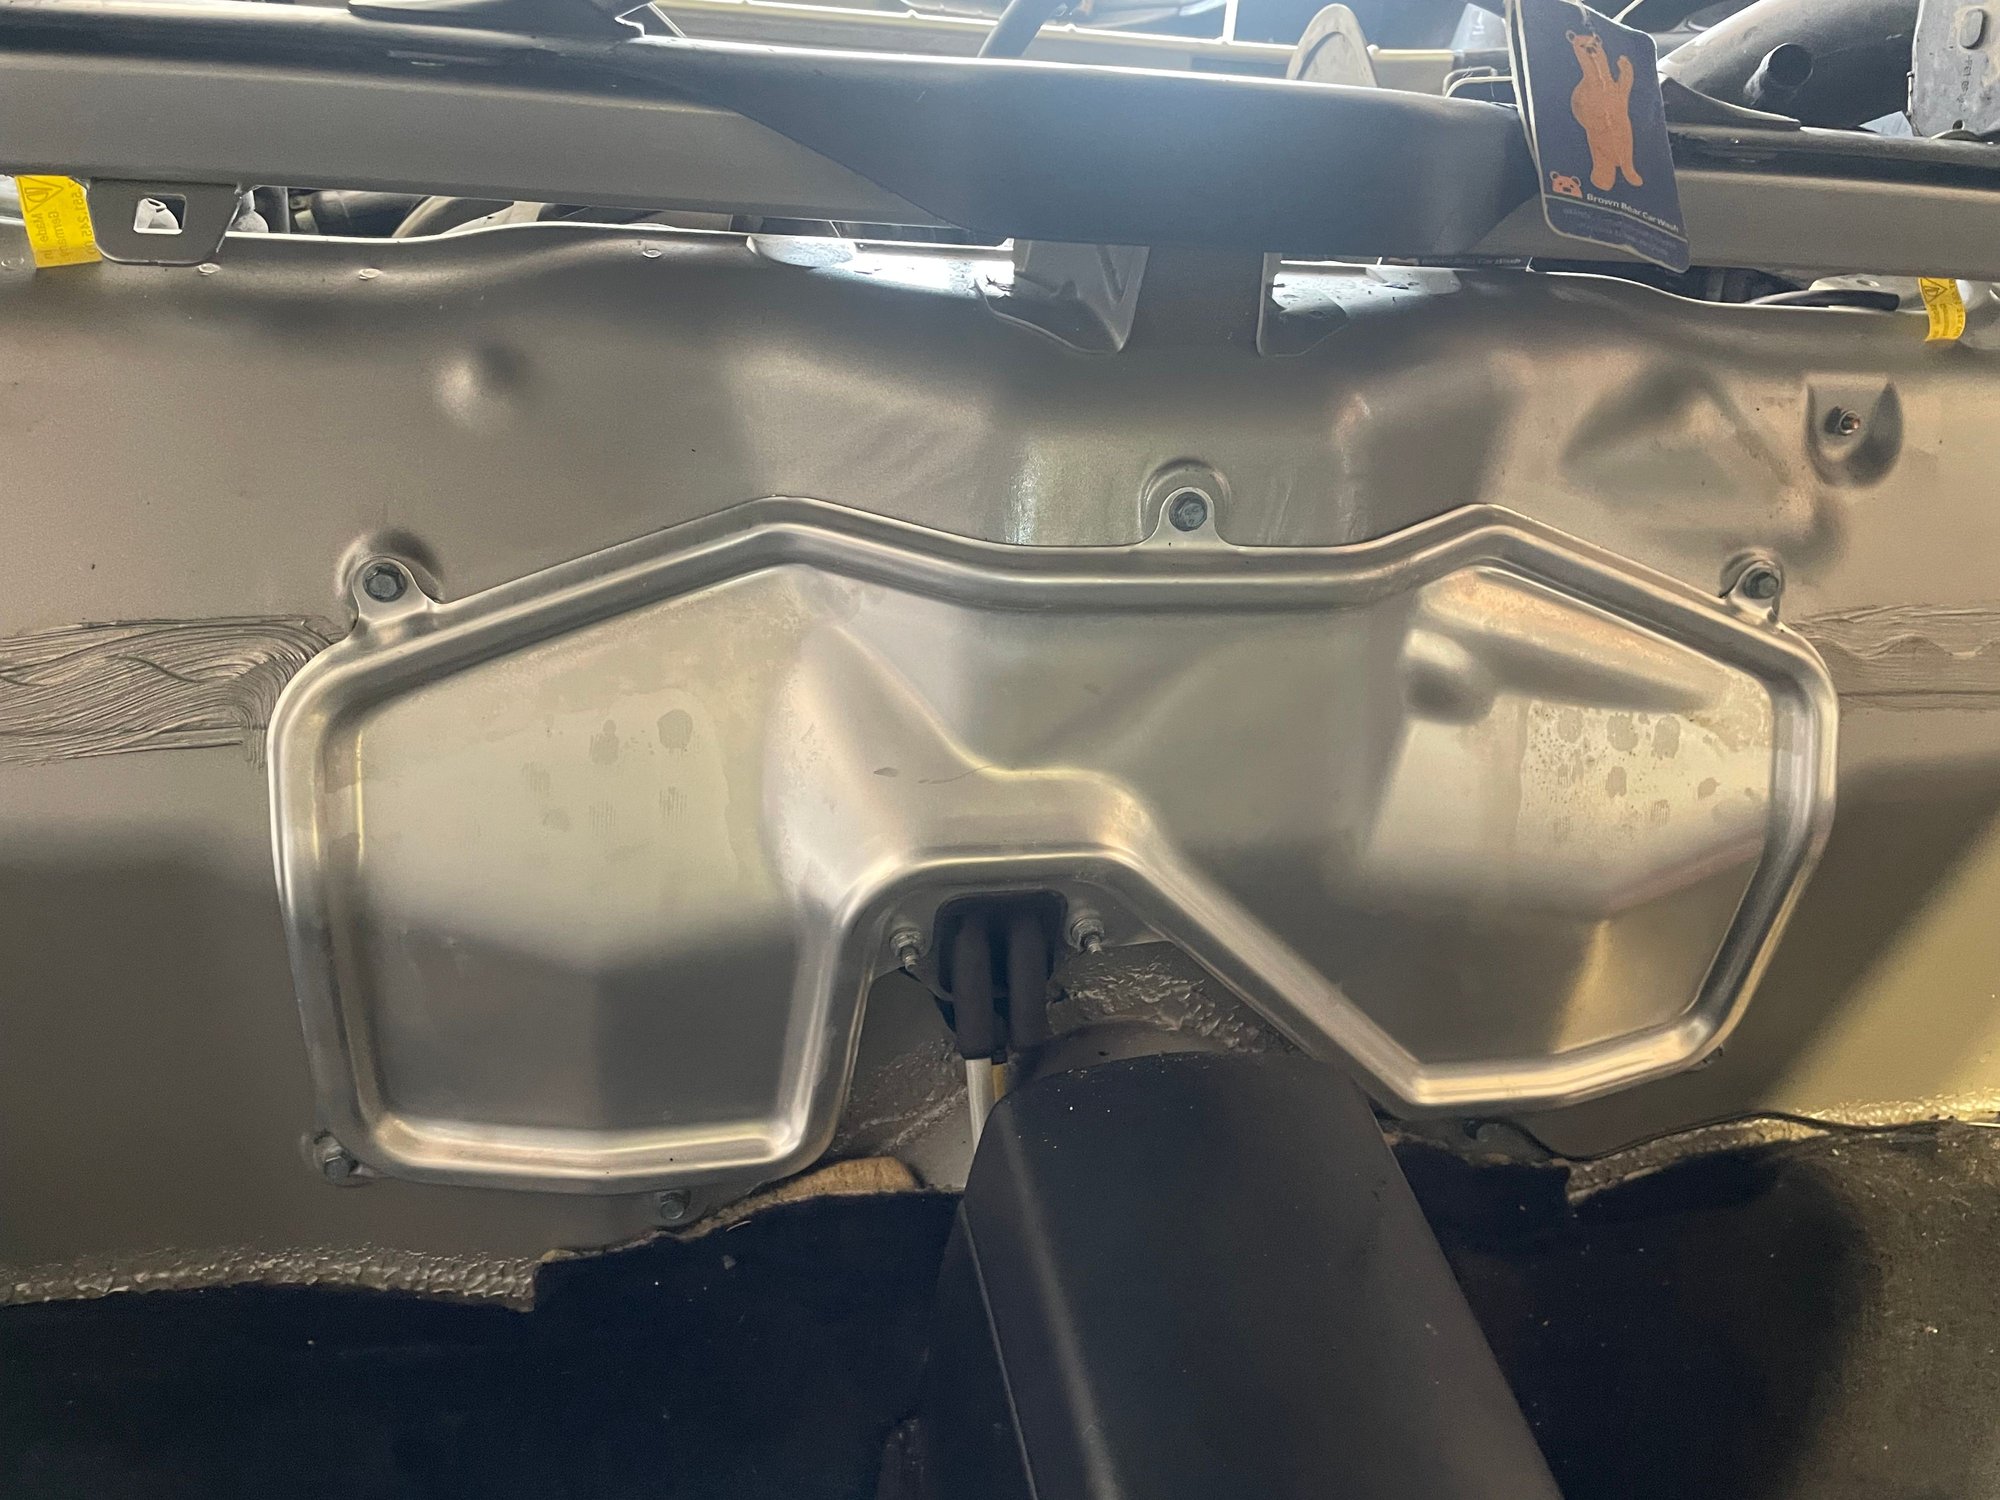
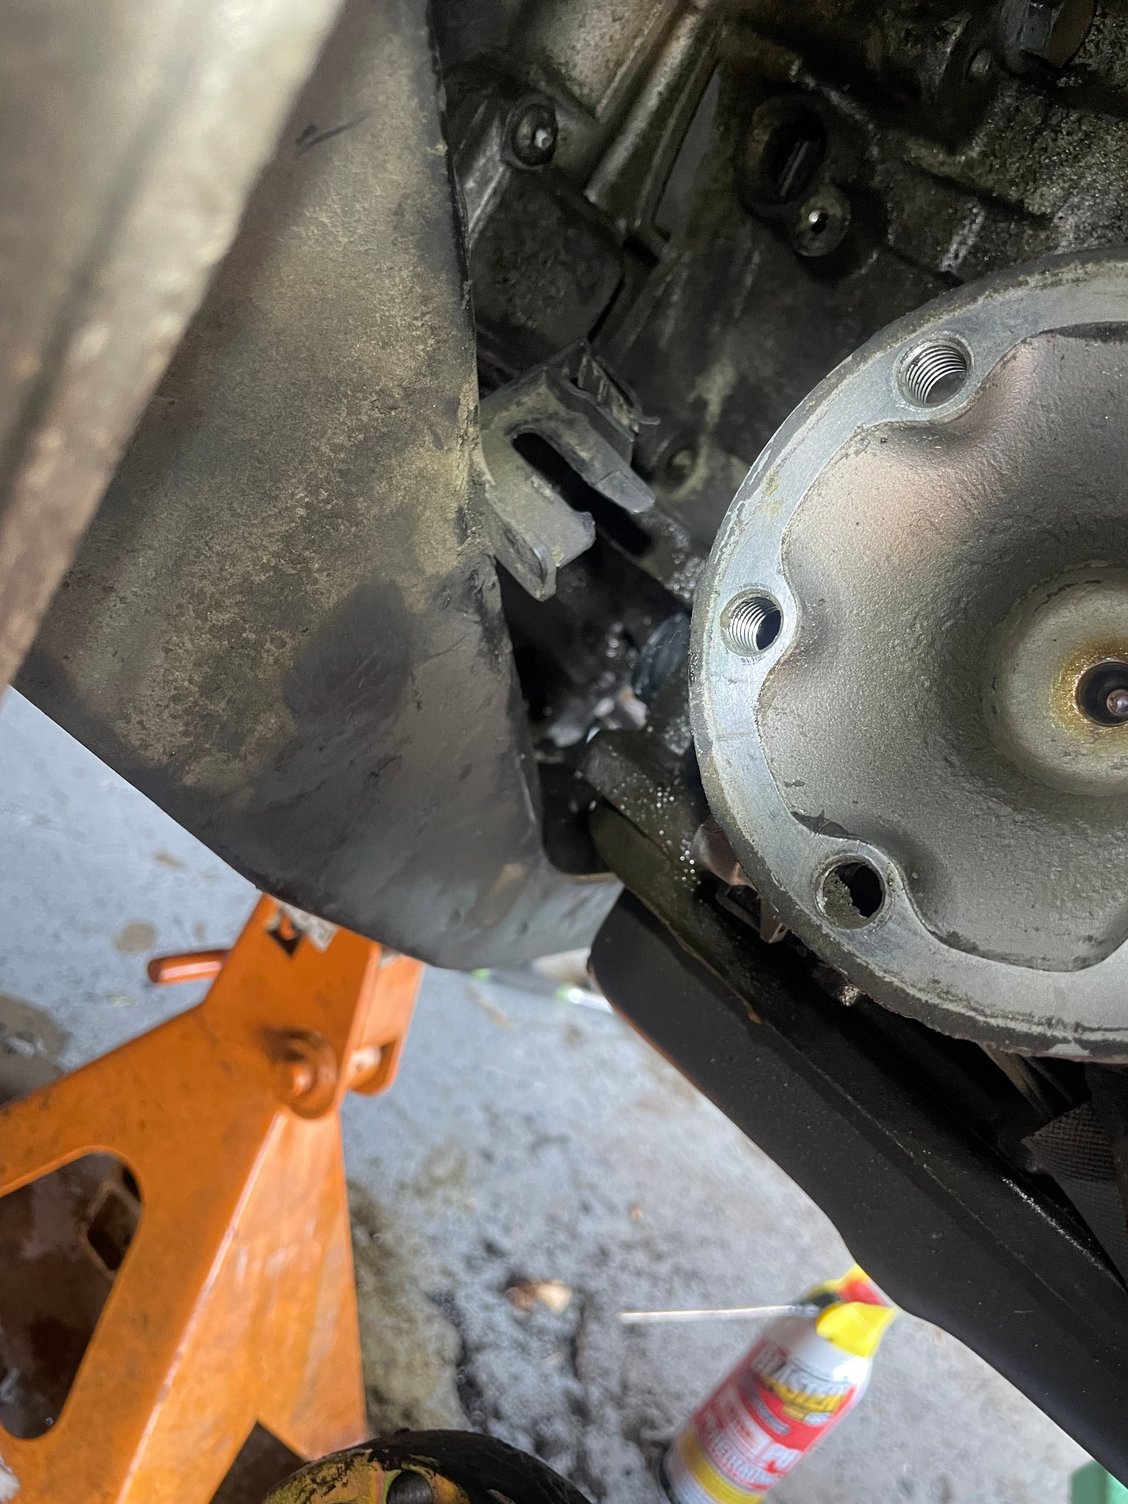
Now that that cover is off I can access the crank and see into the bell housing from the starter.
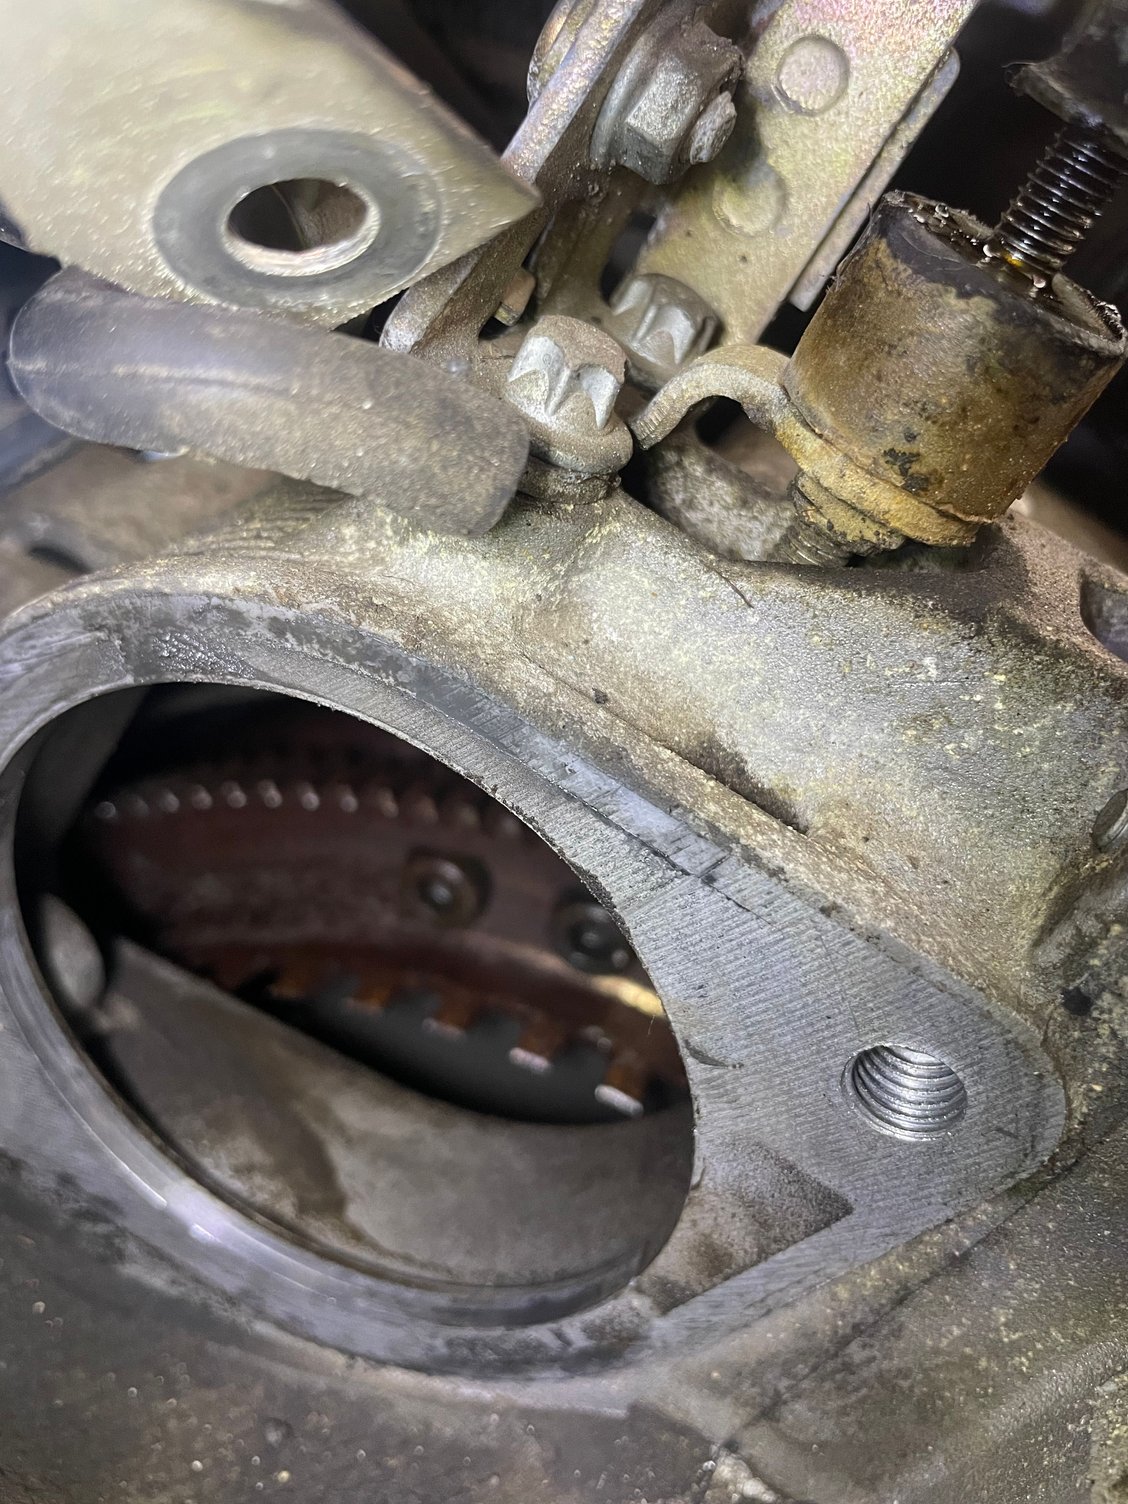
The crank bolt is 24mm, and I thought it would be a lot harder to rotate than it was, as I have always loosened a few spark plugs to relieve pressure but didn’t this time.
the flex plate Allen size is 6mm, total of 6, in pairs of 2, 120° between sets
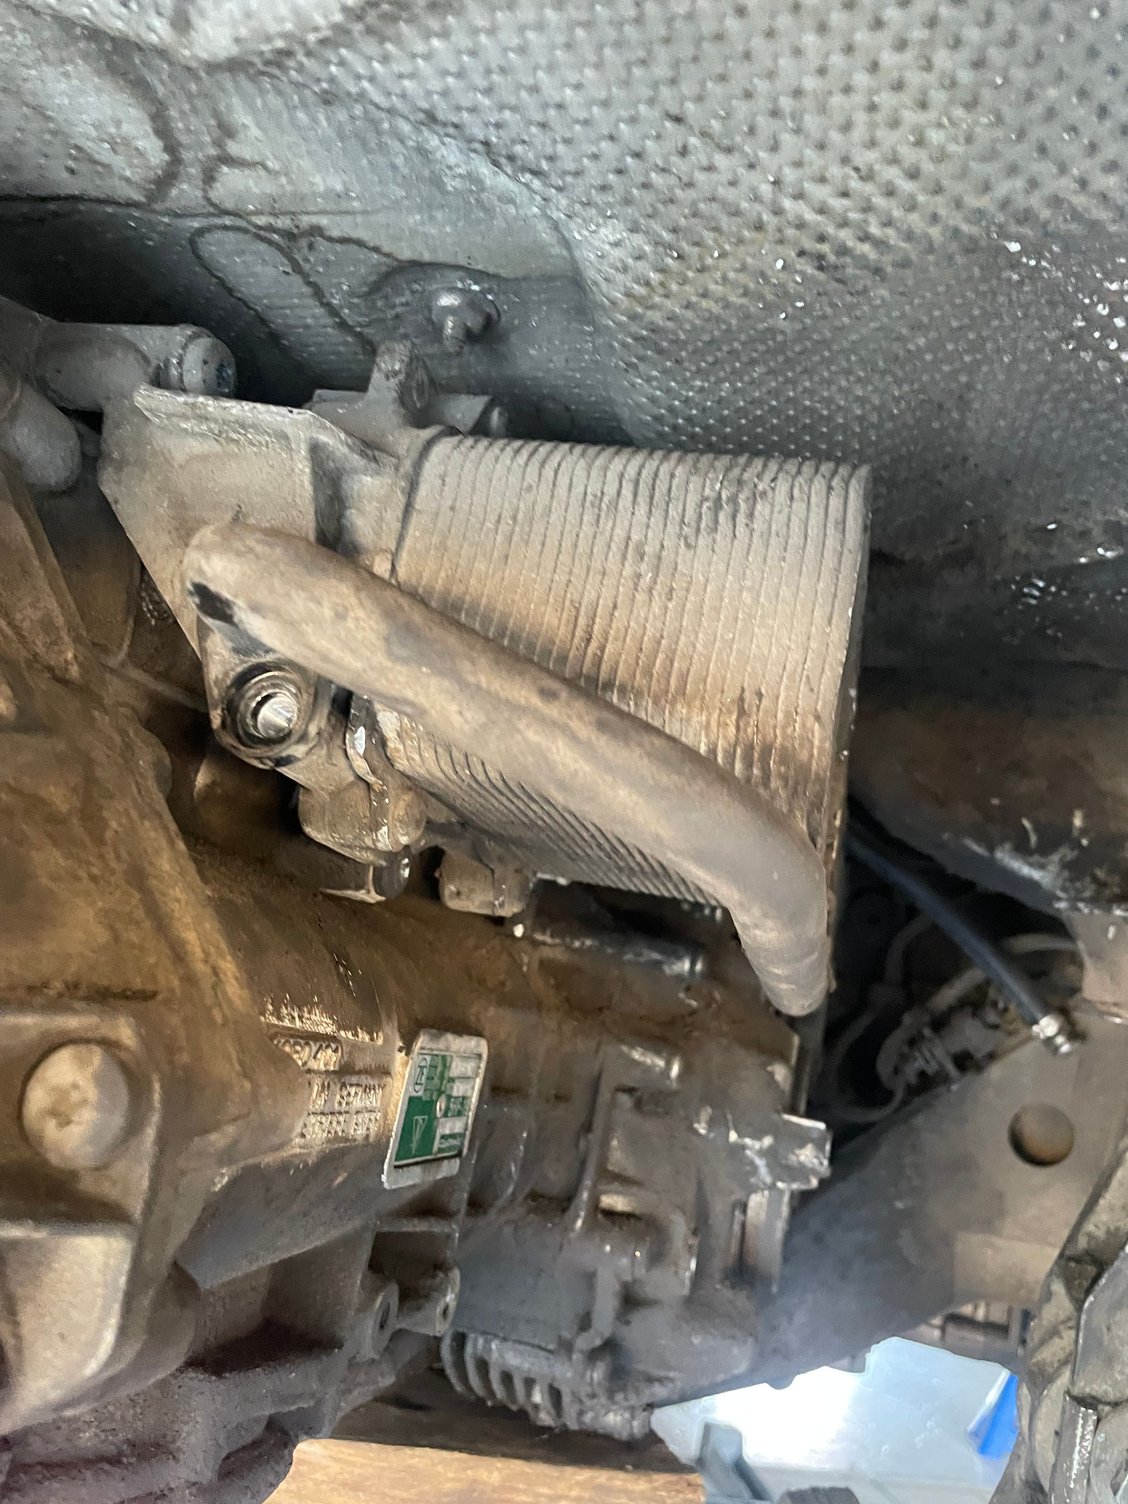
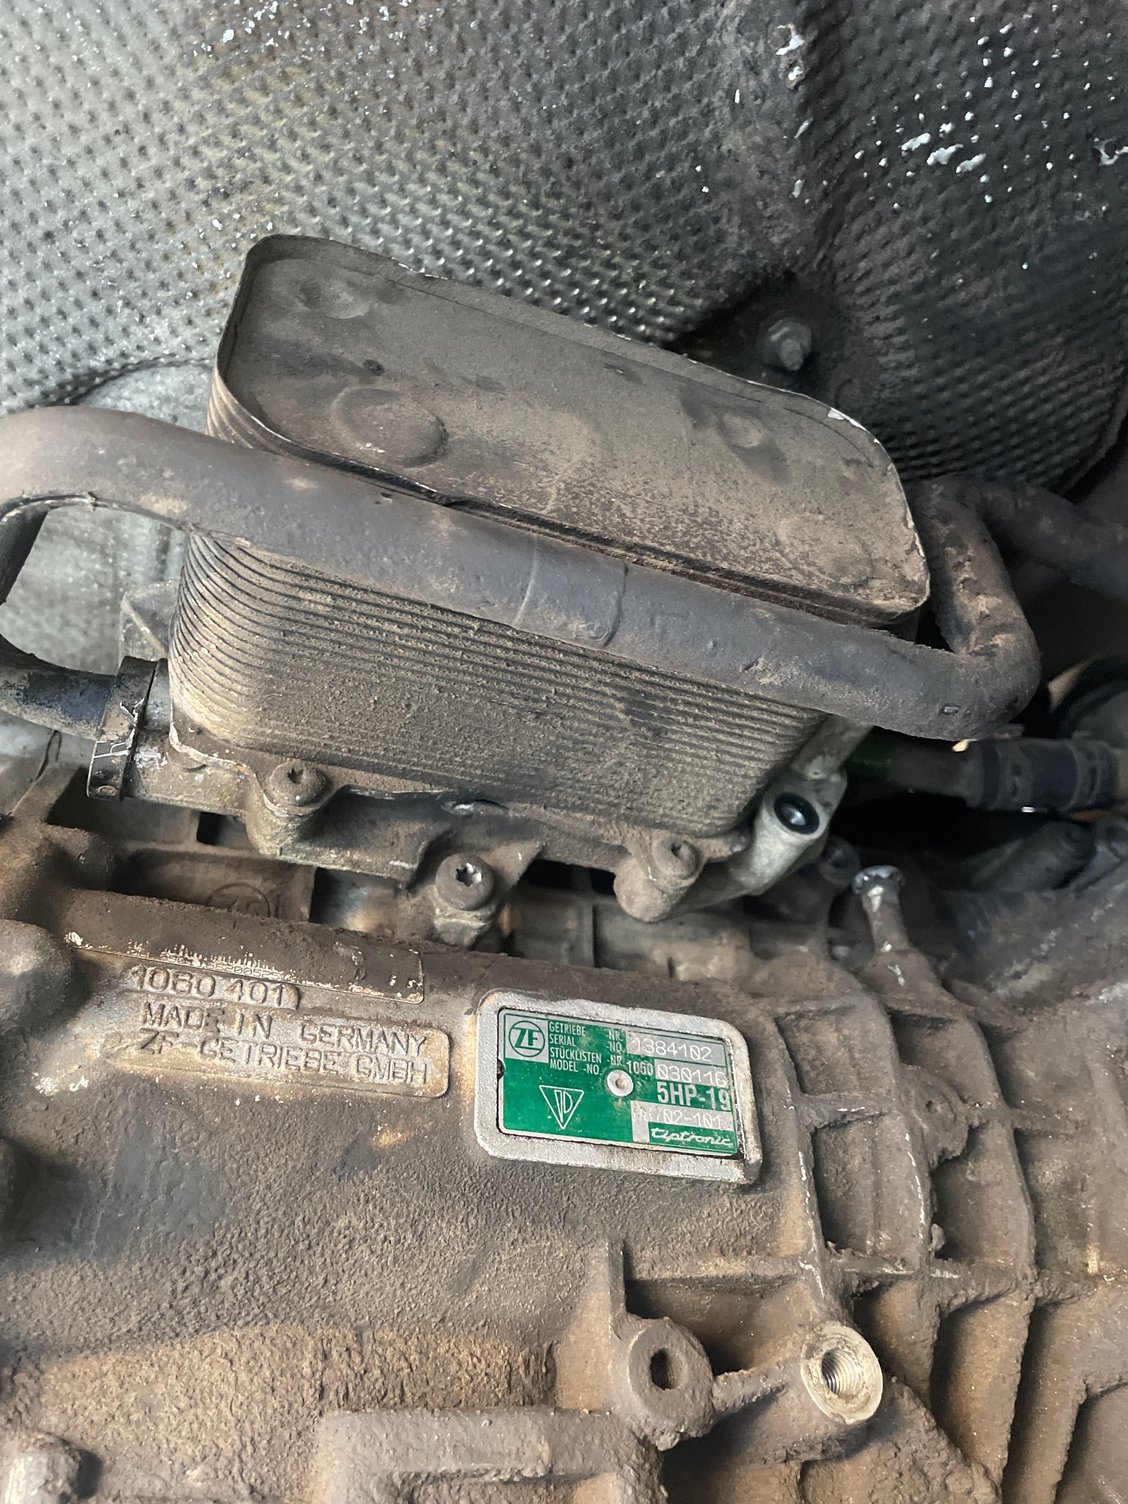
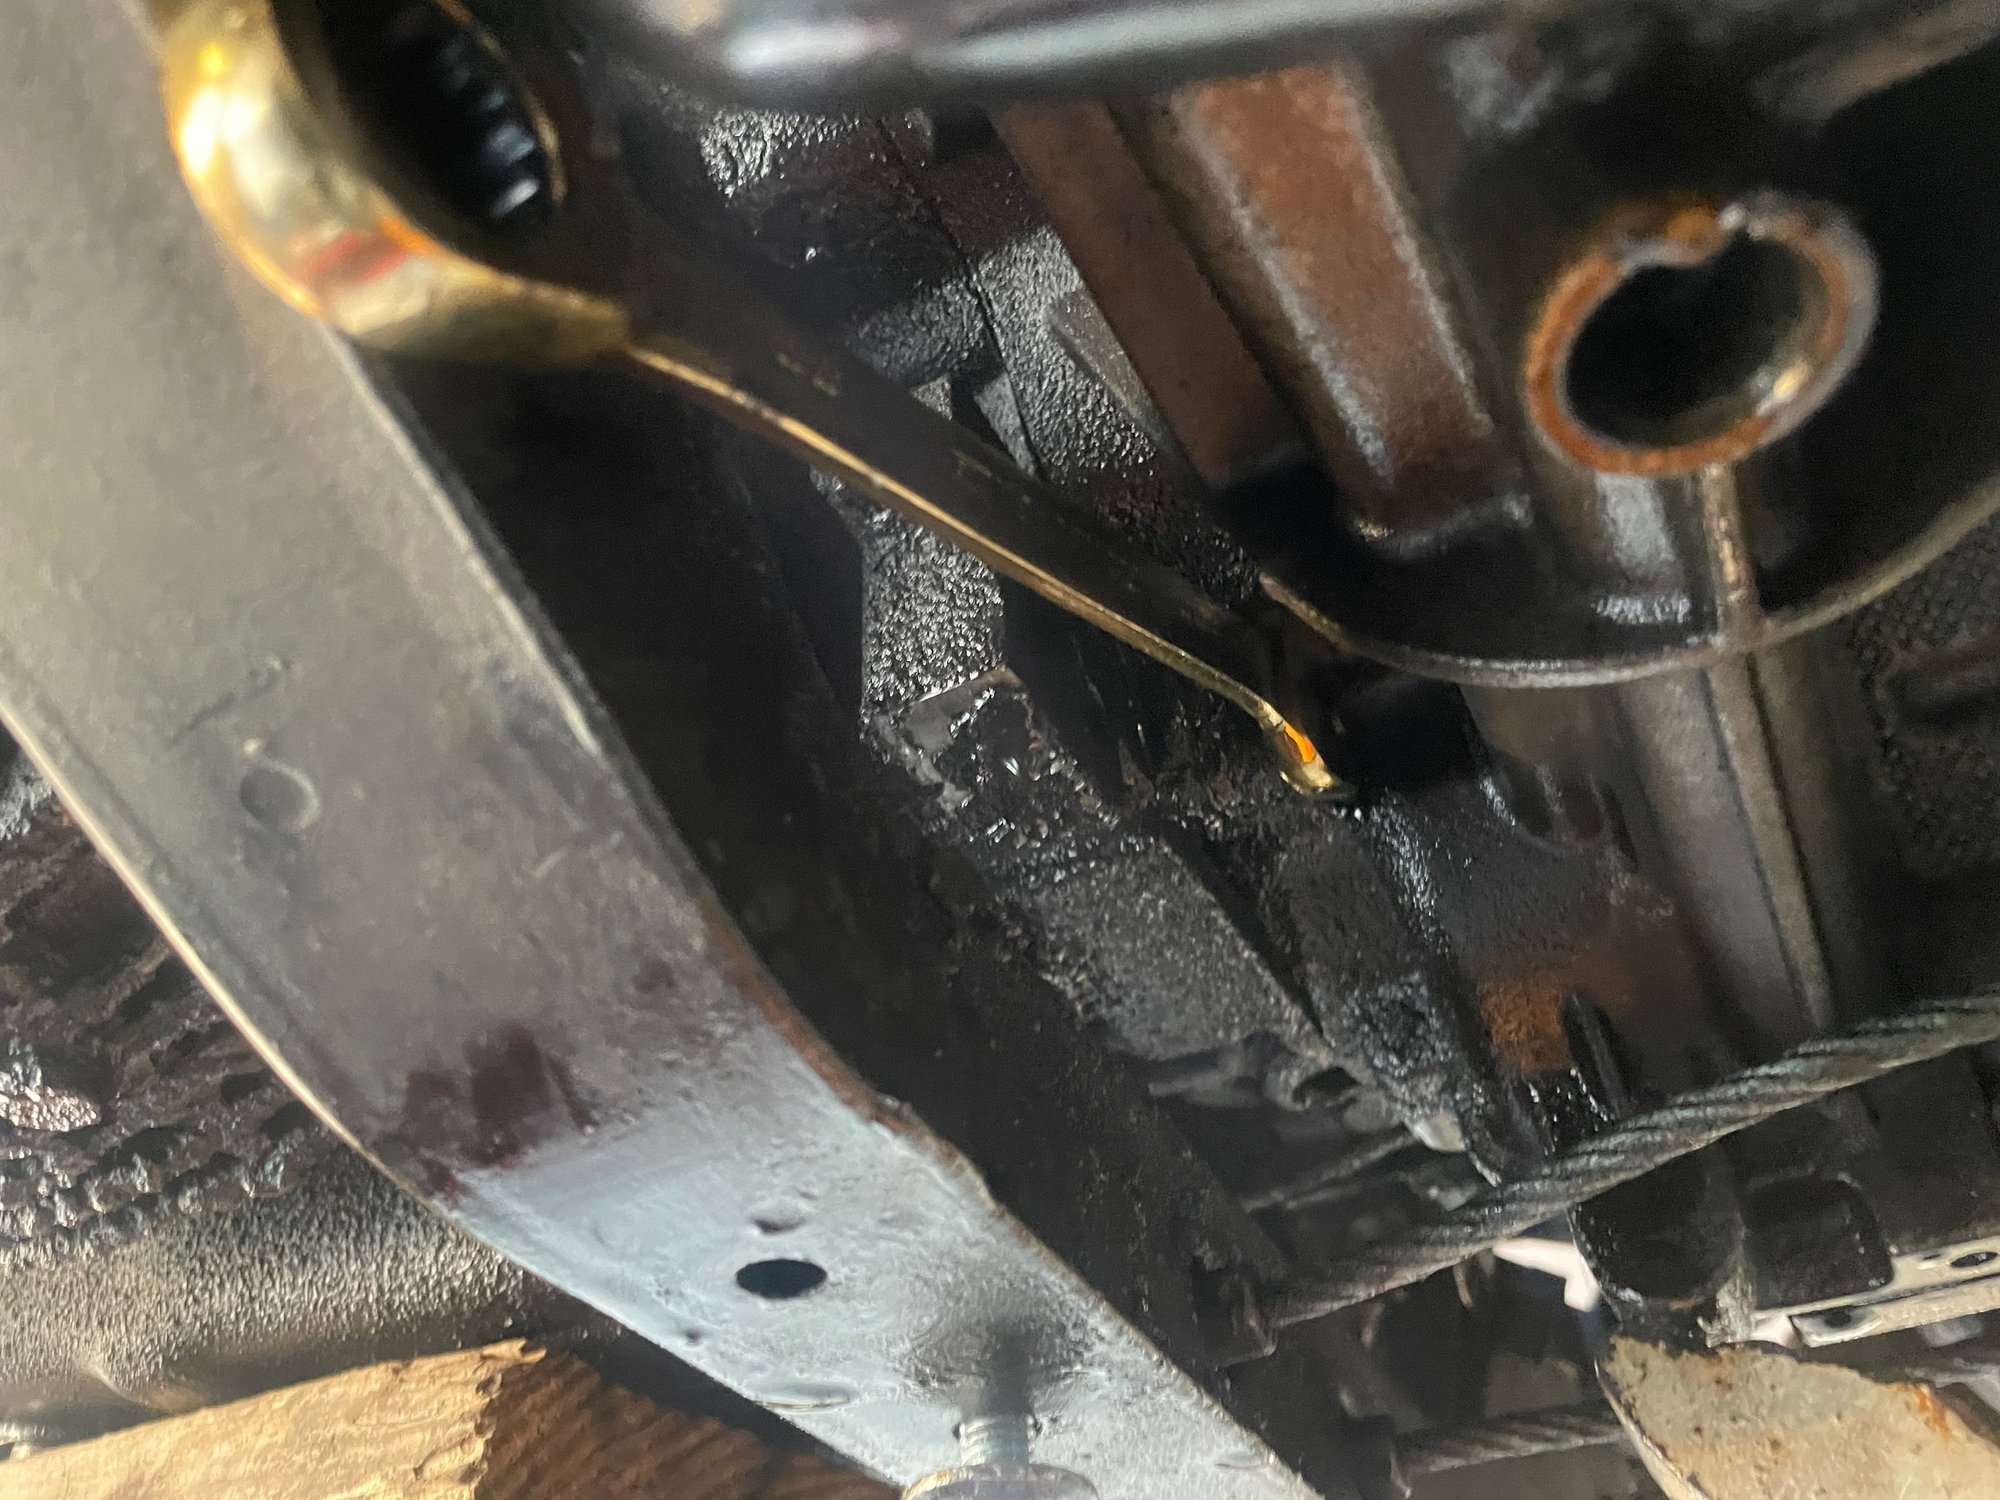
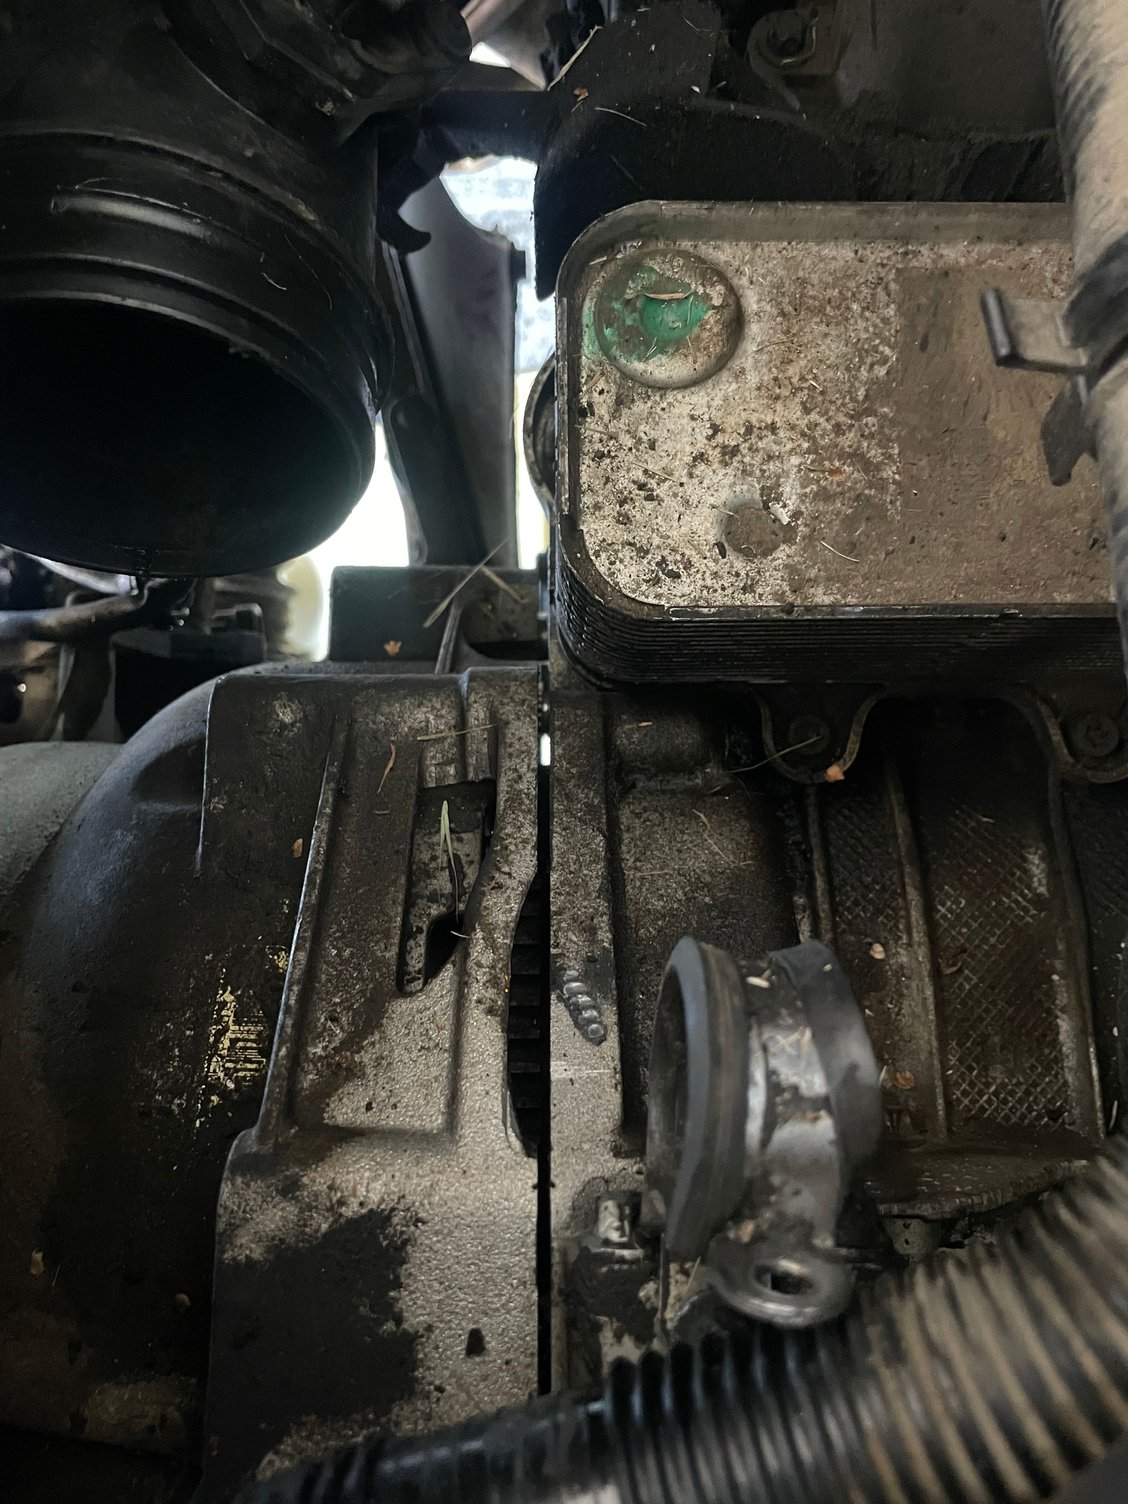
Working on removing the transmission oil cooler lines. Got the bolts out (t40, one on each line and one bracket on the trans) but now the lines are showing they don’t want to come off the cooler. Any help is appreciated here
Got the line towards the rear disconnected entirely. Just took a lot of force and a bit of PB blaster (will need new o ring)
The more hidden one towards the front of the cooler was hard to get a good grip on to wiggle it out and I didn’t want to break anything, so I ended up following the line up a bit and saw there was a small (about 2 inches) rubber piece connecting a vacuum diaphragm to another hard line that goes more forward. Undid the clamps and got it loose there.
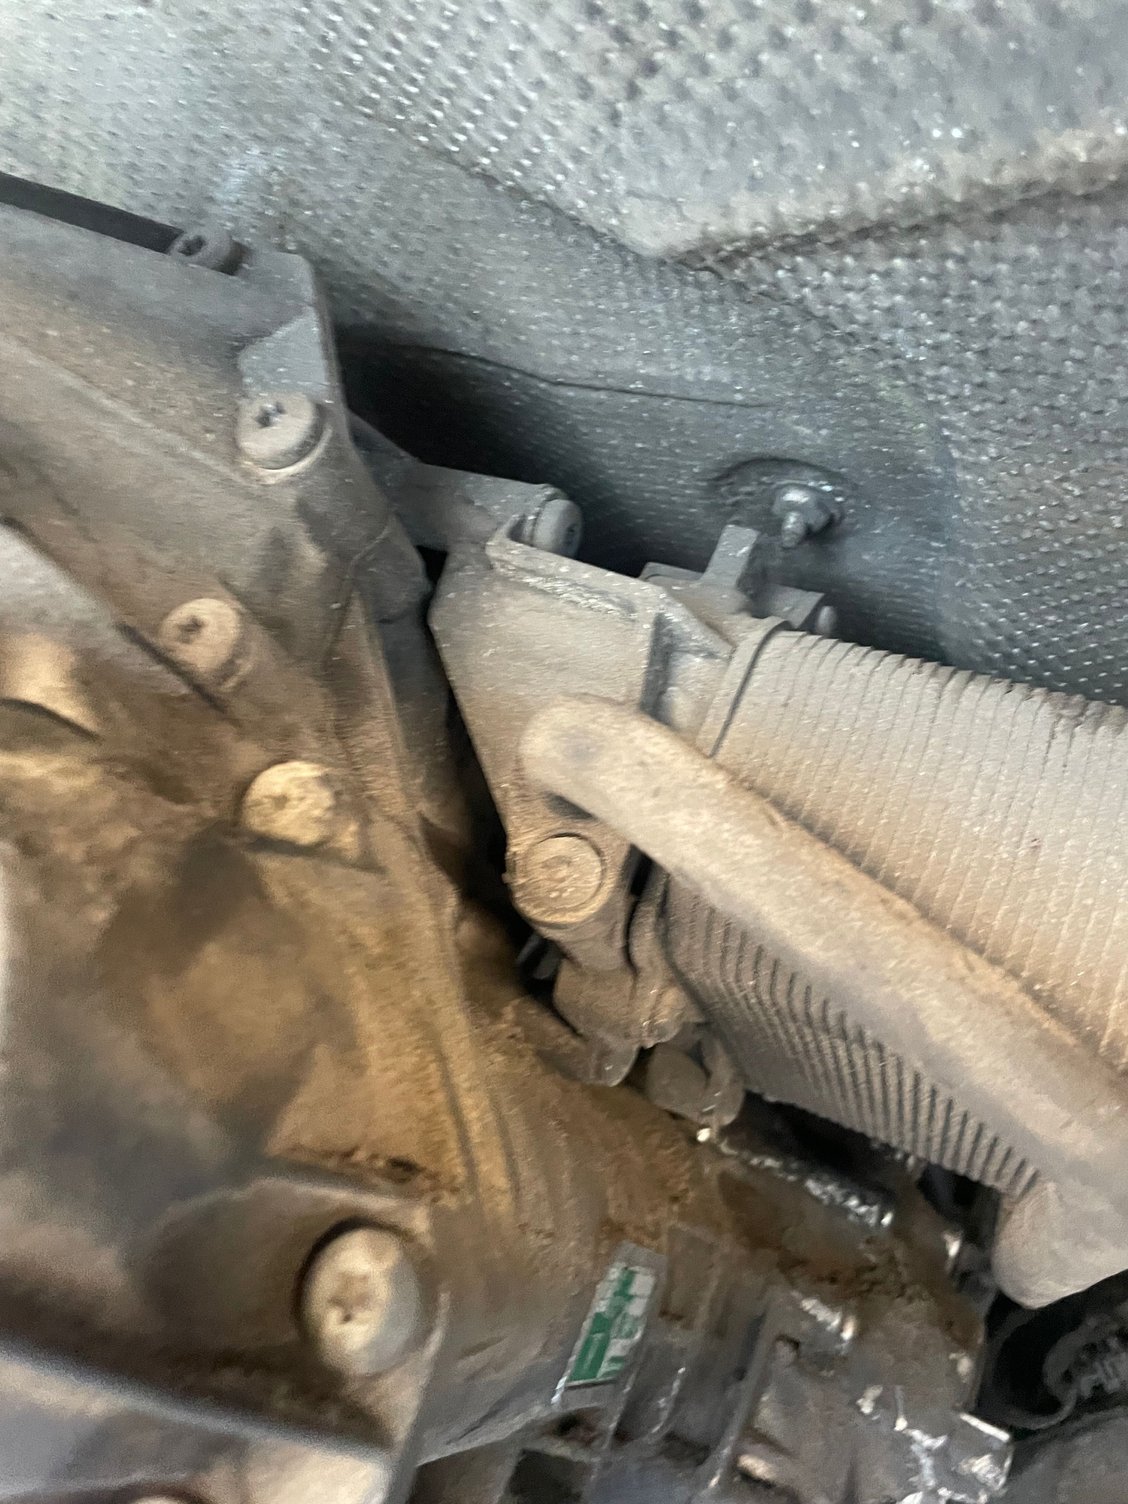
now it’s time to drop a screwdriver in the top to hold the torque converter in, and undo the bell housing bolts. Hitting them all with some PB blaster and eating first
On bell housing bolts.
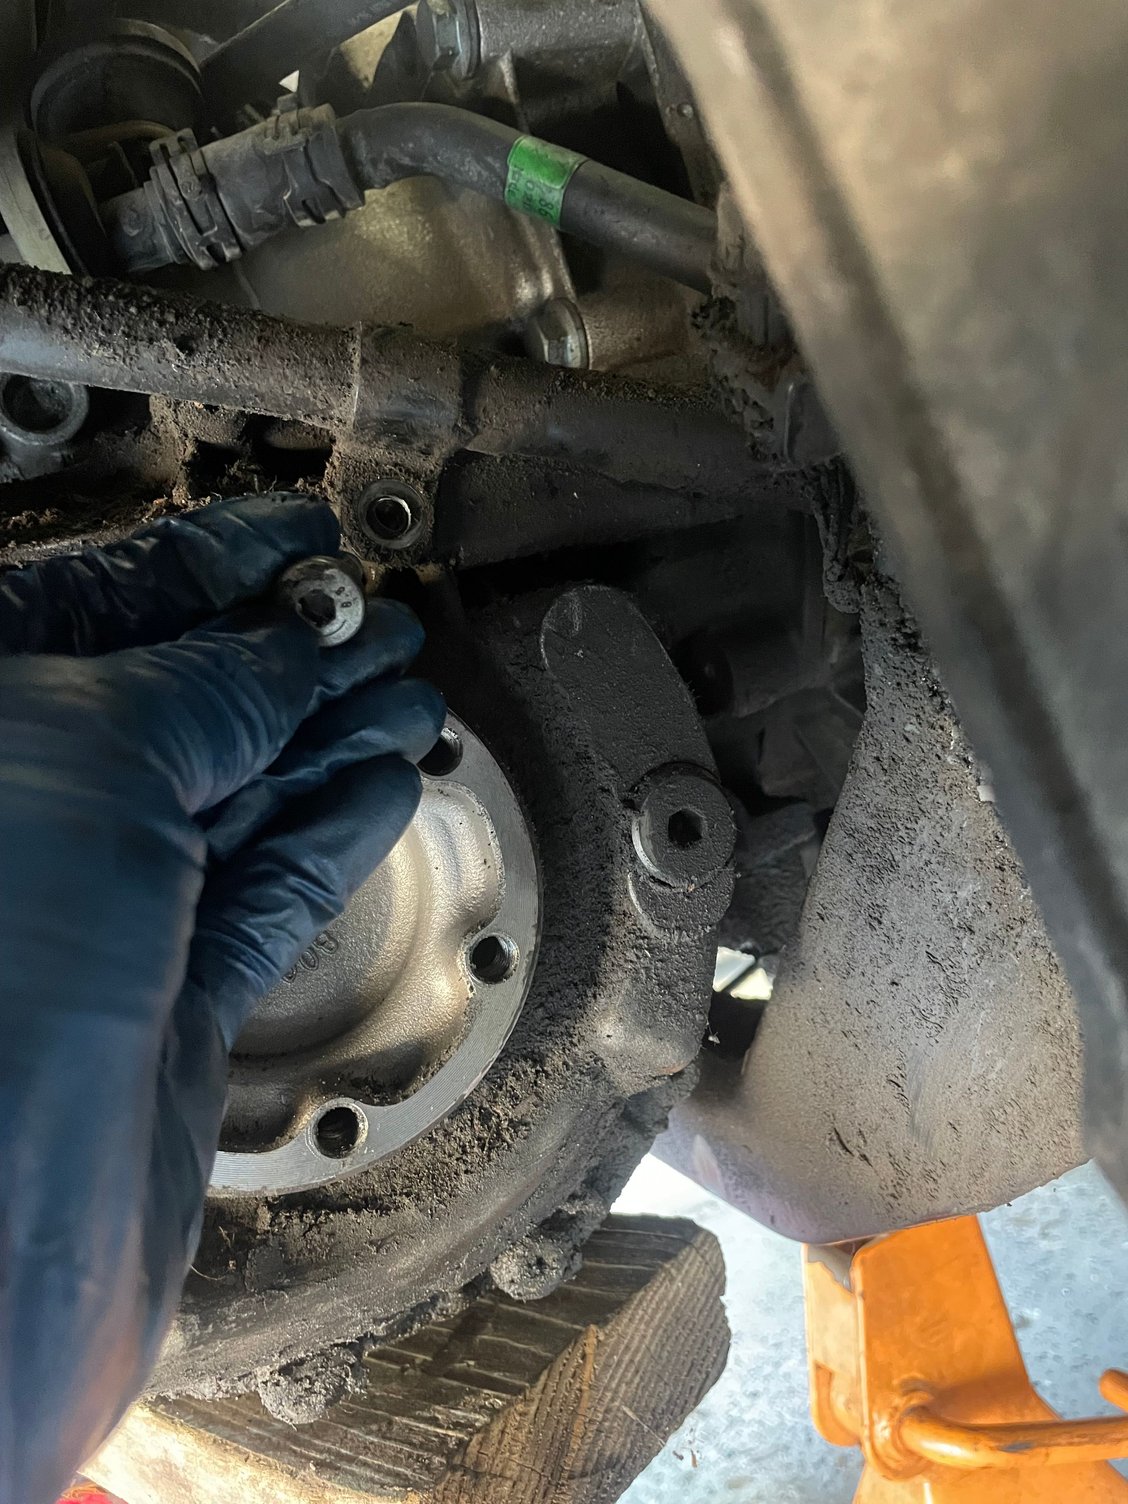
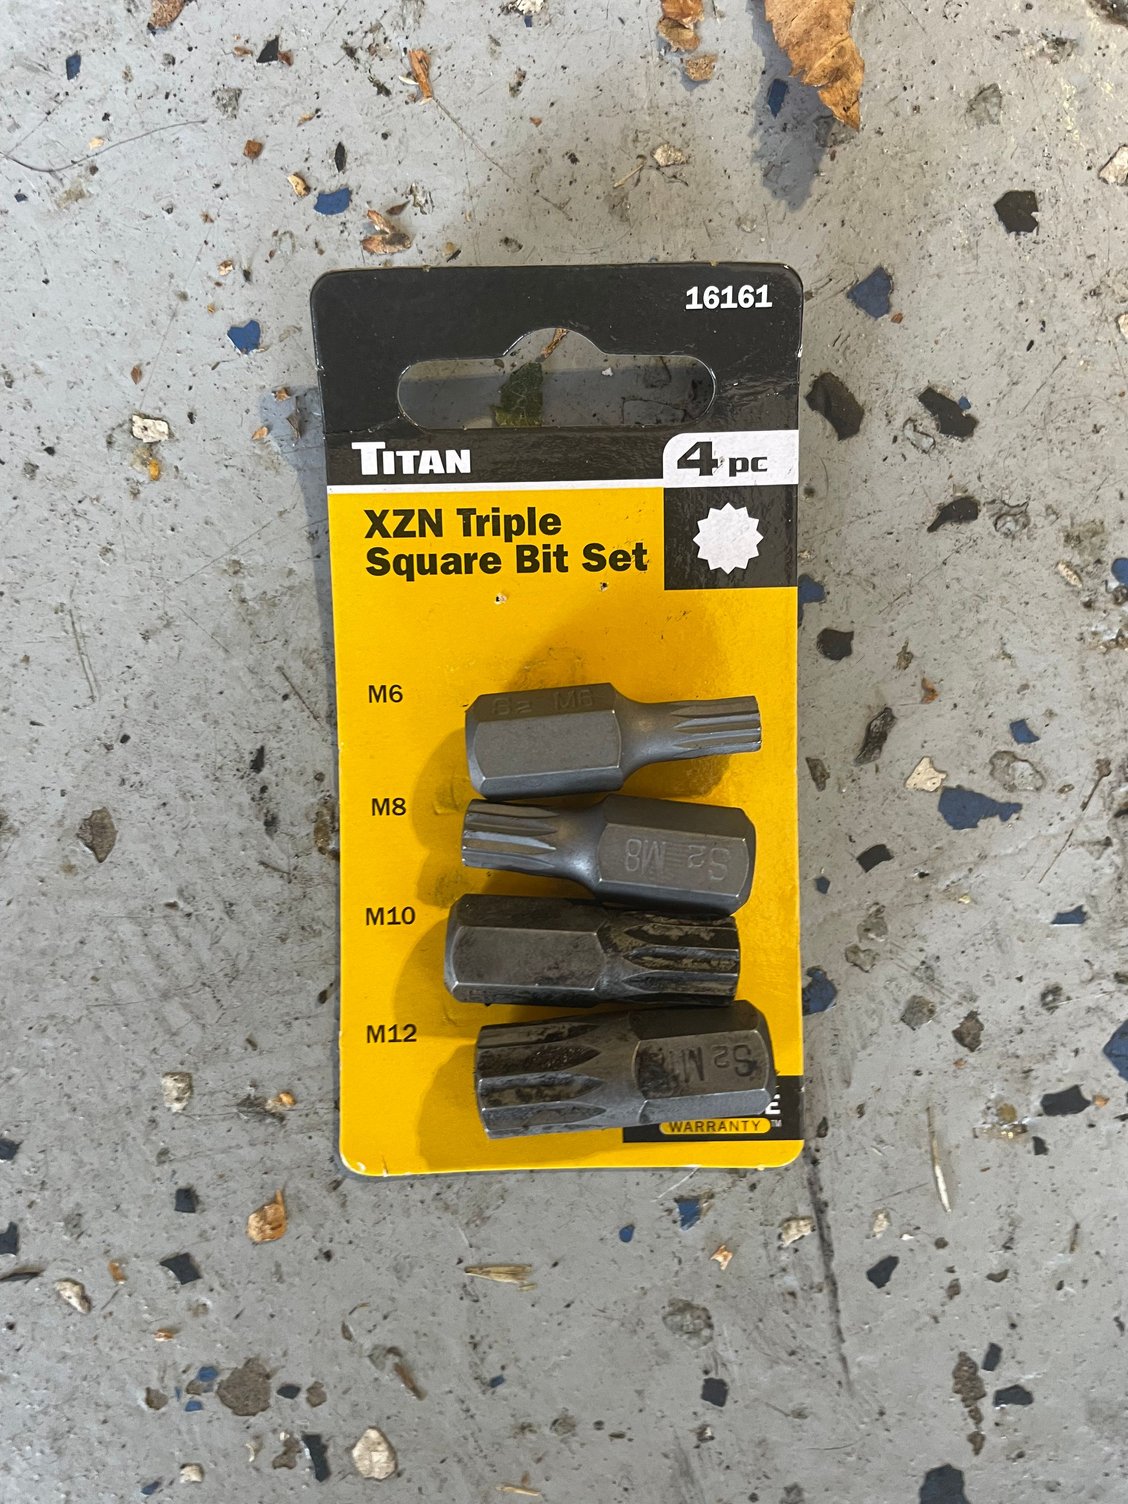
i think the previous owner did some transmission work on this BECAUSE the hardest bolt to get (the triple square one) wasn’t even there. I got lucky but now I know another part I need to get when I put it back together.
read a lot about how hard it was to get to, and I can confirm that it’s difficult, but not impossible. oreilly’s carries a nice low profile xzn 4 piece set for about 6 bucks that’s 3/8” drive that you can get in there and then drive in with a ratcheting wrench (which was my plan but I guess I don’t need to)
now I just need to get the remaining out.
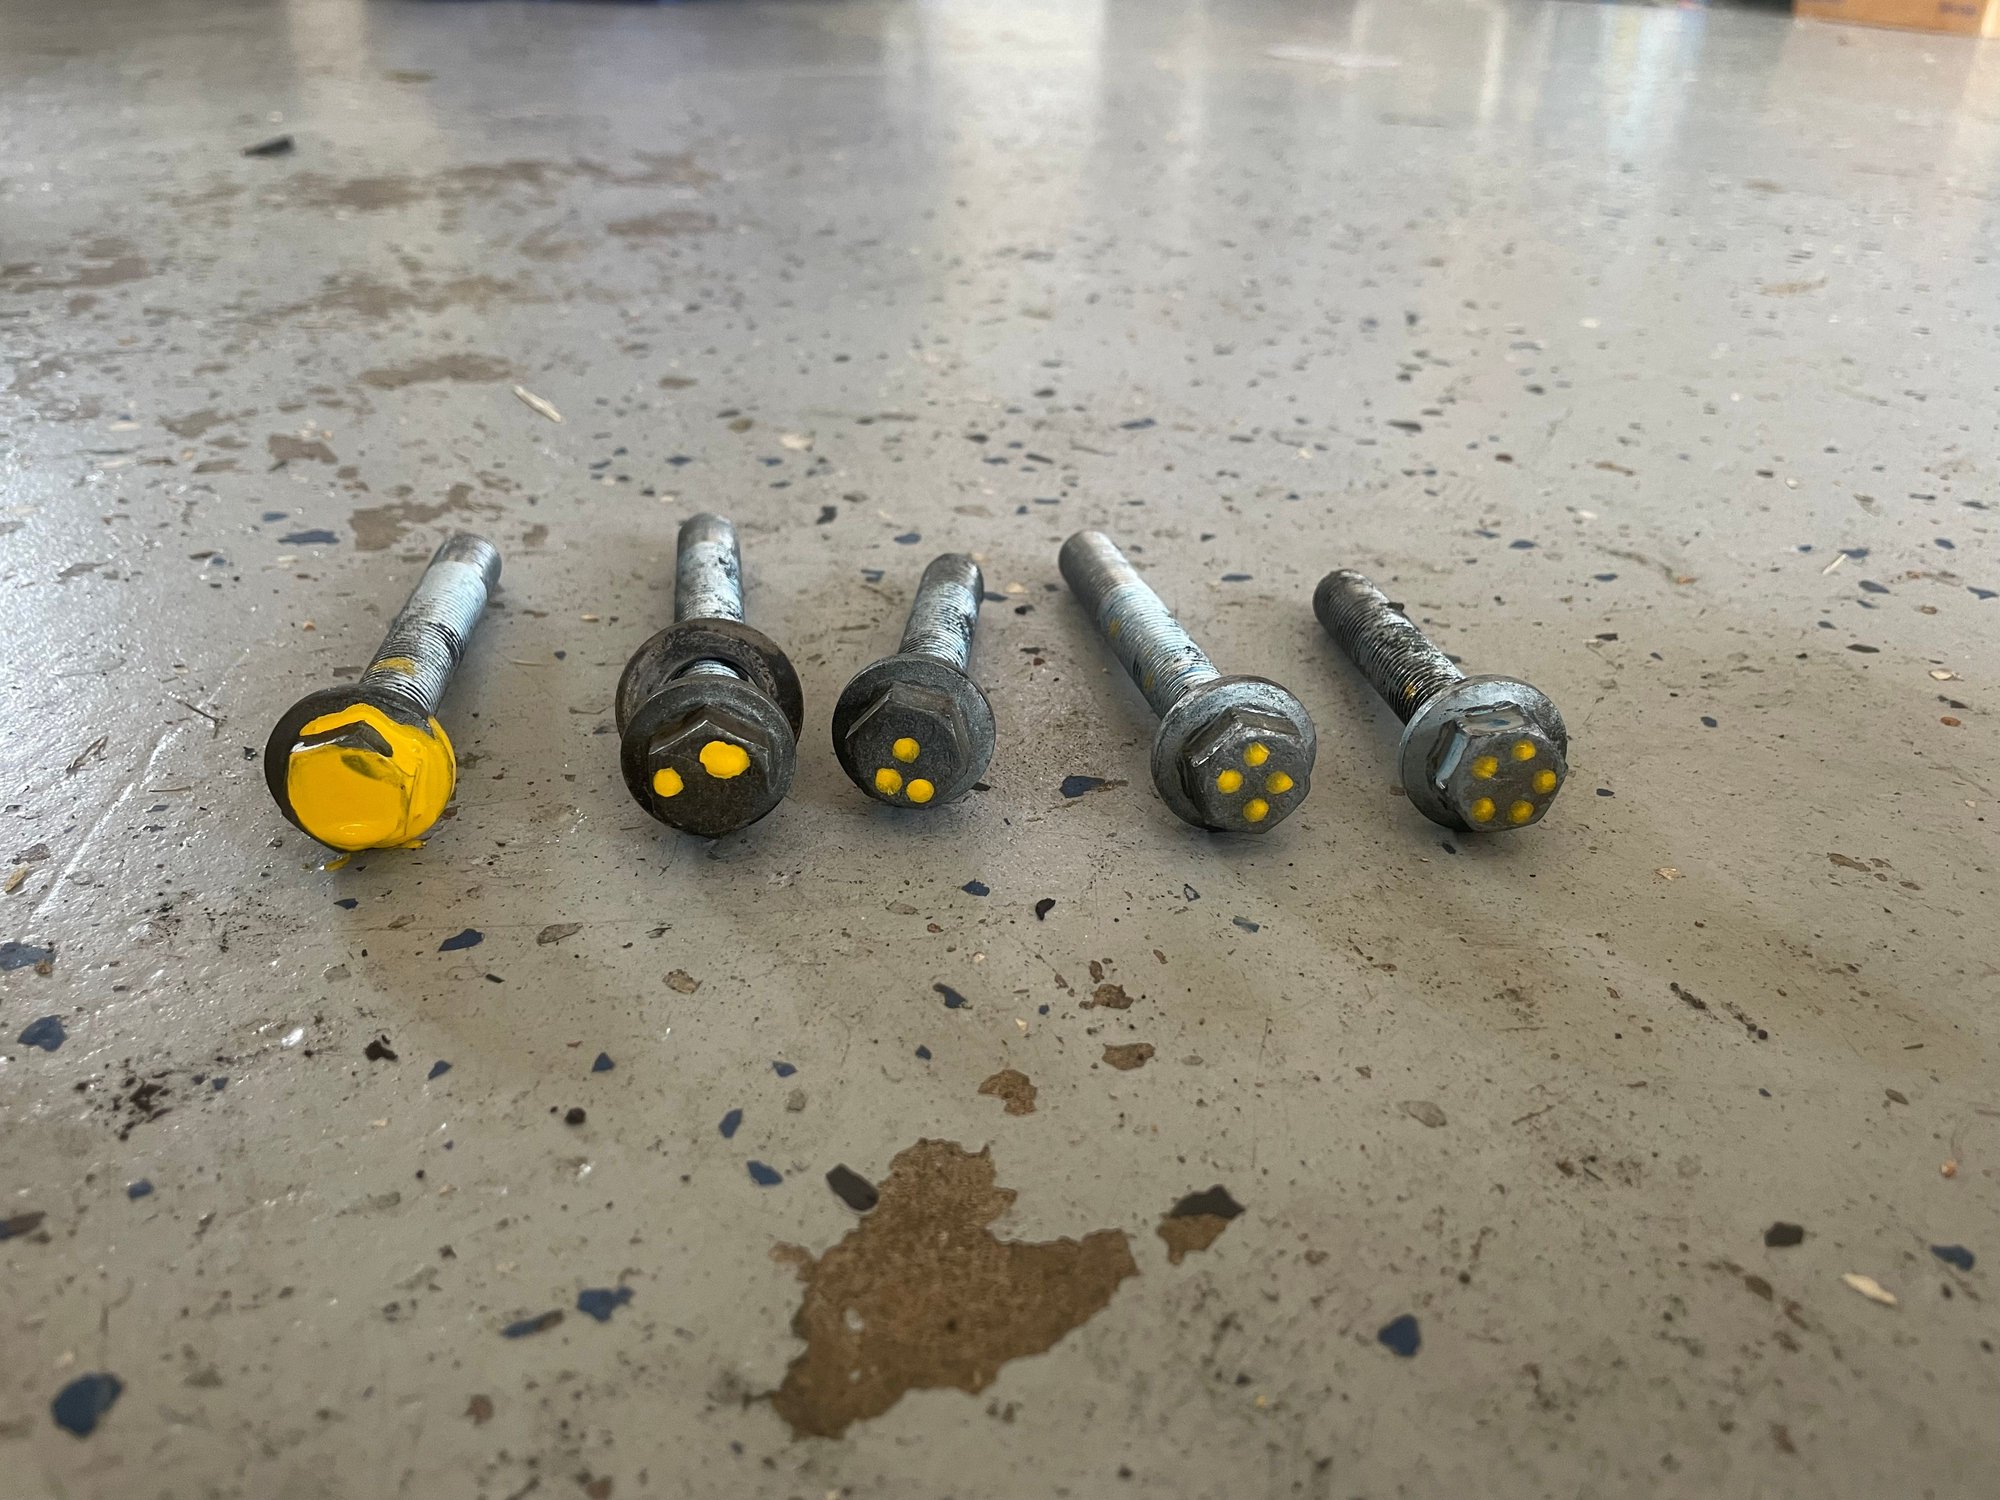
as stated earlier, bolt #4 was missing, but we’re on to the rest.
I am marking them with a paint pen as they come out, and may have pressed a bit hard and it squirt paint all over the first one. They are all 16 mm. The nut on the bottom back is 15 mm and requires a normal wrench
We have a gap! Now it’s time to test the tensile strength of anything I may have forgotten.
If you are using this as a guide, there are two connections on the drivers side. One you turn counterclockwise about half a turn and it pops off, one is normal pinned connection. Neither are difficult.
there’s a few vacuum lines on top that I had to disconnect around the starter.
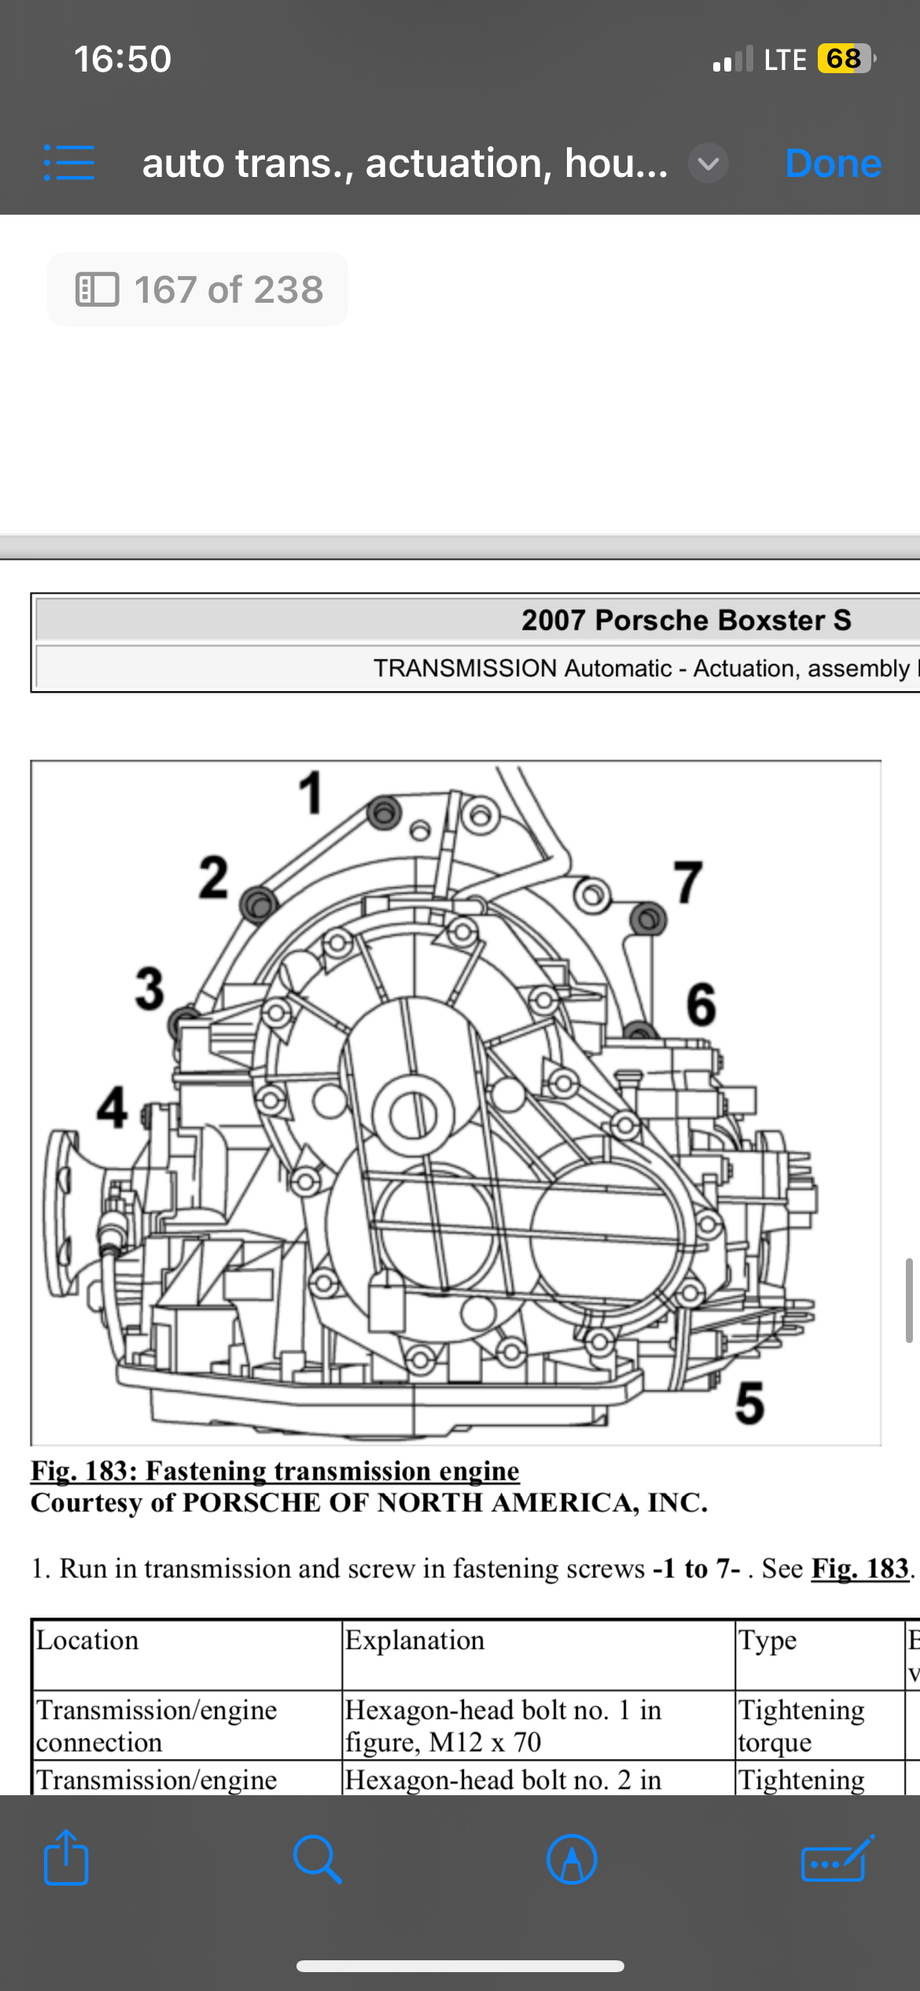
another forum member posted a link with the manual, and that does a good job of explaining which connections exactly

 07-20-2024, 05:51 PM