When you click on links to various merchants on this site and make a purchase, this can result in this site earning a commission. Affiliate programs and affiliations include, but are not limited to, the eBay Partner Network.
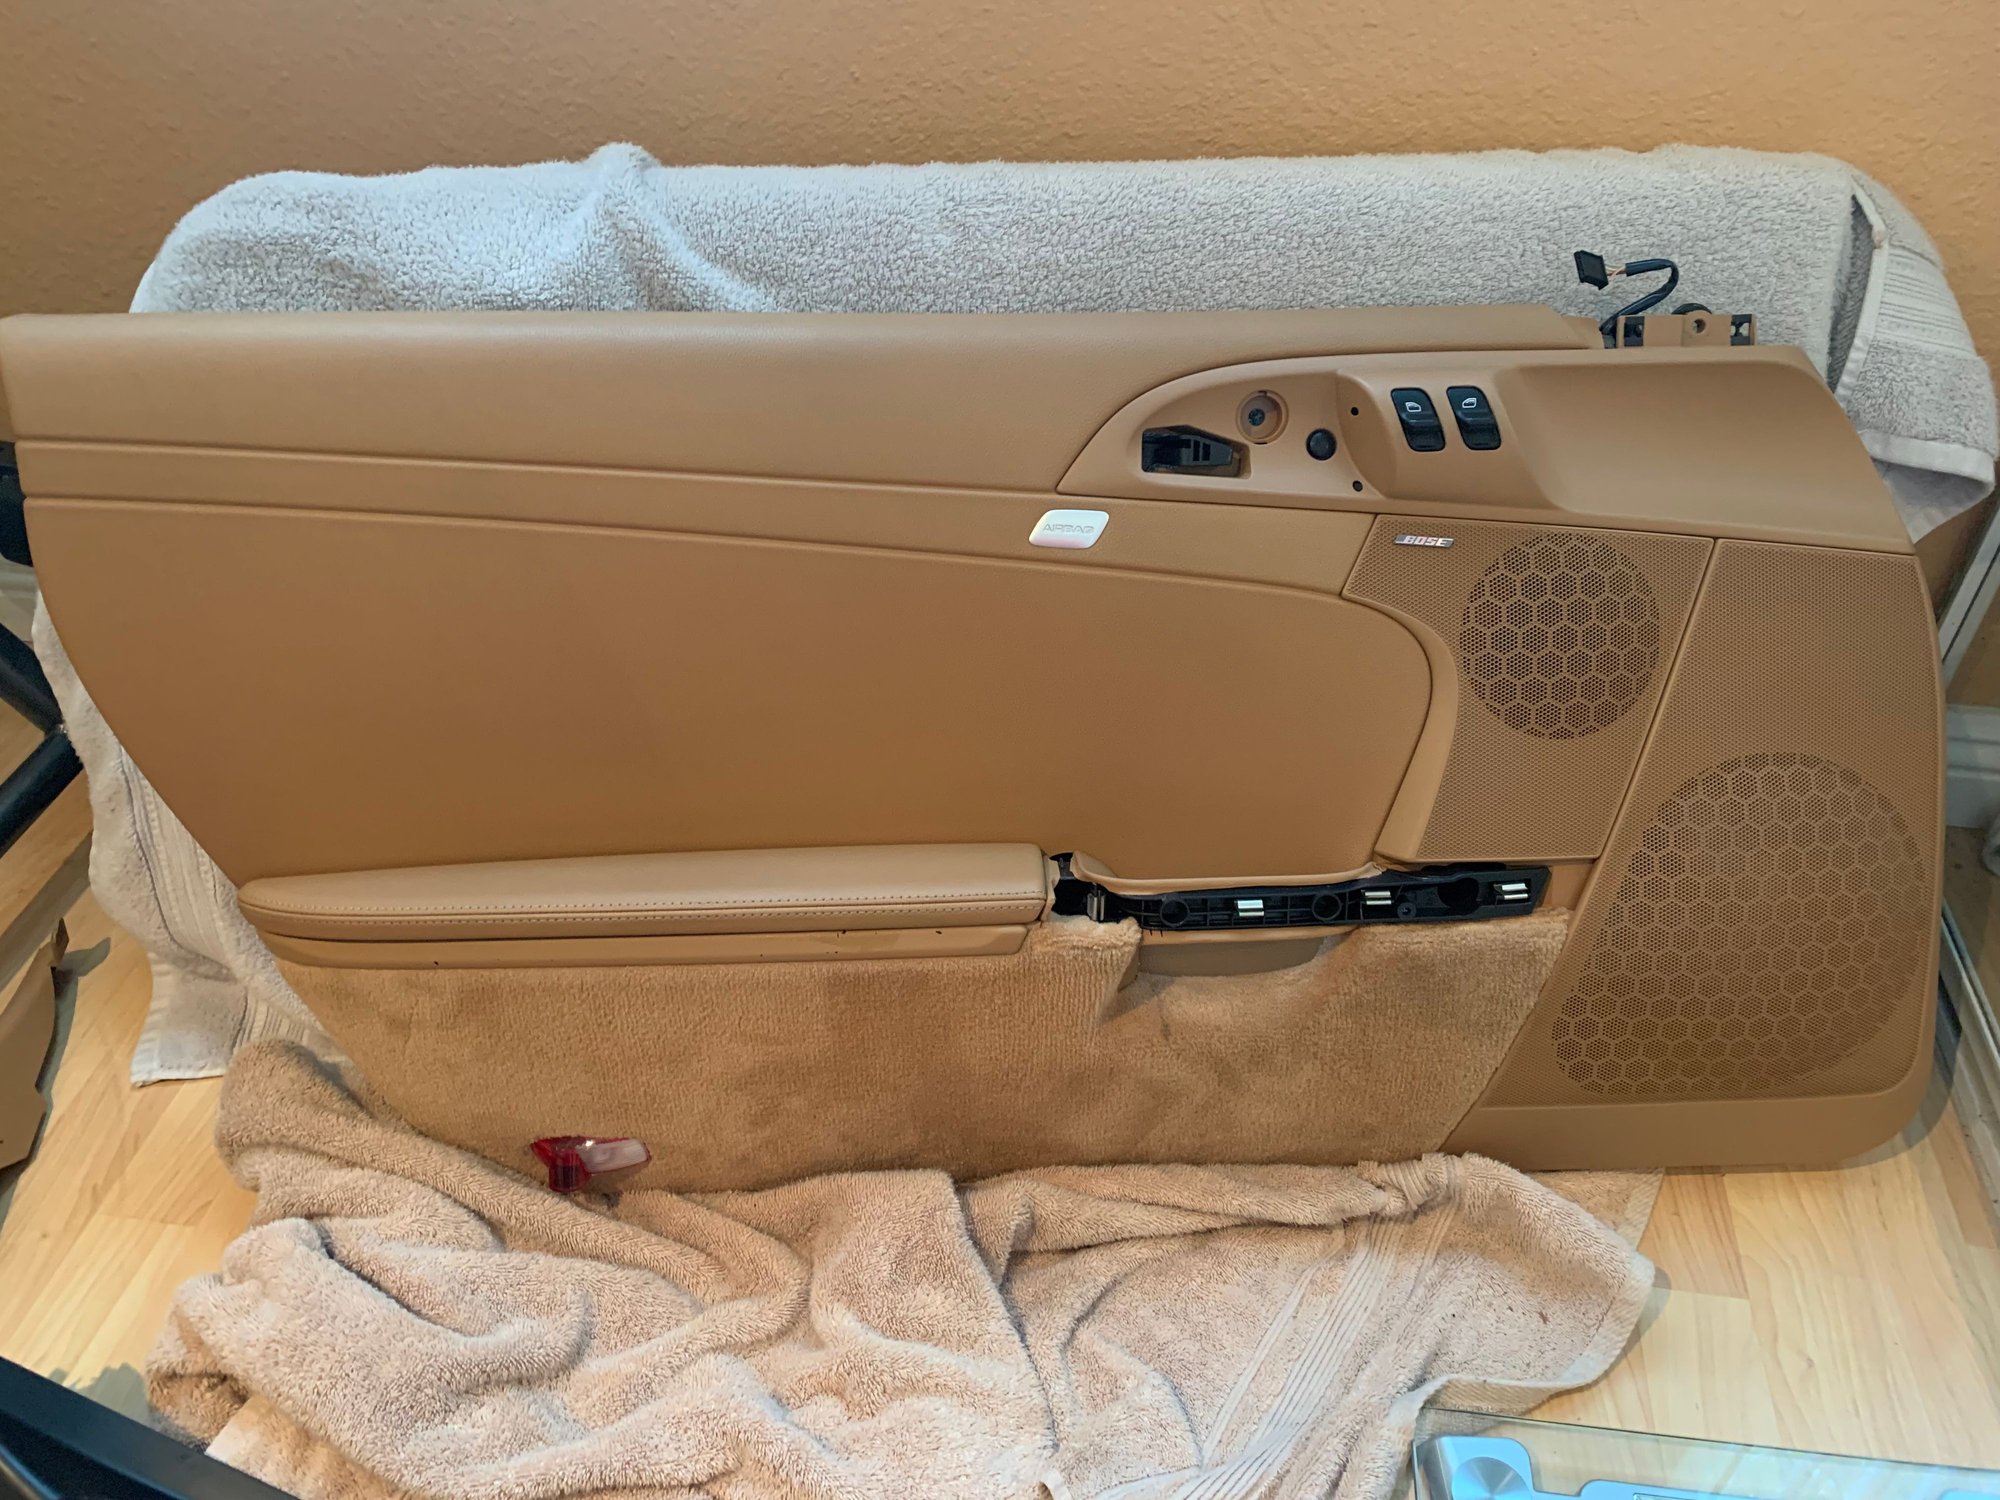
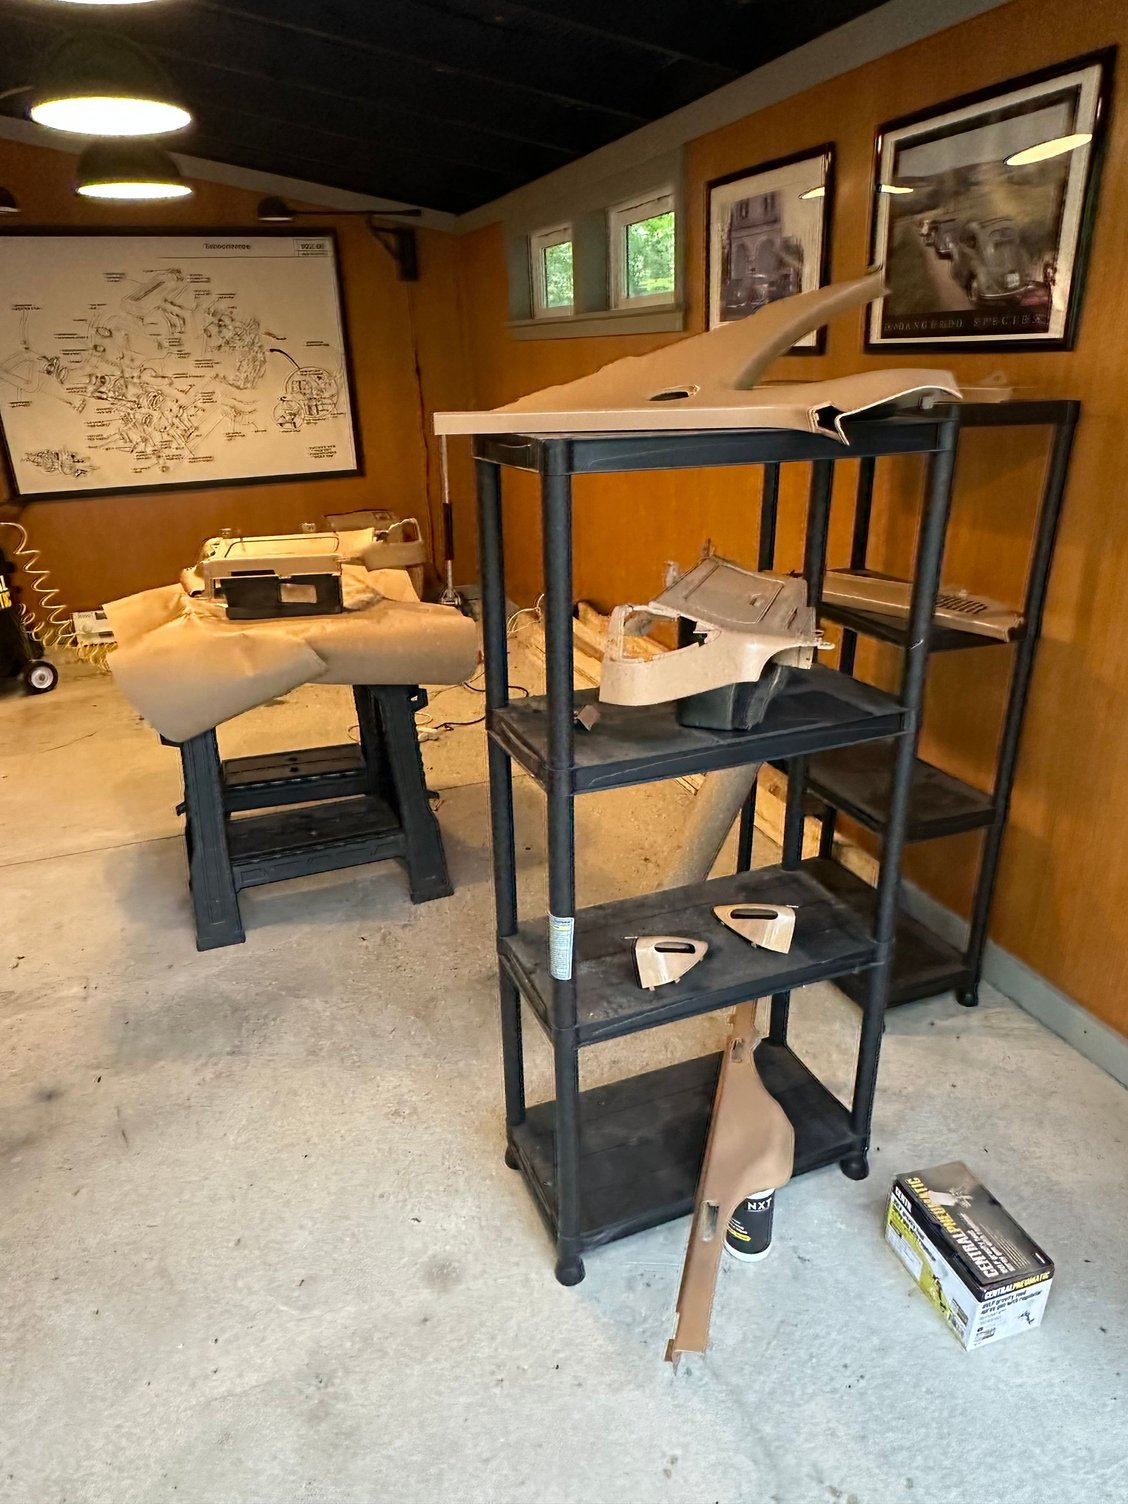
I took a lot of interior trim off and couldn’t help but break some tabs and small plastic pieces, so far been able to fix all with a plastic welder, I recommend it for anyone removing trim. They’re about $25 on Amazon
Rather than risk breaking BOTH plugs and parts, and instead of buying a tool to fix the mistakes, it might be easier to buy the correct removal tool in the first place?
Not as dramatic I know, but surely a better solution?
Some have commented the generic plug removal pliers - try the VW / Audi version - do not have the reach for Porsche, but you can flatten the tongue to get a bit of extra reach?
Plus, they are under USD10...
Good luck with the fix, as though my interior is gray, I am interested in how long a spray fix lasts...
Thanks for the door diagrams @Kuro Neko I based myself on a couple YouTube videos and neither mentioned the tool you posted, either way, the damage (one broken tab) wasn’t terrible, the one that will break for most who attempt to do this is tab E. I already had the plastic welder, good to have one handy.
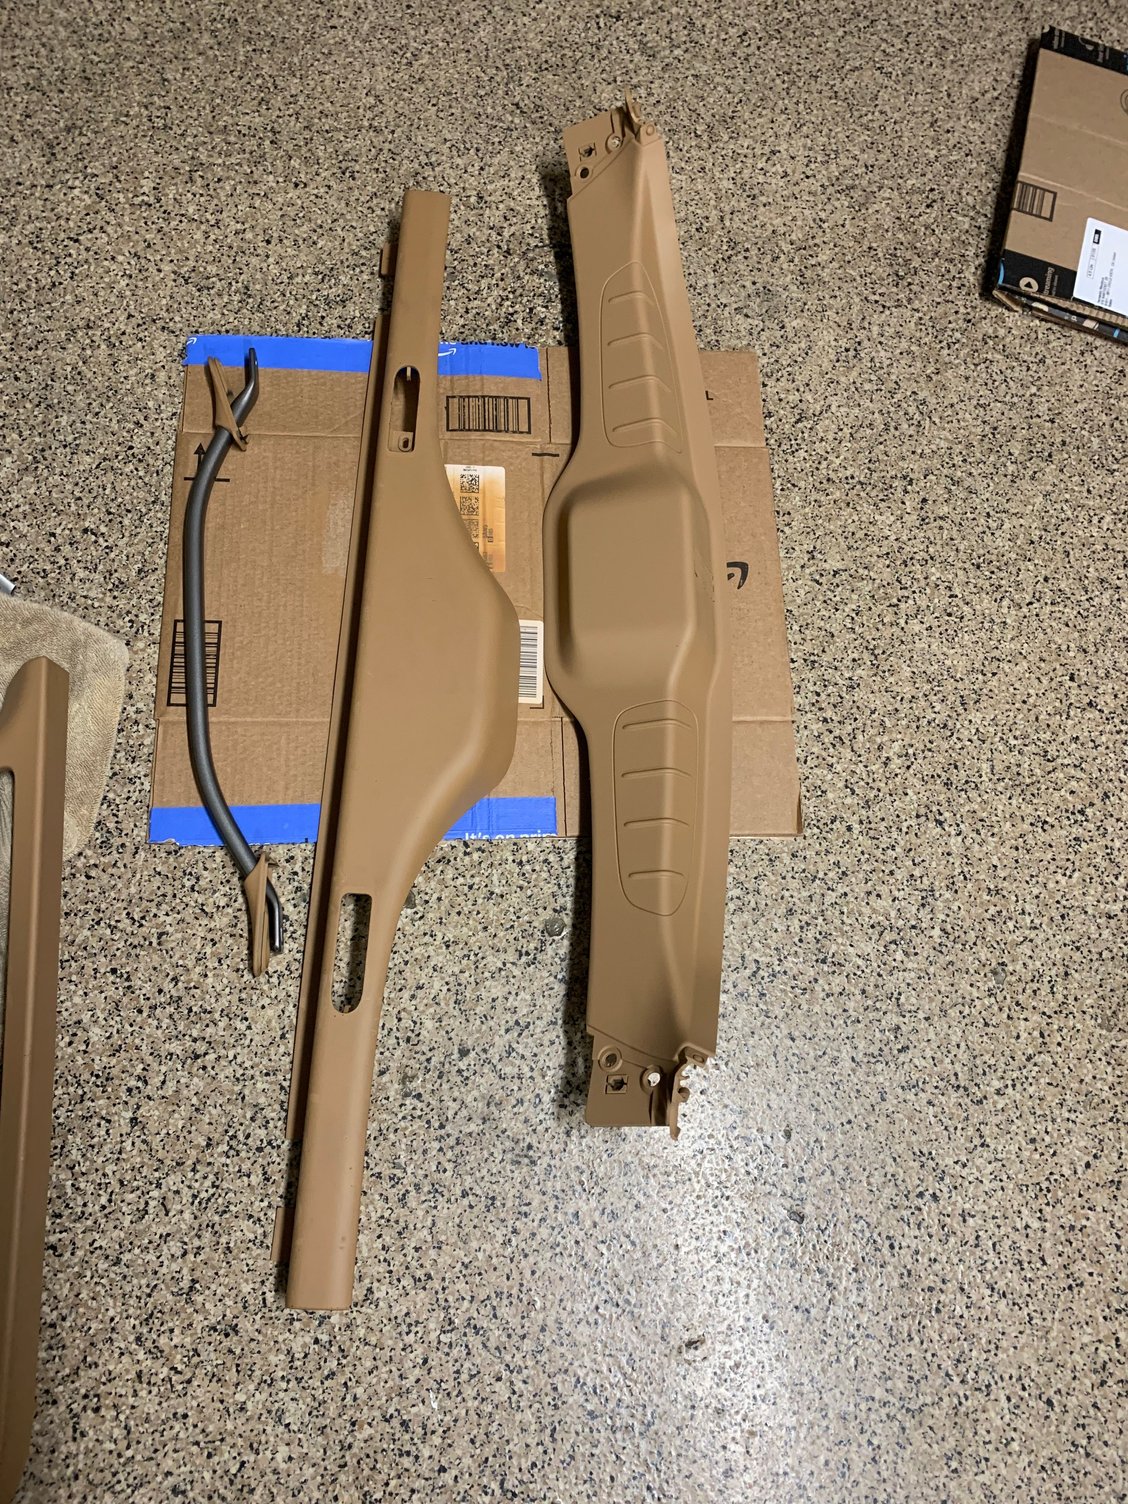
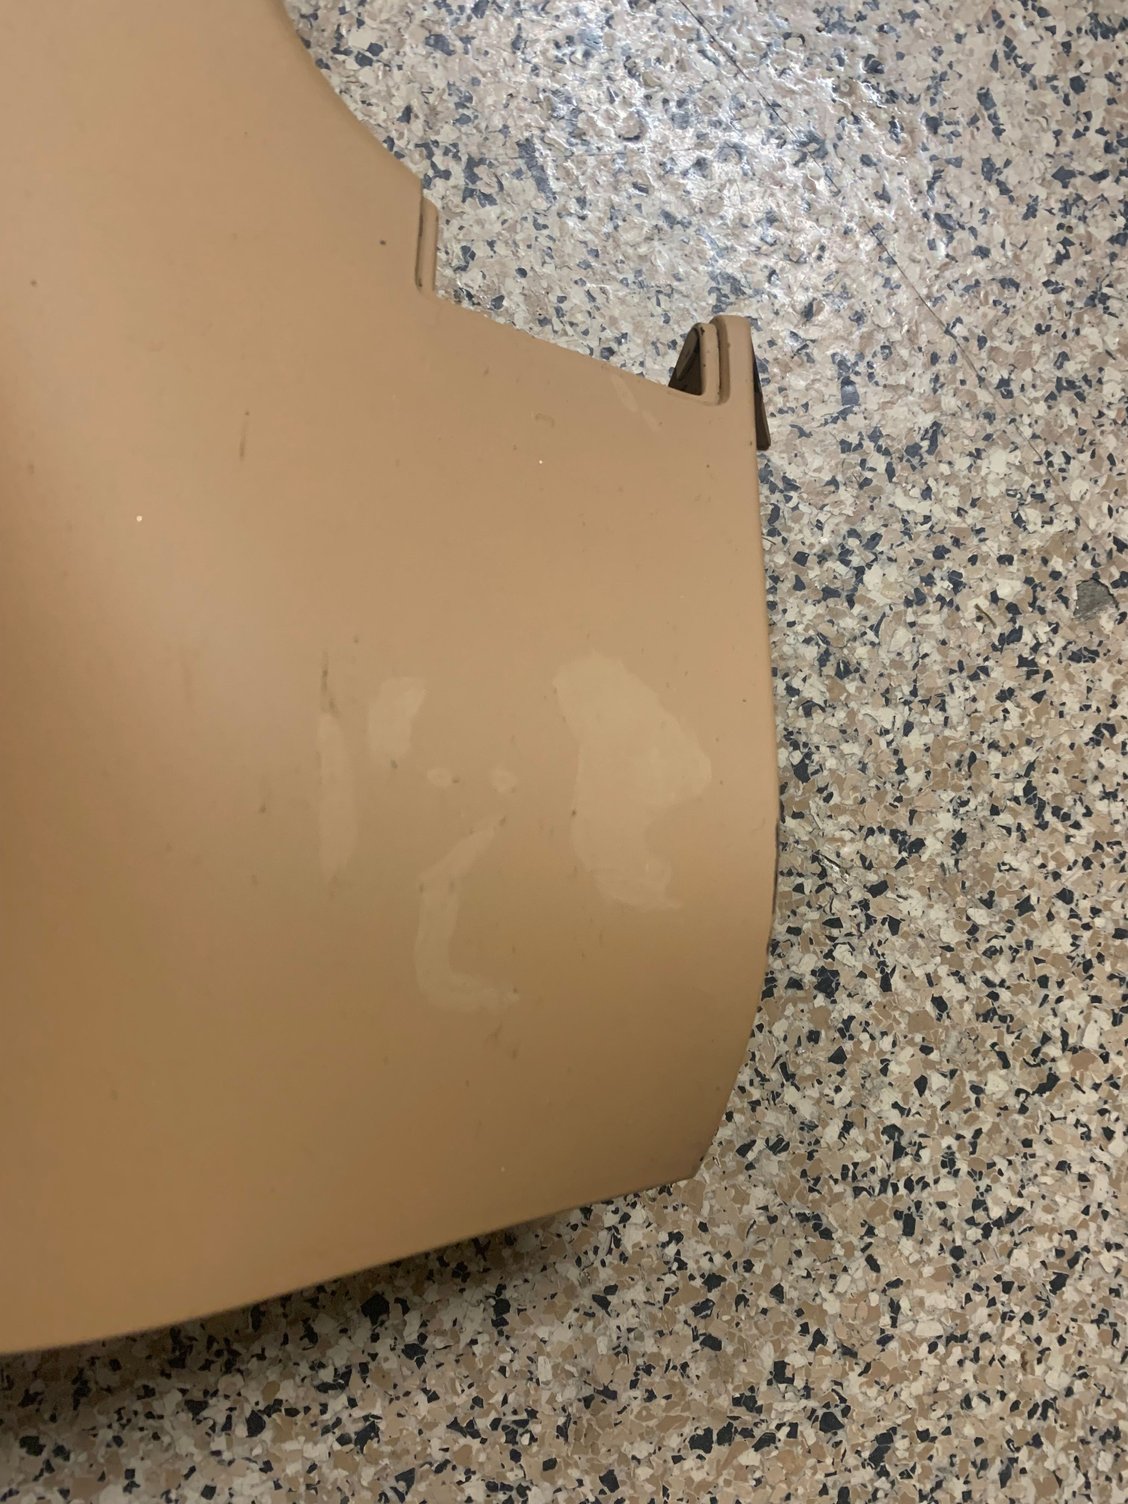
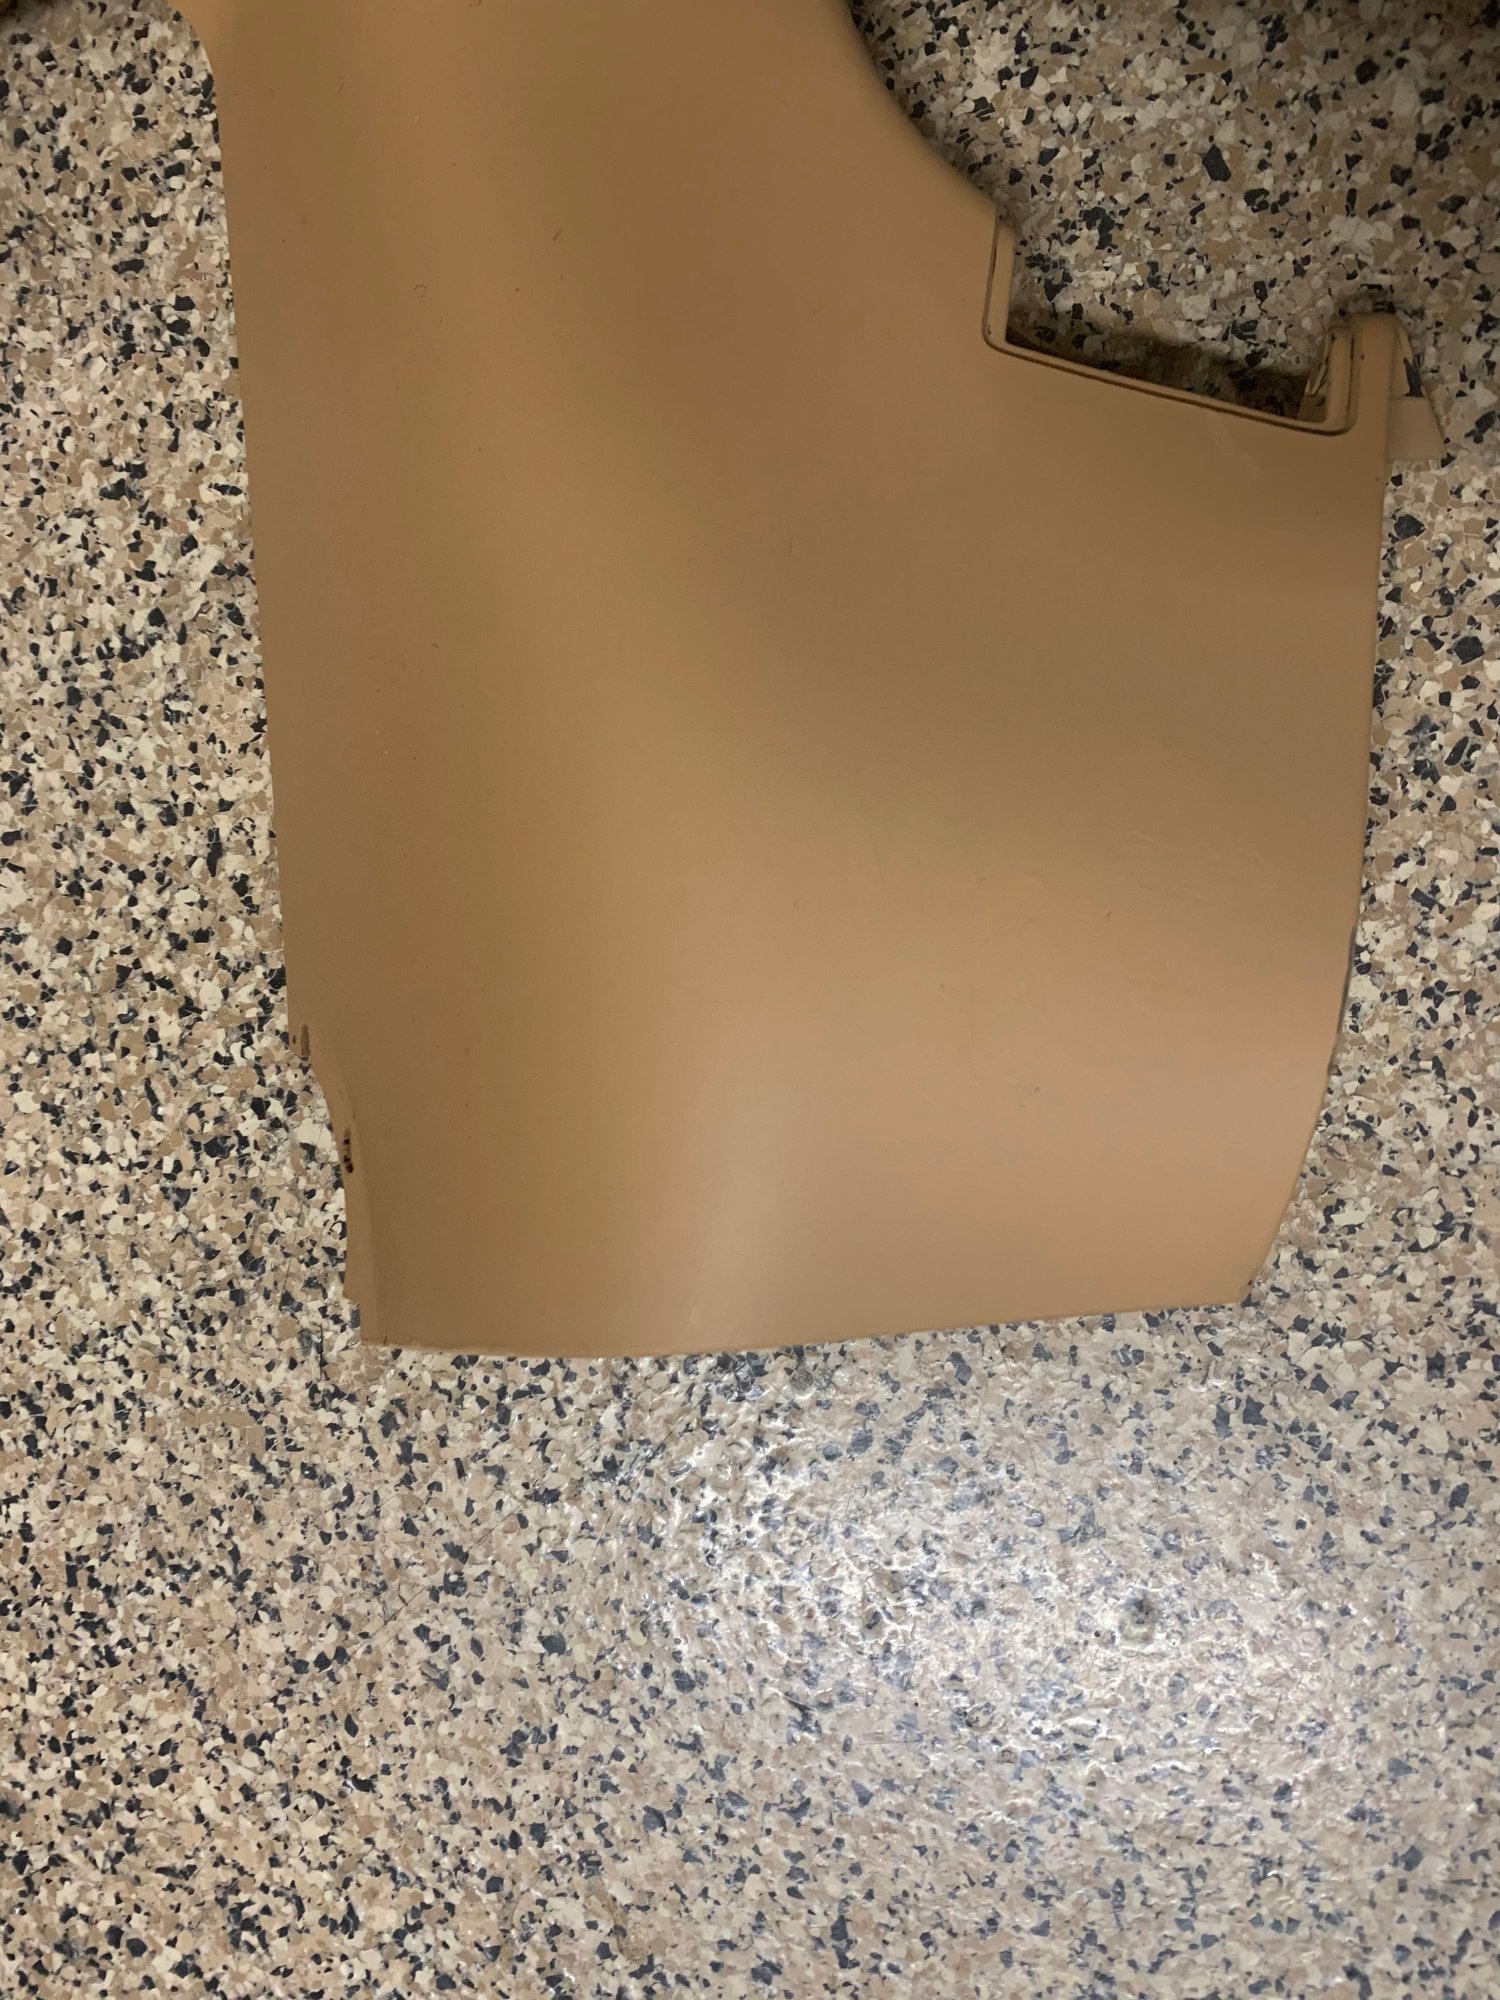
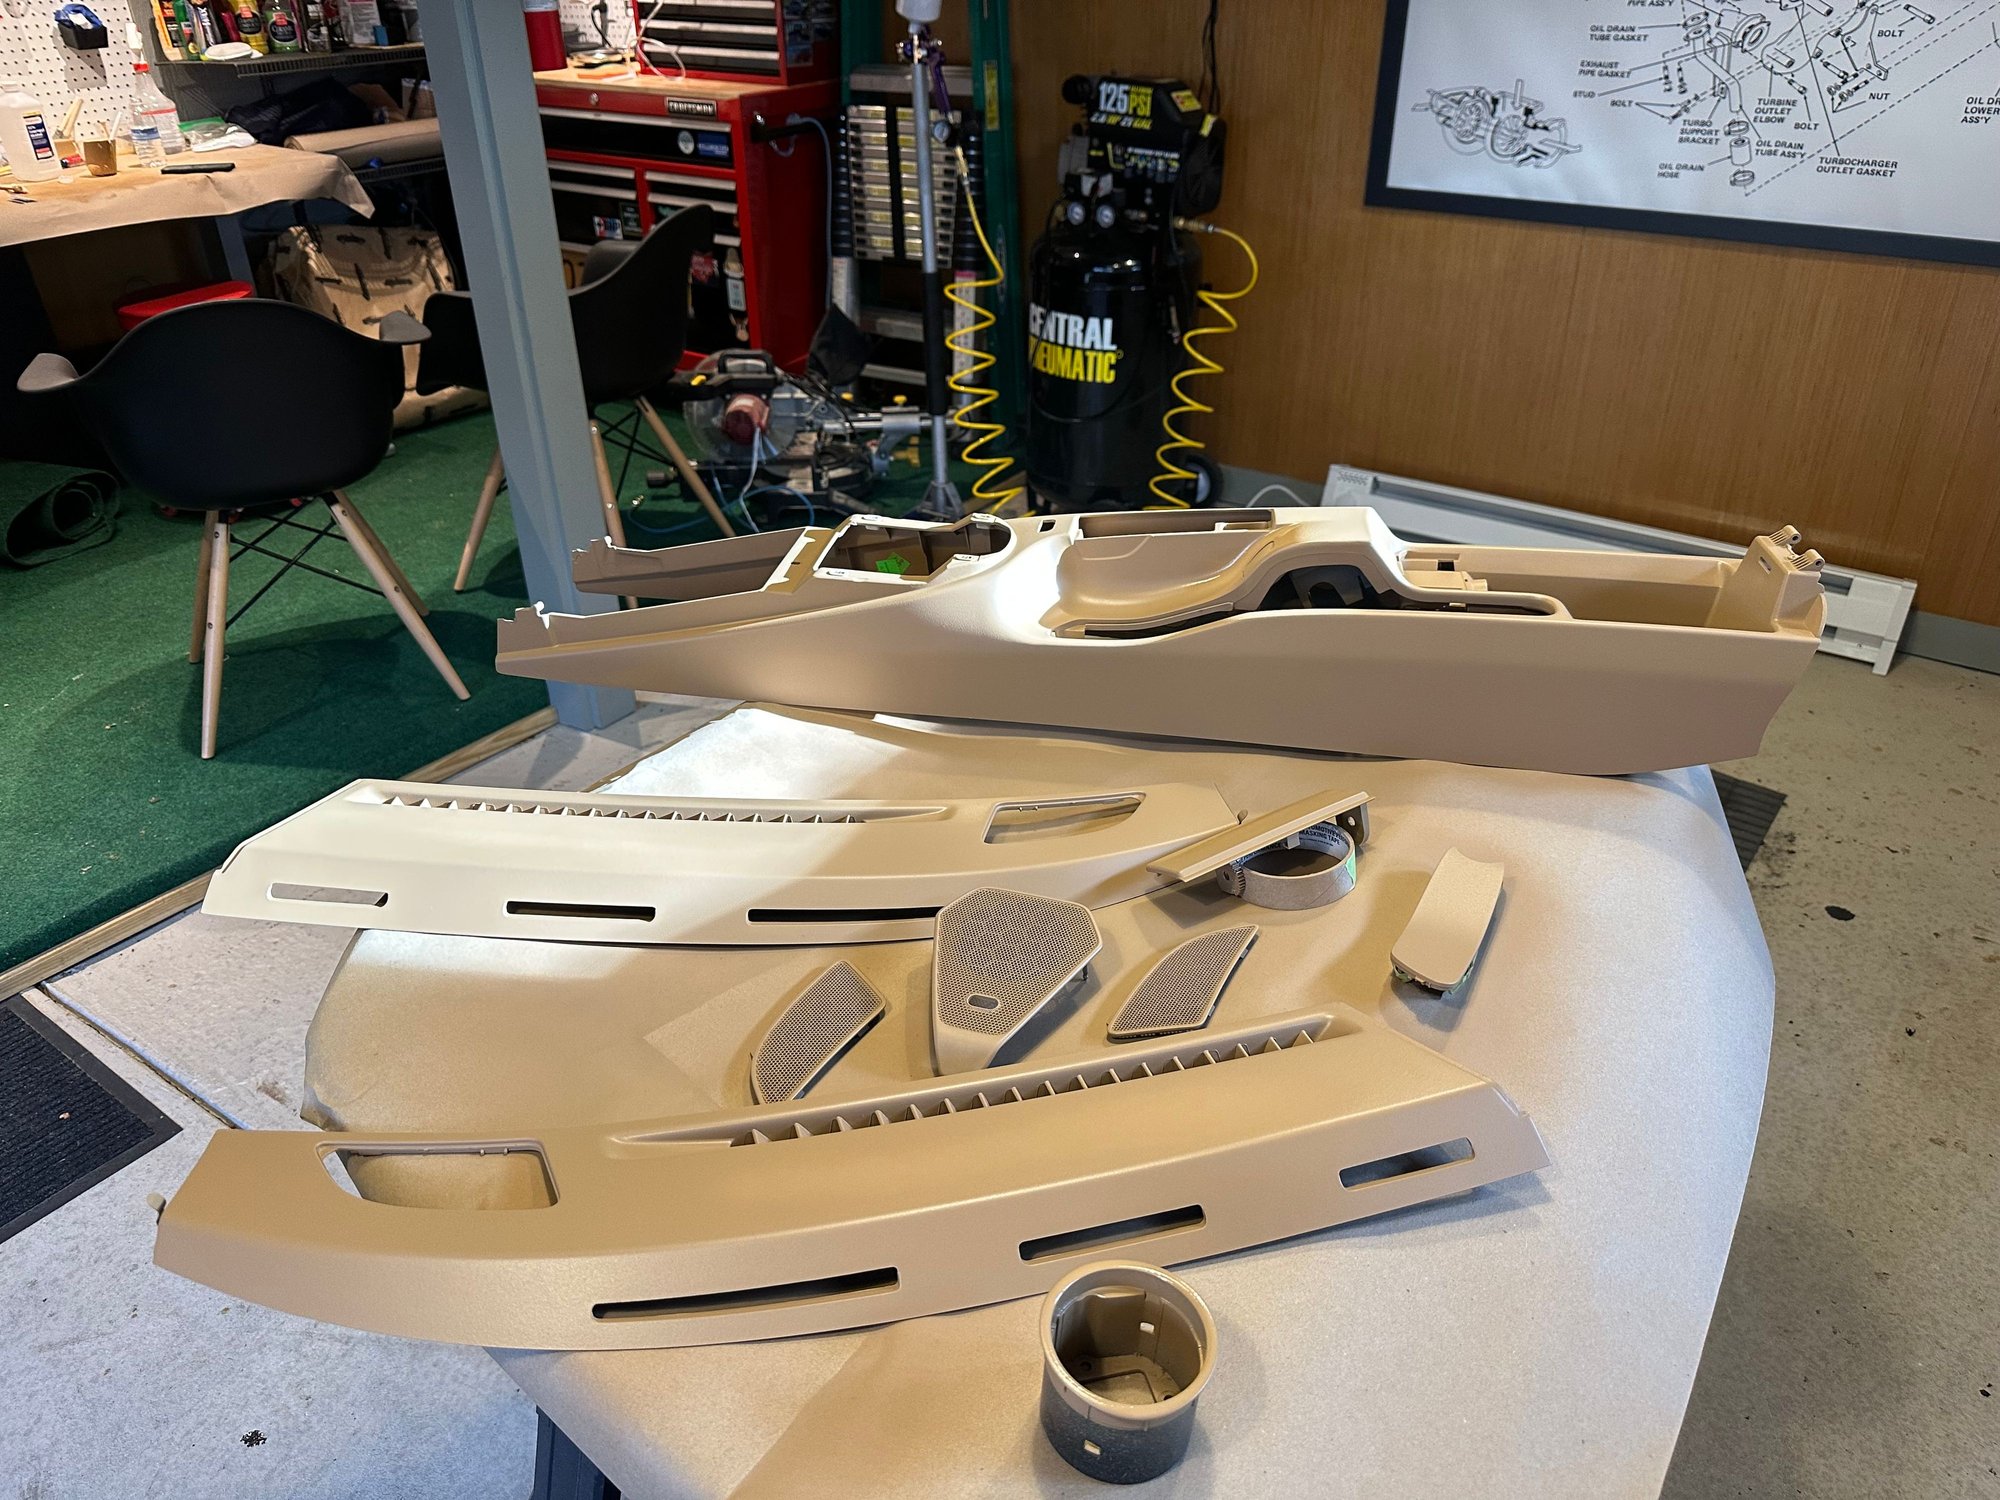
So here’s what the matte clear looks like after a couple days of curing, there’s a sheen but not excessive, I wanted some added protection since this part will probably get banged up the most with items in the trunk, and it looks like the clear will do the job, I tried scraping it and it held up ok. First pic is without clear and second one with, the part on the left is original paint and the part on the right is the one I painted for comparison.
That looks good.
As always with such work, any variation or concerns typically disappear when reinstalled and realigned with other parts, lighting, etc, back in the car...
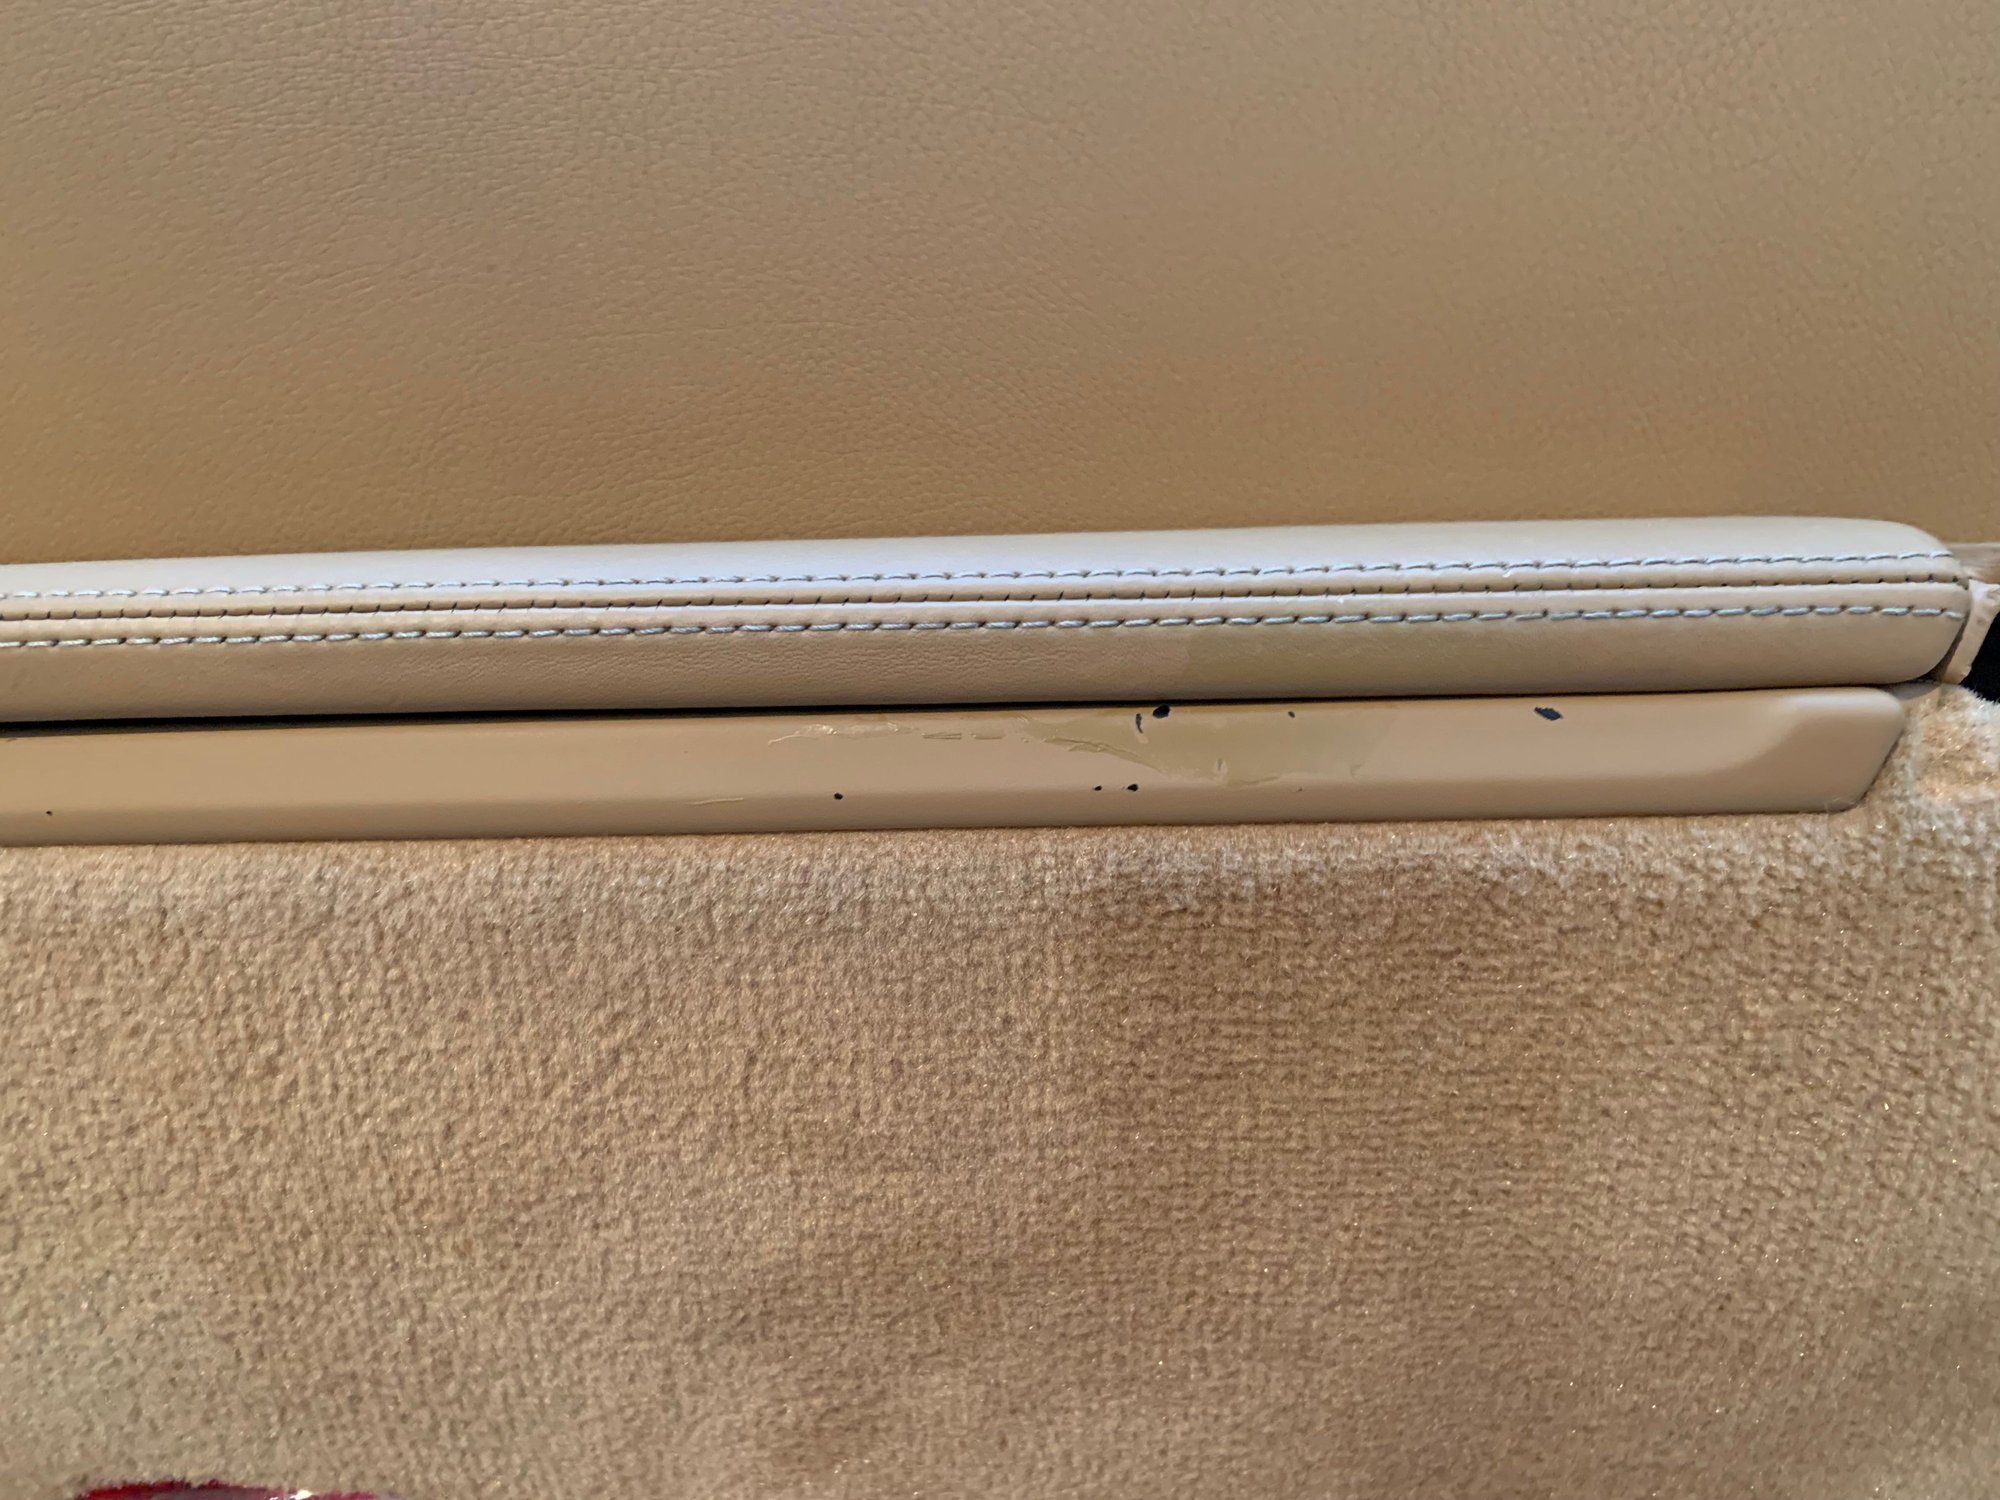
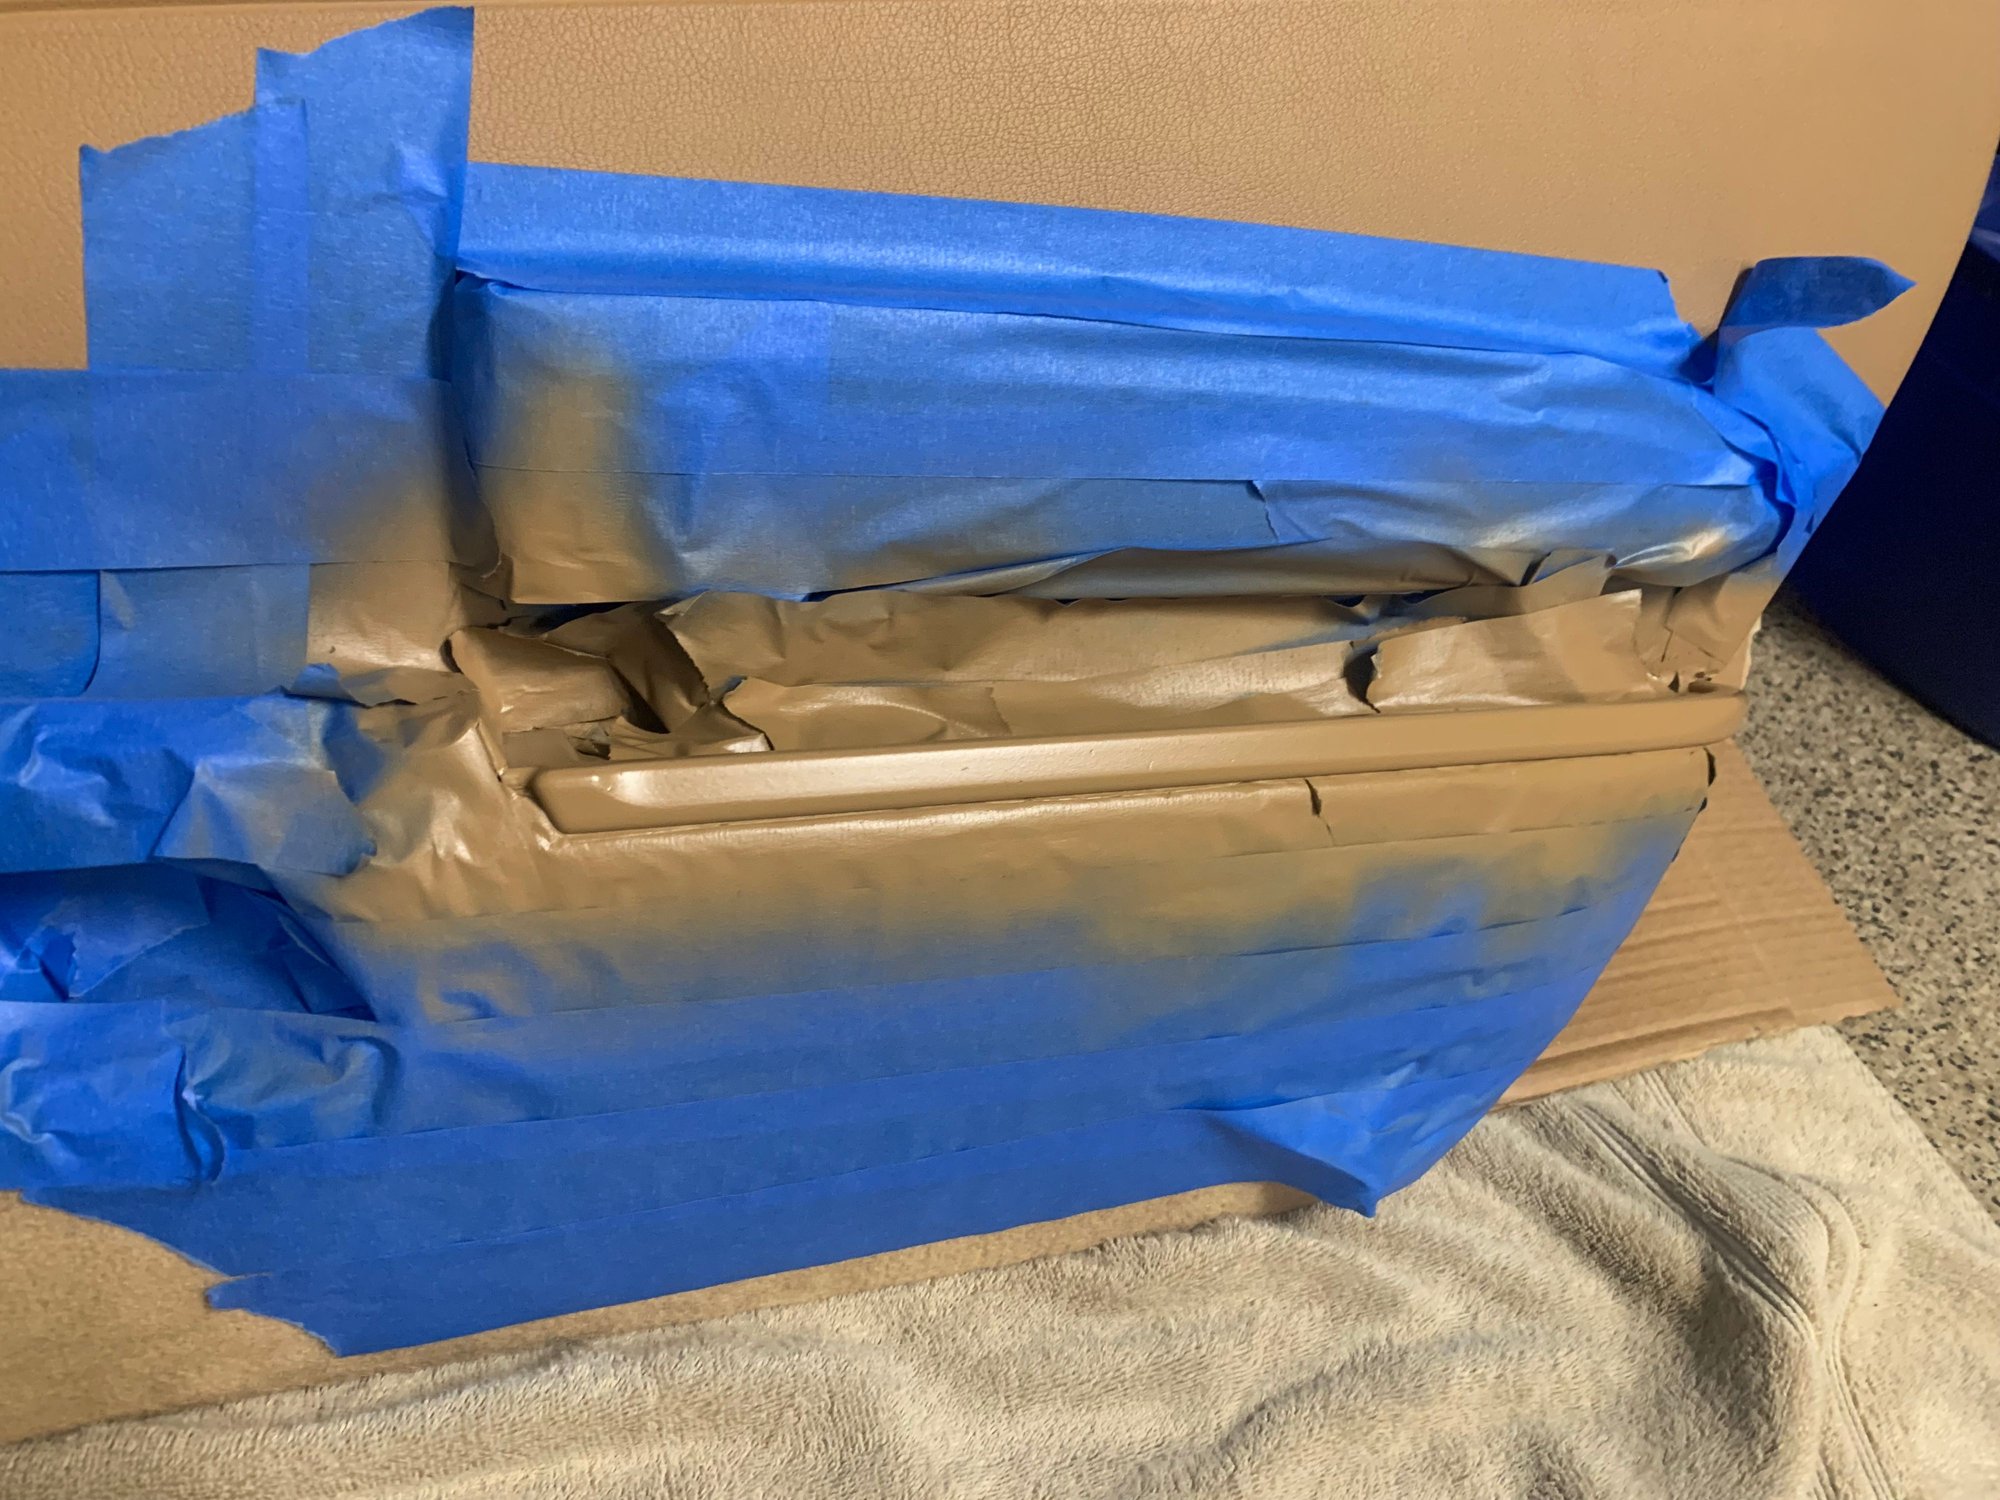
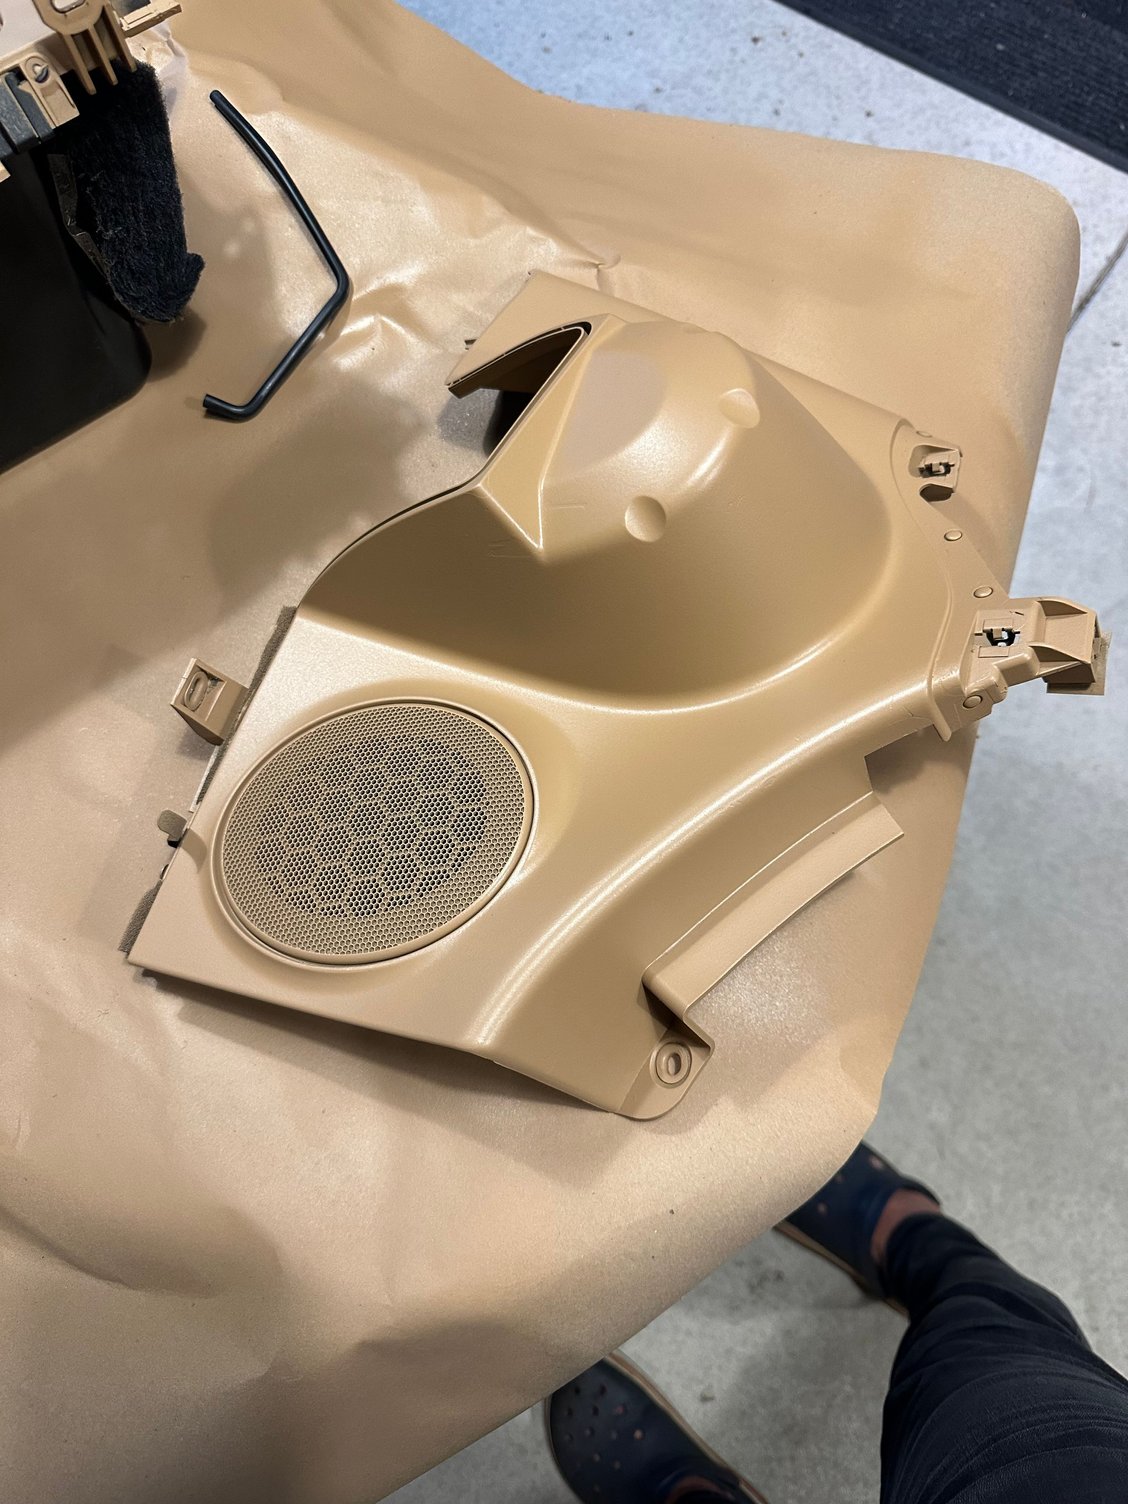
Was dreading working on the door panel pockets because of the prep time, lots of taping, the scratches weren’t terrible but why not tackle it while they’re off the car. I sanded with 400 grit sandpaper and used isopropyl alcohol to clean the area. The same paint gun as before came in handy and shot it with clear after.
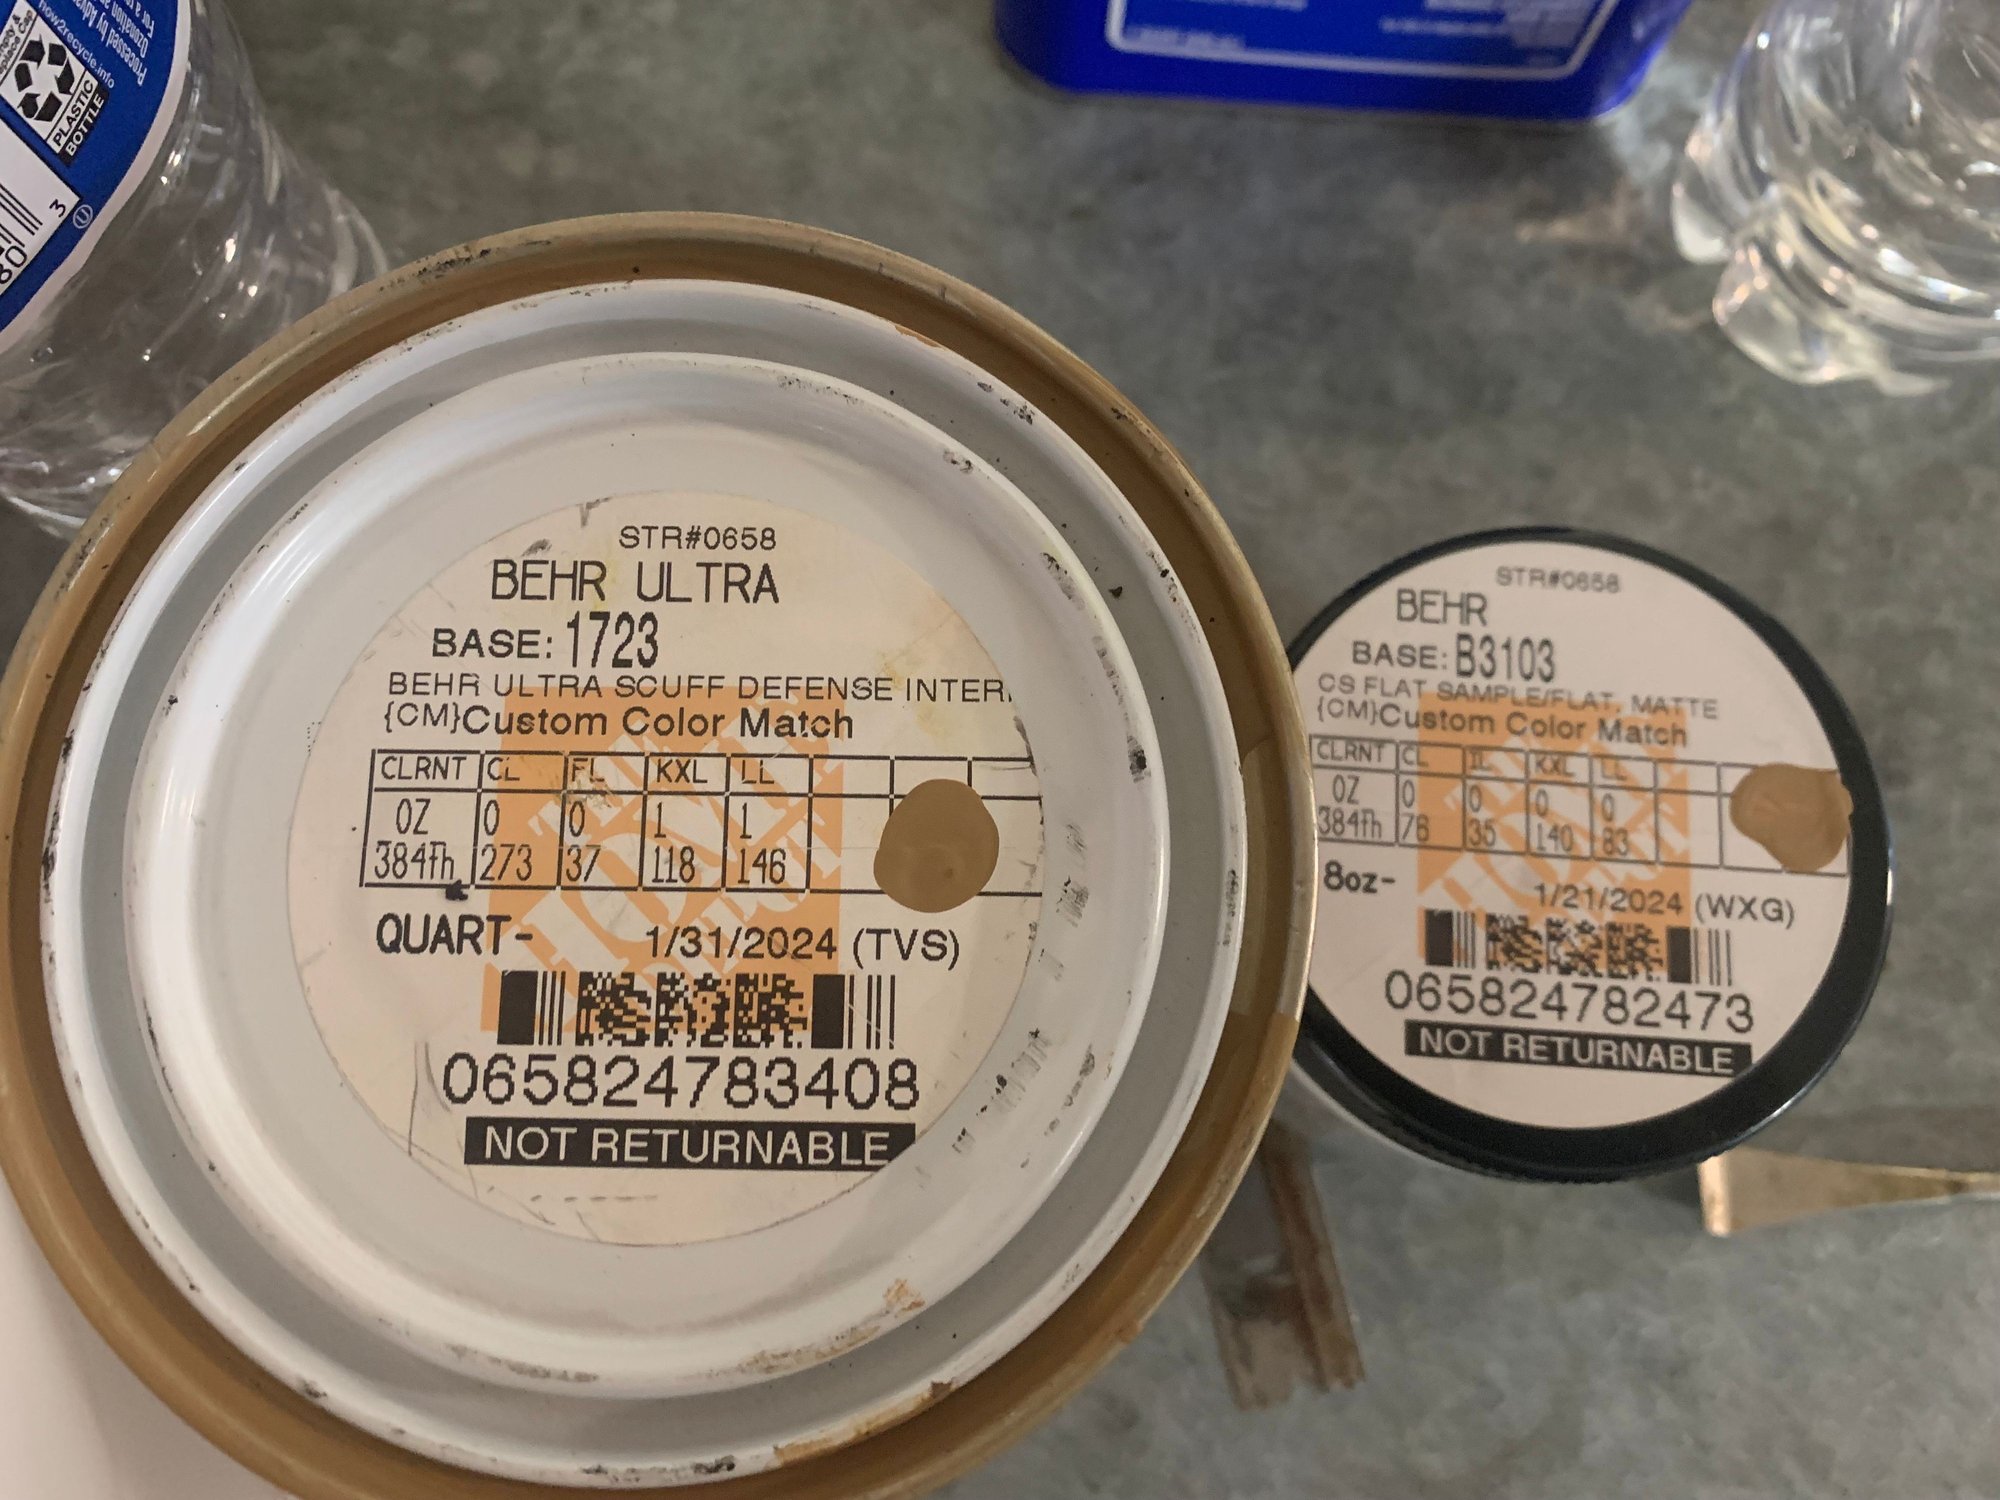
Here’s a tidbit on the Home Depot paint, when I went to get a sample they didn’t give me a choice of base, they apparently only had one type. So I assume that’s all they sold, after tying out the sample and figuring it was close enough I went back to get a quart, this time they asked me what quality/base I wanted, so I chose the better quality, the behr ultra scuff defense, and it turned out closer to the original color. So if I were to do this again, I wouldn’t bother with the sample and just order the quart with the combo as seen on the top of the quart size can.
Here’s a tidbit on the Home Depot paint, when I went to get a sample they didn’t give me a choice of base, they apparently only had one type. So I assume that’s all they sold, after tying out the sample and figuring it was close enough I went back to get a quart, this time they asked me what quality/base I wanted, so I chose the better quality, the behr ultra scuff defense, and it turned out closer to the original color. So if I were to do this again, I wouldn’t bother with the sample and just order the quart with the combo as seen on the top of the quart size can.
That's great to know, as I too, contemplate more updates to my own Sand Beige interior. Thanks
The first pic is using the “sample” paint with a paint brush. It’s how I started touching some parts. At close up, you can see the difference. While I was doing the door pockets, I had paint from the quart can on the paint gun so I feathered the area and noticed an improvement. Both, by the paint and the method.i don’t plan to shoot all the pieces with the paint gun, but in this case the touch up with the gun made an improvement.
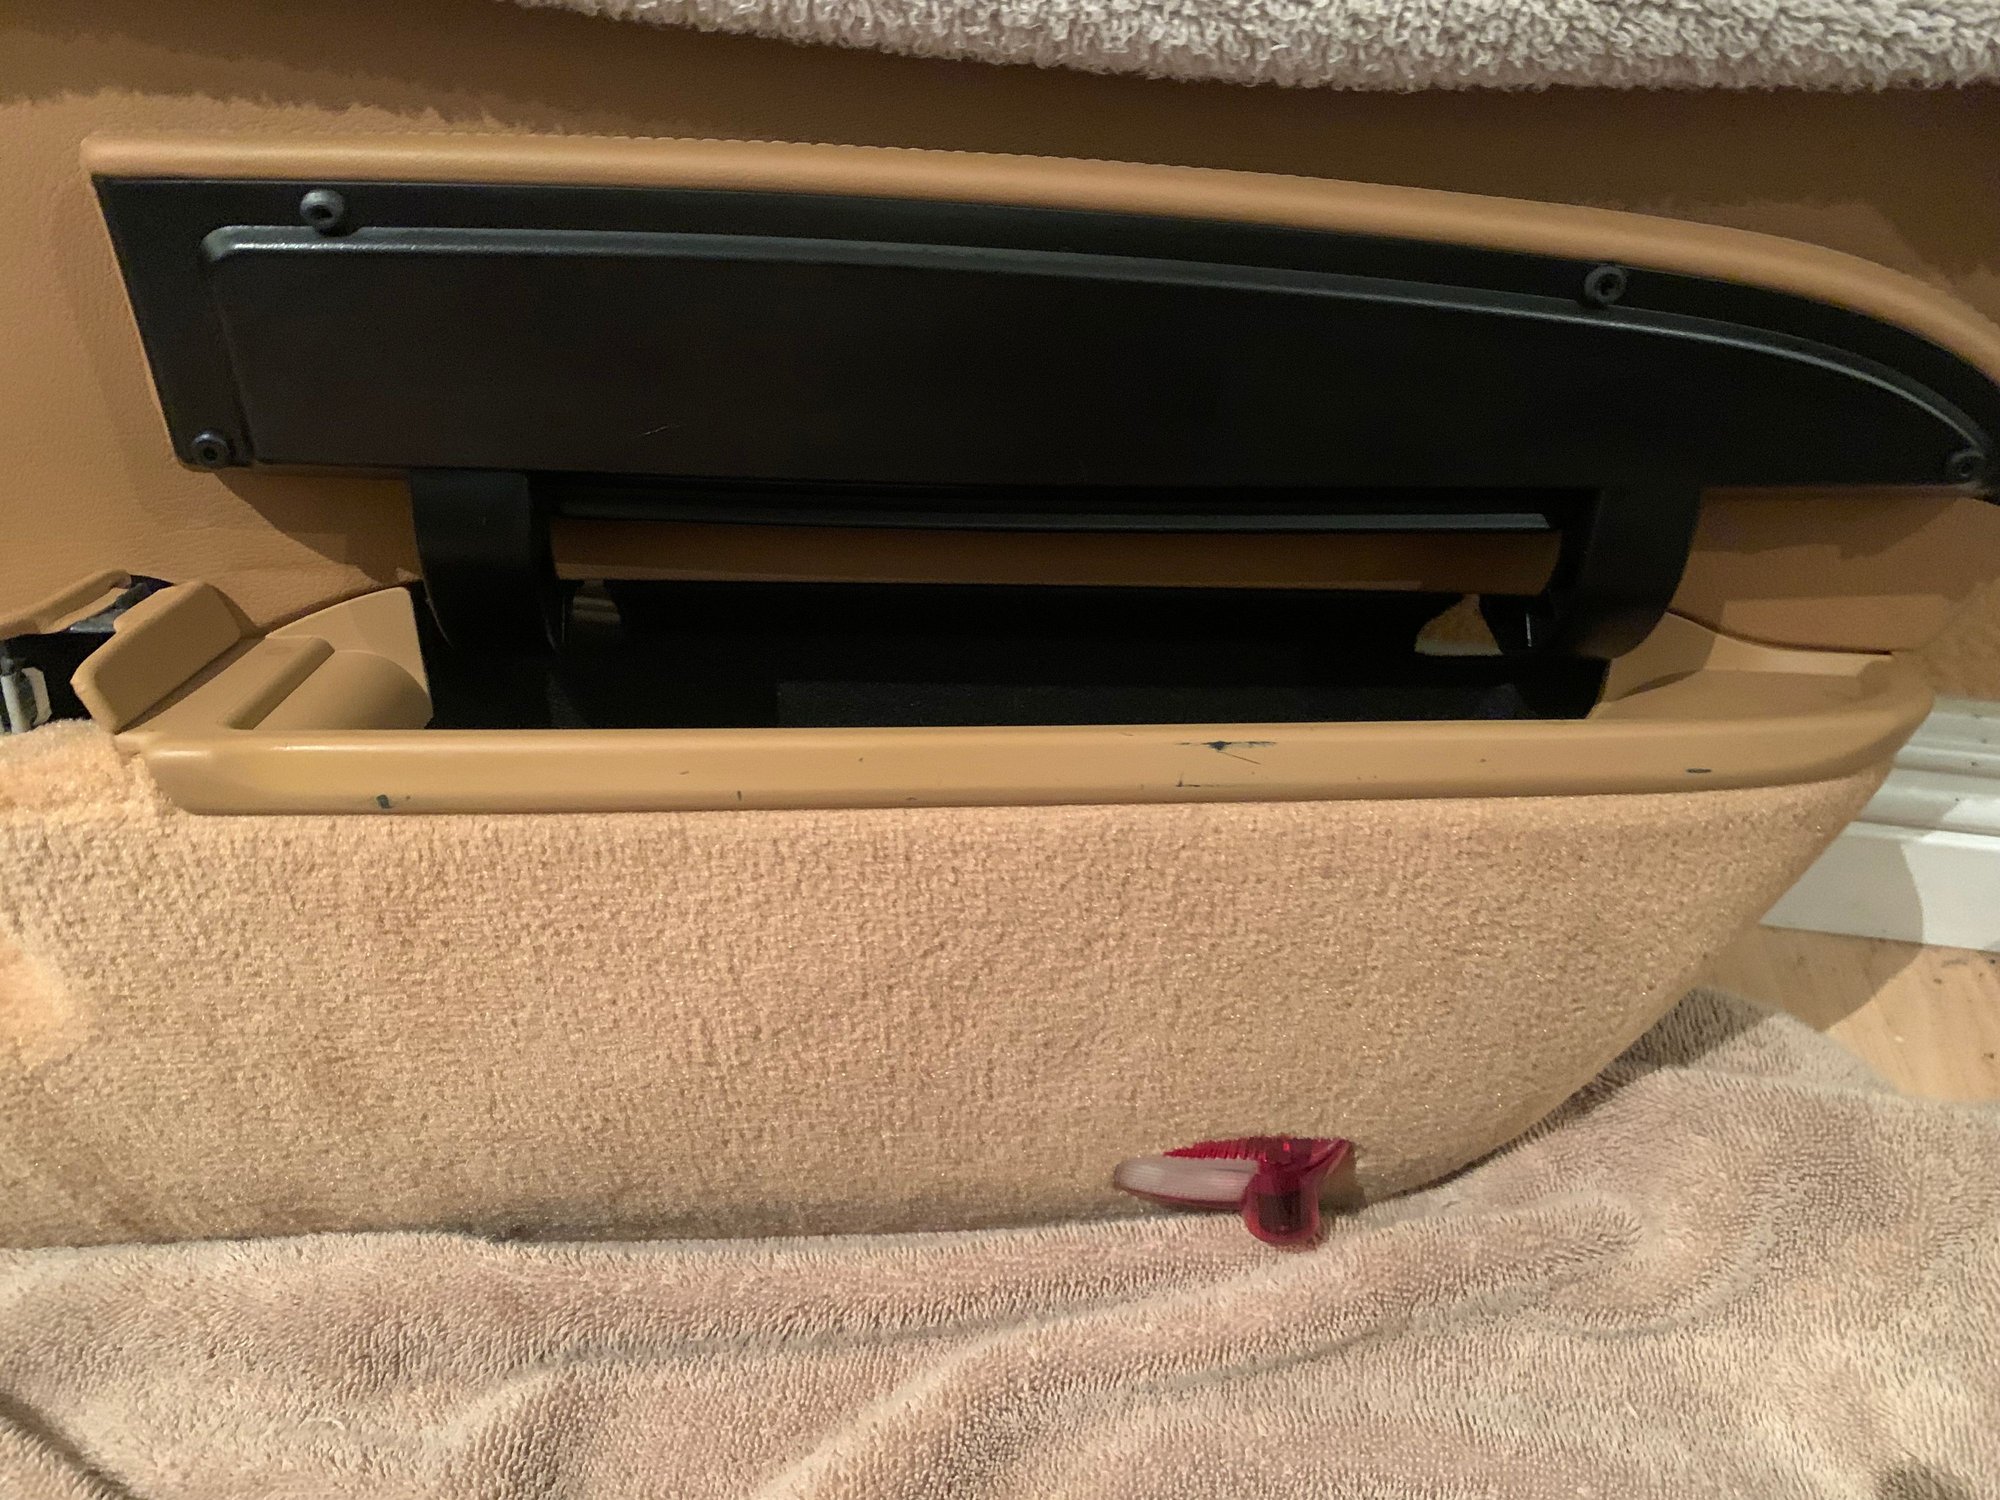
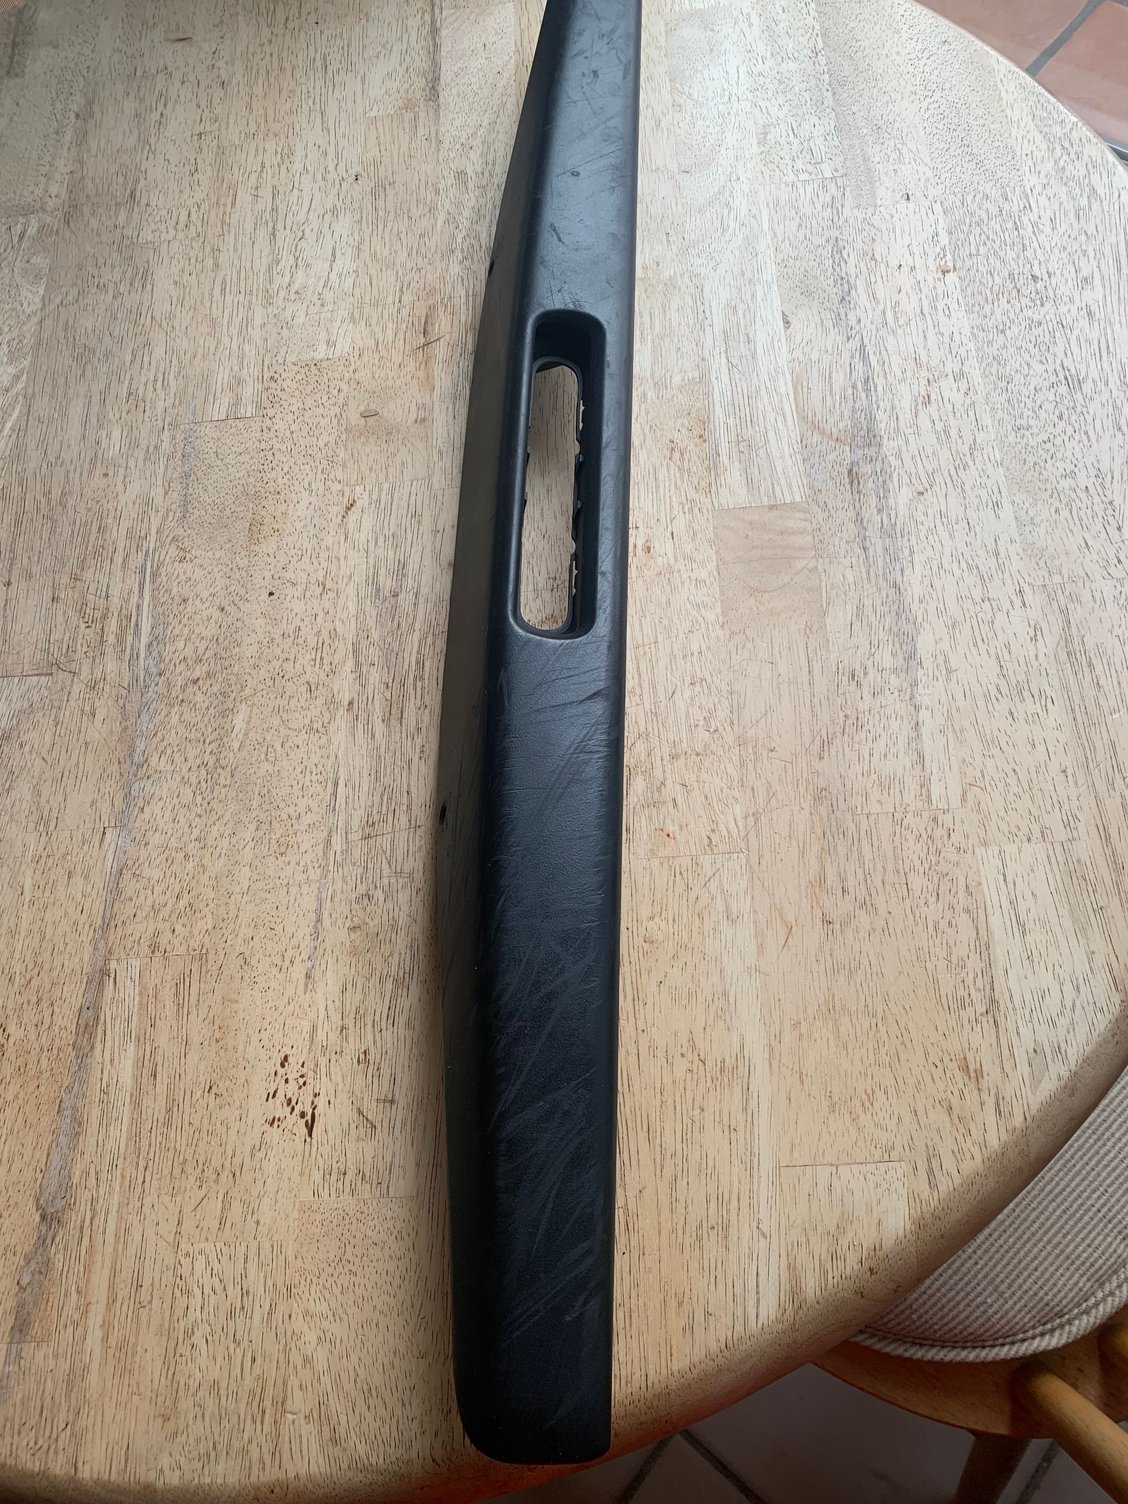
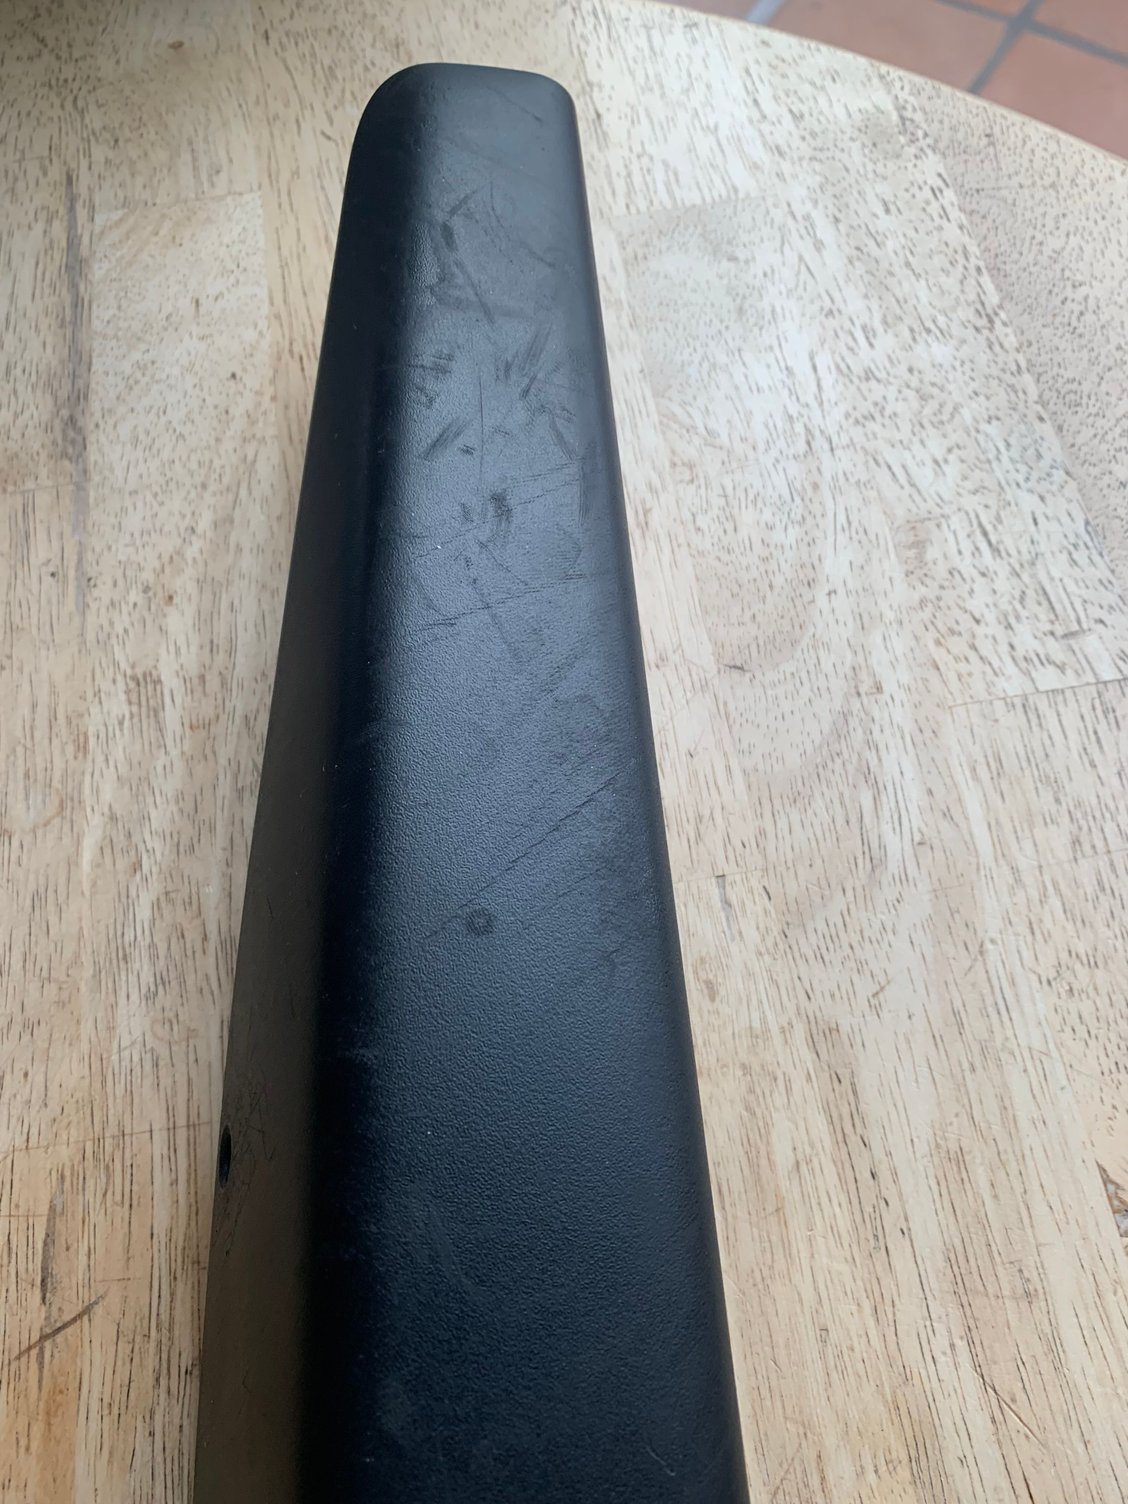
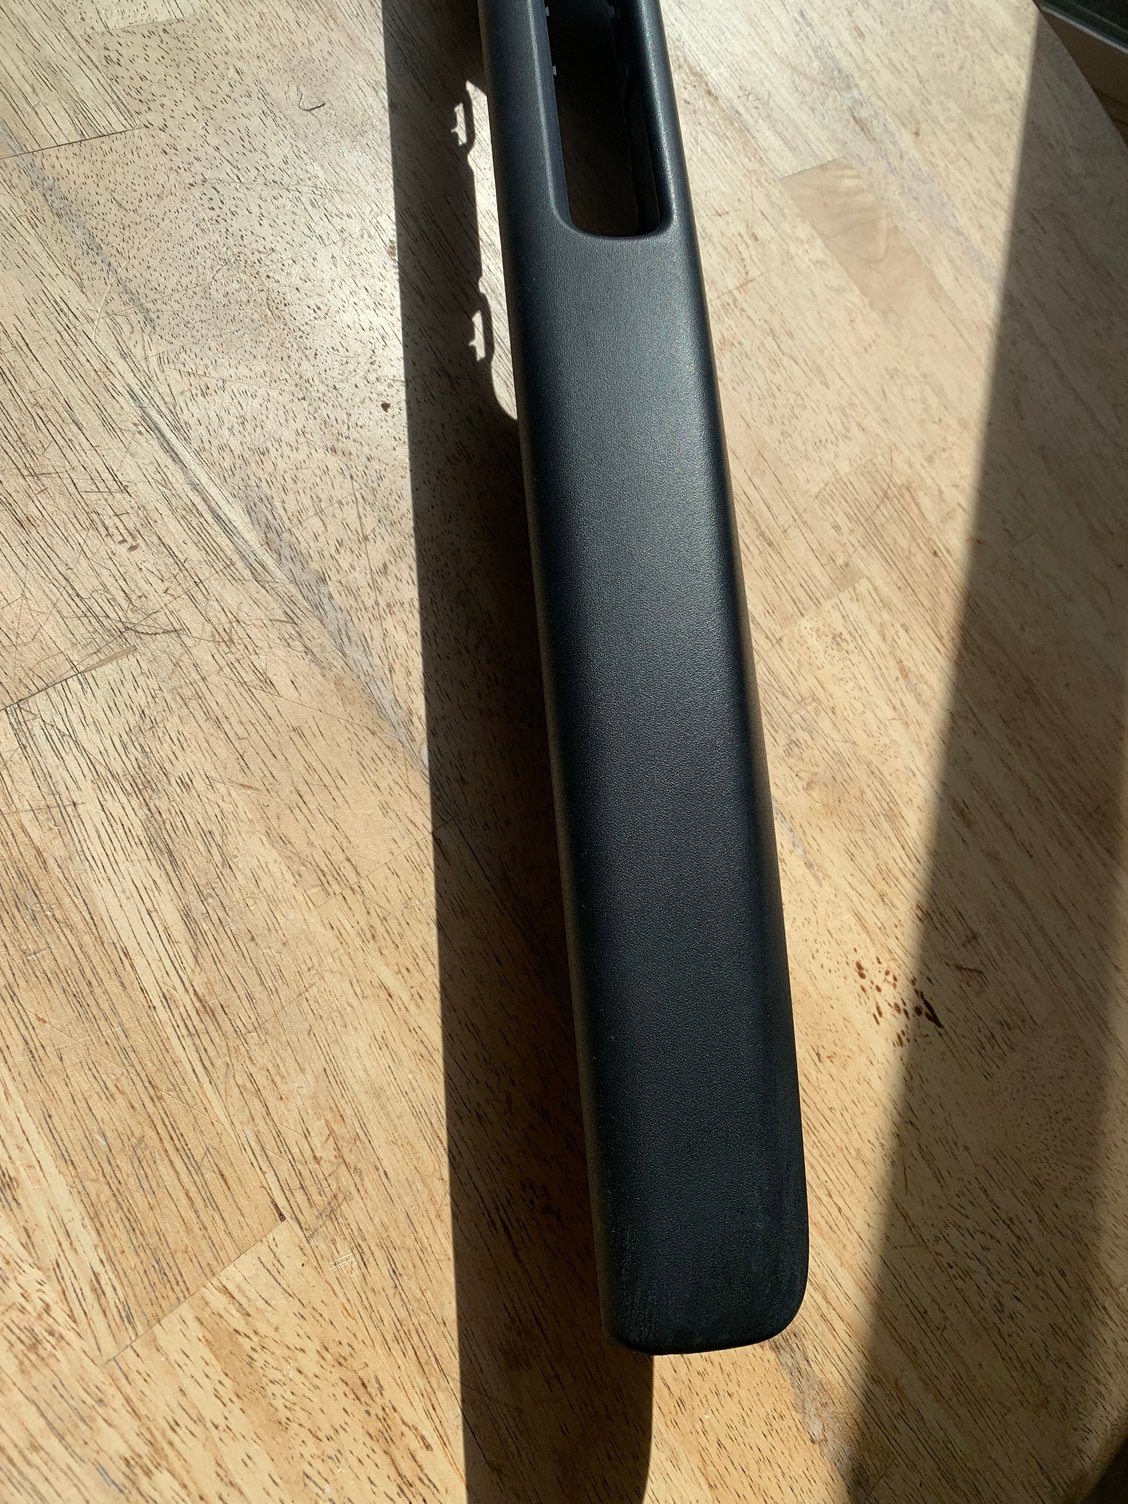
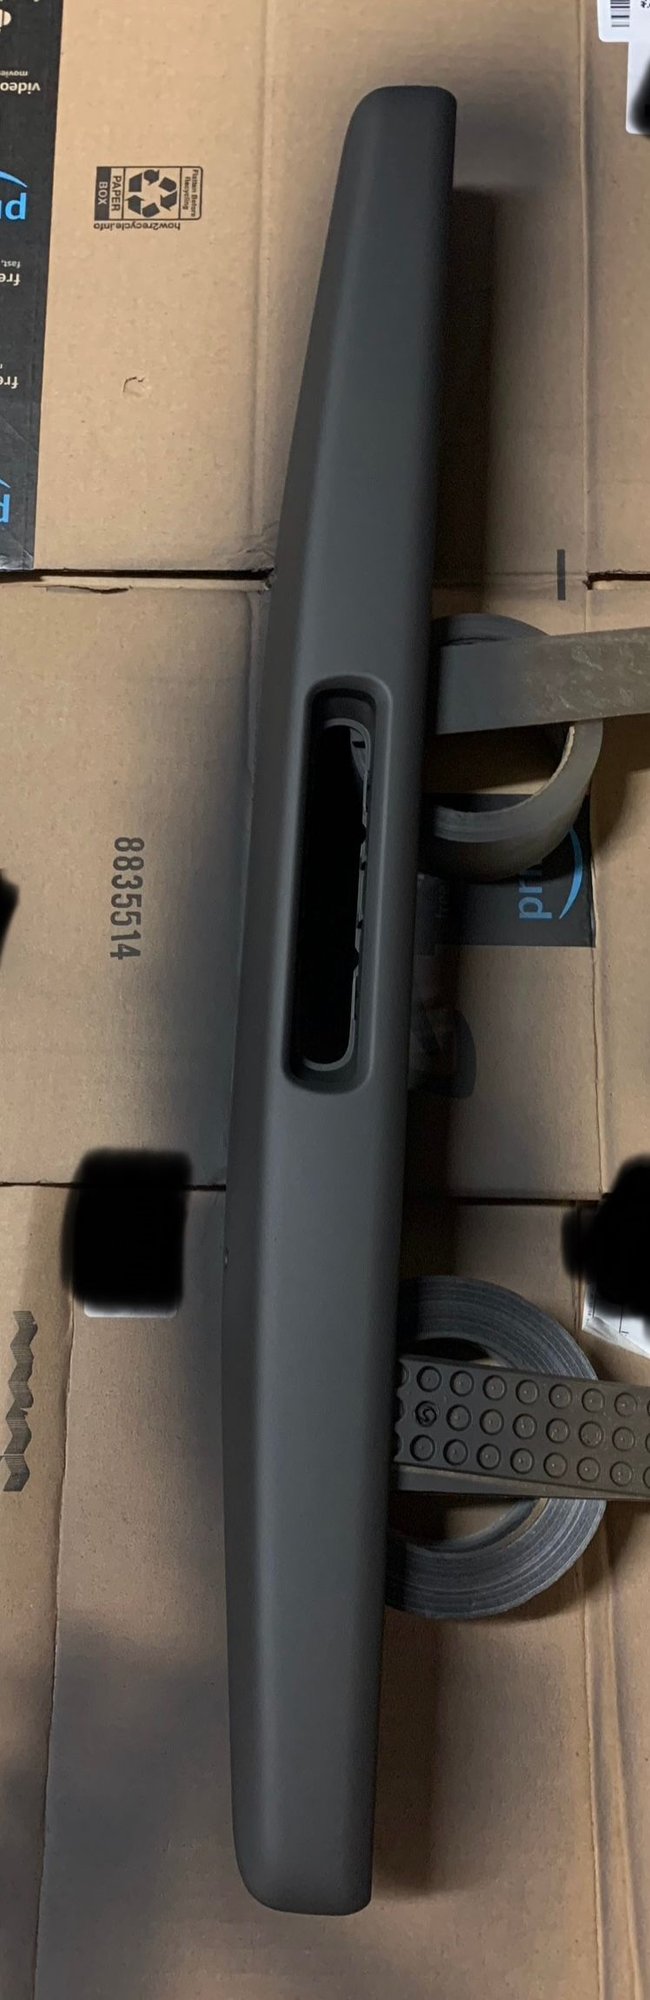
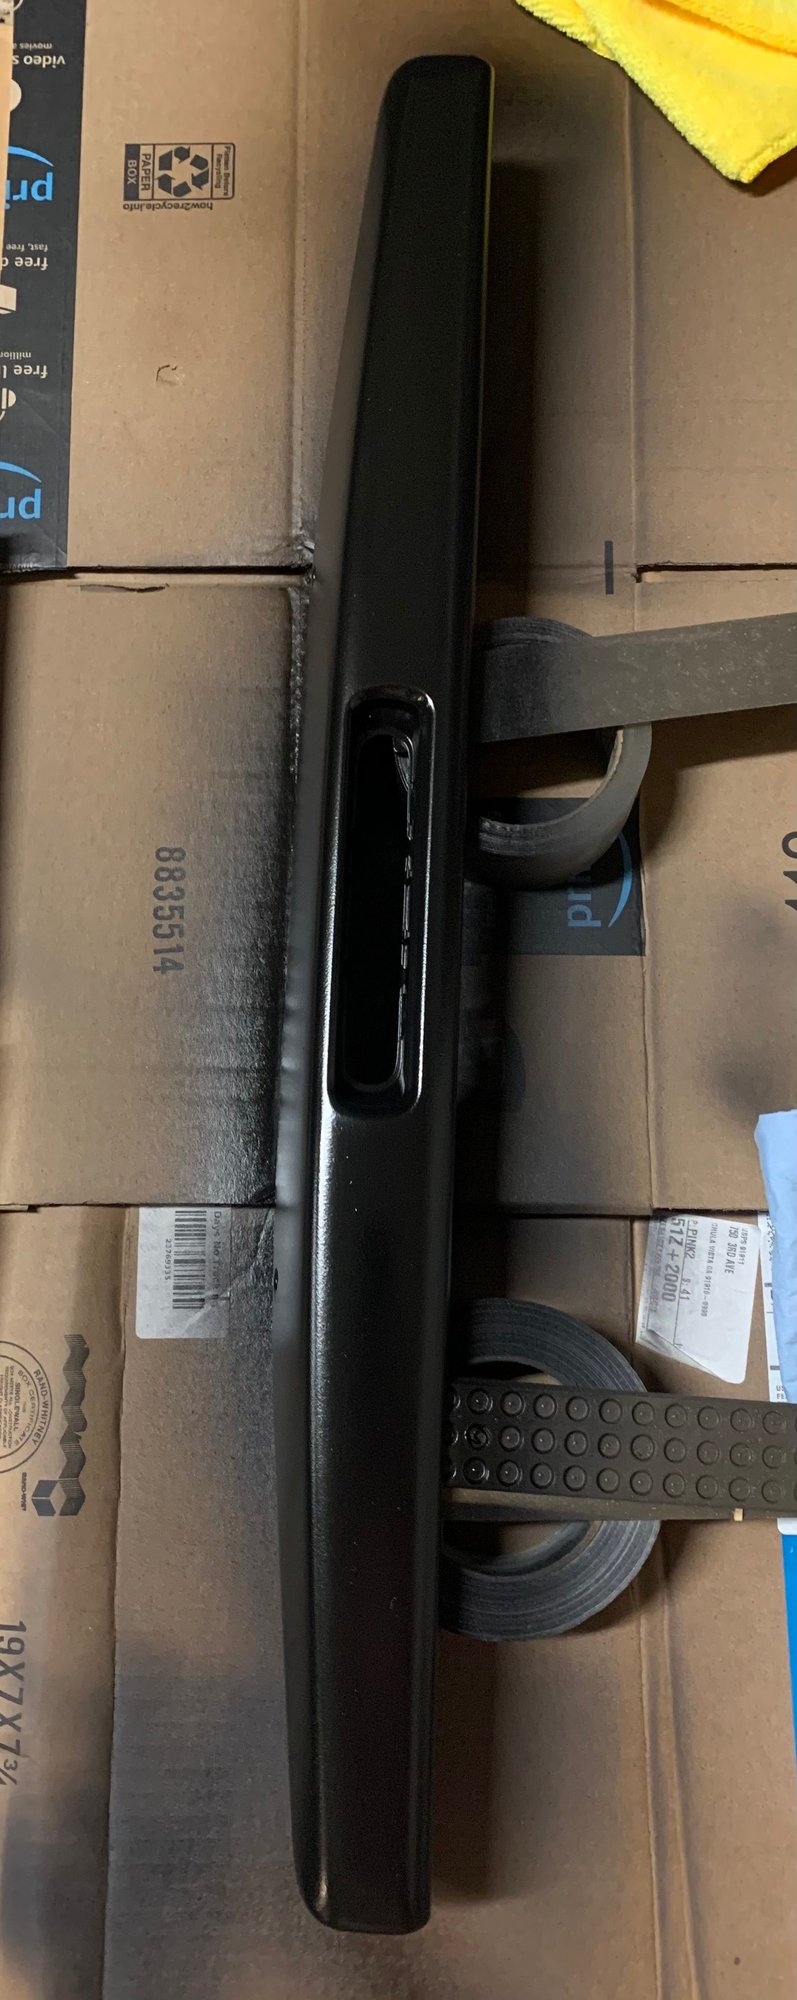
The driver inner door sill had some deep scuffs, since it’s the same rubberized paint as the rest of the interior paint but black, I used the oven cleaner spray to strip the paint, let it sit for about 4 hours and scrubbed it all off. I considered leaving it raw plastic because it looked ok, but the there was some color variation to the plastic. So decided to paint it flat black and shot it with matte clear, it looks gloss but only because it’s still wet, it’ll settle matte by tomorrow. The clear should protect it from scratches better than just paint on its own.
Love seeing this! I recently resprayed all of my Sand Beige interior as well. I used a slightly different paint - went with the type you use for cabinets (oil enhanced enamel) from Lowe’s.
Stripped all the old stuff off and used a compressor and gun to apply, then coated with matte clear. Turned out perfect!
I had good results with oven cleaner to strip the rubberized paint.
A shop owner I used to know told me a customer came in with a Jaguar and wanted the exterior pinstripes removed. He said that Easy-Off brand oven cleaner did a beautiful job.
A shop owner I used to know told me a customer came in with a Jaguar and wanted the exterior pinstripes removed. He said that Easy-Off brand oven cleaner did a beautiful job.
Knowing Jag, I would be concerned Easy-Off would dissolve the whole car...


 02-10-2024, 08:18 PM