When you click on links to various merchants on this site and make a purchase, this can result in this site earning a commission. Affiliate programs and affiliations include, but are not limited to, the eBay Partner Network.
Something that has bugged me since buying my car a couple months ago, has been the third brake light. The little foam gasket had worked itself out of place (likely over an extended period), and lots of dust and debris had built up inside the housing.
I found one YouTube video showing the disassembly of the hatch panels, to get to the brake light housing. But it was a bit vague on details. So I decided to take some photos of this, as I went ahead and tackled this little job. And figured I'd pop them on here - in case anyone else was considering doing this..
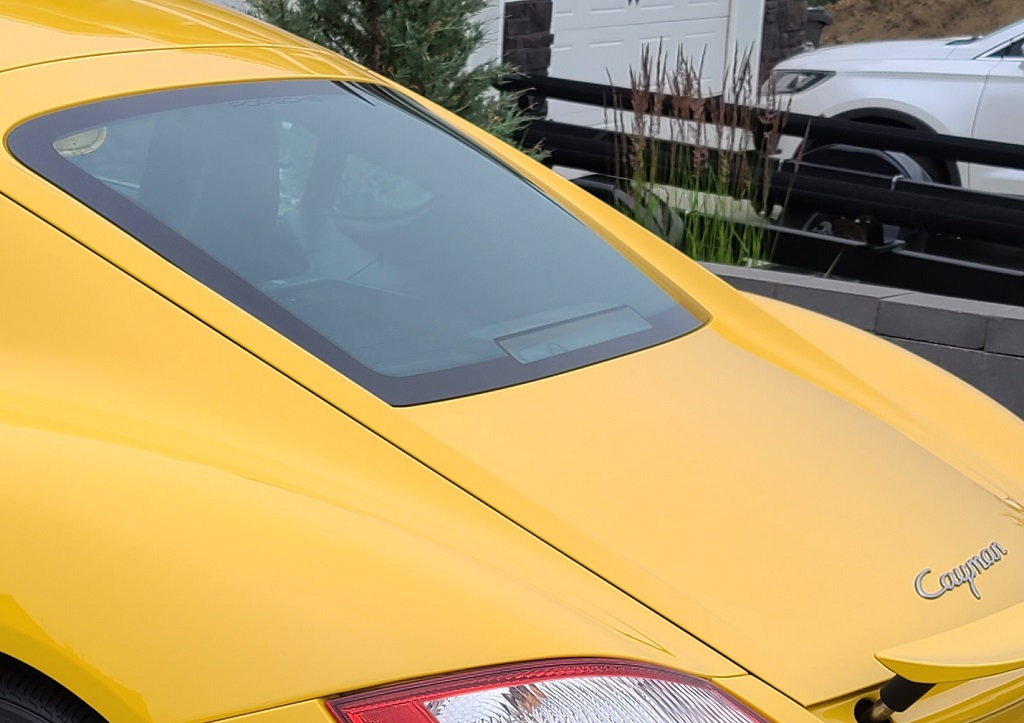
Car is an '07 Cayman Base. But I think they're all somewhat similar (although mine was a slight bit different from the one in the video I watched.
This was the best "Before" image I had. I forgot to take a close shot, as I started this fix. So this is from a previous photo...
You can kinda make out that gasket is all messed up...
First off....get yourself a set of pry tools. These things are magic!! And they save your paint..
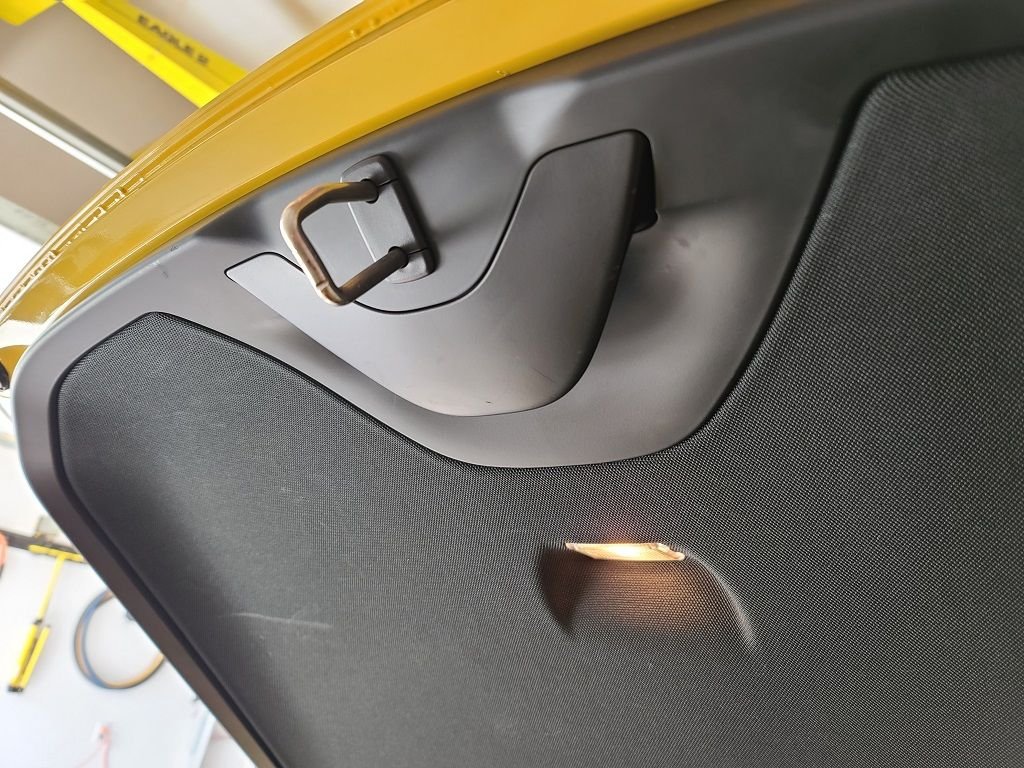
This is what my inner piece 'hatch handle' looks like...
There's 2 T-20 screws to remove, in behind the hatch handle. The one in the video had a cover over the screws. My version, did not.
After the screws were out....I very carefully used a pry tool, and slowly worked out all the metal pop clips. I started close to the top, and worked around to the bottom. This was absolutely frightening....as they make a strong 'POP' noise. But they come out decently well.
I would NOT recommend doing this on a cooler day. The plastic will certainly break.
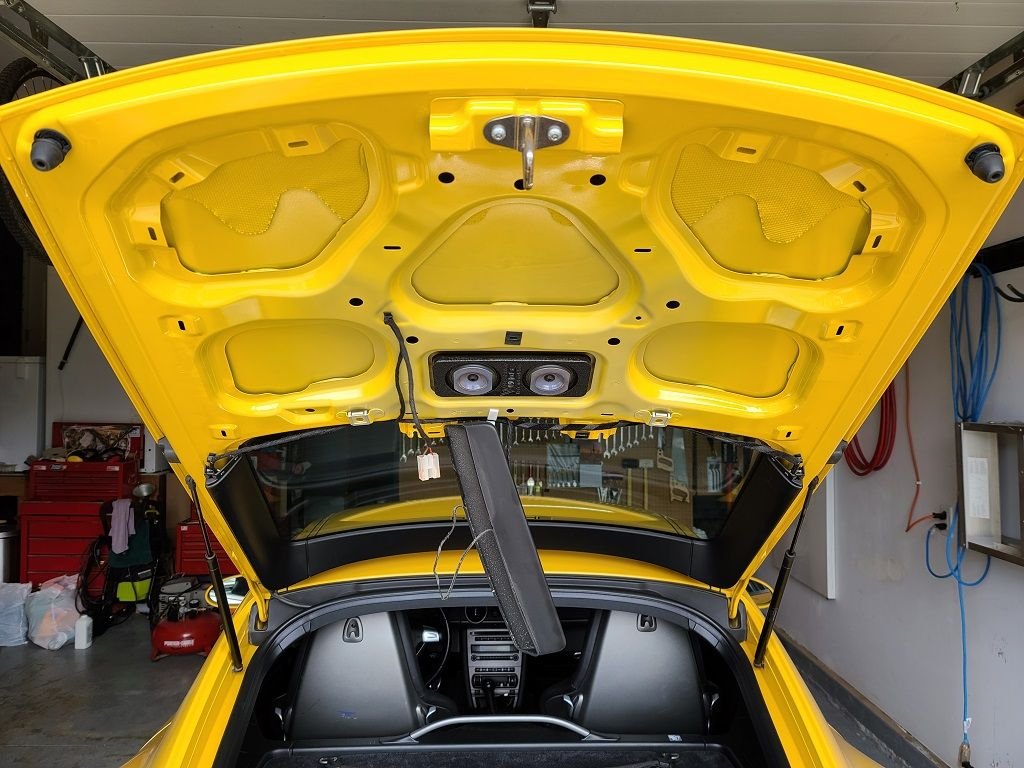
There is 17 clip locations. As well - the cargo lamp wire needs to be unplugged. Lay a thick blanket over your car - so you don't scratch anything, if the panel suddenly lets go and pops off and falls.
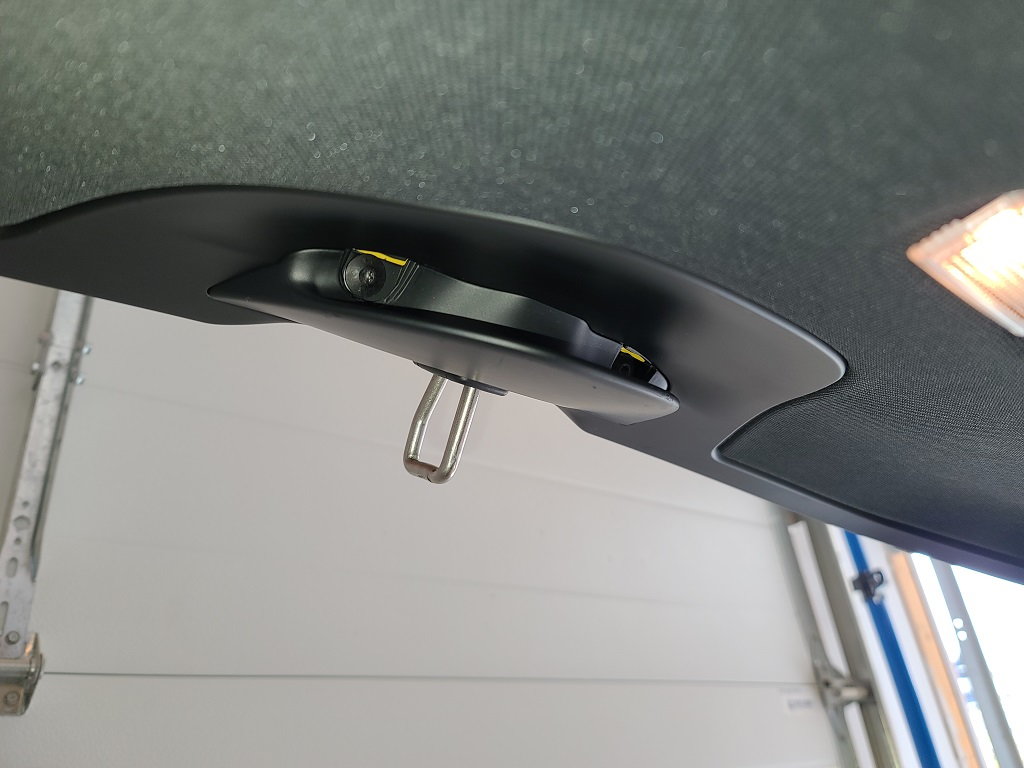
The 3rd brake light is held on with 2 T-20 screws. It just needs to be loosened (don't take the screws right out).
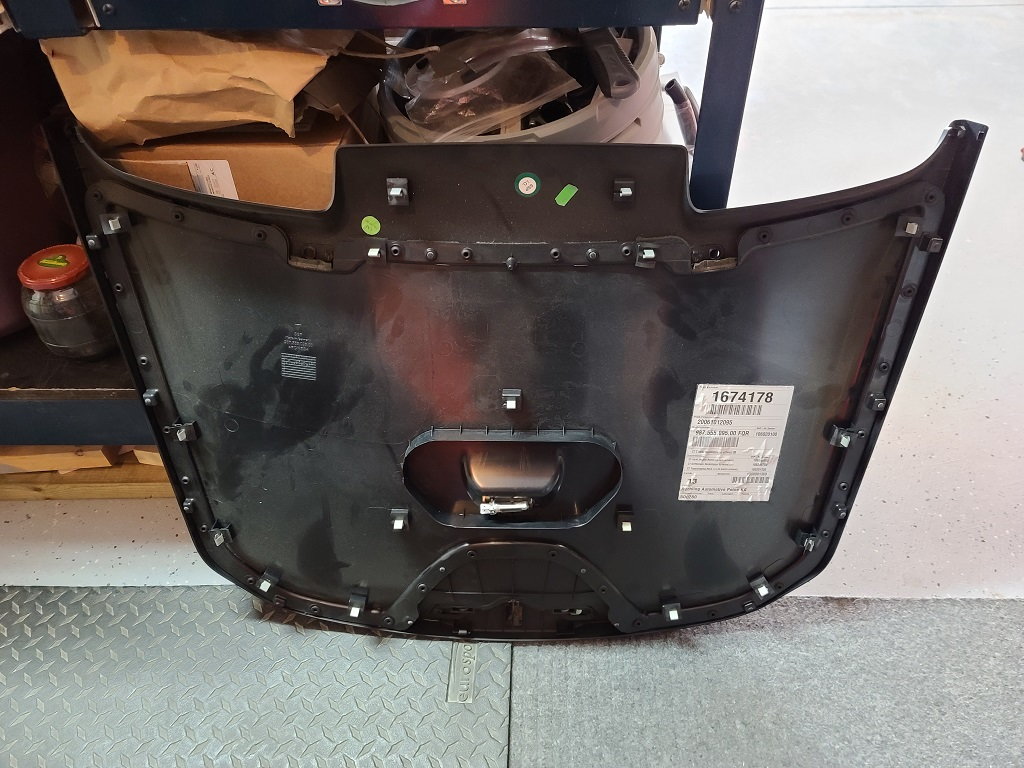
Take note of all the pop clip locations...
There's 3 in the center area. And 2 up by the 3rd brake light (those 2 gave me a little grief....but I carefully popped them out).
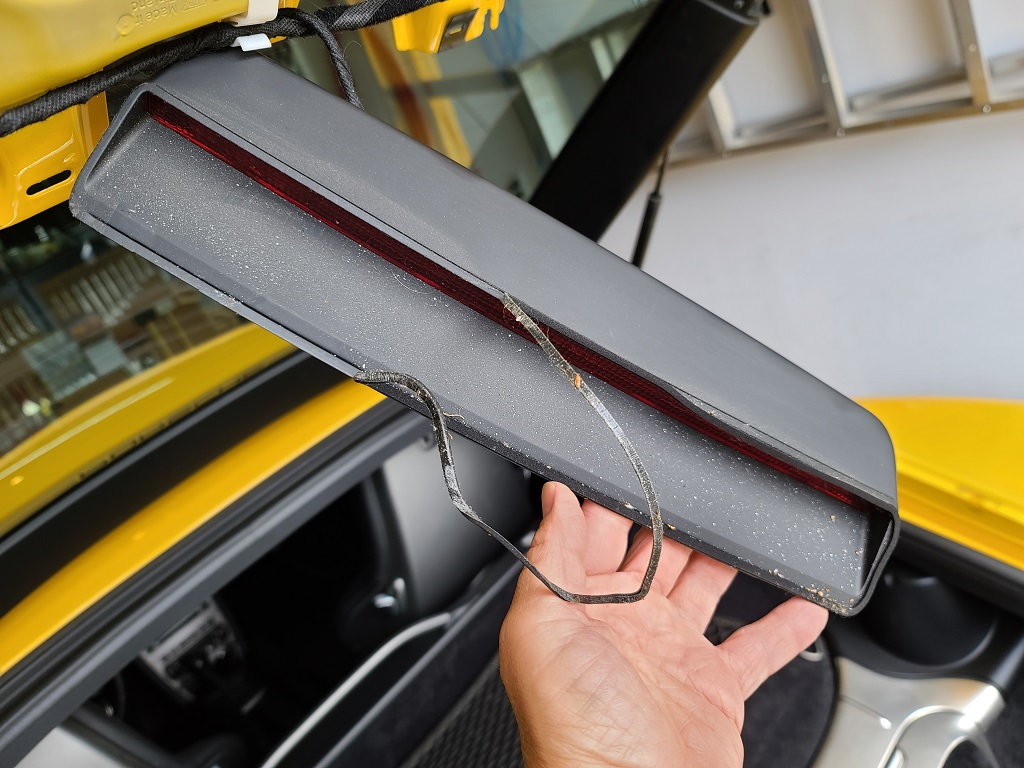
Here's my messed up gasket, and grossly dirty lamp housing...
I carefully cleaned it, with a damp micro-fiber rag. And the sticky stuff was unharmed. I carefully repositioned the gasket around the edge, and it stuck nicely.
I put the housing back in place, and tightened the screws back up.
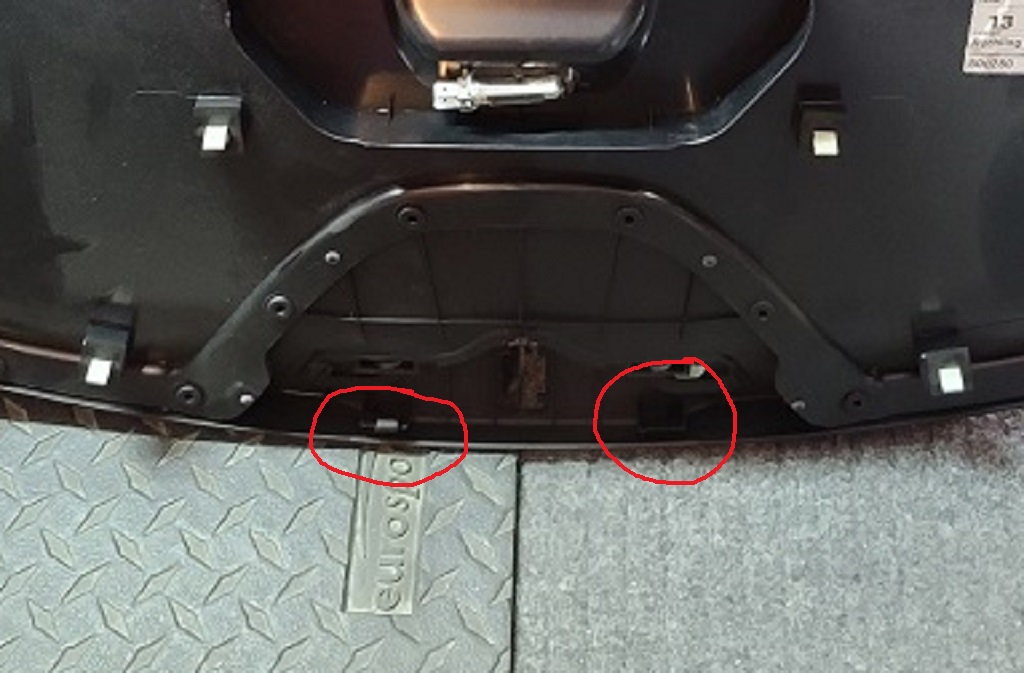
Something to watch for. On the inside of the panel - close to the hatch handle - is 2 little sound deadening tabs, with little rubber pieces over them. Those little rubber pieces slide off easily. Make sure you don't lose them, and that they're in place when you reassemble...
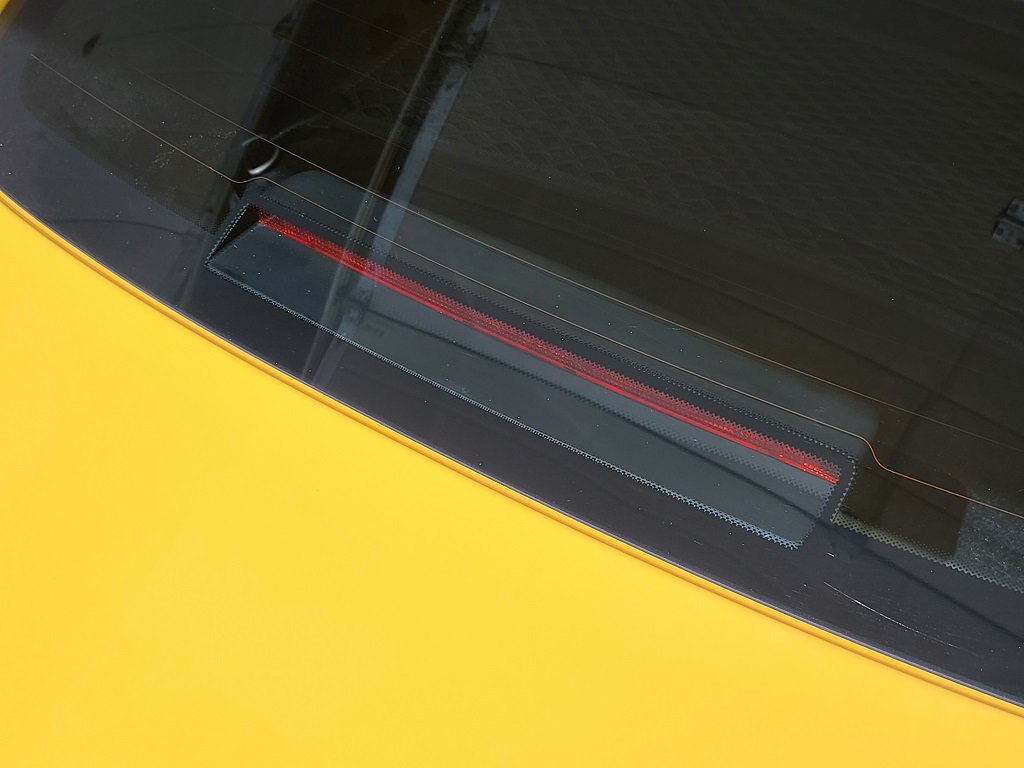
After plugging in the cargo light, popping the panel back in (with slight difficulty....get a friend to help you), and screwing in the 2 T-20 screws....it looks brand new!! And I'm SUPER happy!!
Hope this helps someone. At the very least....it'll show the locations of the pop clips for you. I referred to my photo as I was popping them back on. To ensure I got them all.

 08-27-2021, 06:19 PM