When you click on links to various merchants on this site and make a purchase, this can result in this site earning a commission. Affiliate programs and affiliations include, but are not limited to, the eBay Partner Network.
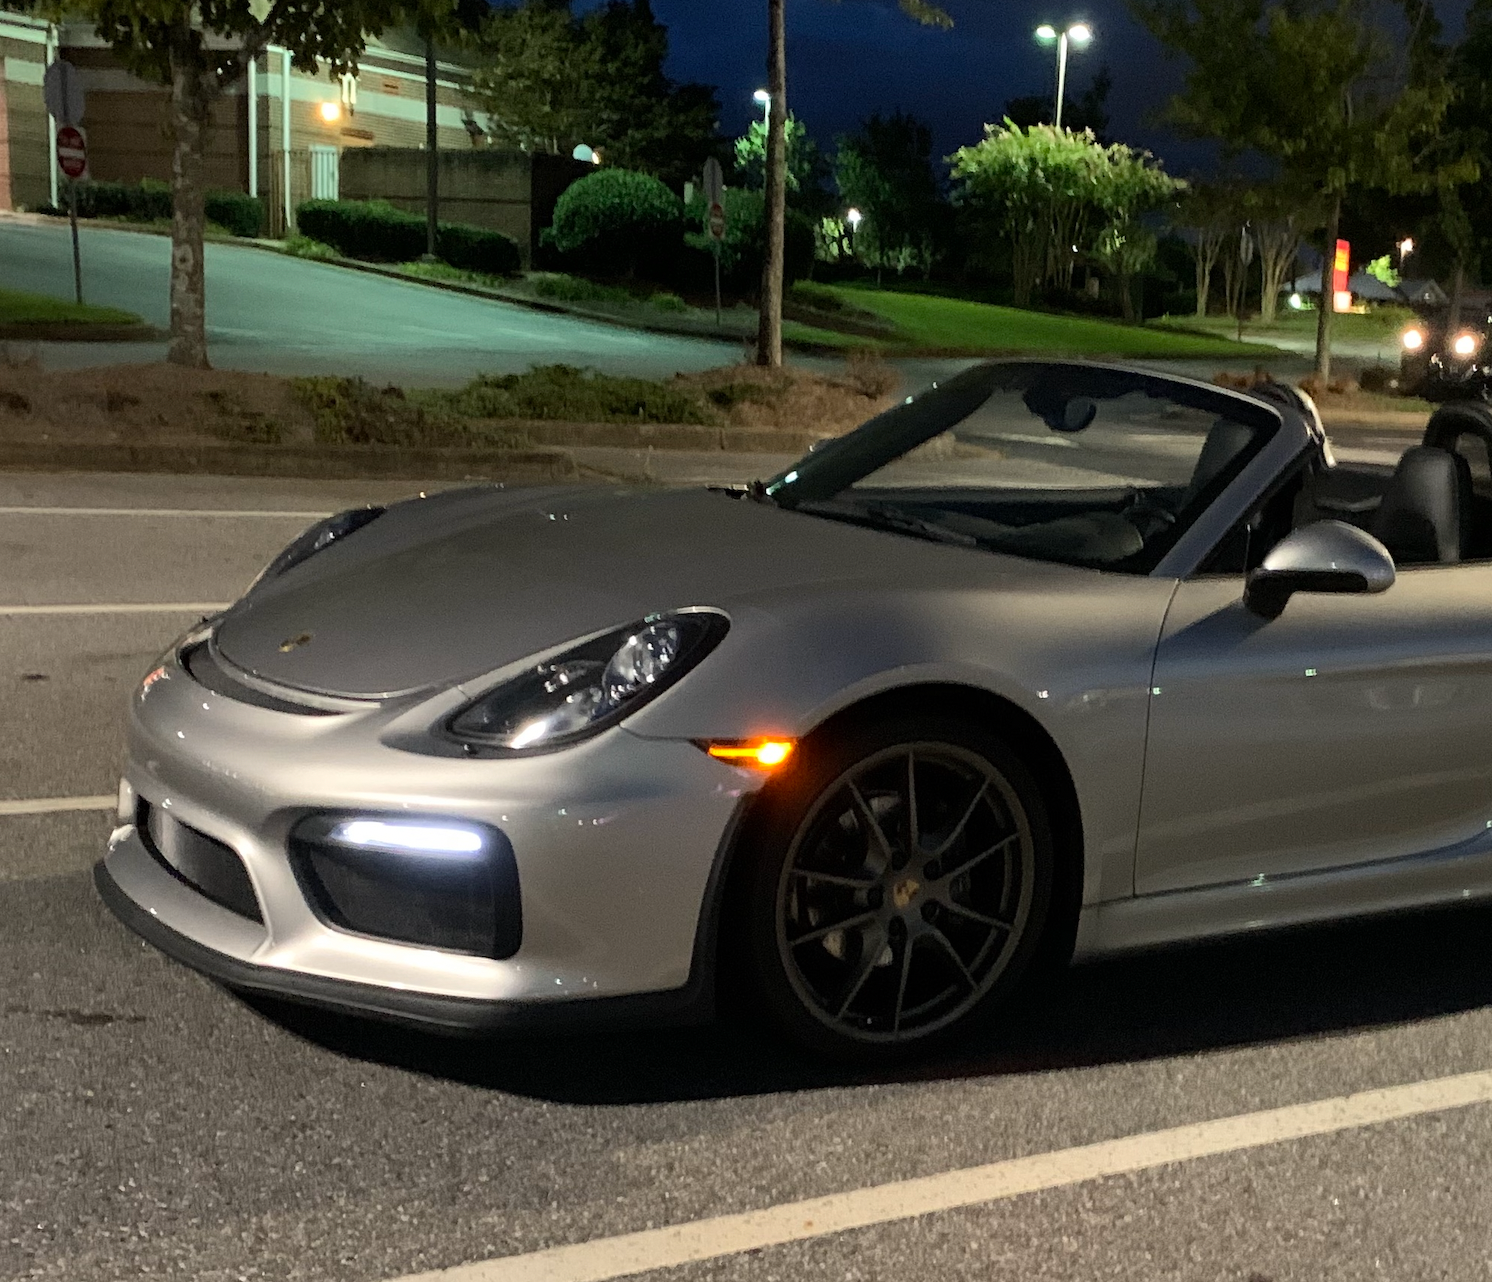
Due to the recent sale of my 981, my factory Spyder bumper (with GT4 lower lip) is available. It includes all accessories (fender well liners, radiator shrouds), even the GTS/GT4 LED daytime running lights.
Got my front on along with 3rd rad, I replaced the oem unit for an upgraded CSF aluminum one though. Very happy with the fit and finish of everything, also did an OEM Gt4 rear diffuser
is it necessary to have the GT4 absorber pad to install the bumper?
I think you can get a way with it but at the shop we noticed it helps from sagging or a slight sag. especially when the washer nozzle hoses run from one side to the other and other components hanging on the bumper. plus the absorber does not cost much, another $35-$50 is worth doing it right.
Last edited by Jacob Sami; 01-11-2021 at 11:58 AM.
I think you can get a way with it but at the shop we noticed it helps from sagging or a slight sag. especially when the washer nozzle hoses run from one side to the other and other components hanging on the bumper. plus the absorber does not cost much, another $35-$50 is worth doing it right.
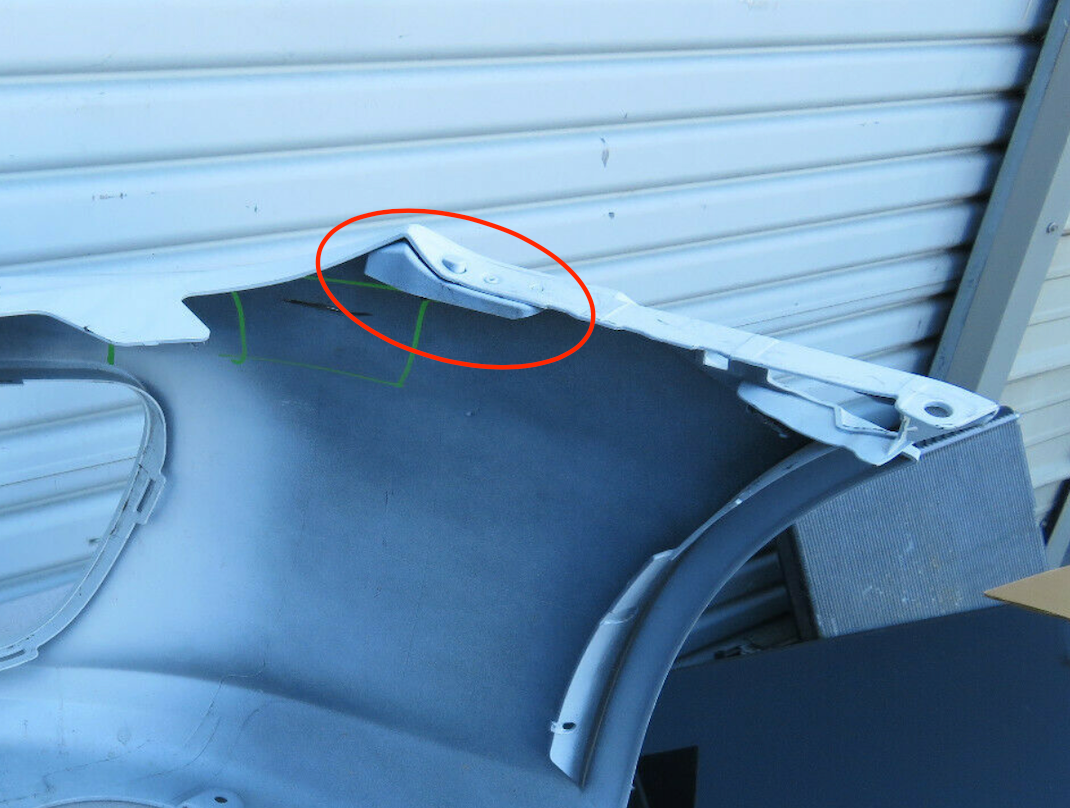
Those pop rivets are probably included to reattach the bumper guides on each side. They are held in with factory rivets that need to be drilled out, if you reuse them.
My OEM bumper did not include the guides, so I just transferred them over. Literally a 5min job to drill out, move to other bumper and use pop rivets.
appreciate it man, did anyone else have a problem installing the front lip?
having trouble with fitment issues when I get to the end of one side. Like its too small for the bumper?
Didn’t have that issue. Remove it and start from one side again. Make sure you are pulling on it as you are pushing into each tab. For example if you start from the passenger side make sure you are pulling/tugging to
the right as you push in each tab.
For the people that need a front plate mounted in their area, what solution did you guys go with? Also, for the people with non-GTS cars that fitted the bumper, how did you guys go about extending the harness for the DRLs/Fogs? What gauge wire would I need and how much?
I just finished installing the Getty Design GT4 bumper on my 987.1 and the fitment was 98%. Had to grind out some of the fiberglass out where the side markers sit, but other than that I'm pretty happy with the fitment and overall looks.
Spent $2,500 on the bumper that included OEM grill and fog lights.. Mark with Getty Designs was super nice and answered all emails on a timely basis.
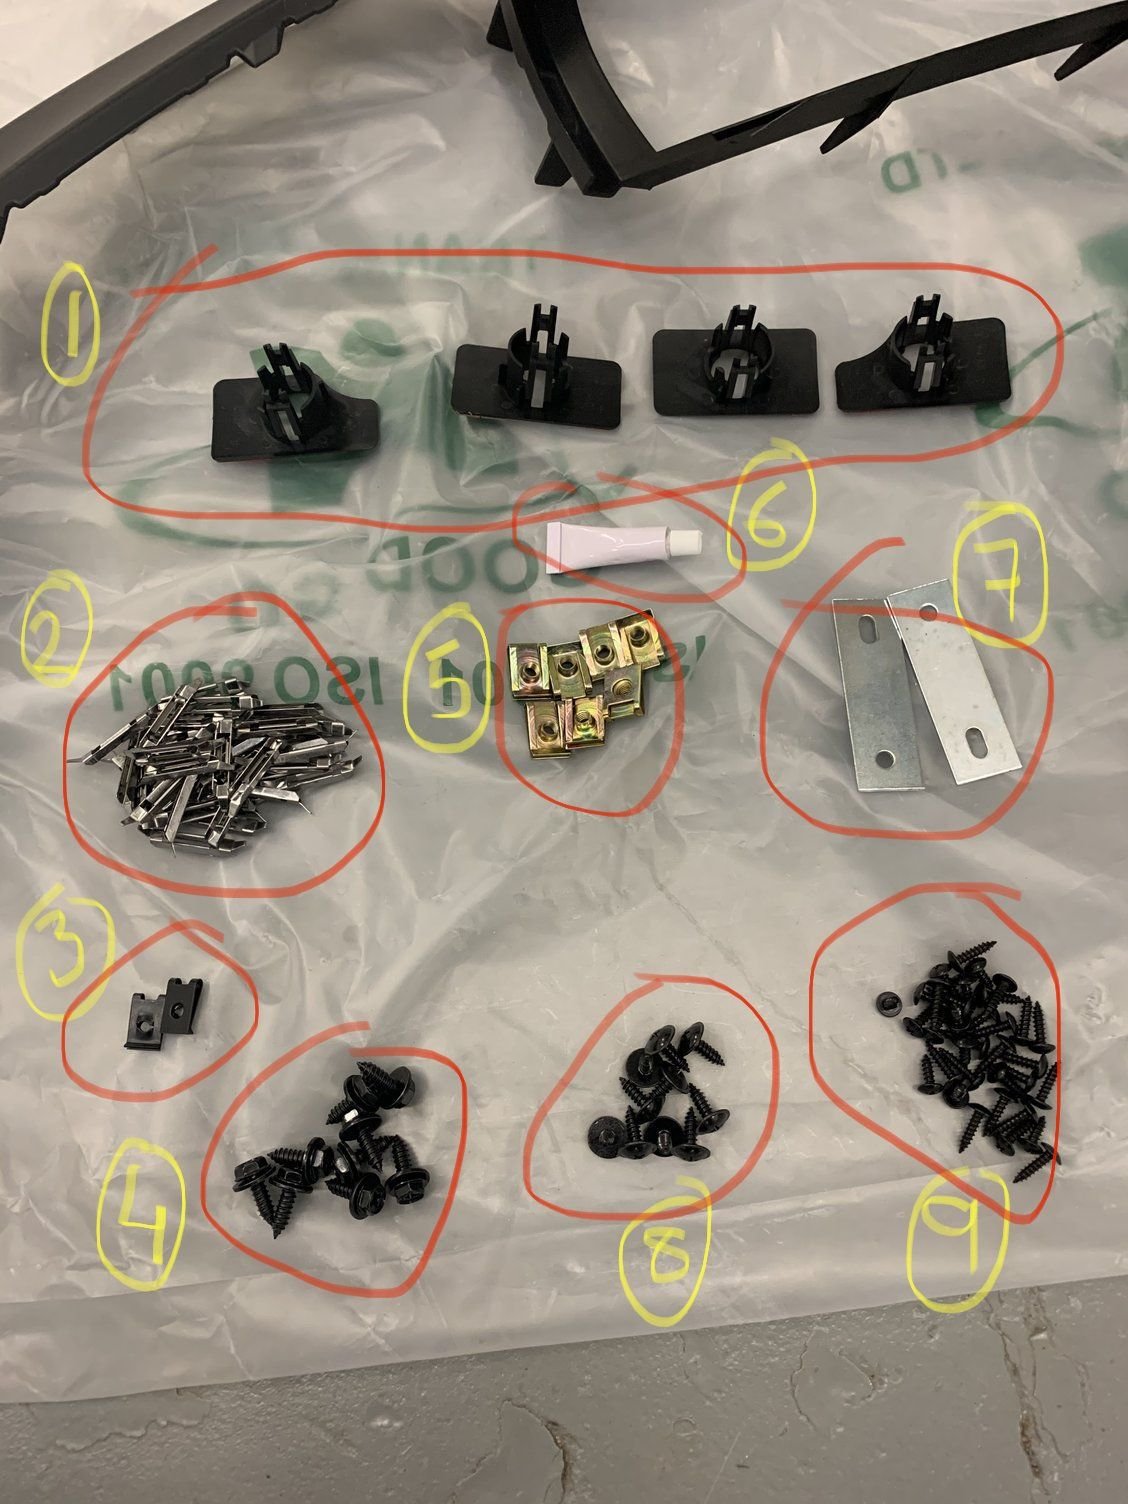
1 - This is for the park sensors so if you don’t have them or don’t want them toss these.
2 - You need all these. There will be a few extra ones as well. This is used to secure the mesh to the bumper openings. Learn to use these correctly or they will keep popping out.
3 - Toss these
4 - Check to see if these screw into 5. Most likely they won’t so toss these but you will need to find new screws that fit the clips in 5.
5 - These slide onto the bottom lip of the bumper and are used to connect the bumper to the bumper underway . They go into notches in the bottom portion of the bumper that already has holes drilled out. What I found was that the bottom tray holes did not perfectly line up with the bumper holes so I could only get 5 of the 7 to line up. I drilled new holes for the ones that didn’t. You will need new flat head bolts for these as the ones in 4 didn’t fit.
6 - Toss it
7 - Toss it
8 - All these get used for attaching the bumper parts to the bumper.
9 - I cant remember if I used these but I can see I have 17 left over.
I laid out all of the parts that came with the bumper and tried to fit them just to see if they were good. I noticed that the splash guard/under tray that you mentioned above doesn't line up. Is this what it looked like for you guys?
Left GT4 bumper splash tray Right GT4 bumper splash tray Right - Front bumper base
All parts laid out
In the first two photos above, you can see that the last 4 holes don't really line up with the holes in the GT4 bumper and it doesn't want to line up with other lines in the bumper itself.. what did you guys do in this case? In the last photo, which is from my base bumper, I noticed that it goes further back than the under tray included in the BaysonR kit.. is that an issue? Also, does anyone have photos of how to properly use those clips that secure the mesh to the bumper openings?
Last edited by redvancitycayman; 04-06-2021 at 01:26 PM.
Another issue I've run into now is that the connector at the end of my DRL harness that attached to the adapter provided by Bayson R doesn't seem to mate with one another. I'm guessing this is when people have said that they've extended the harnesses.. I may just cut off the ends of the original harness and adapter and put them together via butt connectors.
 12-11-2020, 11:14 AM