When you click on links to various merchants on this site and make a purchase, this can result in this site earning a commission. Affiliate programs and affiliations include, but are not limited to, the eBay Partner Network.
Thank you Johson, I was looking in the trunk near the coolant fill like in the pics of the older cars where the oil and coolant fills are right next to each other. I guess you are talking about the frunk then? I take it one has to peel back the upholstry covering to find it then.
PS I saw your recent conversations with Mr. Richardson on the vacuum pump leak, what you guys can do is amazing!!!
No it is inside the engine bay, between the seat and the trunk. Depending on if you have a boxster or caymen, you have to remove a lot of trims then remove a bunch of screws to get access.
Oh brother! I'll look up some videos on how to do that then. There seem to be more videos for the cayman, so finding for the boxster is not easy. Mid engine makes for a great driving, handling car. Not so much for working on them.
Thank you Johson.
I was going to get started on it today, so I tried to fit the vacuum fitting on the filler, not the best fit for vacuum I didn't think. Do you fit it on over the red thermometer fill level stick? That's what it looks like one has to do.
Then I thought I better look for the coolant bleeder before trying anything and I couldn't locate it. Even after watching and searching for about 6 hours. Thanks to you I know where it is and will go from there. Hats tip to you.
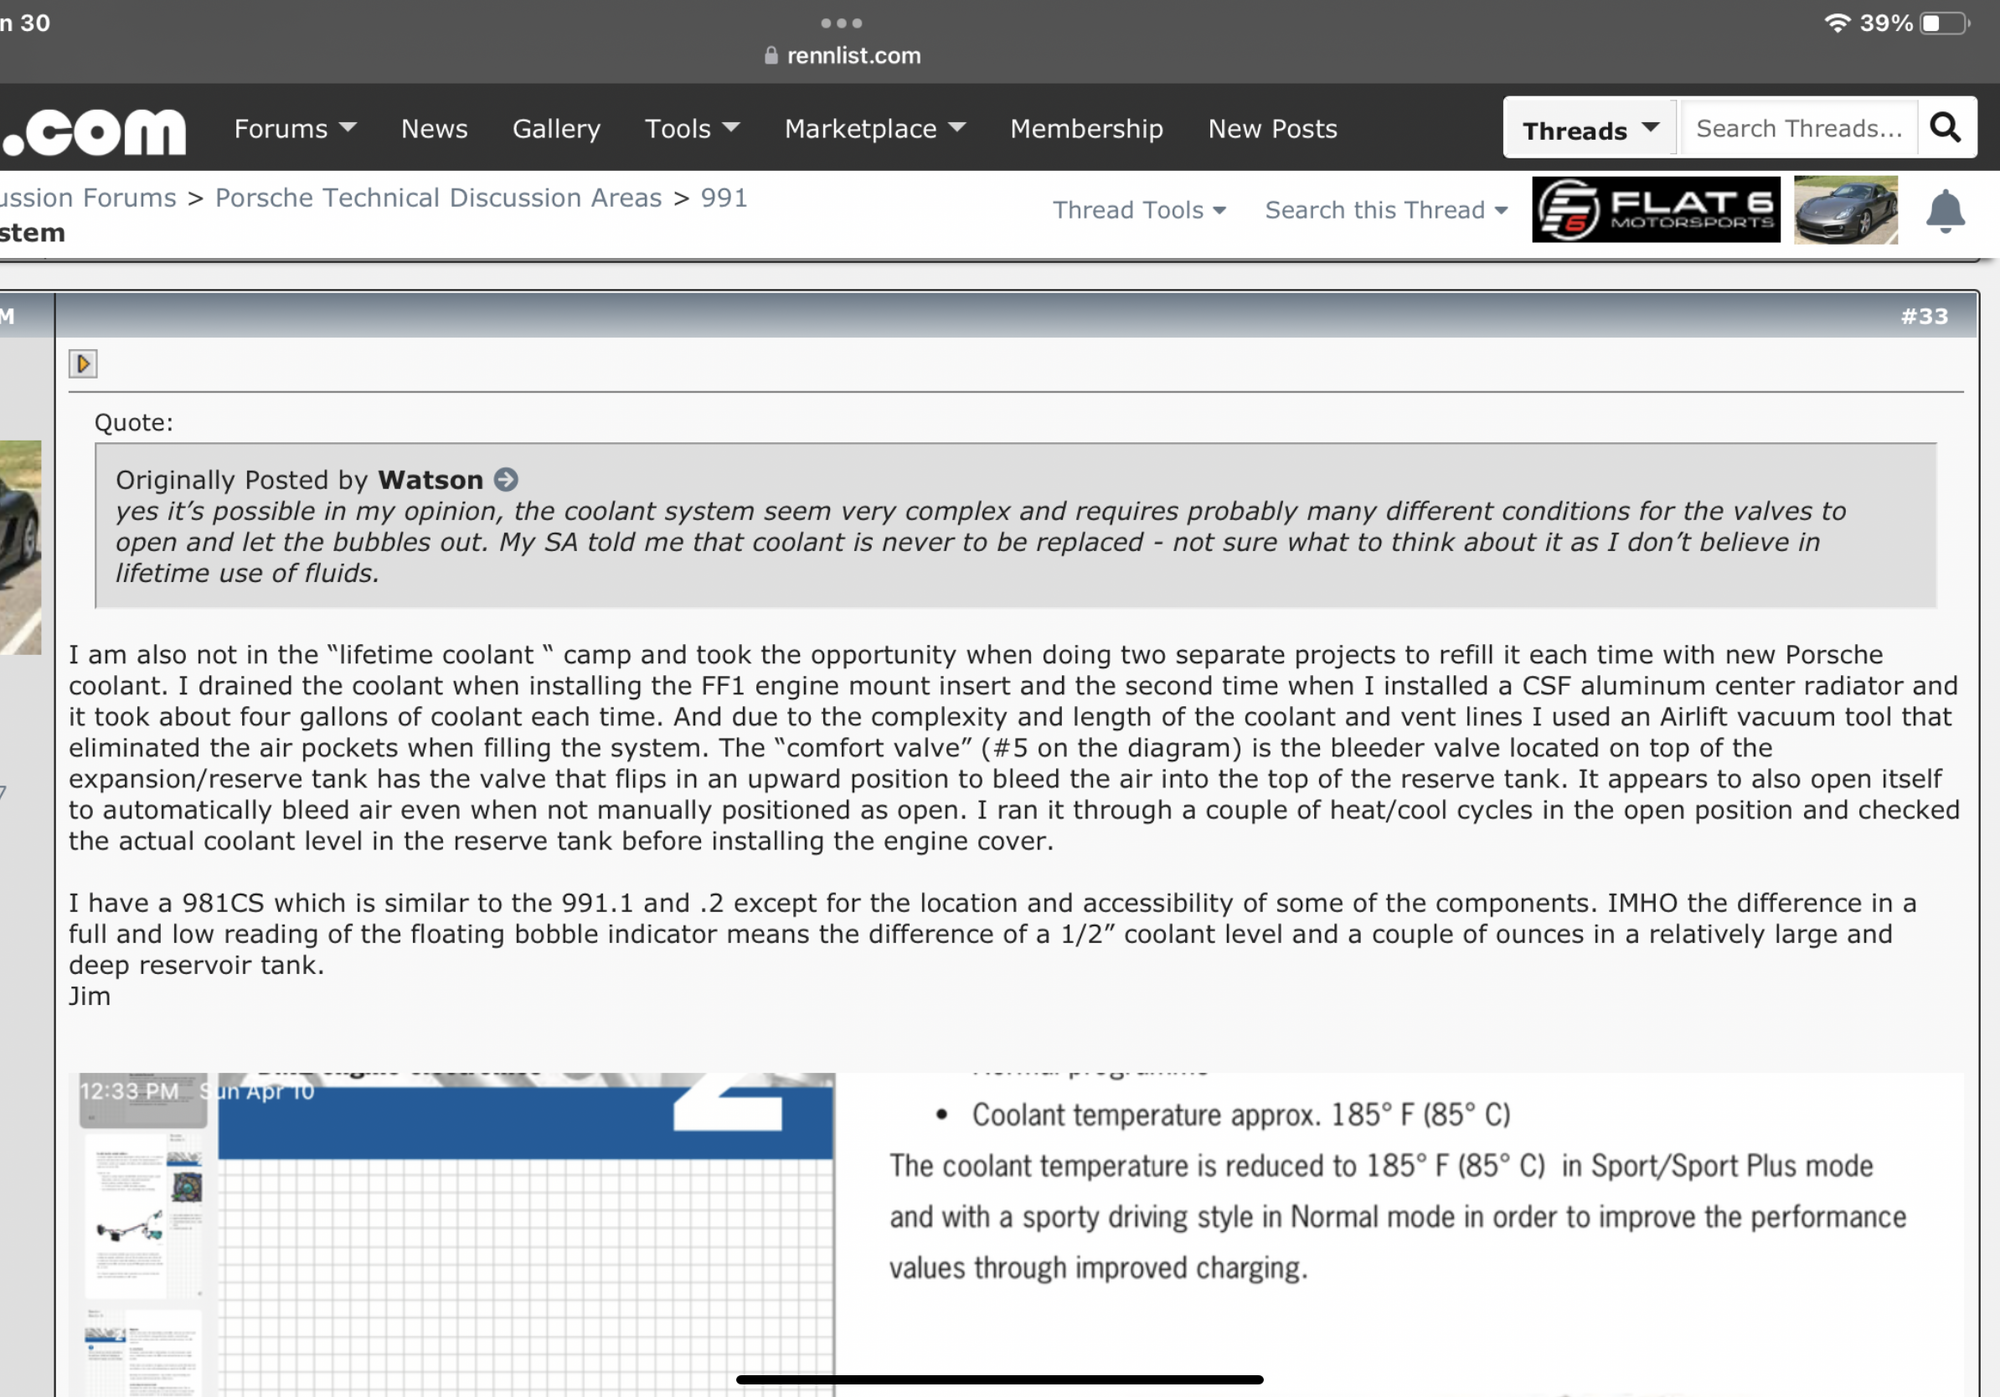
Five years ago I did two drain and fills on my 2014 Cayman and have included below a screenshot of one of my earlier post’s detailing my drain and fill experience. Due to the two front radiators and long coolant lines and multiple heat exchangers, it is difficult to get a complete drain without disconnecting multiple hoses. There is also a drain plug on the on the engine coolant manifold but IIRC not much coolant comes out of that drain and the majority is drained by removing hoses. The two hoses in front of the engine motor mount nets the best results especially with the front of the car elevated.
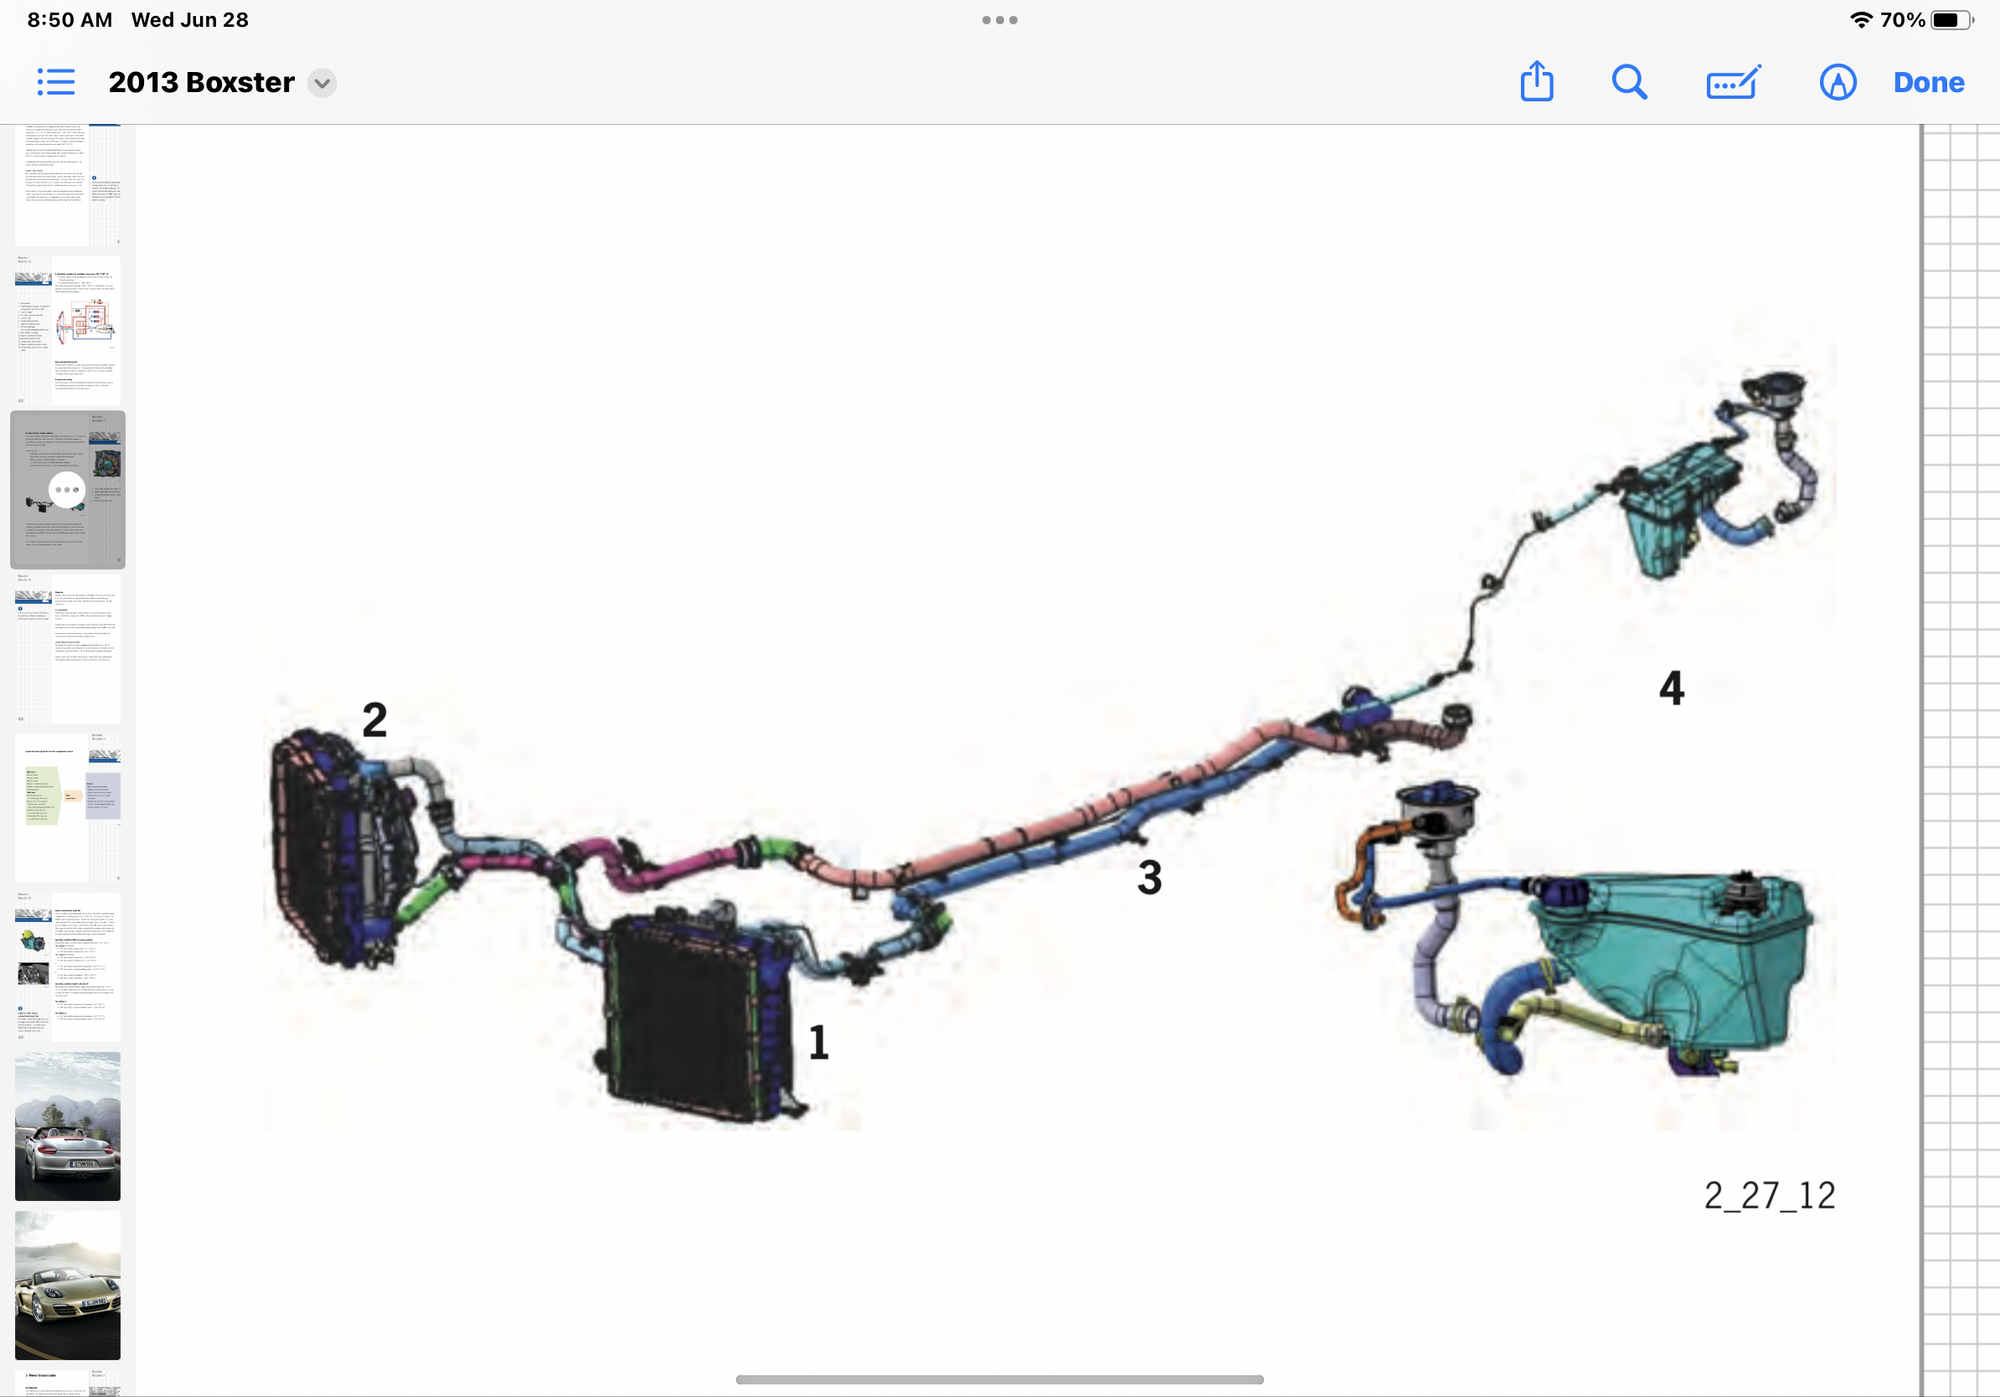
The vacuum bleeder must be used on the reservoir tank in the engine bay (#4 on the below diagram) and not the port with the red bobber. The vacuum bleeder requires an air compressor with a large CFM air flow to allow pulling 25 inches of vacuum. The air bleeder is referred to as the comfort valve on the below diagrams and is the flip up wire valve on top of the reserve tank in the engine bay.
Jim My earlier post screenshot
Reservoir tank is #4 and has a blue plastic radiator cap.
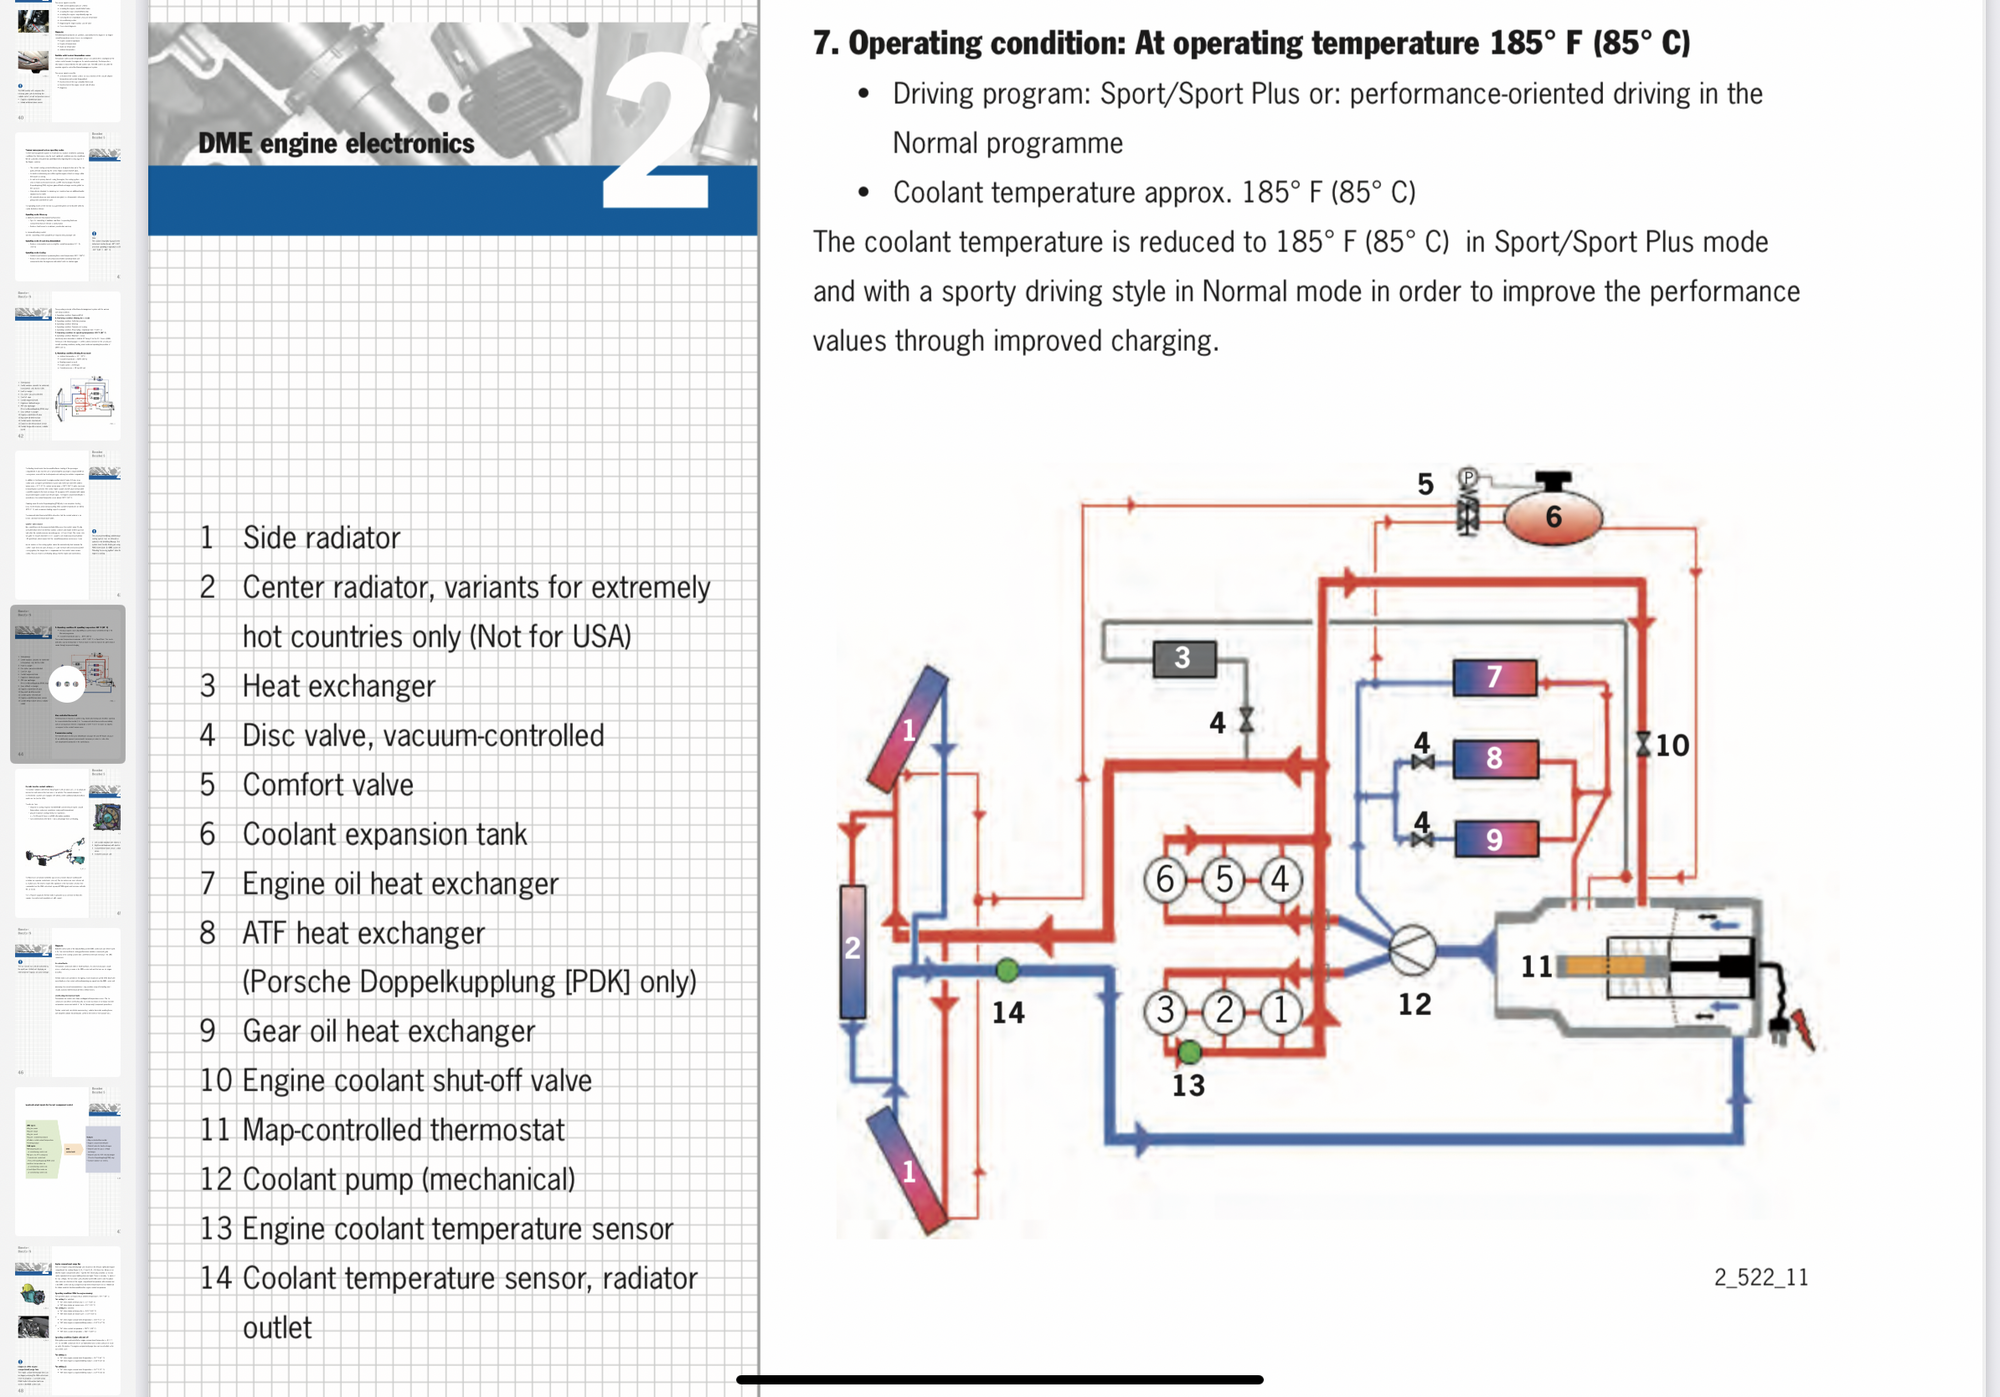
Layout of the cooling system. Coolant reservoir tank is #6 with the bleeder COMFORT VALVE #6 on top of the reservoir tank
Nicely done video. I need to do that as I noticed some residual leakage around the thermostat. It was on the top of the under cover near the driver rear wheel.. I ordered the parts and now I just need to drain the system, install the valve and ancillary surrounding items I purchased and fill her back up! Couple of questions:
I have a ~sort of working version of Durametric, any better tool you would recommend for this service?
Since you covered vacuum, I'm sort of diagnosing a vacuum leak- dumb question, when the car is turned off, and I start diagnosing the Vac. hoses, what is the status of solenoids and pumps? Are some or all open so that I may achieve a vacuum or are there tasks to do to shut off or block certain actuators or solenoids?
That's a pretty tricky question- maybe there's a good link you could provide for diagnosing vacuum issues in the `15 981 GTS 4.1?
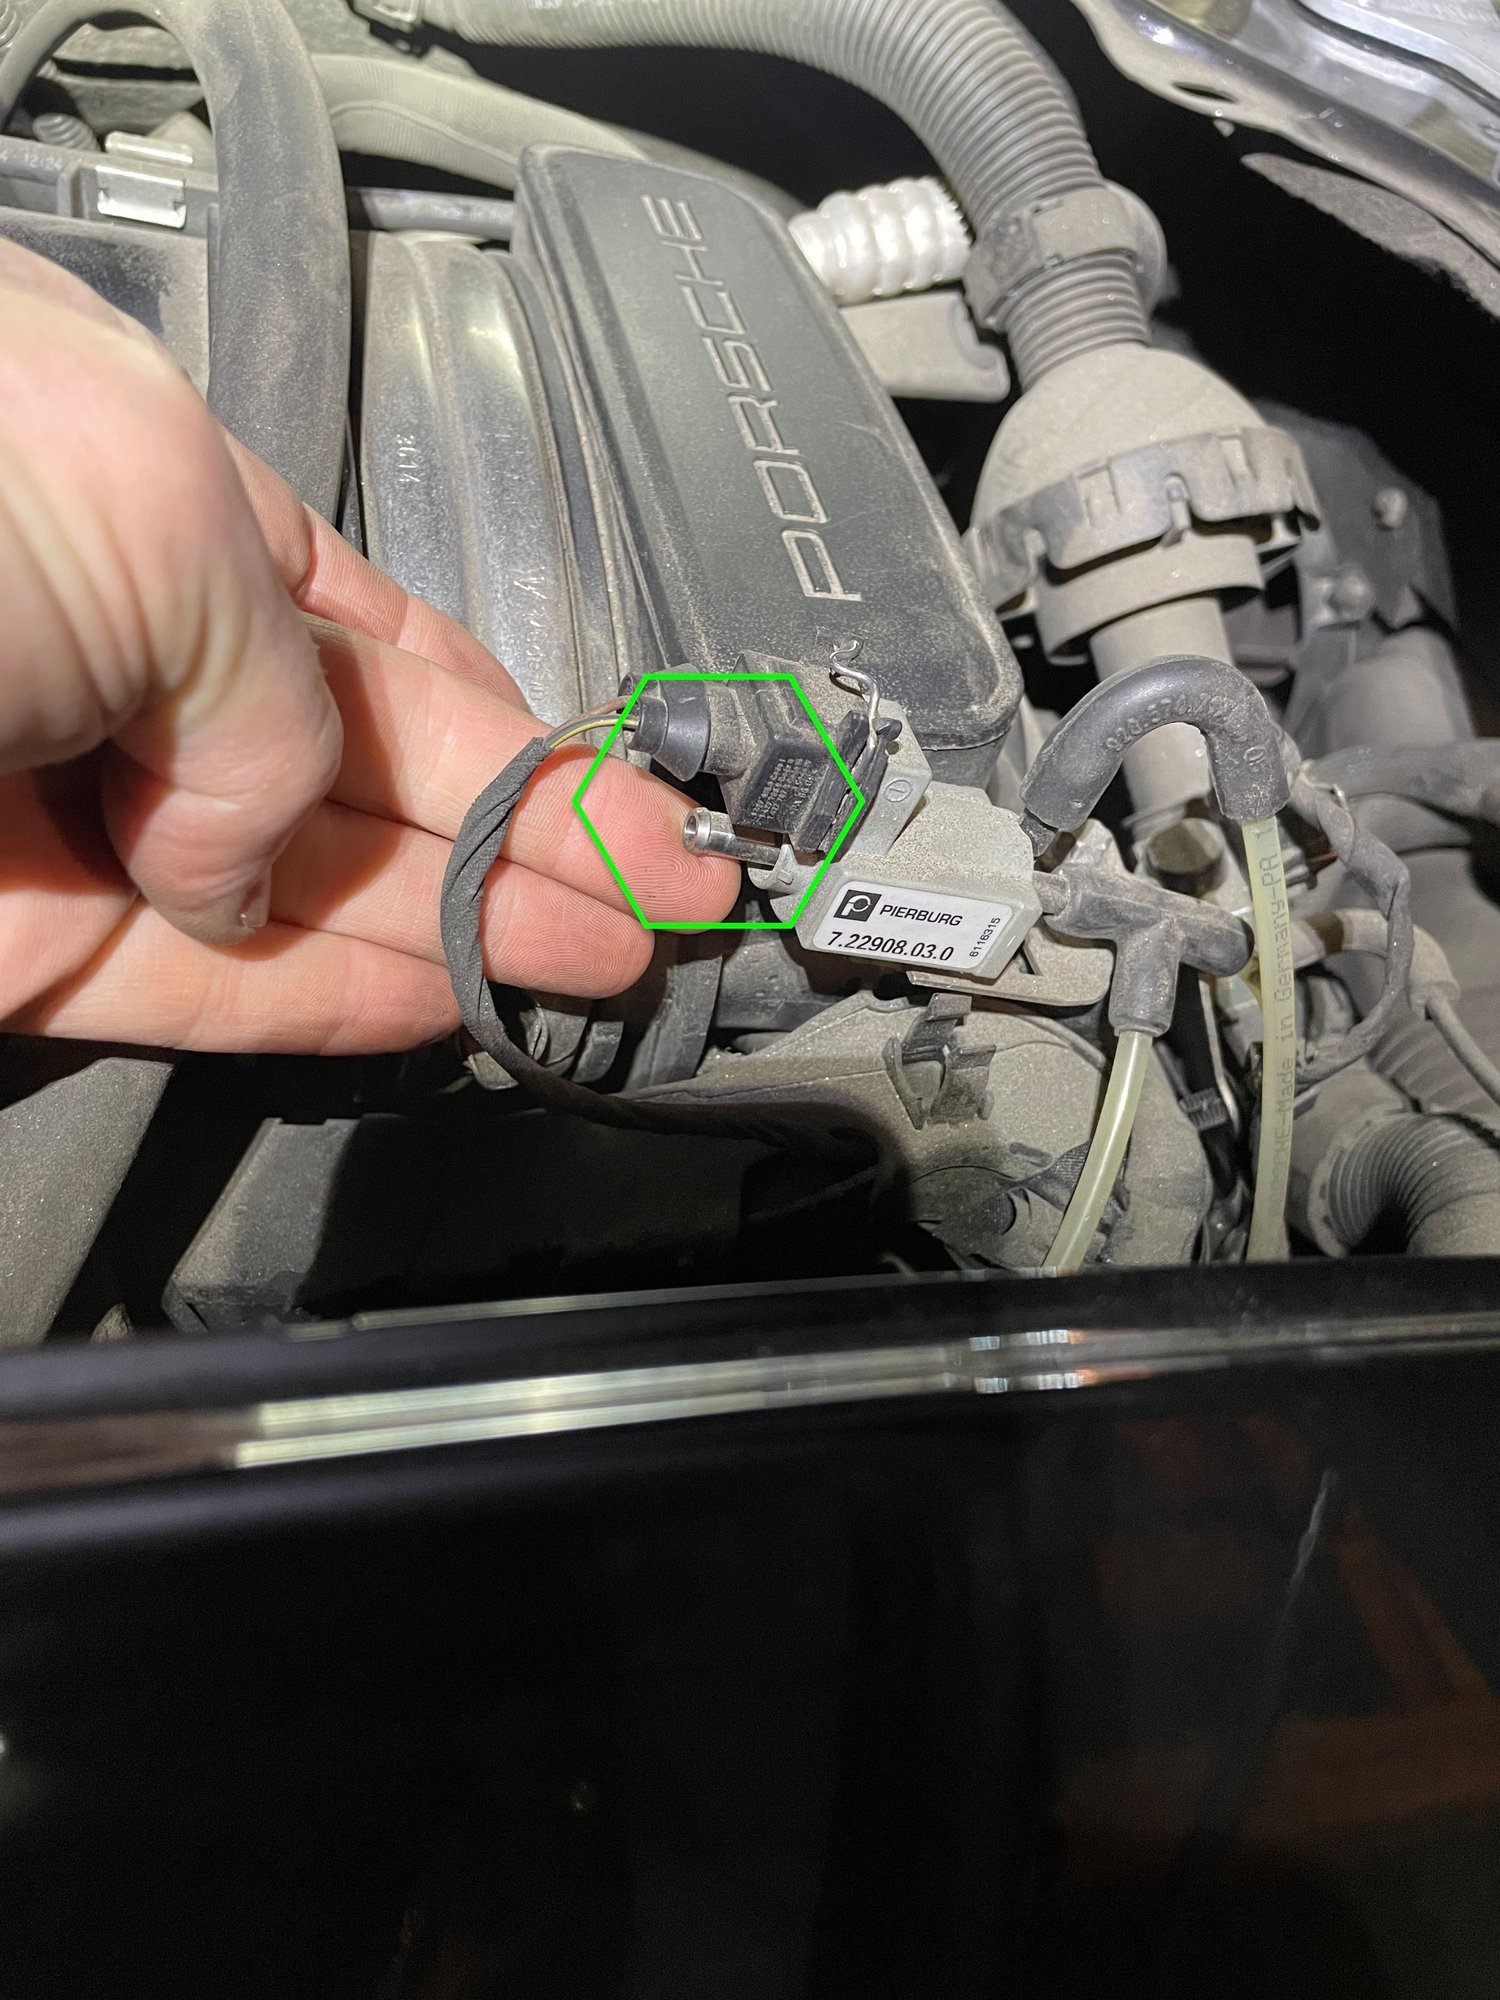
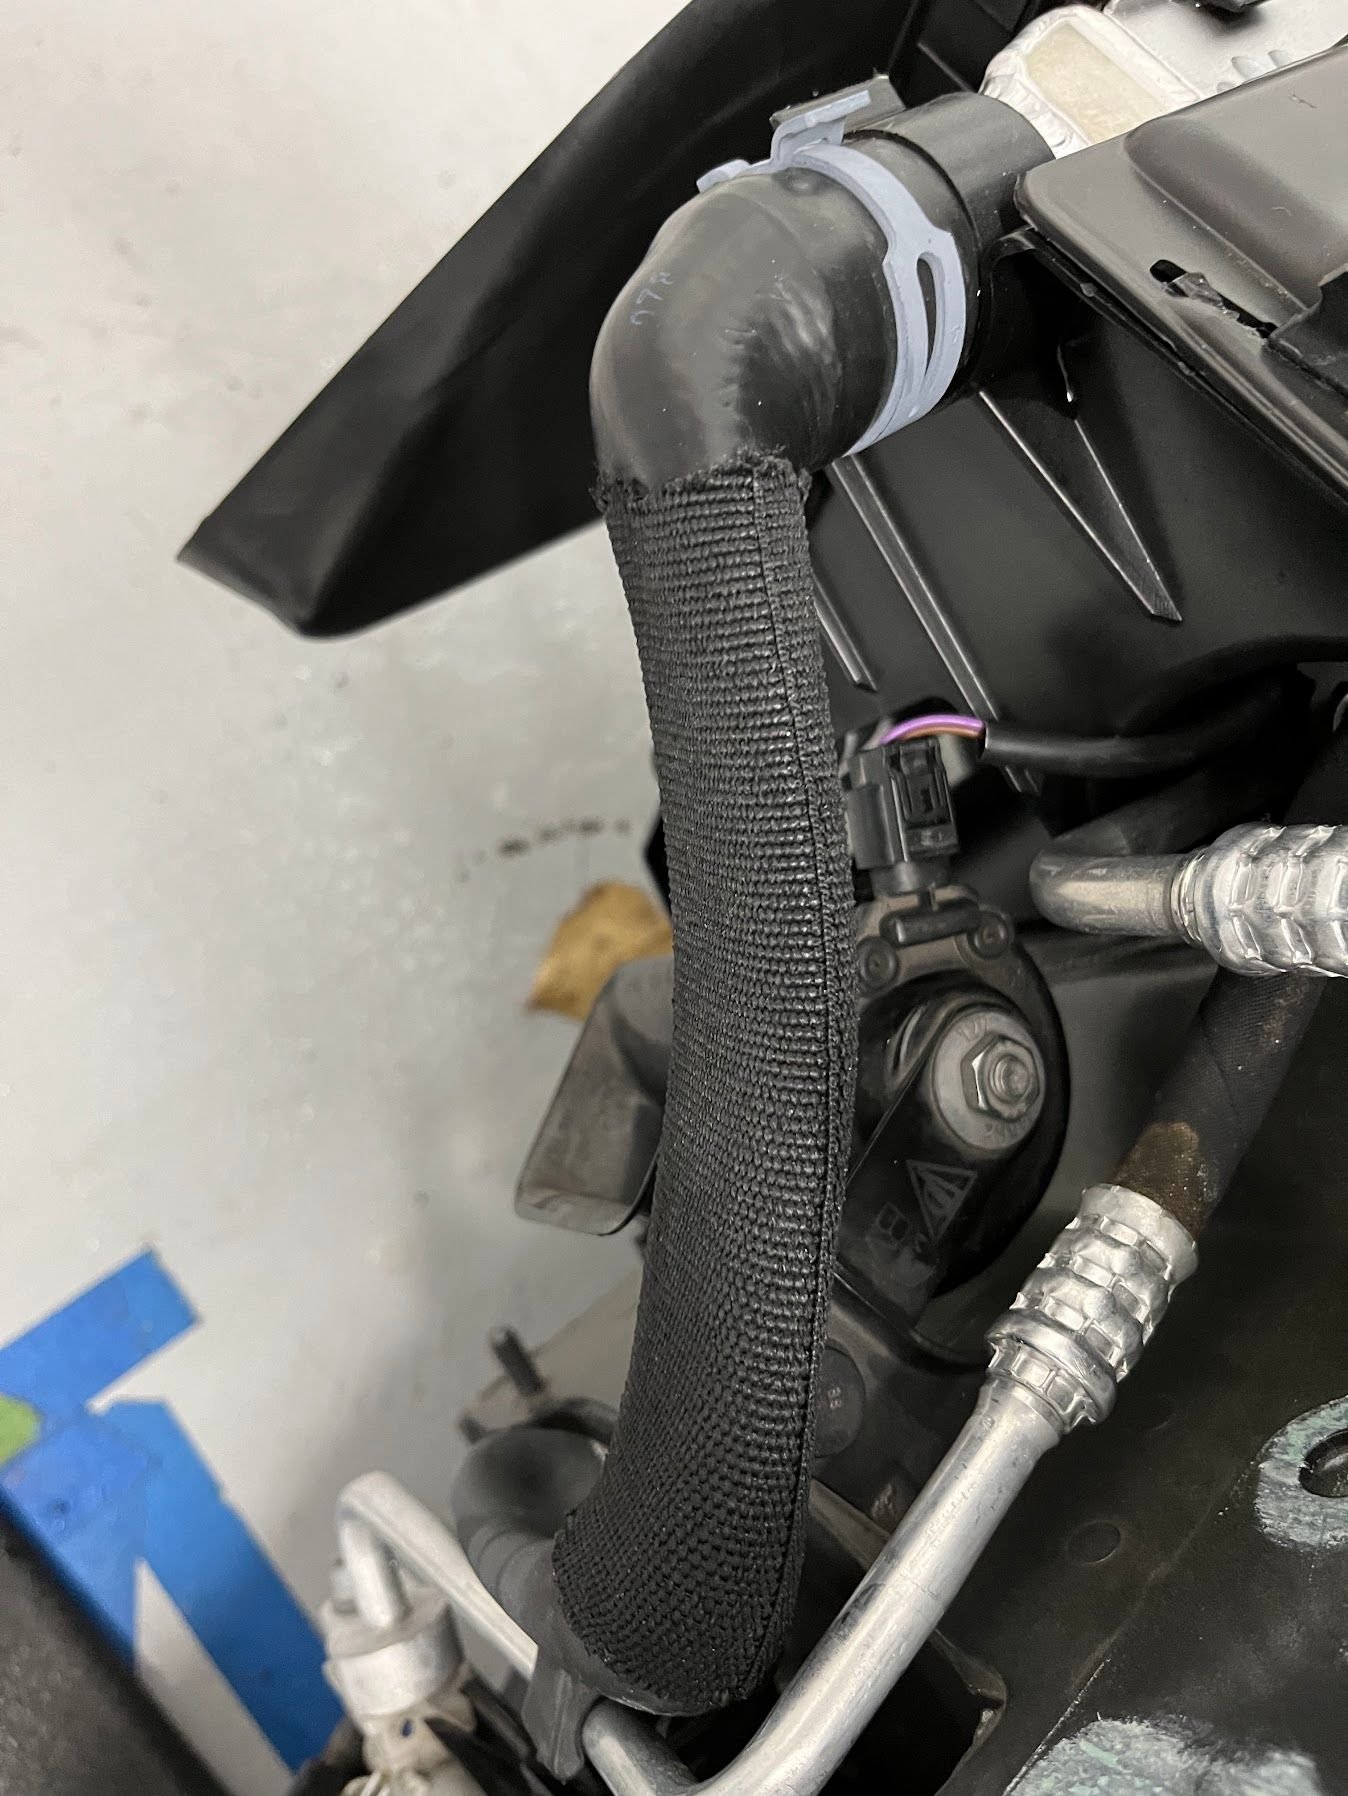
When I got in there the first time (new car to me for a few months) I found a vac. actuator on the top of the engine, (lower left position) (Image below) which had a metal nipple exposed- I assume this is creating a vacuum leak, but I could not find a hose anywhere that would have come off-
I capped off the open nipple on the actuator with a red vacuum cap. Couldn't find any decent photos of this actuator on the web, nor in the factory repair manual. Image attached below-
It was the first time I opened up the engine cover, and I was appalled at the dust. I spent the next hour try to clean it up.....
Thanks a lot Jim! I didn't think I was getting enough grip on the thermometer housing, aka fill level, so that didn't make sense. After days of searching I finally found Jim Richardson's video on engine access through the cabin.Then my computer started hating on me and this morning my internet said, later dude. But I did see the bleeder valve and the resevoir cap in the engine bay on that video. It made more sense that the vacuum would hold much better there. But man, that's some crazy labor for owning a convertible, wow just wow.
I love your diagrams, they show so much. I didn't realize that the coolant temp would drop in sport mode. My base doesn't seem to do anything different in sport. It doesn't sound, act or feel any different. I didn't leave it on long enough to see if the temp would drop. It always tops out at 194 and stays there.
If I hadn't already bought the stuff I'd probably let the house boy, or girl, at Porsche do it. They're not telling a veteran to do that job. My mechanic hasn't/doesn't work on foreign so he wouldn't touch that crazy job. It'll probably take me at least two weeks to do it. Sigh. I love doing my own work, both for the satisfaction and knowing how it was done. But I'm probably a 5 out of 10 on fixing things. That's why I always appreciate a step by step on the process. I think I've got the gist of it, just gotta suck it up and decide to tear into it.
Well if nothing else my buddy will be home in two weeks. So maybe I can holler for help then.
Coleman that is a great picture of the bleeder and the coolant cap in the engine bay. I was looking for that for days. After watching Jim's video and Johson's advice I finally figured out where it was. I can't tell by your picture but I guess the coolant fill in the trunk must have a tube/line into the coolant resevoir.?
That's an interesting pic of the uncapped fitting just sitting there unused. Kinda makes ya wonder. Wouldn't you like to see pics of 10 similar cars to see if they are the same? Or what exactly you're missing.?
Nicely done video. I need to do that as I noticed some residual leakage around the thermostat. It was on the top of the under cover near the driver rear wheel.. I ordered the parts and now I just need to drain the system, install the valve and ancillary surrounding items I purchased and fill her back up! Couple of questions:
I have a ~sort of working version of Durametric, any better tool you would recommend for this service?
Since you covered vacuum, I'm sort of diagnosing a vacuum leak- dumb question, when the car is turned off, and I start diagnosing the Vac. hoses, what is the status of solenoids and pumps? Are some or all open so that I may achieve a vacuum or are there tasks to do to shut off or block certain actuators or solenoids?
That's a pretty tricky question- maybe there's a good link you could provide for diagnosing vacuum issues in the `15 981 GTS 4.1?
When I got in there the first time (new car to me for a few months) I found a vac. actuator on the top of the engine, (lower left position) (Image below) which had a metal nipple exposed- I assume this is creating a vacuum leak, but I could not find a hose anywhere that would have come off-
I capped off the open nipple on the actuator with a red vacuum cap. Couldn't find any decent photos of this actuator on the web, nor in the factory repair manual. Image attached below-
It was the first time I opened up the engine cover, and I was appalled at the dust. I spent the next hour try to clean it up.....
TIA-
Coleman.
The valve is the PSE valve. There was a plastic cap capping the metal nippe, my guess yours broke off... Probably not a big deal.
I'm thinking my sport mode is a faux button. It doesn't seem to change anything at all. I don't leave it on long enough to find out what temp it may change. I'd be surprised if it changed anything.
I finished the coolant change in the boxster, it wasn't as bad as I'd imagined it was going to be. I used Jim Richardson's video mostly. I only had to take off the rear most underneath panel, about 5 screws and 4 nuts. Afterwards I realized that one doesn't have to do anything in the cabin except take out the windscreen and if your arms are short, perhaps the rollover screens. And if you don't have to remove the ball joint/wire, not even that. DO NOT remove the rear upholstery or speaker grills! The engine cover screws are very accessible from the rear. I used a 1/4 inch bit on a 1/4 inch socket to hold the torx head and if it were magnetized would have been perfect. I got 3.8 gallons of coolant out, or almost 2/3 of it, without removing any hoses, which was my goal all along. I will do it again in 3-4 years and then it will have 95% of it's coolant refreshed.
I'm not sure why the ball joint/wire disconnect is done. The top went up and down without it connected. Maybe it's some kind of limit tool? I was wondering how one got all of the leaves and debris from behind the seats in the window area, now I know. I was using a vacuum from the cabin trying to get all that out. lol It would make sense to brush all around your top before lowering it to keep that stuff out, but not all cars are garaged I suppose. I used a vacuum pump from Harbor Freight but it didn't have what seems to be a 37mm reservoir filler plug, so I wouldn't use theirs again. Unless I can find the 37mm filler plug somewhere.
In all it was about a 4 or 5 on a 1-10 scale for difficulty, so not too bad really.
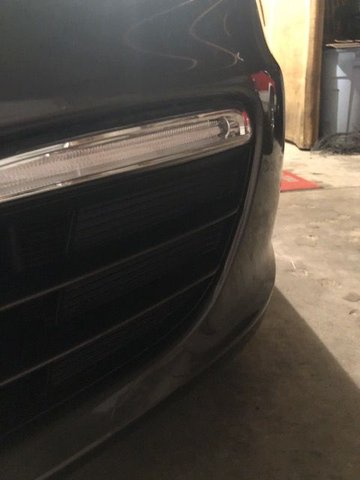
As an aside, I know most of us Porsche guys like to keep our cars looking new. What do you guys use to clean the inside corners of the front fascia? Is that what it is called? They seem almost impossible to get to, at least with anything my mind comes up with. Thanks! Sorry no flash for some reason. But how do you get the inner corner of that fascia? clean?
Yeah that's so true Cyclman. I like to do what diy that I can.
Anyone know why it's recomended to disconnect the ball joint wire when one gains entry to the engine bay? It seems there must be a reason they suggest that, I just don't know if it is necessary. I'm not enough of a techie to figure that one out. What happens if you leave them connected?
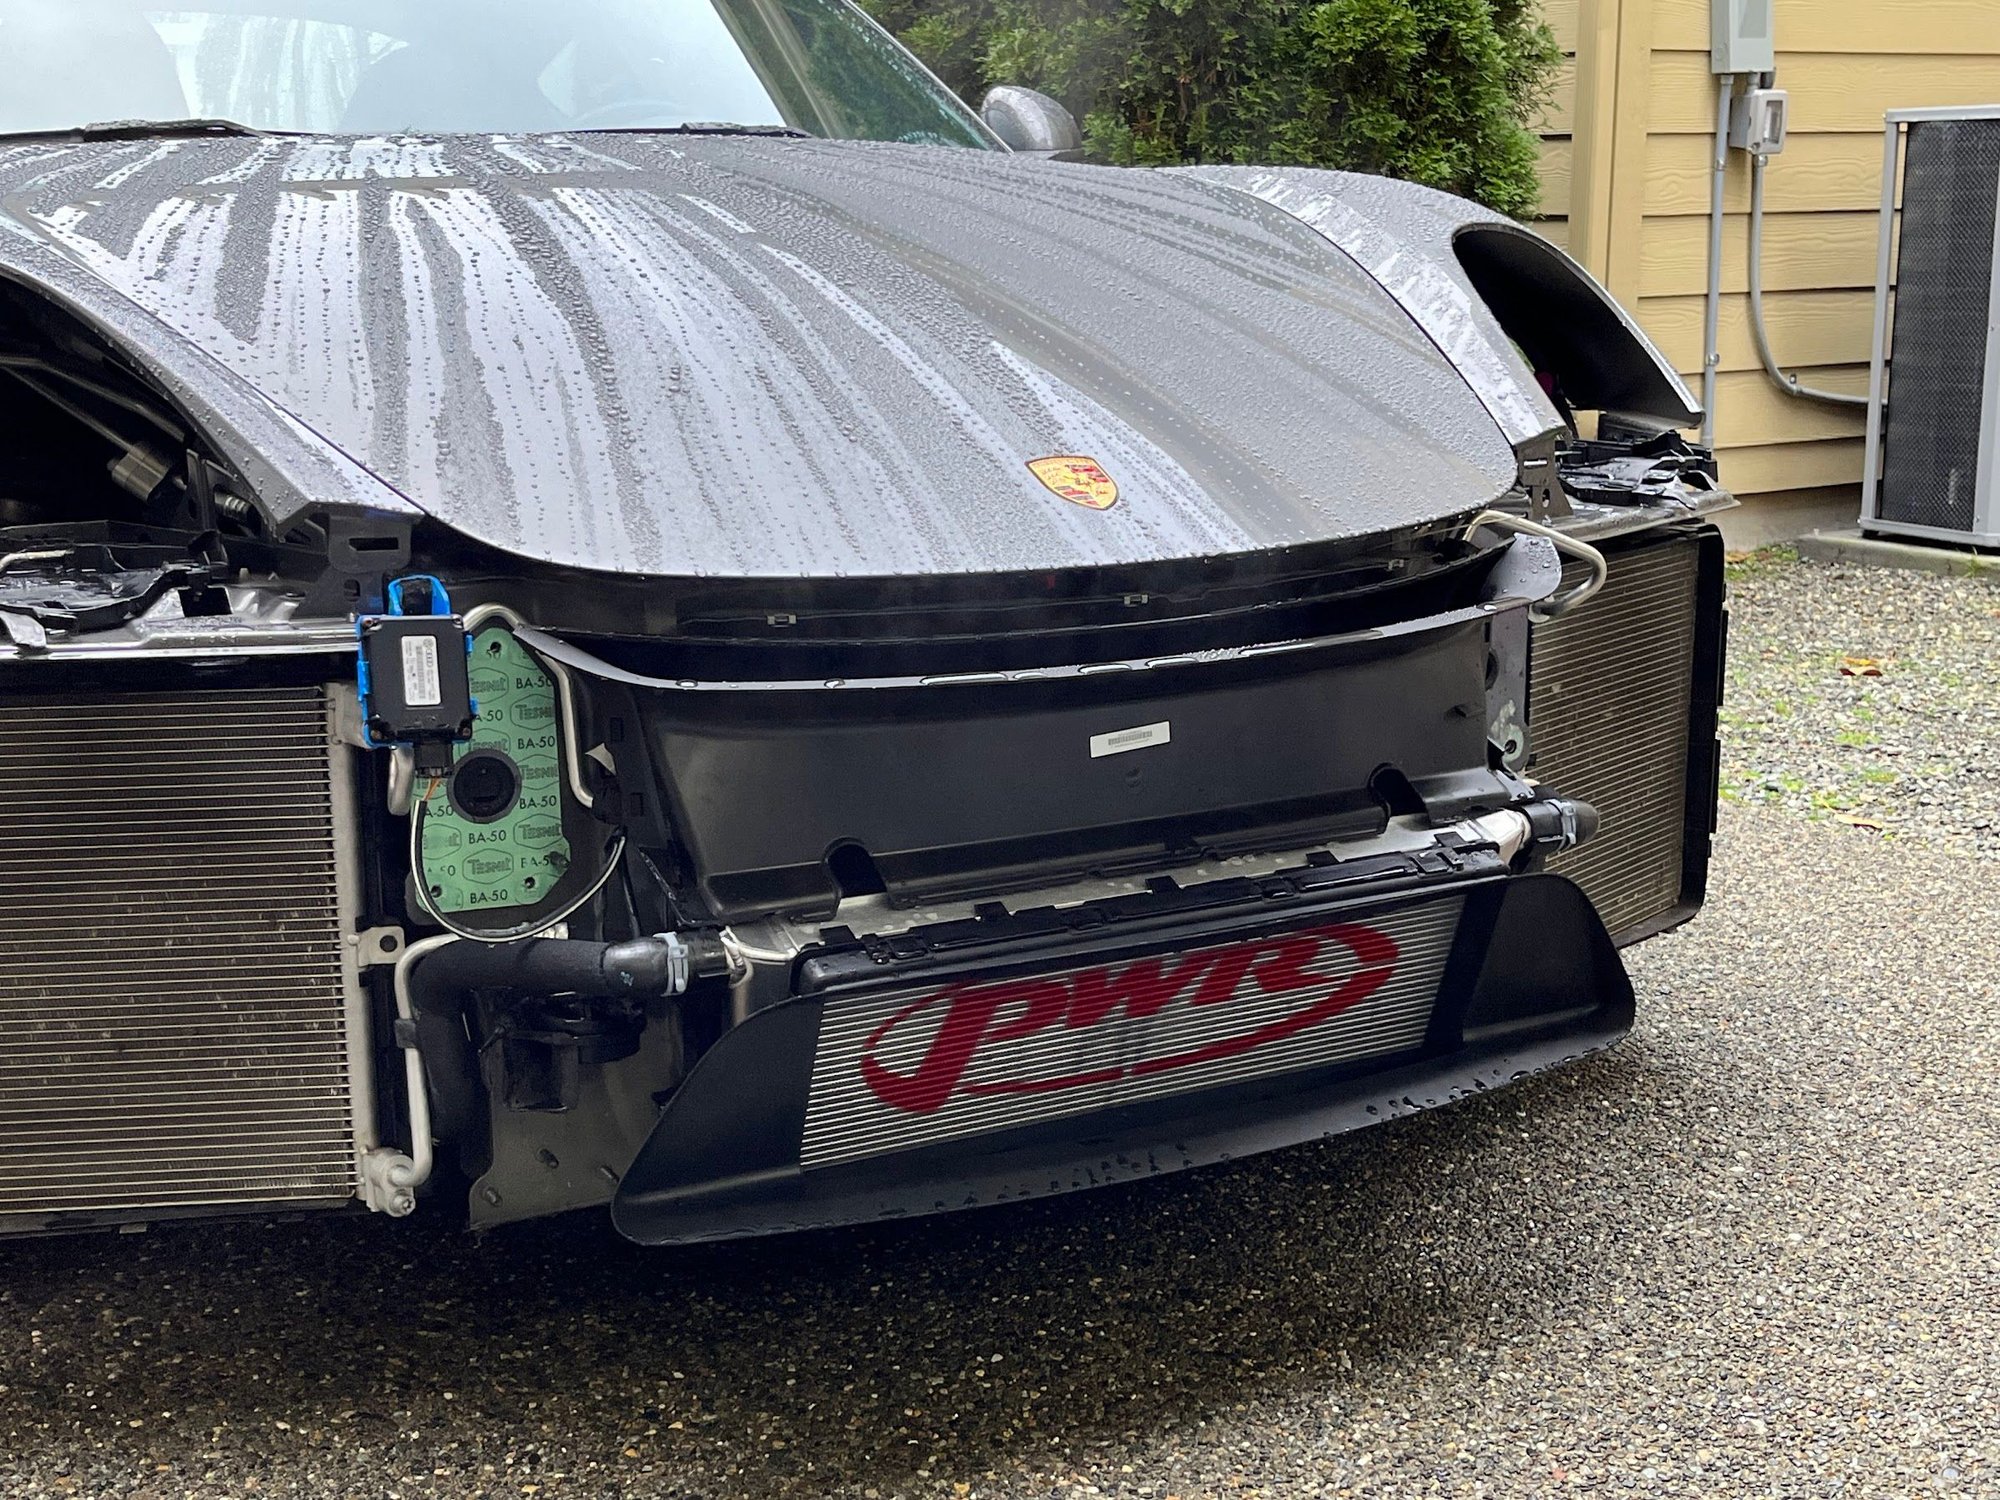
I just did this job, and it's not too bad. I watched Jim Richardson's video a few times and gave it a go. It wasn't a small job, but a local Porsche Motorsports shop quoted me $7,700 to install a 3rd radiator and oversized oil cooler so I was motivated to do the work myself.
Doing this job reminded me of how helpful it is to know what to expect ahead of time, so here's my notes. This is meant to supplement the video and other posts.
Engine Cover removal
Took about 45 minutes my first time. If you've removed panels before, this video will be all you need:
For the panels covering the seat belt, pry gently upwards near the aluminum cross bar: it won't take much force and they'll come up.
Front Engine cover removal
Once you've removed the main cover, just yank out the carpet behind the seats to reveal the front engine cover. You'll need this to access one of the two vacuum lines referenced in the Jim Richardson video. I didn't even know this panel existed. Sweet!
Draining Coolant
5-10 PSI is all it took to drain the system, including most of the front radiators. I did pull the front left radiator hose in an attempt to drain that radiator, but not much was left. I expected the right to be the same, but 8-16 ounces out of the right side when installing the hoses for the 3rd radiator. If I were just draining/filling, I'd be sure to drain both sides. Porsche's use of clips & O-rings really makes it simple to drain there.
The middle sized rubber adapter worked perfectly in the coolant reservoir cap, but it took some o-ring grease between the unit and the adapter.
I bought a longer hose than what was supplied with the tool, in case the vacuum pulled out more coolant from the system when venting: it didn't.
I also bought a longer hose to feed the system when bleeding, as the supplied hose was just too short. It has to extend to a 5 gallon bucket sitting on a table next to the car. This hose is 3/8ths ID. The hose used to vent the system when pulling the vacuum is a smaller size (sorry I don't have the size, it's unlabeled).
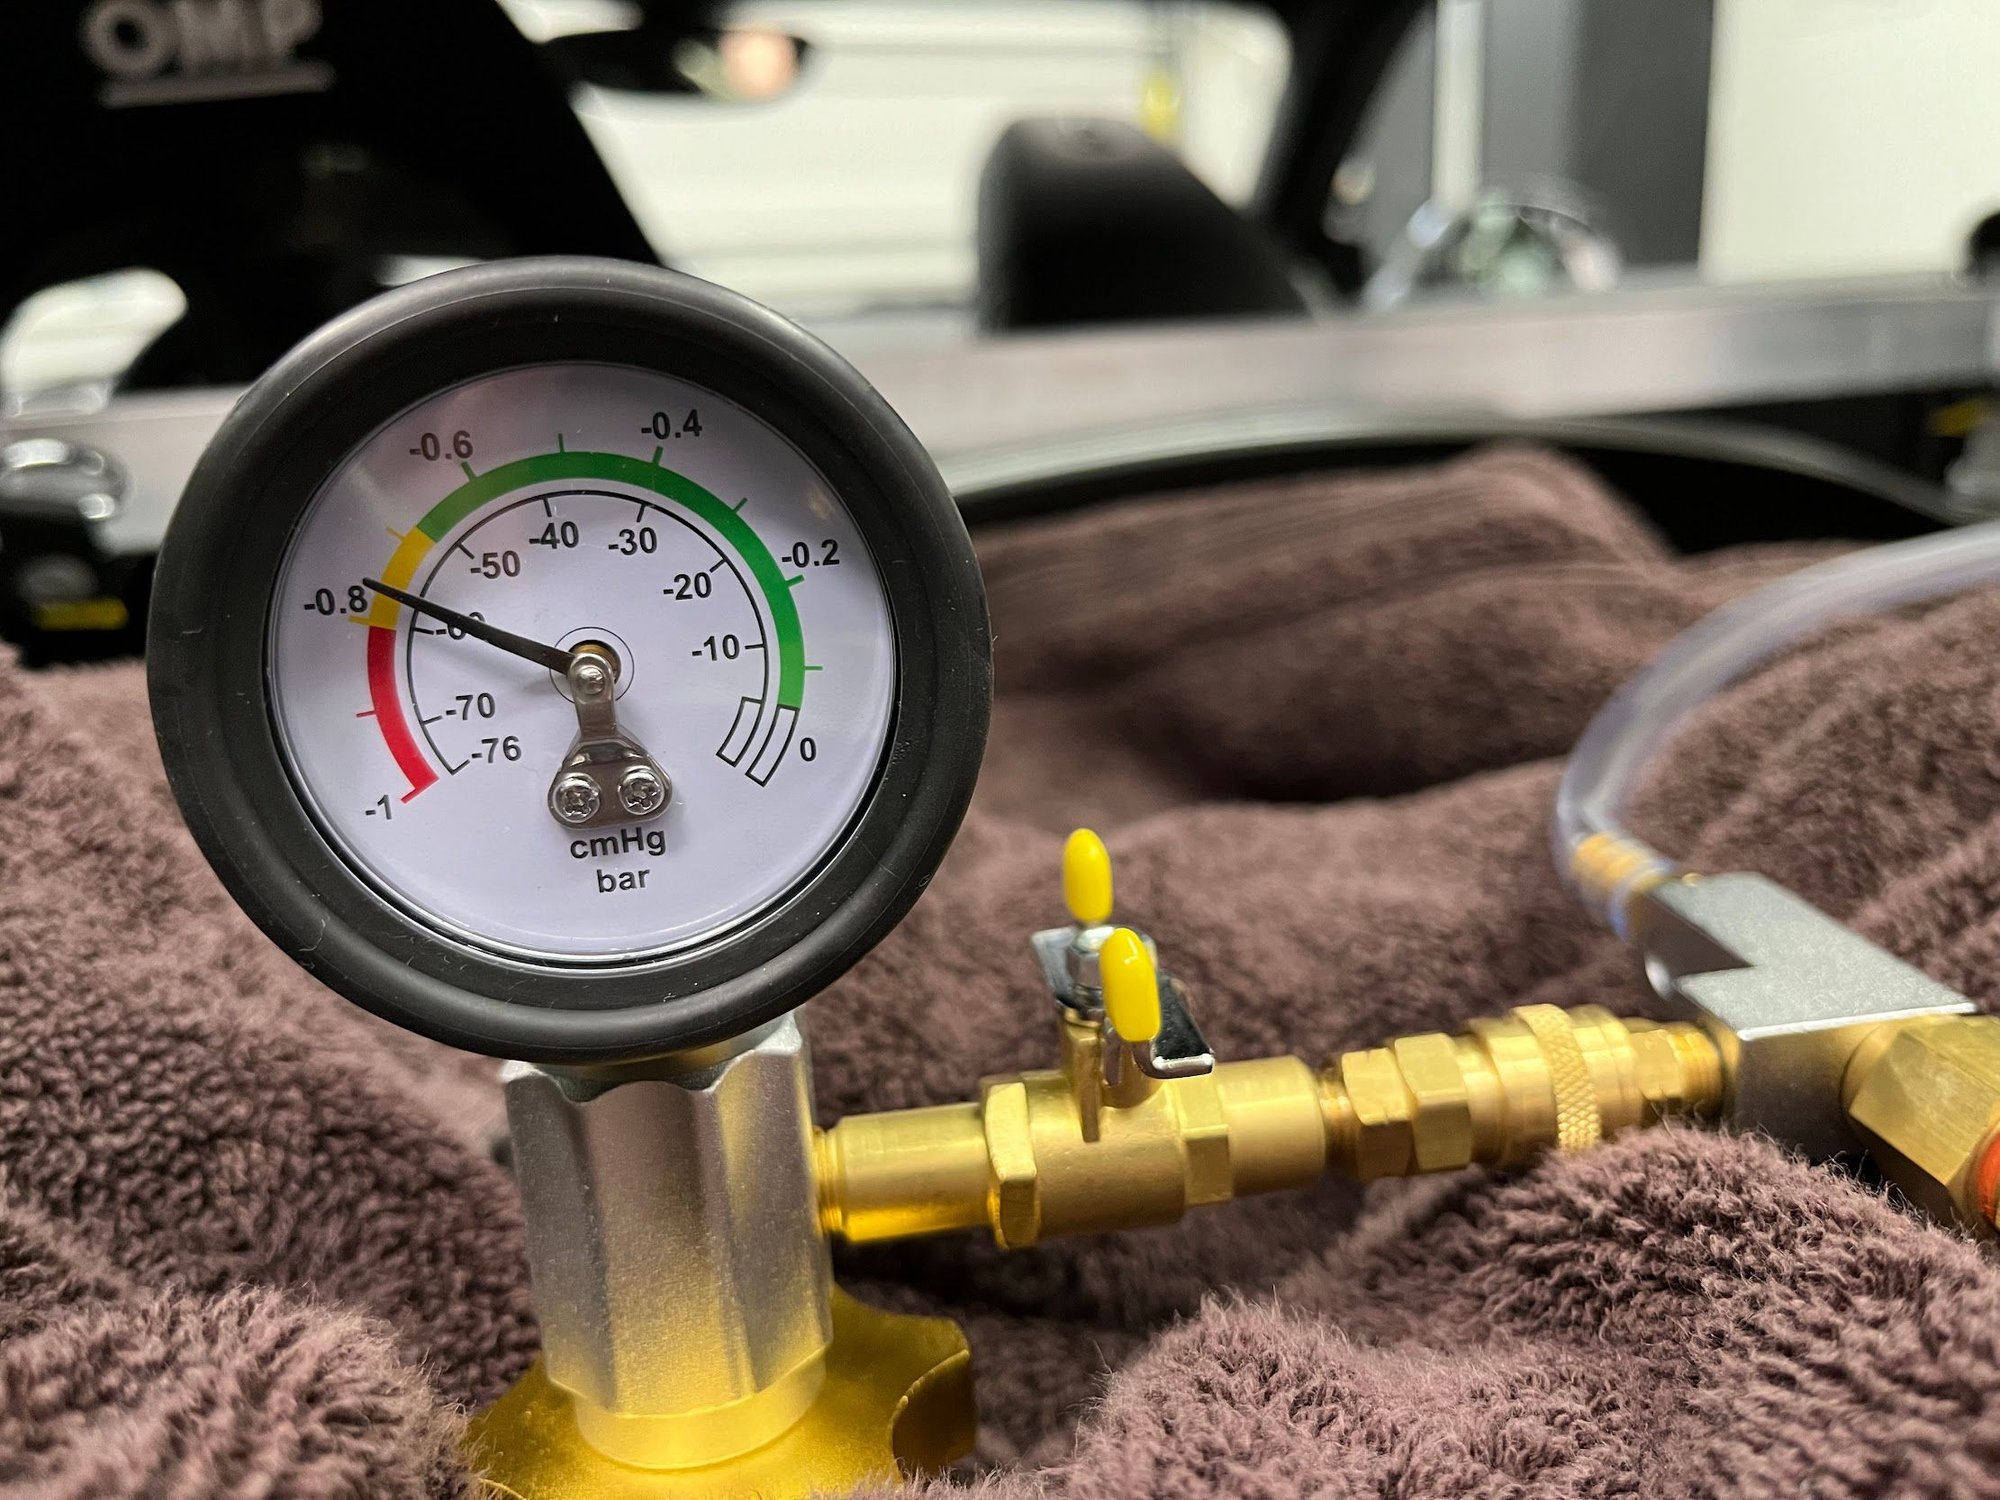
Because of the way the gauge is colored from green to yellow to red, I only pulled about 58 cmHG of vacuum. This is about 23 inch HG. I should have pulled more vacuum, as it was insufficient to completely fill the system (more on that below).
Once the vacuum was pulled. It held steady for quite some time while I fumbled to prime the feed hose with coolant. This verifies there were no leaks in the system.
The front hoses were collapsed.
In order to prime the feed line, I used this pump:
Or, at least one that looks just like it that I bought from O'Reilly's Auto Parts. Point is: figure out how you are going to prime that line ahead of time: you don't want to find yourself sucking on a hose full of Porsche coolant while your car's holding almost -1 bar vacuum.
After priming the line and opening the valve on the tool, the system filled. Neat!
Bleeding the Air
Unfortunately, I should have pulled more vacuum on the system, as I didn't get as much volume in as I had gotten out (and was adding volume with a 3rd radiator). After plugging the vacuum lines per the video, I put the coolant cap back on, flipped the bleed lever, and started the car to bleed the air (heater on, AC off, sport mode on) and ran the car at 2000 rpms. The temp gauge slowly climbed to 194 - where it appears to plateau for a while - then jumped to 210 and started climbing again. The "overheating" warning comes at around 250, at which time I shut it down. After the car cooled, I added some coolant, and then repeated the process one more time with the same effect, but shutting it down sooner (before the overheating warning). After consulting with an old retired Porsche mechanic (a buddy's father), he basically said that bleeding these things are a pain in the *** and "keep going". On the 3rd try, temps stabilized at 194 and no overheating warning and warm water flowing to/from all of the right places (radiators, heater core, etc.).
So, the lessons here are 1) pull as much vacuum on the system as you can to reduce bleed time, 2) be patient with bleeding and keep repeating the process if necessary.
I got my �15 CGTS in Dec. I�ve done oil, brakes and trans fluid changes and watched Jeff�s vid on this job. Since I don�t have PIWIS, I�d have to unhook vacuum lines and I don�t have the vacuum bleeder. Our PCA region had a tech session at a shop with a newly hired Porsche Gold tech, and were offering 20% off this month. So, after building a �84 911 track car (suspension, brakes and 3.2-3.4L motor build) and doing all work on my old 993 for 15 years, I decided to let the shop do this. Big mistake. I found out along the way today he thought he could do it all from underneath. Then he found out that wasn�t the case, as it needs the vac bleed, and added a couple of hours.
I get the call to pick up, and on the 20 mile drive home, I�m fixated on the coolant temp. It was at 194, and the oil was at 198-225, which it�s done before. All of a sudden coolant goes to 247, then down to 223, then 194. Rinse-repeat. Got home and called right away and politely read them the riot act and pointed out for the 1st time in 25 years/4 pcars, I decided to use a shop. The svc manager said he could send 2 guys to pick the car up. 🙄 I replied no thanks, I�ll get it down Thurs and need a loaner so I can leave overnight. He swore they�ll make it right. We�ll see. Did I mention I have a 2k mile road trip next week?
9 Vehicles Porsche Helped Engineer that Aren't Porsches
Slideshow: Long before engineering consulting became trendy, Porsche was quietly helping other automakers build everything from supercars to economy hatchbacks.
9 Features and Characteristics That Only Porsche People Understand
Slideshow: Some brands build cars. Porsche builds traditions, obsessions, and a few habits that stopped making sense decades ago but somehow became part of the charm.
This Builder Is Turning Heads With Its Slantnose 911 Creation
Slideshow: A small Polish tuner has reimagined the Porsche 911 Slantnose for the modern era, blending 1980s nostalgia with widebody tuning culture and serious performance upgrades.
Porsche 911 GT3 Artisan Edition Pays Homage to Japanese Culture
Slideshow: Porsche has created a Japan-only 911 GT3 Artisan Edition that blends track-ready hardware with design cues inspired by traditional Japanese craftsmanship.
Porsche Reveals Coupe Variant of the Electric Cayenne With a Fresh Look
Slideshow: Porsche's latest electric Cayenne Coupe blends dramatic styling with supercar acceleration, turning the brand's midsize SUV into a 1,139-horsepower flagship.