When you click on links to various merchants on this site and make a purchase, this can result in this site earning a commission. Affiliate programs and affiliations include, but are not limited to, the eBay Partner Network.
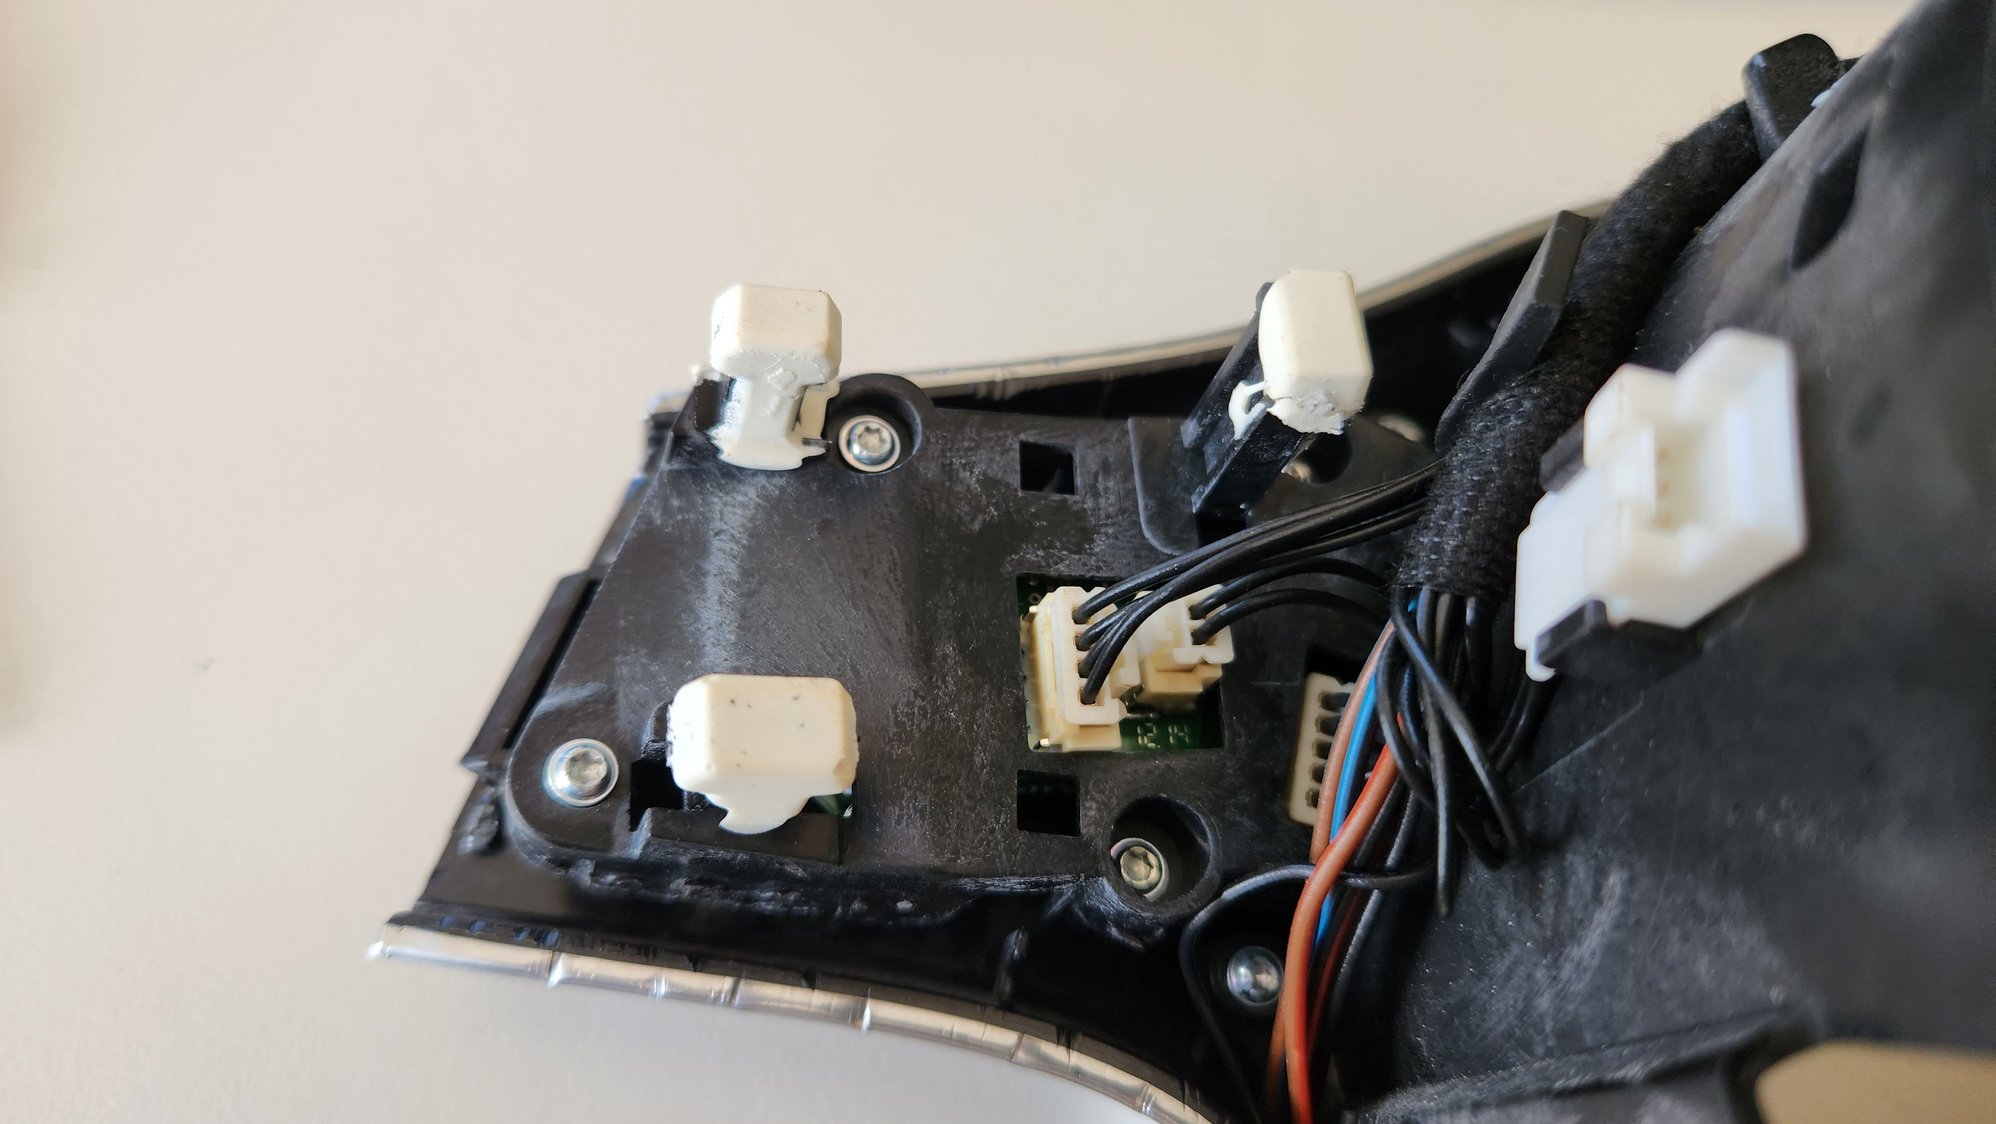
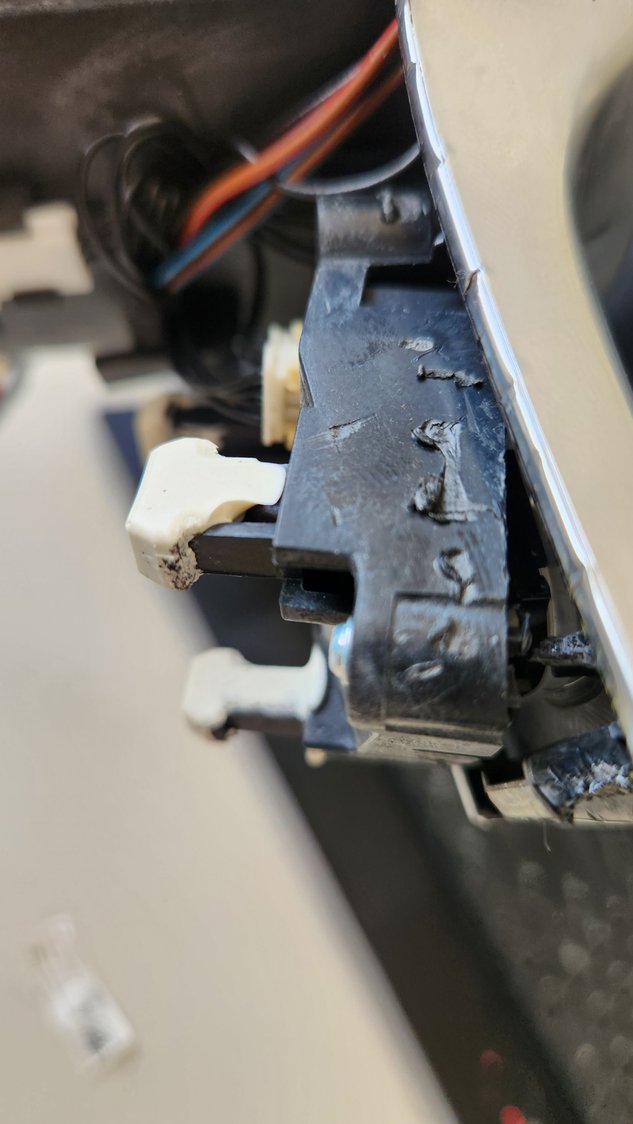
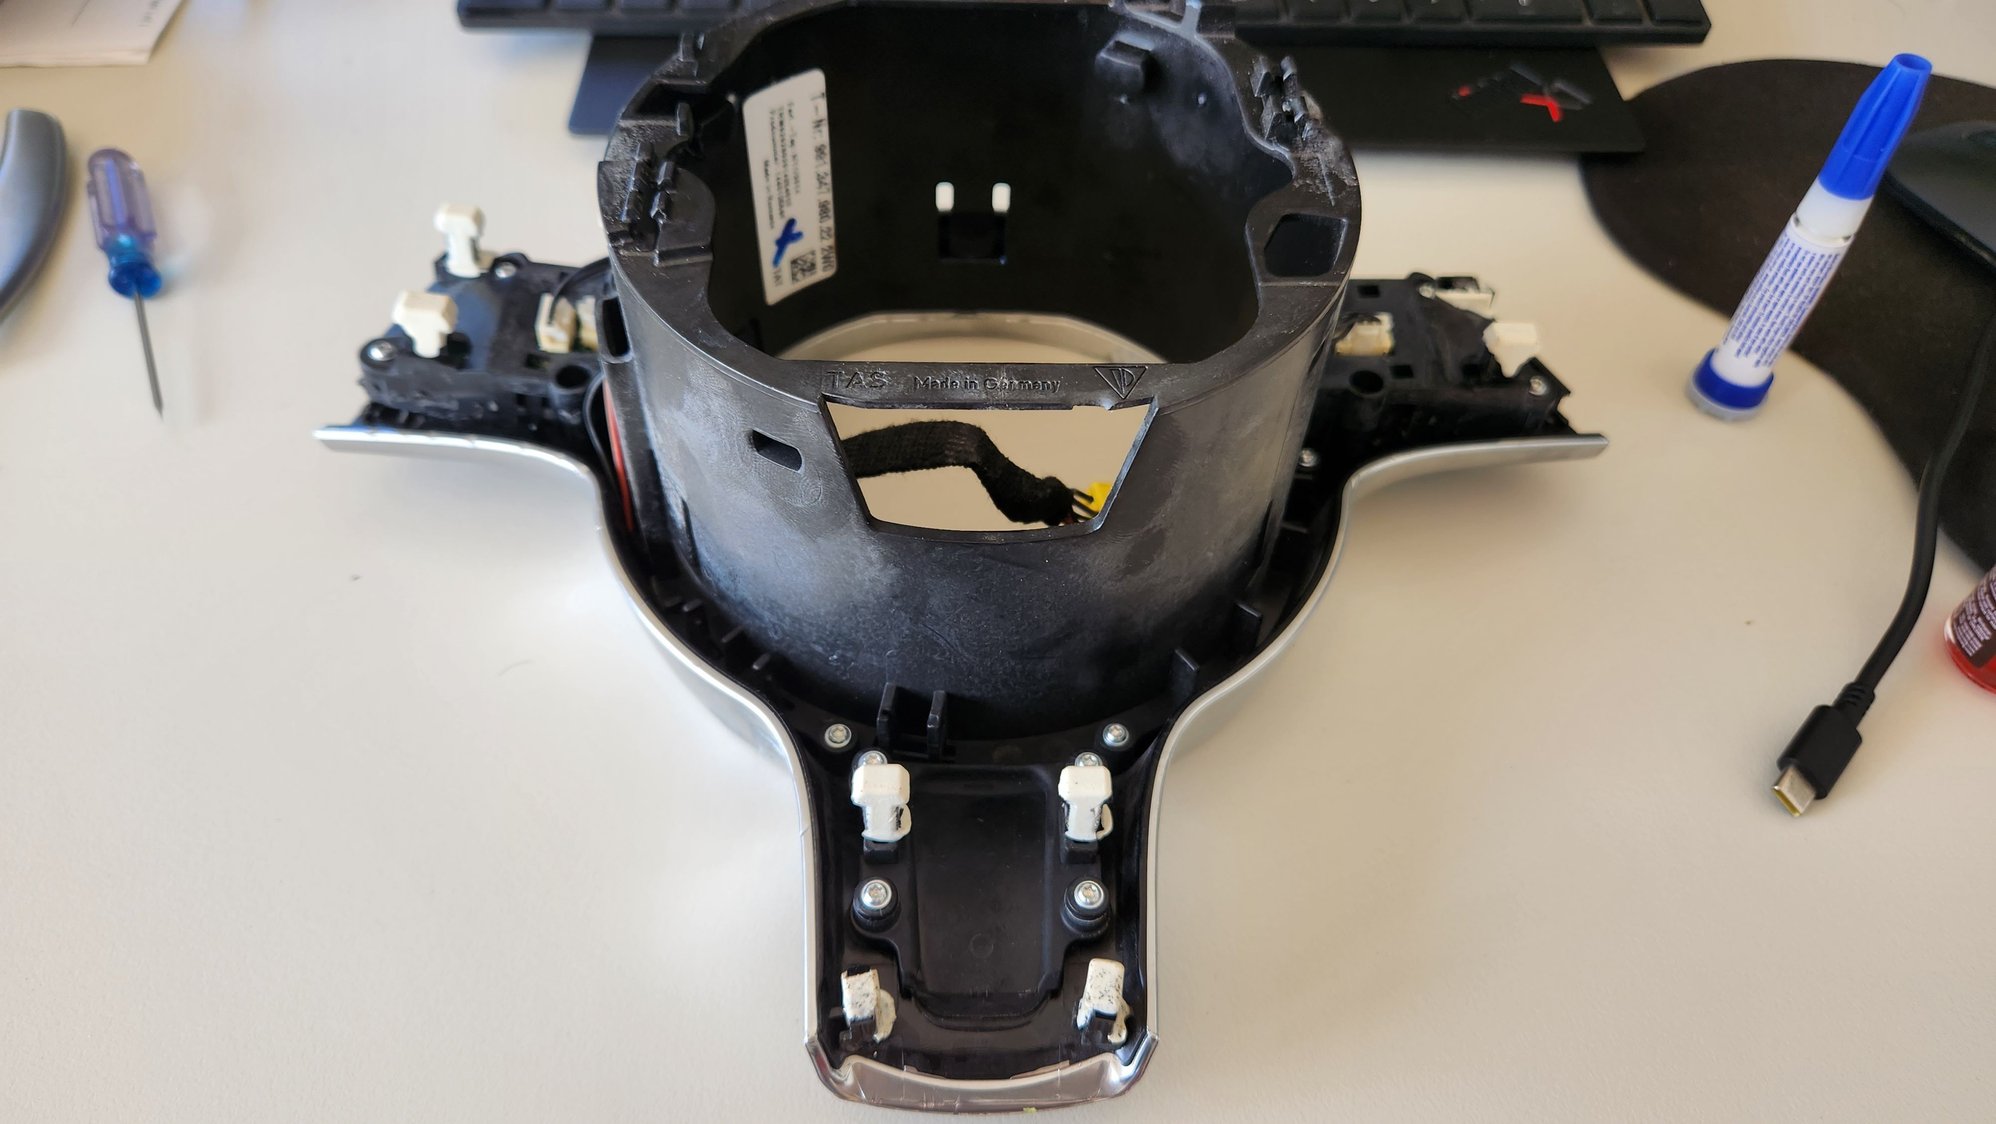
After procrastinating for a couple of years I decided to see if I could get by left (downshift) steering wheel paddle working. Upshift works fine (but upshifting is nowhere as much fun as downshifing, right?). First step was to disconnect the battery overnight and remove the airbag. I've done this a dozen times, very easy and lots of youtube guides. The hard part is removing the plastic inner trim of the steering wheel (btw, no need to remove the steering wheel). I've read a few descriptions of how to remove the trim and it is a real pain in the a@#$. The trim is held in place by ten plastic "studs" that appear to be "formed" in place in their respective sockets with a white rubbery-type substance. As a result they are a VERY tight fit. Other people have suggested using plastic trim removal tools and/or kevlar line. I ended up using the plastic trim removal tools, a 3"wide chisel covered in masking tape and a wide blade flat screwdriver. No way the kevlar line would allow me to put enough tension on the insert to effect removal. It took me a good 45 minutes to finally work the trim loose. In the end, i broke one of the plastic studs off. Note that the display inserts on each spoke of the wheel are screwed into the trim unit - with the three studs on each side part of the display unit (not the trim unit). Hence, when you go to remove the trim, if you are not careful you will break the tabs that the displays screw into while the displays remain fixed to the steering wheel. Ask me how I know this... Anyhow, if you are moderately forceful, use leverage however you can and just work the studs loose gradually you will (hopefully) have a fairly intact inner trim in your hands.
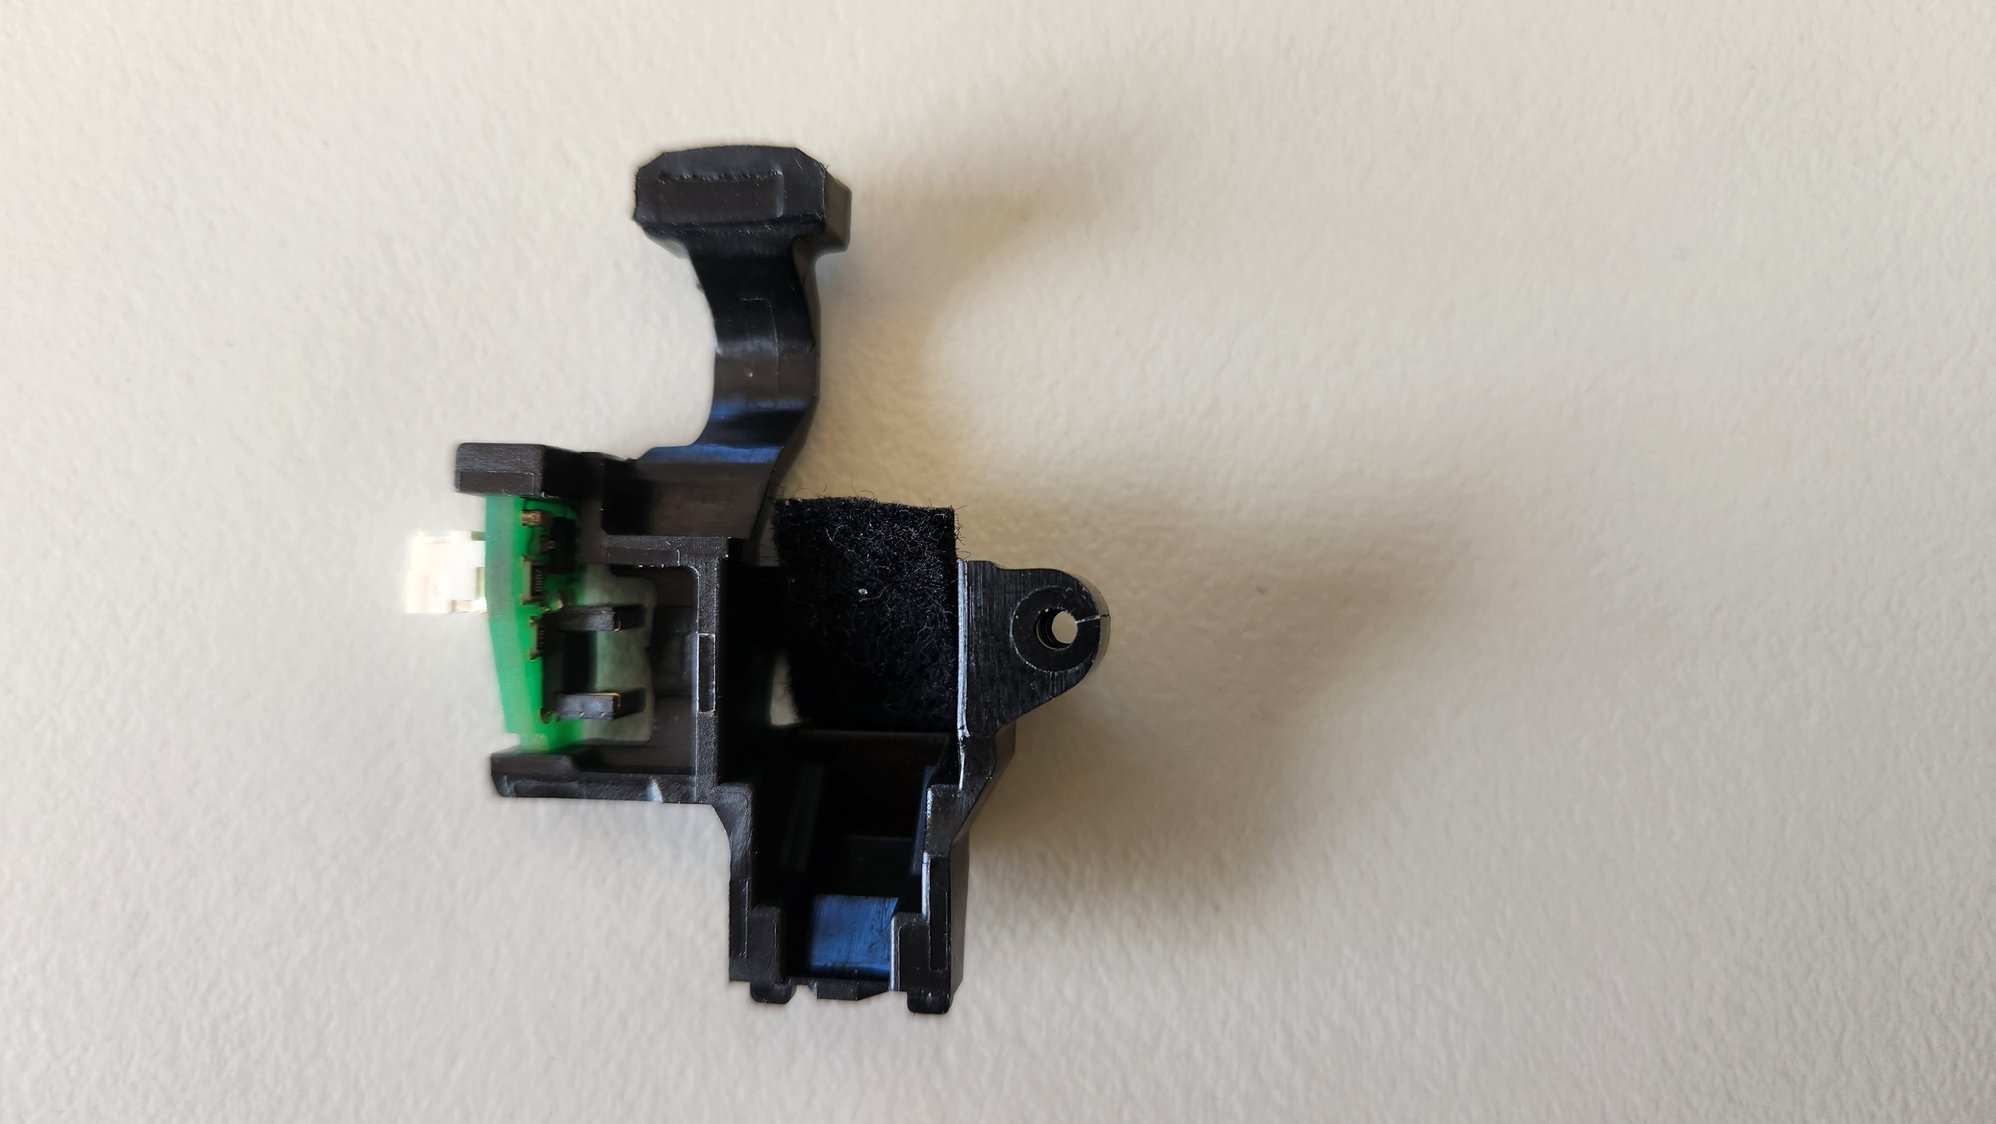
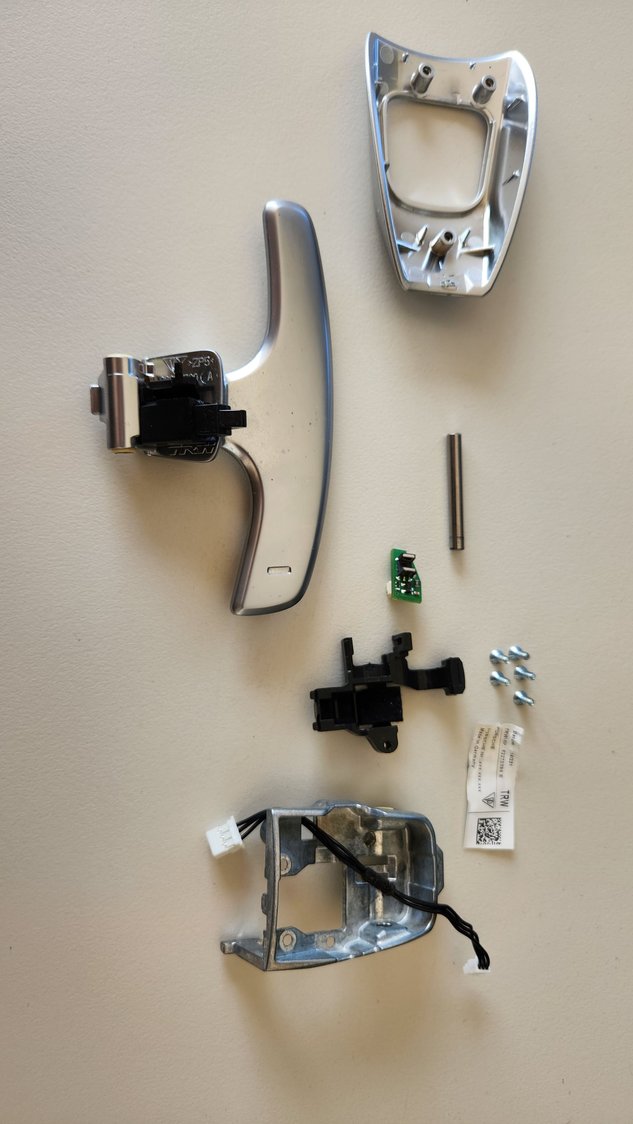
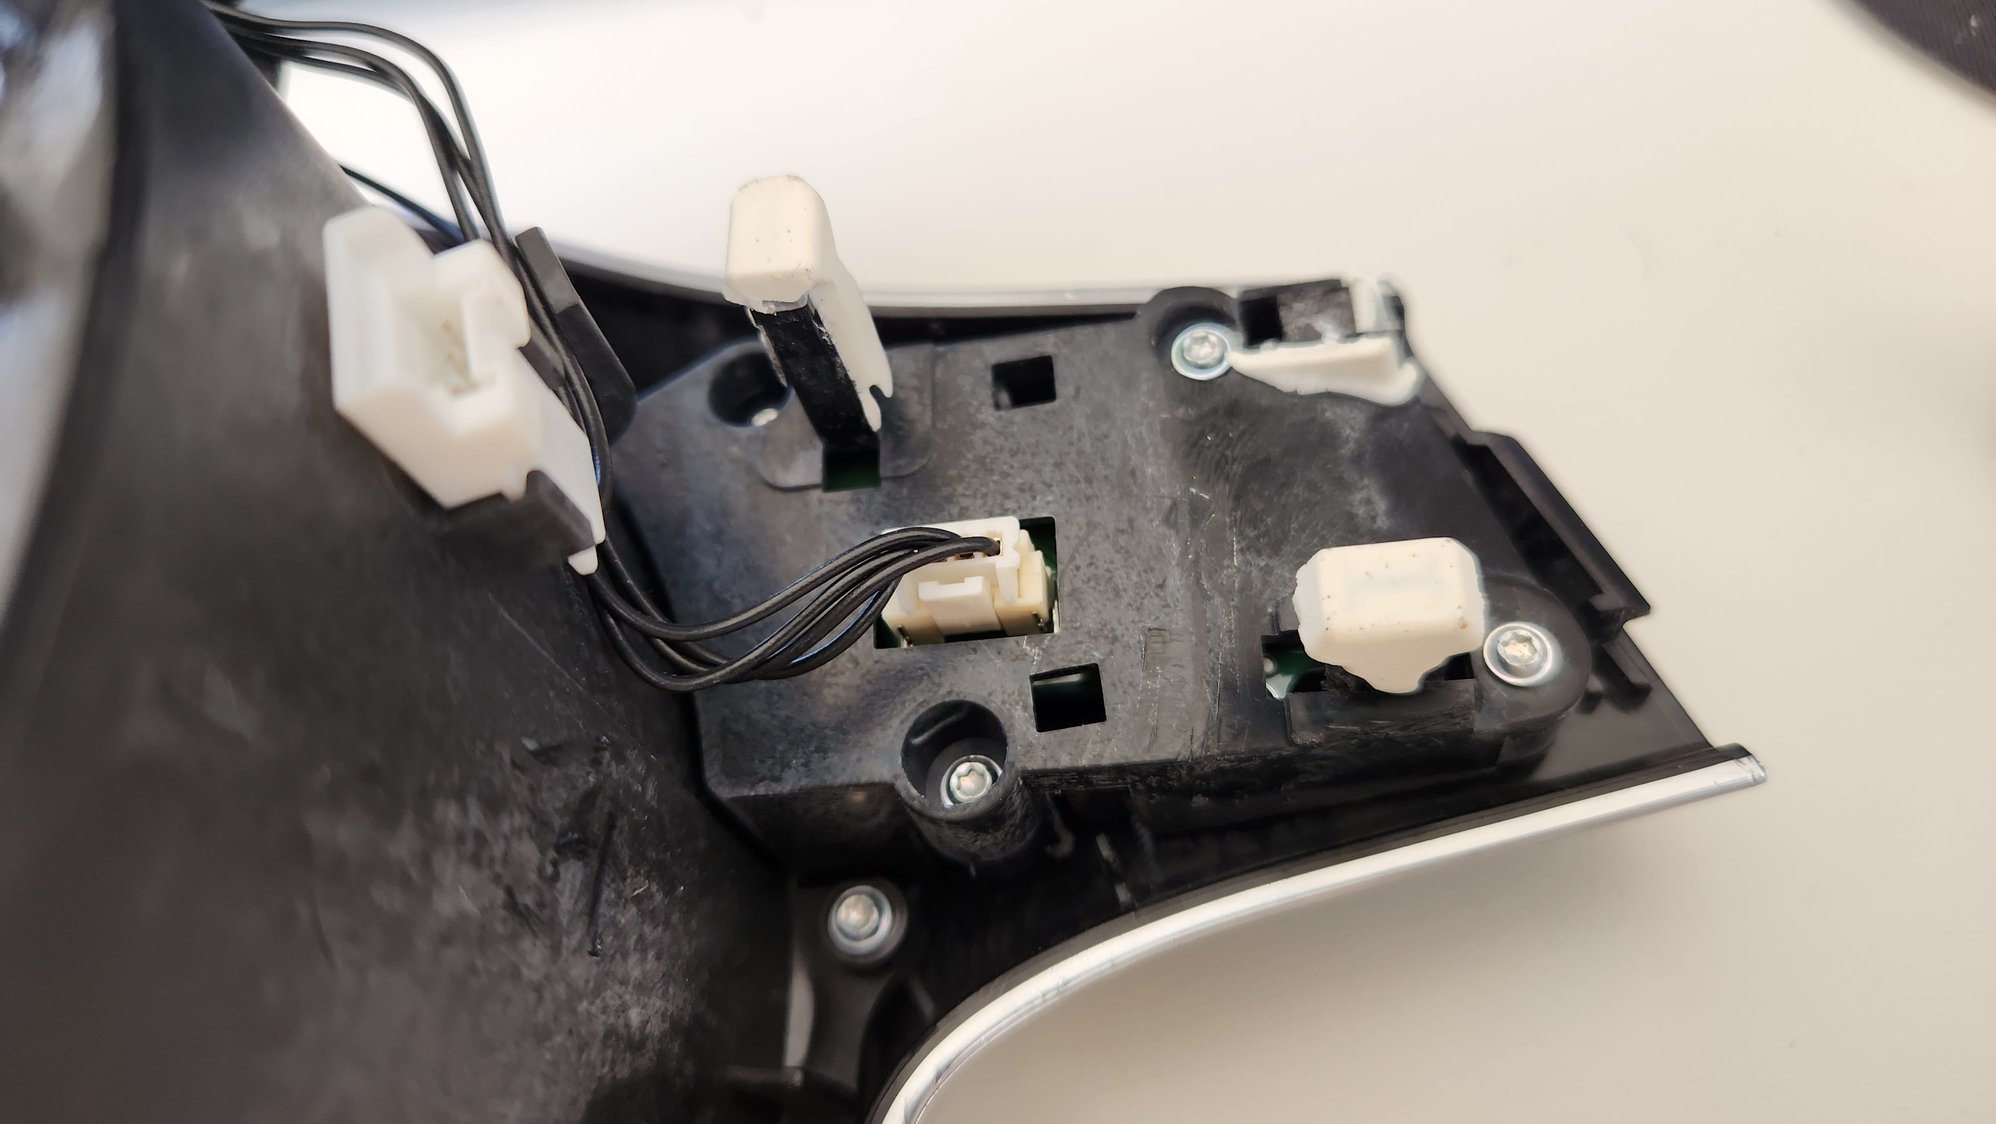
For me, this was just a means to an end. I was pretty sure that the problem I had was a faulty microswitch, and with the trim off the wheel, I could now loosen the two nuts that tied the inner switch bracket to the paddle mechanism. And bingo, out comes the paddle mechanism. I did a quick resistance check on the paddle switch and gratefully, got no continuity between any of the three wires to the switch. Obviously, a mechanical failure in the microswitch, right. Yeah... no....
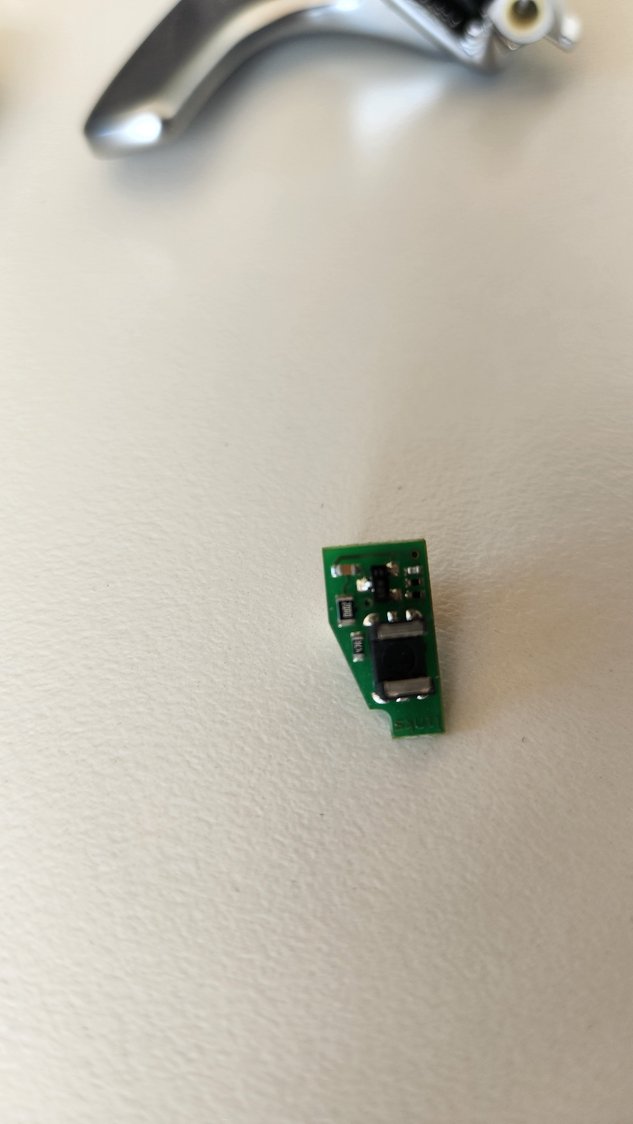
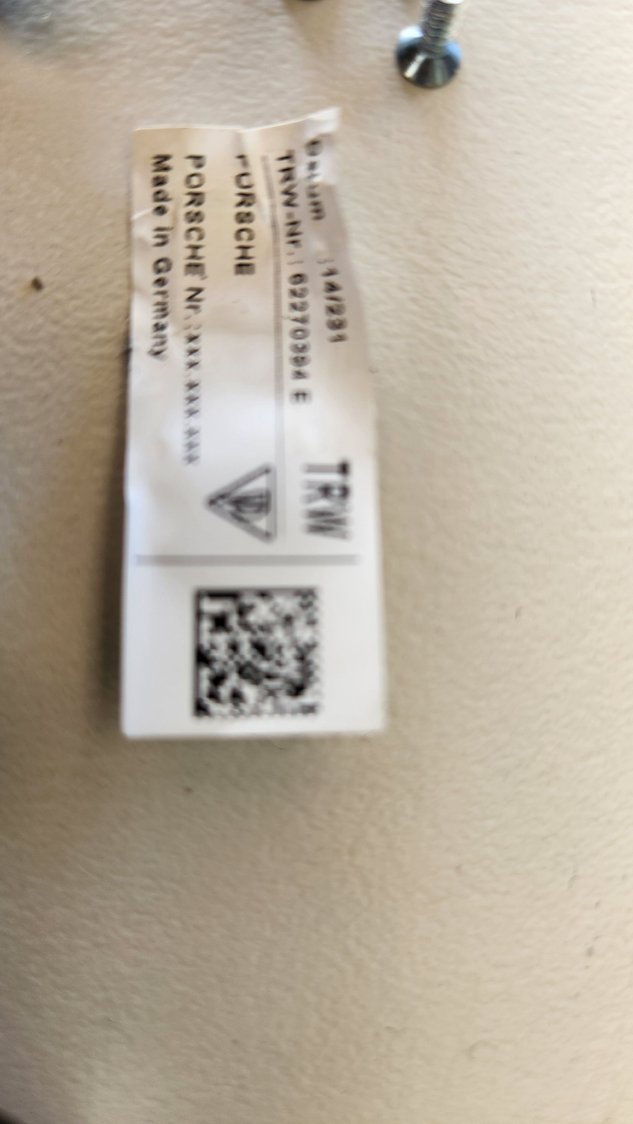
When i took the microswitch apart, it looked like no electro-mechanical switch I had ever seen before! Its a tiny circuit board with a bunch of semiconductors and a gate that gets interrupted by a plastic arm on the mechanical switch lever. No obvious electrical contacts. Perhaps there's a magnet in the arm and its a hall effect sensor of some sort?? Its a very cool device, seems more worthy of a JSF F35 than a lowly Porsche 981! It seems to be made by TRW and has a TRW part number 62270394 E. I googled it to no avail.
Anyhow, with no obvious joy in finding a broken bit or something out of alignment, I have judiciously super-glued back a few broken plastic tabs (pretty solid!), sprinkled some Deoxit on anything obviously metallic, and will reassemble the whole shebang while praying to one or several of the many versions of all-powerful deity that might deign to magically get my downshift working again. I have also filed a couple of nanometres of the rubbery stuff on the end of the studs to make future removal a little easier.
If it magically does come back to life, I'll let you know. Else, if anyone knows what sort of weird and wonderful switch Porsche has used for this device, I would be most curious to find out.
Hope this helps someone... rear of display paddle switch sensor housing paddle switch disassembled Switch circuit board TRW part number Display with broken tab inner trim Display with broken stud
 04-25-2023, 03:02 AM