When you click on links to various merchants on this site and make a purchase, this can result in this site earning a commission. Affiliate programs and affiliations include, but are not limited to, the eBay Partner Network.
The challenge isn't painting the inner chrome parts...
The challenge for me has been getting it to look as good as an OEM finish.
I am working on offering repairs for 991 headlights currently and blacked out inner trim has been a popular request so hopefully I can find a method to achieve a near perfect finish eventually.
Thank you for continuing to work on this. I am waiting and confidently holding on to hopes that you will make it work up to your standard.
1) Working on the interior trim black out option for interested clients and I have just purchased an "mini spray gun" airbrush kit which looks promising to be better able to achieve factory finish results.
2) I recently received and will begin to offer replacement services for the 991 series 911's.
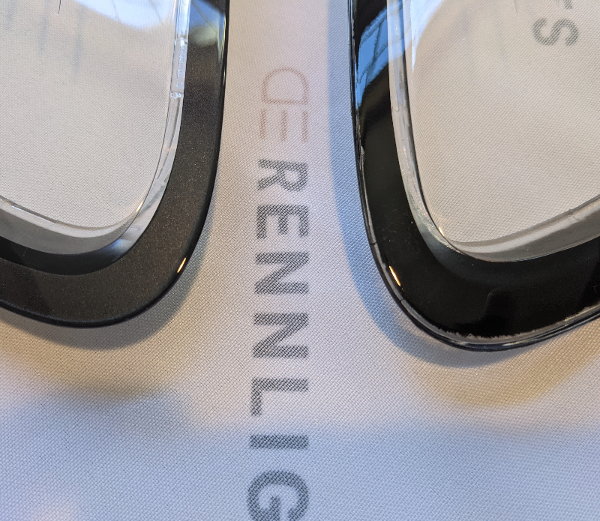
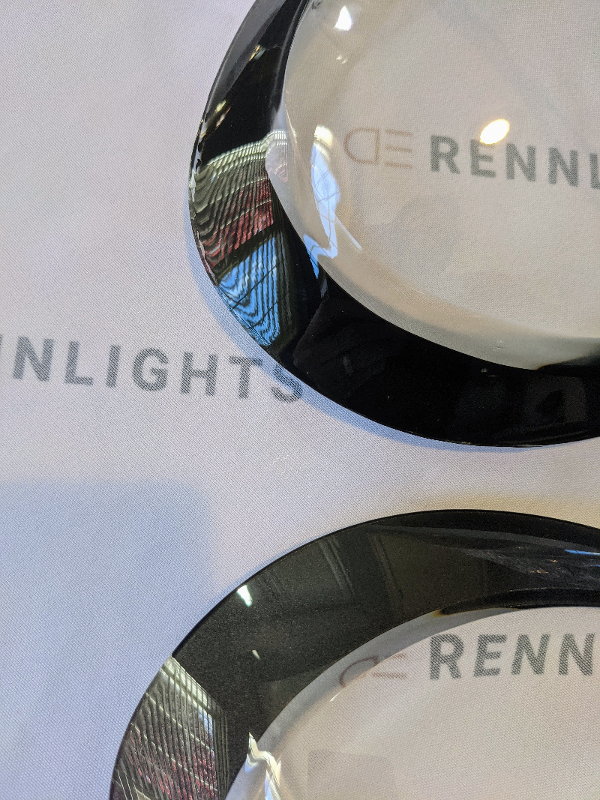
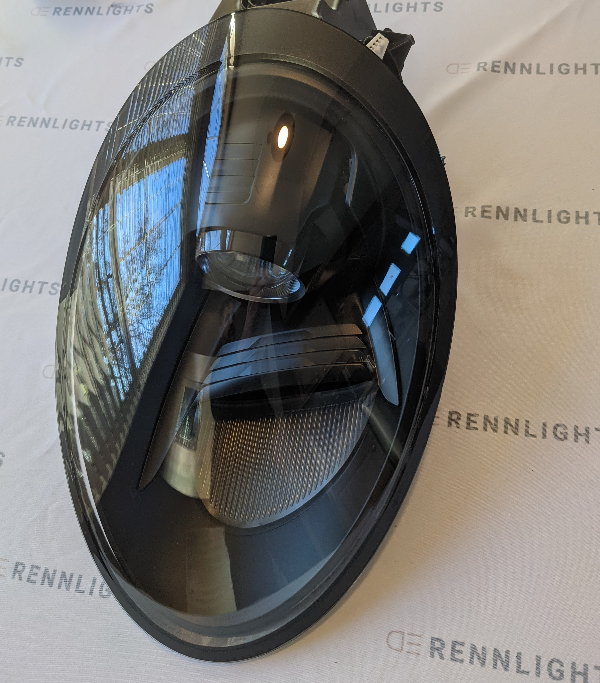
3) Also, upon close inspection of some lower cost 981 headlight covers that I purchased they are definitely poorer in quality than my others.
The manufacturer that I use to source my covers cost me nearly twice as much but the difference is definitely worth the additional cost.
-The trim paint is entirely gloss black instead of the OEM metallic silver finish and the coverage is very poor.
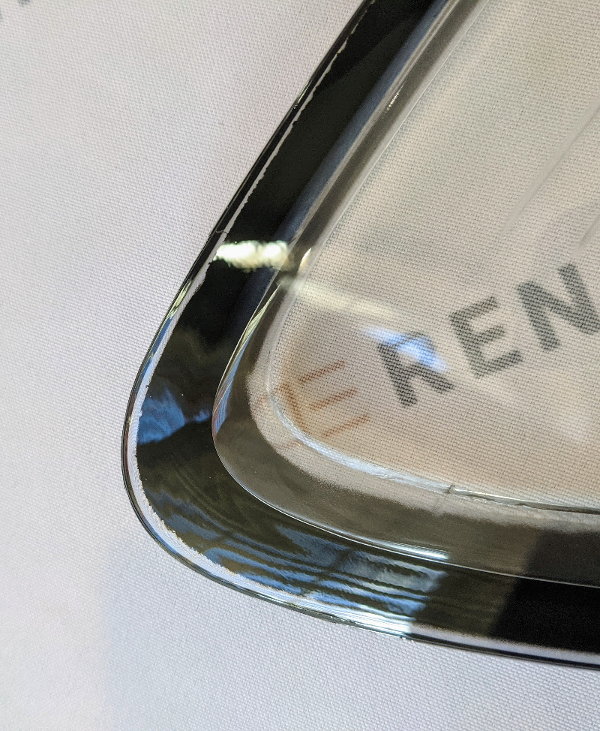
-The optics of the polycarbonate cover are also inferior.
-They lack the thin gloss black uniform edge and also have visible distortion.
Clearly, I will continue to only offer covers from my preferred vendor.
Update: I am having to go to a vendor membership since I am now offering services to members. So hopefully my posts remain up until that is finalized.
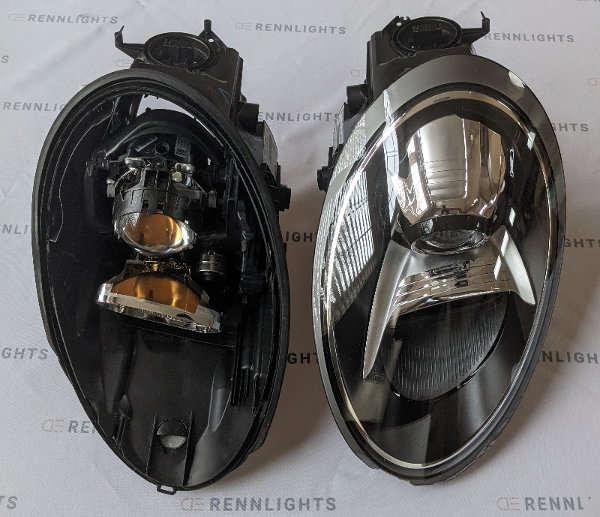
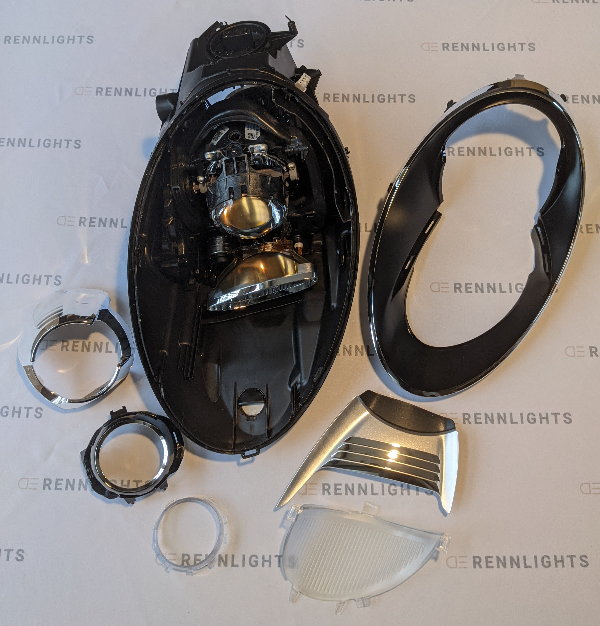
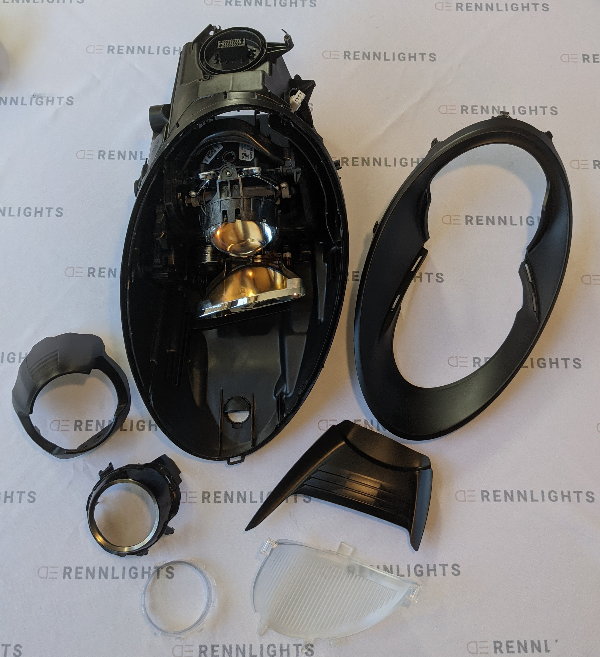
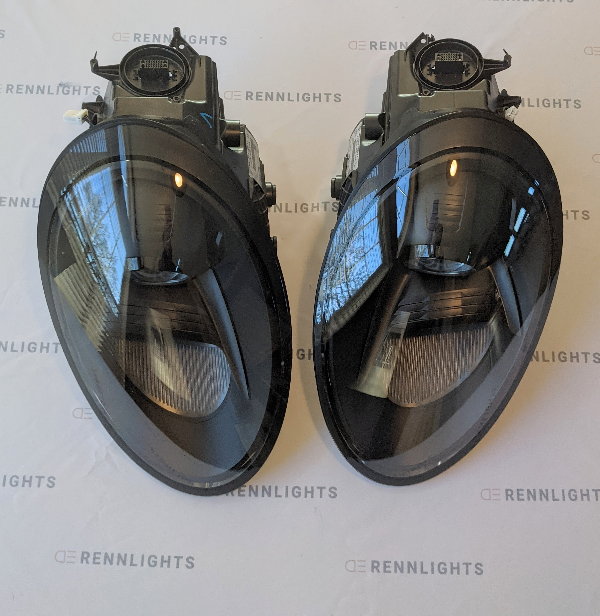
Finished my trial run on 991 series headlights and found that full disassembly of the lights is required for a factory like result.
Very time intensive and with trials and errors but happy to say that I am absolutely pleased with the final results.
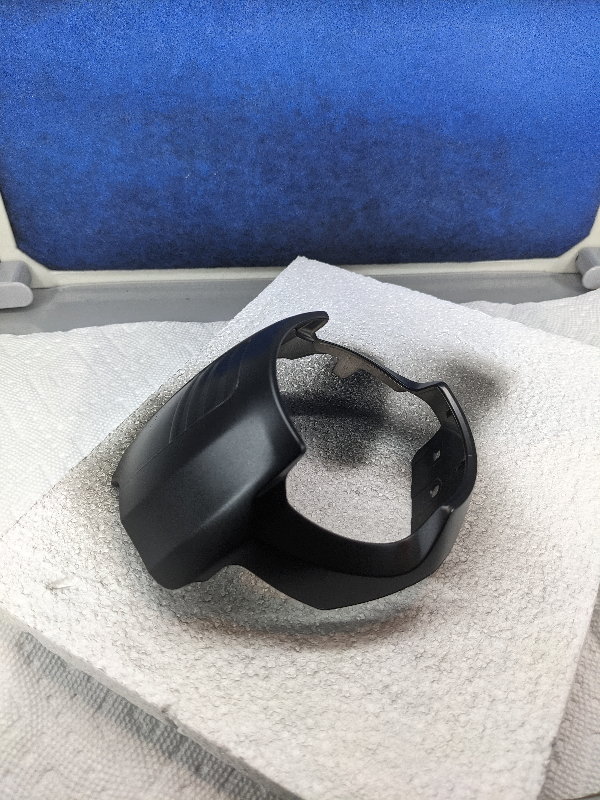
I will be able to offer a "Black Out" interior option for clients also with the new covers in dark grey metallic.
991 lights look will be a GT3 style - matte finish on the original chrome parts 981 Cayman / Boxster look will be GT4 style - gloss black covering the original chrome parts.
2 days in my possession.
One day to let the parts dry overnight before reassembling.
Then the usual one day waiting for the cover sealant to cure before packing and shipping.
Last edited by osuidoc; 12-13-2021 at 02:03 PM.
Reason: grammer
2 days in my possession.
One day to let the parts dry overnight before reassembling.
Then the usual one day for waiting the cover sealant to cure before packing and shipping.
Let me know when you have pricing information for the black-out service. I'll get it done next time I'm able to have the car down for a few days.
I am replacing a set of covers for a GT4 this week and plan to make a video which will be more helpful than the photos set I used to have.on this thread.
After viewing the video you will be better able to decide on your appetite for the project and then if you prefer for me to do the work it would be the quoted $150.00 per housing.
I ordered 16 sets from overseas and waited almost a month for the replacement covers to arrive so now I have my own sets on site currently and can ship out right away for any others interested in the DIY approach.
Did you ever end up making that video? Looking to work on this project for my 981 over the holidays. I haven't seen any comprehensive disassembly guides and I'm a couple days away from going at it. Thank you!
I had my headlights replaced under warranty. I want to prevent this from happening again. Should I apply a PPF? Just seal / wax them? Anyone ideas or experience with this issue?
I had my headlights replaced under warranty. I want to prevent this from happening again. Should I apply a PPF? Just seal / wax them? Anyone ideas or experience with this issue?
Unfortunately there is nothing you can do but hope it doesnt happen again. Its a defect in the factory Porsche lens protective coating adhesive and can happen again unless they have rectified it which they haven't. No differently than those with warping door panels that were replaced by Porsche only to warp again later.
Many film installers will not do anything to the lights on a Porsche because it will also peel off and damage the factory coating if you try and remove it for any reason. You may see anecdotal claims by others with film protection telling you that they did it on day one and have had no further issues at all, however there are just as many like myself that have never had the issue at all under any conditions, so there is no factual evidence that applying additional film coating does anything other than increase the risk of damage down the road if removed. Adding more film or applying anything on top doesnt stop the actual problem which lies under the factory coating
The only time I would add film would be after having the lenses corrected by having the bad coating sanded and polished off first to correct the Porsche issue if having it. Then put some protective film on them to replace the defective coating
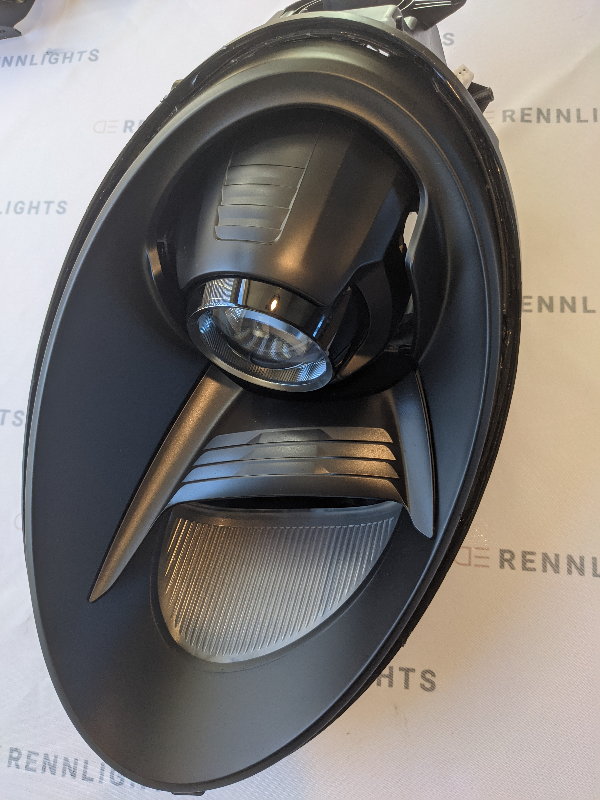
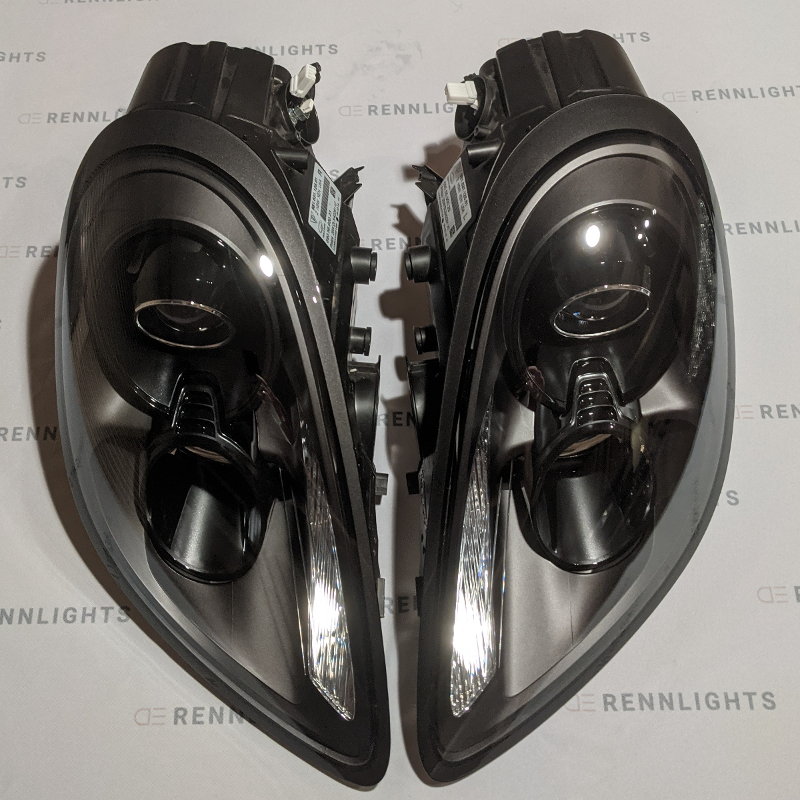
FYI if you want GT4 black all you need to do is wipe the chrome off. found out by accident. I went to clean the trim before reassembly and noticed the chrome was faded. turns out they just don't paint the GT4 headlights. I used CMX prep spray to confirm
Reviving this thread because of how pleased I am with the results. Paolo was fantastic with responding to my questions and guiding me to remove/replace the necessary parts.
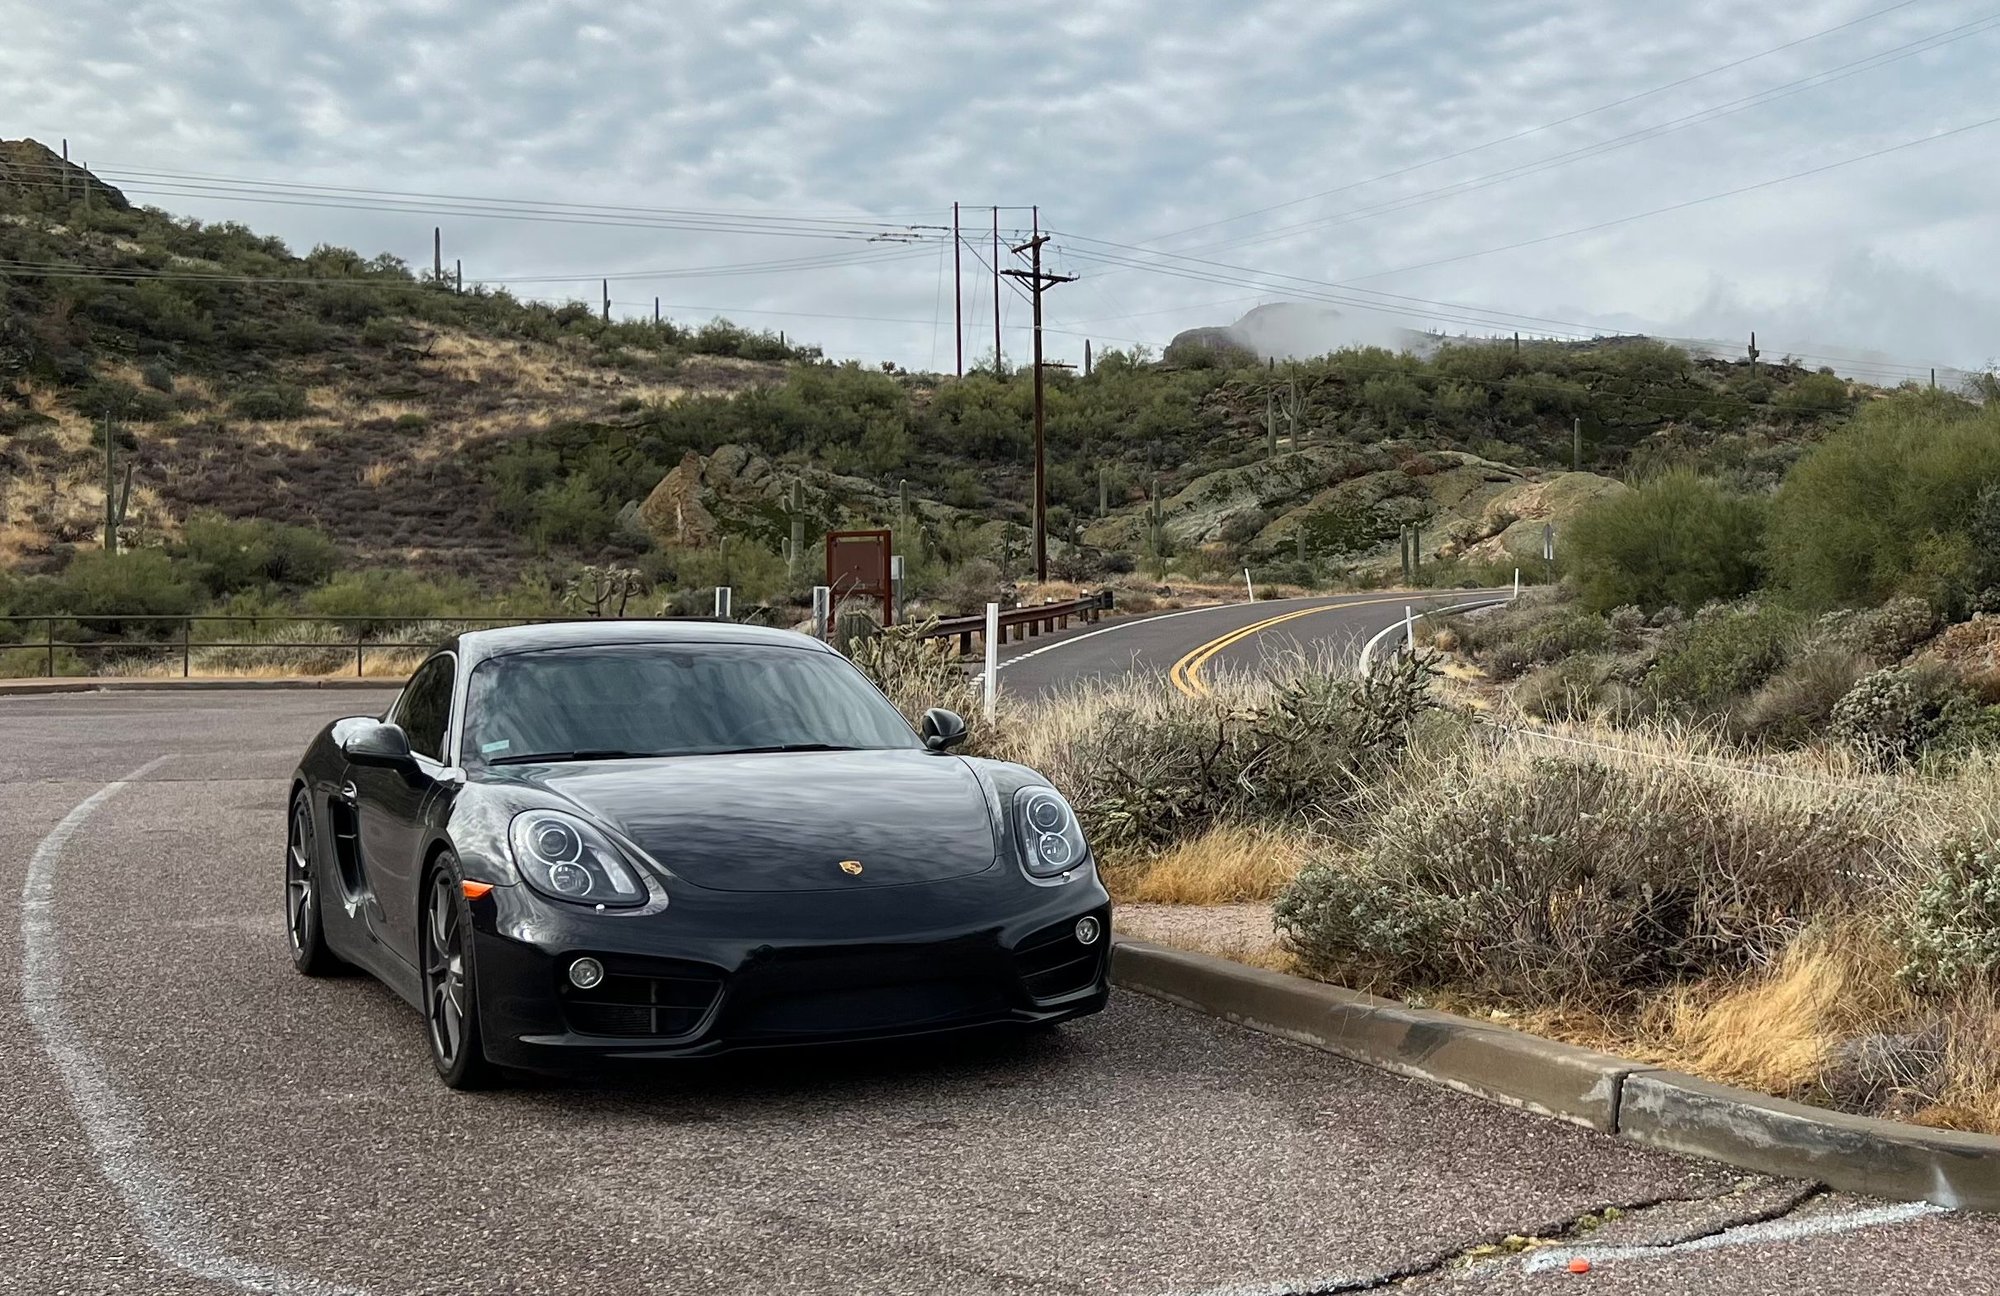
I opted for the black-out GT4-style lights to match the GT4 tail lights I already had on the car. Also I'm pretty sure blacked-out headlights add at least 10hp.
 11-09-2021, 09:35 PM