When you click on links to various merchants on this site and make a purchase, this can result in this site earning a commission. Affiliate programs and affiliations include, but are not limited to, the eBay Partner Network.
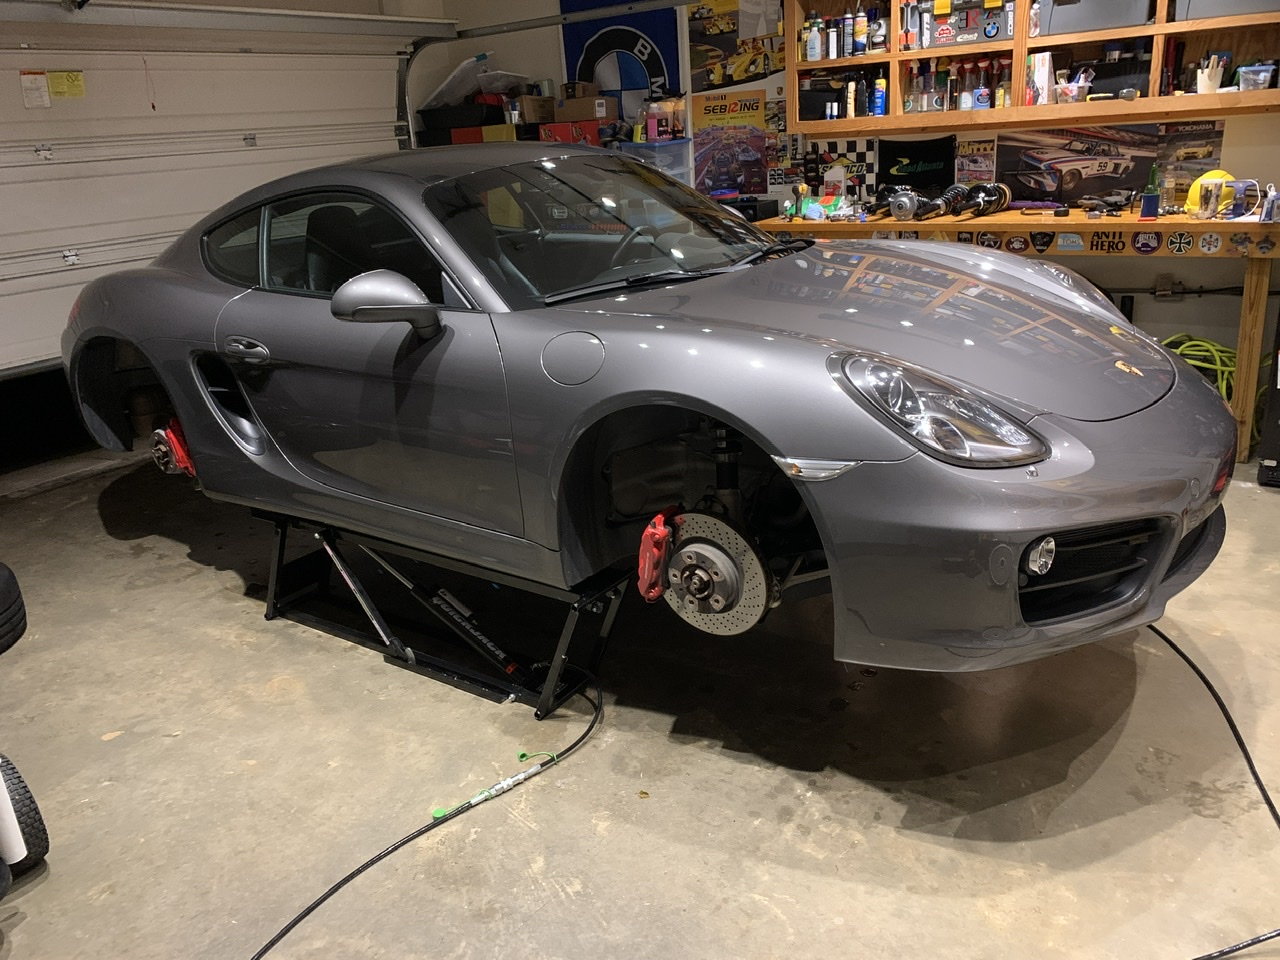
I installed the X73 suspension kit on my 981 last weekend and thought i'd jot down some notes before i forgot. Hopefully they can help somebody out. It's a fairly big job. I'm a fairly experienced hobbyist wrench and it took me two pretty full days. Granted, this is the first time i've ever wrenched on a Porsche, I'm used to old BMWs. (It's funny that this is maybe a 4hr job on an E36). That said, it's pretty straightforward and anyone can do it with some basic tools and some time. I just had the car up on jack stands.
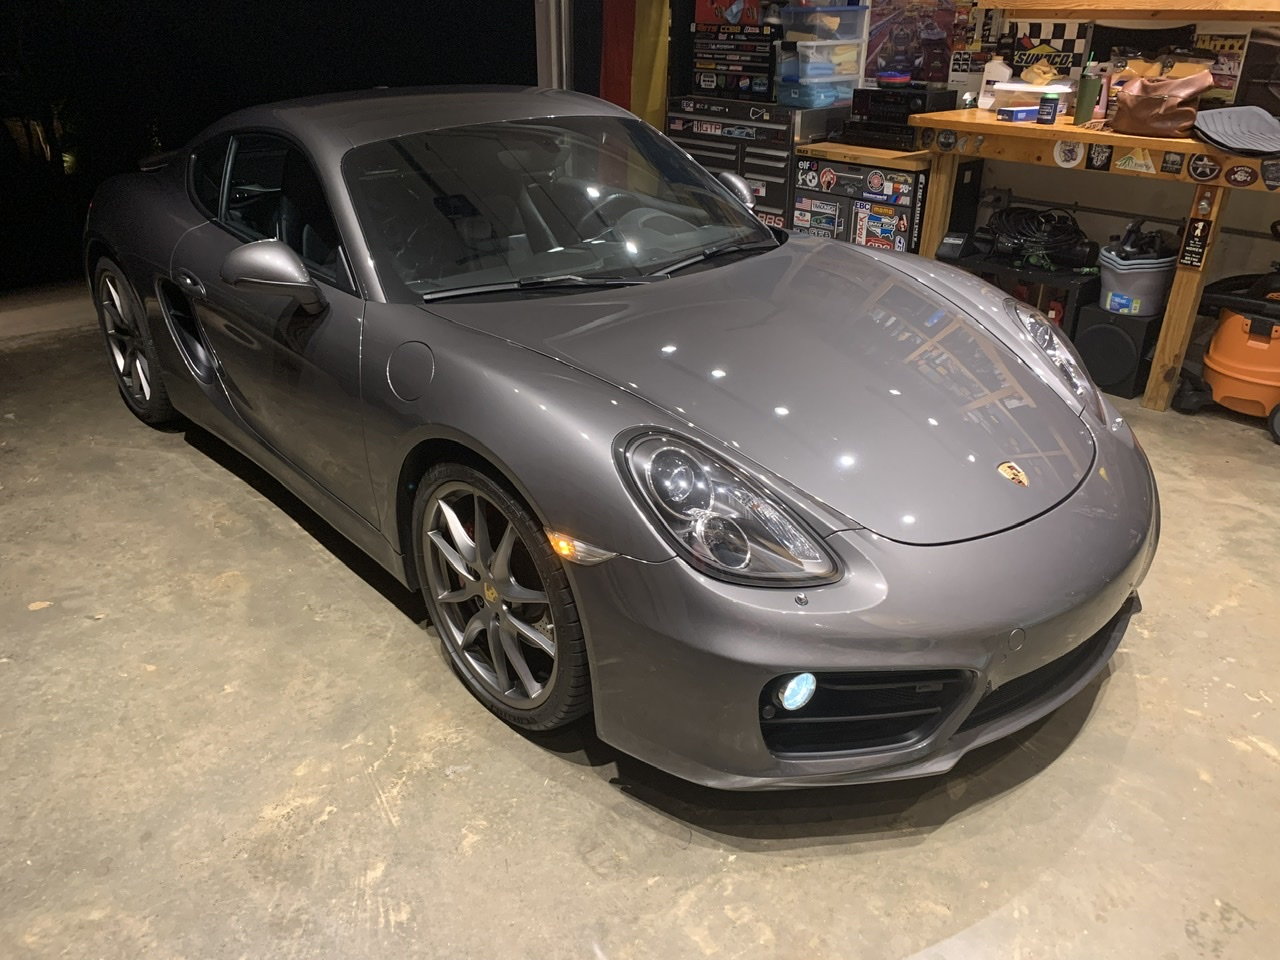
My car is a 2014 Cayman S with PDK and i ordered X73 kit PN: 981-044-400-05
The kit comes with all four strut assemblies (with strut mounts, bump stops, dust boots, etc), front and rear sway bars with bushings, and a bag of hardware for replacing all the single use torque-to-yield bolts and lock nuts.
Front strut assy: 981 333 980 12
Rear strut assy: 981 343 980 15
Front swaybar: 991 343 705 14
Rear swaybar: 981 333 703 14
Front strut removal:
Disconnect brake pad sensor and wheel speed sensor connectors and remove brake bracket screw
Disconnect the brake caliper, rotor, and dust shield from the wheel carrier
Disconnected tie rod from wheel carrier and removed air deflector.
Disconnected diagonal arm from LCA
Disconnected LCA from subframe
Remove sway bar drop link
Disconnected strut from wheel carrier and remove the whole wheel carrier + LCA assembly and set it aside.
(I was also installing GT3 LCAs so i separated the LCA ball joint from the wheel carrier and installed and torqued the GT3 LCA ball joint)
Remove strut from the strut tower
Repeat for the other side
Front sway bar swap:
Above the subframe, remove the screws that hold the black plastic litronic sensor and coolant hose brackets from the subframe
Remove underbody tray/cover and the front of the cover behind it so you can access the black steel support structure
Loosen nuts and bolts on the black steel support structure including the small bolts that go to coolant hose brackets
Remove the black plastic tabs and the small bolts that hold the coolant hose brackets so they're free
Remove steering rack bolts
Remove the sway bar brackets and bolts so its free. also remove the sway bar bushings
Loosen the four rear (two on each side) subframe bolts so they're out about 1/2"
Remove the two big front subframe nuts
Loosen the four front subframe bolts so they're out about 3/4"
Some people support the gas tank at this point, but i was low on gas and it felt light so i did not
Wiggle the subframe up and down a bit to feel things out and see if anything else seems connected to it. It should be quite free.
Slowly loosen the front four subframe bolts to slowly lower the front of the subframe. Loosen the rear bolts too if needed.
Keep loosening until the sway bar can slip out the front. The black plastic coolant hose brackets were the tightest part and you can rock them back a little if need be.
Once it's clear, you can remove the old bar and swap in the new one.
Install is reverse of removal. You should be using 8 new subframe bolts. Four in the rear, two short ones in the front center and two long ones in the front corners where the diagonal arms mount.
All 8 of those bolts get torqued to 90Nm. All but the front corners get an additional 90deg. The front corner diagonal arm bolts get an additional 180deg turn.
Front strut install
Install new strut onto strut tower, i like to keep the bolts loose so things can move a bit. Use new nuts
Raise wheel carrier assembly up onto the strut and secure it with the sway bar drop link bolt. Use new nuts
Move control arms into place, use new nuts
Torque suspension bolts to spec
Install brake and torque to spec. Caliper bolts are one time use.
Repeat for other side
Rear strut swap
Make sure parking brake is engaged
Disconnect brake pad sensor, wheel speed sensor, and parking brake connectors and remove brake bracket screw
Remove brake caliper and rotor
Disconnect toe control arm from subframe
Disconnect diagonal arm from LCA
Disconnect axle from transmission flange (M9 triple square)
Disconnect LCA from subframe
Disconnect wheel carrier from strut and remove the whole wheel carrier/control arm/axle assembly
Remove old strut and install new one loosely. You'll need to pull off some interior panels and some foam to access the top nuts.
The struts seemed to be more stuck into the wheel carrier in the back than in the front and i was worried about not being able to slide the assembly up onto a pre-installed strut while holding the mess all up. So for this reason i installed the new strut to the wheel carrier assembly so it was all one unit off the car. I had my wife get ready in the hatch so when i raised the whole heavy assembly up, she could thread on the strut mount nuts to hold the whole assembly up. Be sure to keep the axle supported during all of this so you don't stress the CVs.
Then i put the control arms and axle roughly all in their places and then put the bolts in place to hold them more securely.
Once everything is loosely in position you can tighten all the control arms down
Then reattach the axle. I recommend snugging them all up, and then do the other side of the car's strut
Torque all the suspension bolts
Install the brakes and torque to spec. Caliper bolts are one time use.
Torque all the axle flange bolts (80Nm) that you can reach. You'll then probably need to disengage the parking brake (make sure all sensors are connected before turning on the ignition!) to rotate the axles a bit, and then reengage the brake, and then torque the remaining flange bolts.
Rear sway bar swap:
Remove swaybar brackets and remove old bar
Install new bar and brackets with new bushings
Install drop links to sway bar
Torque to spec
Lastly, be sure to get an alignment!
For reference, here are some torque specs that i've collected.
Wheel lug bolts: 160 Nm (118 ftlb)
Caliper bolts to wheel carrier: 85 Nm
Caliper stud nuts (Tarret studs): 54 ftlbs
Front
LCA to subframe: 120 Nm
LCA balljoint to wheel carrier: 85 Nm
LCA to diagonal arm (nut and bolt): 160Nm
Toe rod ball joint to wheel carrier: 85 Nm
Sway bar drop link to wheel carrier (strut pinch bolt): 85 Nm
Strut to strut tower, three M8 hex: 33 Nm
Sway bar bracket to subframe: 65 Nm
Sway bar drop link to Sway bar: 40 Nm. (30 ftlb) + 30deg
I mean yeah, i DIY'ed it by myself with only my wife helping for about 4 min total. hah. I'd say you need:
Jack and at least two jack stands. Preferably four so you can get the whole car up which helps with subframe clearance. I used big truck stands for the front to get it up high.
Short and deep metric sockets and ratchet (i used a Milwaukee M12 ratchet a lot). Mostly 10mm, 16mm, 18mm, 19mm, 21mm
M9 triple square bit plus about 24" of extensions to get to the axle flanges
An impact wrench is very handy, i used an Milwauke M12 3/8" stubby
I didn't have the right torx bit for the brake caliper bolts so i used a 6mm hex bit which worked, but isn't recommended. I replaced the front bolts with a Tarret stud kit.
I can't think of anything else. Nothing was hard or tricky, just lots of steps that took a bit of time.
Awesome post and huge thanks for the knowledge share!
N' the final-final step is an alignment?
I'm thinking about upgrading the anti sway bars and calling it a done deal.
Occasionally on the street, I get a very slight pitch in the middle of a big bendy turn.
But on my recent run through the SoCal mountains didn't notice it AT ALL.
Guess I was too busy digging the performance of the PDK.
Was probably the best canyon run of my life.
Yes, you absolutely need an alignment. My alignment is totally jacked up right now. Tonight i drop if off at the alignment shop. Hopefully Thursday night i can pick it up and finally drive it.
From: On a pygmy pony over by the dental floss bush
Originally Posted by txbdan
Yes, you absolutely need an alignment. My alignment is totally jacked up right now. Tonight i drop if off at the alignment shop. Hopefully Thursday night i can pick it up and finally drive it.
When I had X73 retrofitted on my Boxster S with wheel alignment (Porsche dealer gave me a good deal on labor, I provided Suncoast parts kit), after about 1,500 miles of driving and a track day the "settling in" of the bushings, etc. required that I get another alignment. After that, alignment settings have been very stable for thousands of miles and lots of track days.
Getting ready to X73 install on my new to me 16CS which has the base suspension!
This DIY is a huge help so THANK YOU!
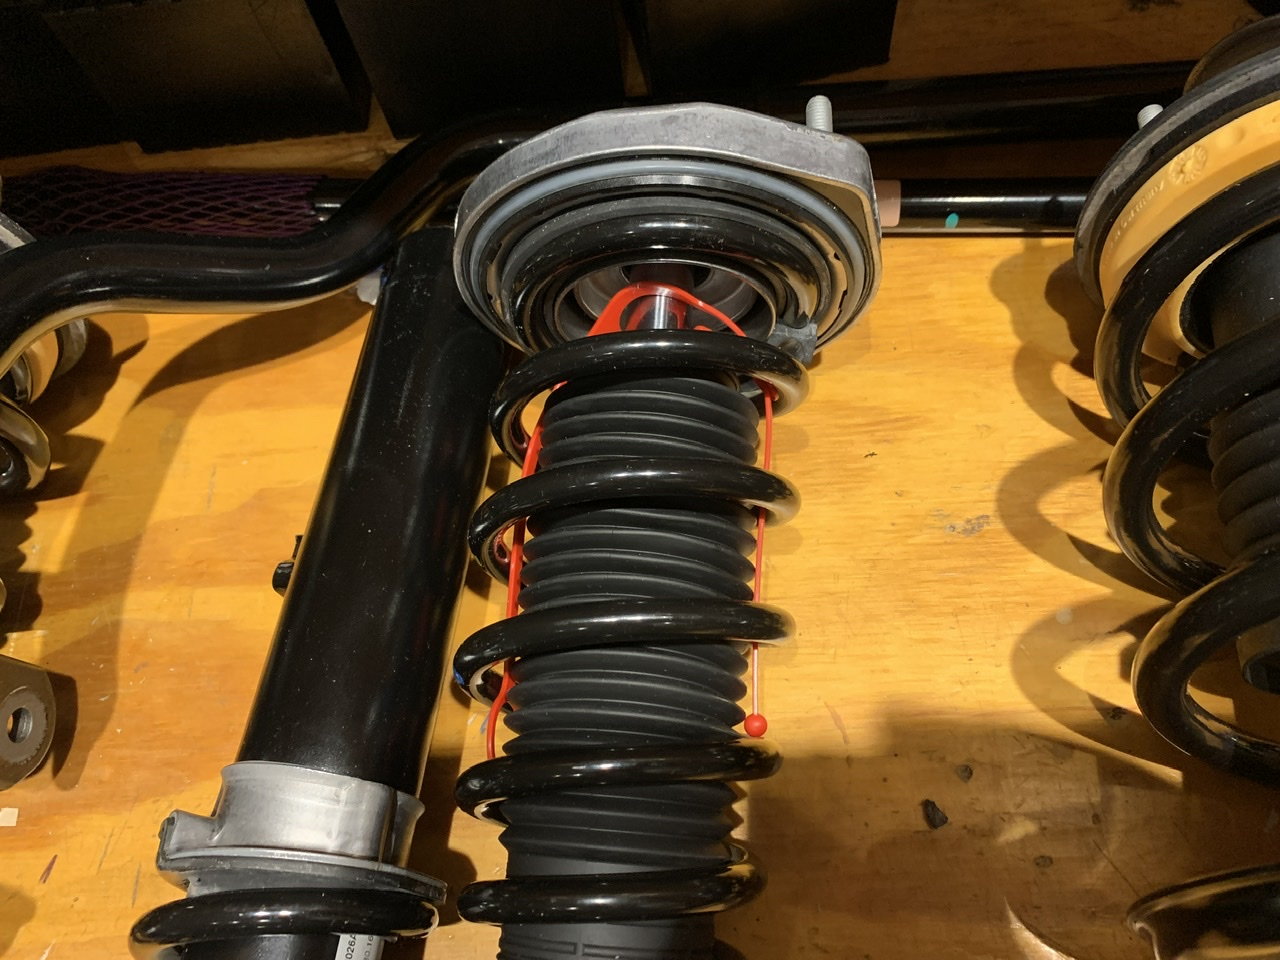
My question, I�ve never seen straps like these. Obviously they pull the boot and bump stop down but being preassembled any reason not Remove these before installation? Why are they there, am I missing something obvious?
No mechanic but in my past 7 coil over installs I�ve never come across this one.
Any guidance greatly appreciated fellas!
She�s in the quick jacks ready to go tomorrow evening.
Getting ready to X73 install on my new to me 16CS which has the base suspension!
This DIY is a huge help so THANK YOU!
My question, I�ve never seen straps like these. Obviously they pull the boot and bump stop down but being preassembled any reason not Remove these before installation? Why are they there, am I missing something obvious?
No mechanic but in my past 7 coil over installs I�ve never come across this one.
Any guidance greatly appreciated fellas!
She�s in the quick jacks ready to go tomorrow evening.
I believe those are strut travel stops.. to prevent travel/wear while shipping (shipping the car with them installed).
Porsche Reveals Coupe Variant of the Electric Cayenne With a Fresh Look
Slideshow: Porsche's latest electric Cayenne Coupe blends dramatic styling with supercar acceleration, turning the brand's midsize SUV into a 1,139-horsepower flagship.
One-Off Porsche 911 S/T Takes Inspiration From Famous '70s Race Car
Slideshow: A one-off Porsche 911 S/T created through the Sonderwunsch program pays tribute to a little-known 1970s race car from the Camel GT Challenge.