When you click on links to various merchants on this site and make a purchase, this can result in this site earning a commission. Affiliate programs and affiliations include, but are not limited to, the eBay Partner Network.
my instagram (ninexi_cap) has pics but here's the jist:
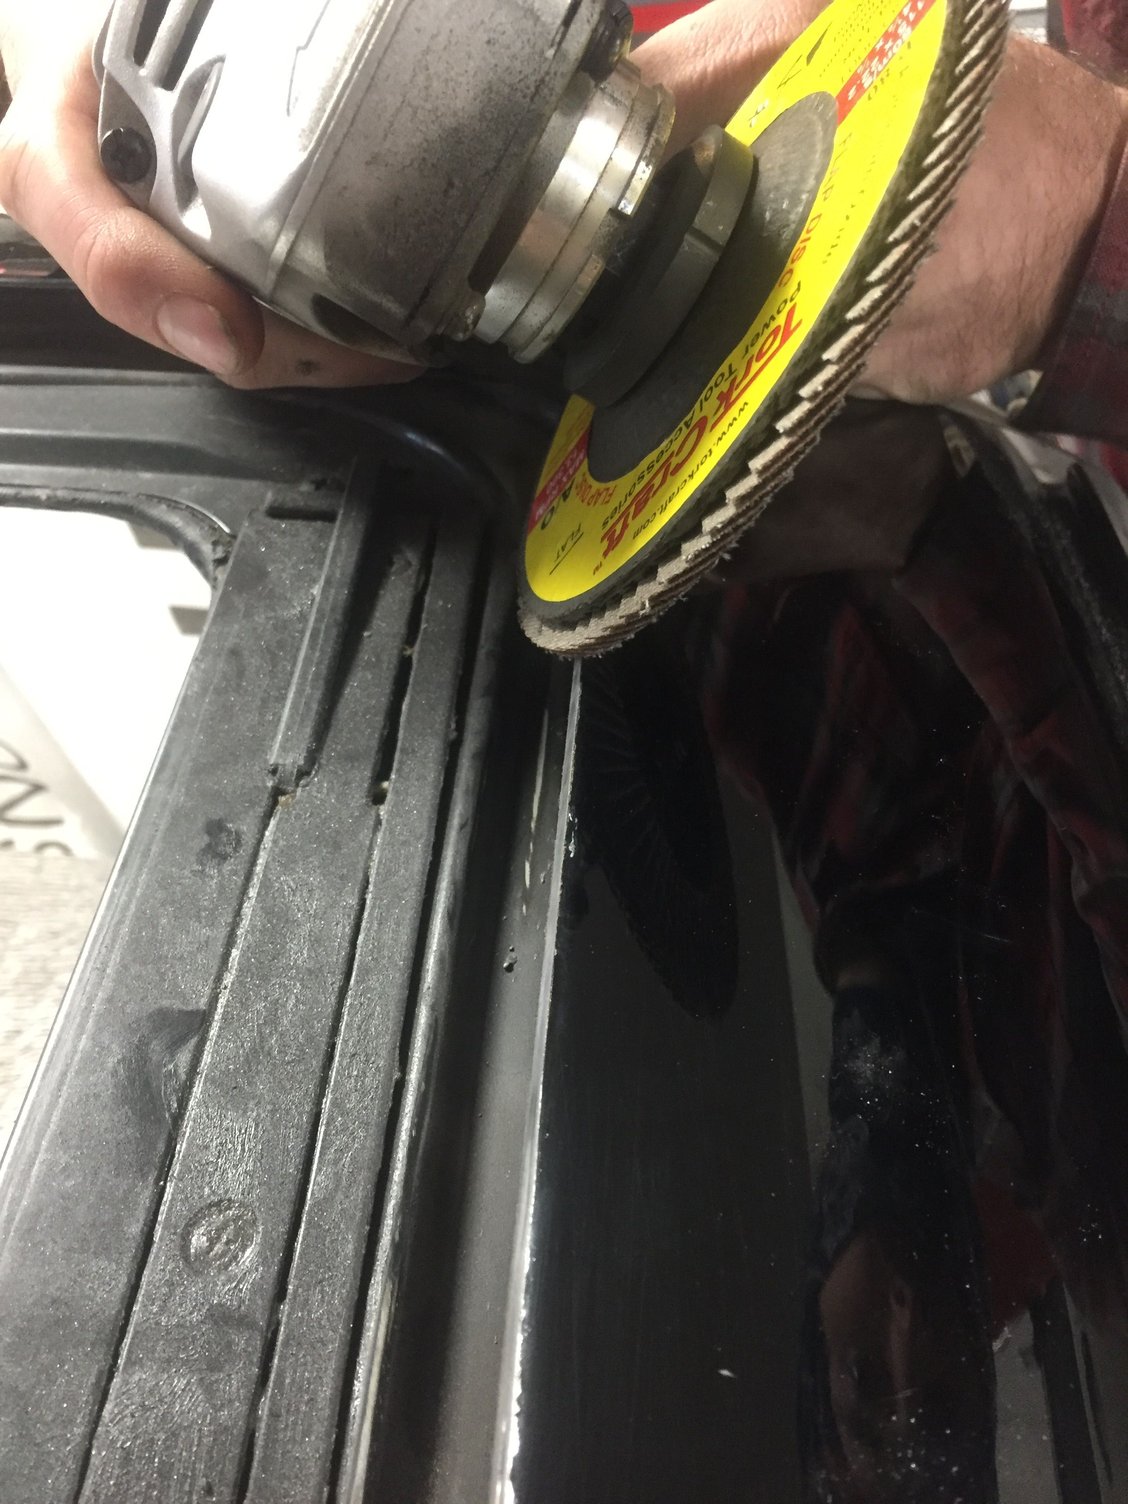
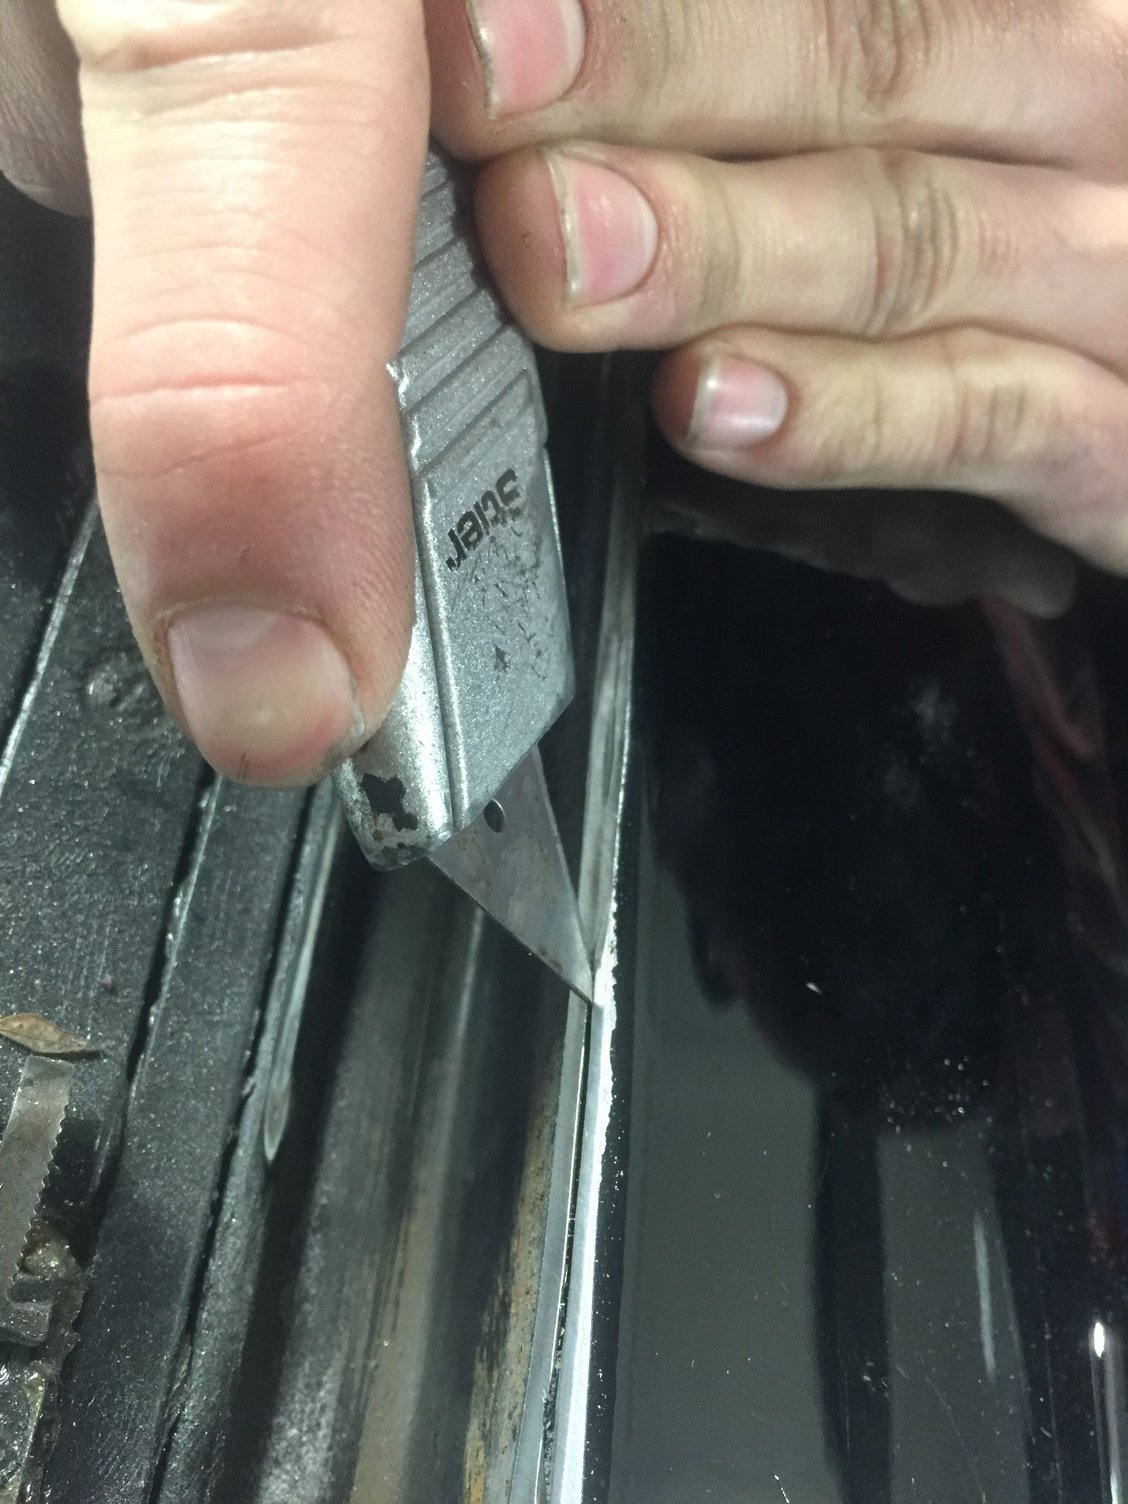
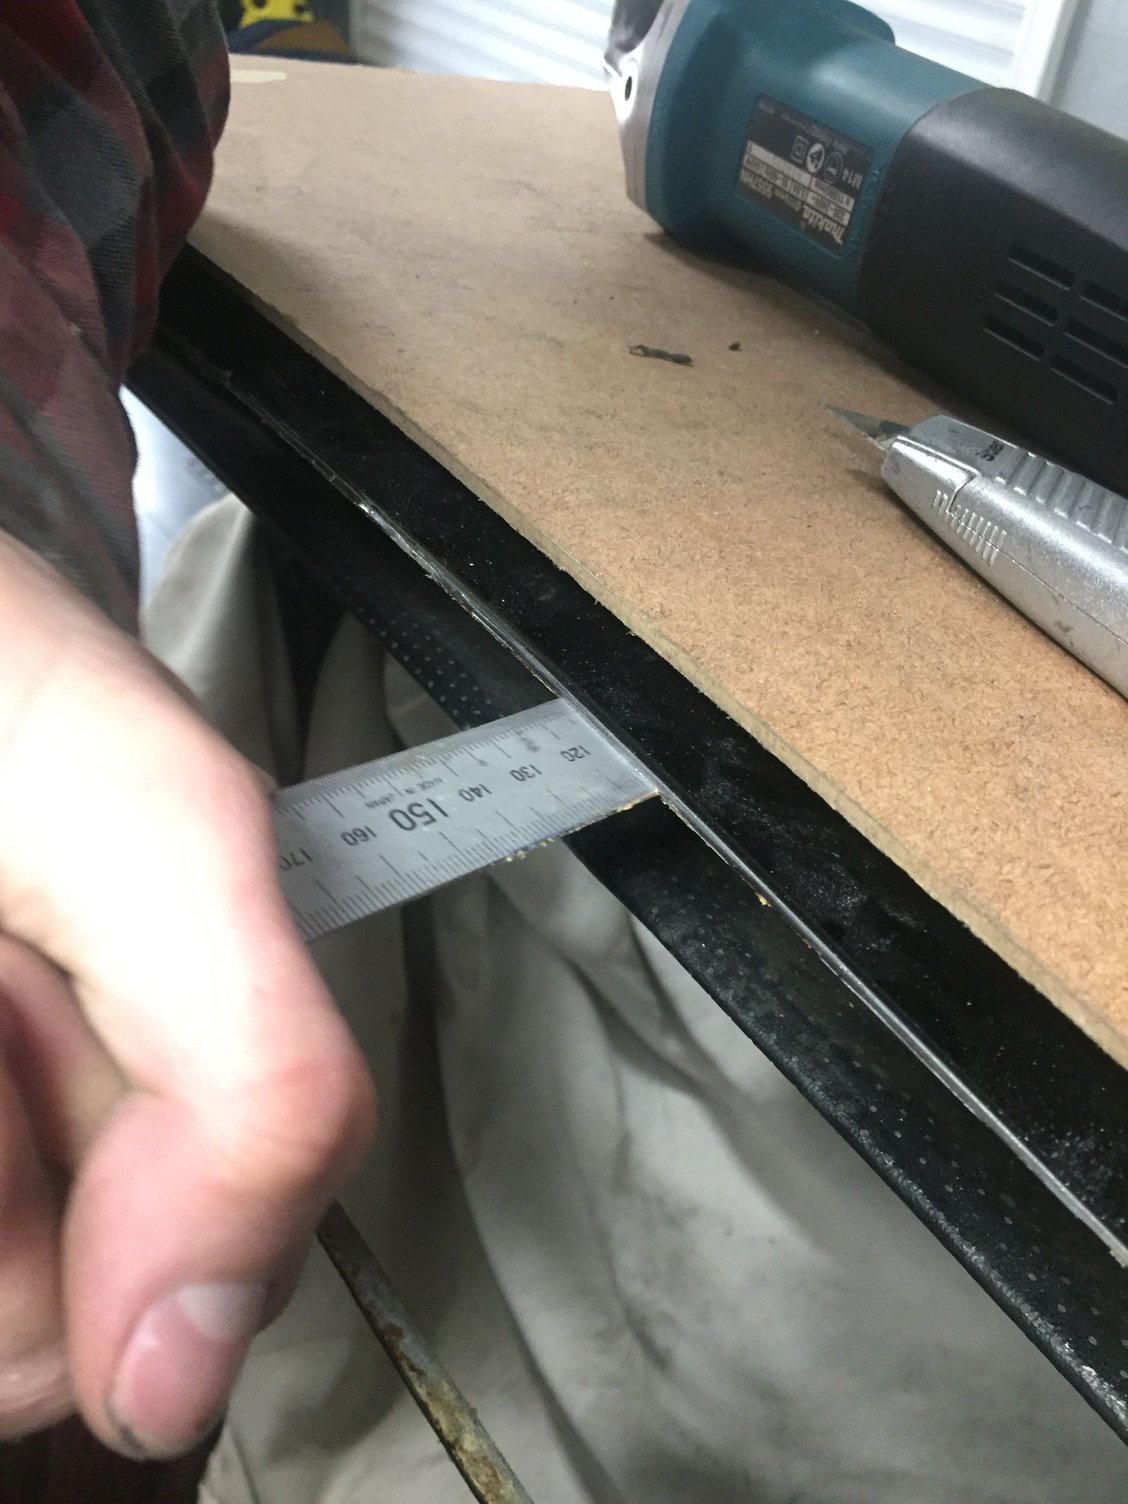
best advice was from chris at FennLane ie to sand through the lap weld at 45 deg angle and then cut the metal when thin with stanley knife then use metal ruler to loosen the panel bond. I started with a small pneumatic 1mm cutting blade but really only needed that in the corners where is difficult to reach with the sander.
ps - headliner best removed by steaming first then gently prying off the leather from the glue - made it with only one small tear near the front which I won't need anyway but impressed how well the handheld clothing steamer worked.
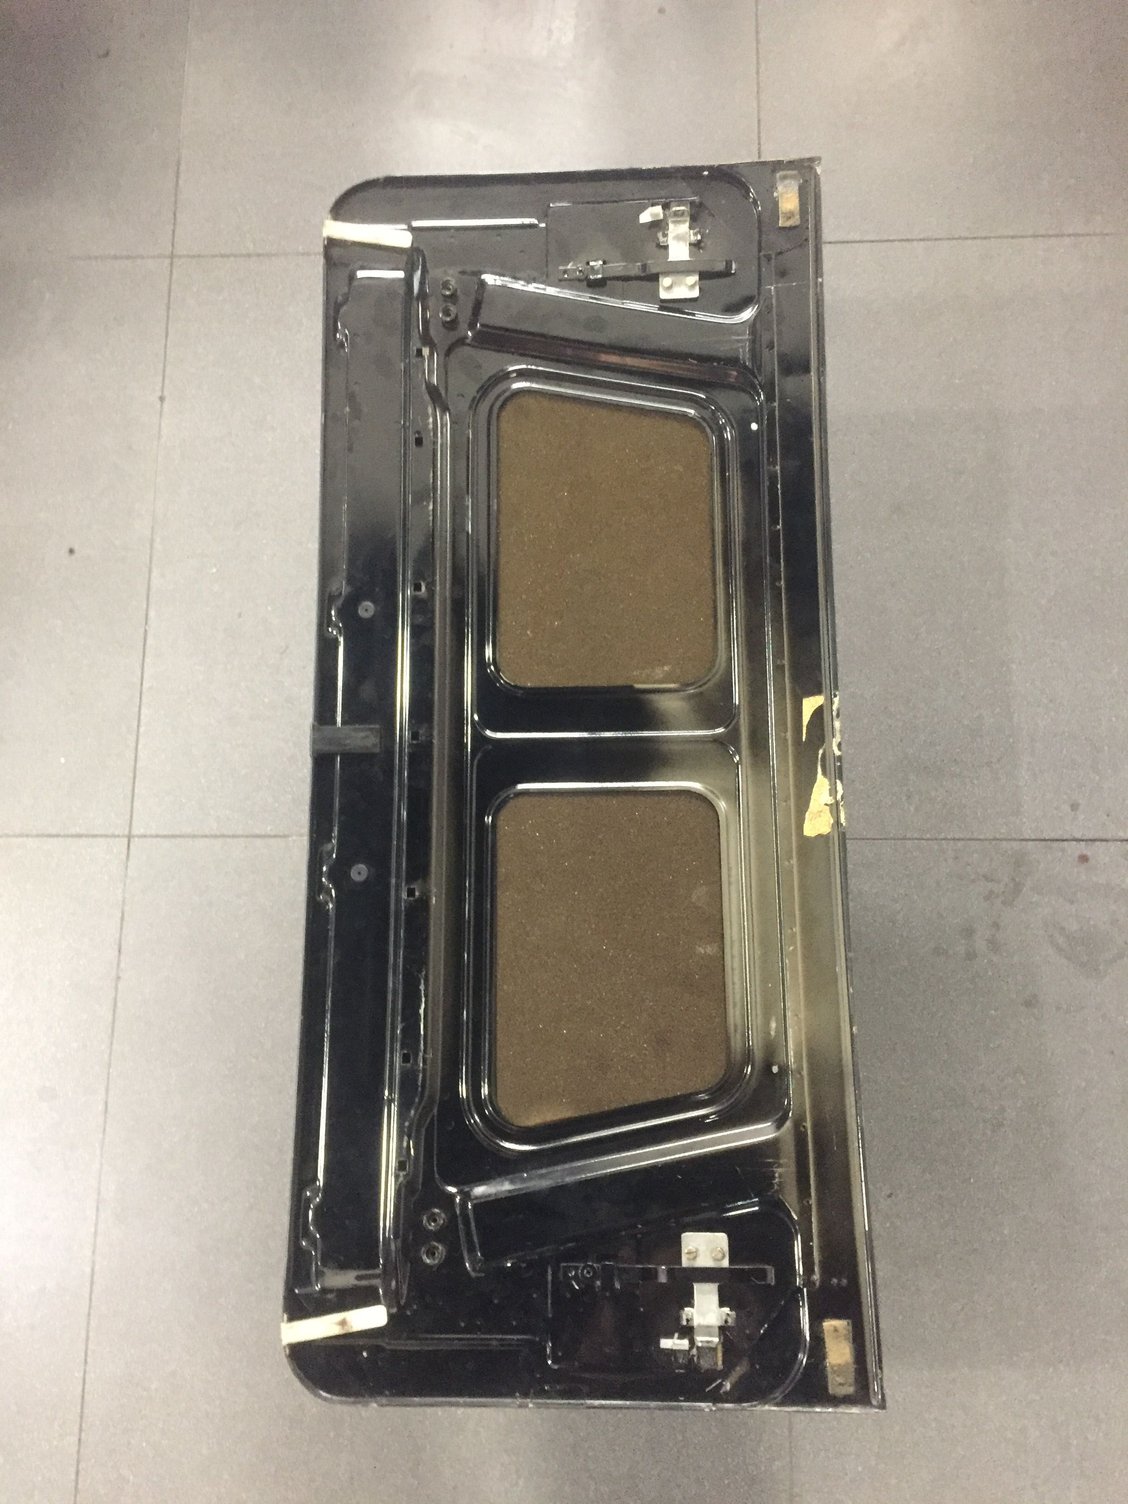
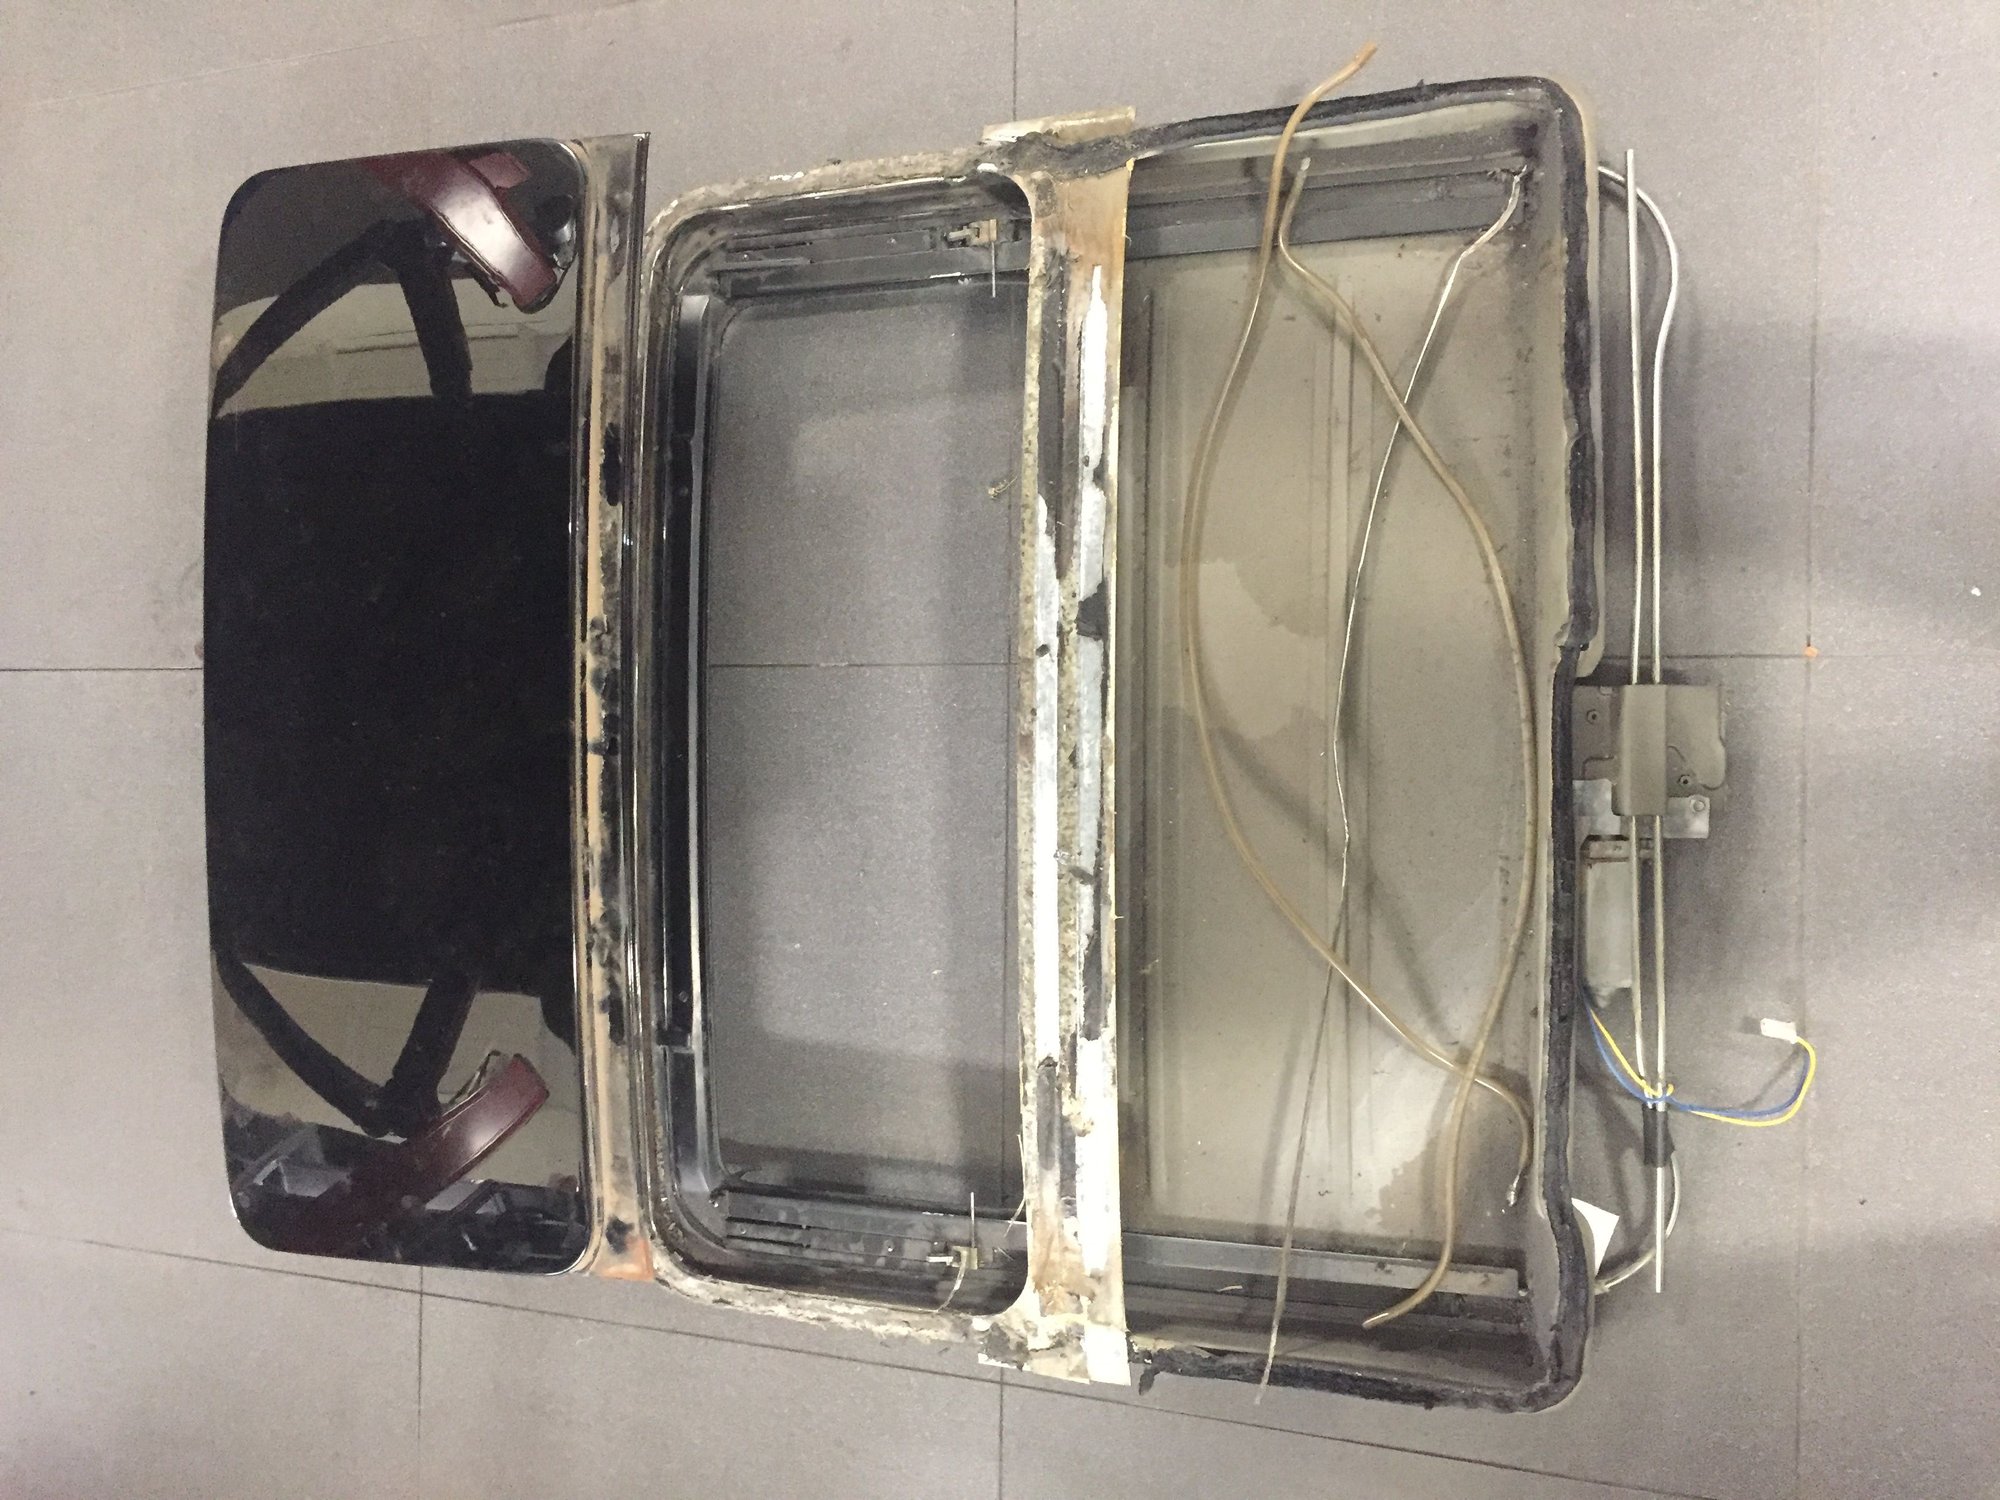
first remove the panel ... so phillips heads screws etc.. and the plastic bits - its pretty heavy due to the reinforcing
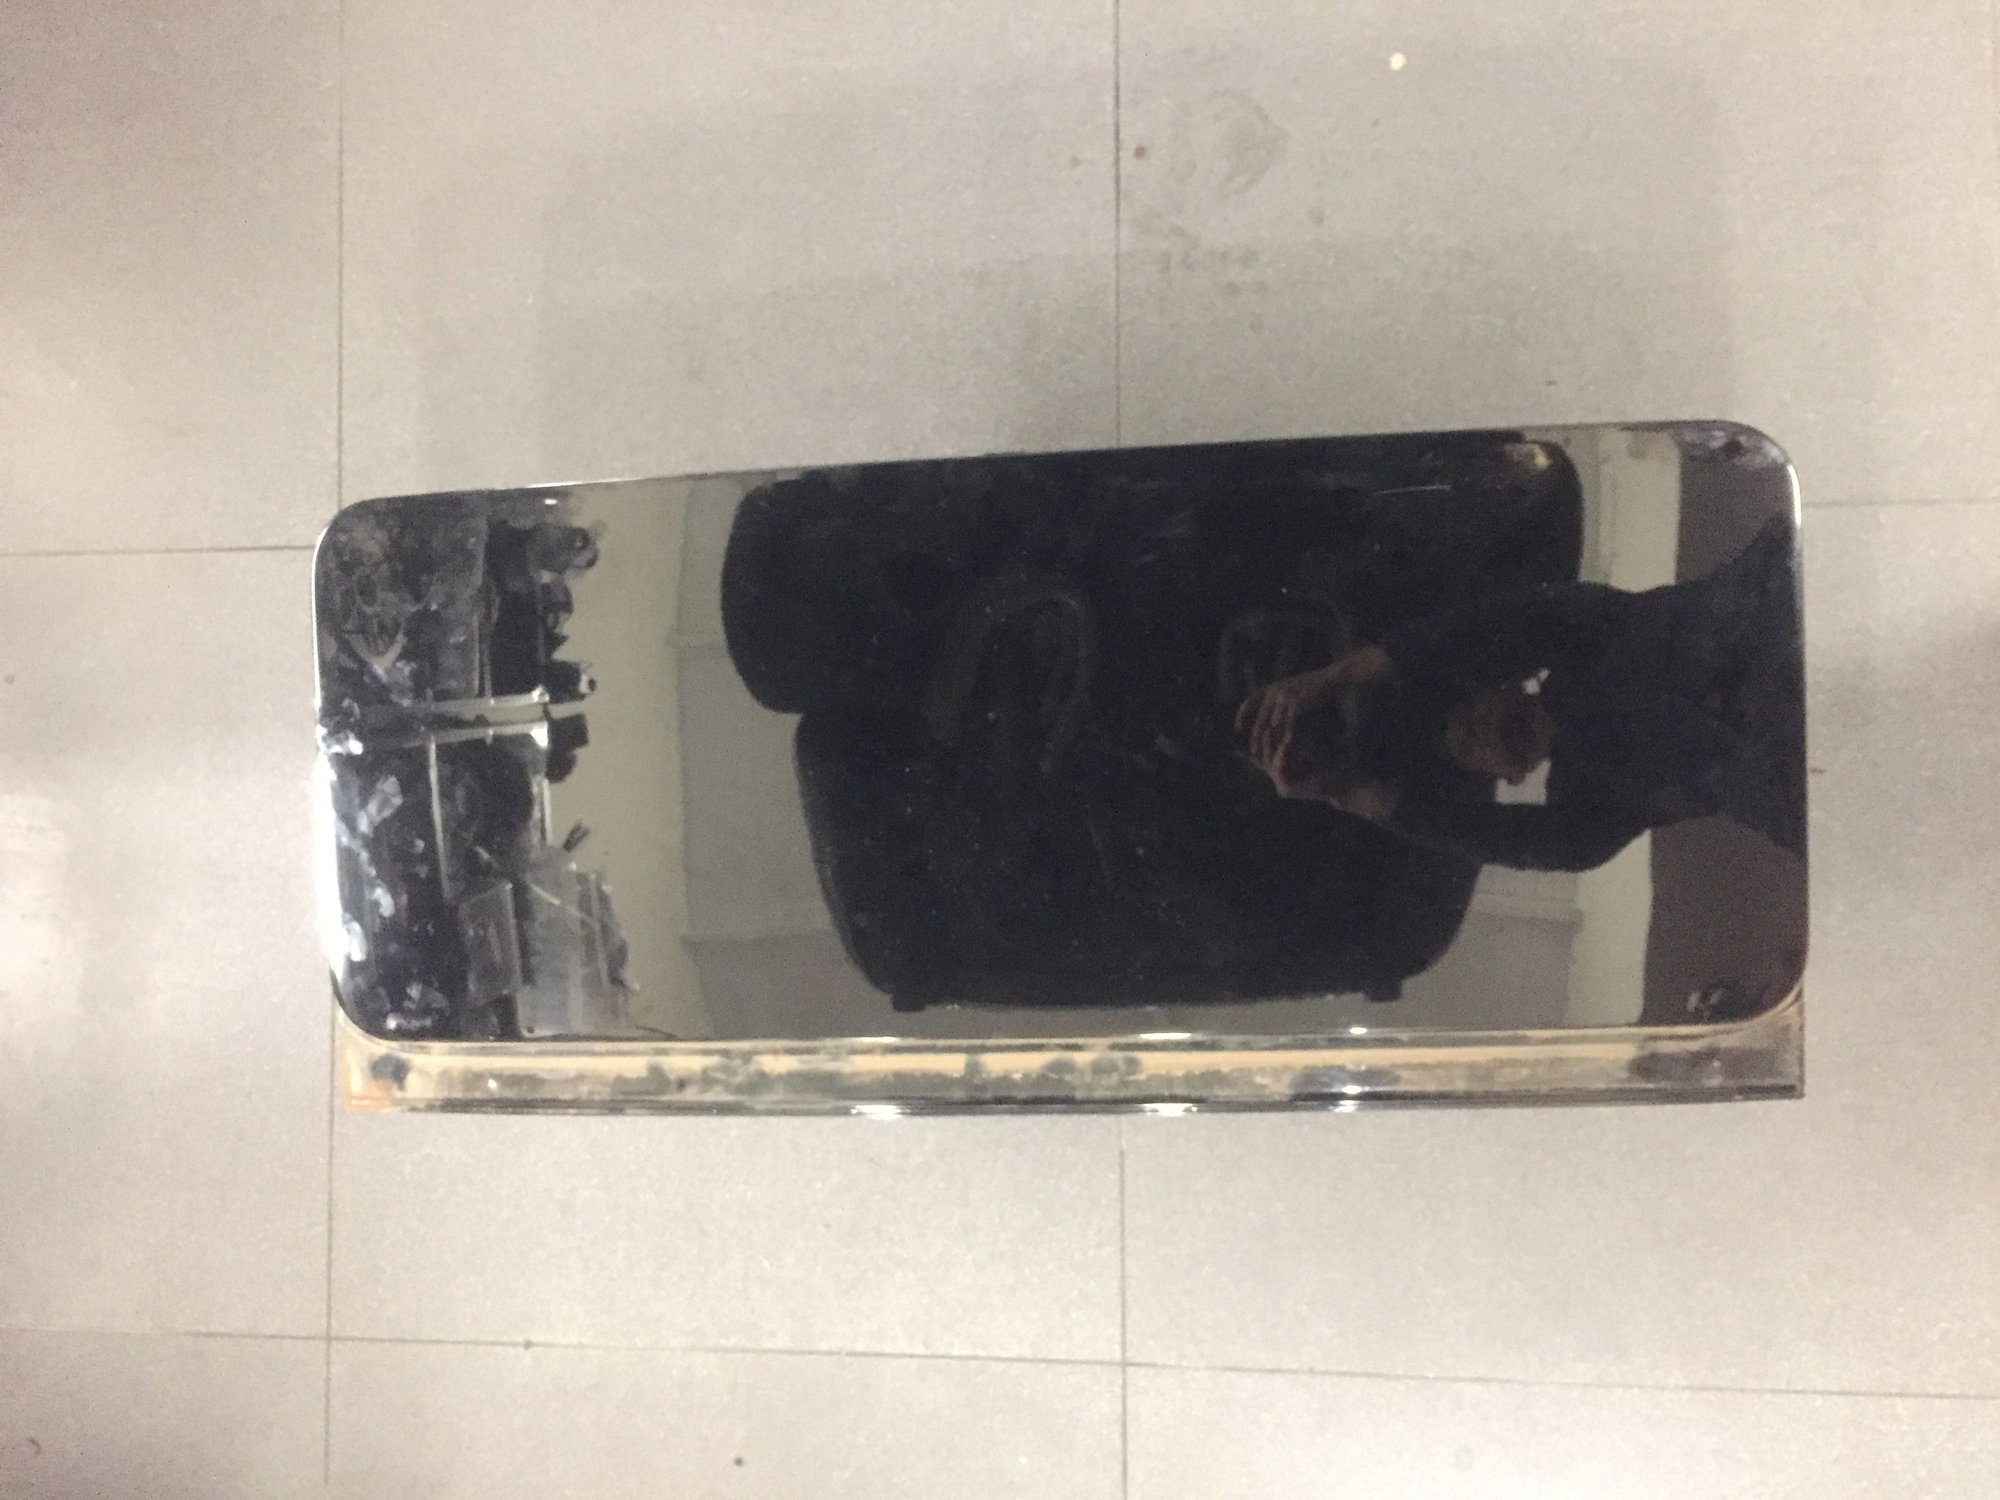
pretty tho
14,5kg all in
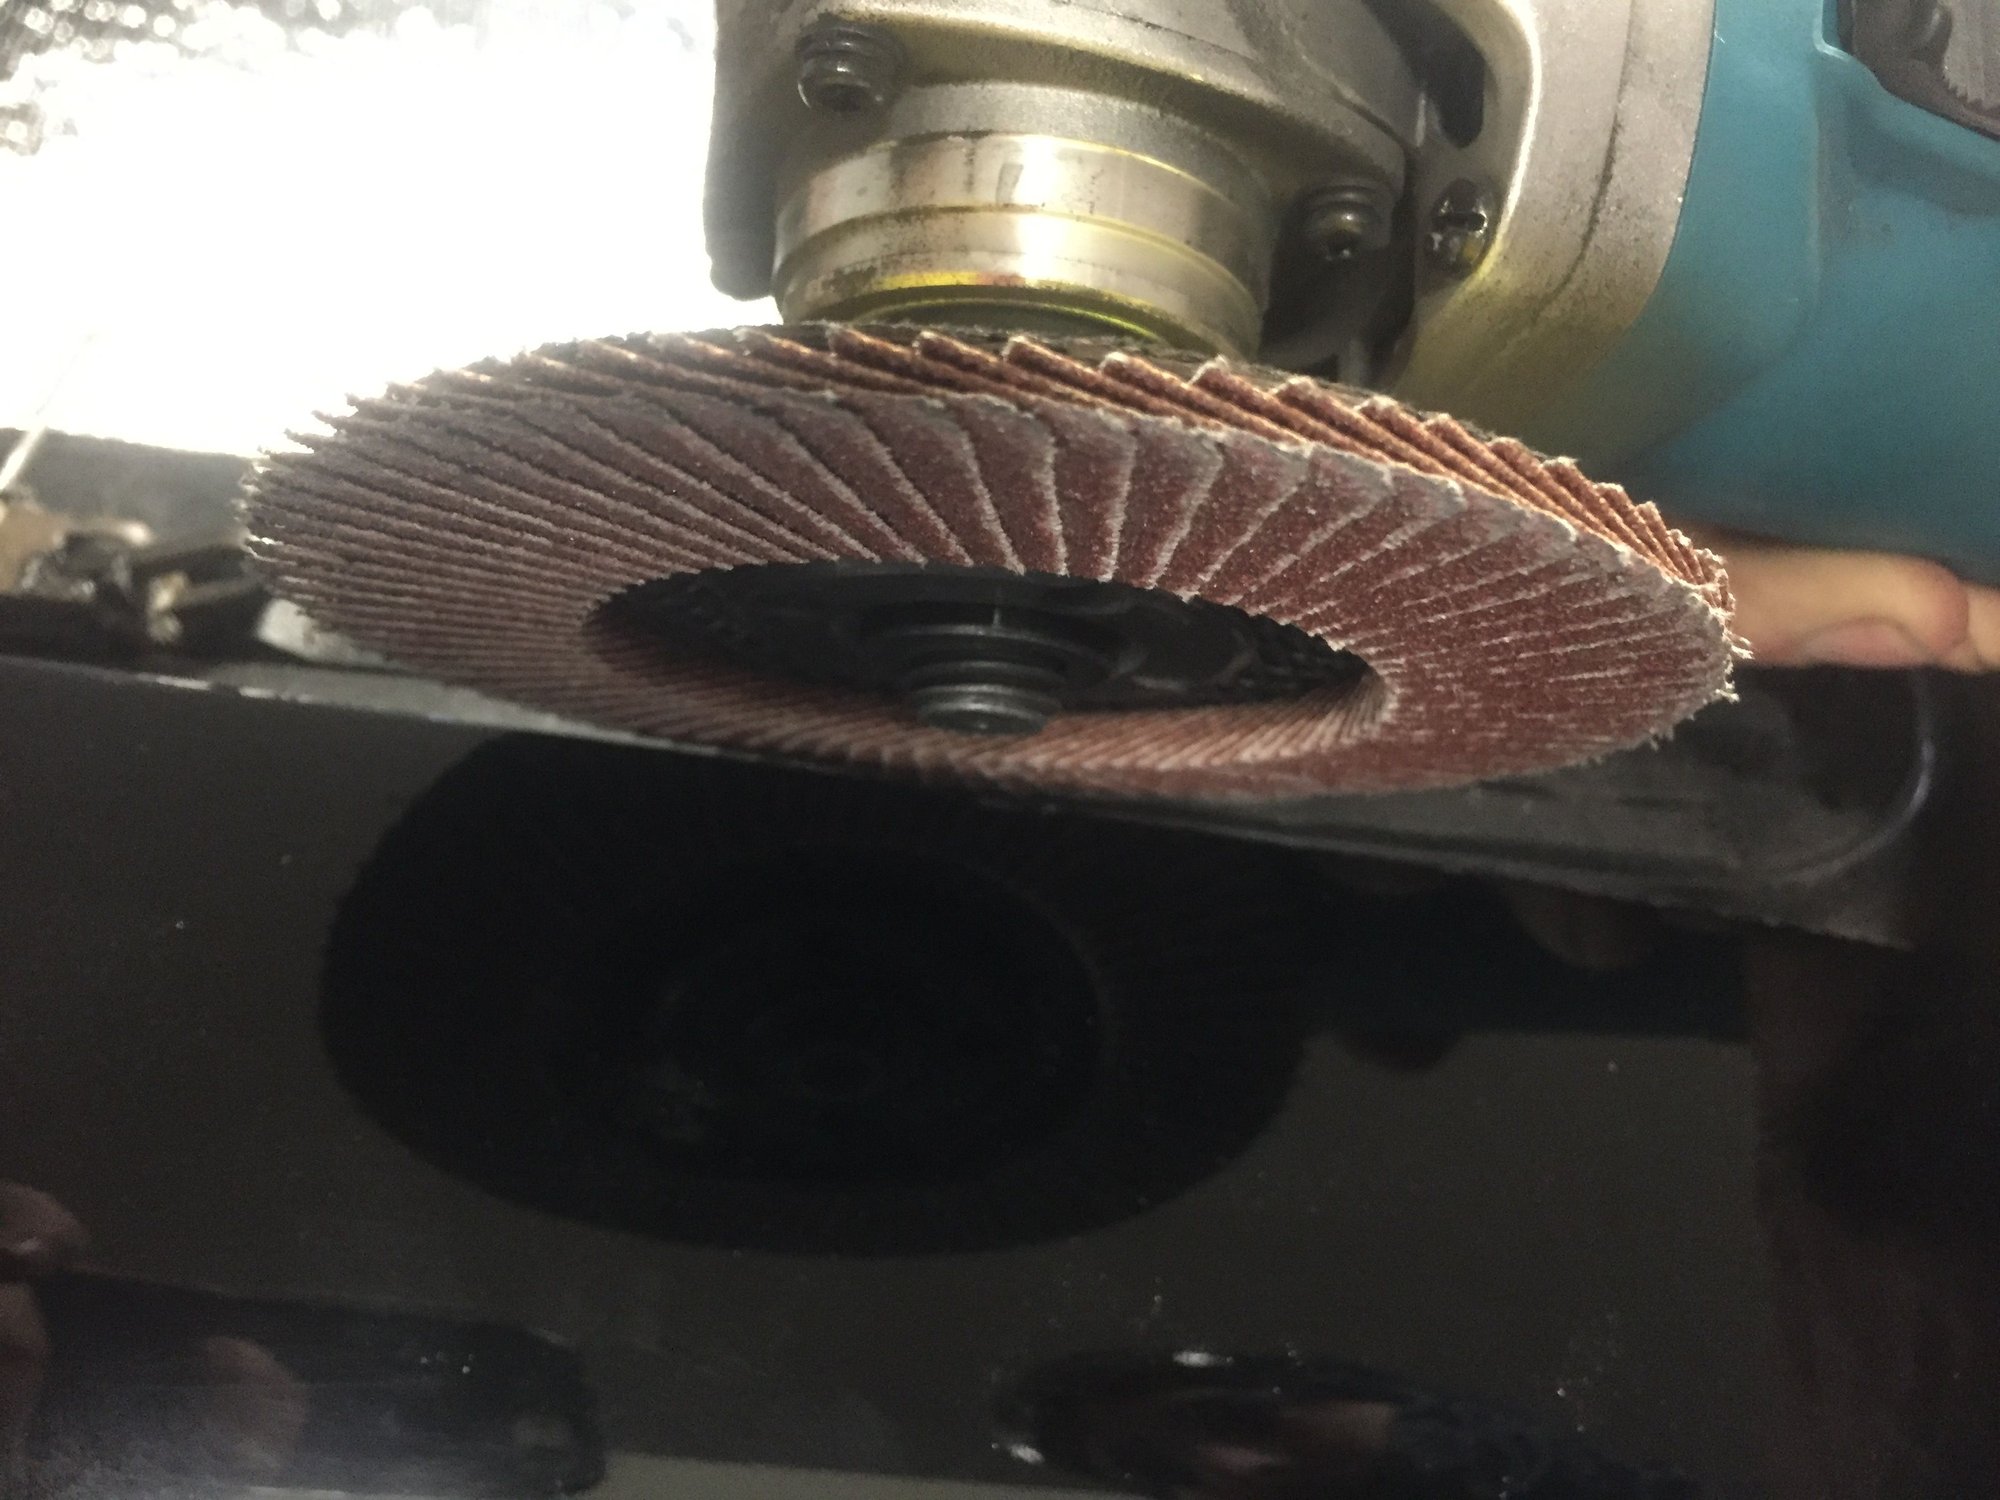
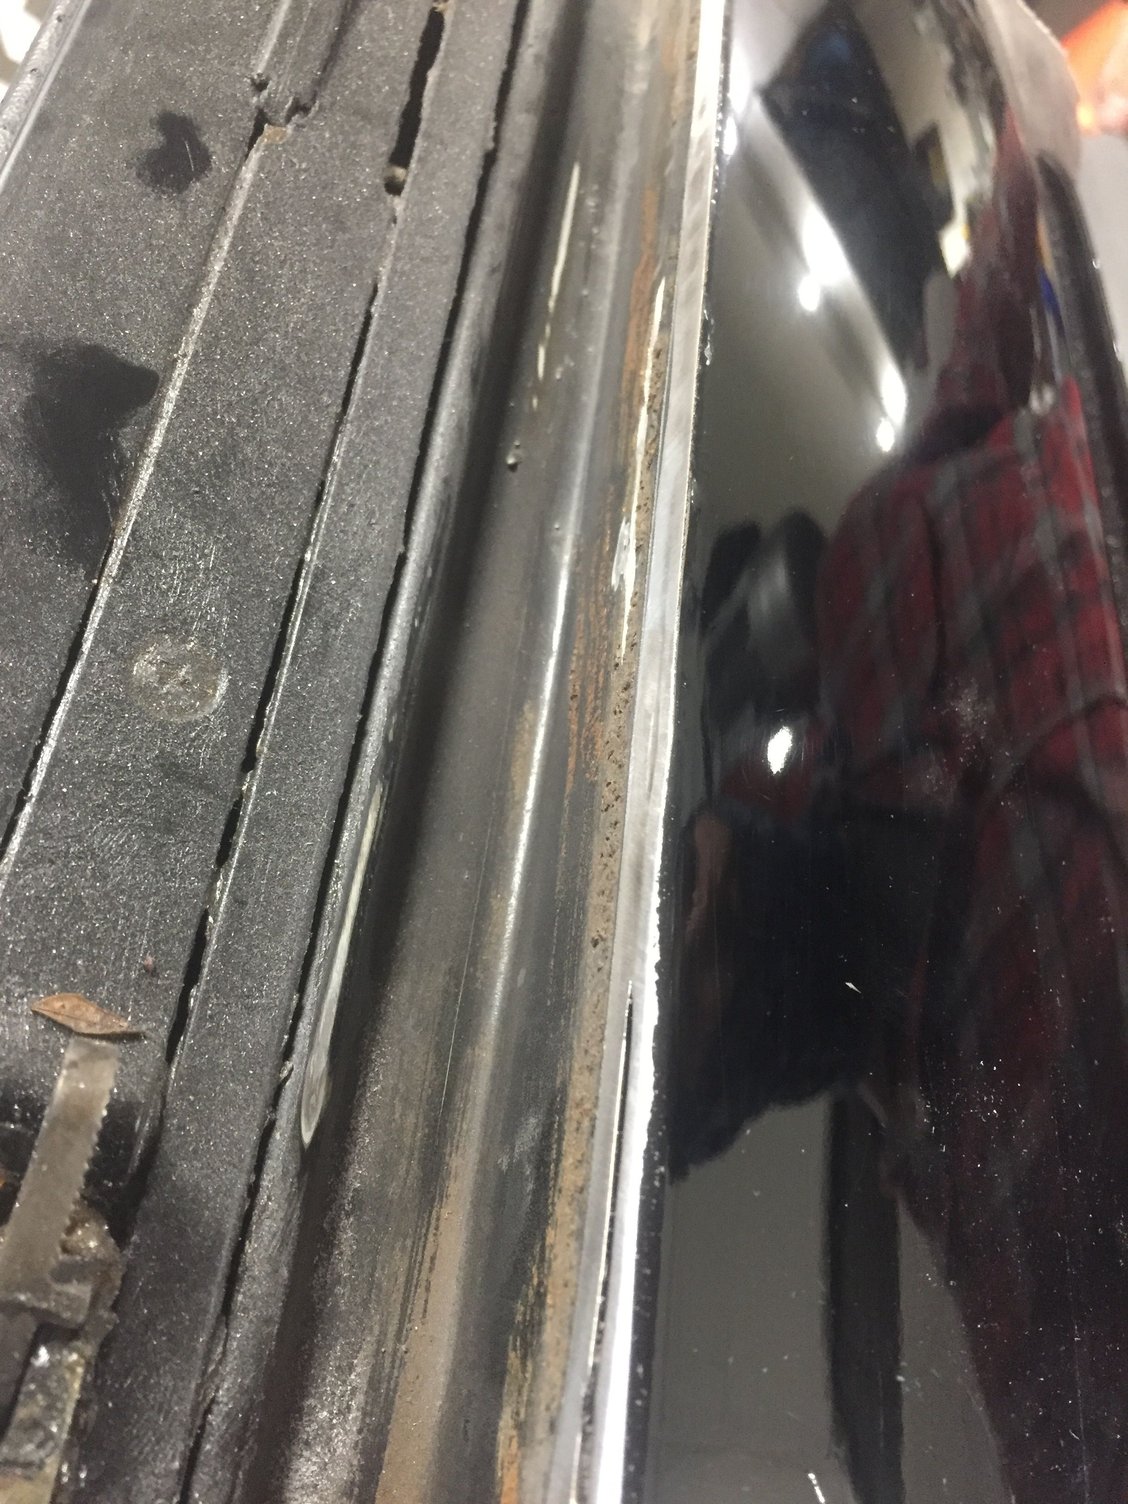
45deg angle along the edge which is made up of one material thick roof skin and same for the cartridge metal
from the other angle
as you sand the line appears - 4-5 passes with the flappy sander light/medium pressure - no more heat than a sunny day but take your time
literally cut through with the knife - very satifying
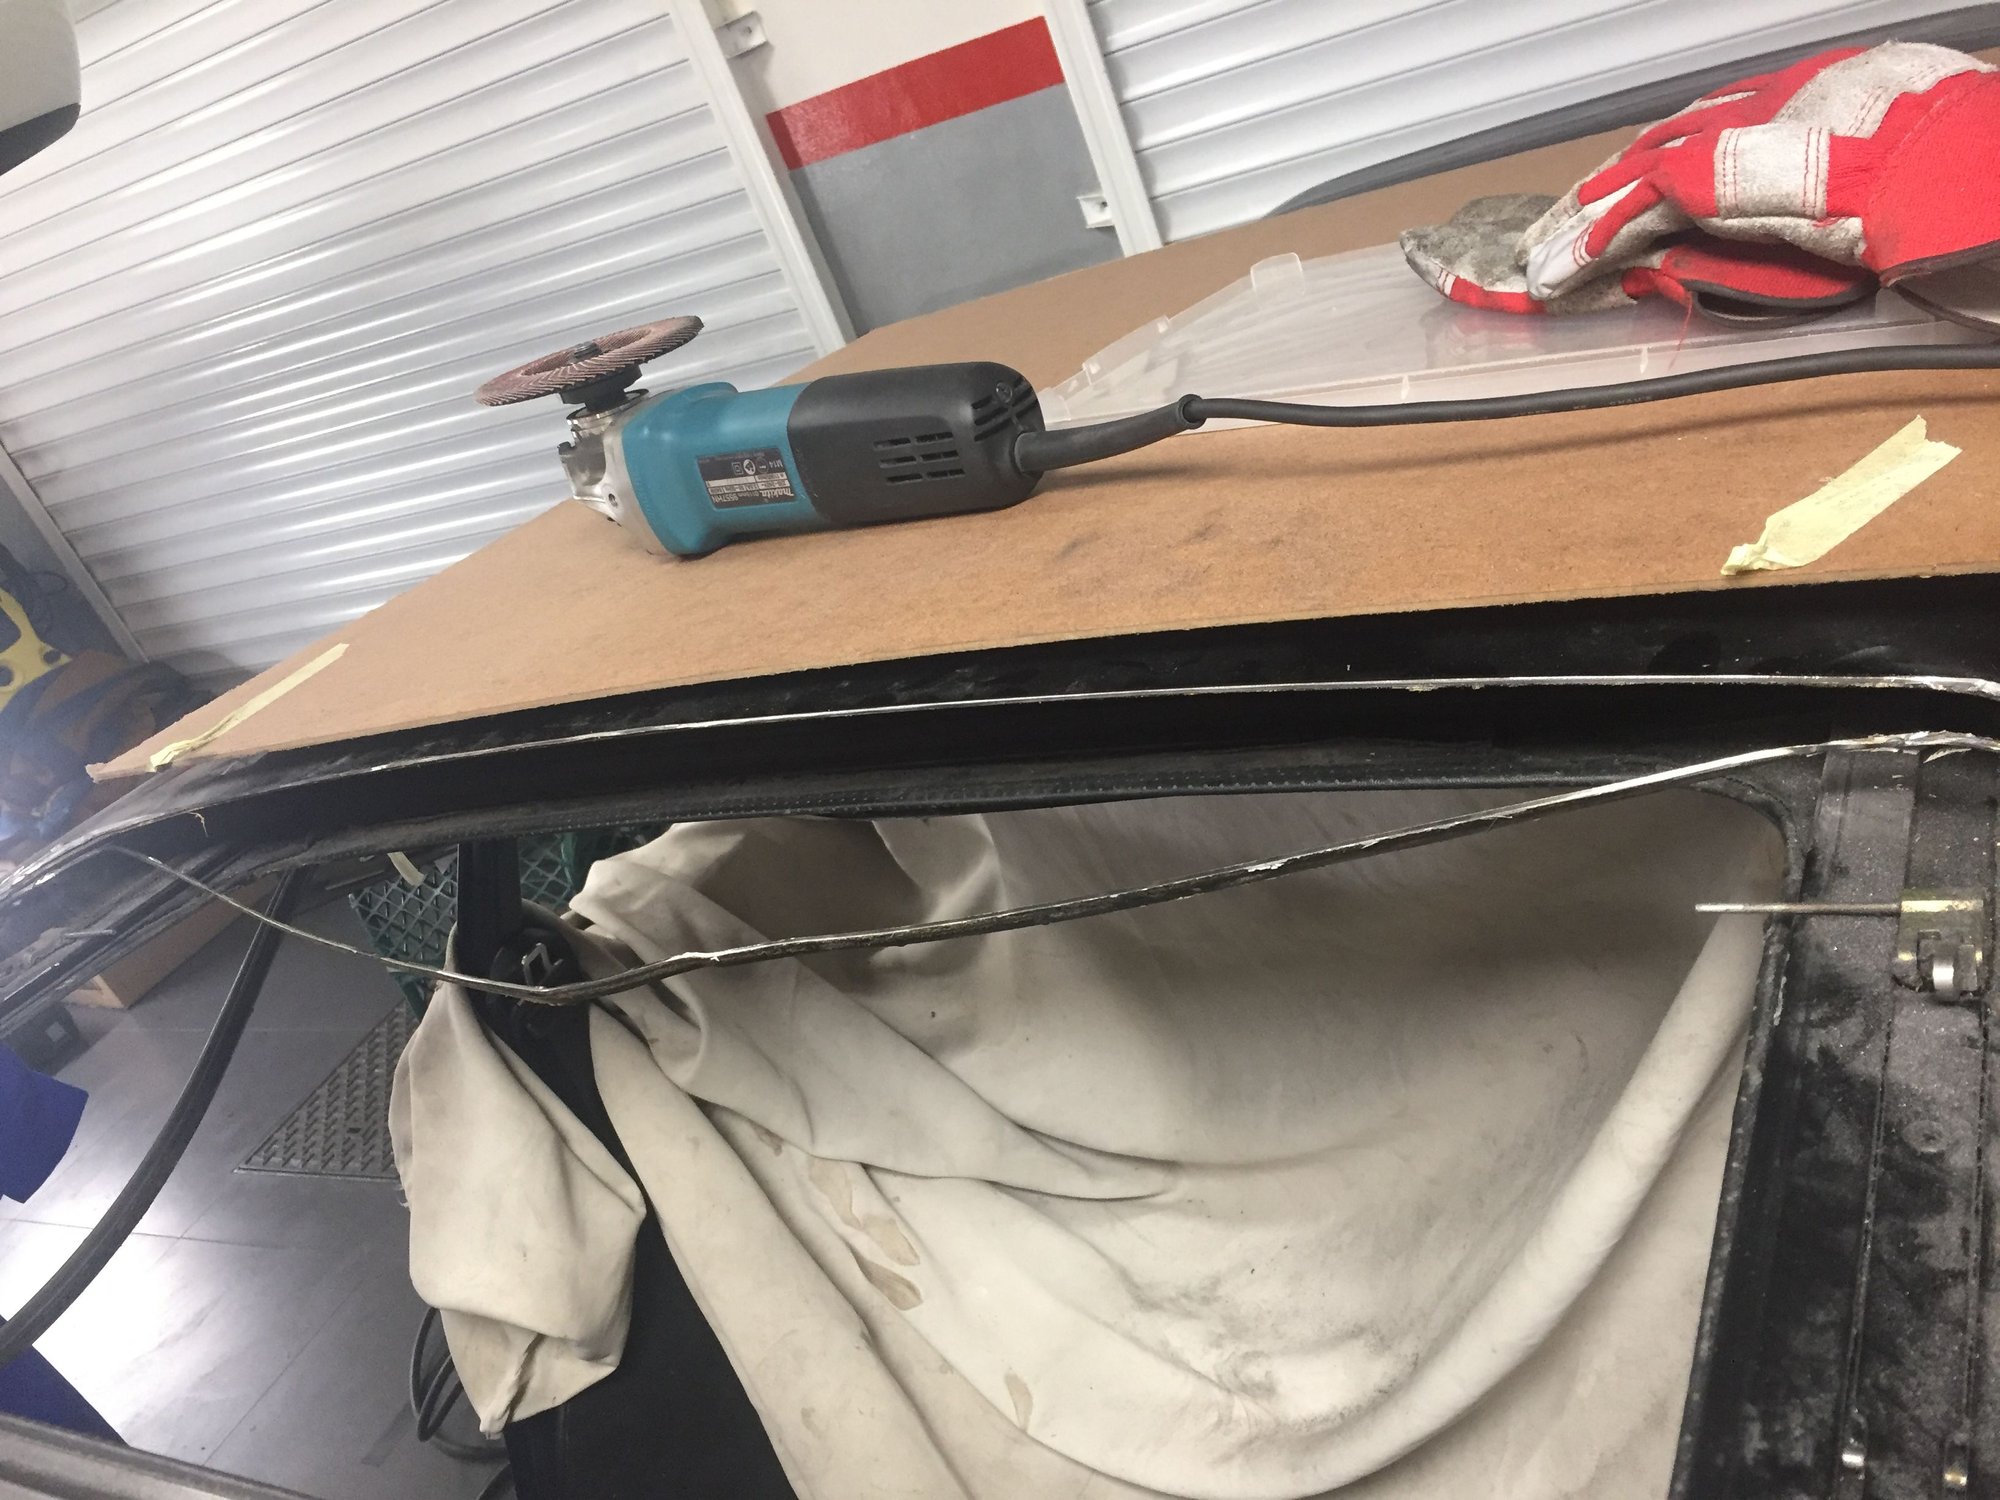
back edge
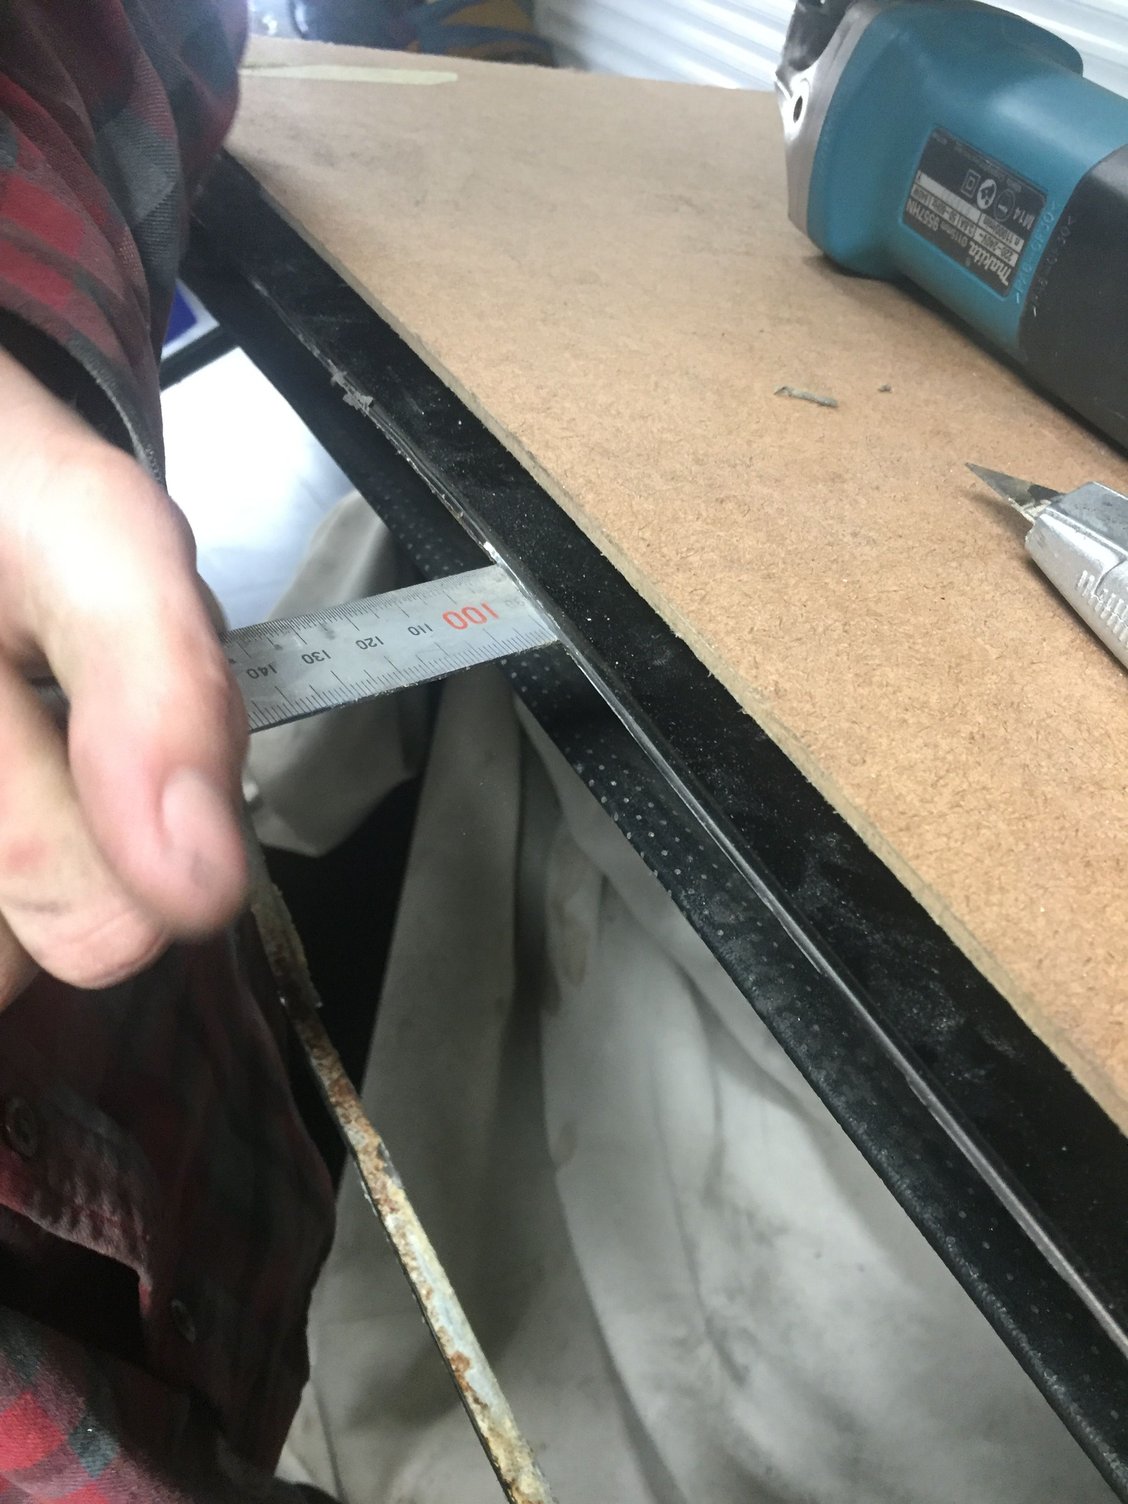
work rule in 10-15cm to losen the panel bond which is all there is at the back (no sanding there)
just move it around a bit then lie on your back and wiggle it loose towards the back window (careful) until the adhesive weakens
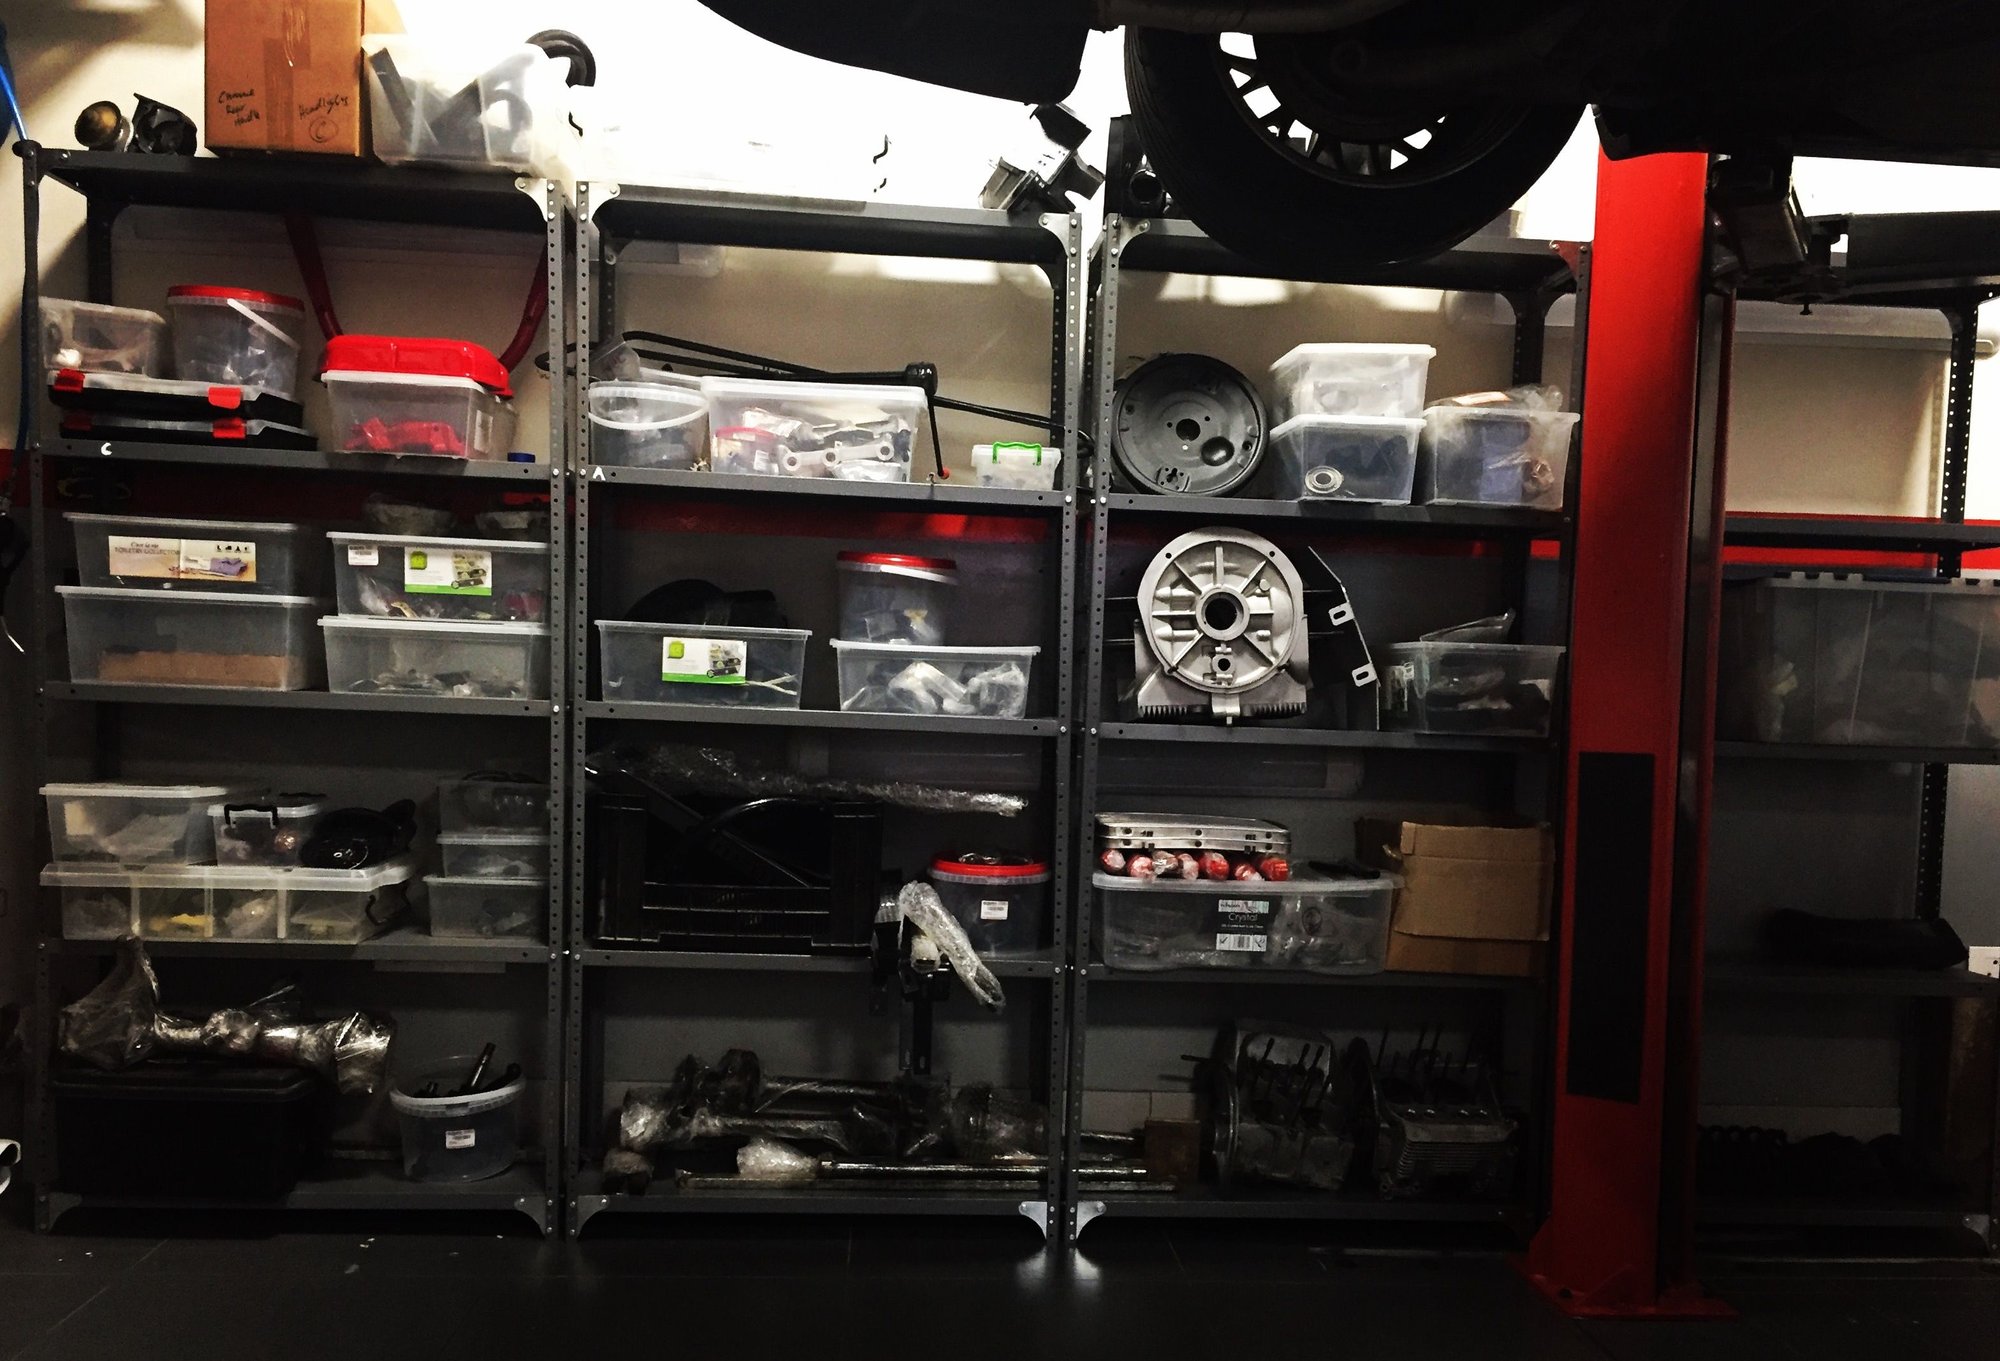
.. planning to update my "pulled the trigger" thread soon .. be soooo busy as I bought 2 (yes not just 1) 356 barn finds and stripped and refurbed all the parts over the last 4 months as the cars had been sitting 'lost' since 1979 .. been a bit nuts round here w. little sleep


 06-12-2017 | 04:12 PM