When you click on links to various merchants on this site and make a purchase, this can result in this site earning a commission. Affiliate programs and affiliations include, but are not limited to, the eBay Partner Network.
Last summer I replaced the pressure switch in the hydraulic pump in my C4. Initial discussion here.
Everything seems to be working perfectly now, but it was touch and go for a bit...
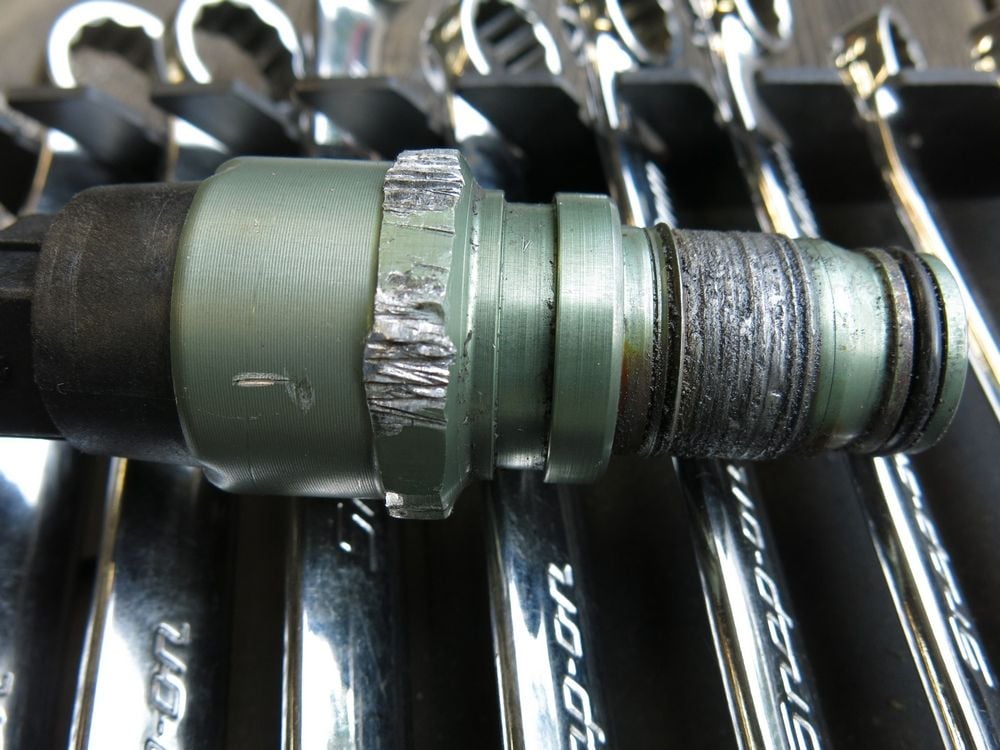
Getting the switch out was a total PITA. Could not be done in the car; I had to pull out the pump and clamp it in my bench vise. To be fair, the oversize socket I bought was a 12-point ('cause that's what I could find). If you try this at home, source a 6 point. For my car it took a vise and BA pipe wrench. Golly, wonder why?
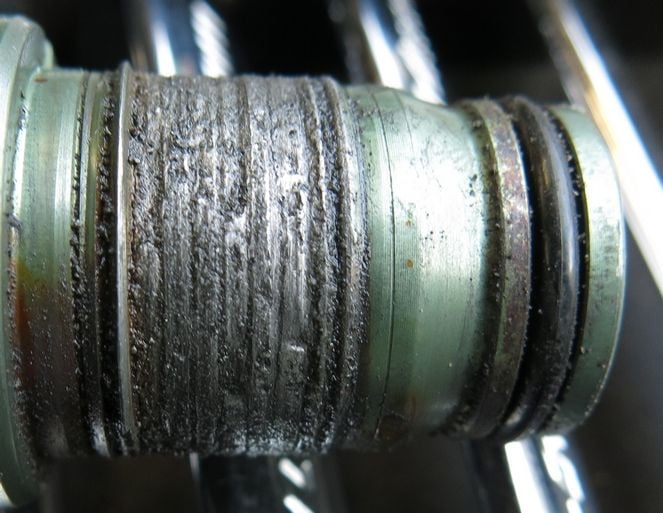
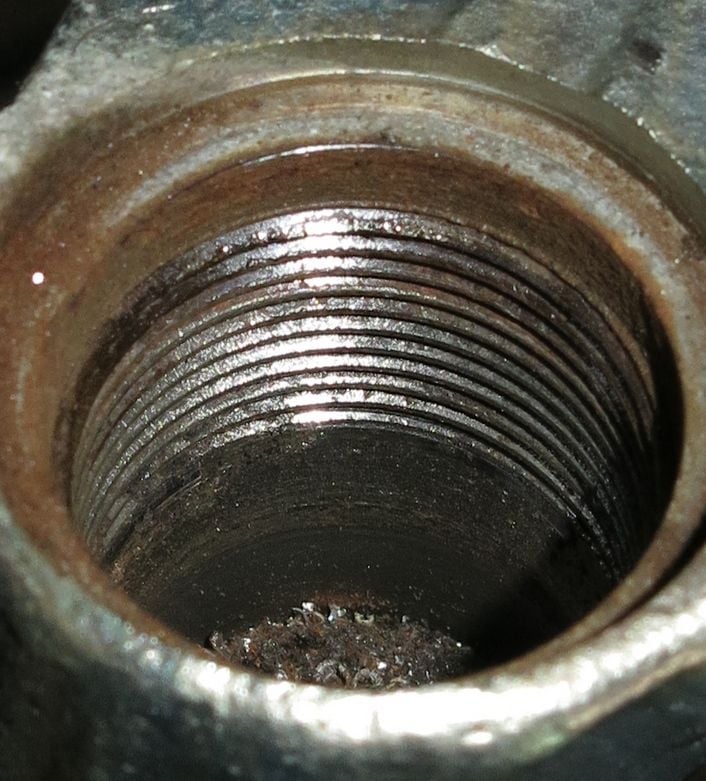
The switch body is alu, and over the long term it didn't get along well with the cast pump body. The pump body didn't come thru unscathed either:
Of note is the corrosion at the mouth of the switch bore and the pitting at the bottom. On the upside, the very high quality elastomeric cushions visible in the picture above remain remarkably supple for 26 years old!
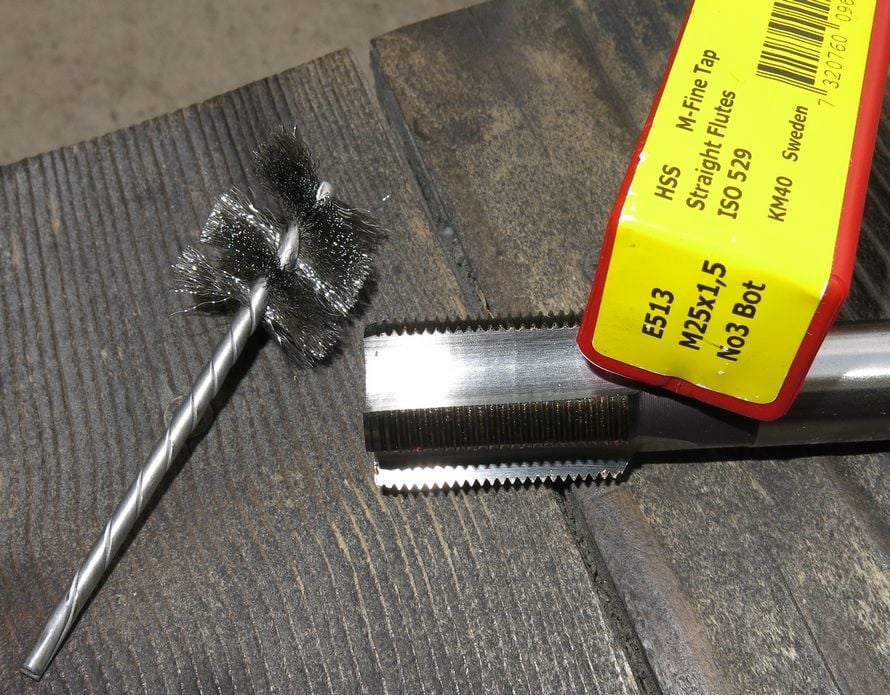
At this point I was already out nearly $300 for the switch (Sunset, always) and committed to trying to make it work. A new pump is... a lot of money. Enter weapons of choice:
The brush is stainless and 1" OD. Tap is pretty self-explanatory...
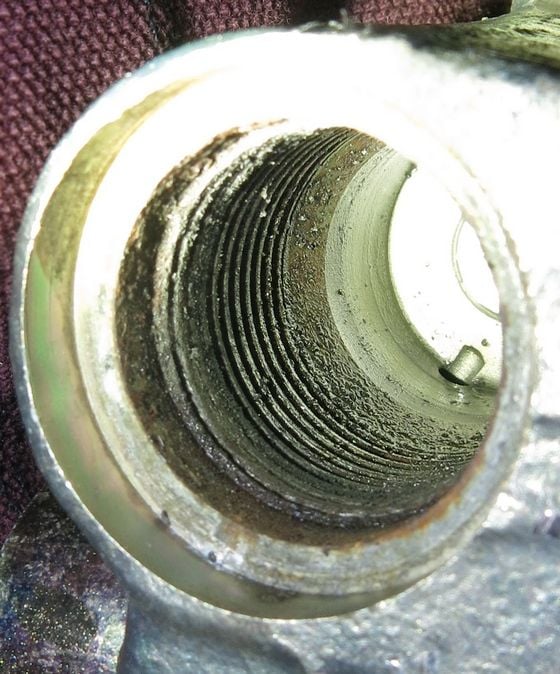
This isn't for the faint of heart; more than once I asked myself if I was being pennywise but pound foolish. Look at the debris at the bottom of the bore and think about the mess it could make of all the hyper expensive stuff downstream (ABS pump, bomb, PDAS valve block, wheel cylinders, diff lock actuators... wtf was I thinking?!) I used several cans of brake-kleen to get everything sauber before reassembly....
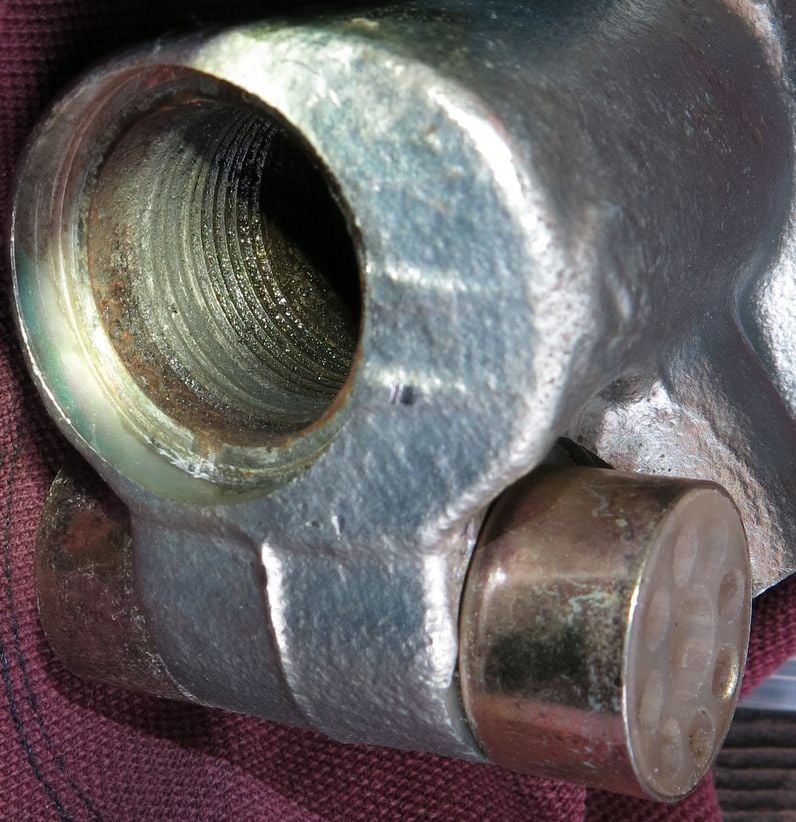
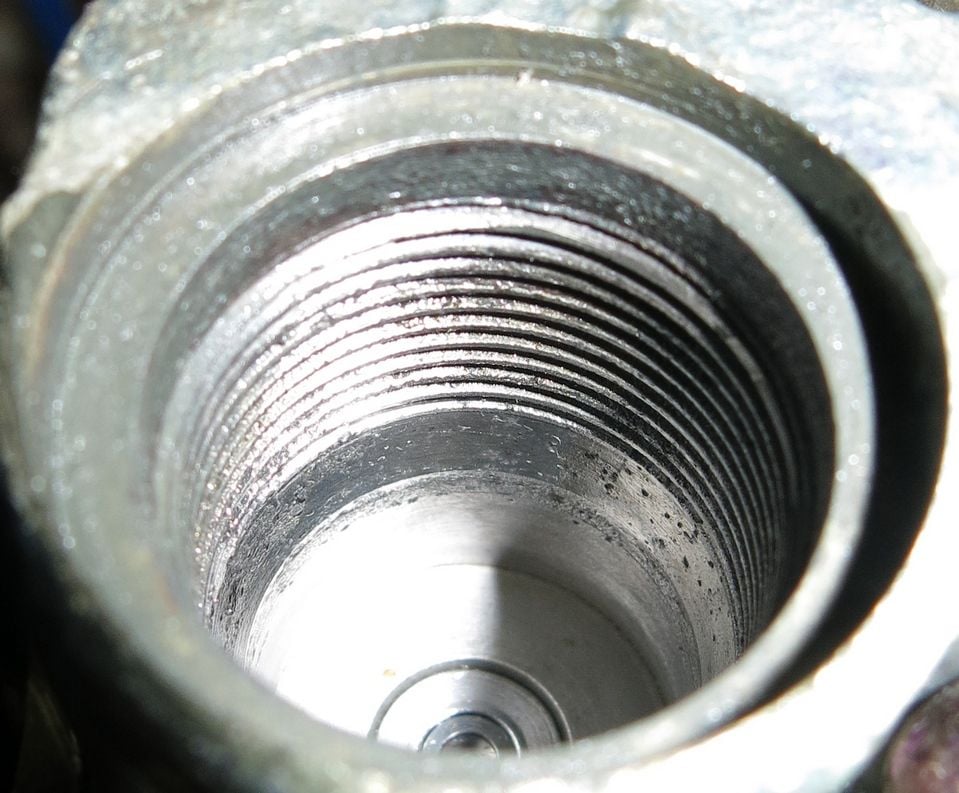
The switch bore cleaned up pretty nicely- brush, tap, brush again. Here's a shot after I applied molycoat to the mouth and upper threads:
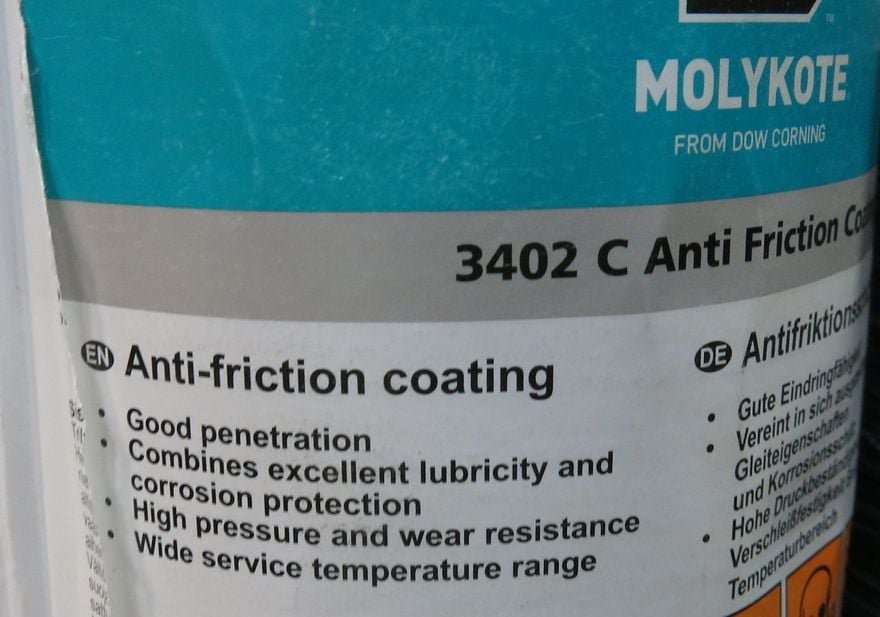
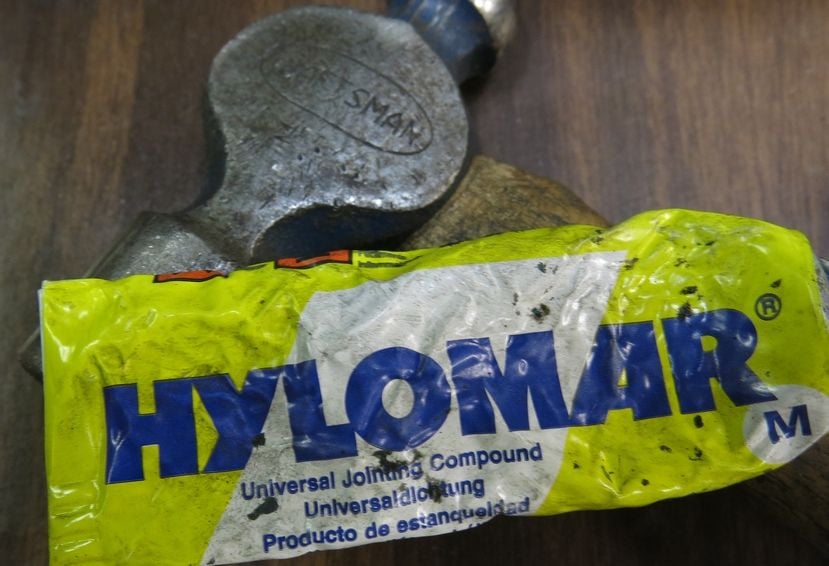
And the product I used:
My hope is that the molycoat (and the anti-sieze applied to the switch) will let me spin the switch right out in the event it fails again.
Since the bottom of the bore where the switch o-ring sits was visibly pitted I applied Hylomar to the o-ring. Lots of pressure here, and while measurements seemed to indicate that the pitting was above the o-ring better safe than sorry.
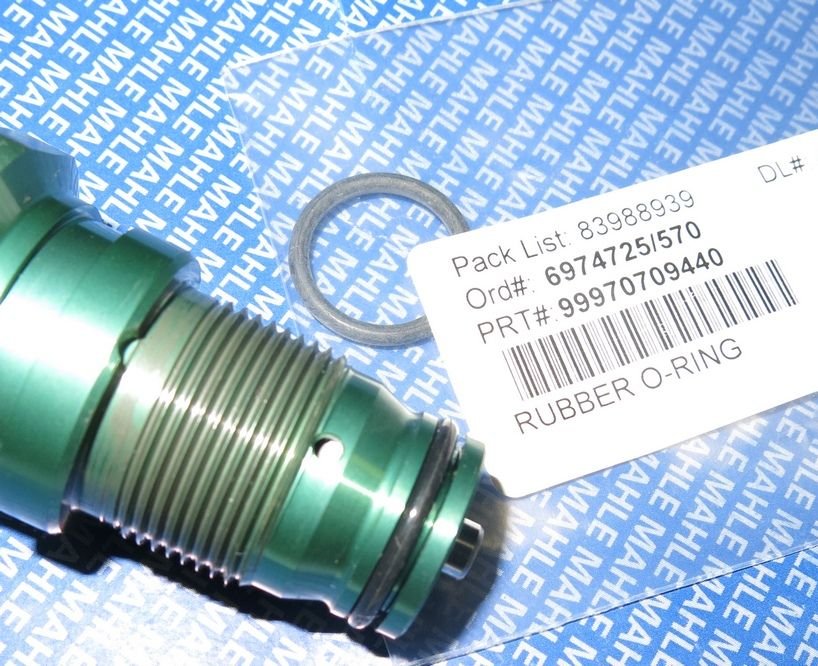
If you're buying a switch, don't order the separate o-ring; one comes with...
I guess the jury is still out, but it's been nearly 1000 miles and I have no leaks and the pump cycles as it ought. I'm *almost* ready to put the cover back on the pump and the carpet in the trunk
Overnight about 30s or so; if you need hard data I can time it. The failure mode was that the pump never turned off; it does now, which is definitely an improvement. I don't think the actual pump-up time changed much.
If you think it's taking too long, get the FSM and go thru a proper bleed process. The system is pretty complicated mechanically and there are multiple bleed points which need to be addressed in sequence to ensure the bubbles are all out. I'll do it again in the spring to be sure and to avoid another nasty rusty mess.
Talos Takes Your 991 Porsche 911 GT3 to the Next Level for a Cool $1.13 Million
Slideshow: Talos Vehicles has transformed the Porsche 911 GT3 RS into a carbon-bodied, race-inspired machine that costs well over $1 million before the donor car is even included.
9 Vehicles Porsche Helped Engineer that Aren't Porsches
Slideshow: Long before engineering consulting became trendy, Porsche was quietly helping other automakers build everything from supercars to economy hatchbacks.
9 Features and Characteristics That Only Porsche People Understand
Slideshow: Some brands build cars. Porsche builds traditions, obsessions, and a few habits that stopped making sense decades ago but somehow became part of the charm.
This Builder Is Turning Heads With Its Slantnose 911 Creation
Slideshow: A small Polish tuner has reimagined the Porsche 911 Slantnose for the modern era, blending 1980s nostalgia with widebody tuning culture and serious performance upgrades.
Porsche 911 GT3 Artisan Edition Pays Homage to Japanese Culture
Slideshow: Porsche has created a Japan-only 911 GT3 Artisan Edition that blends track-ready hardware with design cues inspired by traditional Japanese craftsmanship.
Porsche Reveals Coupe Variant of the Electric Cayenne With a Fresh Look
Slideshow: Porsche's latest electric Cayenne Coupe blends dramatic styling with supercar acceleration, turning the brand's midsize SUV into a 1,139-horsepower flagship.