When you click on links to various merchants on this site and make a purchase, this can result in this site earning a commission. Affiliate programs and affiliations include, but are not limited to, the eBay Partner Network.
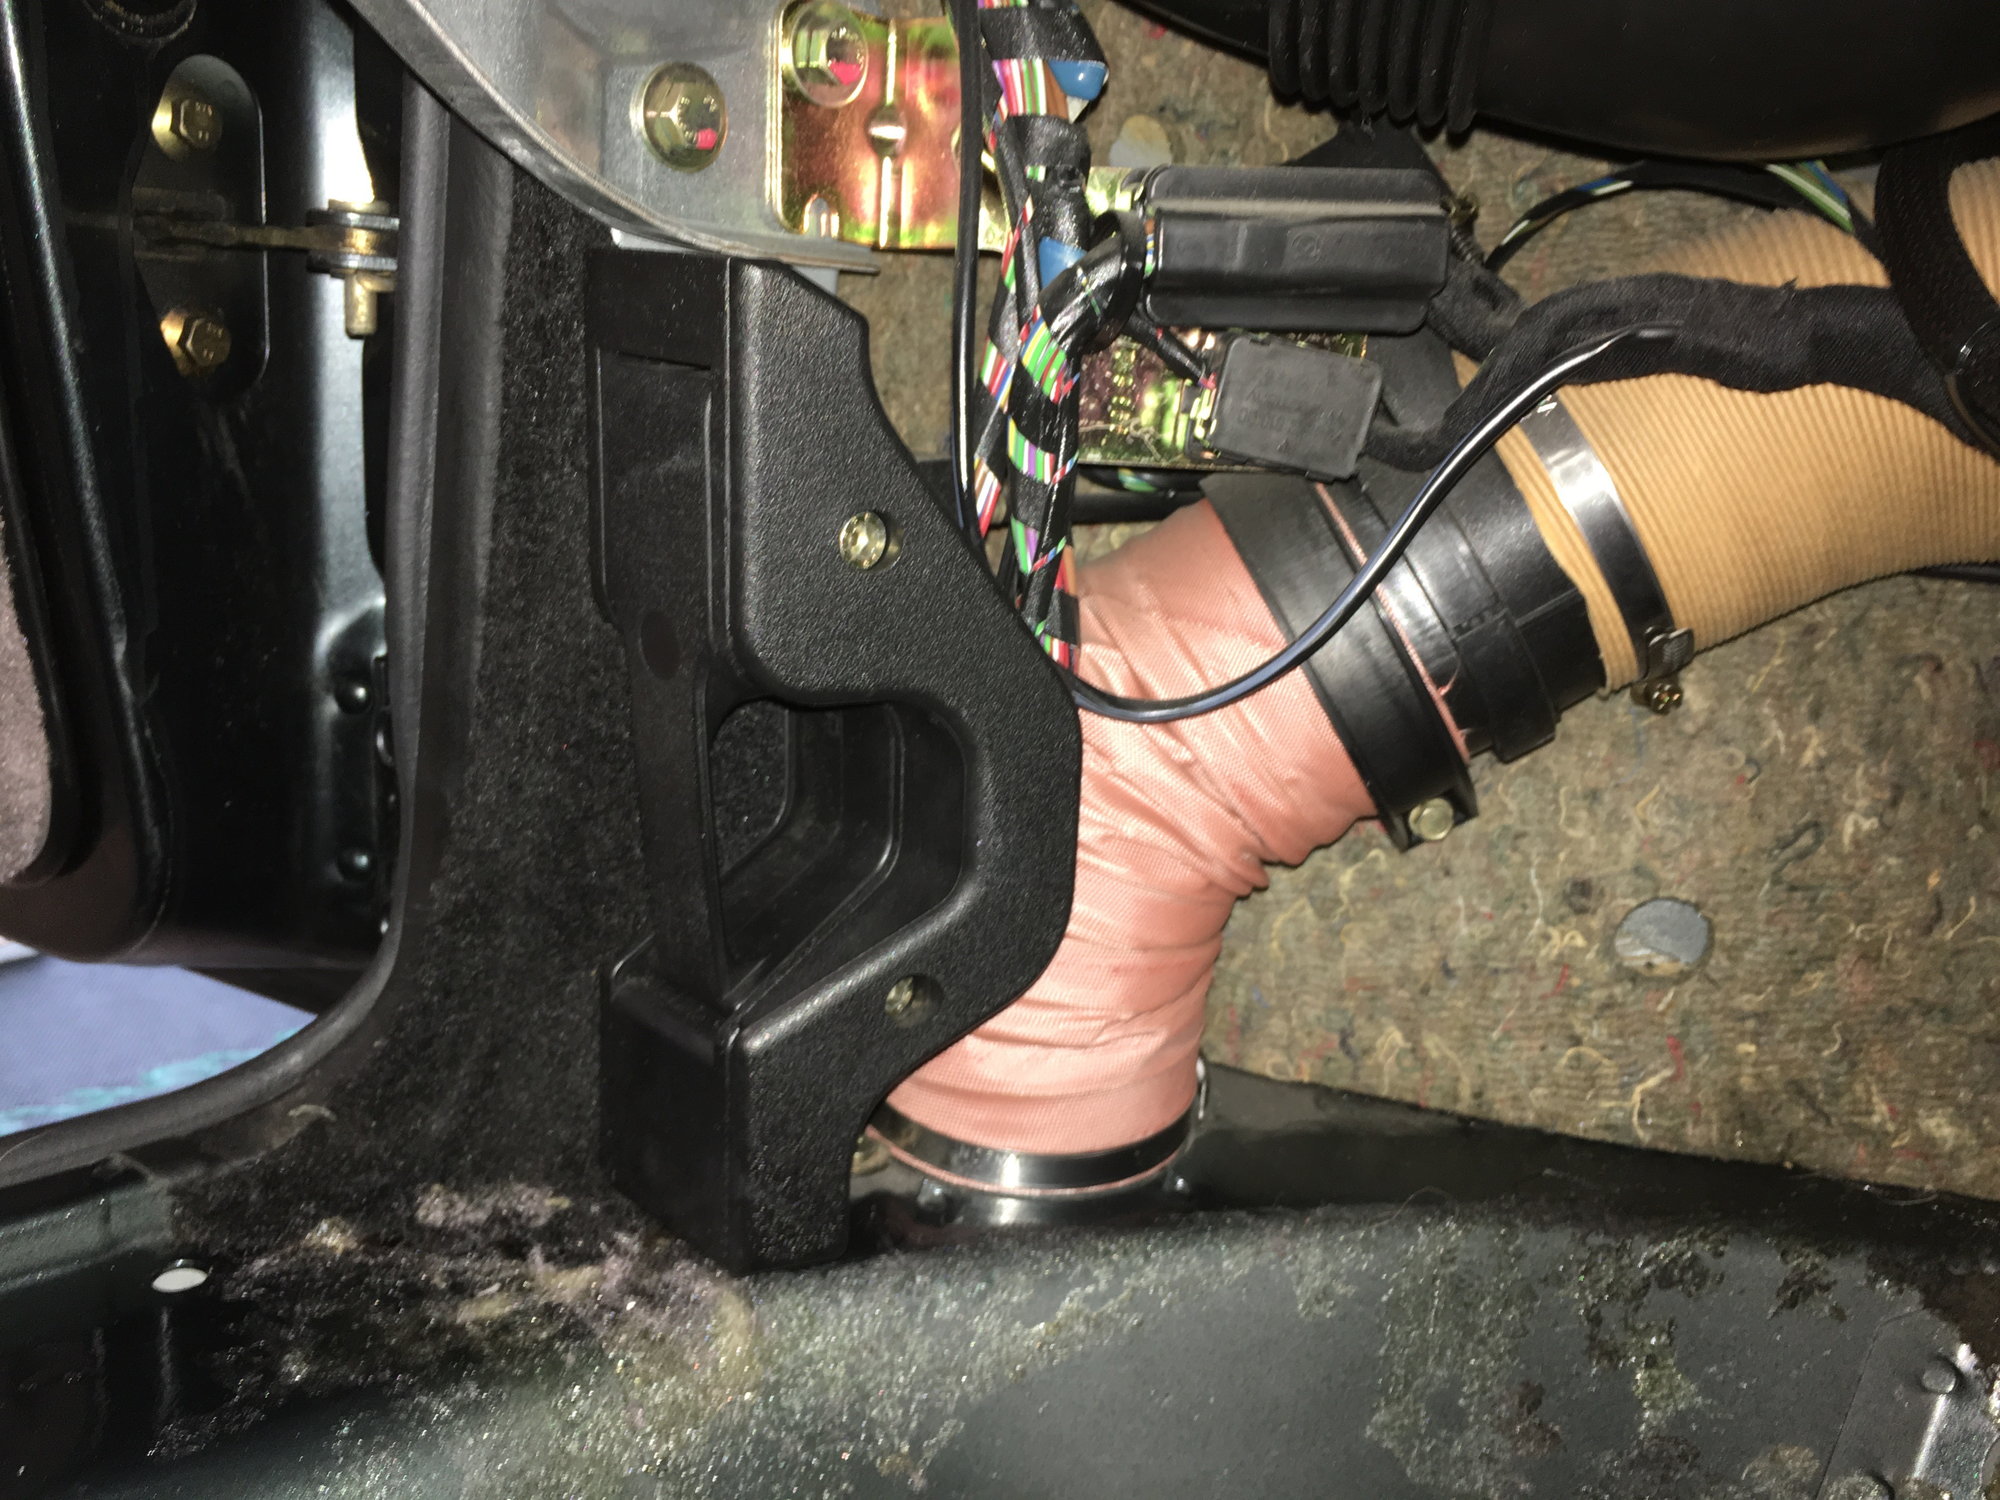
The subject title sums is up. I need to remove the Bonnet/Hood release handle from the body so I can replace the carpet under it. I have undone the lower bolt #34 in the pic, but there is another hidden fastener on the top. Where is it and how do I remove it? Thanks in advance.
Open the hood and release the tension from the cable at the bonnet lock in the frunk. Pull the handle like you are opening the bonnet, it will open just enough to let you undo the Allen bolt.
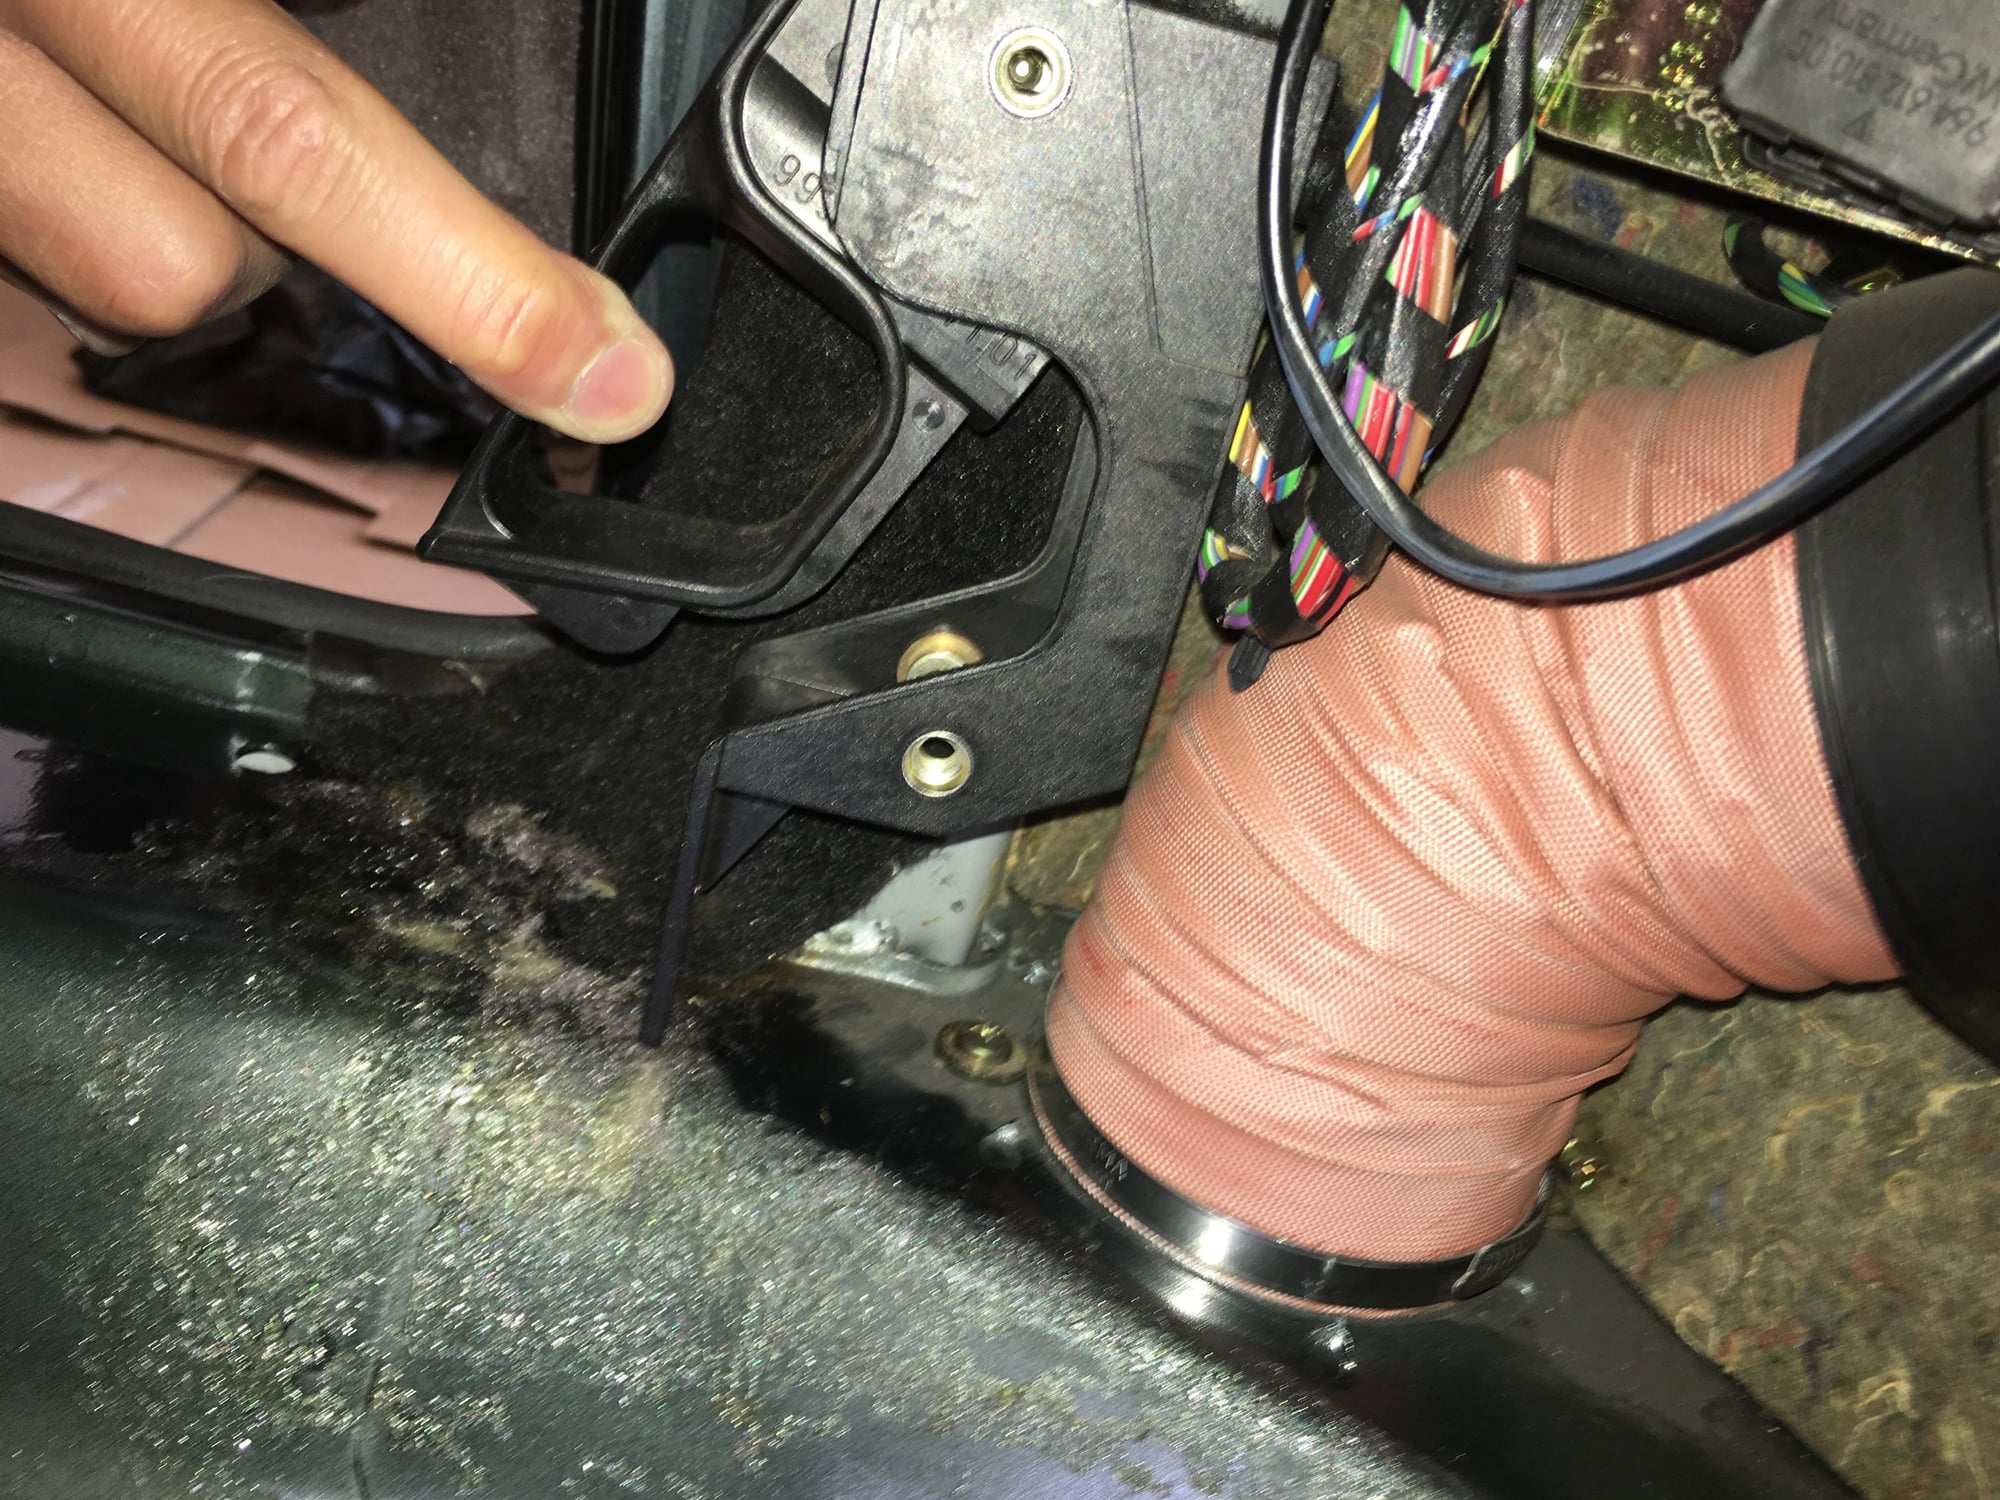
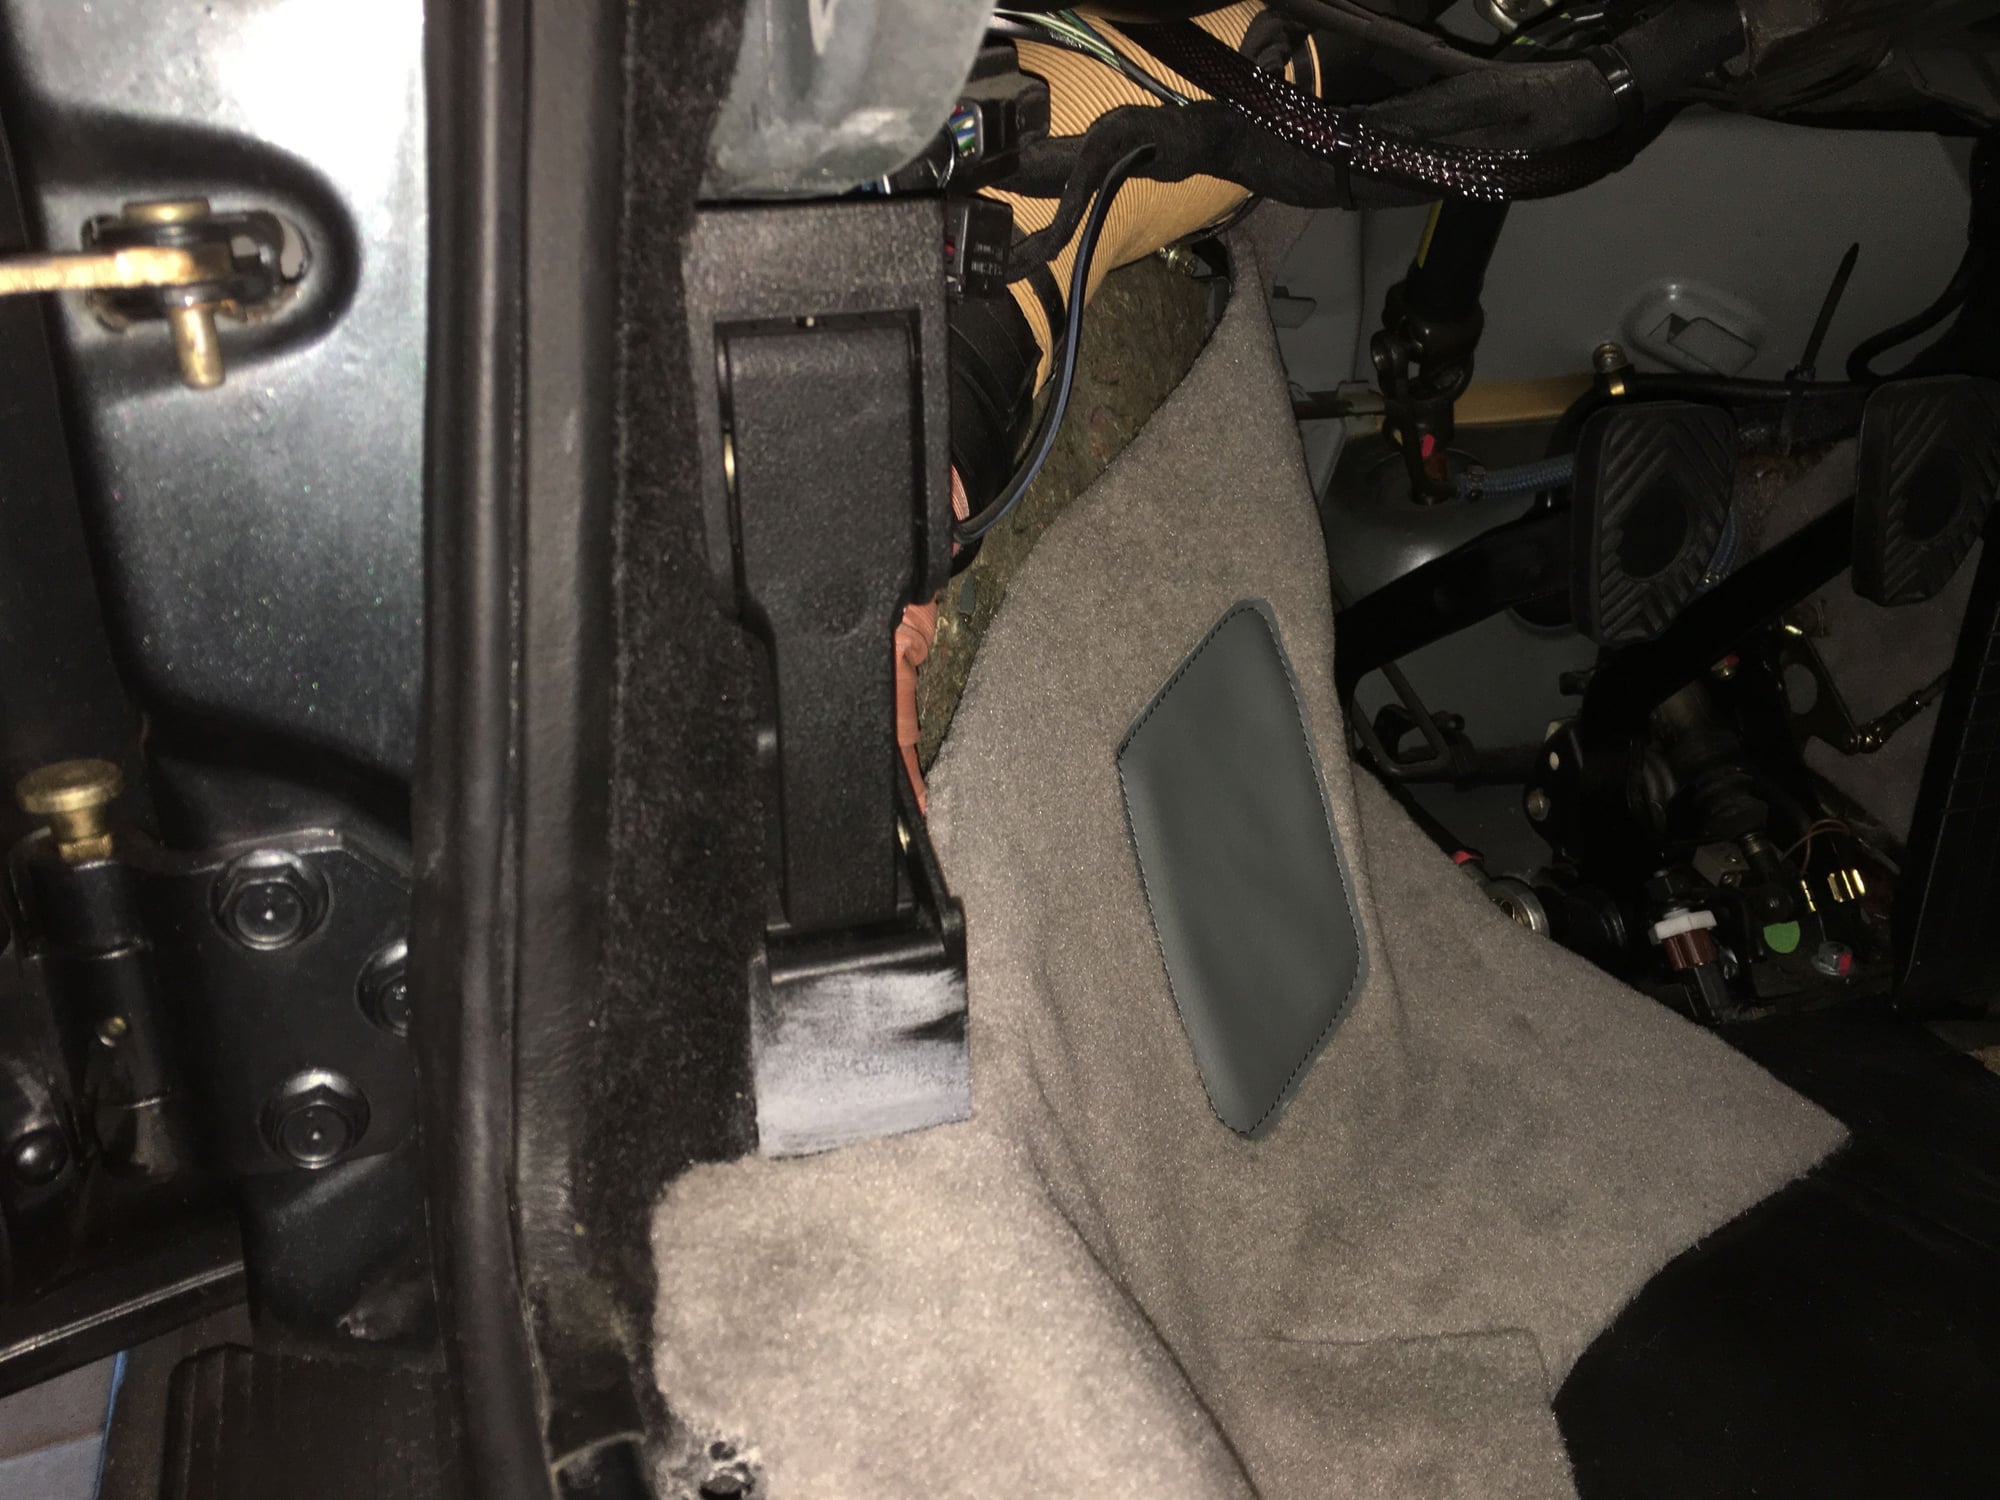
I'm amazed at the coincidence. I JUST replaced the carpet under my bonnet release lever last week - albeit in a LHD car. I found that I did NOT need to remove the entire bonnet release mechanism - I only needed to remove the outer cap (secure by two allen bolts). Removing the outer cap was enough to get the clearance necessary to slip in the new carpet under the release mechanism by pushing on it with a credit card. Then I glued everything down. I took copious photos as seen below:
You can see the outer cap is secure to the bonnet release mechanism with two allen bolts above.
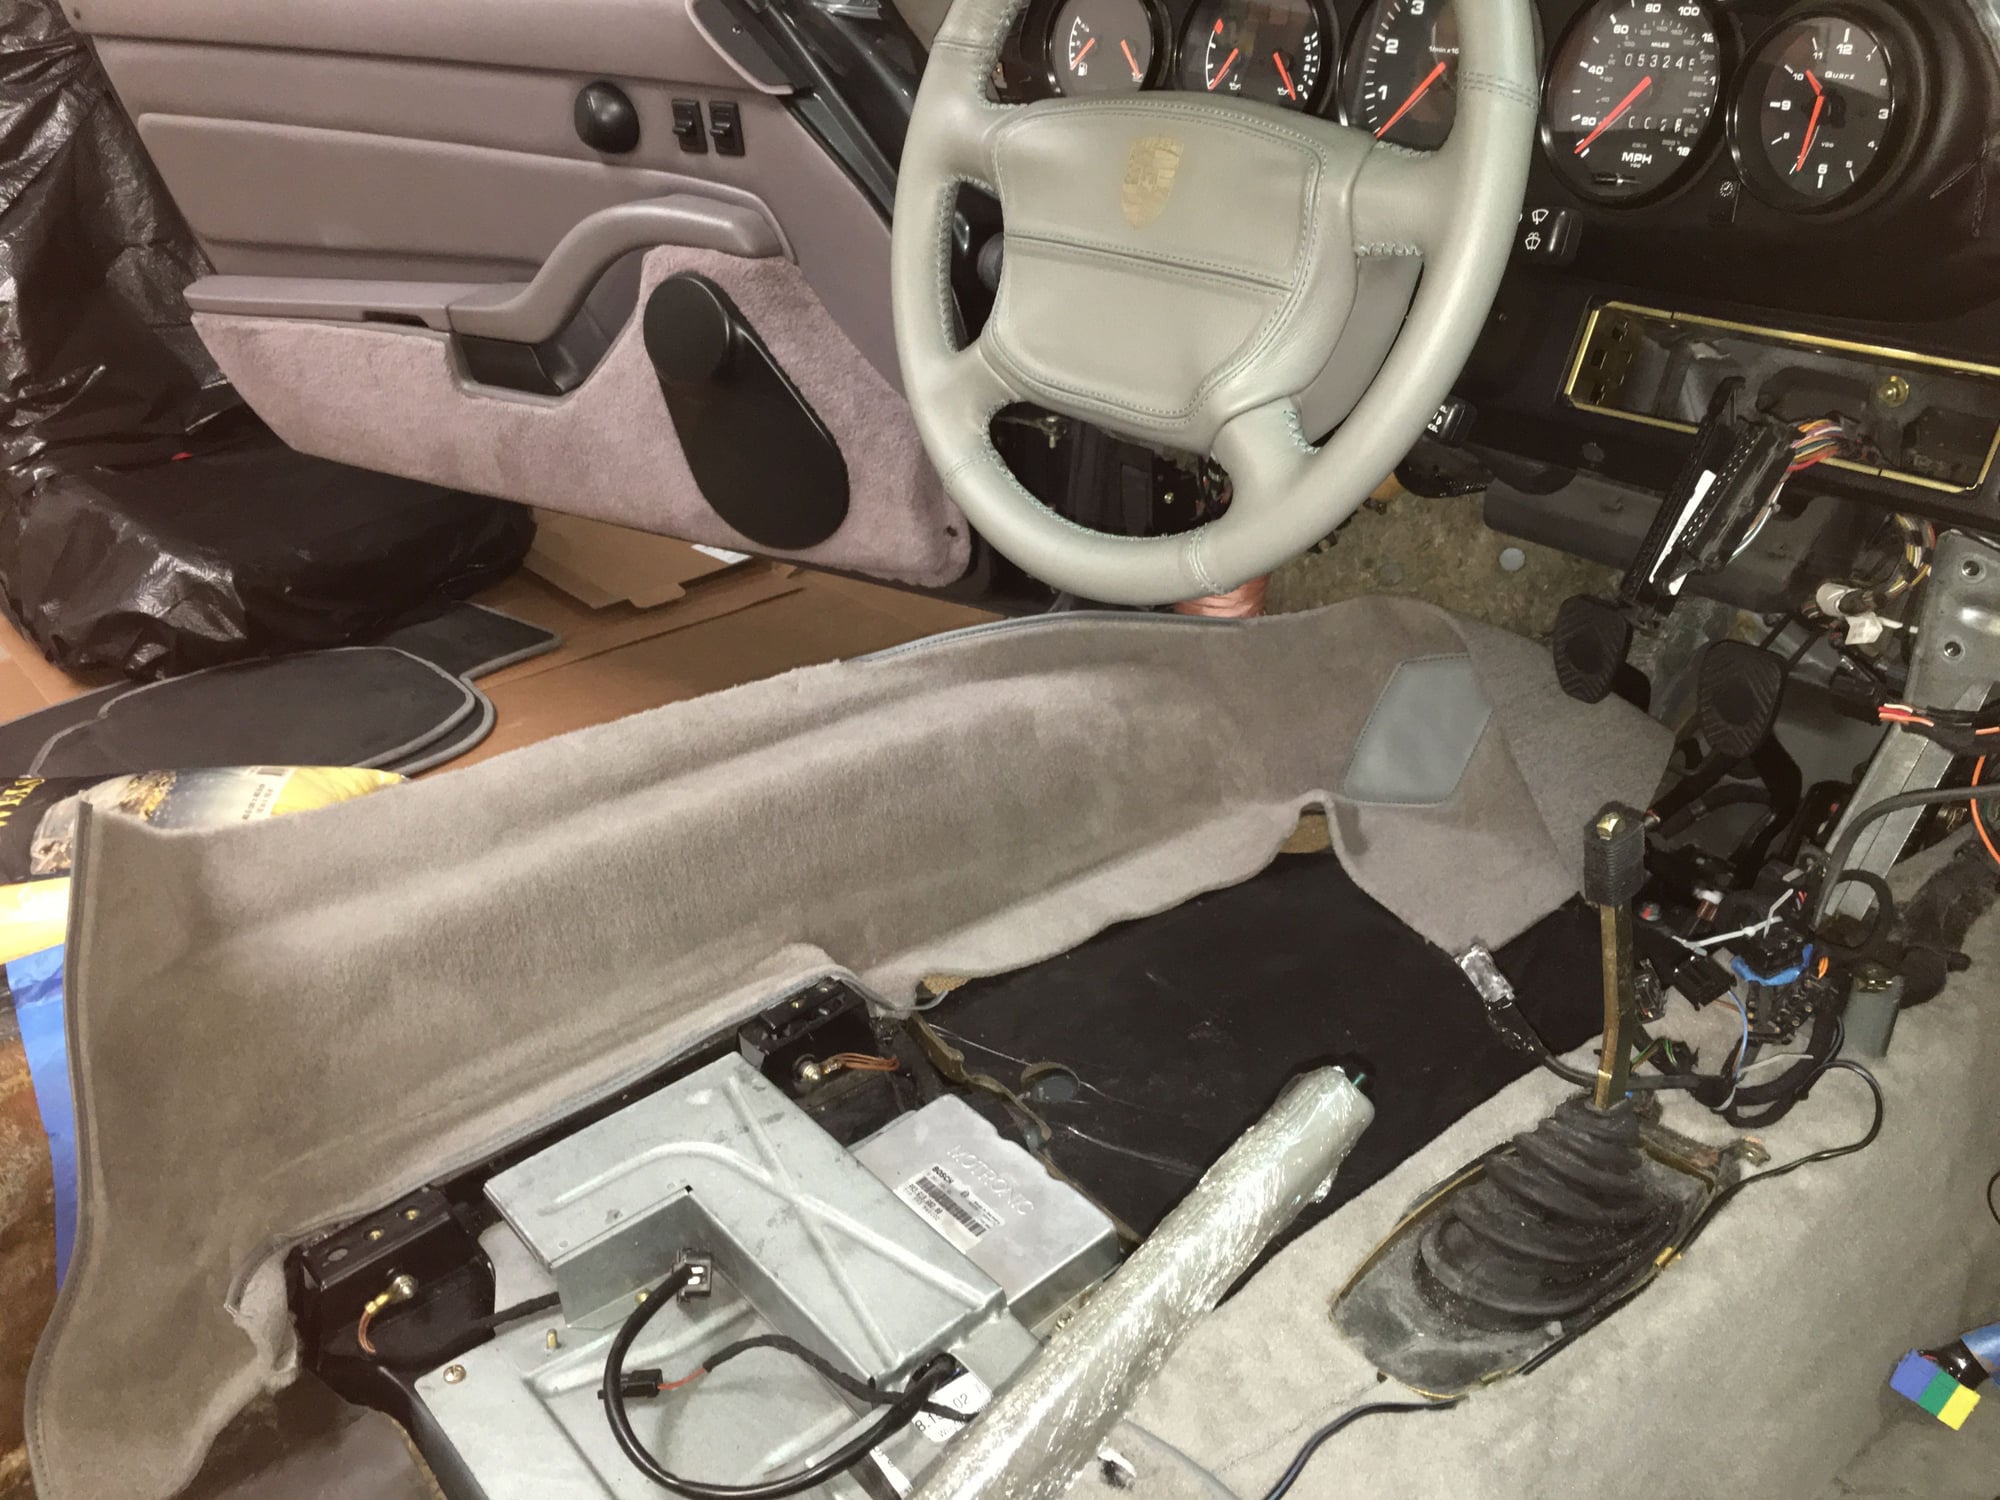
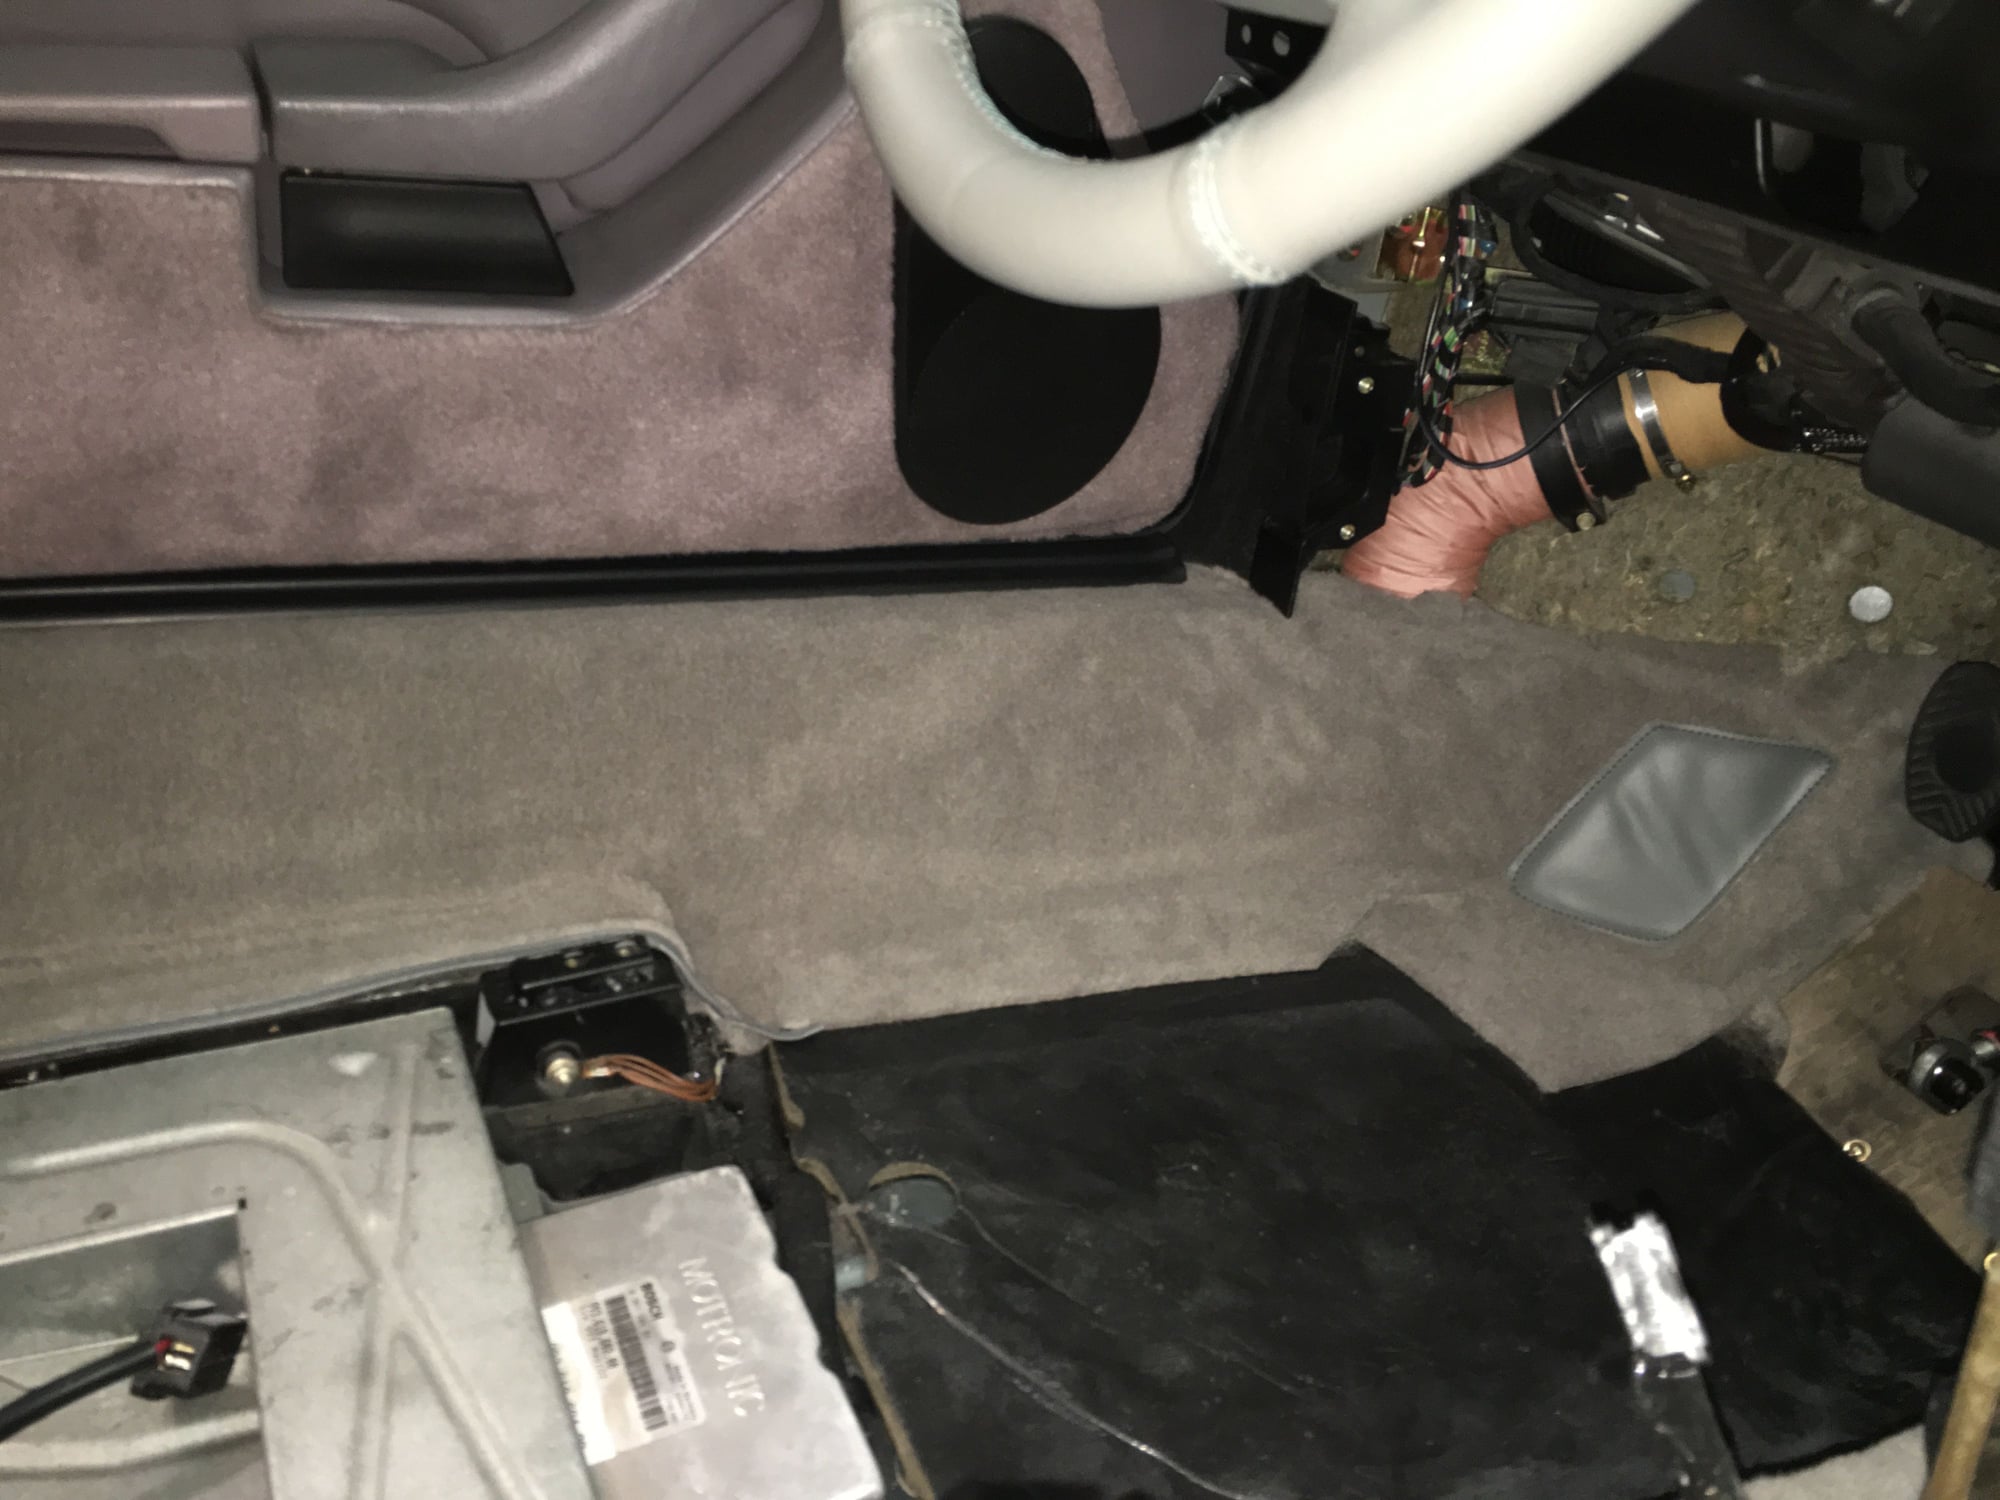
I've removed the outer cap in this photo but I did not remove the rest of the release mechanism.
The new carpet is going in --- this is a different shade of grey than classic grey (classic grey is still on the door as you can see in this picture)
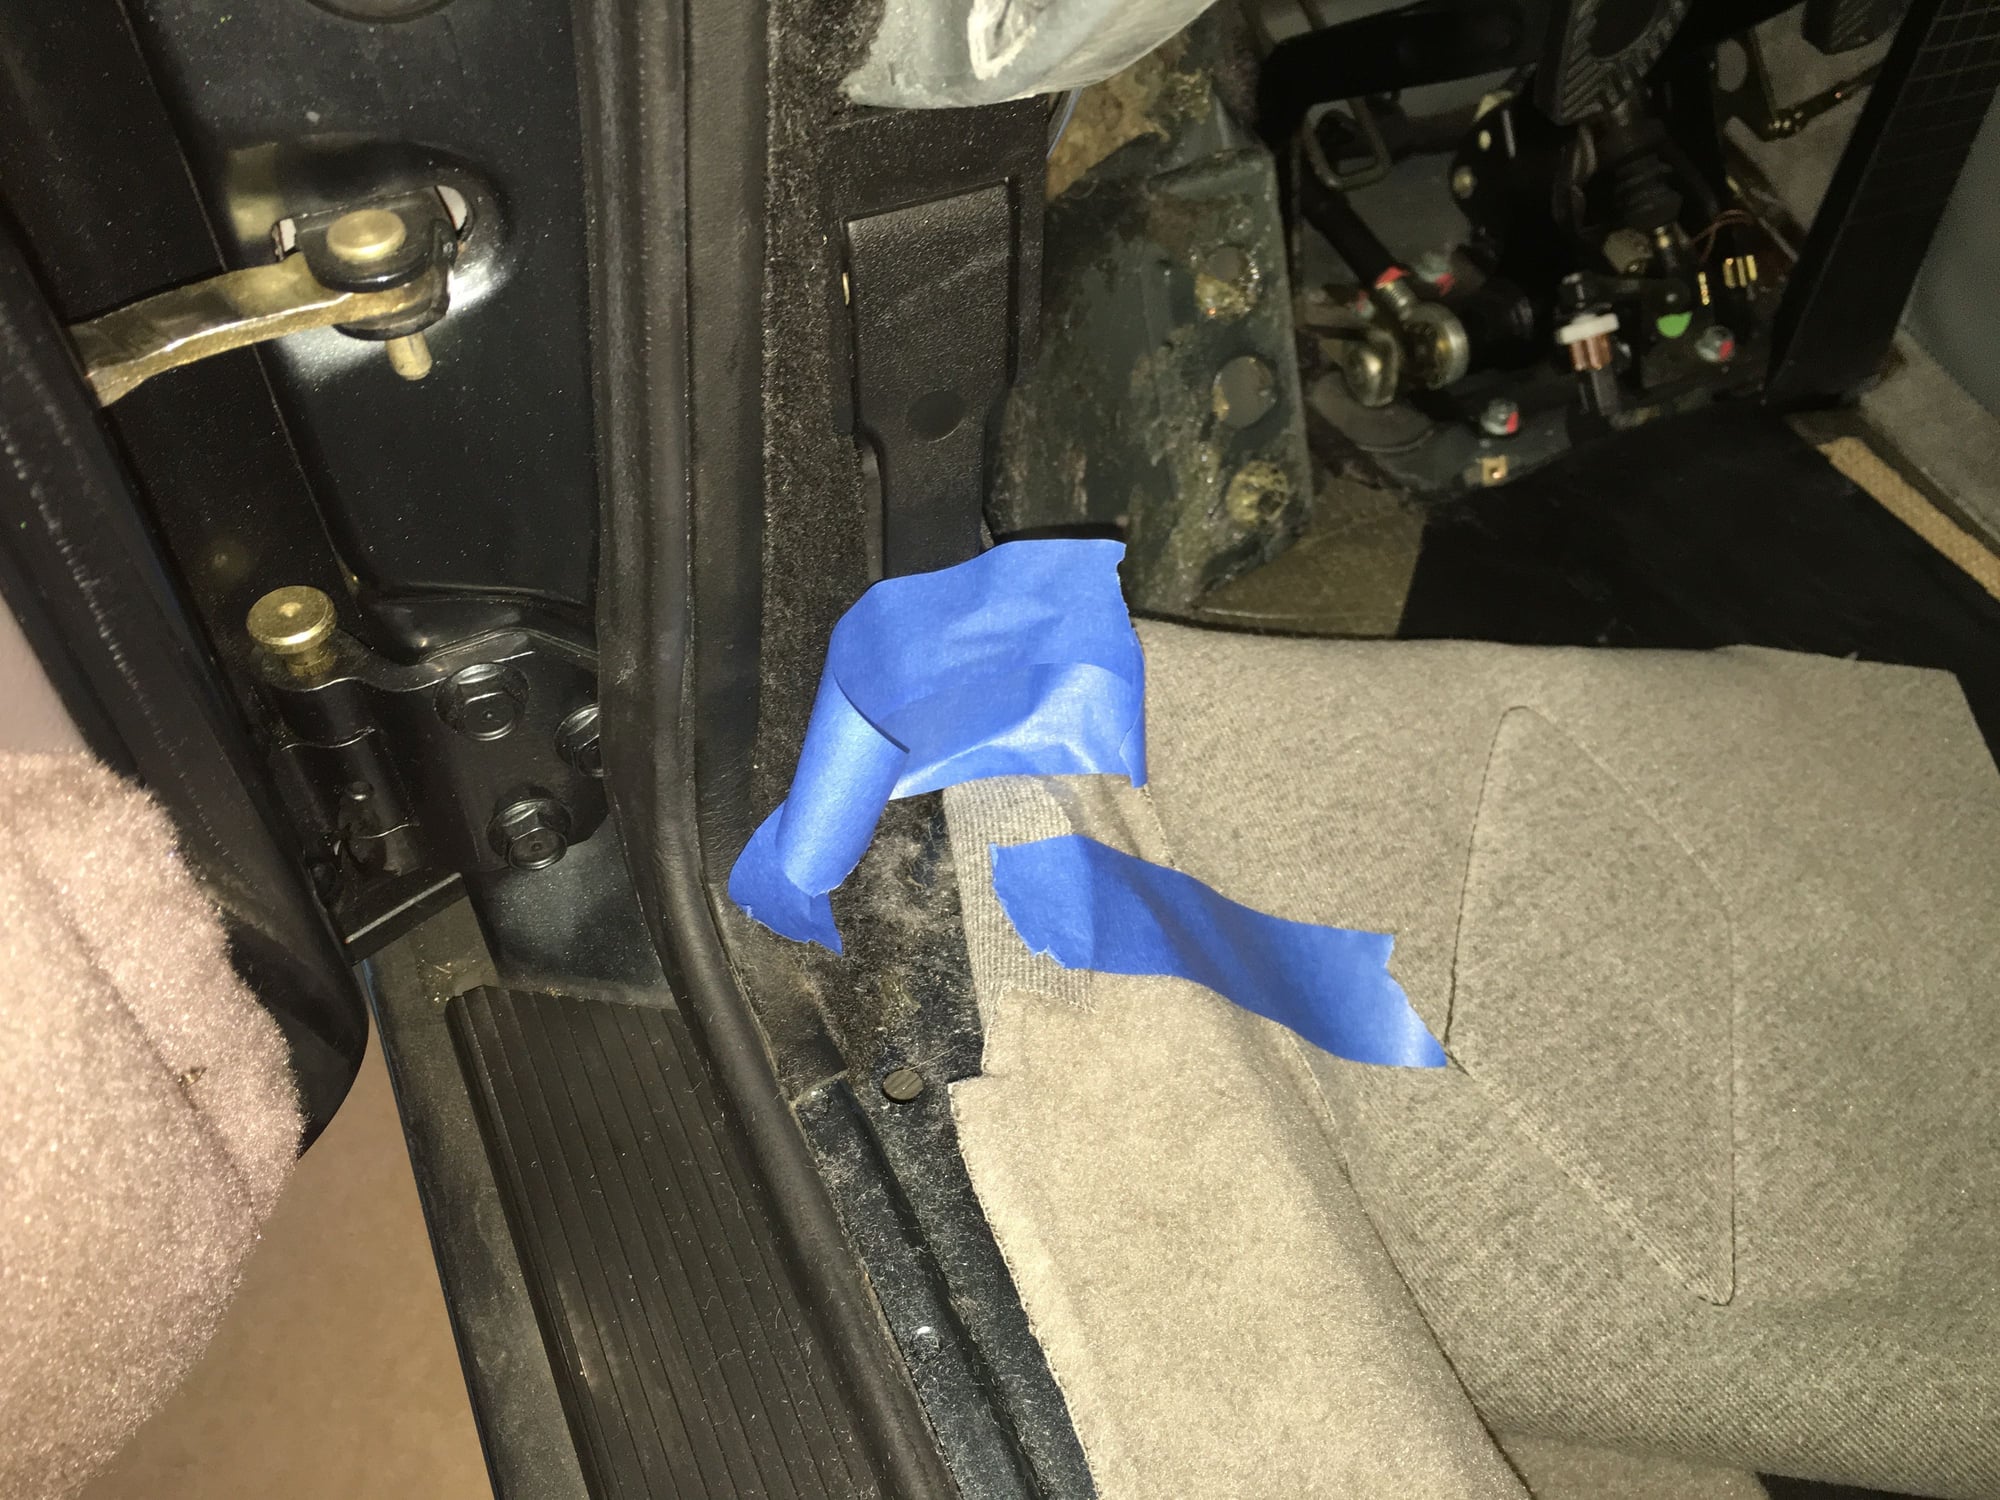
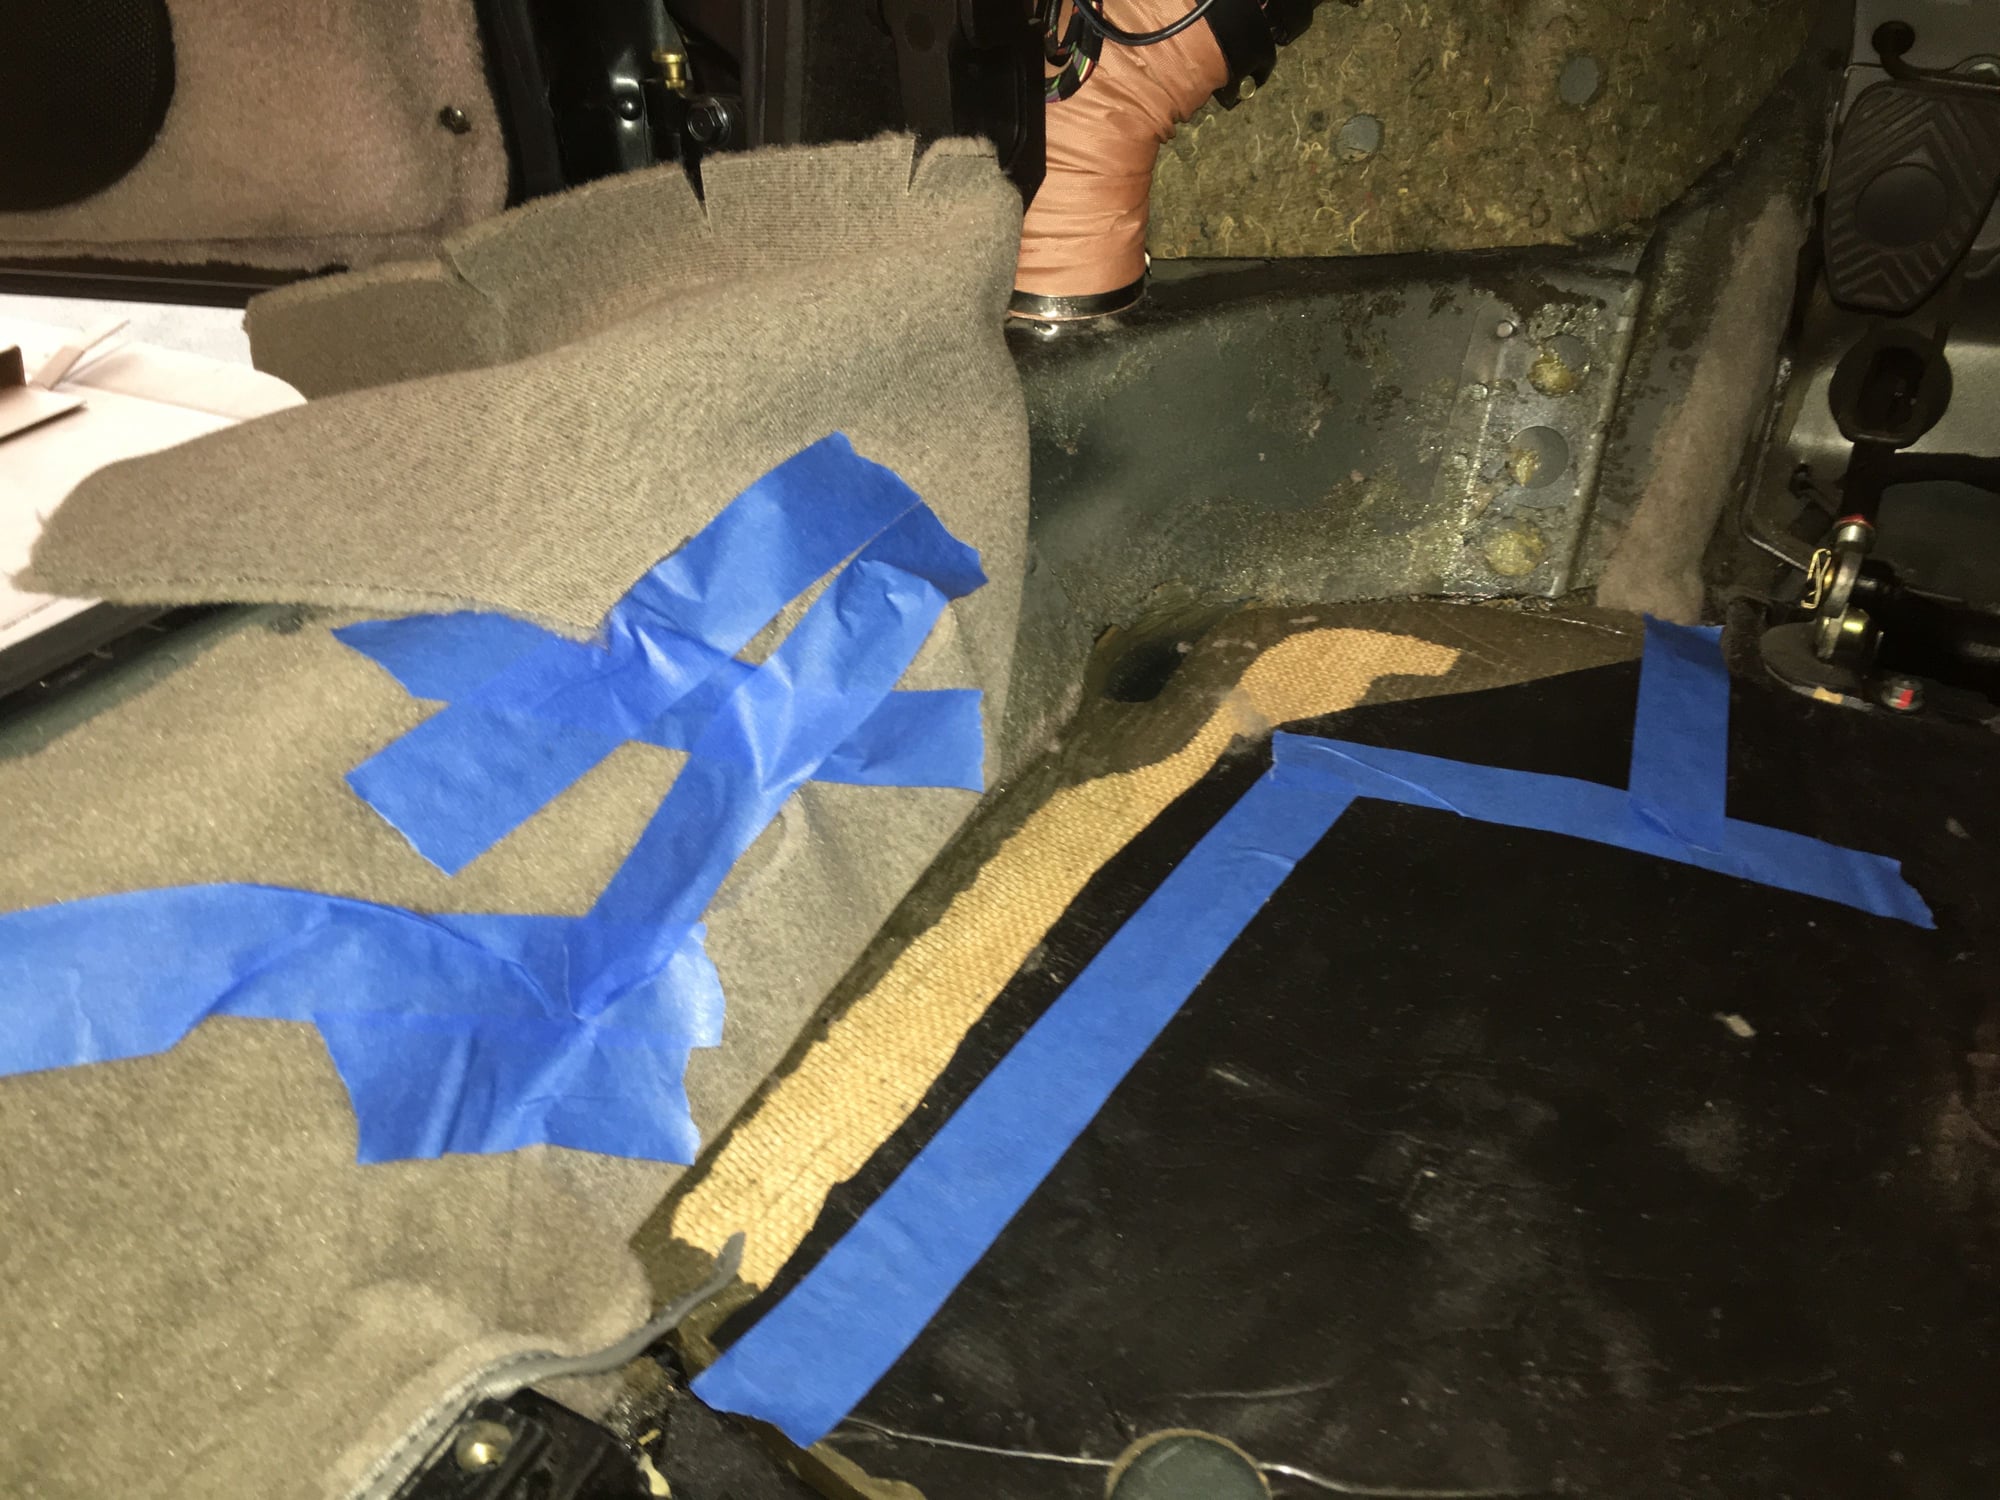
I glue everything down little by little and I use painter's tape to mask where the glue aerosol will go. Here above I am spraying glue on the underside of the carpet that slips right under the bonnet release mechanism.
After I sprayed the glue, I quickly slipped the carpet under the release mechanism. Here the release mechanism is discolored white because I accidentally touched it with some solvent (that removes excess carpet glue)
You can see the relief slits in the carpet that I made --- I am gluing the rest of the carpet down near the dead pedal.
I had to repaint the bottom half of the bonnet release mechanism.
1. Open the bonnet/hood. Loosen the two screws that hold the cable.
2. Remove the two small screws holding the cover on to the bonnet/hood pull
3. Lever the plastic fixings that the screws went into out of the handle. This is VITAL as it gives access to the two Allen head bolts holding the handle mechanism on.
4. Pull back the handle and insert an Allen key in the top hole. Undo the bolt. Do everything you can to keep the bolt in the hole. It's a right pain to insert if it falls out.
5. Insert an Allen key in the bottom hole and undo the bolt. The mechanism then releases from the body.
Refitting is the reverse. As I wrote above, try to keep the upper bolt in its hole. Another tip is that when you retighten the bonnet cable, DON'T shut the bonnet/hood without testing that you have the right tension to open it with the handle. I did this by pressing down the latch and opening it three times with handle before I closed the bonnet/hood.
Wish I had ready this thread BEFORE I removed the bonnet release lever. I missed this pearl of wisdom from John, "As I wrote above, try to keep the upper bolt in its hole."
So my question is, is there some trick to getting the upper bolt back into the hole? I'm guessing a small magnet and a large dose of patience might work, but is there an easier method without tearing the unit apart? Incidentally, I did not find it necessary to remove the screws that hold the cable in the frunk. I simply pulled on the lever, which opens just wide enough to allow access to the two holes with a long slim allen wrench.
I know I did it without further disassembly but can�t remember how. Sorry.
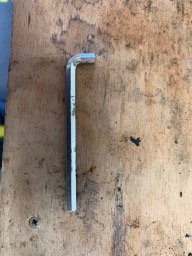
No worries, John. It just took a small wire and a bit of patience. It�s kind of like wiring a car door open. Once the wire got the bolt close to position, I was able to secure the Allen wrench on the bolt head and gently guide the bolt through the hole. Once the bolt was secure, a good tug on the wire loosened it from the bolt head and all is good.
Wire wrapped around head of bolt (not too tight, so you can pull it off when done).
Once the wire gets the bolt into position, the Allen wrench can finish the job
As an addendum to this, I had to replace the bonnet pull handle case as the captive ferrules were missing from mine.
I found the easiest way to re-install everything was as follows:
1. Remove the tension from the bonnet release cable by undoing the screw fasteners at the bonnet end of the cable.
2. Install the bonnet pull handle frame in the car and tighten it down which you have "clear" access to the hex bolts. I cut down an allen key and use it to tighten the bolts.
3. Insert the cable pull into the handle housing and line up the loop with the top hole through which the cable pull roll pin will pass.
4. Insert the pull handle into the handle case inserting the cable loop into the pull handle slot.
5. Test that the cable and the hole line up by inserting a slim screwdriver into the top hole on the handle and pulling on the handle. If it has lined up OK. then
6. Tap the cable pull roll pin back into its hole in the pull handle through the top hole in the case.
7. Tap the handle pivot roll pin back into place through its hole in the handle casing.
8. Screw the carpet cover back into the bonnet pull case.
9. Tension and retighten the bonnet pull cable at the bonnet catch end.
10. Close the bonnet and cross your fingers that the bonnet opens when you pull the newly installed bonnet release handle!
Apologies for the lack of photos of the process. I forgot to take any.
Just want to piggy back this thread as I must be somewhat stupid here.
I had to replace the broken hot air pipe behind the carpet so had to remove it.
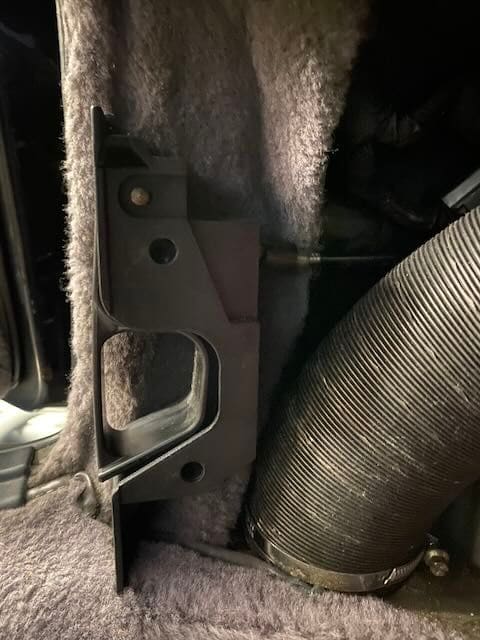
So I removed the cover from the bonnet release and replaced the air pipe and all went well till I tried to fit the handle cover to secure the carpet in place and found that the "self tapers" just went into thin air through those holes that now I understand you can remove the handle body from the body.
After reading this article and looking at pictures, am I right in assuming that they should not be self tapers, rather screws that appear to go in to a metal threaded insert in the same holes that you put the allen key through to remove the handle housing?
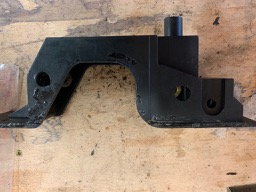
Or am I missing something here as my housing does not have any metal screw inserts...
So my solution is to use some M4 inserts that I have and 3D print a collar to put the insert into then into the hole.
But to remove the handle body, do you have to pull those threaded inserts out of the body to get the allen bolts out? I am hoping I can make the fix without having to remove the handle body from the car.
As you can see from the picture, there is no threaded inserts there.

 07-21-2016, 01:57 AM