When you click on links to various merchants on this site and make a purchase, this can result in this site earning a commission. Affiliate programs and affiliations include, but are not limited to, the eBay Partner Network.
help - can someone help me identify the part number for this piece- i have the same snapped cab component on the left hand side of my 964. its Stevens photo number 15 on one drive - thanks in advance
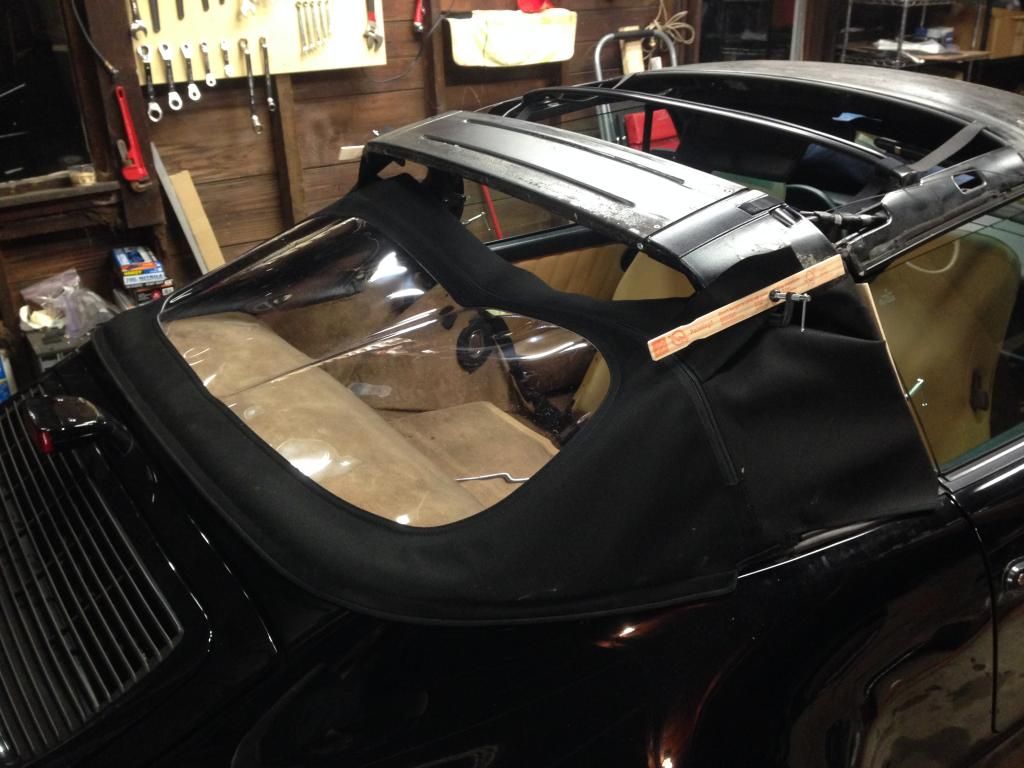
To add to Stephen70's photos. Here is my pictorial horror story. Be brave if you attempt this!
1. THE MOST CRUCIAL STEP. Pull the back window around this retaining bar as tight as humanly possible. Anything less and the rear window will not be evenly tight and will have loose folds. I had to go back and do this again after test fitting the rear. Attachment 1203725
2. Attach the rear window. I tightened the 3 allen bolts around the bottom retaining piece and the two m8 nuts. Then used paint sticks and small clamps to hold up the top of the window.
3. The 2nd most crucial step. Attaching both pieces to the center rail. The front canvas is relatively easy. There is a pocket of sorts that lines up the forward/aft position. Just make sure that you correctly center the port/starboard position. Neither is too difficult. The hard part is the rear window and its retaining rail. Trial and error positioning was my method. It wasn't fun. Attachment 1203726
4. Now things get much easier. Pull the tension wire through the top of the canvas channel. Attachment 1203728
5. Tighten up the front edge. This is also not so tough. Lift the top up slightly, clamp the front down, and close the top. Repeat until you find the sweet spot making the canvas taut. Attachment 1203729
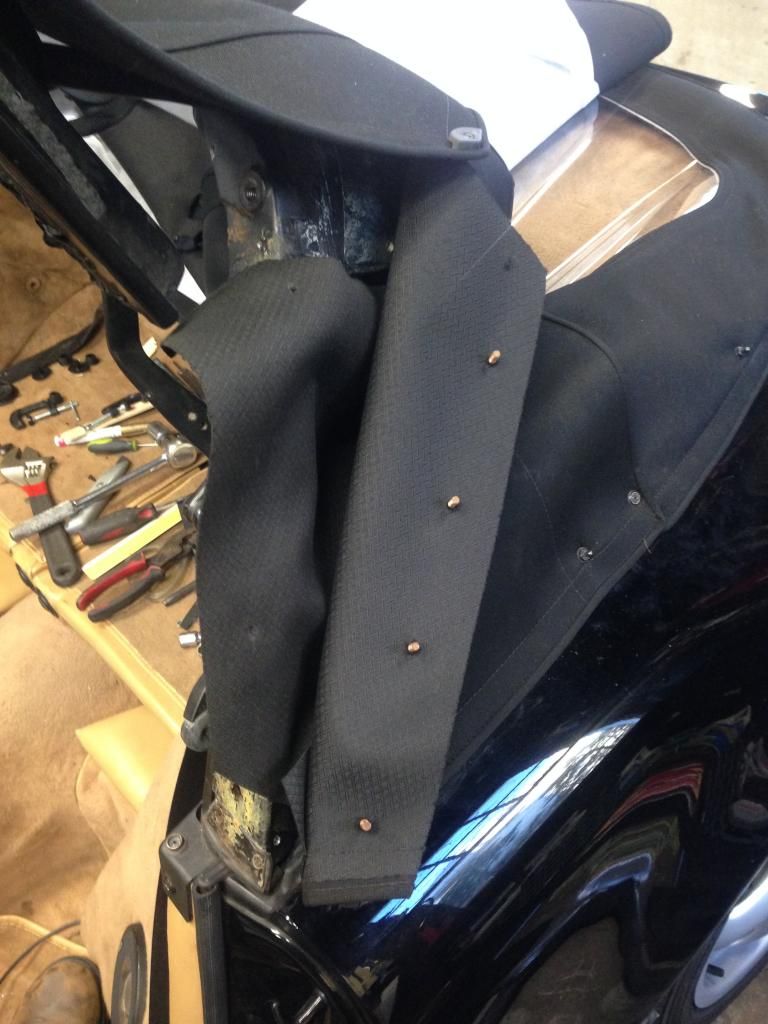
10. Install the tension wire retainers. This will pull the top very taut across the center. Attachment 1203733
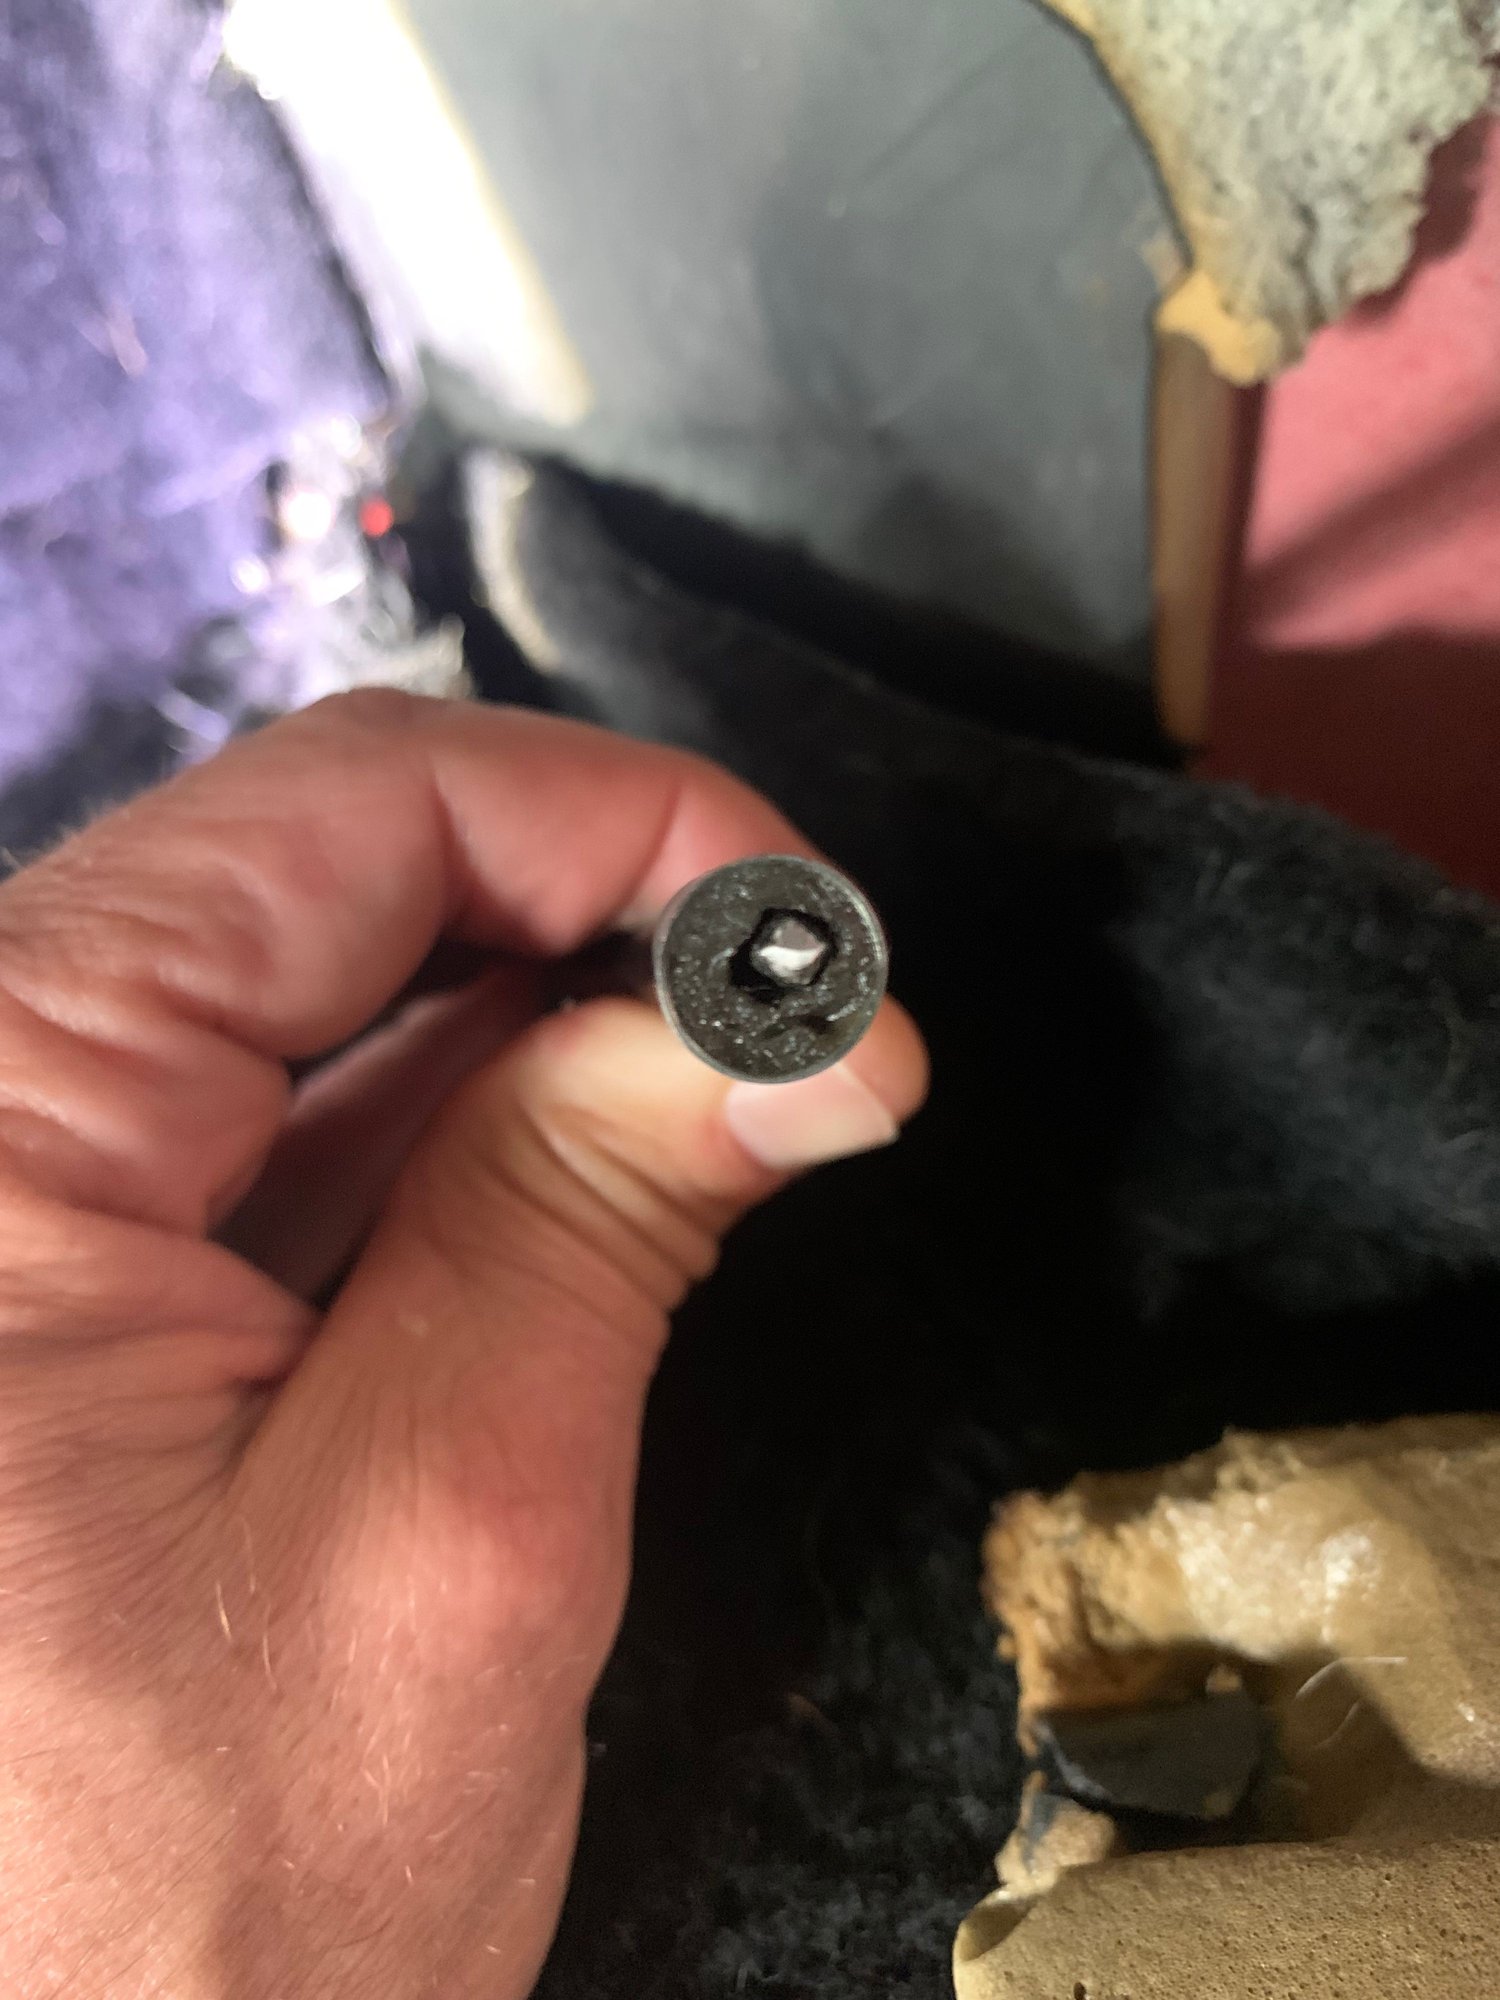
11. Install the pieces at the top of the windows. I drilled out the original rivets when I removed the old top. Replaced with the same. Attachment 1203734
Checked all the electrics today, seems to be in order. All the functions work as they should. I don't know where I have got some wrong ideas about the possible reasons for main bow break-up. I learned today that faulty motor or control unit can't break anything because these two motors are connected together with small axle between the motors. If one motor breaks, the other should do (or at least try) to do the job... Or blow a fuse. Also, there is only one wire feeding electricity to both motors.
So, if you experience a situation where other side is jammed and other works, the reason has to be mechanical. I think the cable between the transmission and motor unit is the weak link.
Take a piece of rope, pull it tight and start turning the other end. When tension grows, the rope gets shorter... that is exactly what happens to the cable in time.
This leads to the following conclusion: CHECK YOUR CABLES!
Hey Stephen,
Yes my right bow broke in half when closing the roof. The left side got jammed on the way up because one of the three bolts holding the transmission had fallen off in between two moving components. The reason I believe was that all the bolts on the left side were the wrong size/missing washers/etc, none of them matched the original parts found on the right side (thank you previous owners...)
I think it's good to periodically open the rear seat side panels covering the convertible assembly, and check that everything is nice and tight, it's easy to do, easy to maintain and could save you a ton of headache and money down the ~road~, as each replacement part cost an eye and a leg.
Hi Gus, I have a 964 from 1992 and although the driver motors are working, operation of the roof does not work, possibly because the inner cables are too short or worn out.
How long should they be (mines are flush with the bushing (right cable) and slightly within the bushing (left cable)) and how can you modify the ends to fit them properly into the drive unit?
Thanks for your reply.
I have a question to your step 4, because on one side of my roof the tension rope cracked yesterday. Is it possible to replace the tension rope without replacing the whole roof? Do you remember how the rope is fixed to the spring?


 08-26-2017, 07:12 PM