When you click on links to various merchants on this site and make a purchase, this can result in this site earning a commission. Affiliate programs and affiliations include, but are not limited to, the eBay Partner Network.
Without the use of the OEM reflector I am thinking about a triangle bracket from the mesh to each of the 3 mounting points. It should give it enough rigidity. Together with an edge piece (Im hoping to find a metal one) the whole assembly would be very solid. Right now because of the size, shape and mesh the whole thing is bit flimsy. Definitely needs rigid frame support.
The easiest way would be to reuse the existing reflector inner lights and frame (backup and maybe fogs too). After removing the old reflector lens the inside of the assembly would be further modified to allow enough space in the middle to cut out a channel and create a passthrough for air/engine cooling.
This solution would serve 4 purposes:
1 - Rear channel/ducts for engine cooling
2 - Have strong structural rigidity, contour and shape
3 - Reuse some or all lights from the OEM bar
4 - Be a cost effective alternative to expensive whole light replacement
The other option would require fitting a thin metal edge frame and 3 brackets to attache the mesh to existing 3 frame mounting points. The edge frame ads rigidity and can hide some bracket welds. An extra set of lights could be attached to the far left and far right pre-formed brackets. A simple bridging harness would be necessary. I am still searching for a proper square lamps and lenses. There are plenty of Square 4x LED lamps that would work just fine and from the looks of it they would be a good fit, but I think an old school reflector and lens lamp would look more stock.
This solution has some advantages too:
1 - Lightweight
2 - Doesn't require destroying your OEM reflector
3 - Large vent area for cooling
I'll figure out the brackets for option two while I wait for the donor reflector assembly.
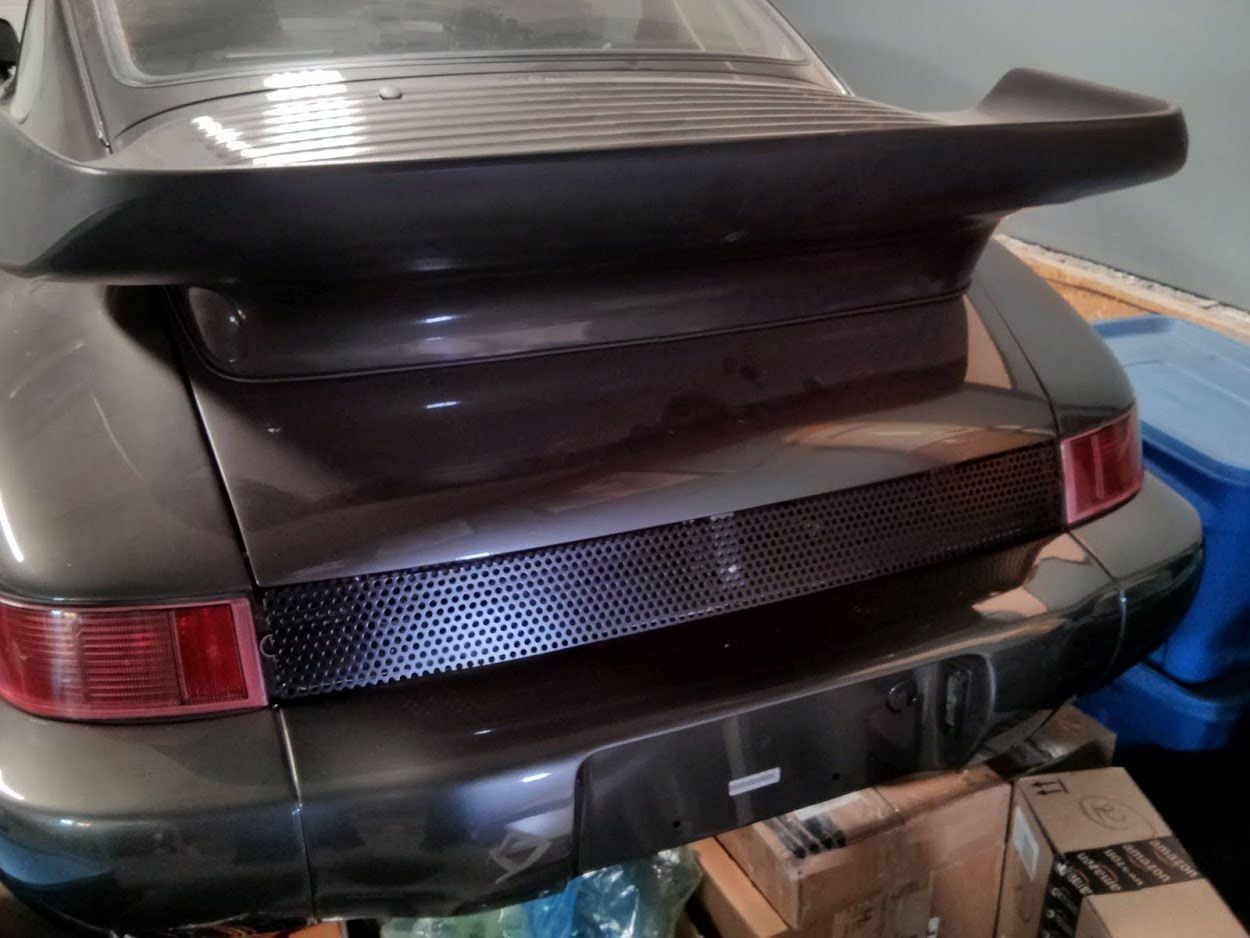
BTW: Just test fitted the painted frame over the reflector to see how it looks in black and I am very happy with the outcome. The semigloss black came out quite good. Will wait for it to completely dry and will post some better quality pictures tomorrow.
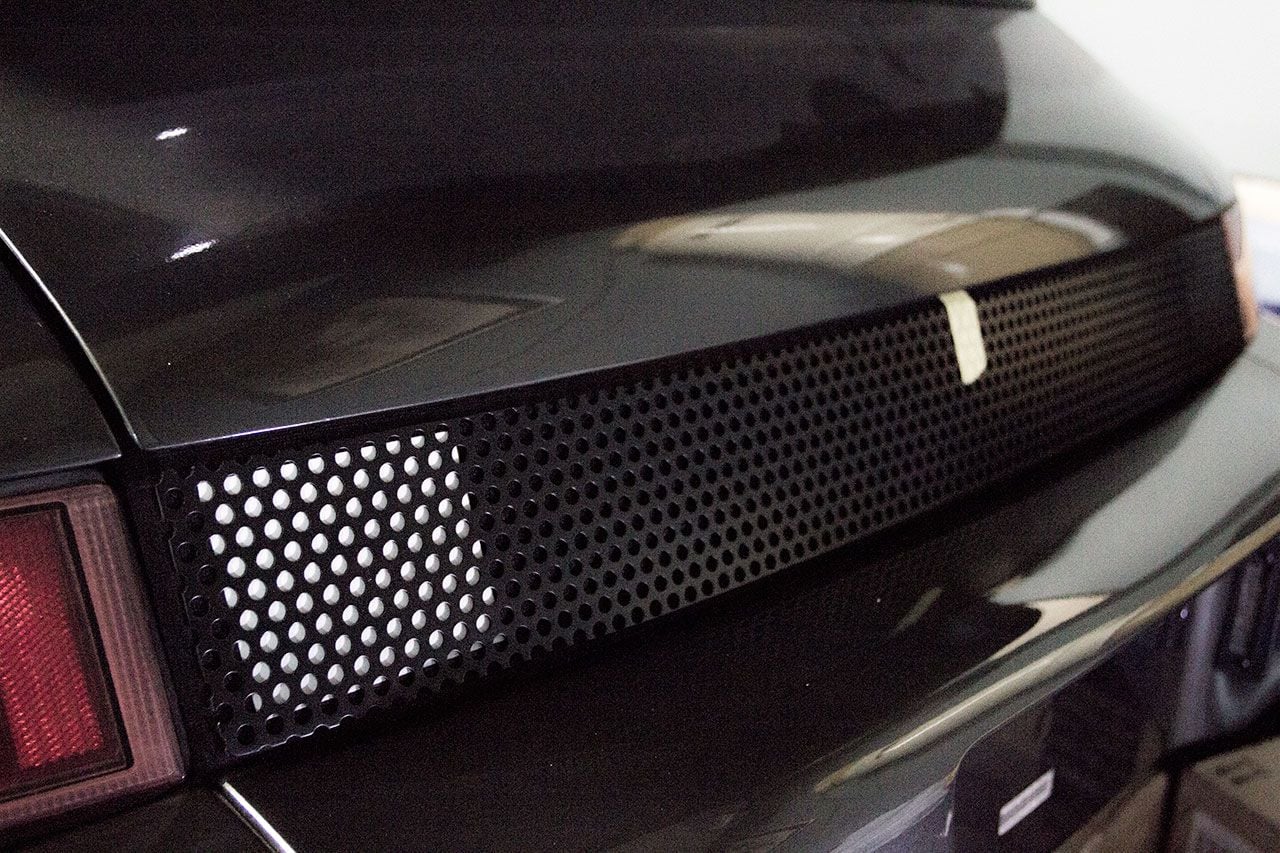
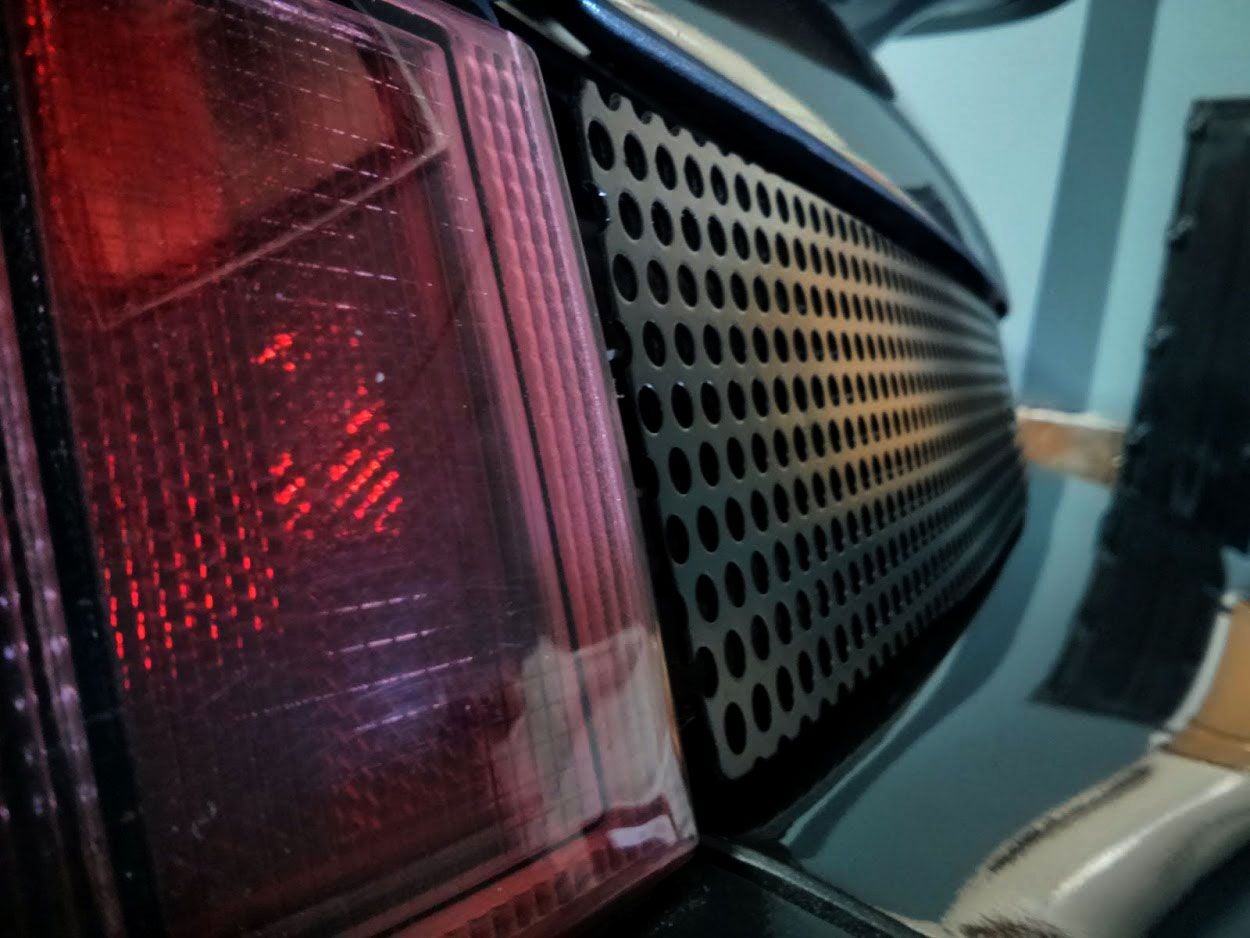
Below is a masked OEM panel and placeholder templates for backup lights. In reality they won't look so flat as the white vinyl. I'm looking for a reflector/lens combo to put in that place. This example is to see how much of the light from behind would be visible, how it aligns with the mesh and if it could be useable as a backup light.The mesh will block some of the light, so there is a possibility of reduced usefulness of the reverse lights due to the mesh obstruction.
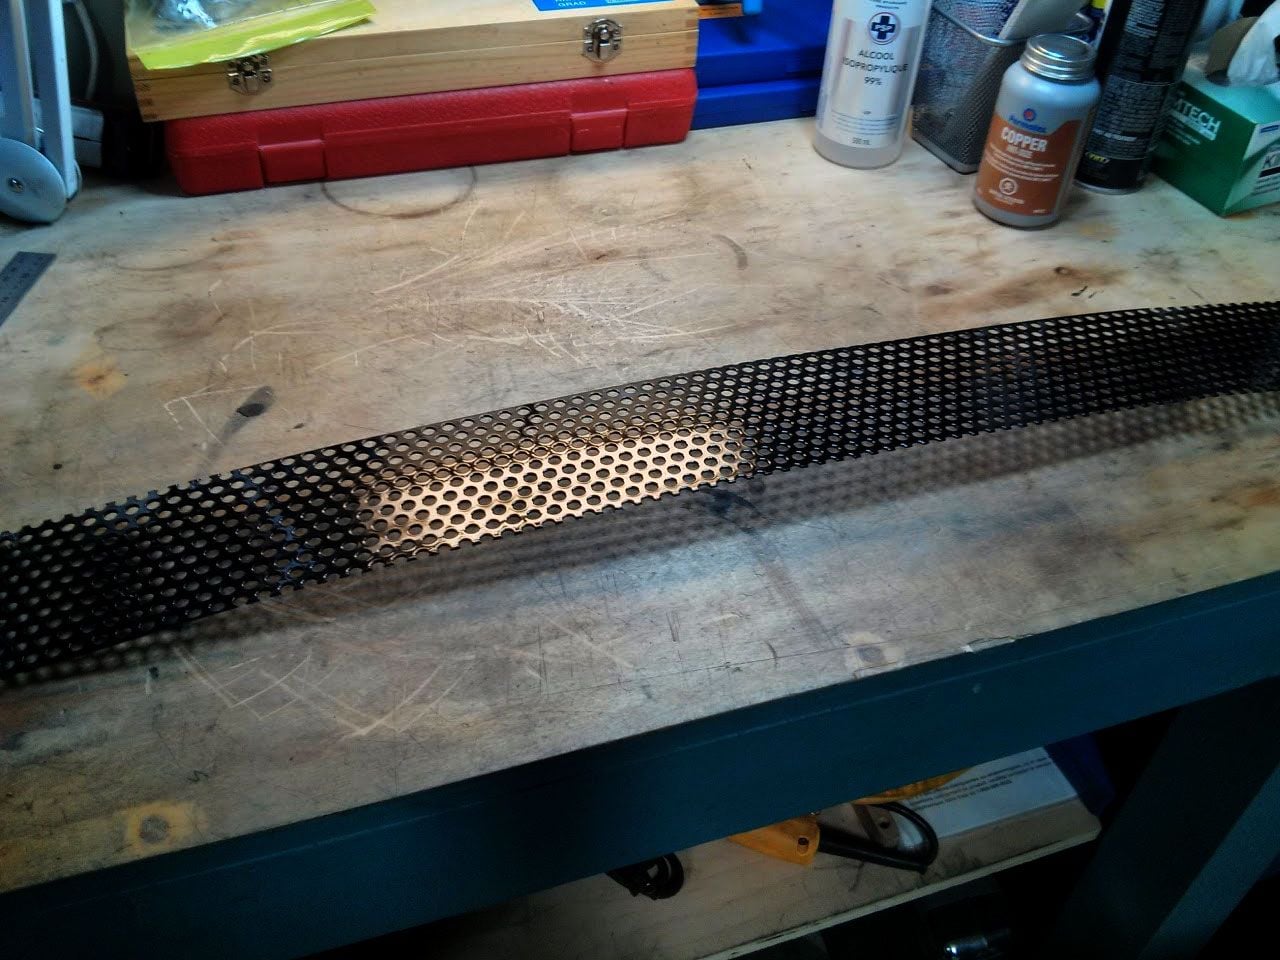
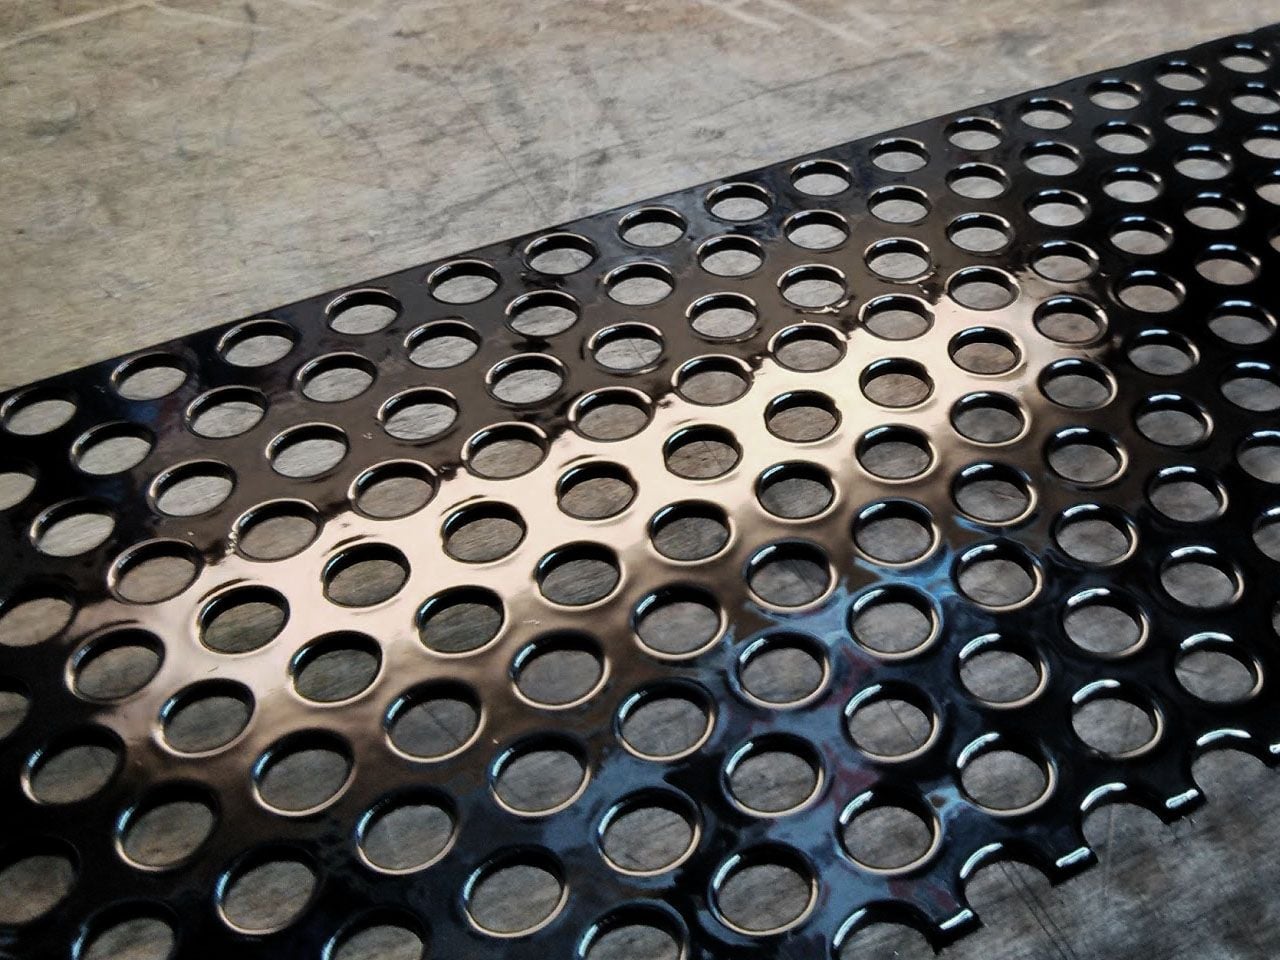
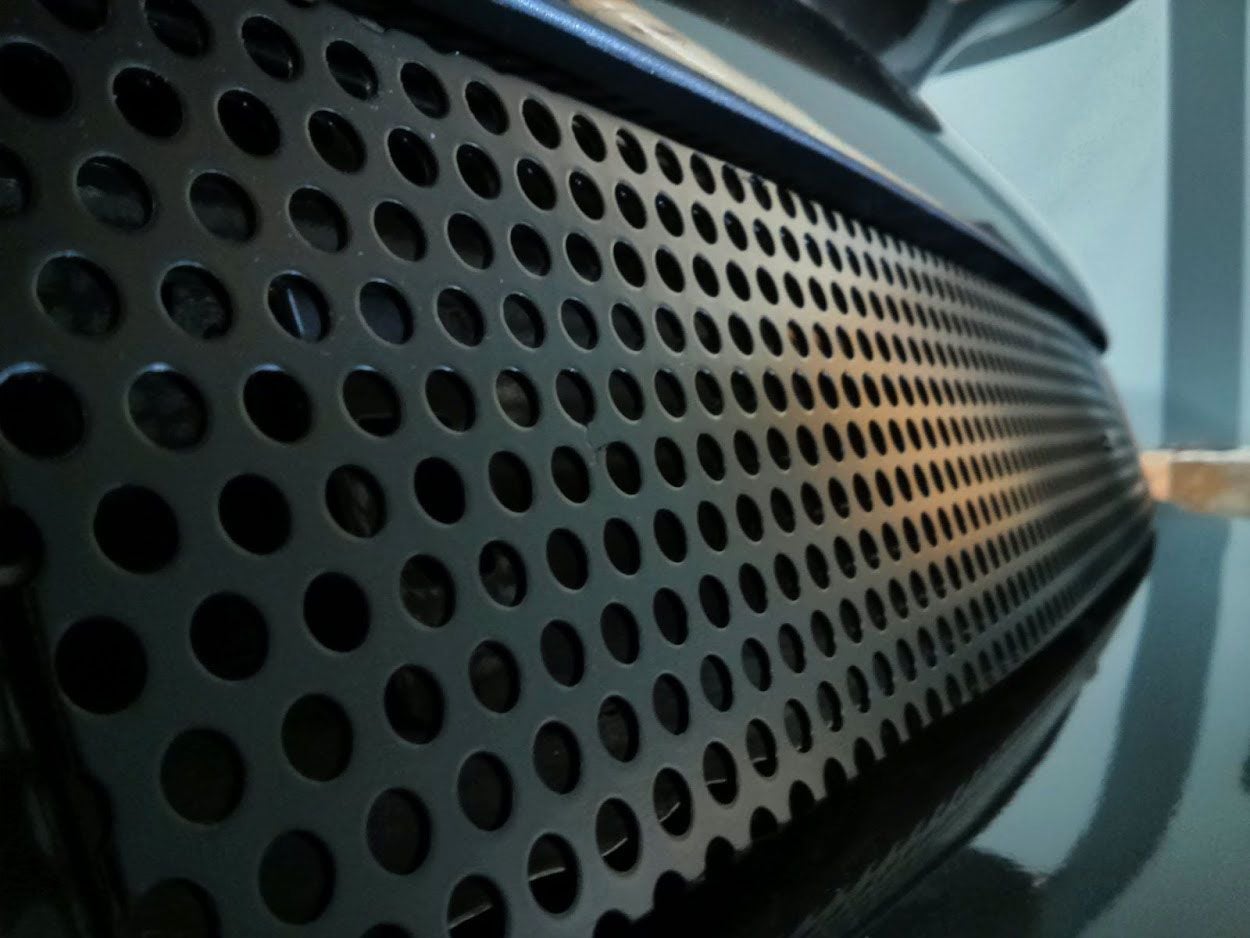
The mesh is painted with a semigloss black and it looks very good in real life. The photos don't do it justice at all. The light situation in my garage is quite week and without and engine I am not rolling the car outside for a photoshoot yet. If there is anyone in Calgary that would like to visit me and see what this would look like on their car - PM me. I'll snap some pics then so you can really see what this looks like.
I have the template finalized in size and shape and It can be used to cut different types of the mesh. I can do about 10-15 frames out of the 1/4in mesh I got yesterday. Please only PM me if you are interested, it's hard to keep track during the discussion.
I've sourced the edge trim and some hardware yesterday, will begin testing when it arrives.
Got the brackets figured out today. Was easier than I thought. In the picture just the centre bracket is in place, the sides are just propped up on spacers for alignment purposes. In the final version the bracket will be bit smaller and the mounting bolt will be aligned to the centre of the panel. Same on the sides. I will supply all black hardware to make the mounting points almost invisible. Also, there is an aluminium shield on the bottom of the reflector cavity, below it is another silver shield. I would recommend to paint it with VHT mat black paint so it's less visible when the mesh is installed.

 04-01-2016, 11:10 PM