
Chain tensioner question
 09-29-2018, 08:31 PM
#1
Race Car
Thread Starter
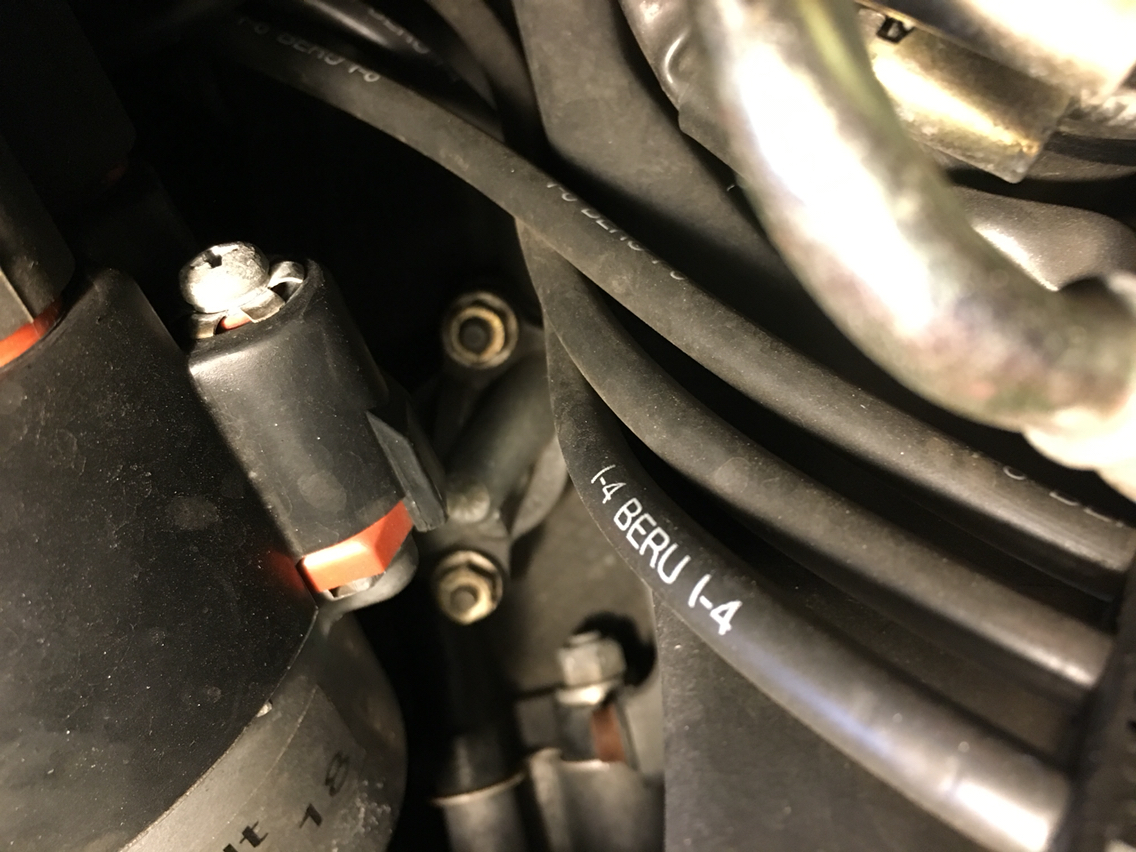
This is the chain tensioner cover on the top of the motor/ driver side . Can you get to this without taking out the distributor? Maybe just take the distributor cap off? Thoughts?
 09-30-2018, 04:38 PM
#3

I have removed mine without taking the distributor out. I did all the gaskets with the engine still in the car as described in RicardoD's excellent post. Didn't need to loosen the distributor either.
https://rennlist.com/forums/964-foru...o-rings-2.html
https://rennlist.com/forums/964-foru...o-rings-2.html
09-30-2018, 06:00 PM
#4
Rennlist Member

I just did this to change the gasket. Yes, you can leave the distributor in place, I didn't even take the distributor cap off. However, the chain tensioner is under spring load so you need someone holding down the tensioner cap when you put the two nuts back on. Otherwise you will have to hold down the cap with one hand while using the other to put two washers and nuts back on. My hands were too big so I used a wooden rod held by my sous mechanic (my wife) to hold the cap in place while if put the two bolts back on.
I sounds more complicated than it actually is. Once you are in there it is all very obvious.
I sounds more complicated than it actually is. Once you are in there it is all very obvious.
09-30-2018, 07:50 PM
#5
Race Car
Thread Starter
Yeah. I'm just trying to get an idea of how much time I'll need to allocate to the job. I'll pull the dist cap and take it from there...shouldn't be too much time in the end
10-01-2018, 08:43 AM
#6
Rennlist Member
15 minutes max and that includes cleaning the tensioner cap / prep for new seal. The actual tensioners are different on the left and right side and which is up was engraved on mine - but you knew that.
10-01-2018, 09:23 AM
#7
Race Car
Thread Starter
Yep. I'm hoping the internal seals are ok and the Tensioners don't have to be replaced. I have a chain rattle on cold start. So I'm assuming cleaning them out will do the trick.
Otherwise I'll be buying new Tensioners next time around.
Otherwise I'll be buying new Tensioners next time around.
Trending Topics
10-01-2018, 09:26 AM
#8
IHI KING!
Rennlist Member
Rennlist Member
Join Date: Aug 2001
Location: Nashua, New Hampshire, USA
Posts: 13,384
Received 222 Likes
on
176 Posts
My cabrio had developed a chain rattle when starting cold. I was starting to think about replacing the tensioners when I noticed that one of the exhaust clamps was missing its bolt. I replace it and my "chain" noise went away.
10-01-2018, 09:35 AM
#9
Race Car
Thread Starter
Really? That's interesting. Makes sense. I don't think mine is external. But I'll give it all a good look when I'm in there. I had meant to do this job this weekend, but i had to swap out the pillows in my Wevo mounts, and fix the camber issue on my KW (step down washers did the trick), and then alignment after, which took a loooooong time, since I'm using cheep hub stands, which don't allow enough movement - just enough to get it right enough, and then lots of tweaking with the car on its own wheels to dial it in...
Wevo mounts


String setup for alignment
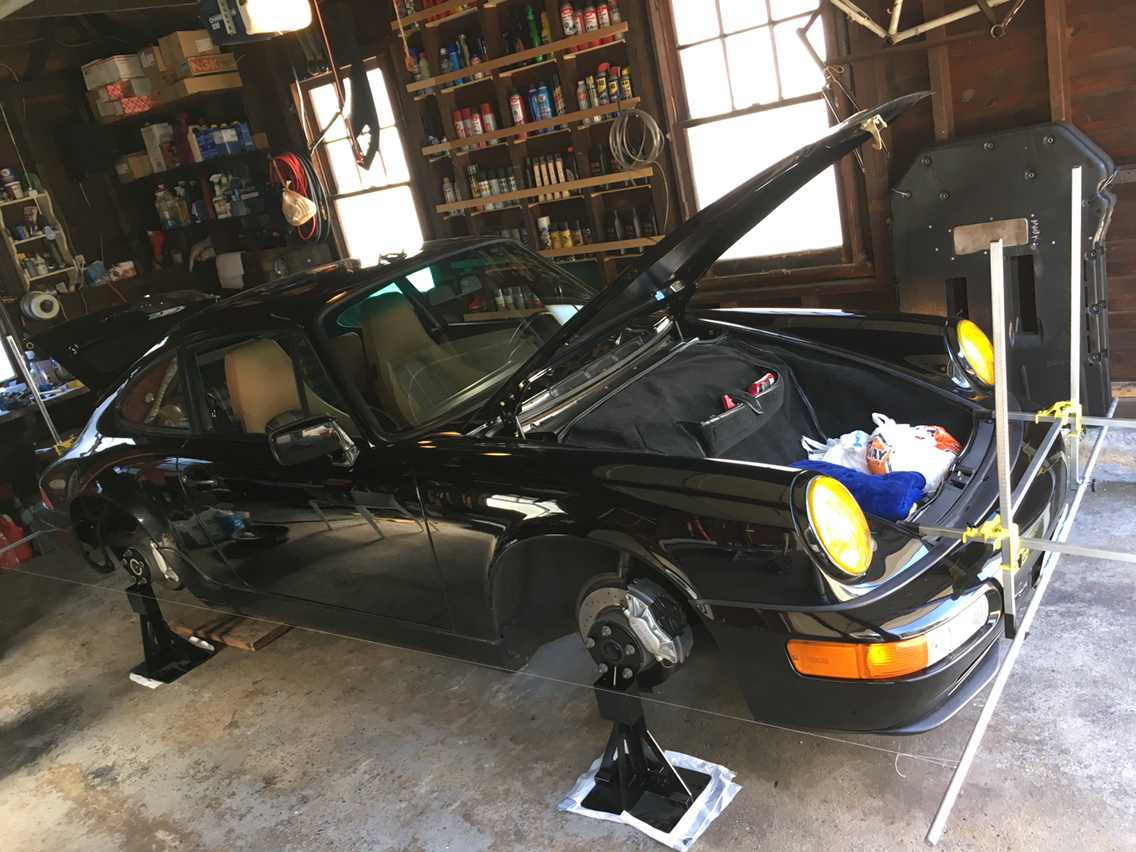
Wevo mounts
String setup for alignment
10-01-2018, 02:56 PM
#10
Rennlist Member
Hey Goughary,
Nice alignment set-up. I know this is a chain tensioner thread but like to see more about the wheel holder mounts and how they work.
Nice alignment set-up. I know this is a chain tensioner thread but like to see more about the wheel holder mounts and how they work.
 10-01-2018, 04:17 PM
#11
Race Car
Thread Starter
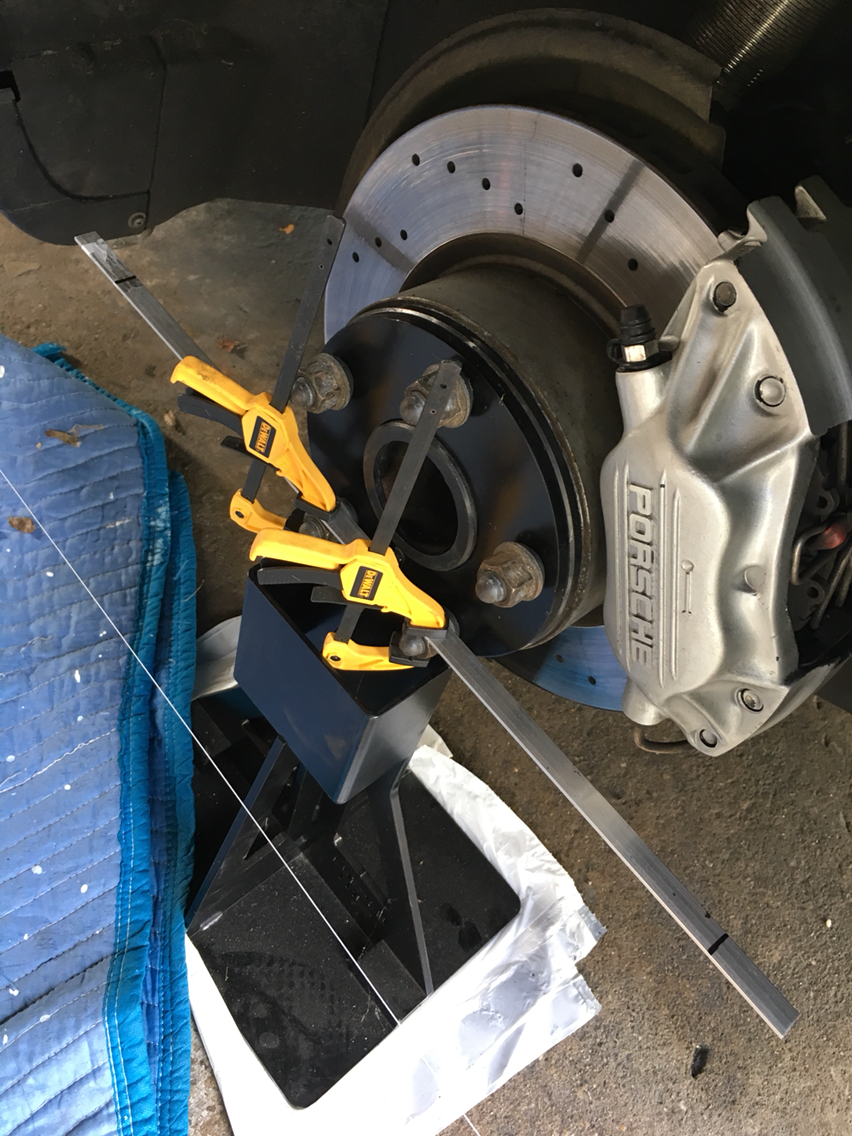
These are the guys that make the hub stands.
https://928motorsports.com/parts/wheel_hub_stands.php
They are incredibly useful. I'm going to make slip plates that allow for better movement underneath. As you can see I'm using the plastic bag trick for turn plates, which works pretty well, but the camber is a little tough past a certain point. These are fine and fairly accurate under 1 degree. But once the car is on its wheels, it's a good idea to tweak as needed.
I use smart strings and a smart racing camber gauge....strings are very effective if used properly and the smart strings racks are awesome. I leave them set to the right lengths to toss onto the front and rear of a 911...and then adjust the cross bars and height as needed to tweak the setup to square it. And then...a flat aluminum stock with markings for the 17"wheels to measure from :
10-01-2018, 04:23 PM
#12
Rennlist Member
Ahhh, I was wondering how you accomodate wheel size, I see the flat bar and marker, effective.
10-01-2018, 05:23 PM
#13
Race Car
Thread Starter
Alignment is a very simple thing. When you are basically just doing toe and camber on a street car.
In a race setting relative to temperature, weather and track conditions, tire pressures, what track you are at, spring rates, sway bars, strut settings etc....can get extremely complicated.
But for us, for street and occasional fast track driving, it's very basic. Max the caster, set the toe, set the camber, and get on w it. What you set it at...like i said, can be complicated...but if you have the basics, and make basic street setting choices...super simple.
And in that, it fascinates me that the shops around me charge 500+ to do an alignment. So for anyone that is going to do an alignment or tweak an alignment here and there...the tools pay for themselves on the first shot. No brainer. And if you don't want to think, you just use the shop manual and set the specs to what's in the manual. Done.
Oh, and you need to be able to comprehend 10th grade math...Mrs Buckalter would be proud of me...
10-01-2018, 05:46 PM
#14
Rennlist Member
Alignment is a very simple thing. When you are basically just doing toe and camber on a street car.
In a race setting relative to temperature, weather and track conditions, tire pressures, what track you are at, spring rates, sway bars, strut settings etc....can get extremely complicated.
But for us, for street and occasional fast track driving, it's very basic. Max the caster, set the toe, set the camber, and get on w it. What you set it at...like i said, can be complicated...but if you have the basics, and make basic street setting choices...super simple.
And in that, it fascinates me that the shops around me charge 500+ to do an alignment. So for anyone that is going to do an alignment or tweak an alignment here and there...the tools pay for themselves on the first shot. No brainer. And if you don't want to think, you just use the shop manual and set the specs to what's in the manual. Done.
Oh, and you need to be able to comprehend 10th grade math...Mrs Buckalter would be proud of me...
