When you click on links to various merchants on this site and make a purchase, this can result in this site earning a commission. Affiliate programs and affiliations include, but are not limited to, the eBay Partner Network.
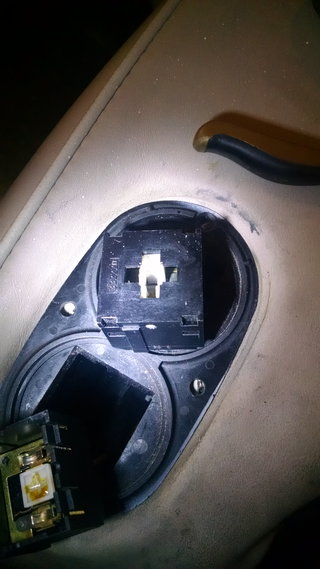
That's a bit brute force... If you look behind the mounting flange, there's a pair of prongs that you push in with the ends of some fine nosed pliers, or two screw drivers.
I used this thread to repair my driver seat switch. The fix worked great but I really started to struggle with reassembling the switch.
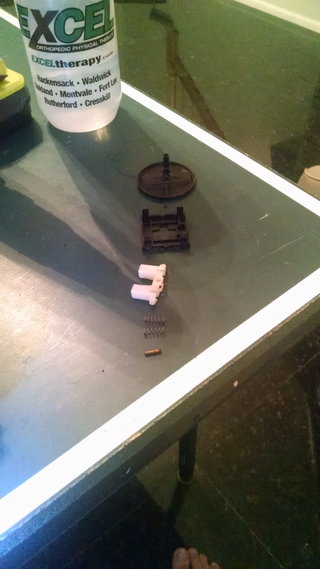
My advice to properly and easily reassemble the switch is to further disassemble it by removing the white spring holder from the button and then remove the rocker cap piece. When reassembling, if you hold the white spring holder in place with pliers, you can then place the rocker cap on top and snap it into place which captures the white spring holder in place properly aligned on top of the *****. Then you push the button into the assembly and it will click into place, completing the assembly. NOTE that the pin in the end of the button has a VERY SMALL spring behind it which I lost for ~30 minutes on my floor. I put a small dab of grease on the pin and spring to hold them in the button. I also put small dabs of grease on the springs which insert into the white spring holder to ensure springs stayed put while I was assembling it. It was slightly difficult to remove the white spring holder from the button sub-assembly but with a small screwdriver and patience it does come apart.
Hope this is clear, it was super easy process once I figured it out and seems like it would be smoother than trying to assembly everything at once with ***** and springs flying everywhere. I attached some pictures for reference.
Garrett- thank you. This thread saved me a few coins and headaches. A few squirt of Electronic Cleaner did the trick.
Originally Posted by bleachii
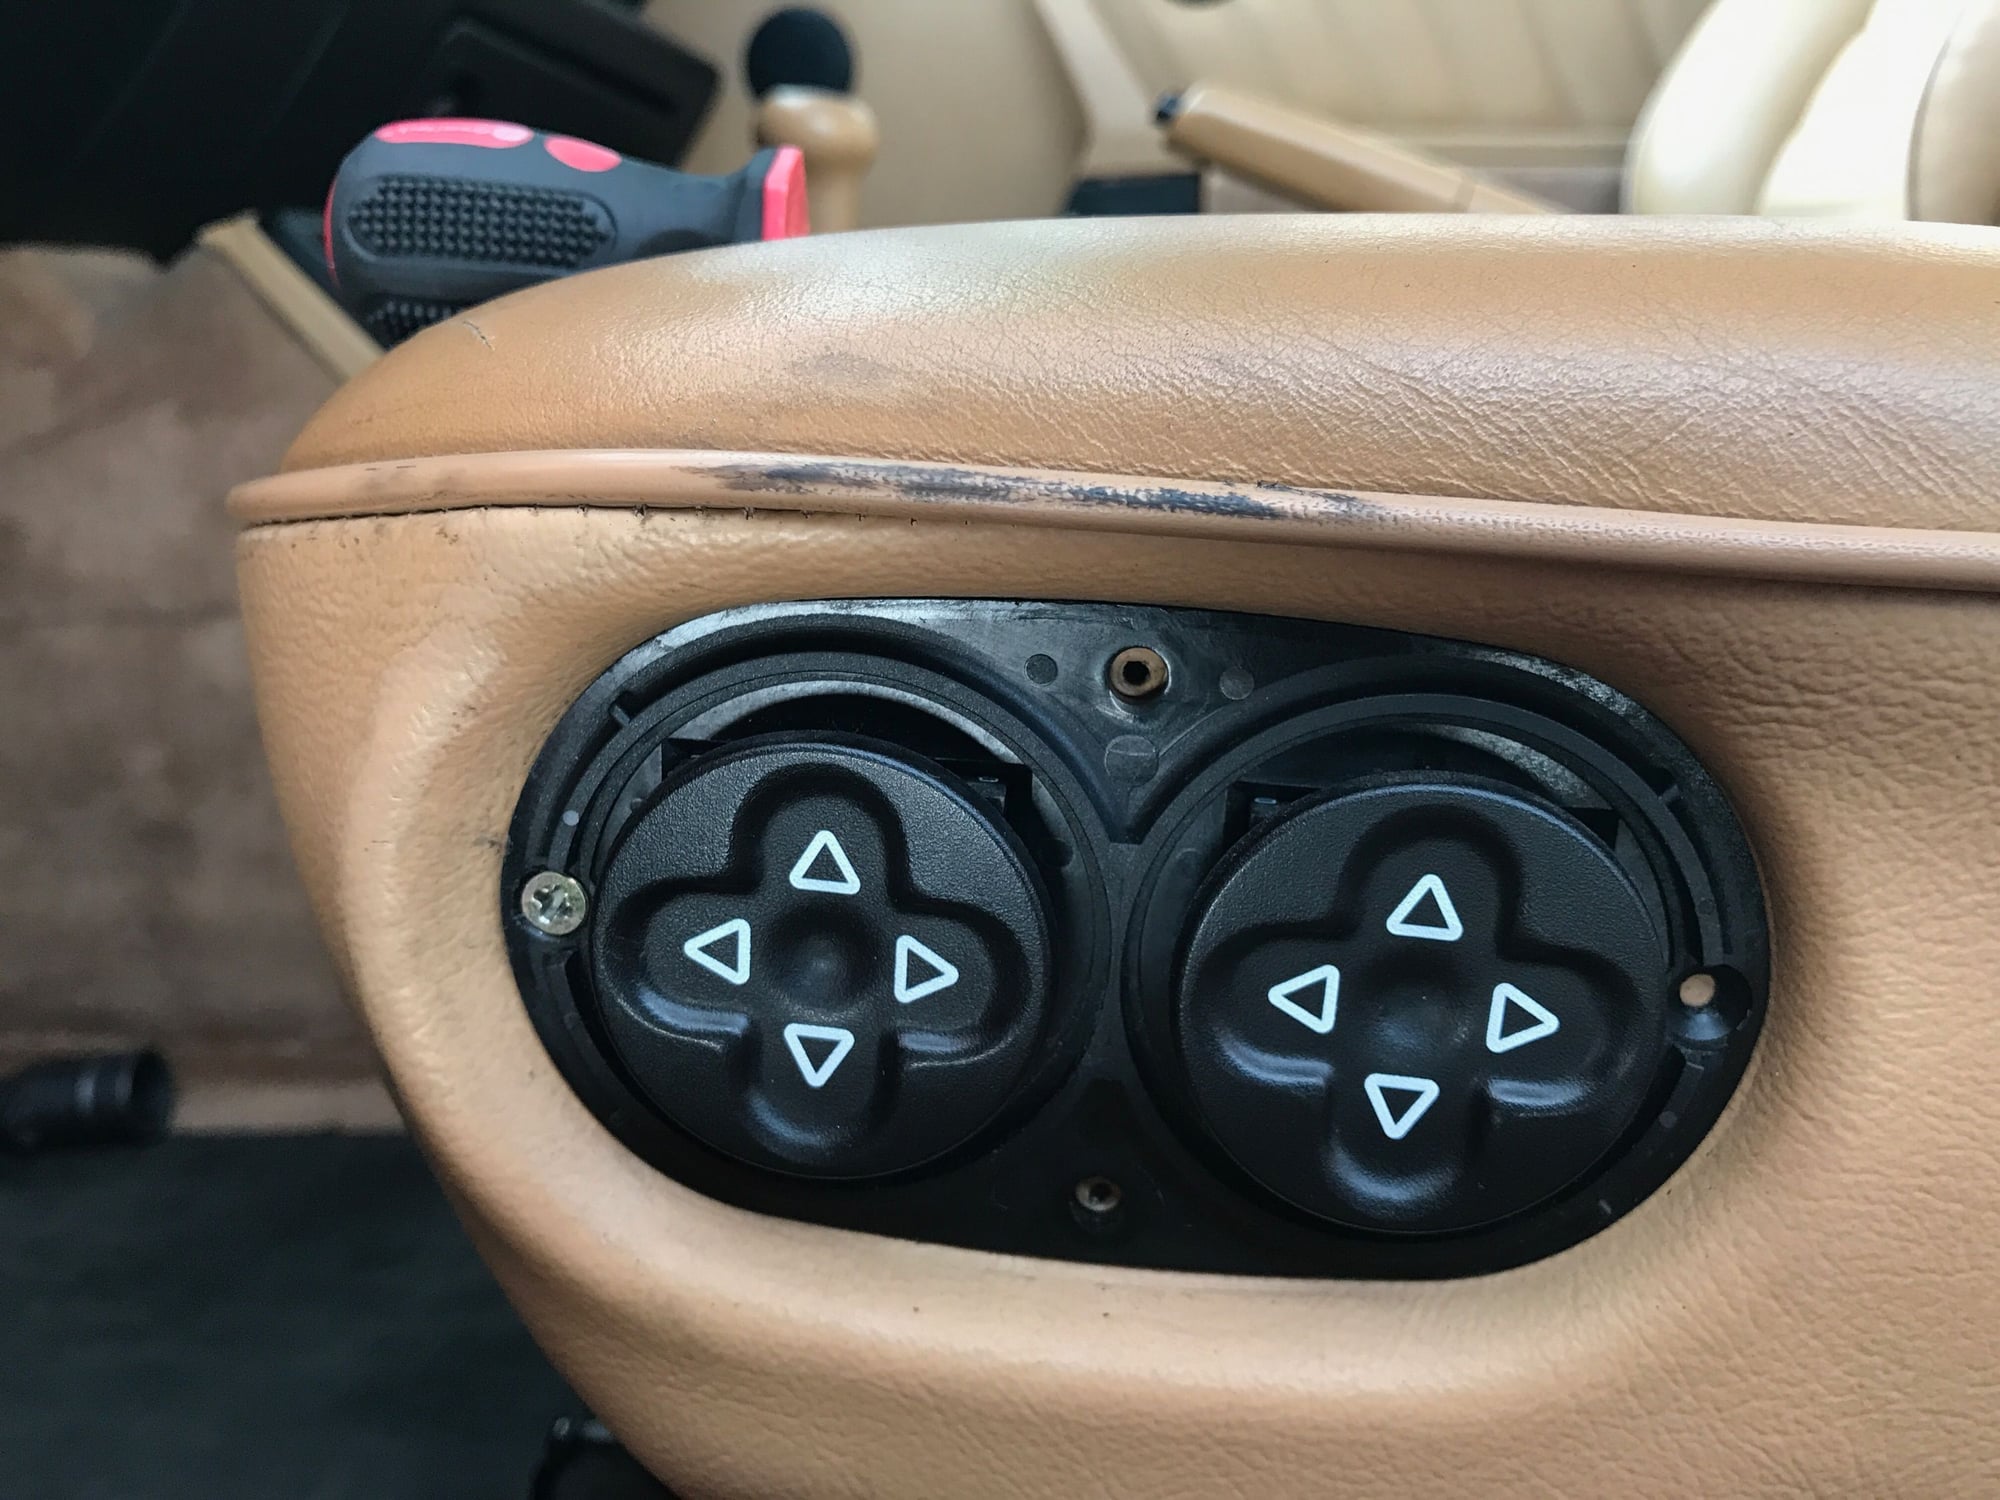
Beginner here with a 91 C2 Targa. Symptom was driver seat rear up/down adjuster not working. Seat was fully in the up position. Would hear a slight click when attempting to use the 'up' portion of the rocker switch while seat was already fully heightened. When attempting to bring the rear of the seat down there was no indication of anything from the motor. All other movement in the seat worked just fine.
This was my exact scenario except the seat was in the lowest position.
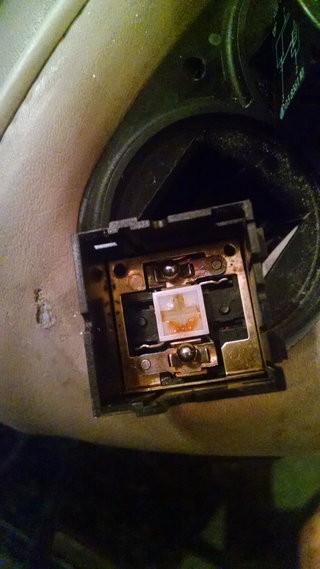
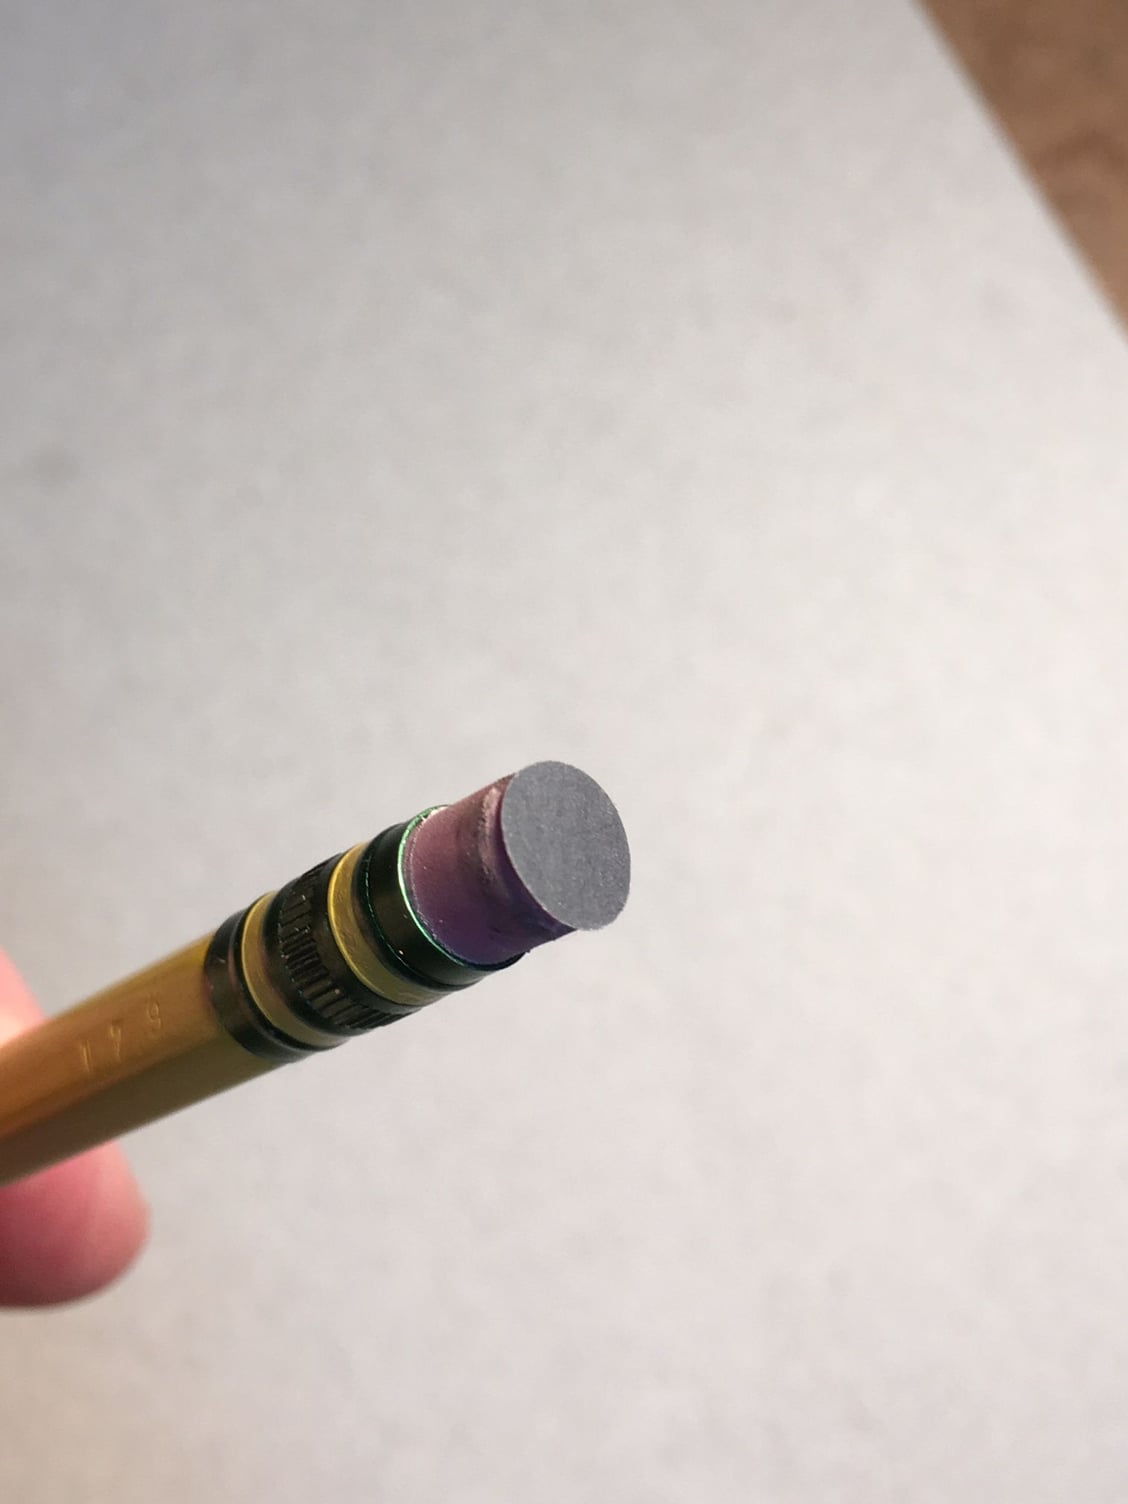
Awesome instructions, just repaired my switch too! Used another trick in the process, to clean the contacts down deep in the switch housing, just used a paper punch to pop out some holes in 600 grit sandpaper, then a small drop of superglue on end of pencil eraser and easy to twist those contacts clean!
Hi everyone, just got my 91 964 c4 cab, problem is seat won't move forward or backward so I've been trying to follow these instructions but i'm stuck in one of the early steps with removing that one screw, it just spins endlessly, doens't tighten or come out at all. Anyone have any advice?
Hi everyone, just got my 91 964 c4 cab, problem is seat won't move forward or backward so I've been trying to follow these instructions but i'm stuck in one of the early steps with removing that one screw, it just spins endlessly, doens't tighten or come out at all. Anyone have any advice?
take a plastic putty knife behind the faceplate and apply some outward pressure as you are backing out the screw. It should start to come out if not pull out. Sounds like the screw was over tightened and the screw hole stripped out and hat the screw threads aren't grabbing enough to pull the screw in or out. Give it a little manual assistance
A tiny amount of super glue on the end of the springs will hold the bearing on the spring.
Tiny amount.
Worked like a charm, and can be assembled without being upside-down.
Don't put too much, or it'll work its way down the spring and bind up in the hole.
A tiny amount of super glue on the end of the springs will hold the bearing on the spring.
Tiny amount.
Worked like a charm, and can be assembled without being upside-down.
Don't put too much, or it'll work its way down the spring and bind up in the hole.
I've done this on my 89 carrera uses same buttons as the 964.
Instead of super glue I used silicone grease (ie dielectric grease) just a dab, also used on pivot points, and used contract/electic cleaner / lubricant on switch contacts. switches all work great now.
I've done this on my 89 carrera uses same buttons as the 964.
Instead of super glue I used silicone grease (ie dielectric grease) just a dab, also used on pivot points, and used contract/electic cleaner / lubricant on switch contacts. switches all work great now.
Ahh I think that would work even better, perhaps.
I initially tried four small neodymium magnets (smaller than dime diameter, 1/8th inch thick) on the button-side of the switch, hoping they would magnetize the springs enough through the plastic to hold the bearings in place. It did work, but not well enough to hold them firmly enough. I could tilt the assembly about 45 degrees before the magnets fell off... if I didn't jiggle them. would need something about quarter-sized to work well.


 That's a bit brute force... If you look behind the mounting flange, there's a pair of prongs that you push in with the ends of some fine nosed pliers, or two screw drivers.

 11-25-2014, 11:43 PM