


Replacing Evaporator
Thread Starter
Professor of Pending Projects
Rennlist Member
Rennlist Member

Joined: Nov 2001
Posts: 9,898
Likes: 36
From: Ocala, FL
Originally Posted by Arjan B.
Yeah, the expansion valve would interest me too, mine is the cause of leak. I loose the gas in about 6 or 7 months each time. With trace fluid I discovered the leak overthere,
You have to clean up your garage defnetely..........
You have to clean up your garage defnetely..........
Arjan, at this point you have good access to the expansion valve. Maybe someone else can do it without removing as many parts as I have done... but I is really easy to this point and gives you plenty of space to work.
I hope that helps!
Next is the removal of the fuel tank... more to come.
(on a side note, I have higher resolution images if anyone needs them. It is just easier to load them in this size for the post)
Thread Starter
Professor of Pending Projects
Rennlist Member
Rennlist Member
Joined: Nov 2001
Posts: 9,898
Likes: 36
From: Ocala, FL
Let's continue with the tank removal..
Remove metal strap holding down the tank. One 13mm bolt on the right. The left side comes off easy, just disengage from the hook.


I started to remove the bottom covers to look at how the steering boots condition (all fine)... amazing to see the original cosmoline all over the front diff... anyway... also removed the cover to where the two bottom hoses need to be removed.

And it looks hard to get to the screw to free the hoses... will deal with this in the morning.

I will also take the opportunity to clean everything under the car... off with the cosmoline and the dirt under there...
Back to the top... you need to remove the fresh air grill. This is a two piece item. Frame and mesh. Needs to come off to get to two bolts inside. Also a good time, in my case, to repaint the mesh and frame as age is showing....


Since the car is raised I removed the left side wheel and removed the underfender covers to have access to the dryer.

Remove metal strap holding down the tank. One 13mm bolt on the right. The left side comes off easy, just disengage from the hook.
I started to remove the bottom covers to look at how the steering boots condition (all fine)... amazing to see the original cosmoline all over the front diff... anyway... also removed the cover to where the two bottom hoses need to be removed.
And it looks hard to get to the screw to free the hoses... will deal with this in the morning.
I will also take the opportunity to clean everything under the car... off with the cosmoline and the dirt under there...
Back to the top... you need to remove the fresh air grill. This is a two piece item. Frame and mesh. Needs to come off to get to two bolts inside. Also a good time, in my case, to repaint the mesh and frame as age is showing....
Since the car is raised I removed the left side wheel and removed the underfender covers to have access to the dryer.
Last edited by Wachuko; Mar 16, 2007 at 12:59 AM.
Rennlist Member
Joined: Jun 2004
Posts: 135
Likes: 0
From: Poland
Hmm , winter is comming and I have harder task - I have 993 without AC, I bought all parts /I guess / from 964 /500 Euro/ and I will try to make it !!! Thank Wachuko for pics - I'll save them all !!
/ from 964 /500 Euro/ and I will try to make it !!! Thank Wachuko for pics - I'll save them all !!
Thread Starter
Professor of Pending Projects
Rennlist Member
Rennlist Member
Joined: Nov 2001
Posts: 9,898
Likes: 36
From: Ocala, FL
Arjan,
A few more photos for you. Since I am removing the evaporator I did not need to remove the expansion valve but since you need photos to guide you throught the process here you go...
Remove the 10mm bolt holding the hose and alum pipe.

once that is removed you will have access to the 3mm hex bolts. Get a good hex wrench... not worth it screwing up with these bolts...

A few more photos for you. Since I am removing the evaporator I did not need to remove the expansion valve but since you need photos to guide you throught the process here you go...
Remove the 10mm bolt holding the hose and alum pipe.
once that is removed you will have access to the 3mm hex bolts. Get a good hex wrench... not worth it screwing up with these bolts...
Thread Starter
Professor of Pending Projects
Rennlist Member
Rennlist Member
Joined: Nov 2001
Posts: 9,898
Likes: 36
From: Ocala, FL
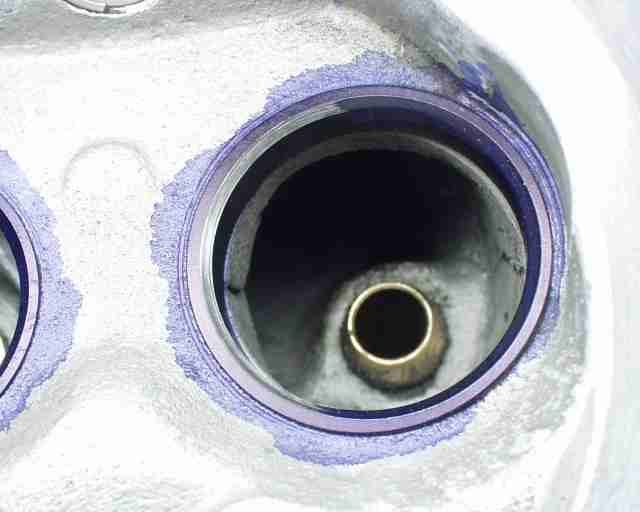
Again, using a good 3mm hex wrench remove the two bolts.

Valve out... replace all O-rings when putting in the new...

BTW... the fuel tank is also out now. Two hoses in the bottom to loose. One from the fuel pump with a flat screwdriver and the other one from the conector to the hard line with a 17mm wrench and a 19mm wrench. Be prepared to catch the excess fuel in the line. Even after trying to empty the tank completely from the top there was a good 10 quarts of fuel between the tank and the lines.


I have to check the parts diagram but I believe this is the fuel pump:

All for now... family is asking for some quality time
Valve out... replace all O-rings when putting in the new...
BTW... the fuel tank is also out now. Two hoses in the bottom to loose. One from the fuel pump with a flat screwdriver and the other one from the conector to the hard line with a 17mm wrench and a 19mm wrench. Be prepared to catch the excess fuel in the line. Even after trying to empty the tank completely from the top there was a good 10 quarts of fuel between the tank and the lines.
I have to check the parts diagram but I believe this is the fuel pump:
All for now... family is asking for some quality time
Last edited by Wachuko; Mar 16, 2007 at 01:04 AM.
Rennlist Stories
The Best Porsche Posts for Porsche Enthusiasts

Stunning Porsche 356A Super GT Speedster Auction Fails to Meet Reserve
Verdad Gallardo
Every Era of 911 Owner Explained in One Sentence
Verdad Gallardo
Thinking of Buying a Porsche? Do These 10 Things First
Joe Kucinski
Pixar Pals Turned Into 1-of-1 Porsches!
Michael S. Palmer
Theon Goes Full Carbon Fiber With Stunning New Build
Verdad Gallardo
Genius Porsche-Themed Gifts That'll Make Any Dad or Grad Smile
Joe Kucinski
10 Used Porsches Are Selling for Way Too Cheap
Joe Kucinski
Tuner Is Converting Porsche 911s Into Shooting Brakes
Verdad Gallardo
This Coachbuilt Creation Is A Modern Take on the Legendary Porsche 917
Verdad Gallardo
Thread Starter
Professor of Pending Projects
Rennlist Member
Rennlist Member
Joined: Nov 2001
Posts: 9,898
Likes: 36
From: Ocala, FL
OK, slow progress... since the tank is out and now is to the difficult task of removing the housing where the evaporator is located... all that mess gives me the chills... I also need to look up in PET the part number for the air hose and buy them before hand based on Rich's suggestion.
So instead I went to AutoZone and got two cans of cleaner for the lines... (somehow the thought of blowing up using the propane method was not for me... ).
).
Will post more photos as soon as I start again.
So instead I went to AutoZone and got two cans of cleaner for the lines... (somehow the thought of blowing up using the propane method was not for me...
).Will post more photos as soon as I start again.
Thread Starter
Professor of Pending Projects
Rennlist Member
Rennlist Member
Joined: Nov 2001
Posts: 9,898
Likes: 36
From: Ocala, FL
Ok, I will post photos here shortly on the progress... so far I took the air box out, replaced the evaporator, mounted the air box back. Removed dryer and flushed the lines...
I went to empty the compressor to add the new oil but found only a very small amount of oil in the compressor (about 1-2ml) How much oil should I be putting in?
I will post photos as soon as I download them to the computer.
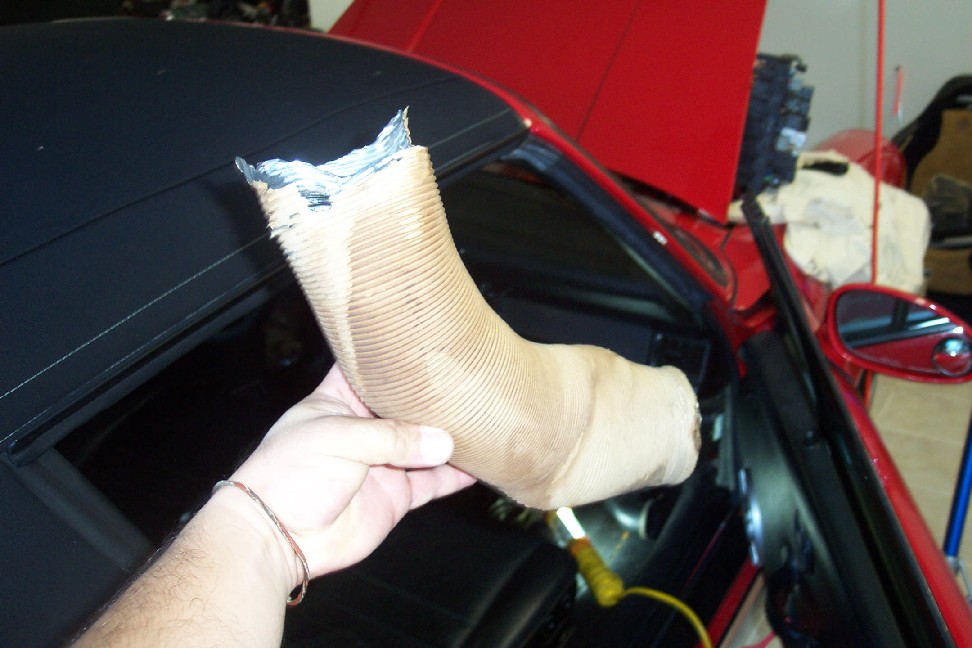
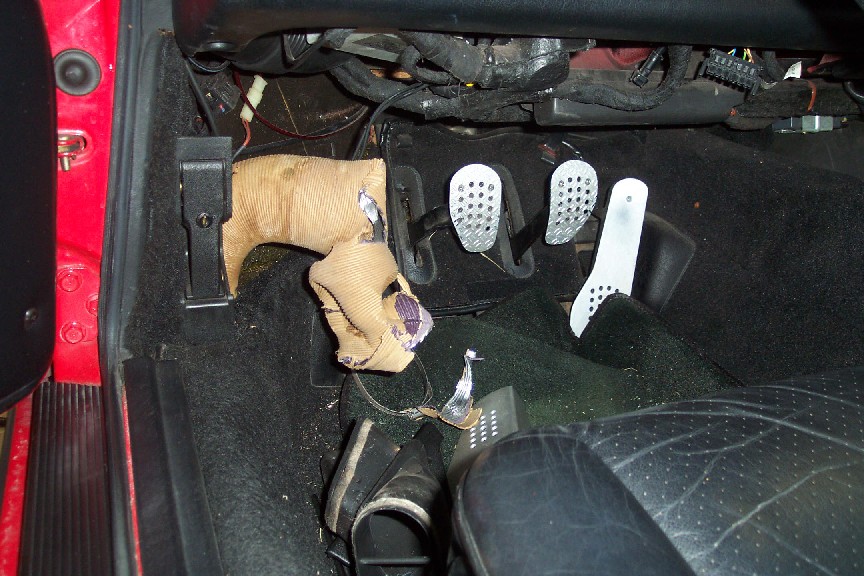
I had to make the special tool needed to remove the AC control... some #16 gauge wire and... the final product... you will need two:

I went to empty the compressor to add the new oil but found only a very small amount of oil in the compressor (about 1-2ml)
How much oil should I be putting in? I will post photos as soon as I download them to the computer.
I had to make the special tool needed to remove the AC control... some #16 gauge wire and... the final product... you will need two:
Last edited by Wachuko; Nov 10, 2004 at 10:09 AM.
Thread Starter
Professor of Pending Projects
Rennlist Member
Rennlist Member
Joined: Nov 2001
Posts: 9,898
Likes: 36
From: Ocala, FL
Anyone?
I went to empty the compressor to add the new oil but found only a very small amount of oil in the compressor (about 1-2ml) How much oil should I be putting in?
I went to empty the compressor to add the new oil but found only a very small amount of oil in the compressor (about 1-2ml) How much oil should I be putting in?
7th Gear
Joined: Jul 2004
Posts: 7
Likes: 0
From: Mechelen Belgium
Unless you will be vacuming the system and filling it with new refrigerant immediately after that, I would not recommend that you fill the compressor with oil at this stage.
Oils in refrigerant systems are known to be hygroscopic. Especially the AB and POE oils which are used in combination with R134a are very very hygroscopic (contact with air and moisture from the air can ruine the oil within hours). You should fill the oil just before vacuming and refilling with refrigerant.
As for the amount of oil, this depends on the type of compressor used. Data for the compressror could be optained from the manufacturer.
As you also flushed the systems, chances are (depending on how and with what you did the flushing) that the oil film on the pipes, hoses, tubes in the condensor is flushed out of the system. Your evapotaror is new, so this also carries no oil film. You should therefor compensate this with extra oil in the compressor (this extra wil stay in the system on the surface of the pipes and tubes and does not come back to the compressor). However for this you will only need 1-2 grams/m of lines, meaning that in a Porsche (with condensor in the front and compressor in the back), you would probably have to add something like 40-50 grams.
I hope this will help you.
Regards and good luck.
Thread Starter
Professor of Pending Projects
Rennlist Member
Rennlist Member
Joined: Nov 2001
Posts: 9,898
Likes: 36
From: Ocala, FL
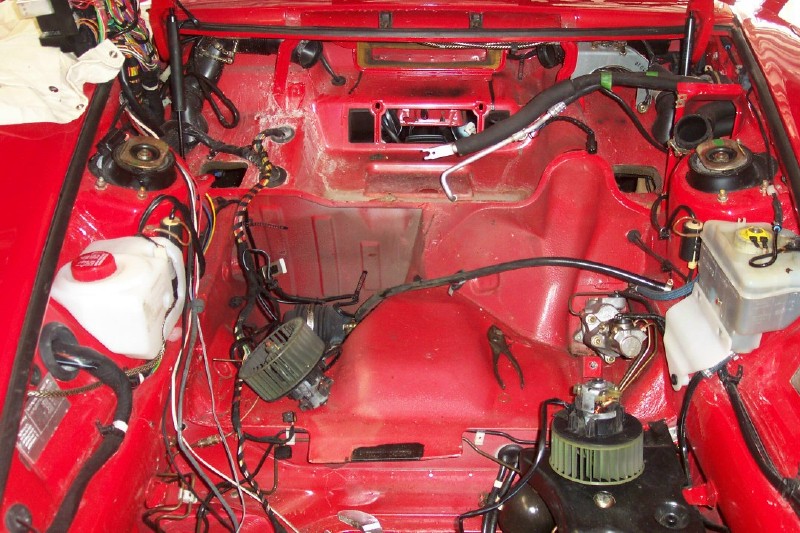
Well... so much for trying to save the original heater hoses...
Once the hoses are out you can disconnect the plastic connectors the go from the airbox to the heater hose:

From the front you will need to raise the plastic in the airbox that holds them in place and push down... or if you have someone to help the person inside can pull gently while you raise the plastic that holds them in place... easy really...
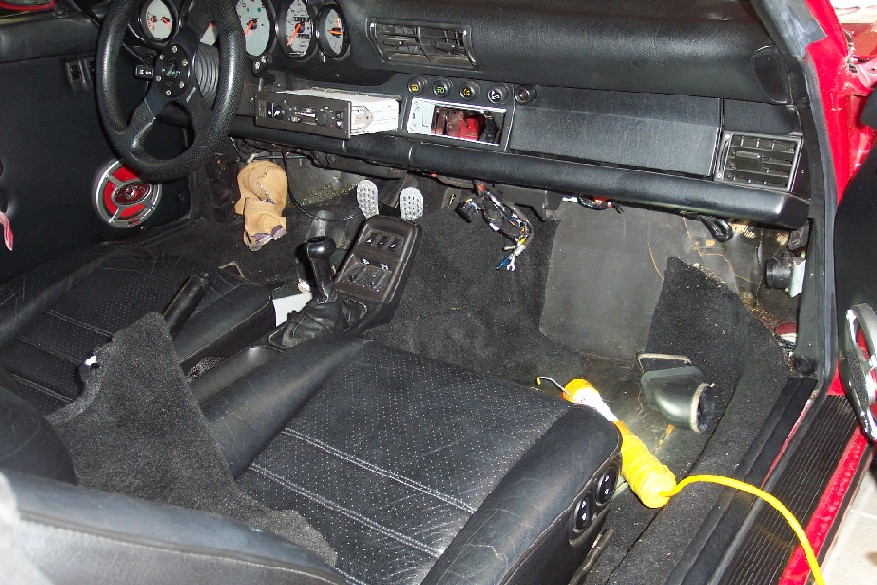
There are two nuts and one bolt inside the dash that will need to come out to allow the airbox to be free... you will need to remove the radio to get to one and the air control unit to get to the other two.
Now is time to remove the airbox:
Best to loosen all the cables from the plugs for this and to release the cables from the tie wraps to get some additional length on them... also release the hose and hard line that goes to the expansion valve from the bracket close to the hood hinge...


Now remove the 32 small clips around the air box to give you the ability to remove the blowers... there are small screws (some 12) that you will find along the way... too many to remember where there all are...
you will see them.... all but one that sits in the middle of the air box in a deep deep hole that you will curse the gods trying to get to it... and they rust and there not phillips nor flat but a small 6 points head that will strip easy
Once the hoses are out you can disconnect the plastic connectors the go from the airbox to the heater hose:
From the front you will need to raise the plastic in the airbox that holds them in place and push down... or if you have someone to help the person inside can pull gently while you raise the plastic that holds them in place... easy really...
There are two nuts and one bolt inside the dash that will need to come out to allow the airbox to be free... you will need to remove the radio to get to one and the air control unit to get to the other two.
Now is time to remove the airbox:
Best to loosen all the cables from the plugs for this and to release the cables from the tie wraps to get some additional length on them... also release the hose and hard line that goes to the expansion valve from the bracket close to the hood hinge...
Now remove the 32 small clips around the air box to give you the ability to remove the blowers... there are small screws (some 12) that you will find along the way... too many to remember where there all are...
you will see them.... all but one that sits in the middle of the air box in a deep deep hole that you will curse the gods trying to get to it... and they rust and there not phillips nor flat but a small 6 points head that will strip easy
Last edited by Wachuko; Mar 16, 2007 at 01:19 AM.
Thread Starter
Professor of Pending Projects
Rennlist Member
Rennlist Member
Joined: Nov 2001
Posts: 9,898
Likes: 36
From: Ocala, FL
Left blower:

Right Blower:

Both:
Remember those small bolts with six point heads... well you have two of each in each blower... spin the blades until you see the two bolts, remove them so that you can remove the blowers from the housing... this will allow you to get the air box out
Right Blower:
Both:
Remember those small bolts with six point heads... well you have two of each in each blower... spin the blades until you see the two bolts, remove them so that you can remove the blowers from the housing... this will allow you to get the air box out
Last edited by Wachuko; Mar 16, 2007 at 01:22 AM.