When you click on links to various merchants on this site and make a purchase, this can result in this site earning a commission. Affiliate programs and affiliations include, but are not limited to, the eBay Partner Network.
There are a few old threads on the Tarett Spring plate installation, but here are some photos (sorry a bit out of order) and tips for followers. Next weekend I will do an alignment.
About 4 hours to remove and install the new plates.
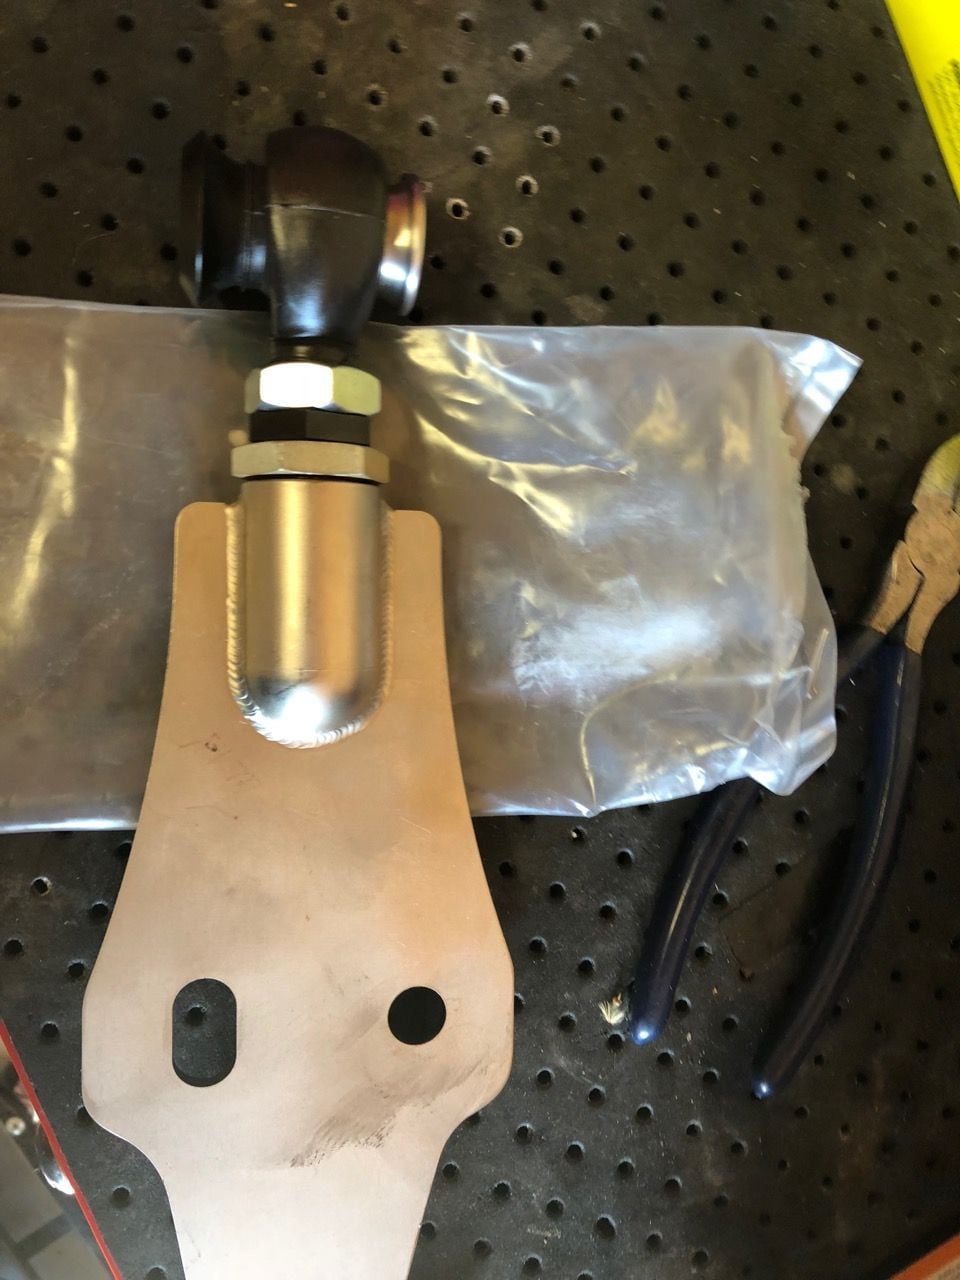
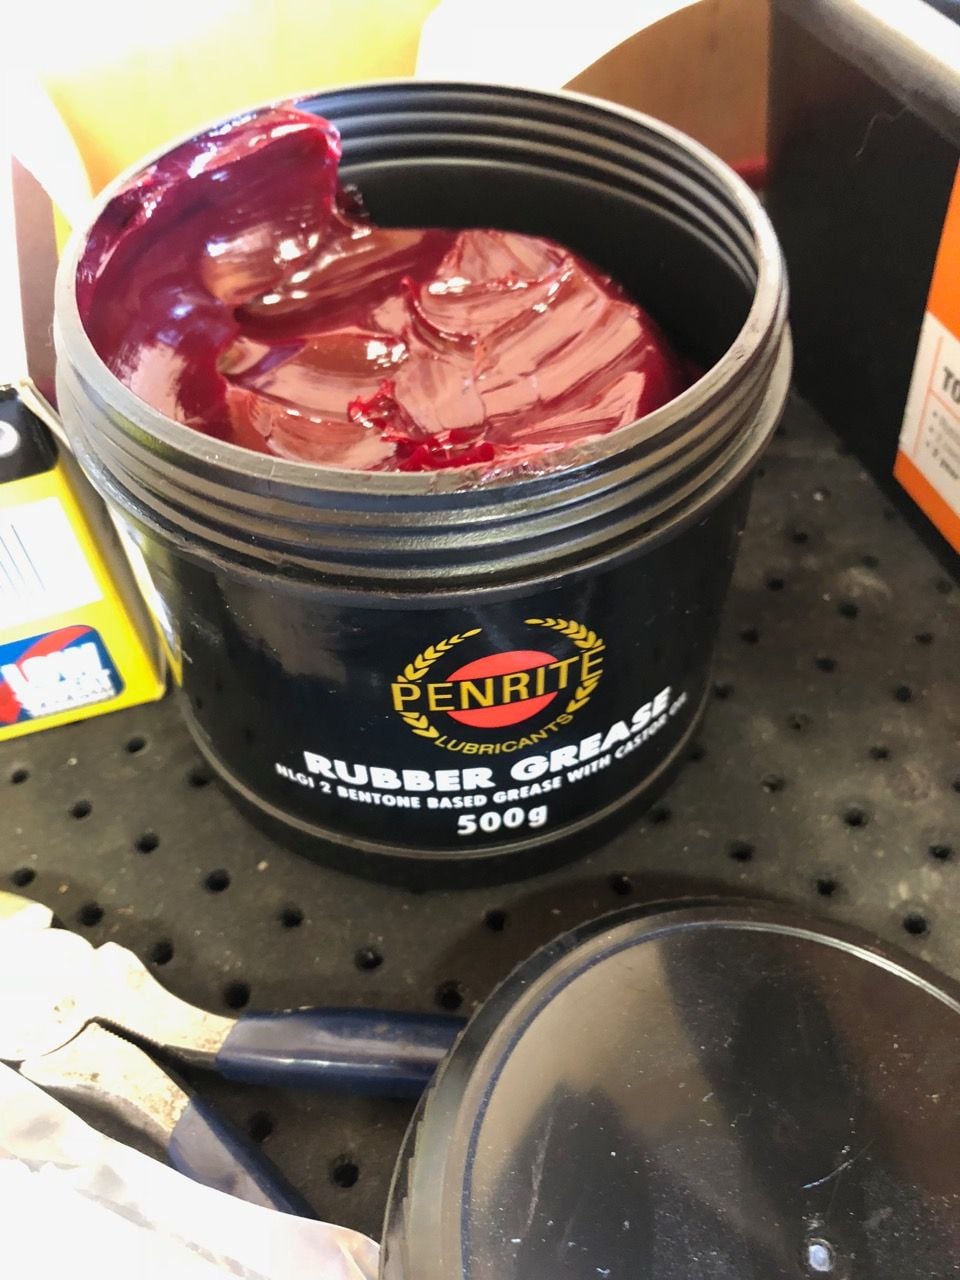
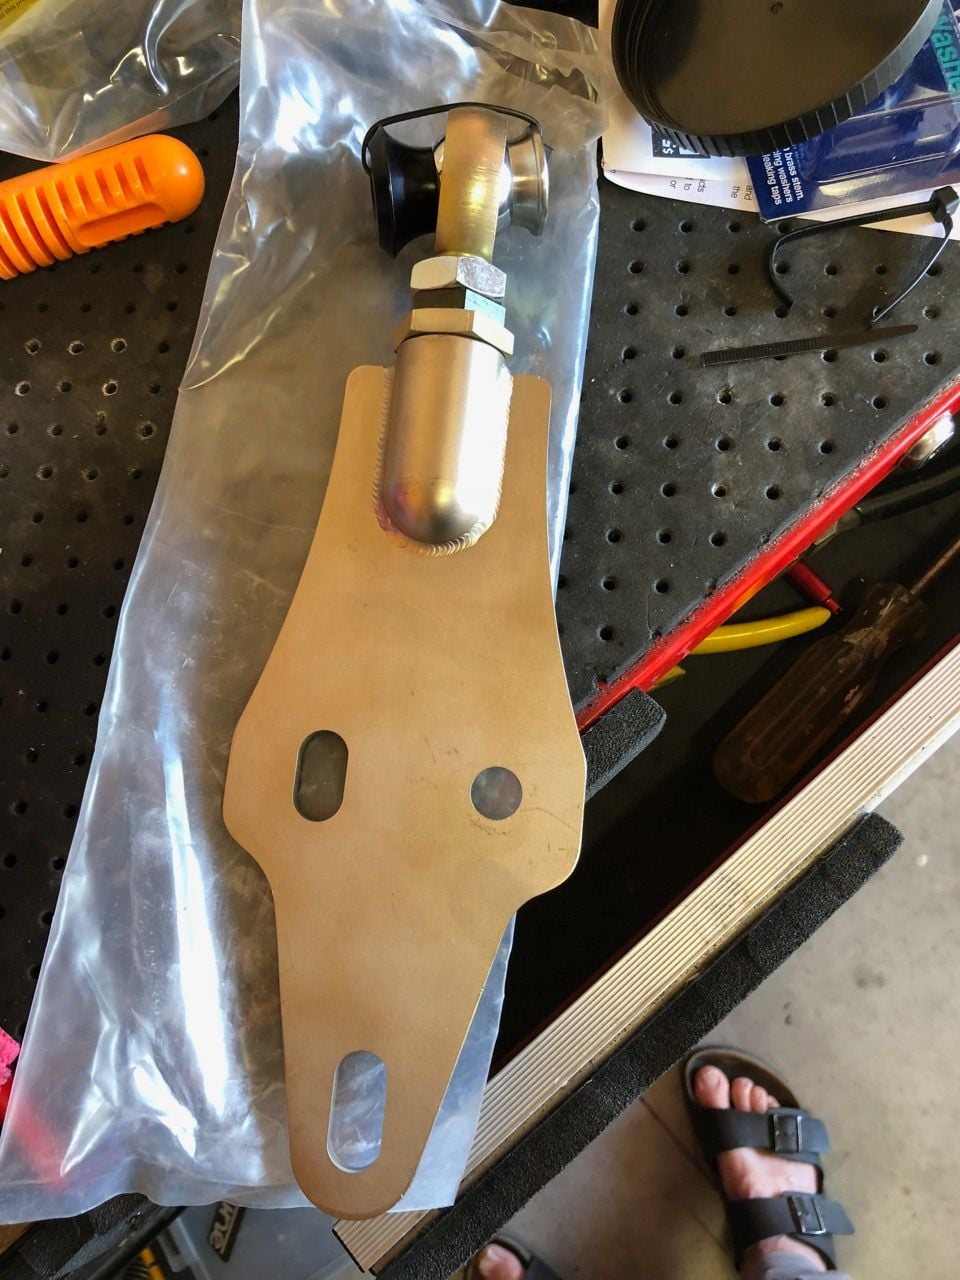
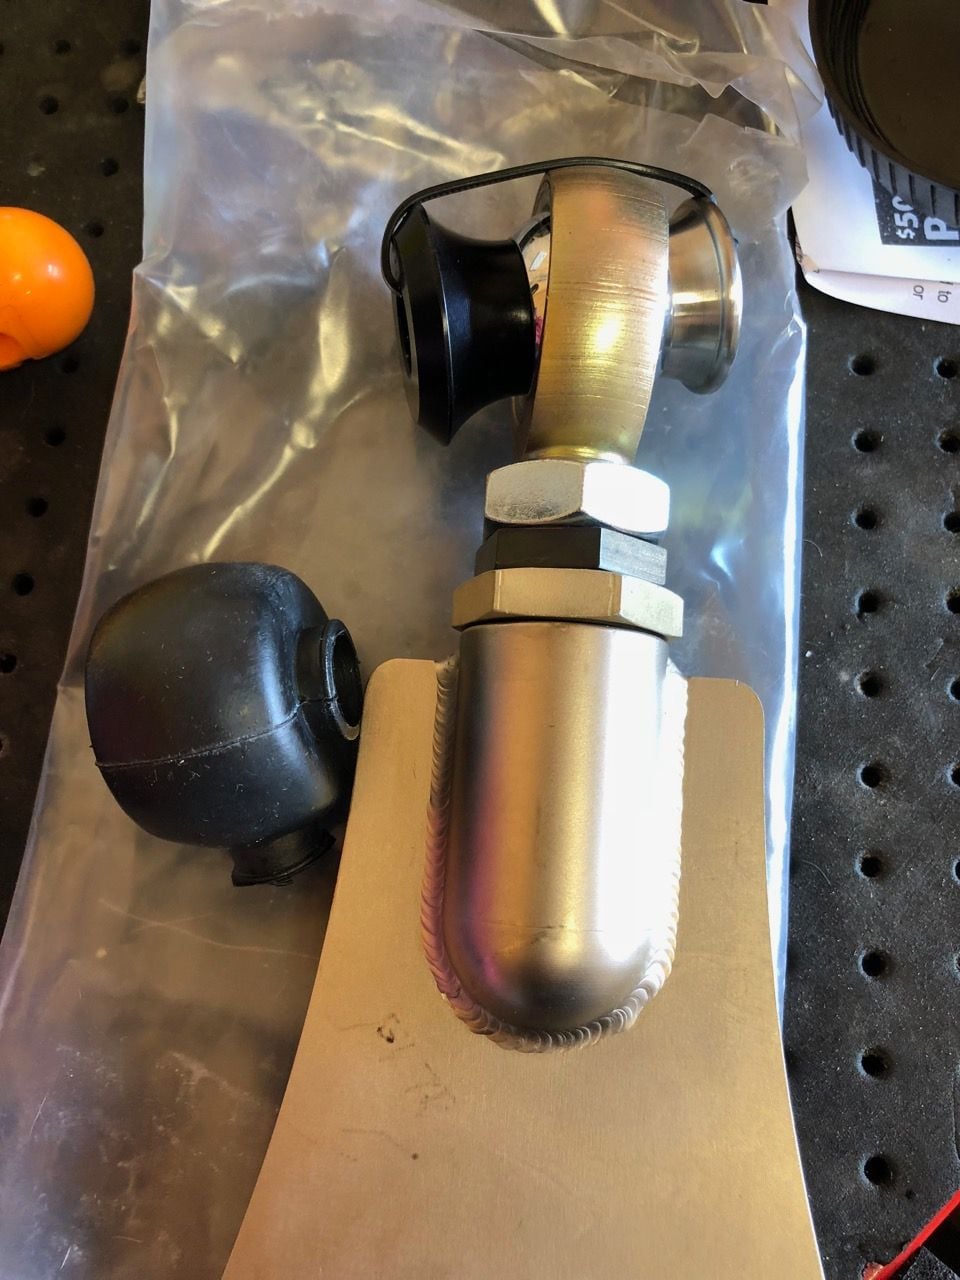
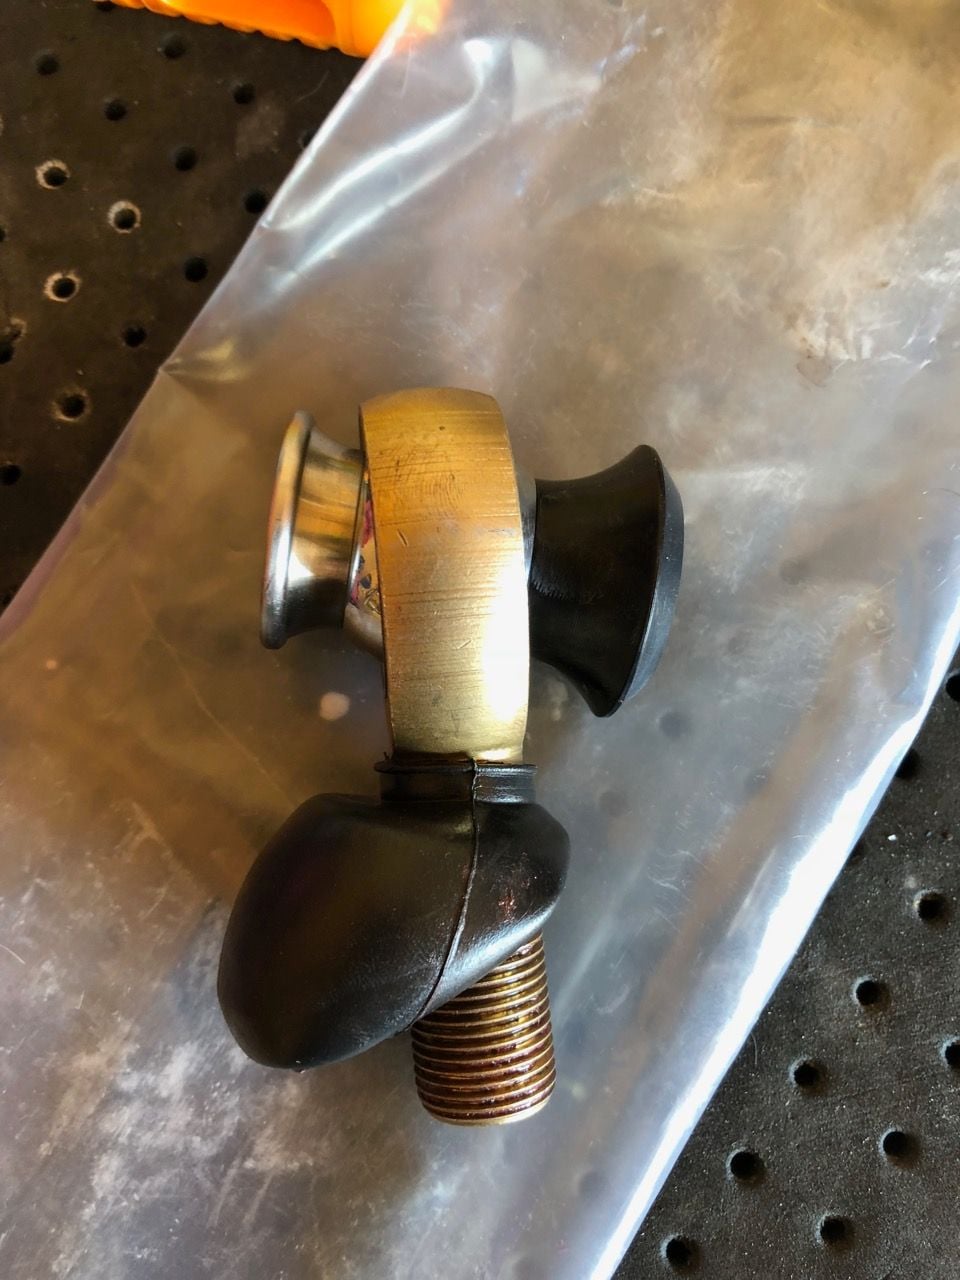
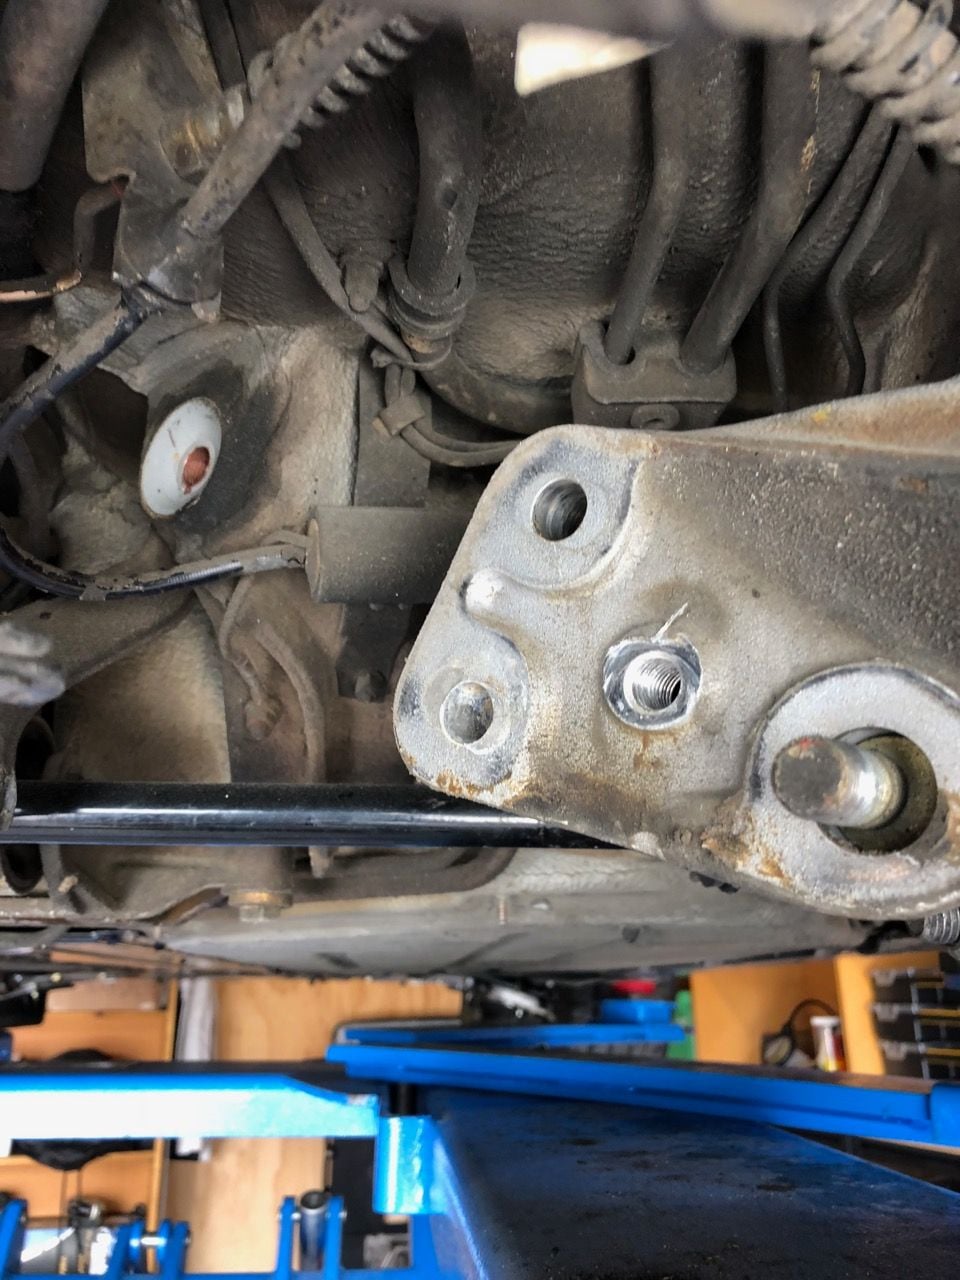
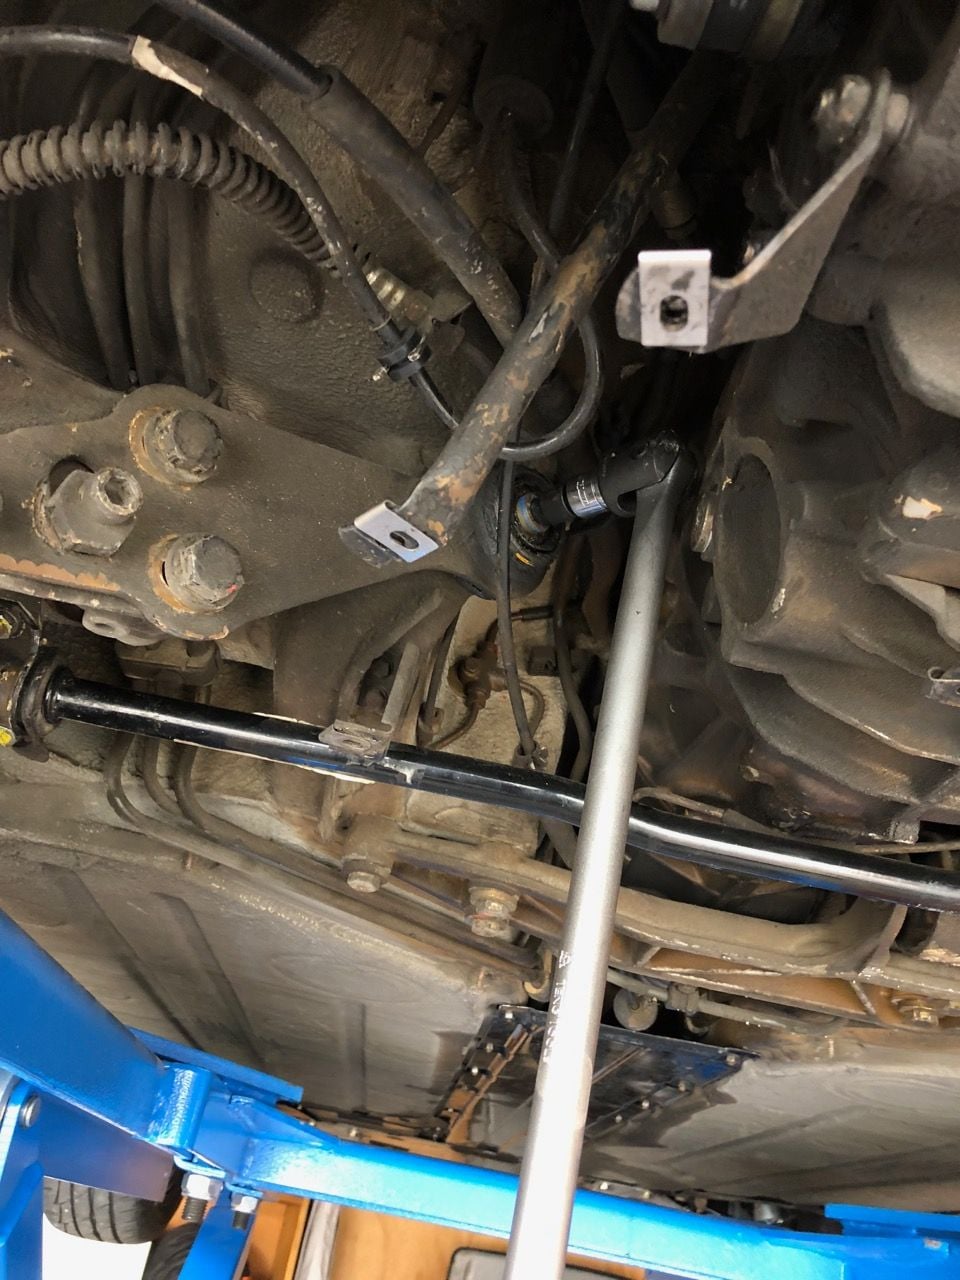
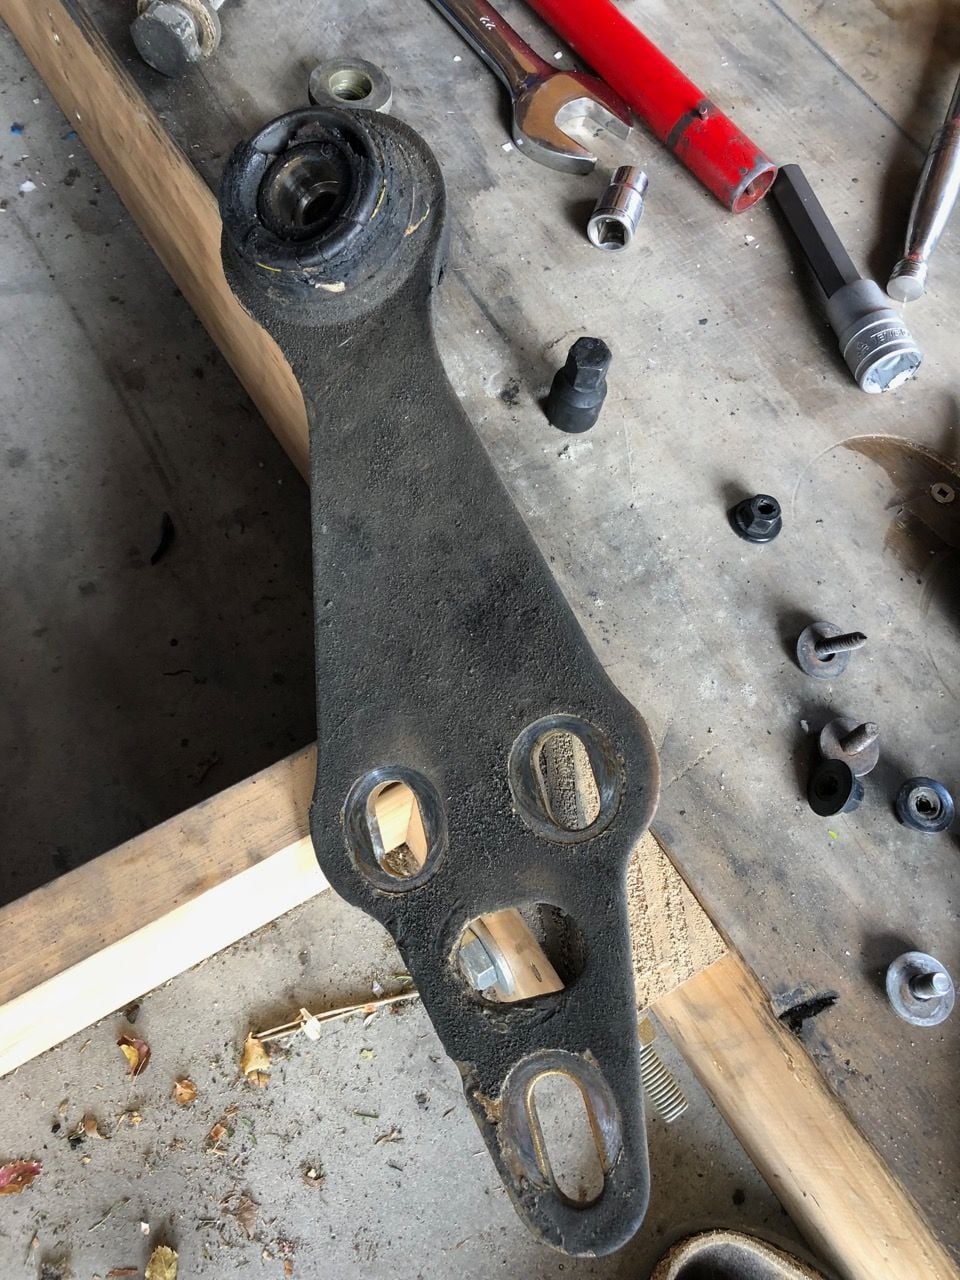
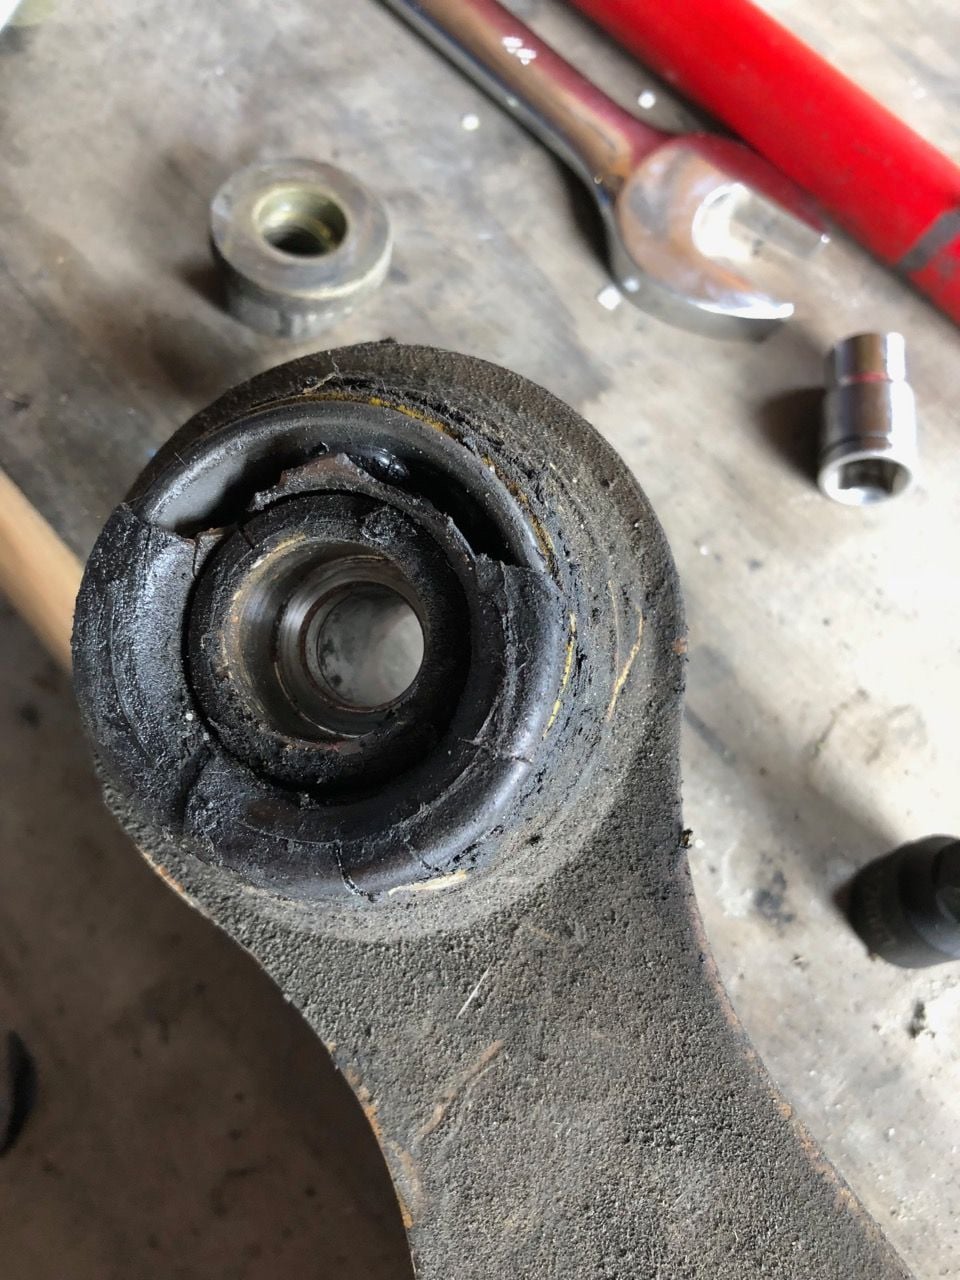
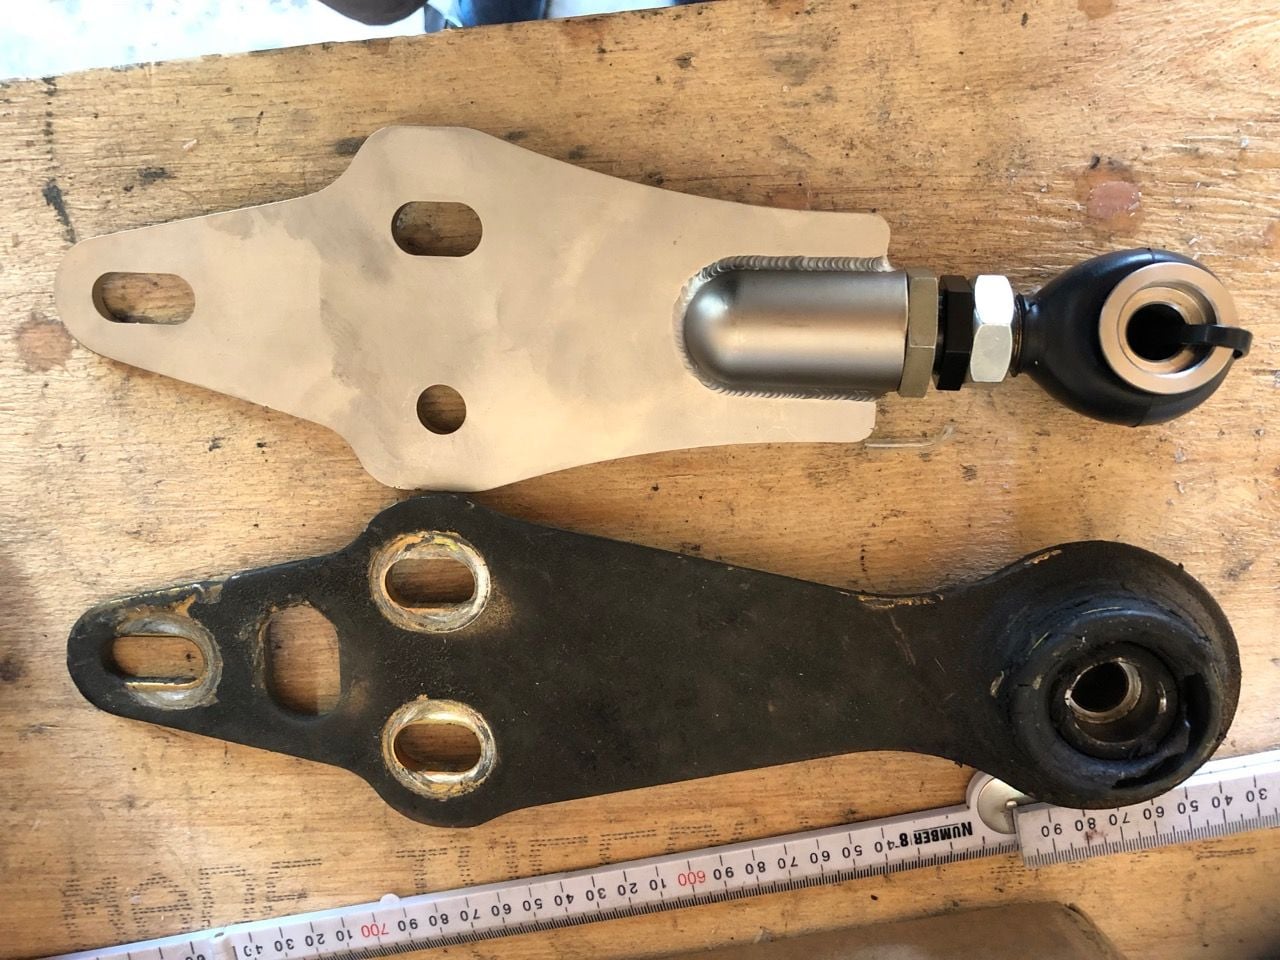
A small smear of rubber grease to help the boots fit. I used a bike tire lever to pull the rubbers over the joint. As per the instructions go through the bolt hole and shank hole with the shank. Old plate removed Boot on I started with the hard side first (right side). It is difficult to get in there. I used a stubby 12mm hex socket. Extension bar. It came away with force, but no issues. New Plate installed. Left side. Easy. Left side installed. Old plate has seen better days. Seals worn away. Bearing still working. I made the plate the same length as the old plate. I'll go from there with the alignment.
If you have any insight into the alignment process w the tarret plates- is love to hear them.
The long hole on the plate for cancer adjustment sits at the top or the bottom? I can't remember. And for toe you are screwing the heim joint in and out of the adjustment hole at the end correct? So in that case, to adjust toe, you have to either unbolt and turn the heim, or to unbolt the entire plate and turn the plate, correct?
Or is there enough movement just in the adjusters them selves on the plate to do what we need to do?
I was doing an alignment yesterday on hubstands in the garage - and hadn't known prior to setup that the car had tarret plates, so since the rear was already "ok", in way of saving time we left them alone. But I'd like my ignorance to wane a bit...
Thoughts?
I will take some photos this upcoming weekend when I do the alignment.
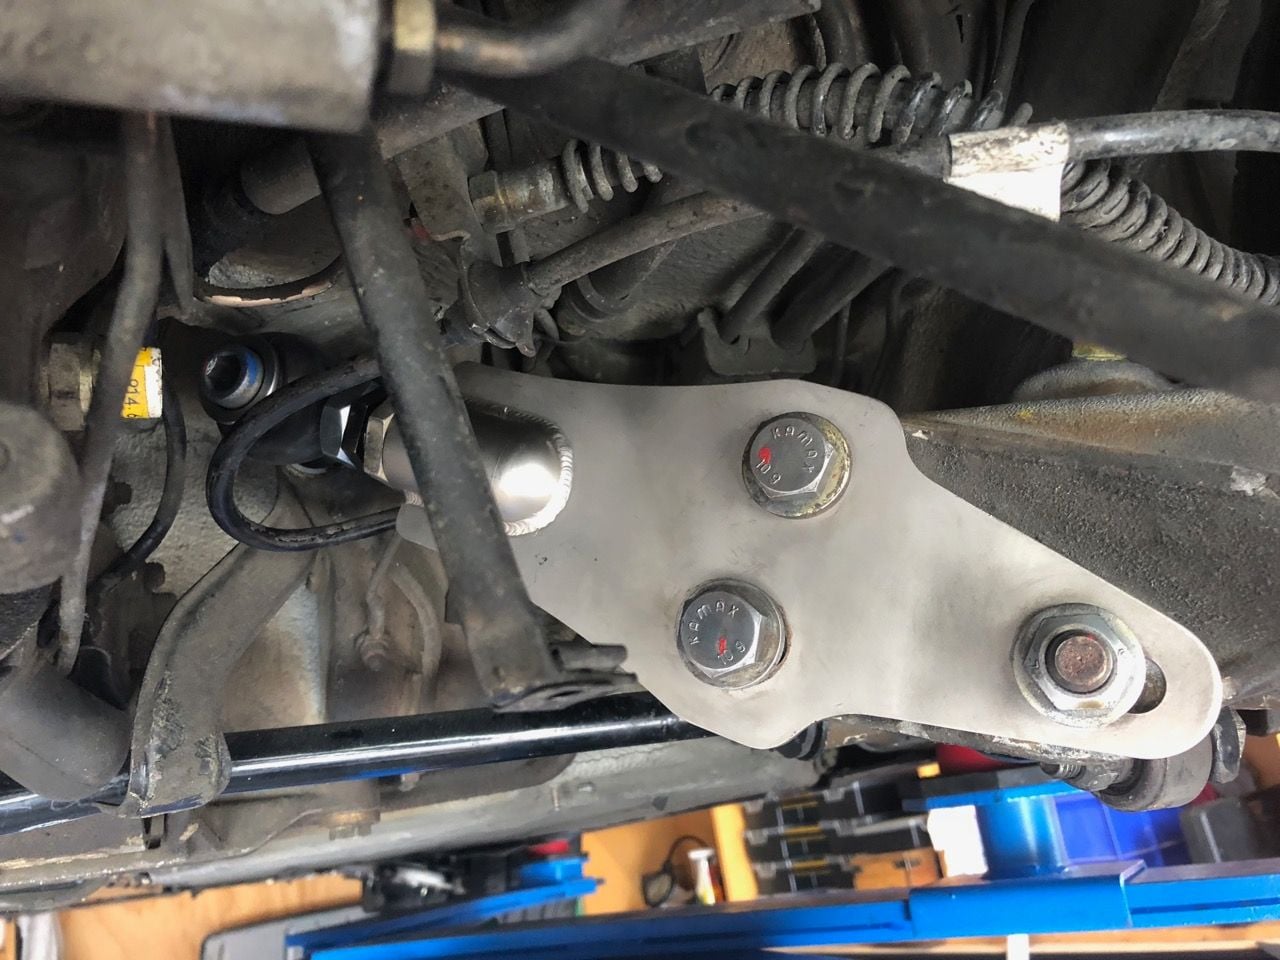
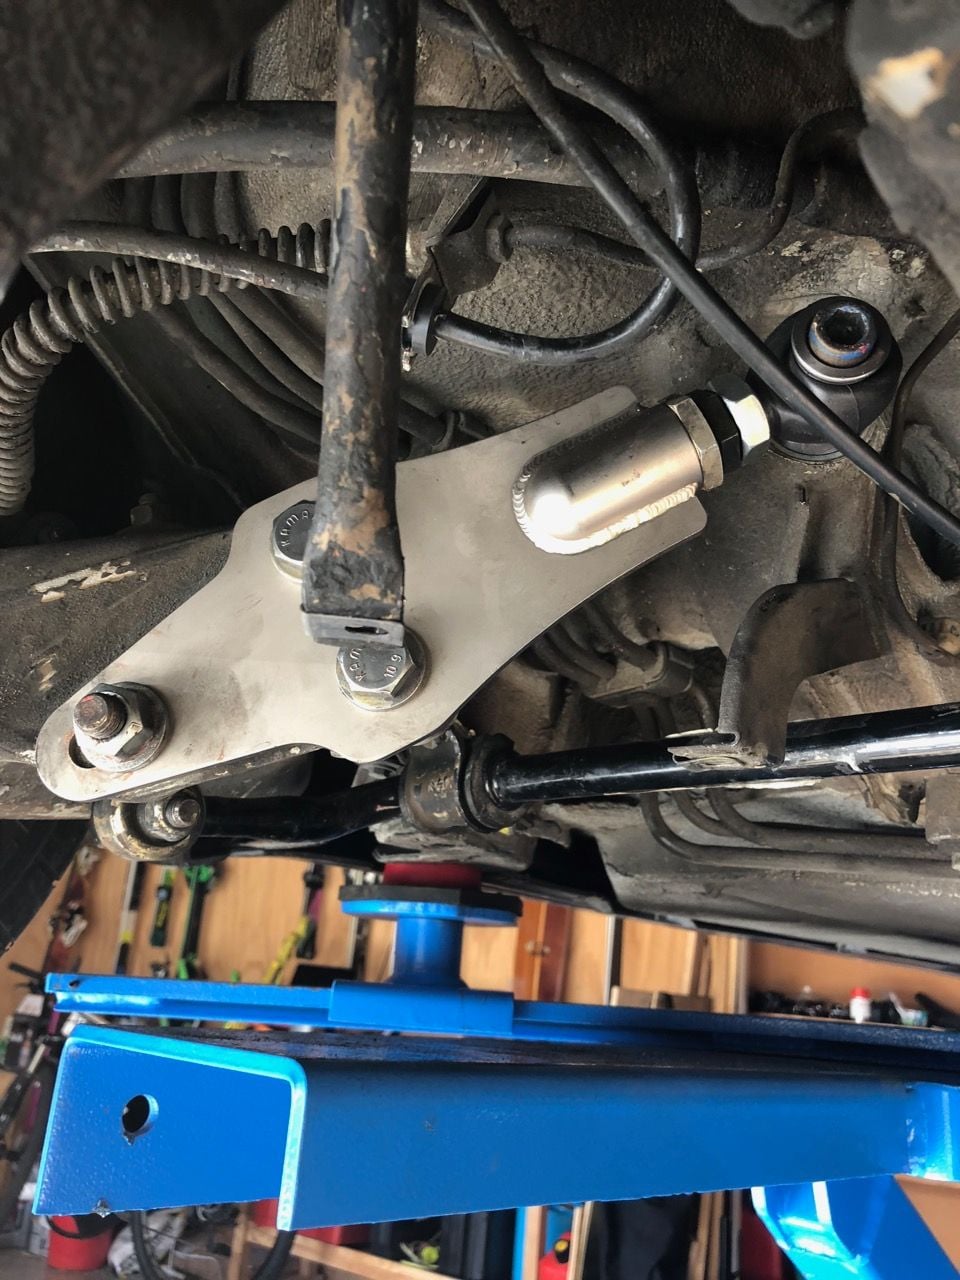
I have placed the slotted hole at the bottom as I am only going to set at RS spec of -1 camber. This is adjusted by the eccentric bolt. The toe is adjusted by the length of the helm bolt. You don't need to disconnect the plate to adjust the toe. The bearing shank screws into the adjusting thread which screws into the plate. There are locking nuts for the shank and the adjusting thread. Hope that makes sense!
I finished off the alignment. I set the camber to -1deg and a very small amount of toe-in 0.5mm (4.2�) on both sides using strings. I am installing 17� wheels next week so toe will increase slightly.
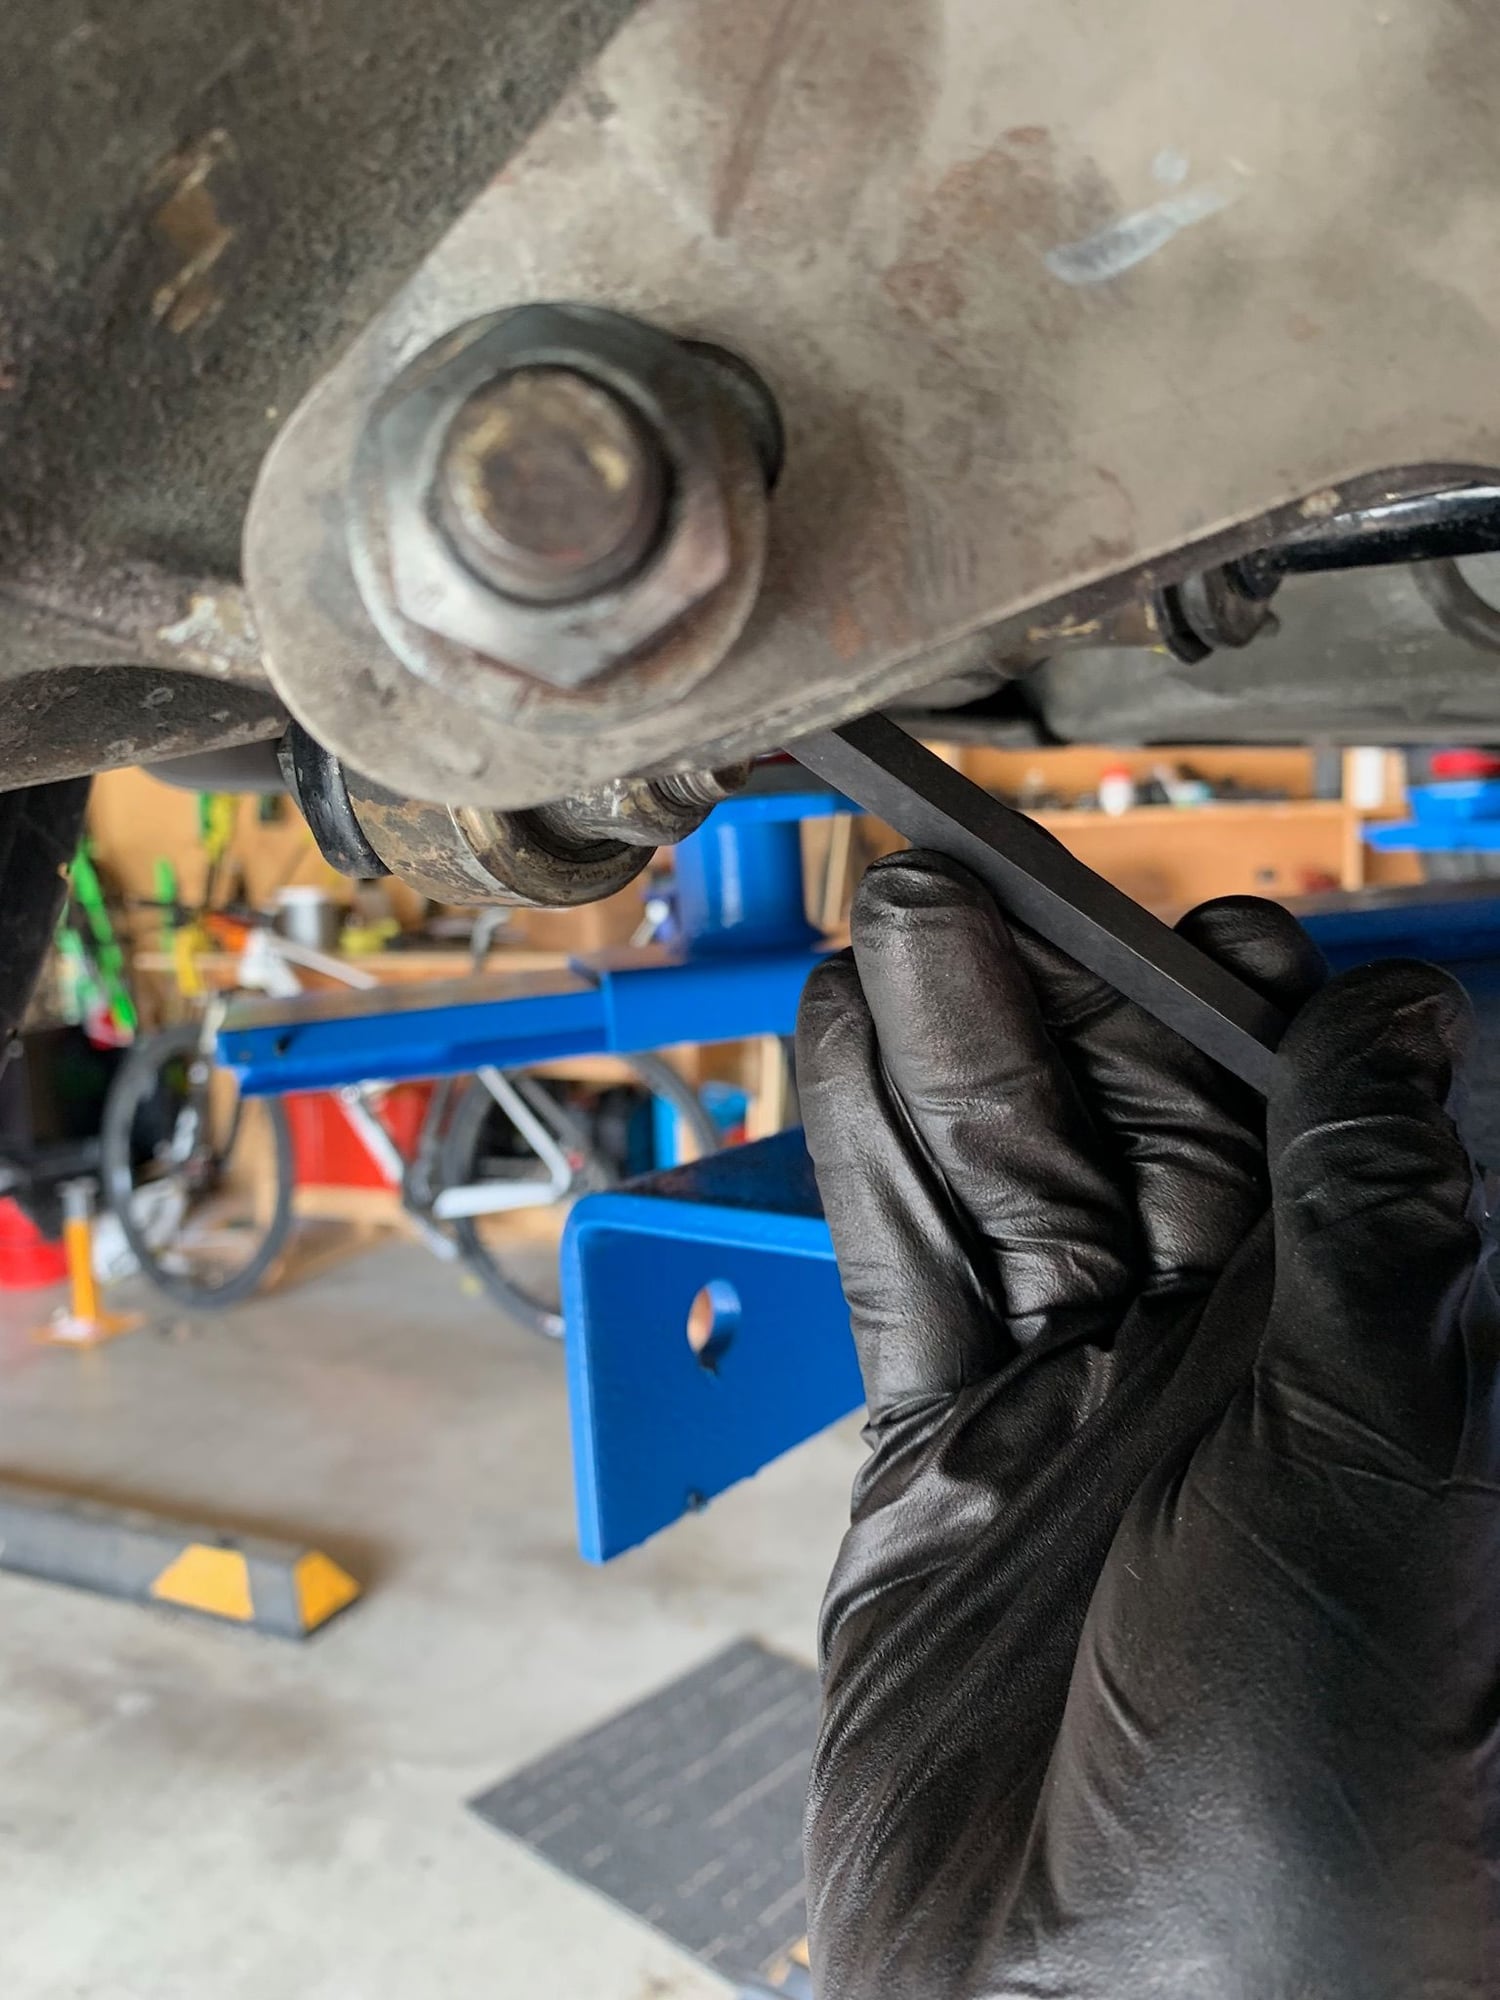
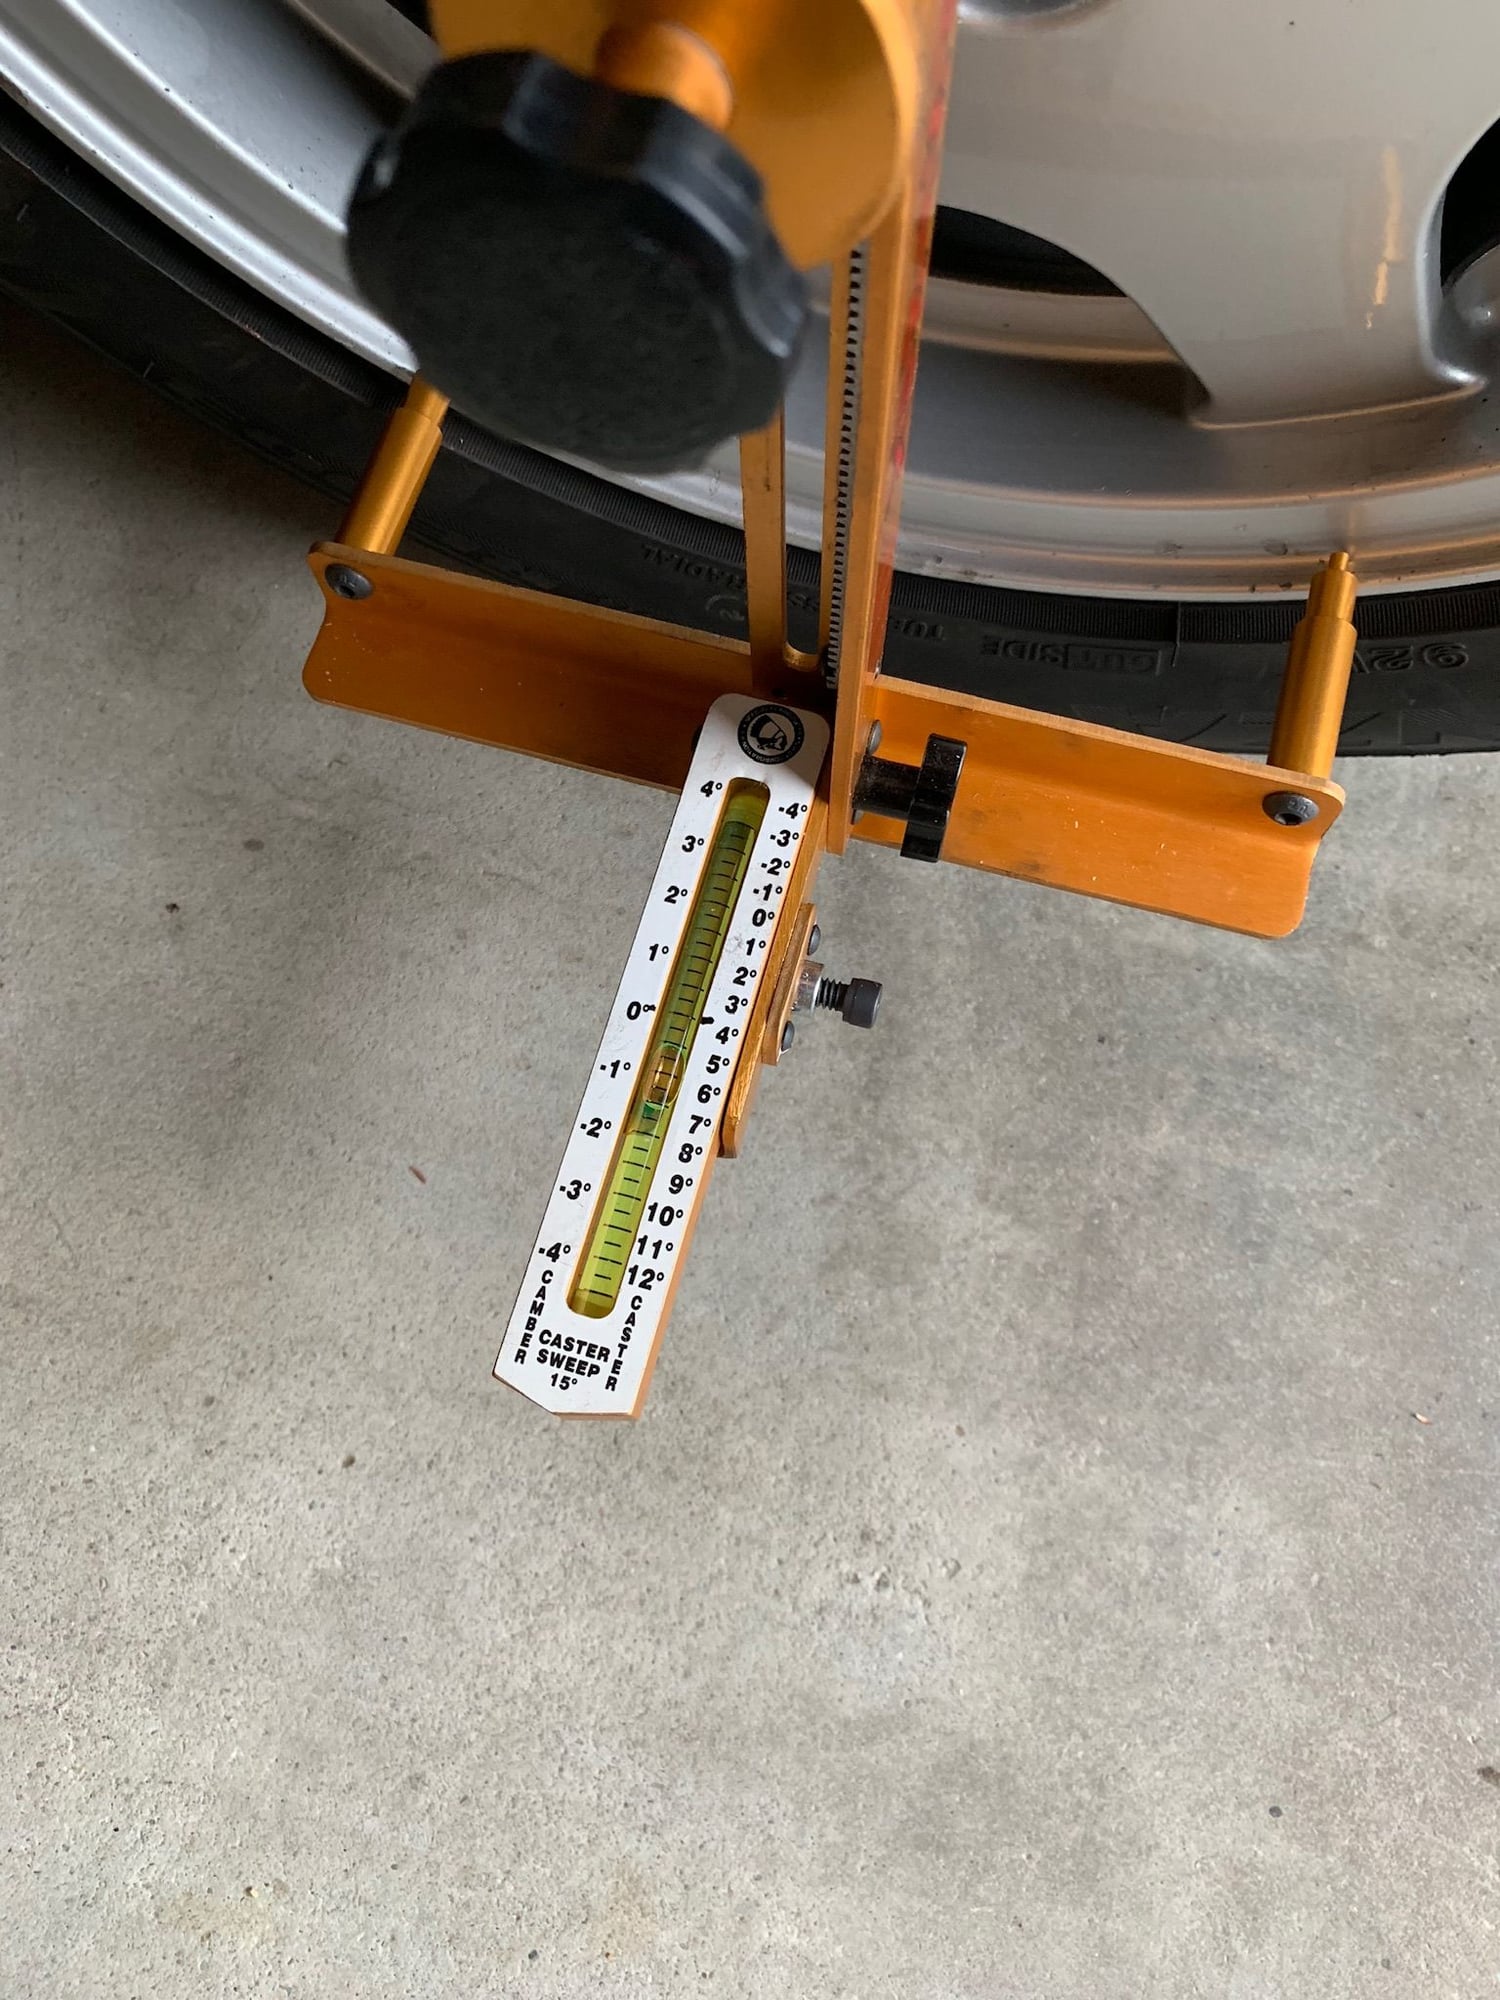
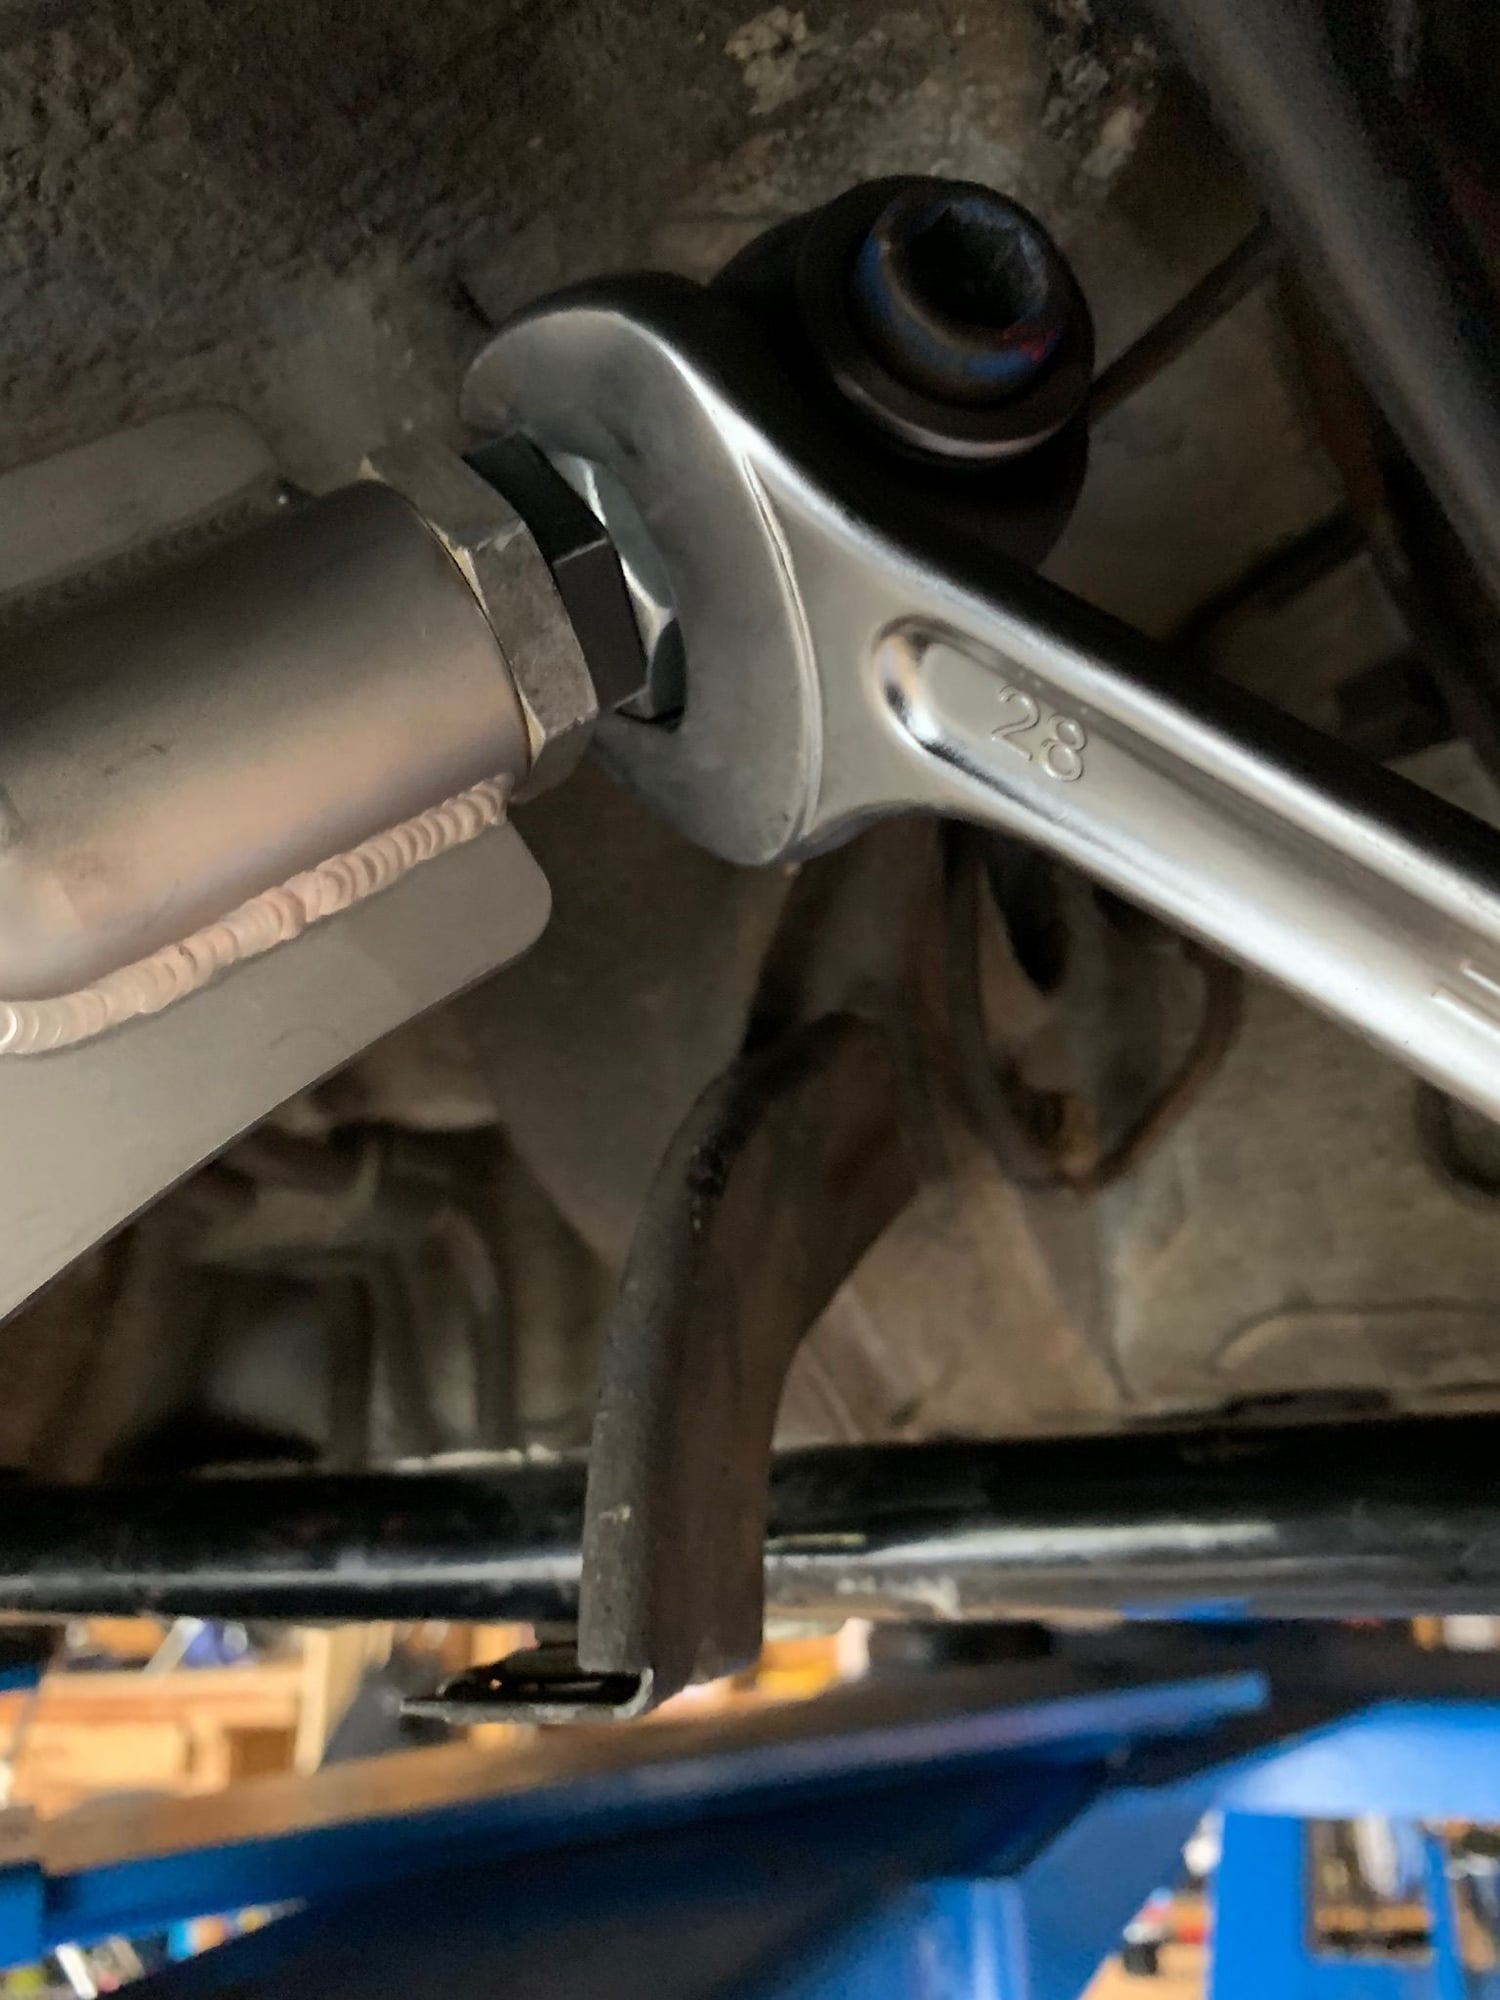
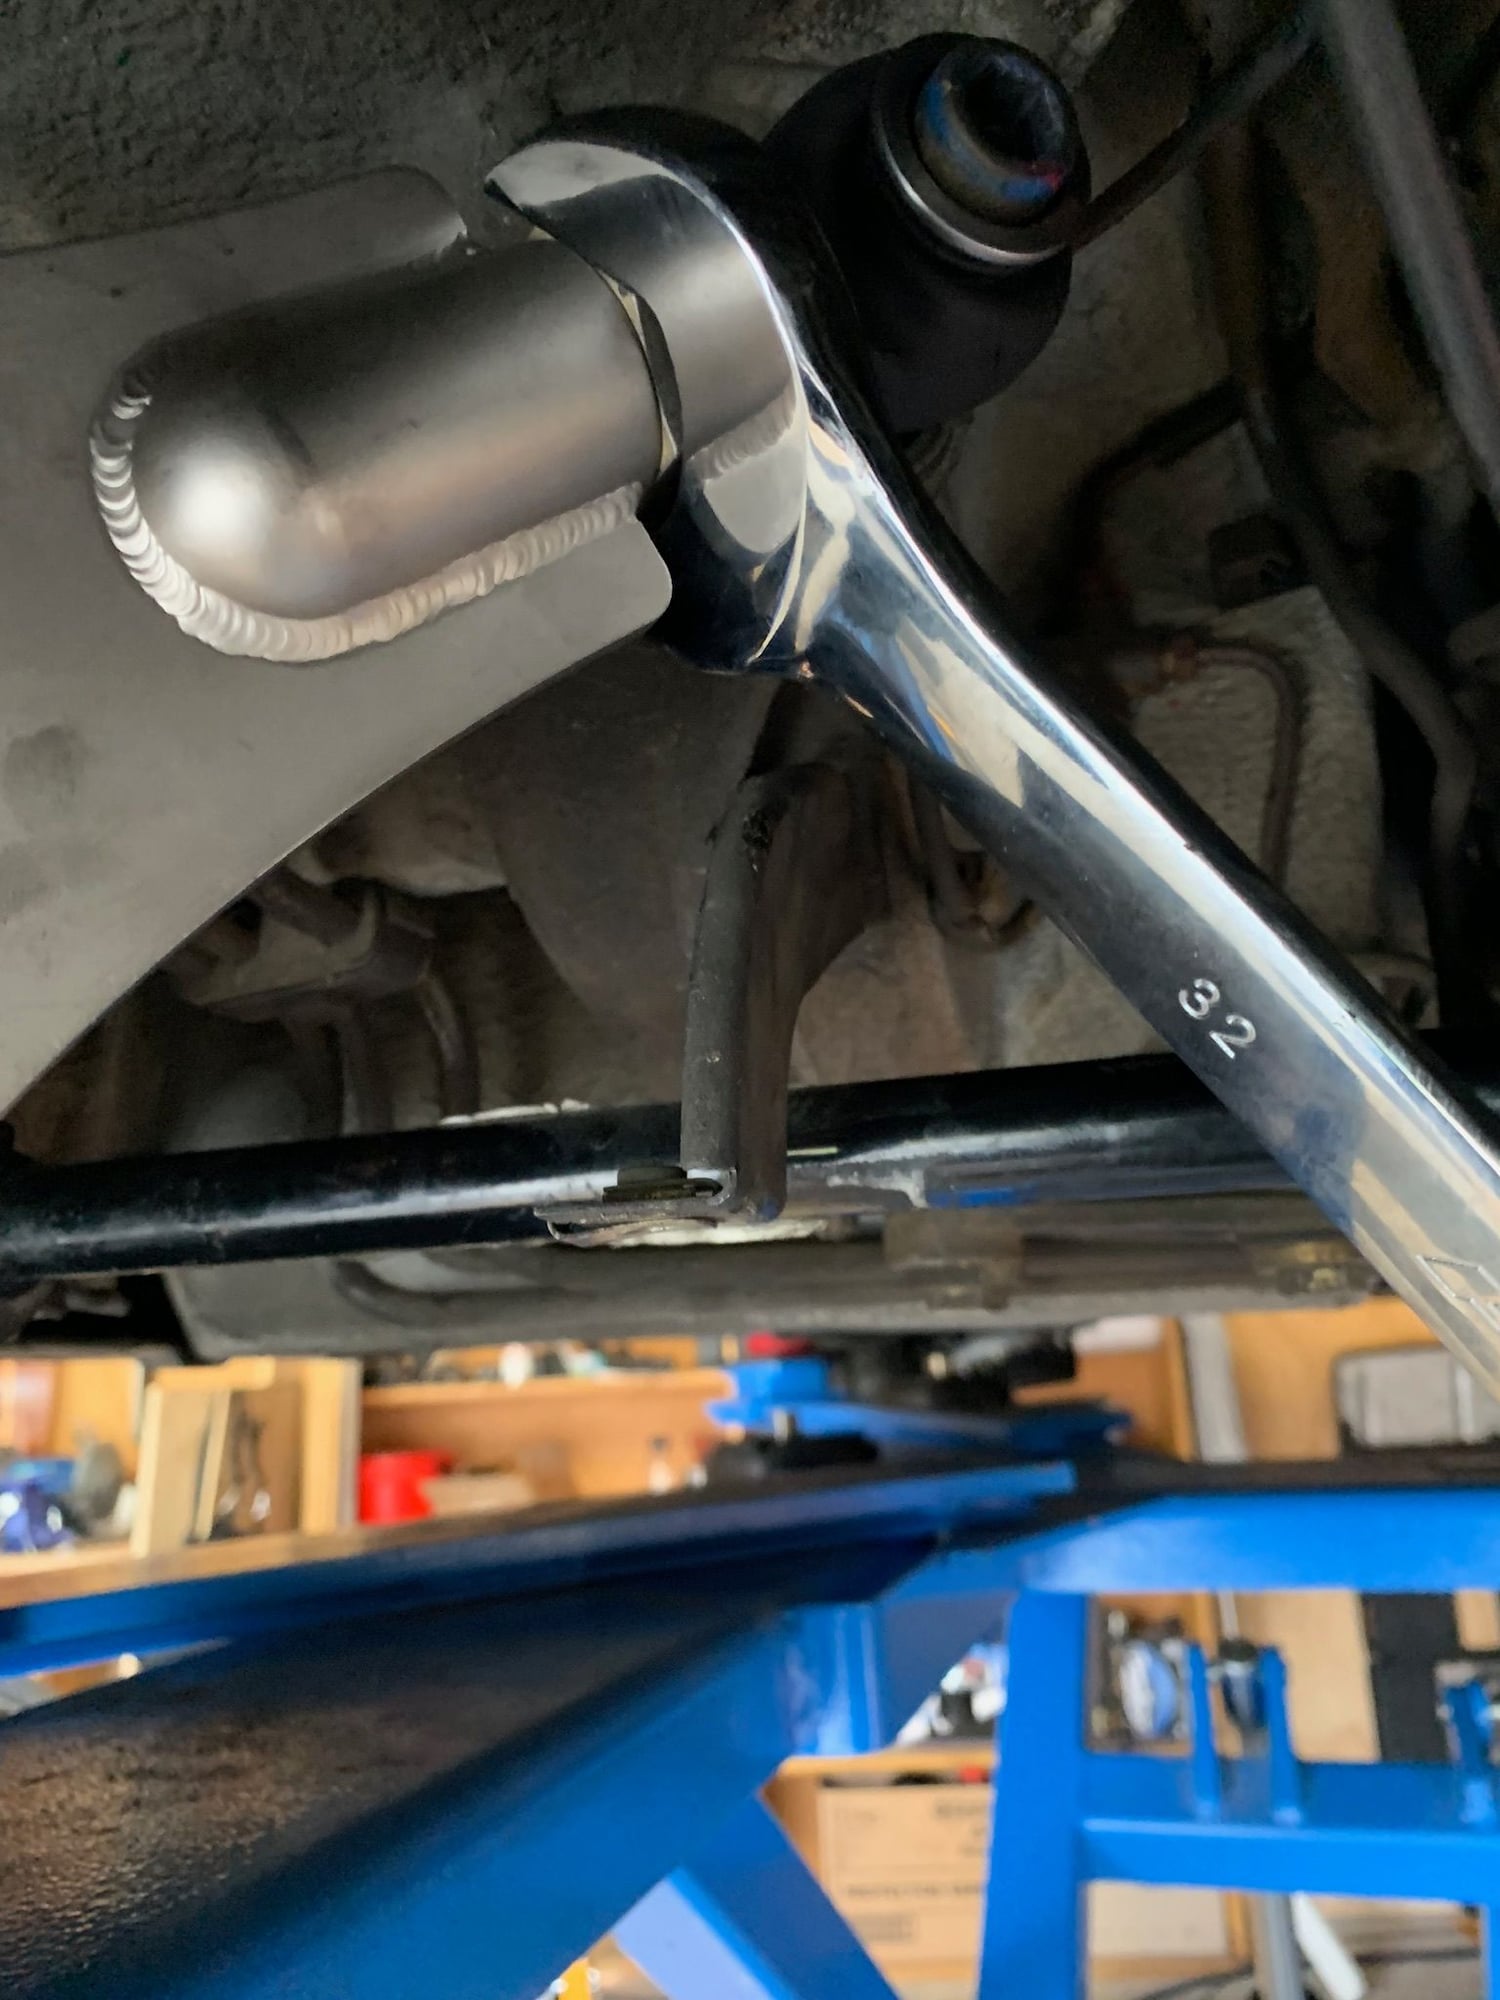
Adjusting the camber difference from what was measured on the floor. Hex key to adjust the eccentric camber bolt. It is difficult to get the hex key inserted as the sway bar bolt gets in the way. Yes, you could undo the sway bar, but I managed. Perfect -1deg Undo the top lock nut 28mm. Undo the bottom lock nut 32mm (Left handed thread). Then turn the middle nut 28mm for adjustment to toe. Longer = toe-in; shorter = toe-out. Lock it up when done, reverse order. Torque all the bolts up. 200Nm.
Test drive: Over this year I have upgraded to B6 + H&R lowering springs, new hats all round, new sport bushings, FD tie rods, steering rack bushings, 21mm rear sway bar, and RS alignment I can't really tell any significant improvement with the tarett spring plates. It was just planted all around. Maybe moving to 225/17 tyres up front next week will make some difference, albeit I have eliminated any sign of understeer (almost).
I did check the height during my alignment. Interesting a full tank of fuel moves the front height by 4 to 5mm. I was empty, then added 73L (56.21kg) of fuel. Not unexpected really when thinking about it
Last edited by Spokes; 09-30-2018 at 02:11 AM.
Reason: Wrong L=Kg

 09-23-2018, 03:26 AM