
Dbfd - oil cooler replacement
 07-01-2018, 02:17 PM
#1
Race Car
Thread Starter
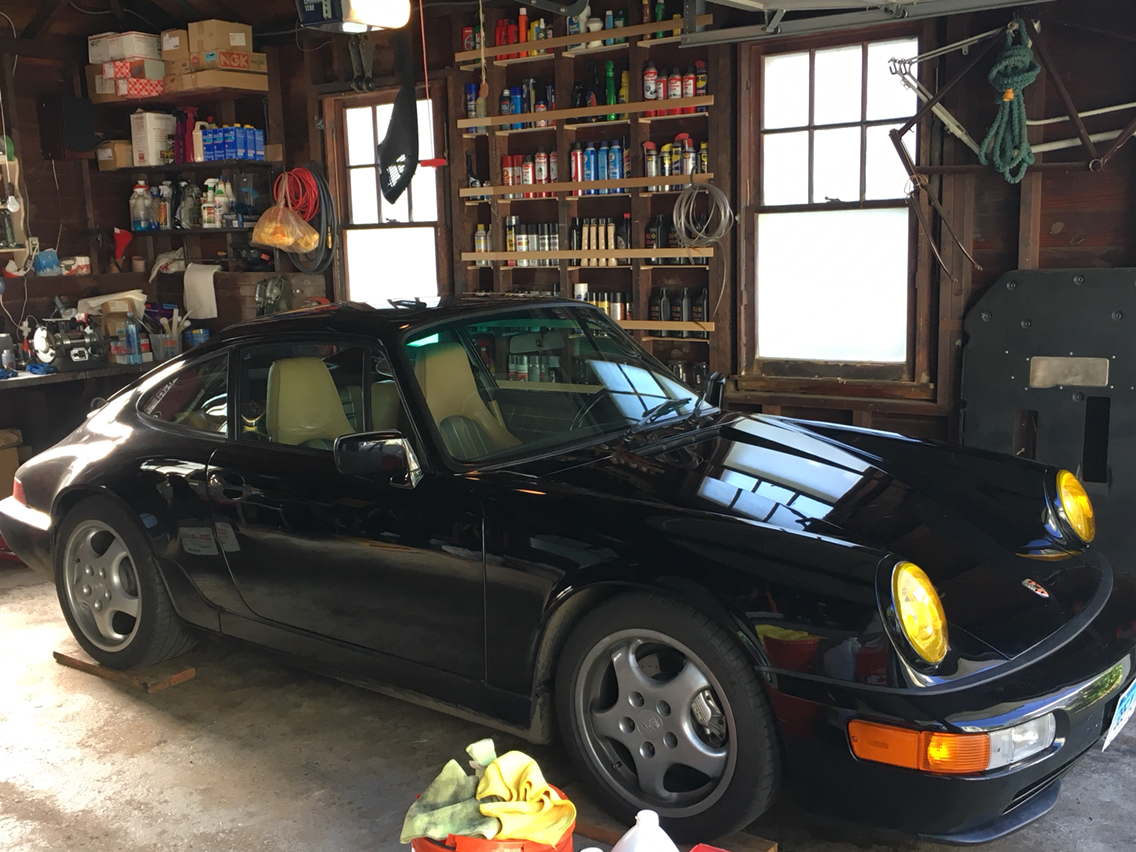
I don't have a ton of pics...but wanted to do a quick summer write up on this one, since it's hot hot hot...and guess what? You need oil cooling when you get stuck in traffic....
I've had my oil cooler and resister sitting in the attic since last year, and typical of me, I'll have someone else's car in my garage making them and their car happy, before thinking to get to my own. Occupational hazard (even though this isn't my occupation).
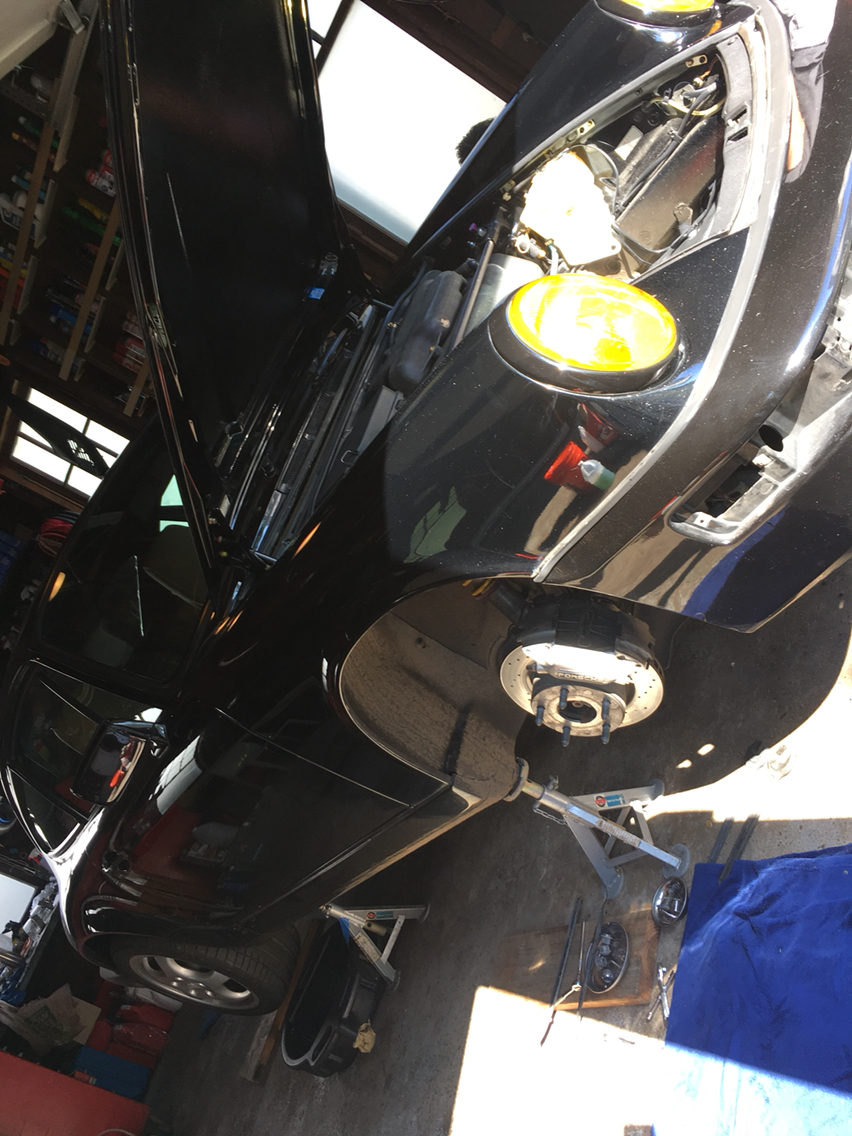
Onward. Up on jack stands. If you haven't yet bought and installed semi-permanent jack pads, and you jack your own car, get on it. They make things so much quicker. And i have left plenty of jack pads under other cars and off they go, falling off on the highway and costing me yet another 25 dollars for a new one. Point in case, currently have a set of three on my bench. Ugh.
Ok on to the oil cooler...
Wheels off, drain oil. Take the wheel arch liners out. Take the trays off the front...yes, the bumper is coming off...
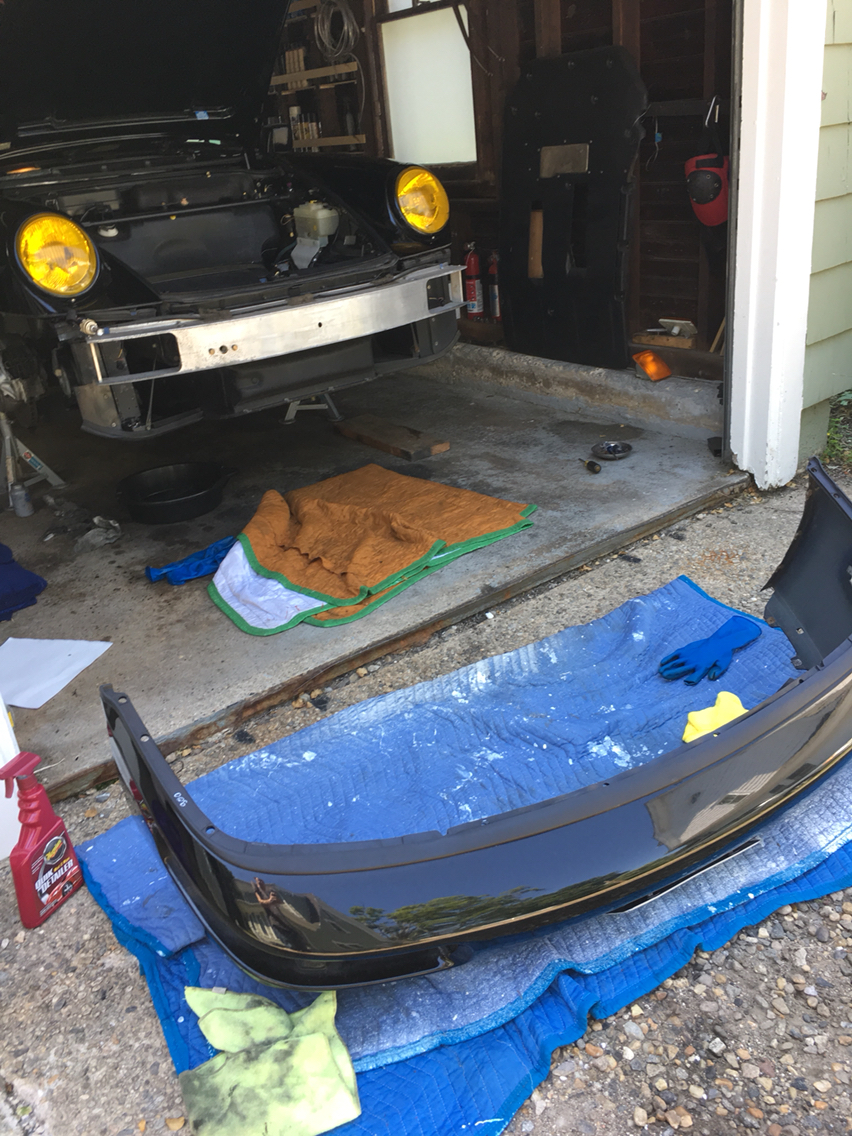
Bumper removal is easy. Once the trays and liners are out, here you go...
Unplug the side marker lights. Then remove the three 8mm hex screws that attach the bumper to the underside of the fender lip (on the sides of the car behind the headlights). Then lift the rubber trunk seal in the front and you'll see four Phillips screws- take them out.
The only thing now holding the bumper cover on is the wiring to the fog lights. (Unless you have headlight washers-i do not). Anyway- this is easier with a second set of hands, pull the bumper cover forward until you can get a hand on the backside of the fog lights and unplug the fogs. With those unplugged, it's off and set it aside on a blanket.
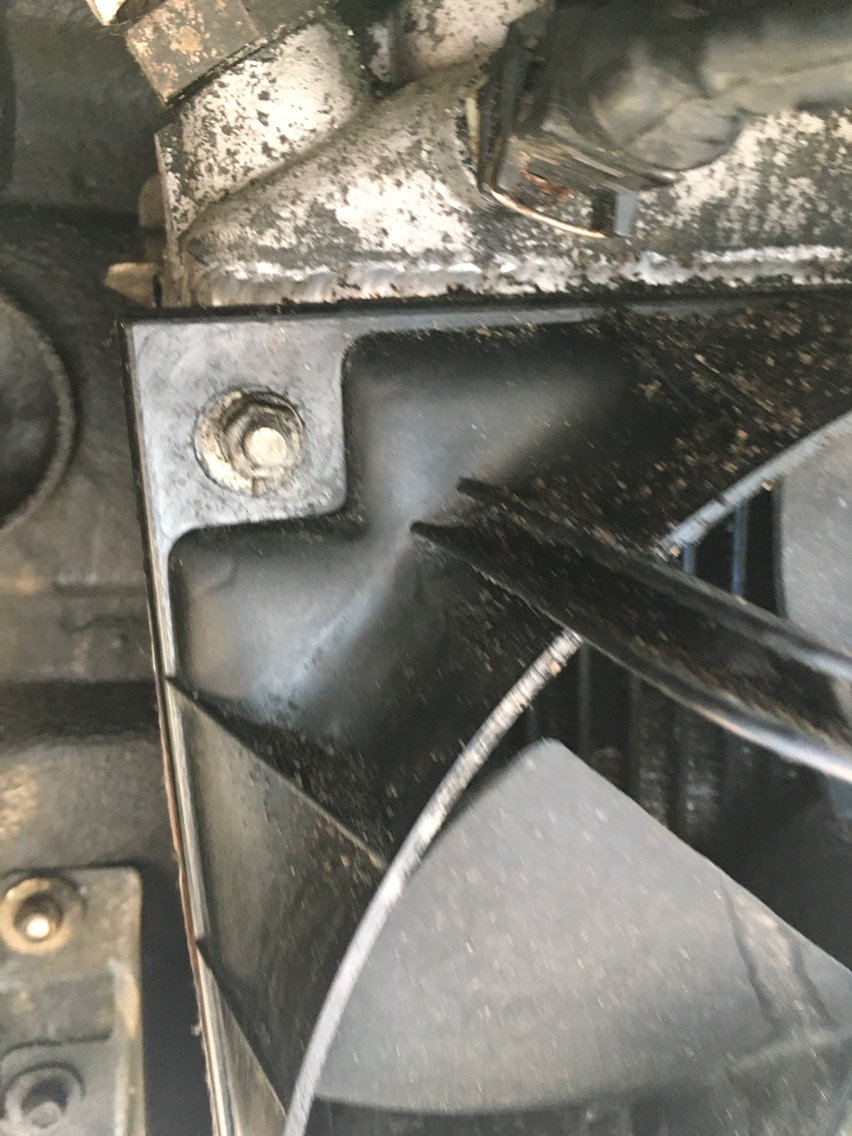
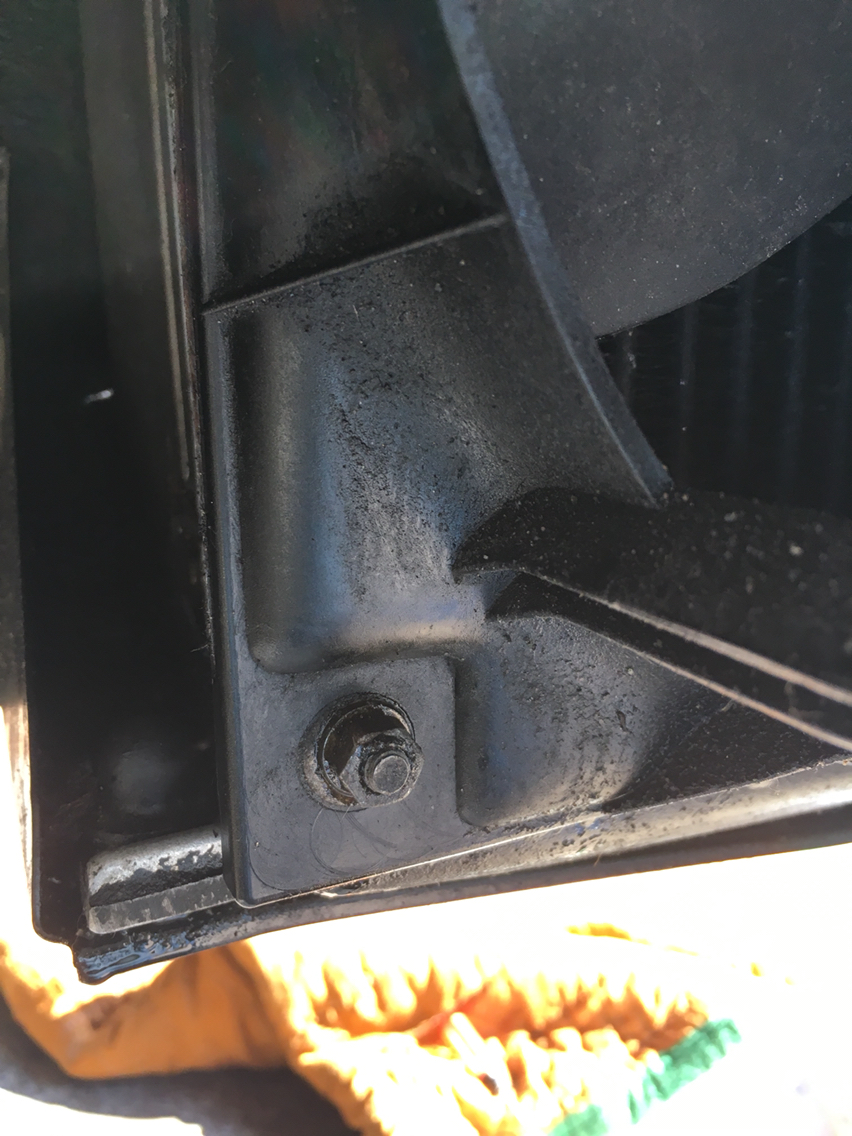
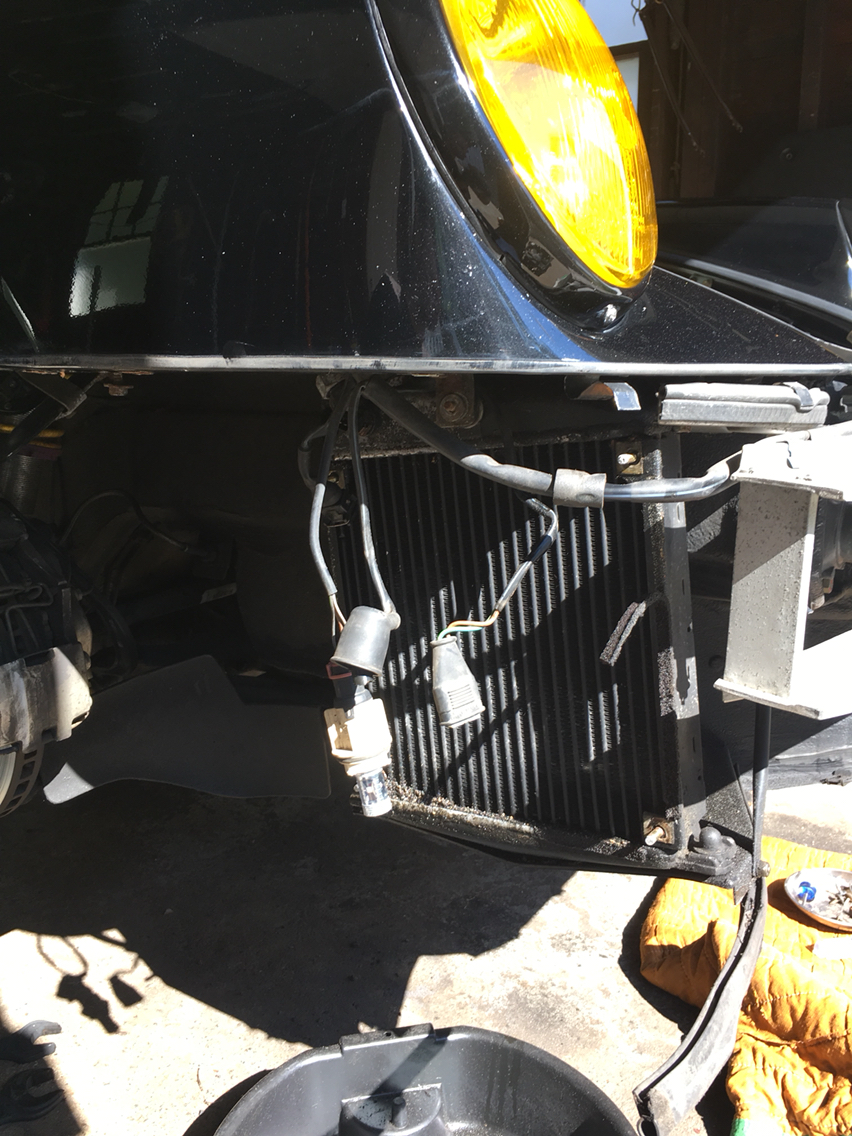
Next up. On to the oil cooler...with the bumper off, you'll see it right there fully exposed. Take the support bracket off that goes to the side of the fender.
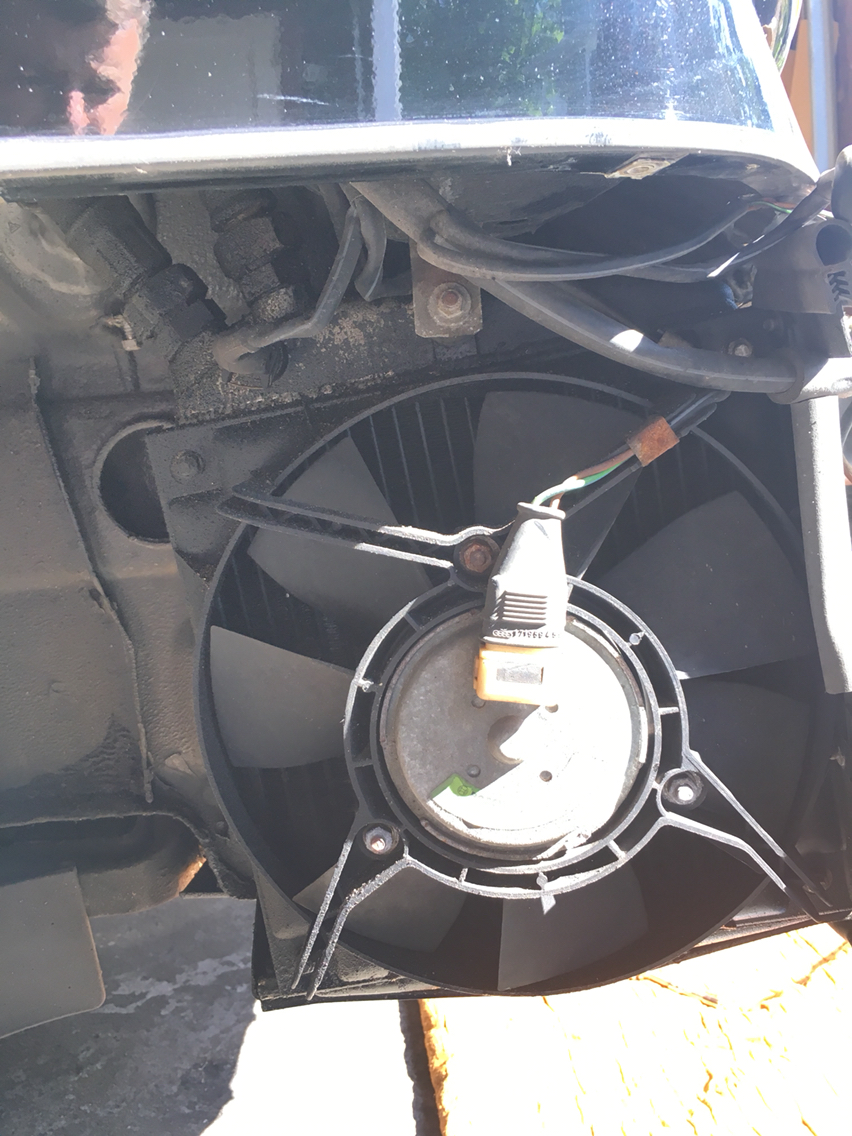
Then take off the fan. Unplug it. Take the four 10mm nuts off and out it comes...
Then the horns...
I bought ages ago the sir tools oil line wrenches-for this job...so they finally get to use..
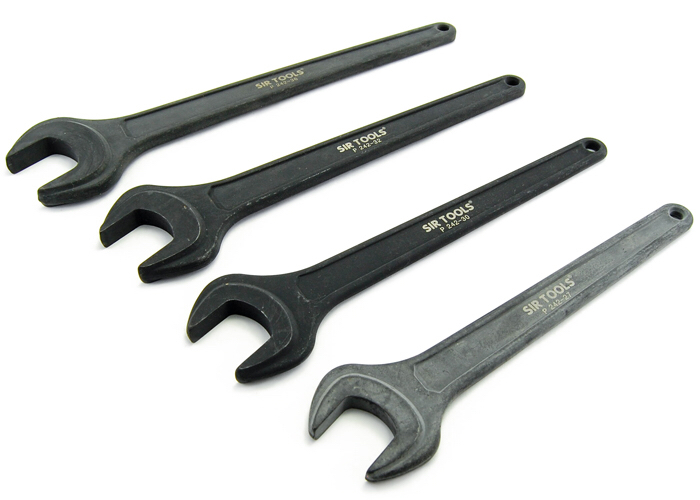
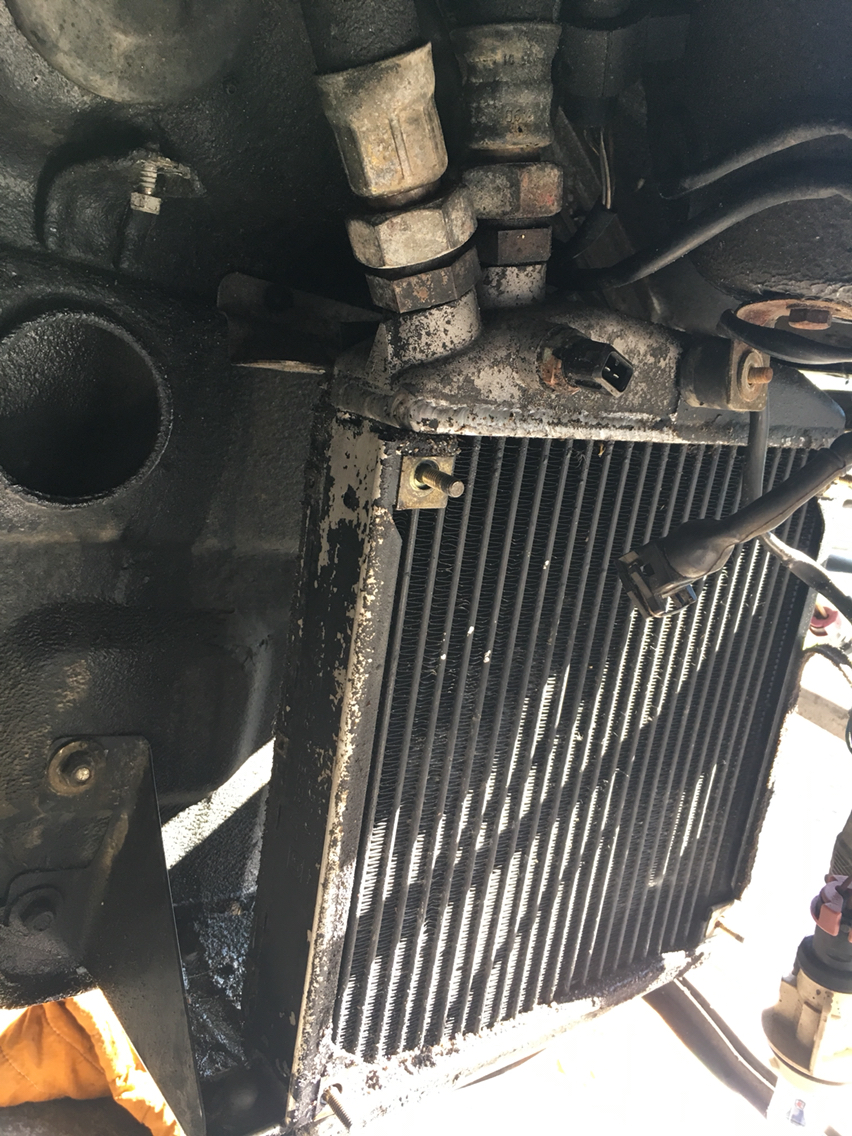
Hold the bottom nut, put the 32mm on the top nut, squeeze and off they come. I know sometimes they get stuck...but that's not all that likely, cuz anything can be unstuck...be sure to clean everything really well prior to removing the lines. Less likelihood of getting grit into the new oil cooler and easier to work on a clean car- always...
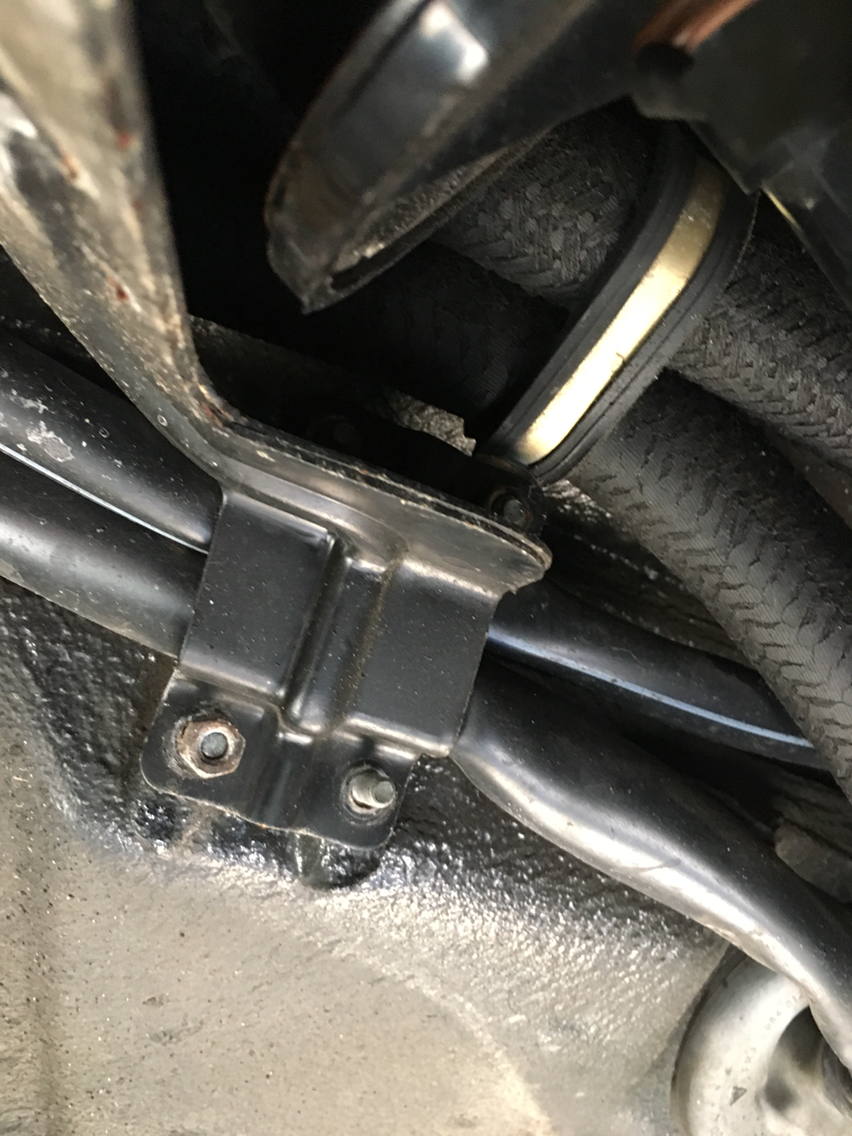
Ok so here is the easiest part. Lines off, unplug the oil temp sensor, take off the L-bracket (you'll see it), and then just lean the unit forward and pull it up off the pegs. It's not bolted down on the bottom, it just has two rubber bushings that sit on pegs.
Then- swap the rubber bushings, the stud clips that the fan bolts to the temp sensor, and the little rubber do-dad that has studs on both sides- this is the thing the L-bracket bolts to...
Now - stop and clean everything, cuz it's going to be dirty in that area of the car. Spray it all down with wd40, wipe it all out. Onward.
The resister is next. You'll see it, unbolt that one and bolt in a new one. Takes two seconds. Do not over-tighten the resister. Snug is fine.
Then do everything else in reverse order-
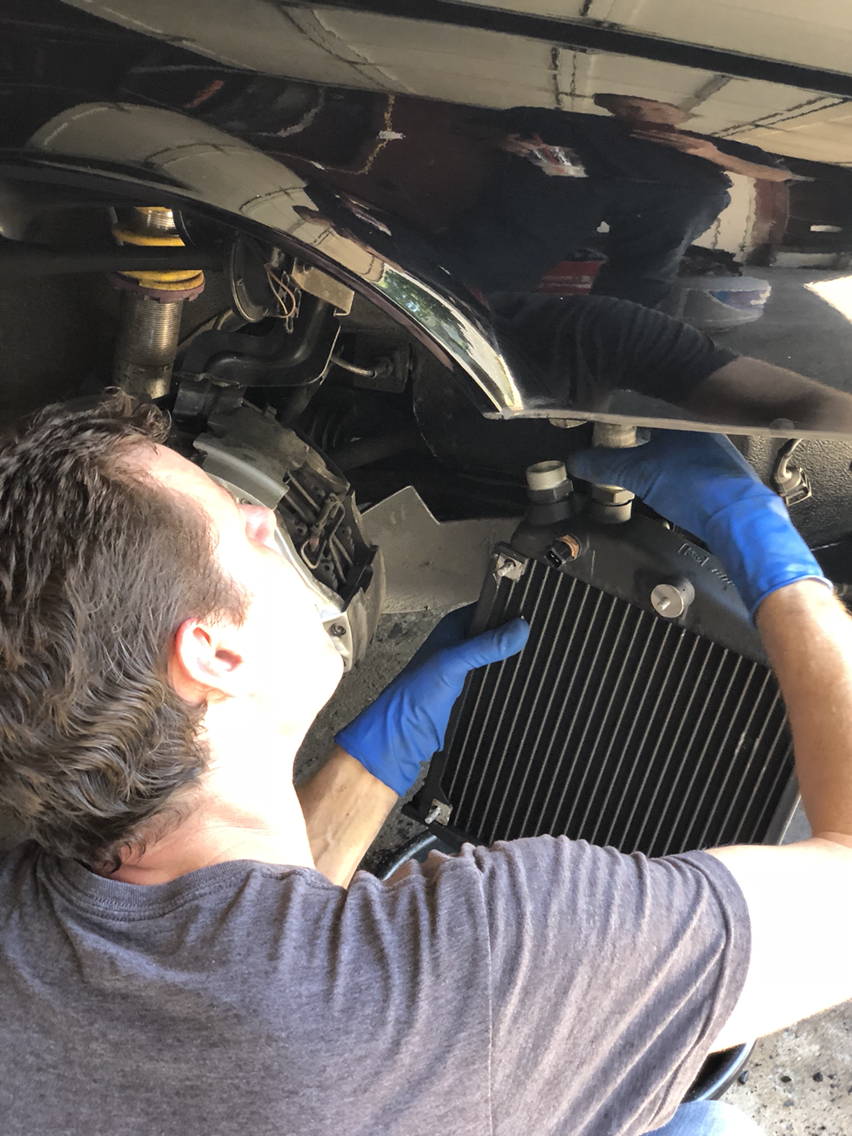
In goes the oil cooler...
And now we pause to let you finish trying to remember all the steps to get everything out...
Lalalalalalalalaaa
Ok. Assuming it's all back together - here is the thing. You just drained all the oil out of the car. So take out the dme relay...put in the oil- don't over fill the tank.
*****Dme relay is out******
When you have oil in the tank, turn the key and turn the motor over until the oil pressure gauge reads that it has some pressure....you'll see the gauge come up....
Once you have oil pressure, go ahead and start the car. Get it hot just like during a normal oil change. Make sure to check your oil level with the motor hot. And make sure that the fan turns on at normal high temp.
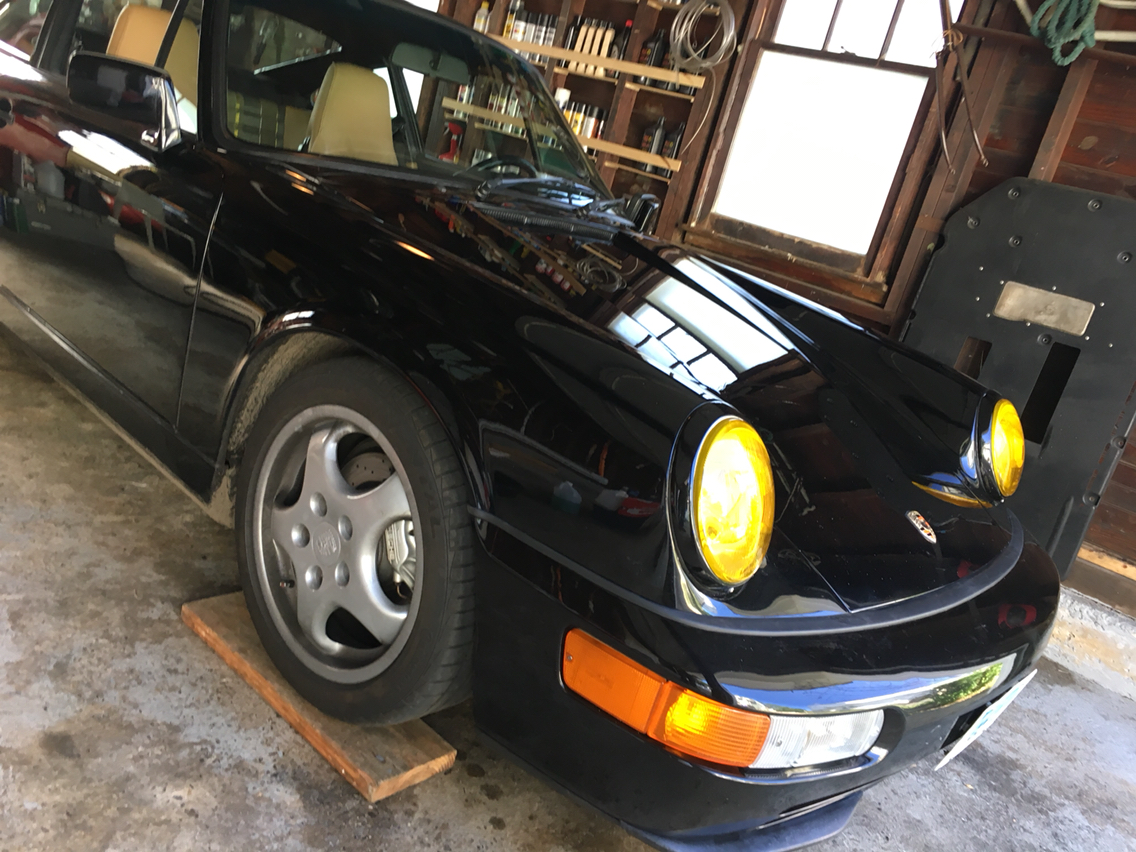
Button up and out you go!
I've had my oil cooler and resister sitting in the attic since last year, and typical of me, I'll have someone else's car in my garage making them and their car happy, before thinking to get to my own. Occupational hazard (even though this isn't my occupation).
Onward. Up on jack stands. If you haven't yet bought and installed semi-permanent jack pads, and you jack your own car, get on it. They make things so much quicker. And i have left plenty of jack pads under other cars and off they go, falling off on the highway and costing me yet another 25 dollars for a new one. Point in case, currently have a set of three on my bench. Ugh.
Ok on to the oil cooler...
Wheels off, drain oil. Take the wheel arch liners out. Take the trays off the front...yes, the bumper is coming off...
Bumper removal is easy. Once the trays and liners are out, here you go...
Unplug the side marker lights. Then remove the three 8mm hex screws that attach the bumper to the underside of the fender lip (on the sides of the car behind the headlights). Then lift the rubber trunk seal in the front and you'll see four Phillips screws- take them out.
The only thing now holding the bumper cover on is the wiring to the fog lights. (Unless you have headlight washers-i do not). Anyway- this is easier with a second set of hands, pull the bumper cover forward until you can get a hand on the backside of the fog lights and unplug the fogs. With those unplugged, it's off and set it aside on a blanket.
Next up. On to the oil cooler...with the bumper off, you'll see it right there fully exposed. Take the support bracket off that goes to the side of the fender.
Then take off the fan. Unplug it. Take the four 10mm nuts off and out it comes...
Then the horns...
I bought ages ago the sir tools oil line wrenches-for this job...so they finally get to use..
Hold the bottom nut, put the 32mm on the top nut, squeeze and off they come. I know sometimes they get stuck...but that's not all that likely, cuz anything can be unstuck...be sure to clean everything really well prior to removing the lines. Less likelihood of getting grit into the new oil cooler and easier to work on a clean car- always...
Ok so here is the easiest part. Lines off, unplug the oil temp sensor, take off the L-bracket (you'll see it), and then just lean the unit forward and pull it up off the pegs. It's not bolted down on the bottom, it just has two rubber bushings that sit on pegs.
Then- swap the rubber bushings, the stud clips that the fan bolts to the temp sensor, and the little rubber do-dad that has studs on both sides- this is the thing the L-bracket bolts to...
Now - stop and clean everything, cuz it's going to be dirty in that area of the car. Spray it all down with wd40, wipe it all out. Onward.
The resister is next. You'll see it, unbolt that one and bolt in a new one. Takes two seconds. Do not over-tighten the resister. Snug is fine.
Then do everything else in reverse order-
In goes the oil cooler...
And now we pause to let you finish trying to remember all the steps to get everything out...
Lalalalalalalalaaa
Ok. Assuming it's all back together - here is the thing. You just drained all the oil out of the car. So take out the dme relay...put in the oil- don't over fill the tank.
*****Dme relay is out******
When you have oil in the tank, turn the key and turn the motor over until the oil pressure gauge reads that it has some pressure....you'll see the gauge come up....
Once you have oil pressure, go ahead and start the car. Get it hot just like during a normal oil change. Make sure to check your oil level with the motor hot. And make sure that the fan turns on at normal high temp.
Button up and out you go!

 07-01-2018, 05:46 PM
#4
Race Car
Thread Starter
I bought a lemforder. You can also send yours out to be cleaned and fixed.
I'm looking into oil lines now. Found metric fittings and will be making my own i think. I need to find a bad used set of the long hard lines that run under the sills and such. And then I'll build new lines with a higher quality hose off those.
I'm looking into oil lines now. Found metric fittings and will be making my own i think. I need to find a bad used set of the long hard lines that run under the sills and such. And then I'll build new lines with a higher quality hose off those.
Trending Topics
07-02-2018, 04:06 AM
#8
Three Wheelin'

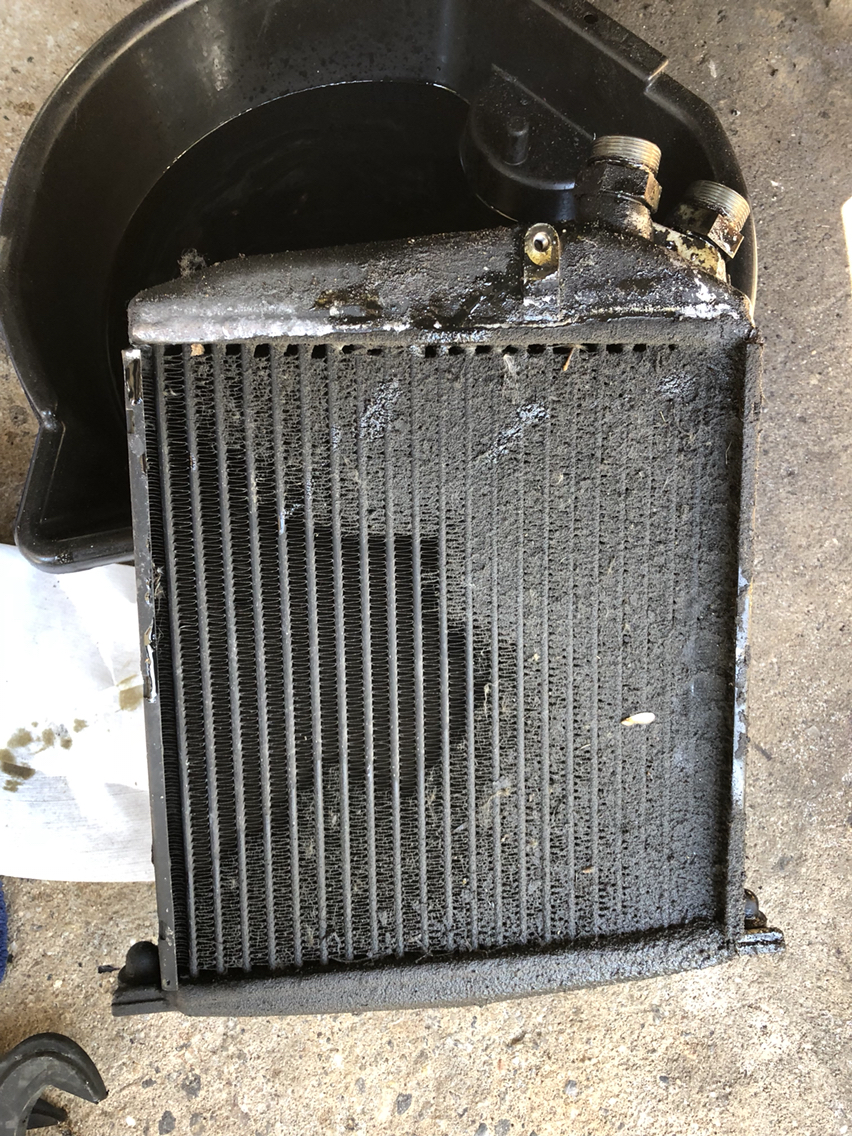
Was it not worth to clean the old oil cooler?
07-02-2018, 08:40 AM
#9
Race Car
Thread Starter
I didn't have the time to have my oil cooler out to be repaired. My car is my daily - and i don't have another to use as an alternate when something happens. Soooooo....new oil cooler it is!
I may send mine out to be repaired now and hang onto it as a spare. One of these guys in the group will need one soon enough and I'll swap that for theirs maybe. Time will tell.
I may send mine out to be repaired now and hang onto it as a spare. One of these guys in the group will need one soon enough and I'll swap that for theirs maybe. Time will tell.
 07-03-2018, 09:32 AM
#11
Burning Brakes
Thanks for adding this.
I guess I don't understand. Was there a problem with the old oil cooler, or was it just really dirty and needed a proper cleaning? No wonder it did not cool well...
Also, do you need new hard lines that run down the rocker panel or just new flex hoses crimped on the end that go around the wheel arch to the cooler? The hose that is the closest fit is Parker 213-16. It is almost identical to what Porsche originally used, and is even sold by a certain Porsche parts supplier with a pachyderm-like name. That hose and some Cohline fittings and I would imagine you're done.
As far as sorting out old oil coolers, there should be someone in the aviation world that can handle that easily. Very common service in that industry.
07-03-2018, 10:51 AM
#12
Race Car
Thread Starter
I replaced the pills oil cooler because it's been pouring oil on my floor for a year...somehow cracks don't seem to get better over time...lol.
I'll look into the lines. I'd like to make some. So ideally someone else around here will be repacking theirs or will have replaced theirs and rather than throw them away...pass them to me...
So many repairable parts we all toss...
I'll look into the lines. I'd like to make some. So ideally someone else around here will be repacking theirs or will have replaced theirs and rather than throw them away...pass them to me...
So many repairable parts we all toss...