Notices
964 Forum 1989-1994
Sponsored by:
Sponsored by:

Engine rebuild....ground zero

Thread Tools
 
Search this Thread
 
Old 11-20-2017, 05:55 PM
  #31  
Meatball964
Rennlist Member
Thread Starter
 
Meatball964's Avatar
 
Join Date: Feb 2005
Location: Wilton, CT
Posts: 673
Received 18 Likes on 12 Posts
Default

So true. A reseal was wishful thinking (at 192k). You could make a case for replacing just about every part you put a wrench on. A line has to be drawn somewhere.....that's the hard part. Should be good for another 200k when I'm done.
Old 12-22-2017, 12:20 PM
  #32  
Meatball964
Rennlist Member
Thread Starter
 
Meatball964's Avatar
 
Join Date: Feb 2005
Location: Wilton, CT
Posts: 673
Received 18 Likes on 12 Posts
Default

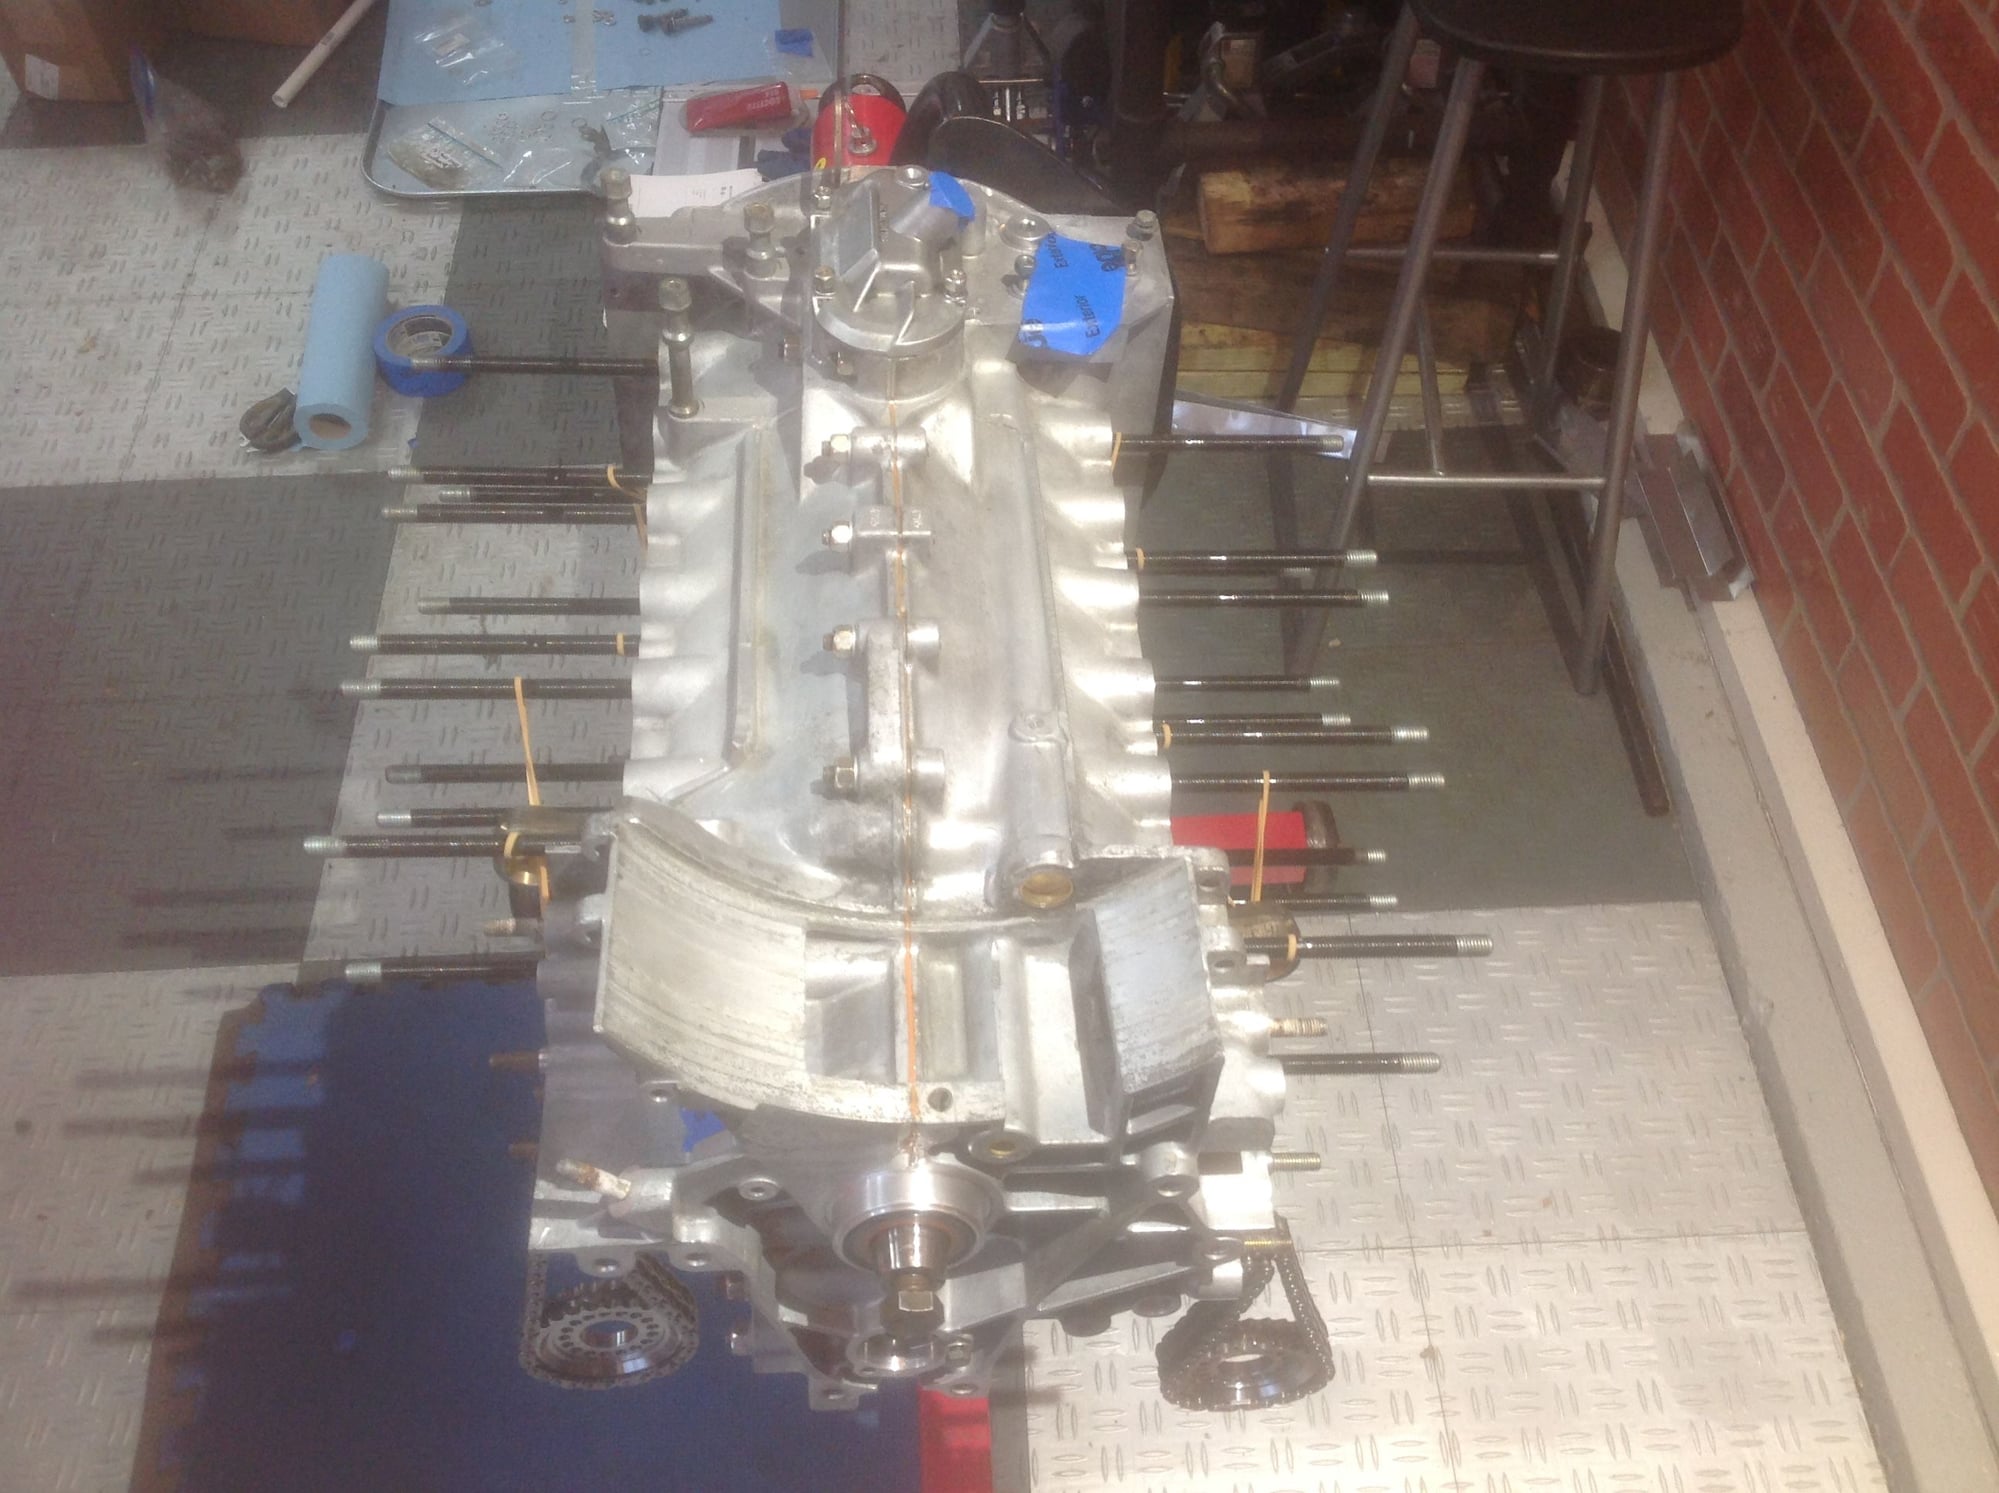
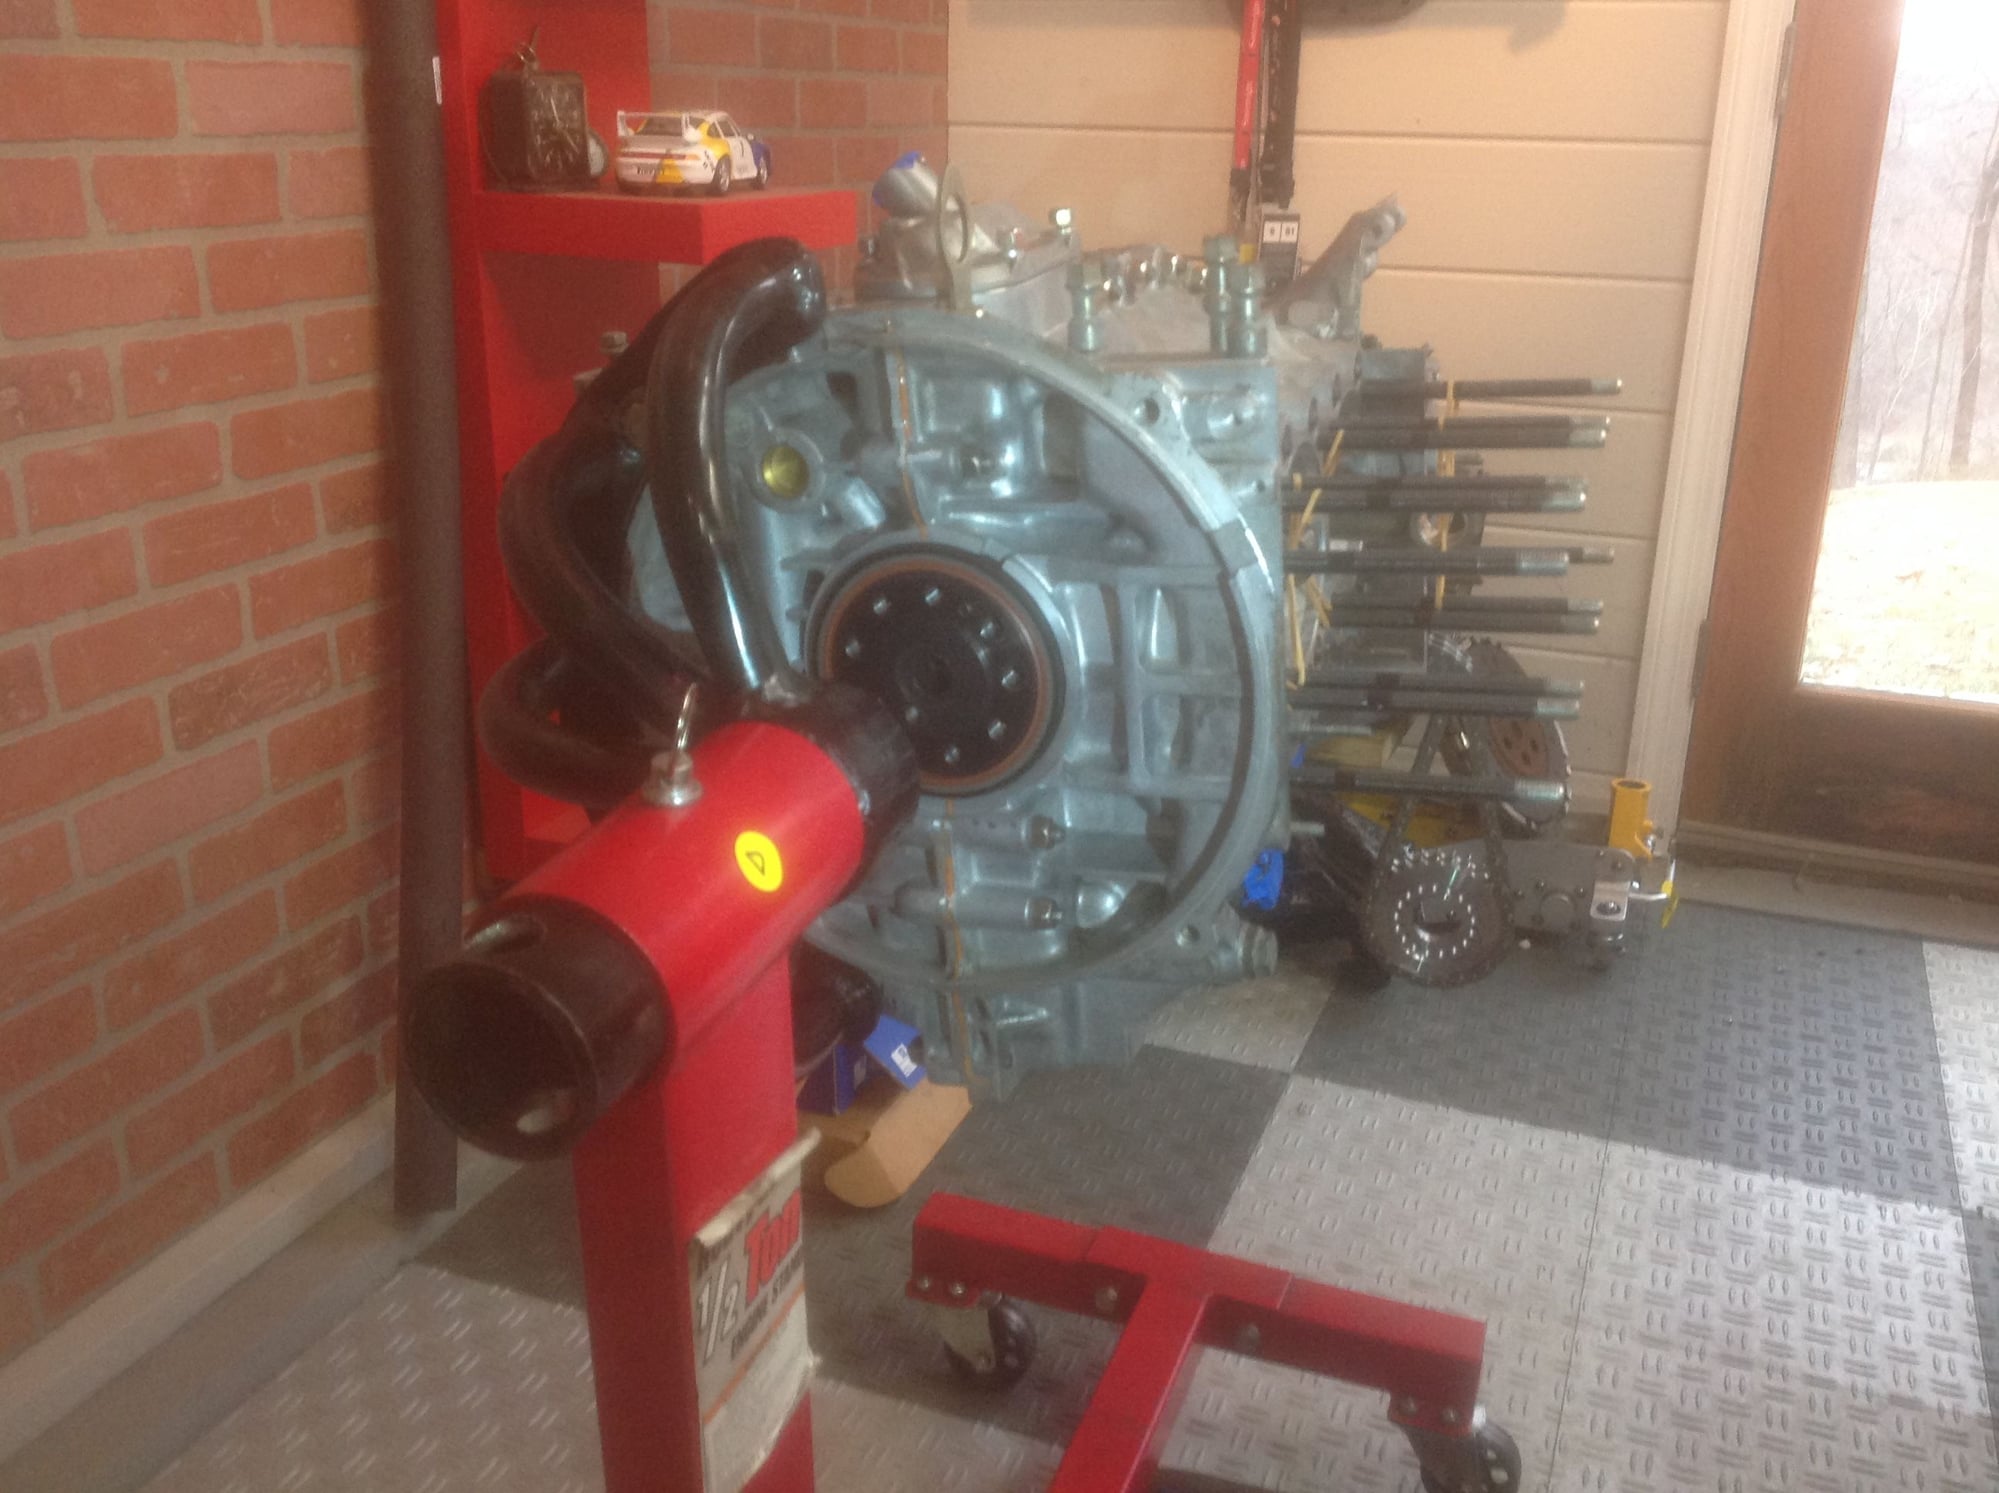
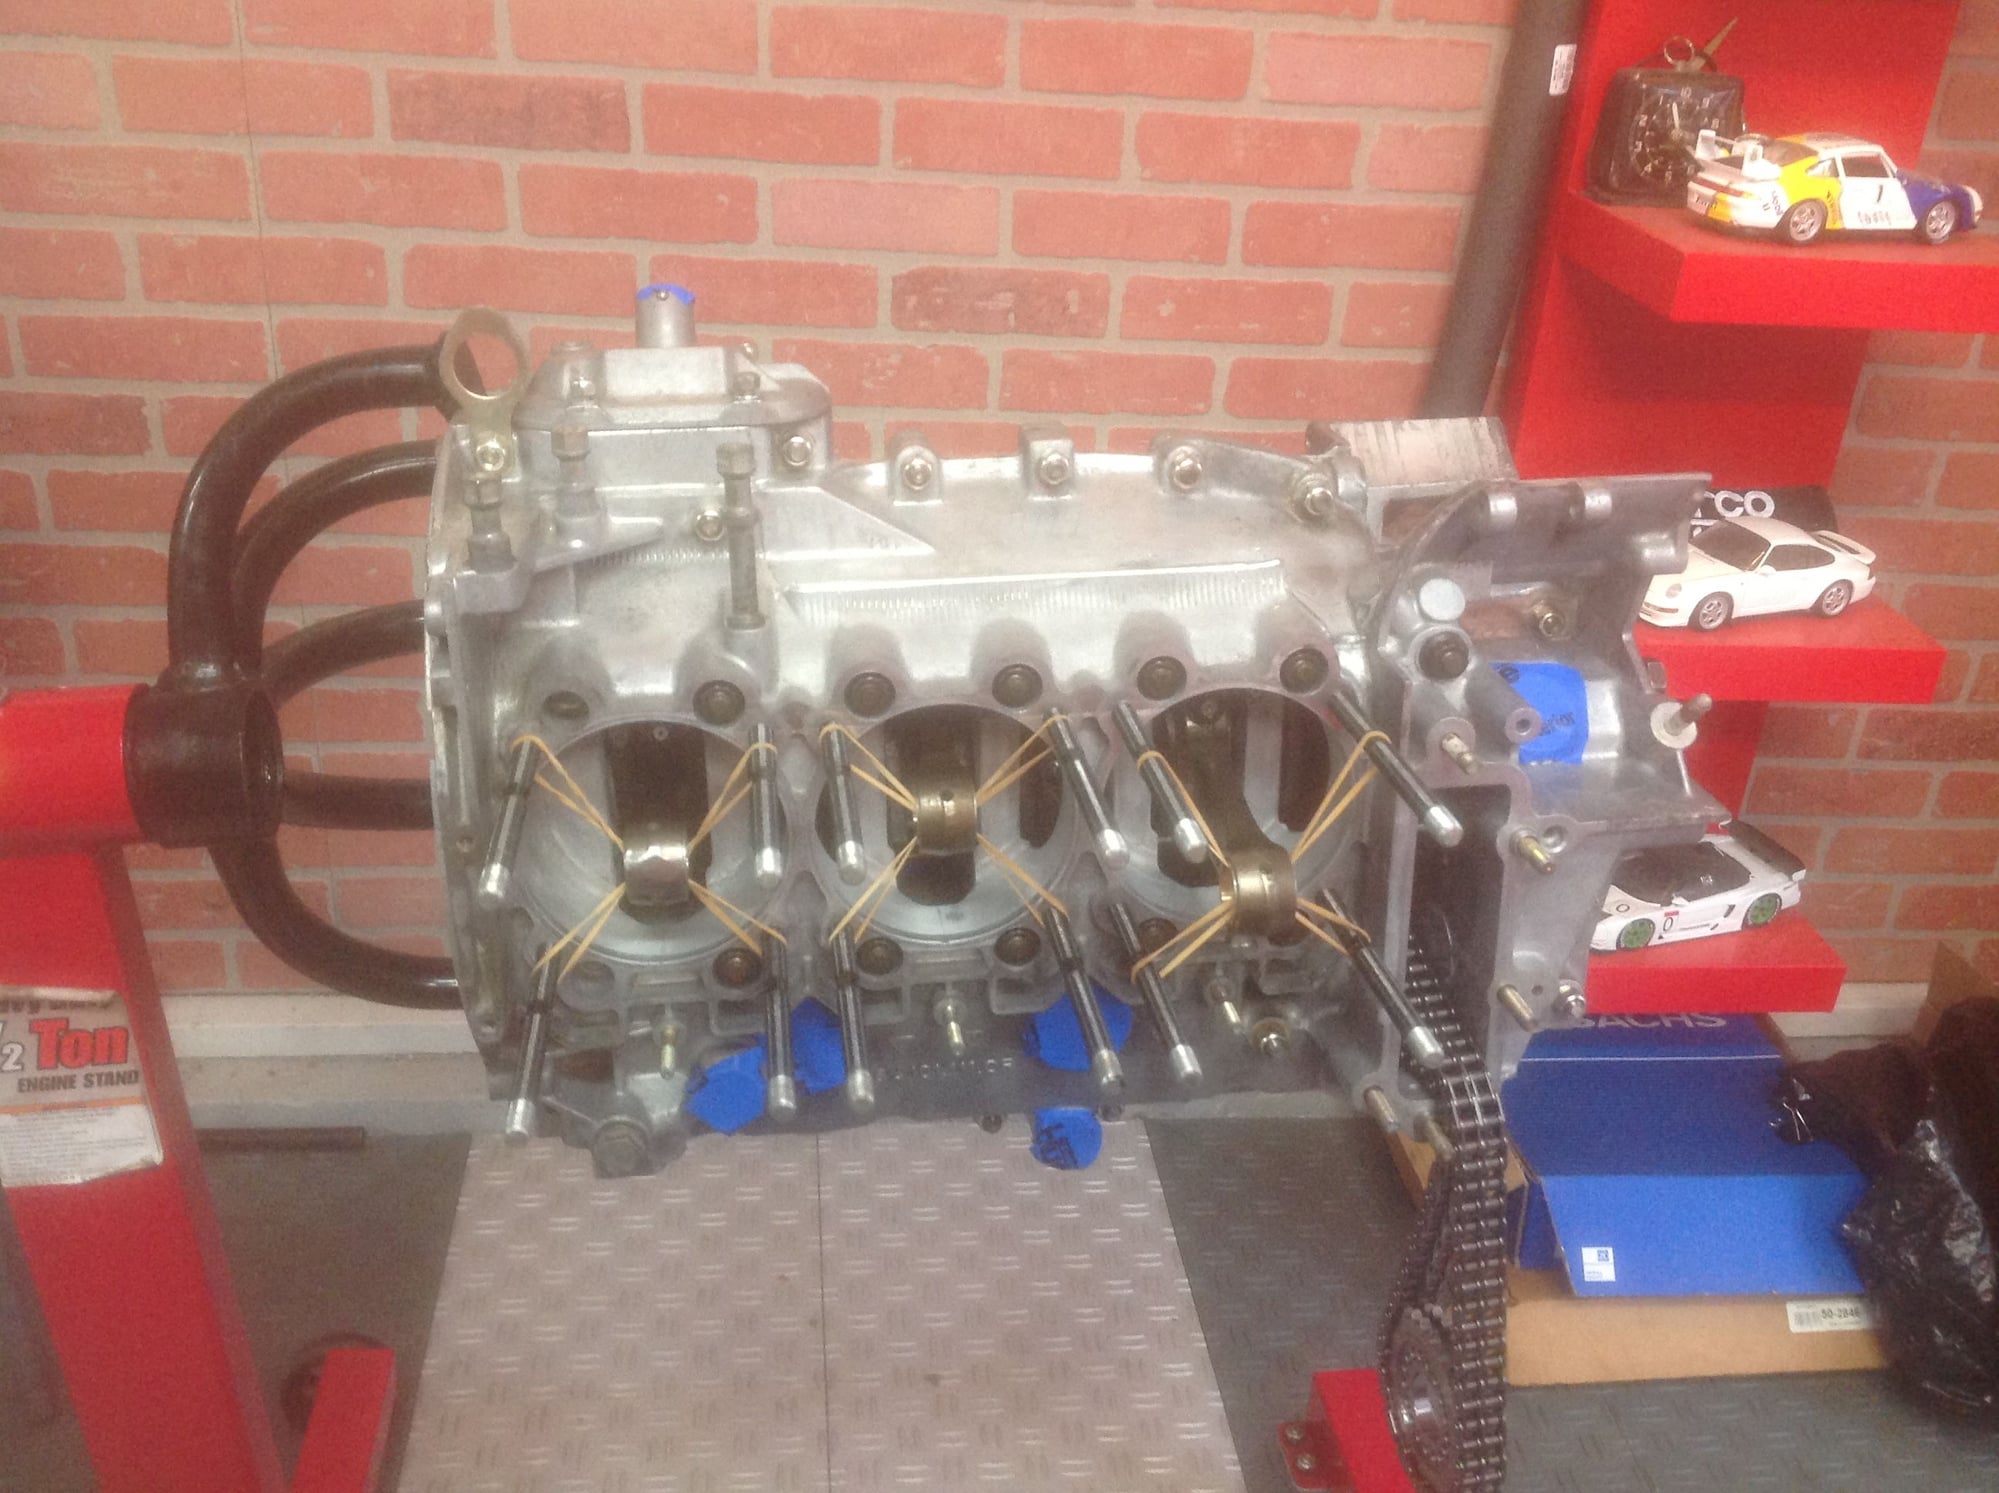
Update: case sealed up. Looks to be the proper amount of 574 "squeeze". Next up P/C install (brand new Mahle's).
Old 12-22-2017, 12:24 PM
  #33  
Meatball964
Rennlist Member
Thread Starter
 
Meatball964's Avatar
 
Join Date: Feb 2005
Location: Wilton, CT
Posts: 673
Received 18 Likes on 12 Posts
Default


Old 12-22-2017, 12:26 PM
  #34  
Meatball964
Rennlist Member
Thread Starter
 
Meatball964's Avatar
 
Join Date: Feb 2005
Location: Wilton, CT
Posts: 673
Received 18 Likes on 12 Posts
Default


Old 12-22-2017, 12:42 PM
  #35  
Meatball964
Rennlist Member
Thread Starter
 
Meatball964's Avatar
 
Join Date: Feb 2005
Location: Wilton, CT
Posts: 673
Received 18 Likes on 12 Posts
Default


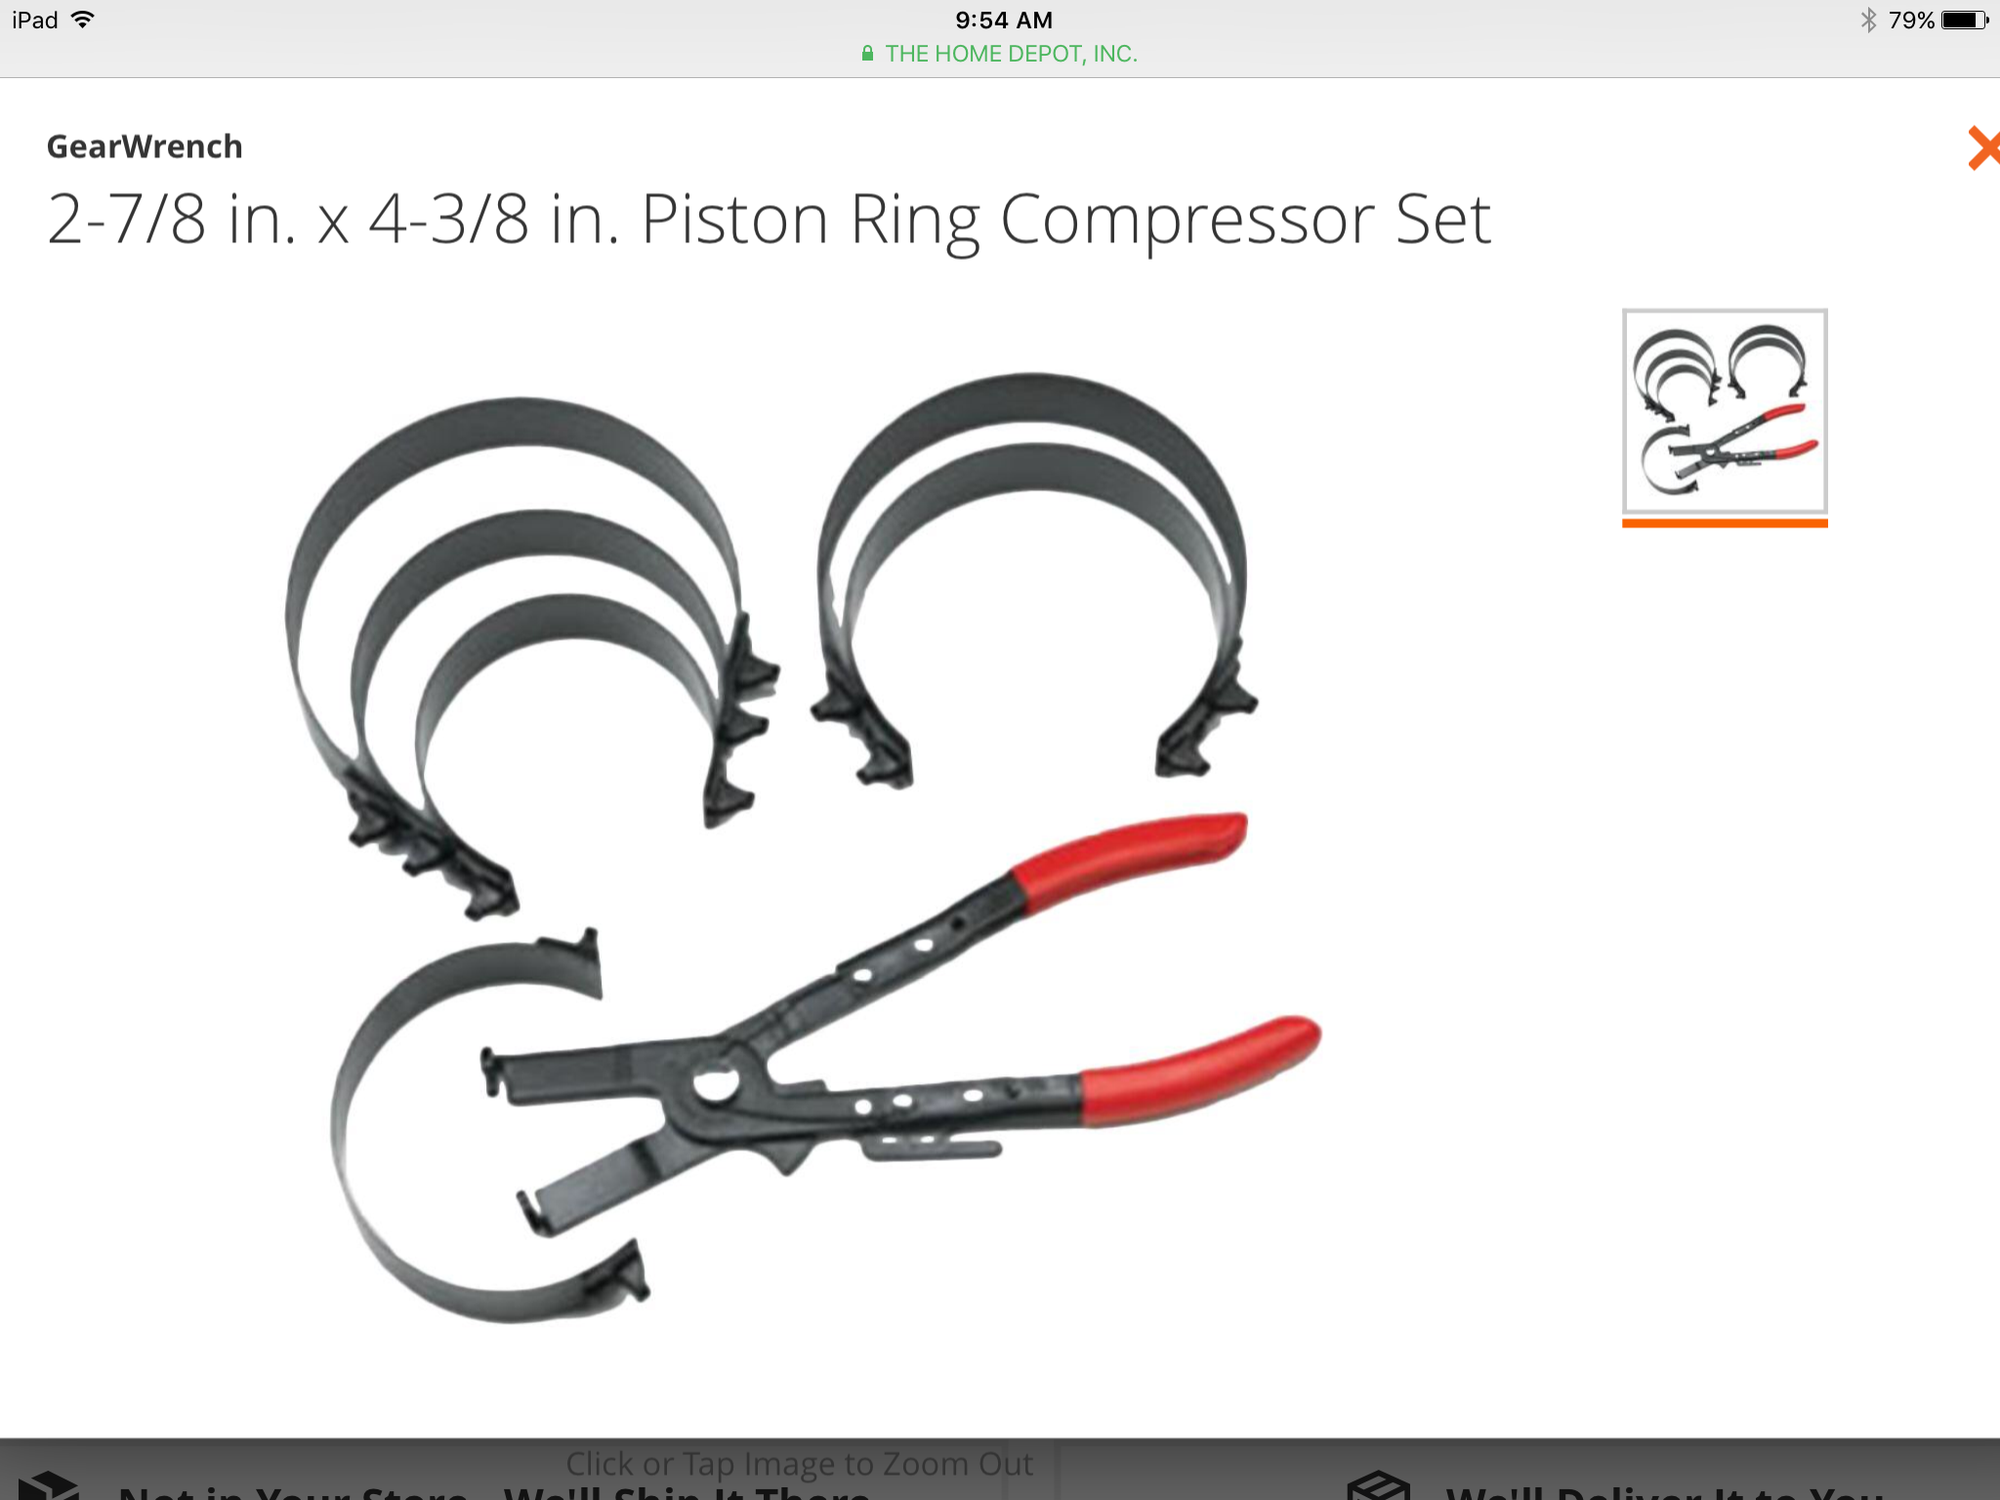
BTW can anyone recommend a PRC (piston ring compressor)? The Gearwrench in this pic one looks correct, several size bands to choose. Thoughts ?
Old 12-22-2017, 01:38 PM
  #36  
John McM
Rennlist Member
 
John McM's Avatar
 
Join Date: May 2001
Location: Auckland, New Zealand.
Posts: 13,207
Received 568 Likes on 340 Posts
Default

I used a generic one. If I recall correctly the largest band was for 100mm pistons so I was on the limit. It worked though.

You'll also see that I marked the orientation on the tool. With everything going on it would be easy to get that wrong and risk breaking a ring.

I put the ring gaps on at 120 degree spacing and the gap on the oil ring facing the intake.

Good luck.
Attached Images     
Old 12-22-2017, 01:51 PM
  #37  
Meatball964
Rennlist Member
Thread Starter
 
Meatball964's Avatar
 
Join Date: Feb 2005
Location: Wilton, CT
Posts: 673
Received 18 Likes on 12 Posts
Default


Yes ring position is critical. Even though these P &C's are new in the box, they still need to be weighed, cleaned & ring position adjusted. Slow & steady as I don't want to break a ring or scratch a bore.
BTW I refer to your rebuild thread constantly lol.
Old 12-22-2017, 02:07 PM
  #38  
John McM
Rennlist Member
 
John McM's Avatar
 
Join Date: May 2001
Location: Auckland, New Zealand.
Posts: 13,207
Received 568 Likes on 340 Posts
Default

Originally Posted by S2K993


Yes ring position is critical. Even though these P &C's are new in the box, they still need to be weighed, cleaned & ring position adjusted. Slow & steady as I don't want to break a ring or scratch a bore.
BTW I refer to your rebuild thread constantly lol.
Slow and steady is the way to go. I was concerned about the rings but the reality was a lot easier than I expected.

As for the thread, I refer to it constantly as well. With two cars I often end up going back to a section to remember how I did a particular task, including the torque settings.
Old 12-22-2017, 05:30 PM
  #39  
s4magman
Rennlist Member
 
s4magman's Avatar
 
Join Date: Jun 2011
Location: Danbury, CT
Posts: 479
Likes: 0
Received 16 Likes on 6 Posts
Default

A thing of beauty Bill!
Old 12-22-2017, 08:54 PM
  #40  
Meatball964
Rennlist Member
Thread Starter
 
Meatball964's Avatar
 
Join Date: Feb 2005
Location: Wilton, CT
Posts: 673
Received 18 Likes on 12 Posts
Default

Came together nicely. Thanks again for the extra set of hands & quick thinking!
Old 01-23-2018, 07:12 PM
  #41  
Meatball964
Rennlist Member
Thread Starter
 
Meatball964's Avatar
 
Join Date: Feb 2005
Location: Wilton, CT
Posts: 673
Received 18 Likes on 12 Posts
Default


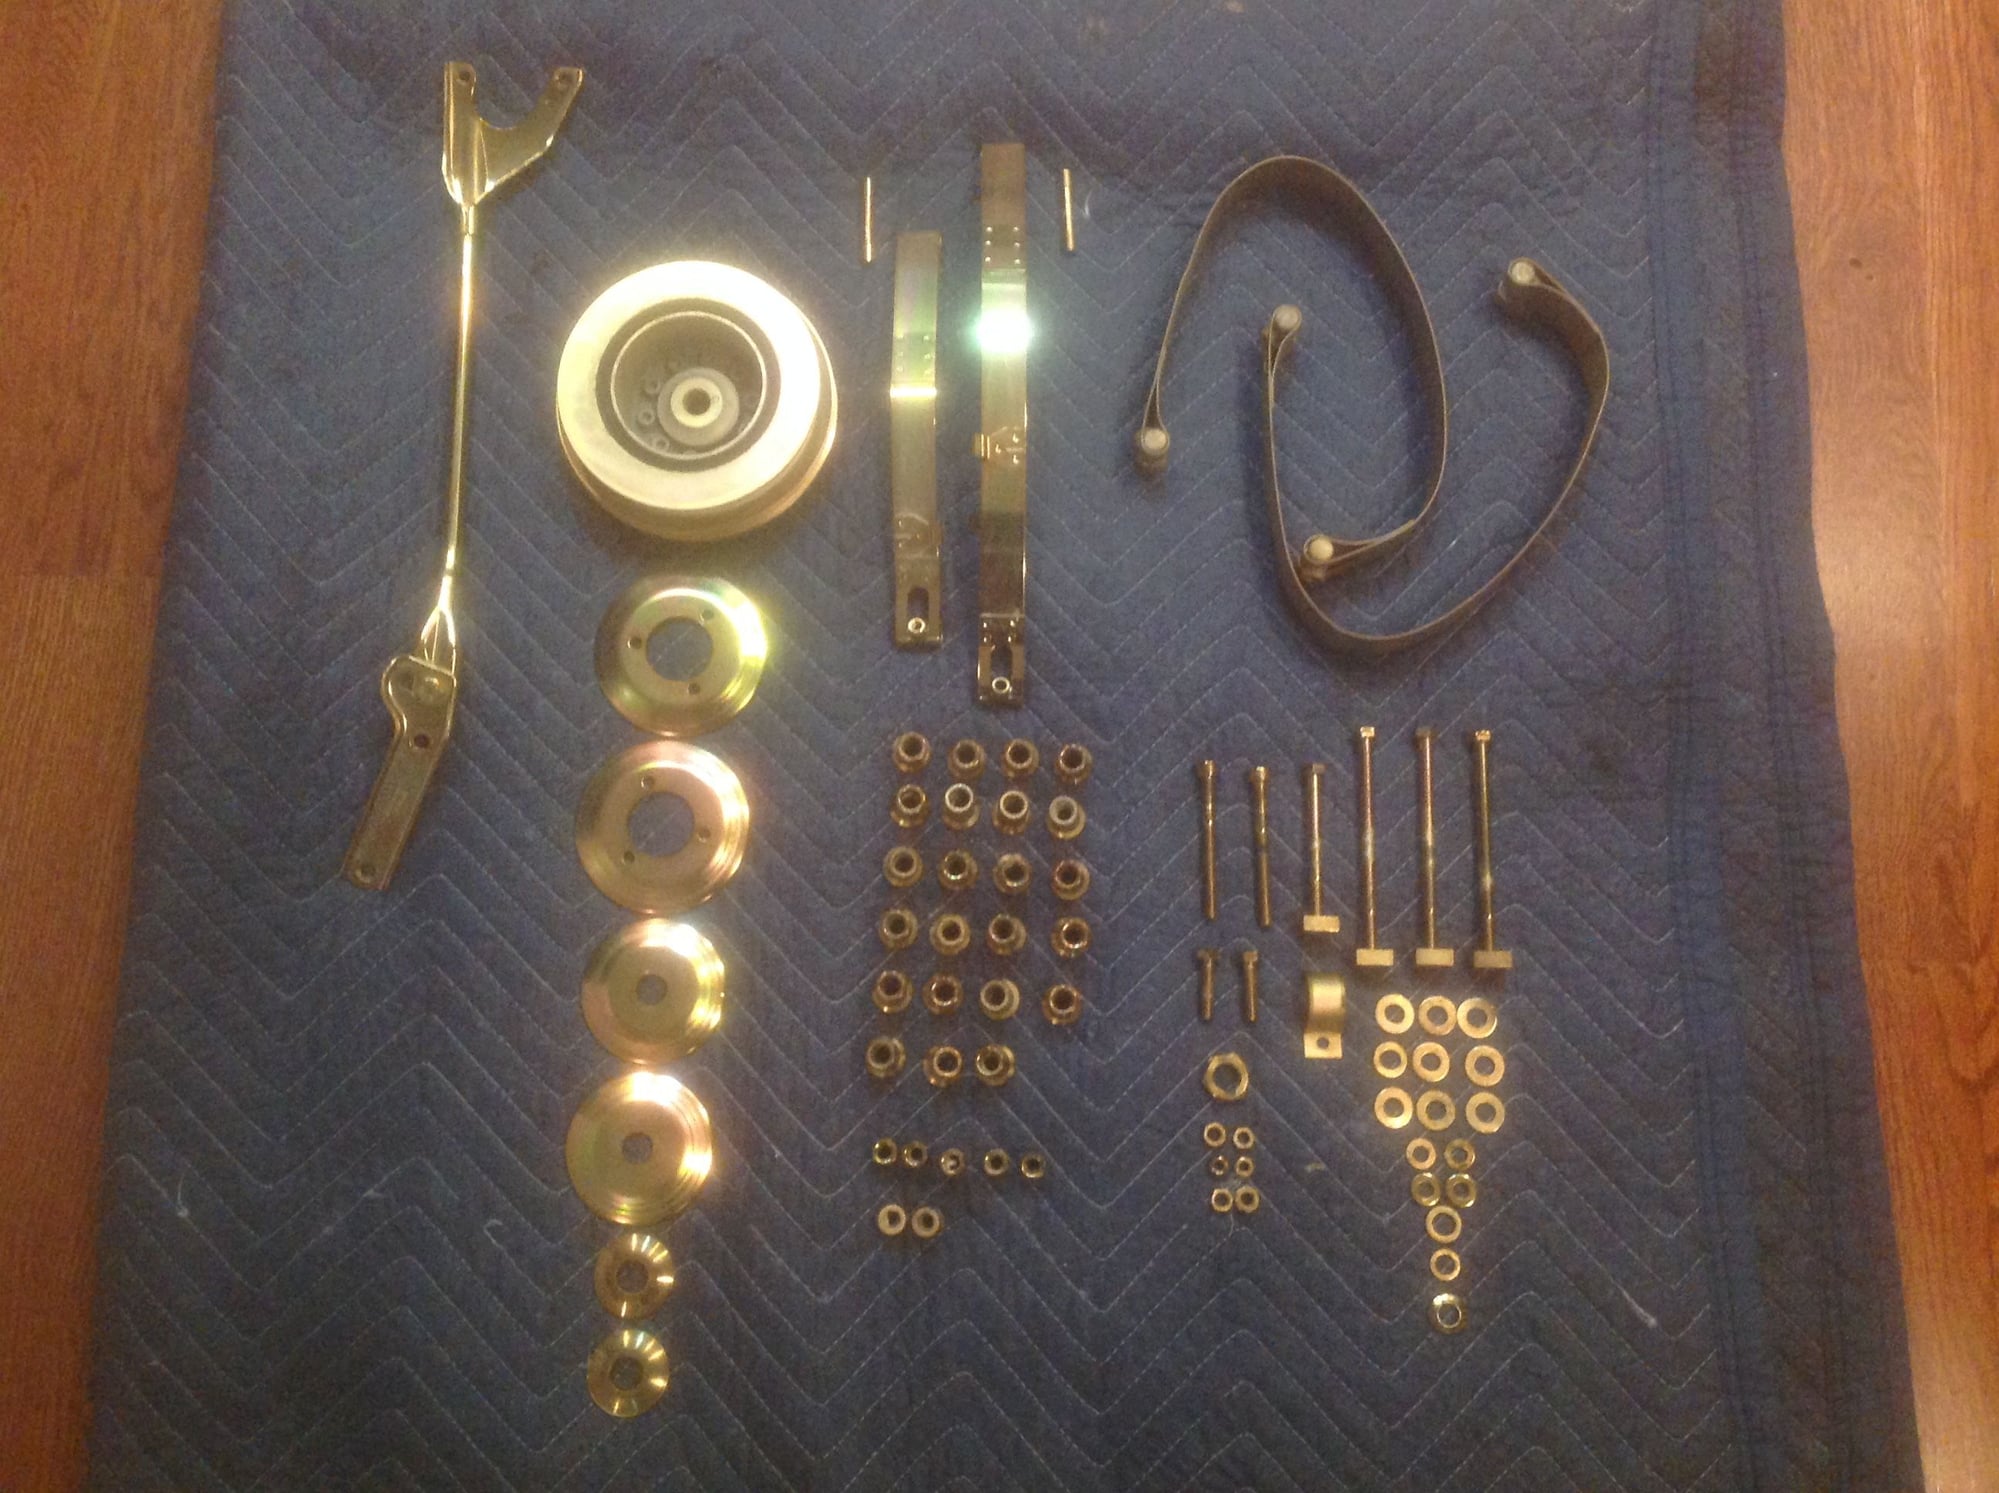
Latest update: some zinc bling
Old 01-23-2018, 07:15 PM
  #42  
Meatball964
Rennlist Member
Thread Starter
 
Meatball964's Avatar
 
Join Date: Feb 2005
Location: Wilton, CT
Posts: 673
Received 18 Likes on 12 Posts
Default


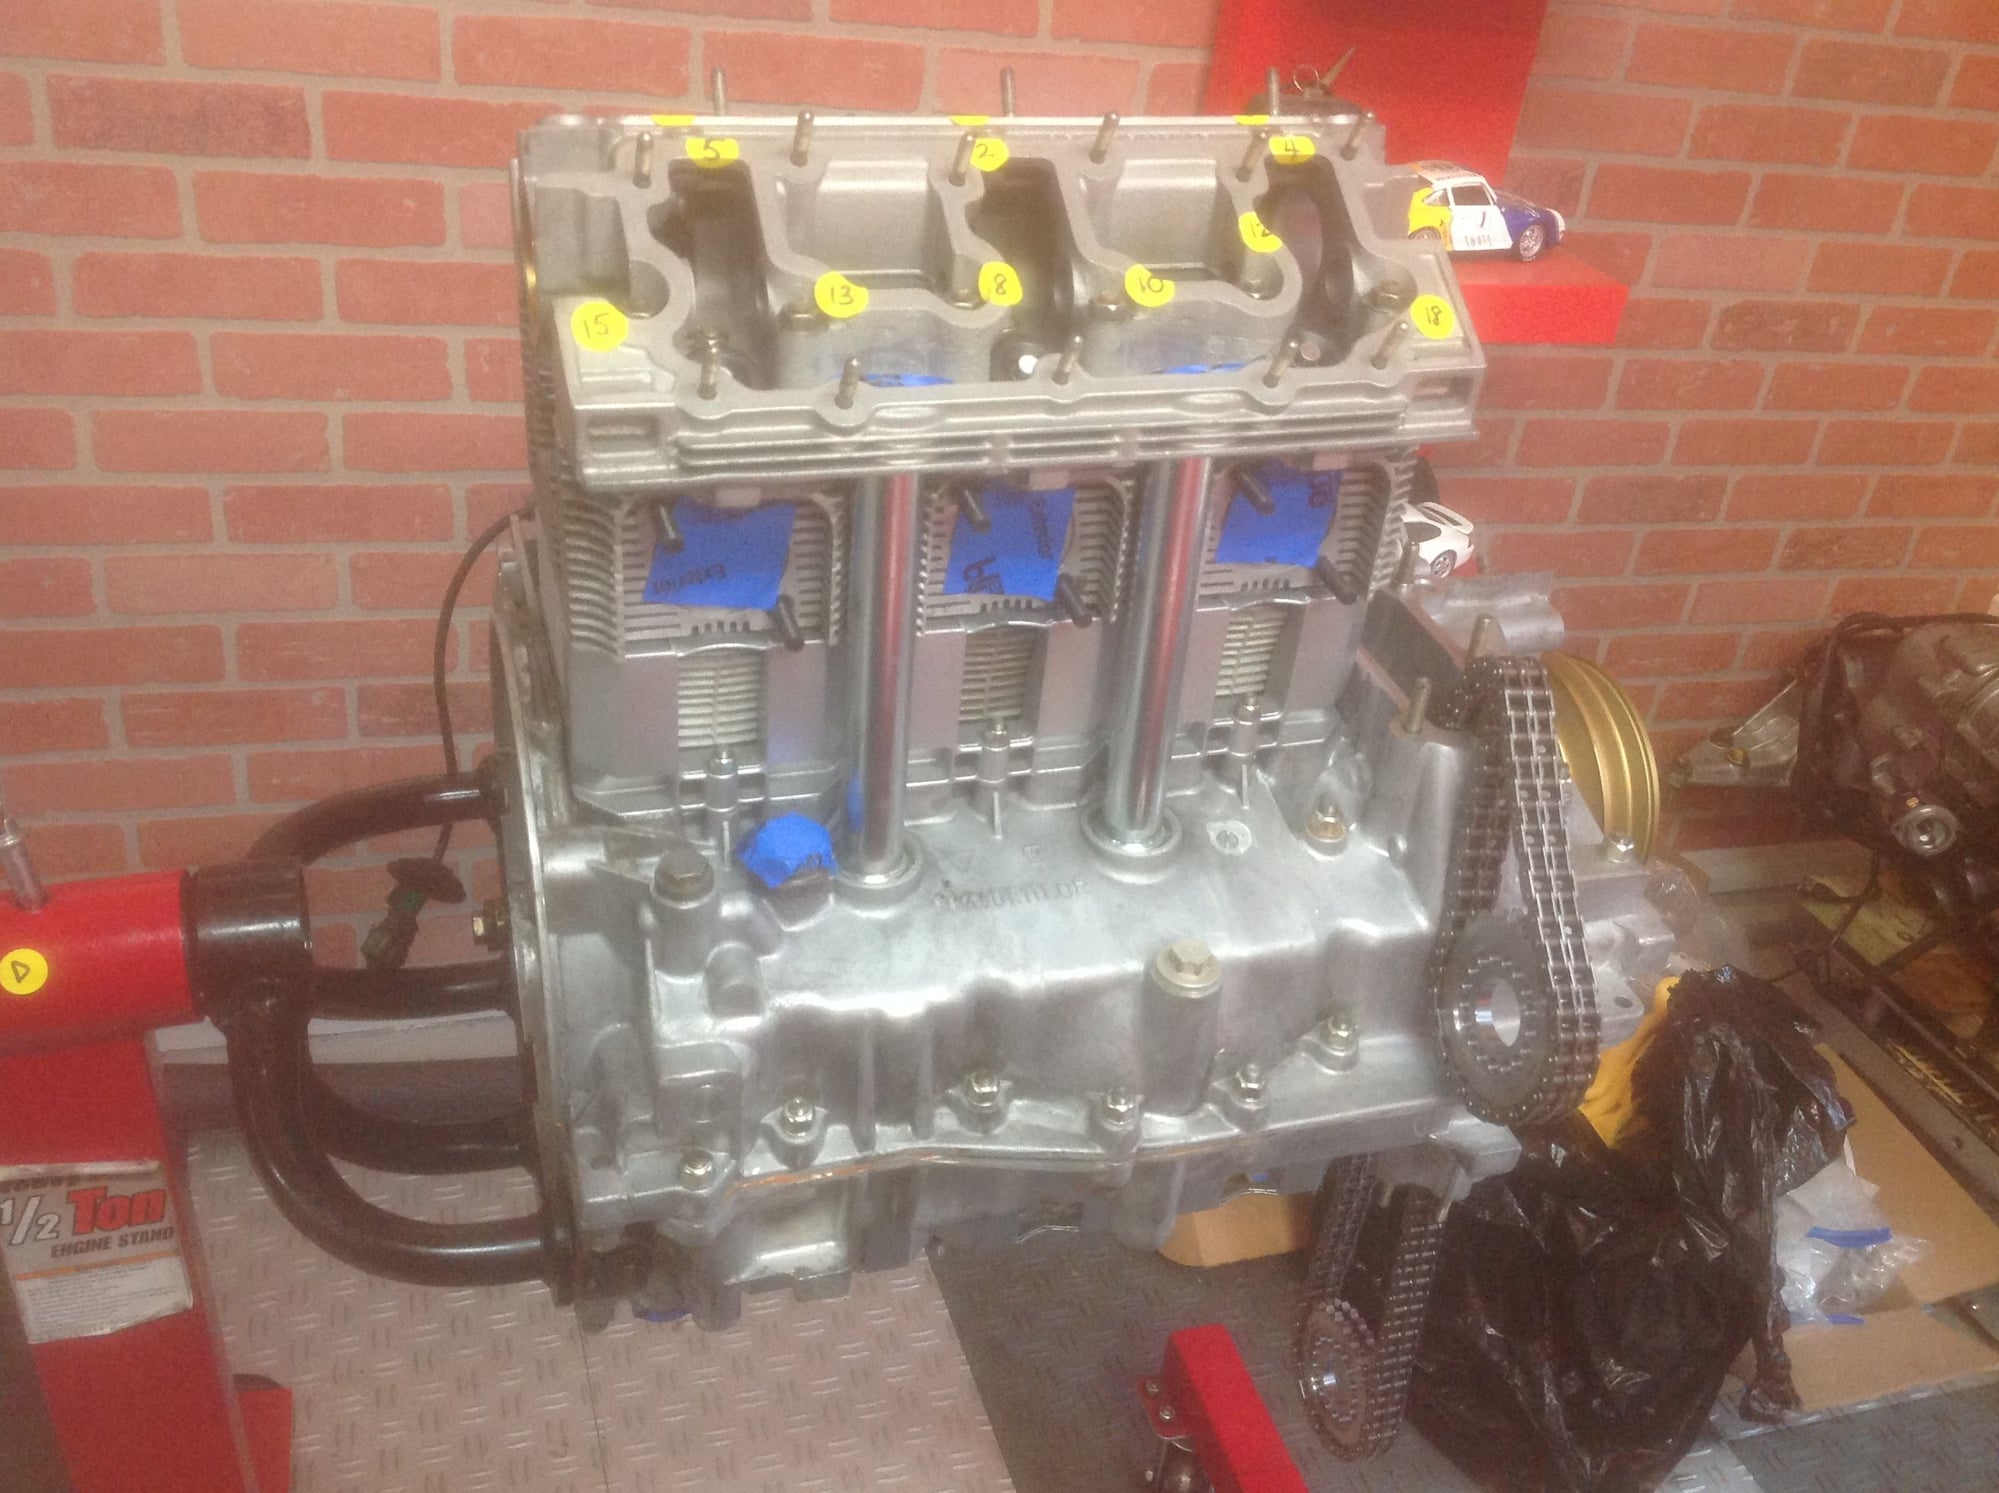
One side done; new Mahle P/C's & reworked heads (courtesy of Steve W).
Old 02-09-2018, 11:56 AM
  #43  
Meatball964
Rennlist Member
Thread Starter
 
Meatball964's Avatar
 
Join Date: Feb 2005
Location: Wilton, CT
Posts: 673
Received 18 Likes on 12 Posts
Default


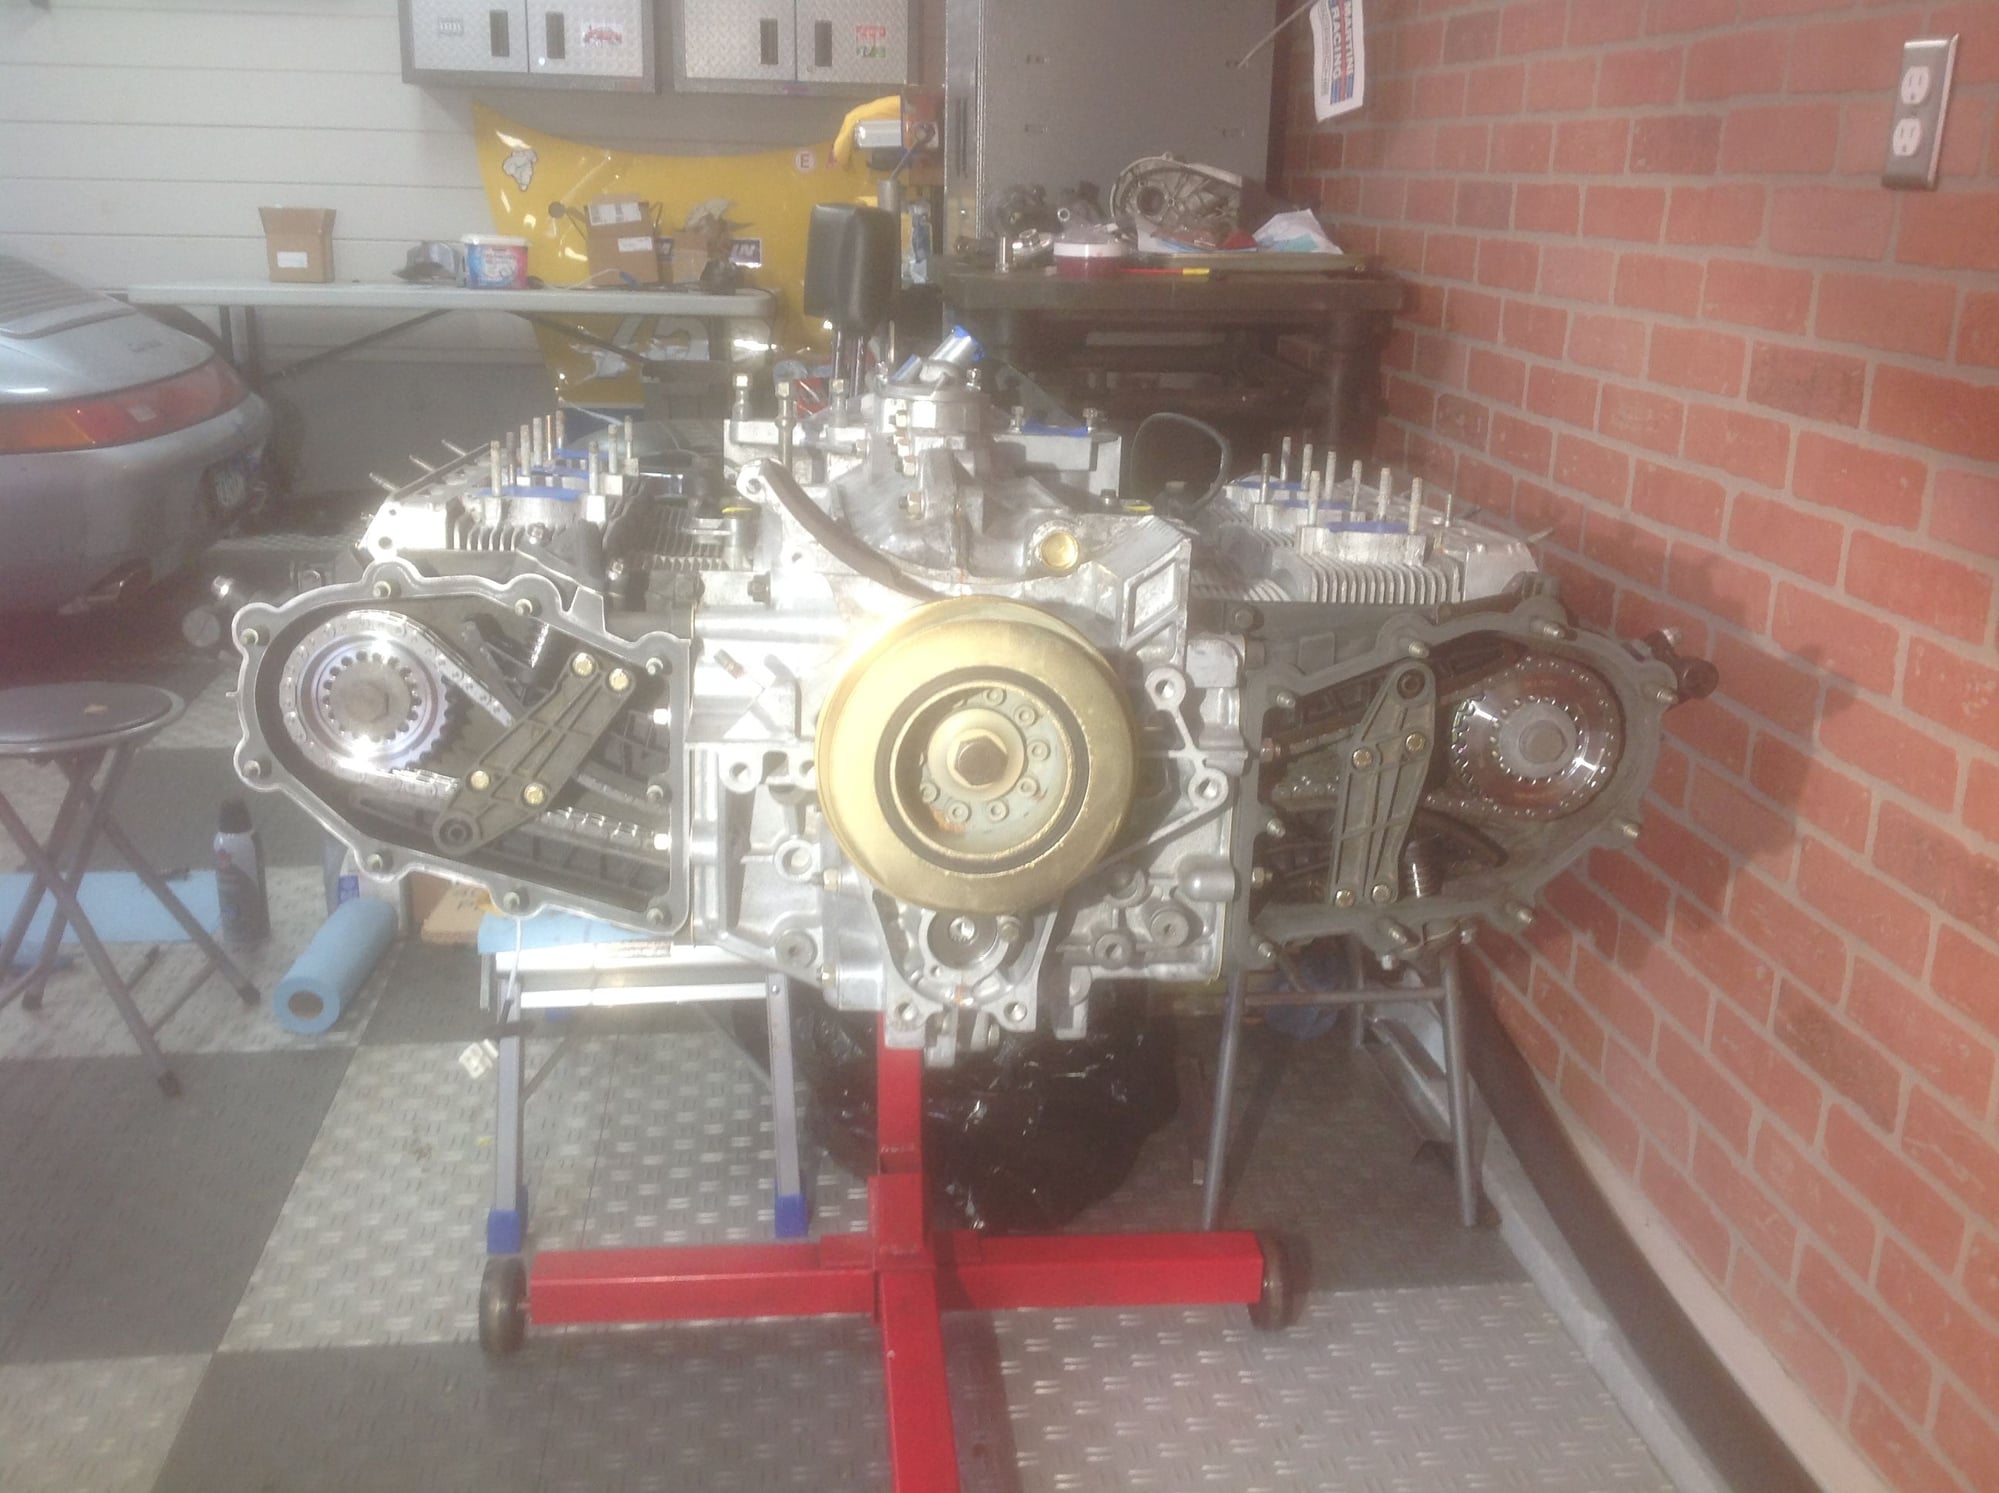
New cam sprockets, timing chains and chain tensioners ($$$). Cam timing next. Z-block, gauge & Kirk tool being delivered today.
Old 02-09-2018, 12:07 PM
  #44  
Meatball964
Rennlist Member
Thread Starter
 
Meatball964's Avatar
 
Join Date: Feb 2005
Location: Wilton, CT
Posts: 673
Received 18 Likes on 12 Posts
Default


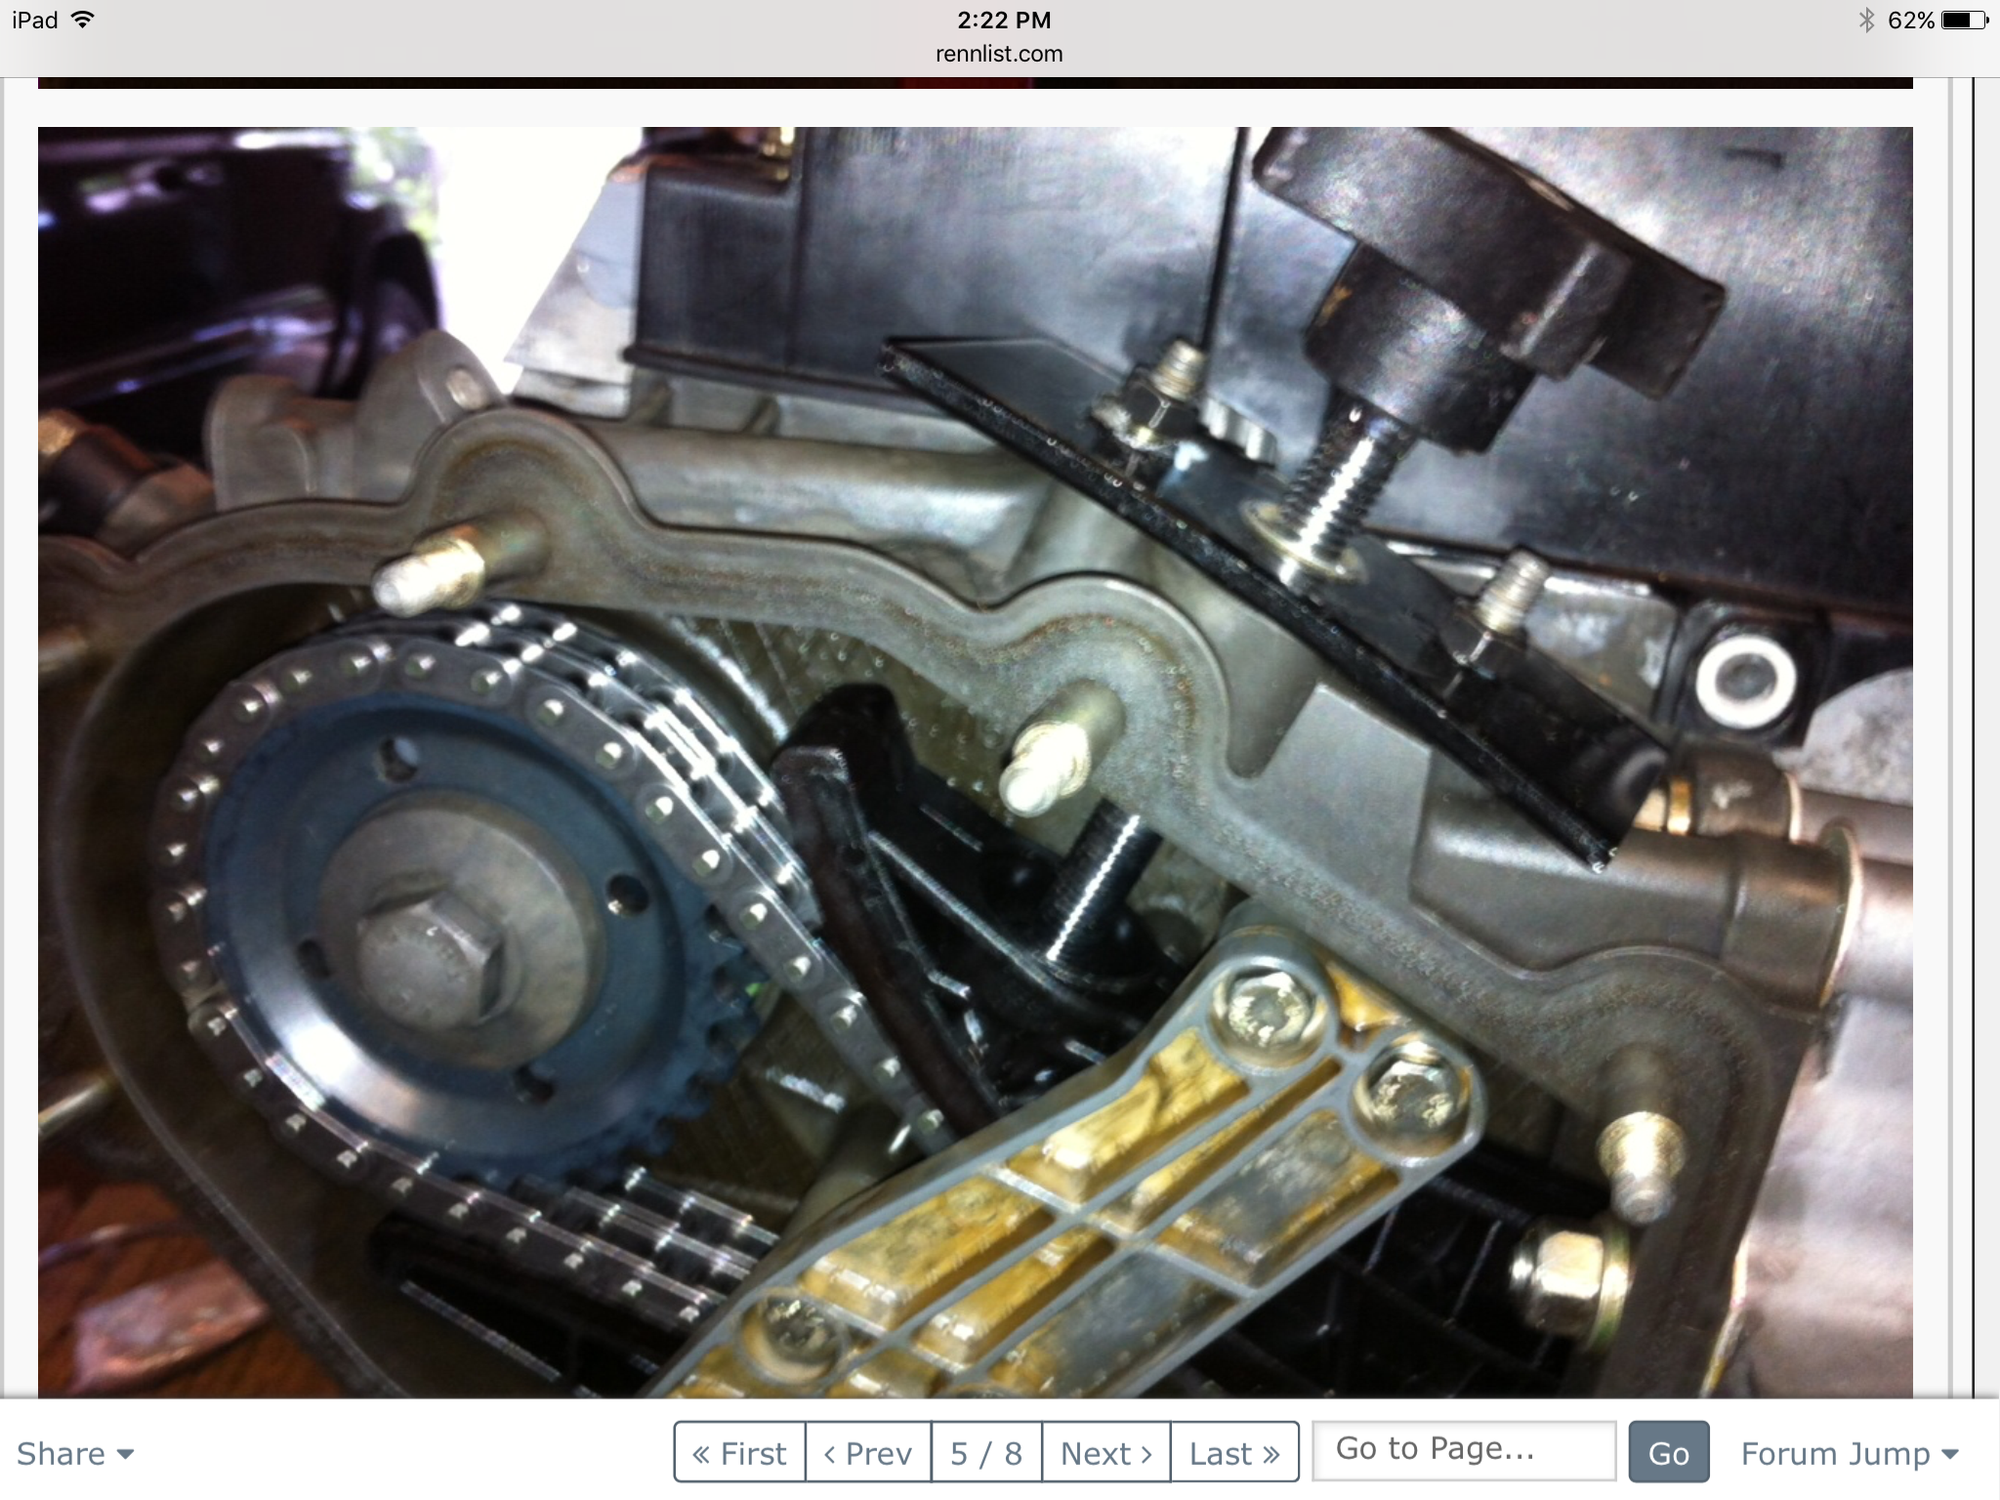
What do most use for a chain tensioner (for cam timing). I have a brake pad spreader (see pic). How do I know the proper amount of tension to apply?
Old 02-09-2018, 05:04 PM
  #45  
Meatball964
Rennlist Member
Thread Starter
 
Meatball964's Avatar
 
Join Date: Feb 2005
Location: Wilton, CT
Posts: 673
Received 18 Likes on 12 Posts
Default


This style spreader will probably work better....


Quick Reply: Engine rebuild....ground zero


All times are GMT -3. The time now is 10:57 PM.