When you click on links to various merchants on this site and make a purchase, this can result in this site earning a commission. Affiliate programs and affiliations include, but are not limited to, the eBay Partner Network.
It's been awhile since I've driven a mostly stock 951, but I'd think that with just the mods you're doing should be plenty to run with a 987 car (for sure a .1) on a track since you'll be in boost all the time.
Alright, pulled that bracket off the torque tube, loosened up the exhaust a little, and it fits right on. For anyone searching the wastegate / torque tube bracket, know that the nuts are welded on so you want the bolt side Glad I didn't put too much muscle into that before I figured it out.
Car starts and idles as before... cleaning up and putting the belly pan on then will give it a check ride. Wish me luck.
For the AEM home gamers, I found duty cycle 61 to hold me at ~14.5 until red line. Did a quick check for blink codes (none), so should be good for some fun in the AM.
Good grief - open the throttle and the car hunkers down like a junkyard dawg. There are fleeting seconds between legal speed and multiple violations - looking forward to getting back on the track.
What hardware are you using on the tial? I'm planning on swapping on in (I have the adaptor plates and WG) but did not pick up mounting hardware. I've not see whatever fasteners that you show in your pic - some sort of locking bolts?
What hardware are you using on the tial? I'm planning on swapping on in (I have the adaptor plates and WG) but did not pick up mounting hardware. I've not see whatever fasteners that you show in your pic - some sort of locking bolts?
Thanks
Sean
These are from a company called Stage 8. You have to call and request the size bolt you want as it isn't on their website but is in their inventory. They work in the places you can see in my picture. The retainers are too wide to fit where you can the two with safety wire.
I figured out how to drill my own wire holes if like me you haven't done that before. I'll post that in a few minutes.
How to drill your own safety screws, for the guy with a lot of car tools but very few metal-working tools (or skill for that matter)....
What follows worked for me on the first try and produced the two safety screws I needed. It is obviously not a method of mass production as it works for 2-3 screws and then probably needs to be restarted as the guide hole starts to wear down. But if you are not in the safety screw business and just want your wastegate on, it should give you what you need within 5 minutes.
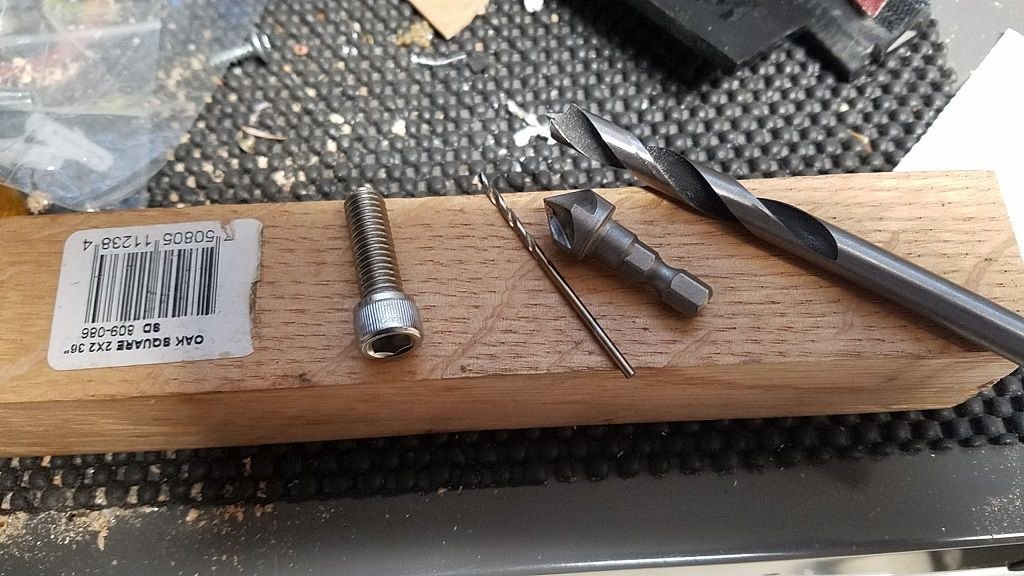
Below is a Hillman socket head cap screw in stainless, size 5/16-18 x 1 - the size needed for Fejjj adapter. Next to it is: 1) about the smallest bit you can find for making a hole in the screw and fitting wire through it, 2) a bit with a 1/2" head (about the same size as the cap head of the Hillman screw, 3) a 5/16" bit (about the same size as the body of the Hillman screw. And these are sitting on top of a wooden block we'll use.
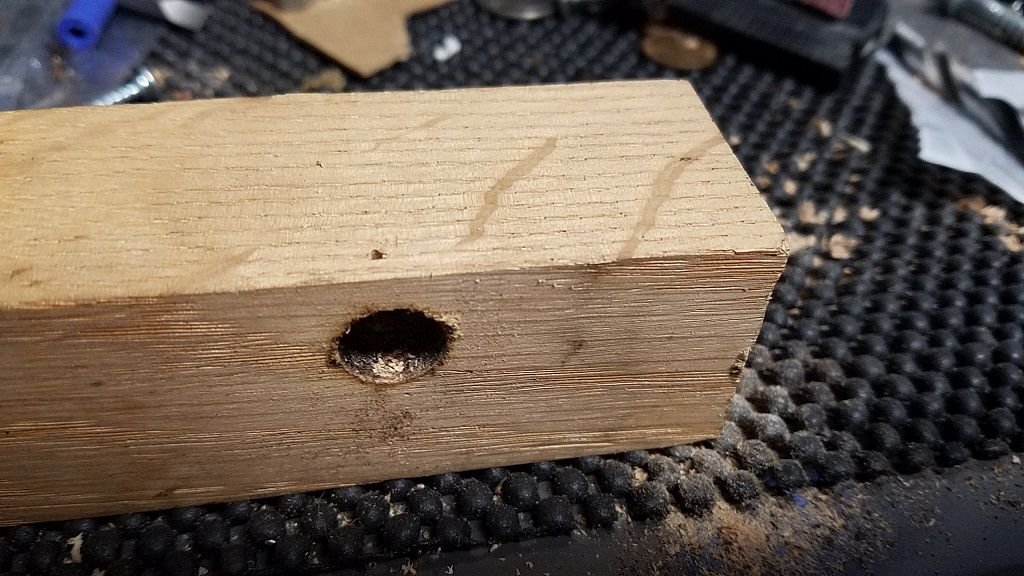
Take the 1/2" bit and drill far enough into the wood that you can fit the cap screw upside down in it - and it is just deep enough to fit the whole cap head.
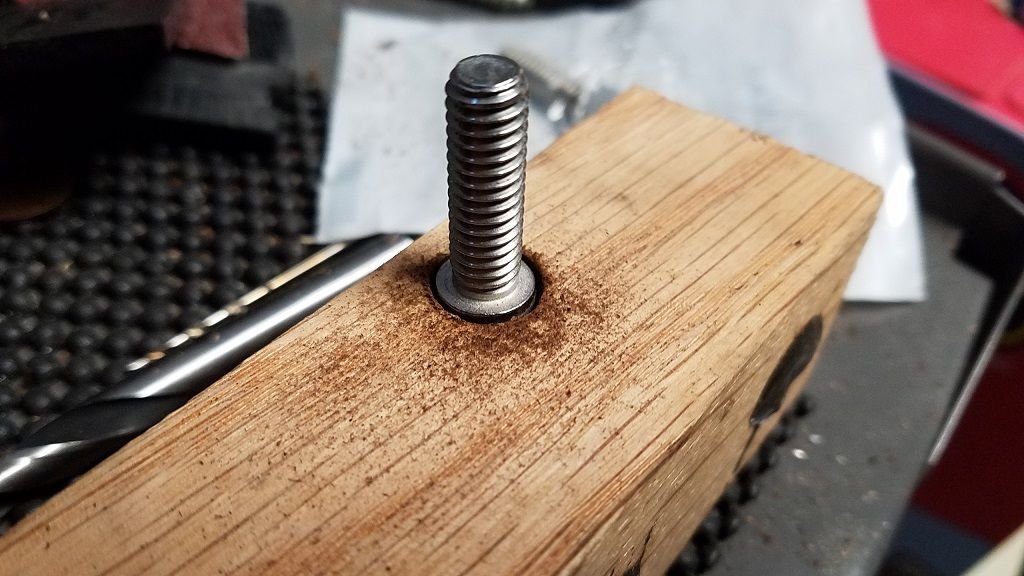
Remove the screw, insert the 5/16 bit, and drill deep enough to accommodate the body of the screw.
Now you can see the entire screw fits in the wood block.
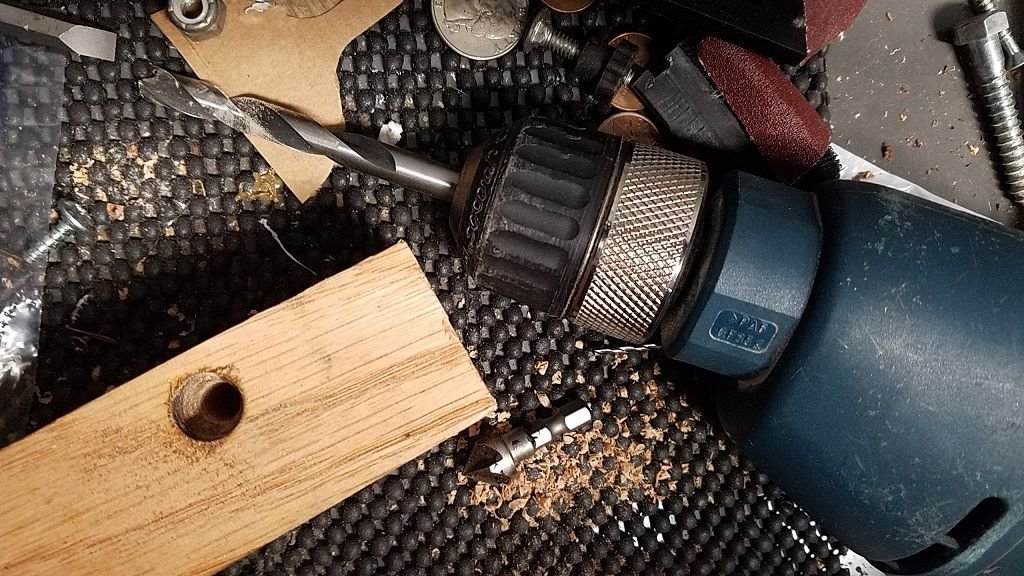
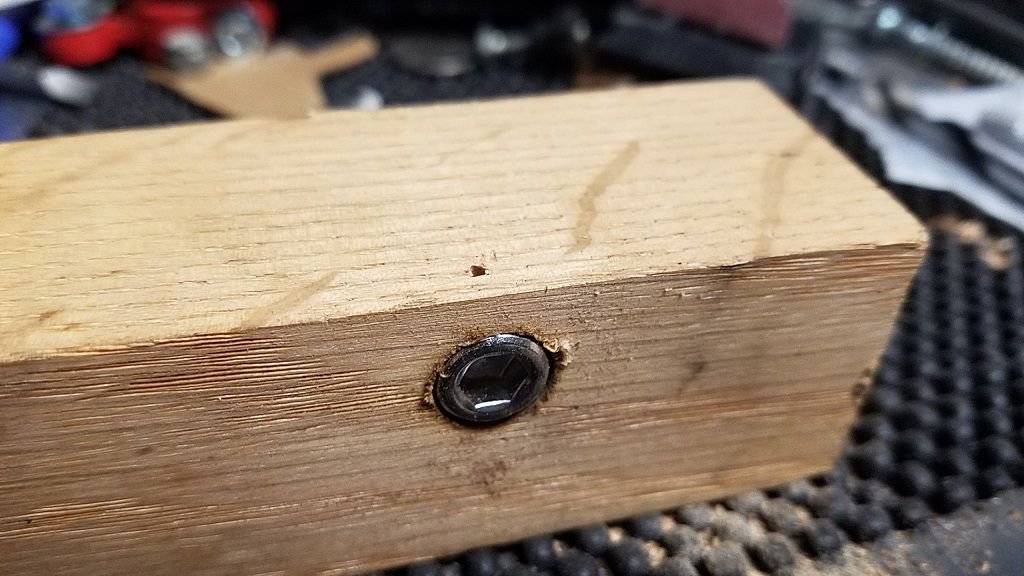
Using your small bit, pre-drill the hole from the top of the block through the center of where your screw will be.
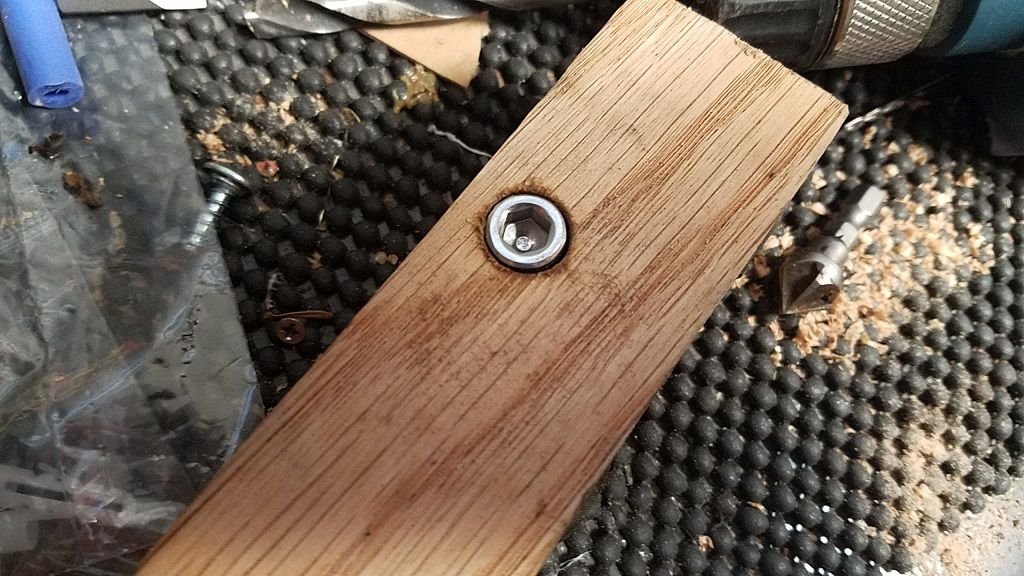
Once your guide hole is drilled, drop the screw back in. Re-insert the small drill bit into the guide hole and carefully drill through the side of the cap head, making one hole on entry and the other on exit. With any luck, you should be good to go.
Last edited by raleighBahn; 11-22-2016 at 01:29 AM.


 11-18-2016, 05:43 PM

 Glad I didn't put too much muscle into that before I figured it out.