When you click on links to various merchants on this site and make a purchase, this can result in this site earning a commission. Affiliate programs and affiliations include, but are not limited to, the eBay Partner Network.
Fixing it would be near impossible (unless you want to have your whole cilinderblock done..) but i wouldn't worry about it too much..
Also depends on what your plans are, if you are going to get crazy amounts of horsepower, well.. Than i would recommend something else
Thanks for your input, I don't plan on going crazy with it maybe push it to the most maybe 300-350hp down the road if I get bored with it, mainly I want it to be as leak free and reliable for as long as possible as I may start to use it as a daily driver for spring, summer and most of fall. Will it get pounced on, most definitely, but I'm not going to beat on it constantly or track it. To me this is an all time classic and like I mentioned more of a show and go with the reliability factor way up on priority.
I have a large box of parts ranging from every seal, bearing, piston rings, hose, gasket, etc etc etc, I have the head in the shop being redone with new guides, cut valves, new springs, the exhaust header is getting repaired at a welding shop that does inconol, so I've dumped a ton of money into this project with more to go, I have every spare part for this car except an extra engine and body shell.
I ordered some an-30 silicon paste from Goodson, would you recommend I attempt to lap the cylinders for the new rings or just install the new rings in the current state and pray for the best?
I'd hate to put it all together and then something goes wrong that I could've addressed while the engine is apart.
If it weren't for the fact that going to the next size piston wasn't so damn expensive for both the parts and labor I'd have just gone that route but I could get another engine or even do a LS3 conversion for almost the same cost, but keeping it original as far as engine is concerned was one of the reasons I'm all in on this car now
I thought I would originally go this route as well and even bought a honing kit with the intention of modifying the stones and using scotchbrite pads instead to help the rings seat. I didn't really know much then, but I have heard that lapping the cylinders won't do anything. There is no reason to. If the silicon is already exposed from the aluminum, then lapping it won't do anything else. Just install new rings. I don't think there is much you can do about a scratch unless you bore it one oversize and then lap it. It's not like an iron cylinder where you can hone it and remove the scratches (where the honing would be the lapping in your case). I would just leave it be.
Also, don't use the Sears/auto zone ring compressor when installing the pistons. Get a tapered one or at least an adjustable tapered one. I got 2 pistons in successfully with the Sears one and the 3rd one I shattered an oil ring which gouged my professionally machined no.3 cylinder about a half inch.
It sounds like we are doing pretty much the same standard build. Take your time and do it right. Good luck.
Thanks for the feedback, I hope this isn't the ring compressor your referring to:
I think I'm with you on this and just going to put the new rings on and reassemble, I wanted to take this car to PA for the Carlisle German auto show next month and at this rate I'll be towing it on a trailer with the motor still on the stand! I wanted to do it the best way possible, and no way am I paying the insane amount of money to oversize it, cheaper to get another engine!
So I'm going to do like you say, just not worry and reassemble it, any pointers on how to get the rest of the deck clean? The head gasket crap seems like it's bonded to the engine! I tried brake cleaner, brass wire wheel and a razor but I don't trust it and would be pissed if I scratched the deck with it!
You can see the crap from the head gasket on the deck
I'd rather not take the studs out of possible to clean the deck
That is the one i'm referring to. If you use it, just be careful especially if it is your first time. This one will work for 100mm bores and you should be able to install your pistons without a hammer and just press it in with your thumb, but it will only fit one size piston. http://www.summitracing.com/parts/ar...1000/overview/
This is the one I got. I had my cylinders bored to 100.5mm, but it is adjustable from 98.8mm to 101.5mm. http://www.summitracing.com/parts/ts...3995/overview/
I had much more confidence installing it with this tool than the old one. It was so much easier.
Don't use a wire wheel. If you use a razor be ultra careful. I would try a scotchbrite pad and mineral spirits. What kind of gasket was on it before? Was there copper sealant on it? I don't think any sealant should be used on the headgasket (and as a heads up, that is generally true for most of the seals on the car. Mostly you will use oil on seals.)
From what I have done so far, this is what I have learned about sealant. Everyone has their opinion, but I would only trust the book and people who build these motors for a living. In general, for oil seals you will just use oil on it to prelube it. For coolant seals, install dry (unless there are excessive scratches on either metal surface).
That is the one i'm referring to. If you use it, just be careful especially if it is your first time. This one will work for 100mm bores and you should be able to install your pistons without a hammer and just press it in with your thumb, but it will only fit one size piston. http://www.summitracing.com/parts/ar...1000/overview/
.
get one like this and throw away the ratchet style ring compressor. just save yourself the headache.
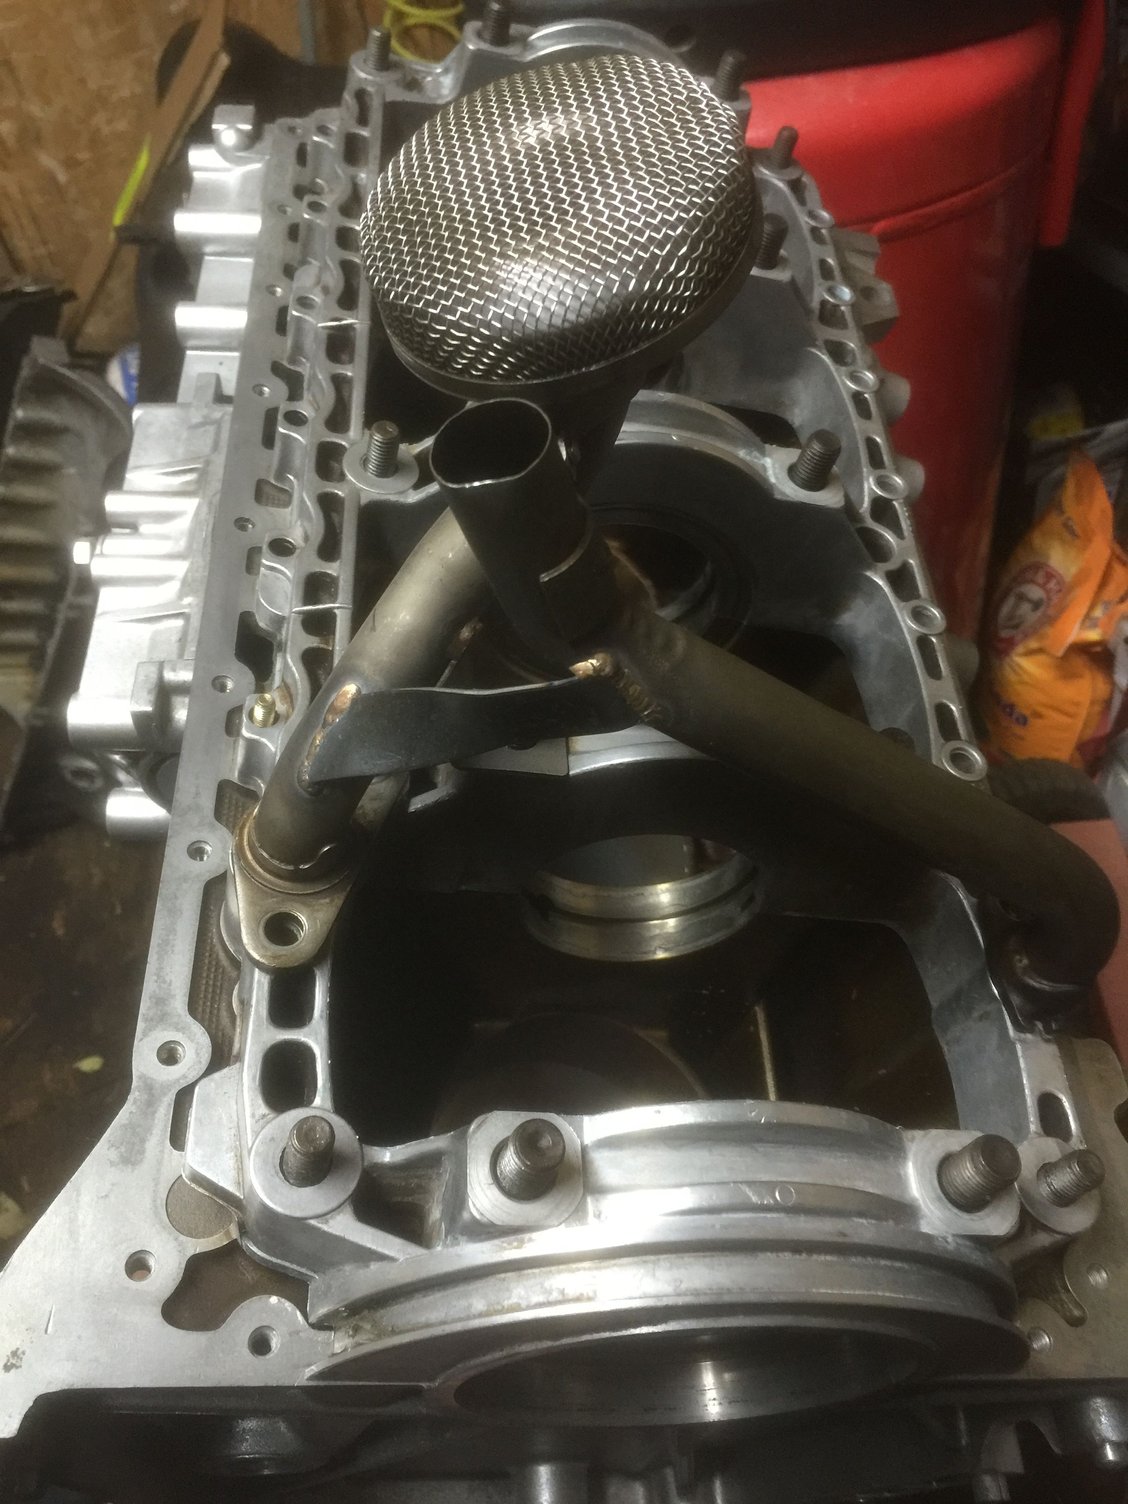
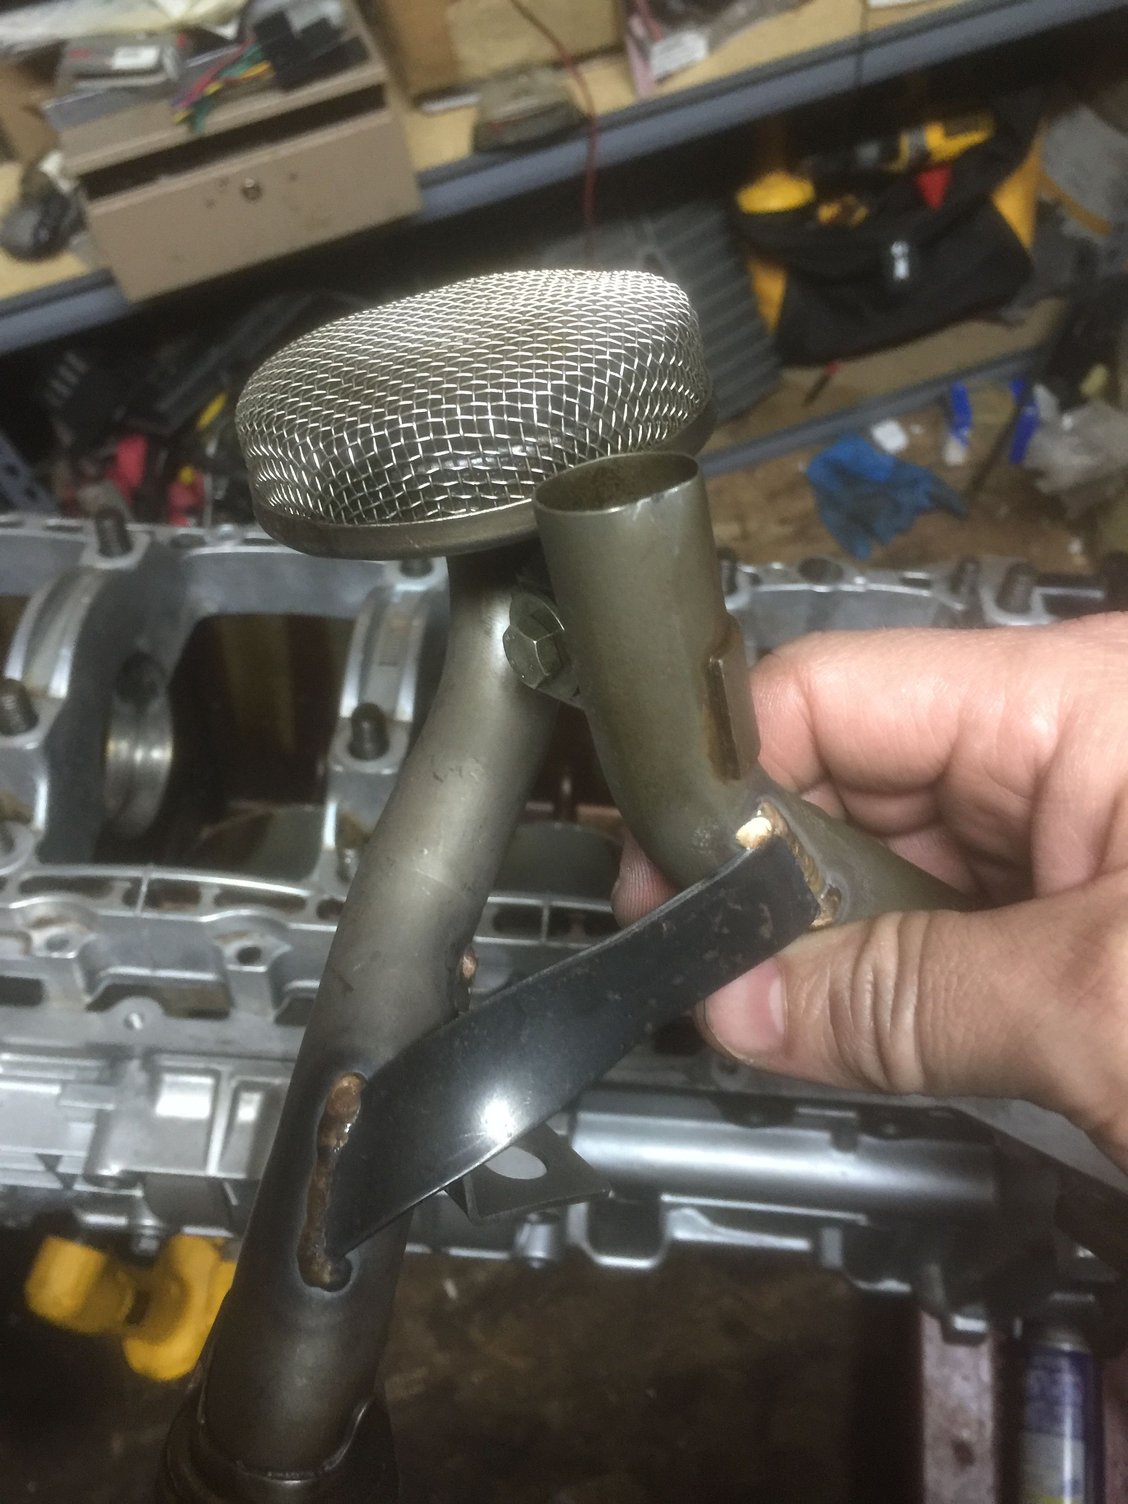
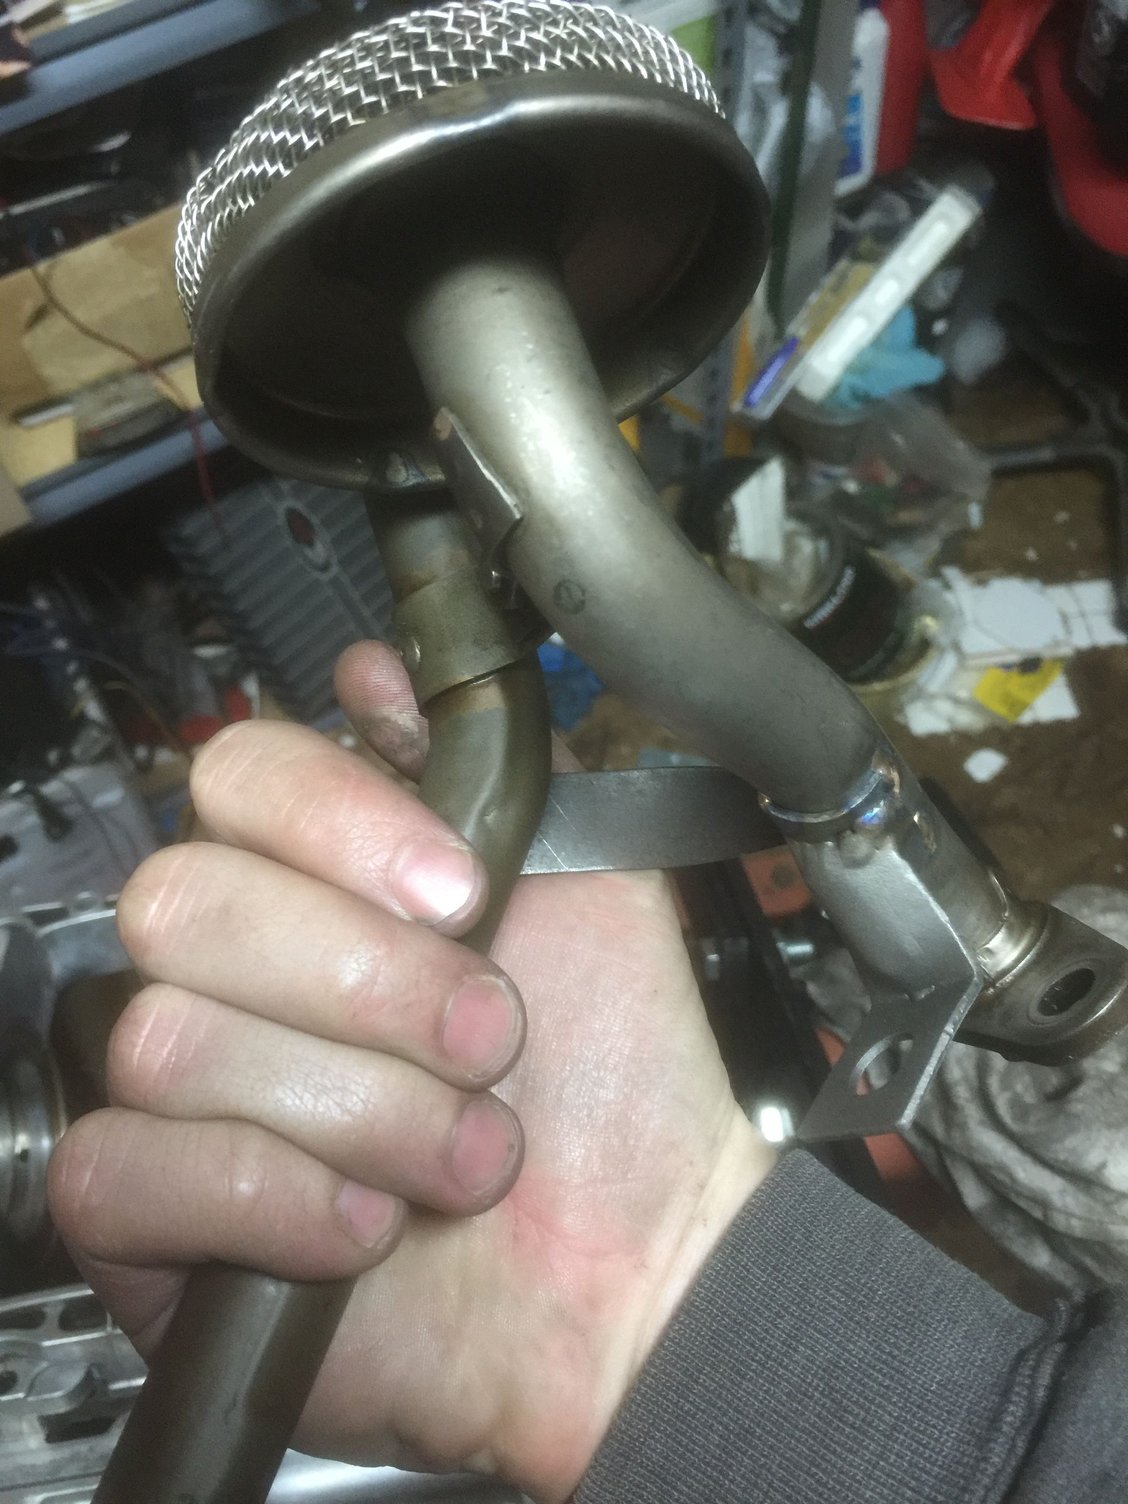
so I had my welder weld on the oil pick up support bracket and asked him to weld on an extra bracket to support the end of the oil pick up and the oil return, here's what he did, it looked good and had no idea at the time it would interfere with the oil baffle in the pan! Need advise, should I go back and have him fix it or trim the baffle so it fits? If he fixes it will it weaken the tubes?, thanks


 04-27-2016, 09:28 PM