
951 Engine Rebuild - Nikasil plated cylinder walls
 05-21-2013, 09:34 PM
#1
Intermediate
Thread Starter
Join Date: Aug 2009
Location: Athens, GA
Posts: 43
Likes: 0
Received 0 Likes
on
0 Posts
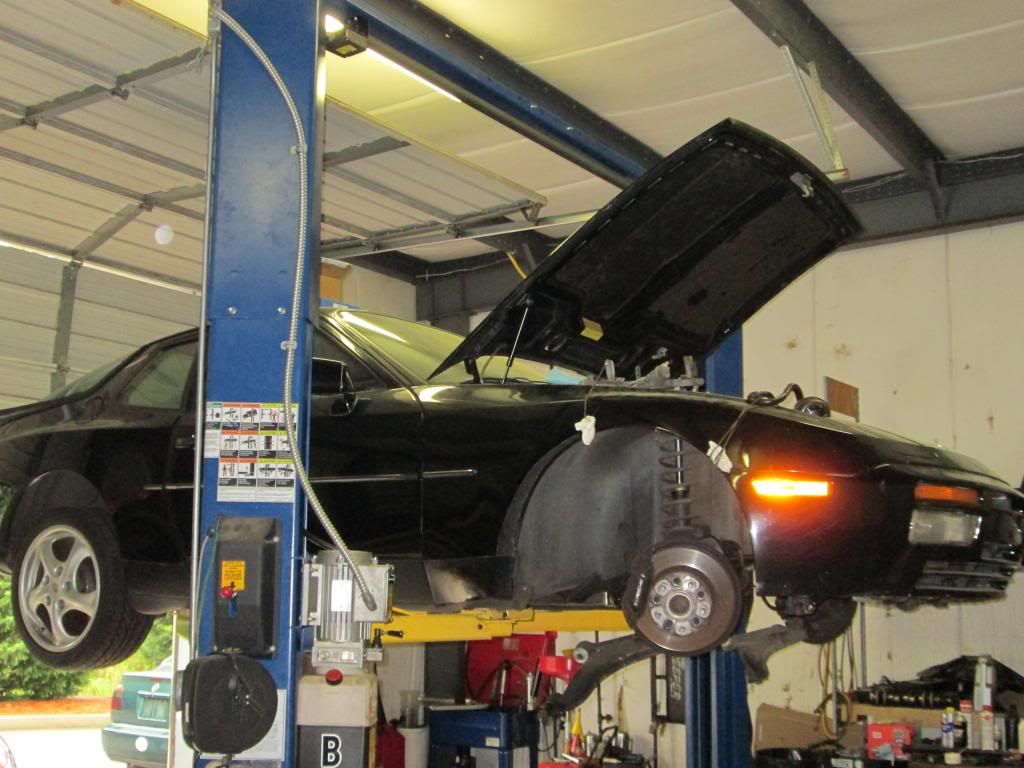
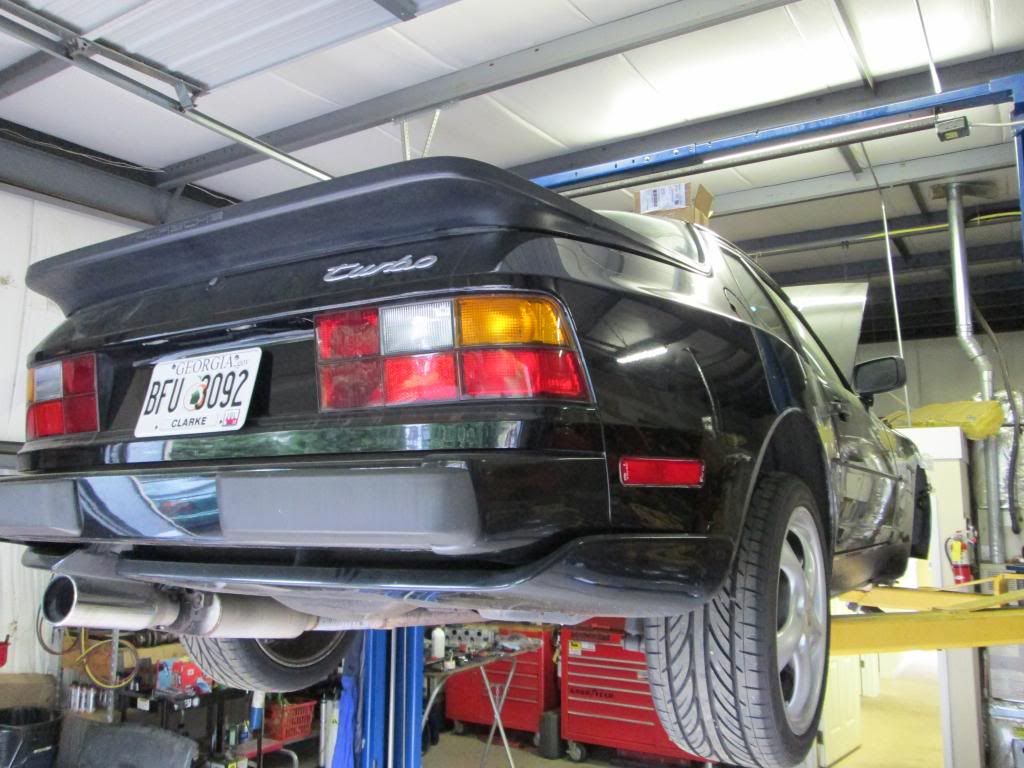
Before I begin talking about the rebuild, I figured that I would go ahead and introduce myself to Rennlist as I don’t think that I’ve really done so yet. My name is Ben. I’ve been using Rennlist off and on for a few years now. I bought my 86’ 944 Turbo back in early 2009 when I was still in high school. When I bought my car it was advertised as being in very good mechanical condition, just having all the belts replaced, only 10,000 miles on the new clutch, and inspected by a 30+ year experience Porsche technician of which he made sure to note that apparently the turbo was in the best condition that the technician had ever seen. The car made plenty of power and drove fine when I went to check it out, but then again I was just a stupid, naive teenager at that time so what did I know. I paid $6,800 for the car thinking that I was buying a reliable 951 as there were definitely cheaper ones that I could have gotten at the time, but boy was I wrong. Anyway, I found out soon that pretty much all of this was entirely inaccurate. The car was burning oil almost at the rate that it went through gasoline. So…
Here are results from my compression test: (The engine has 160K miles on it)
Cyl 1: 130
Cyl 2: 85 (60% leakage)
Cyl 3: 130
Cyl 4: 130
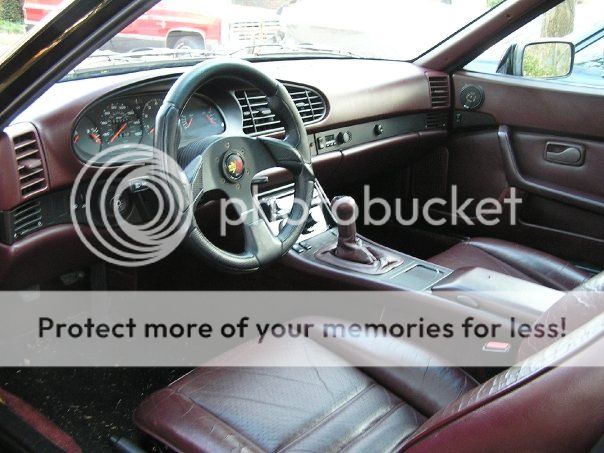
I was pretty pissed at the time. The person who sold me the car had completely lied to me. He sold me a car with low compression in one cylinder that burned oil at a ridiculous rate for a price that was WAY more than it was worth given the condition of the engine. The turbo also had quite a bit of radial play. I know the guy’s name (he said he was a Rennlister) as well as the mechanic that he was referring to, but I don’t know how appropriate it is to list it here. I guess the only thing I had going for me was that the paint and interior were in pretty good shape. So I was faced with two decisions. I could either sell the car for next to nothing and lose thousands of dollars, or I could try to fix what I’ve got. Whatever the choice, I knew that I wasn’t going to turn around and do the same thing to someone else that had happened to me just to save my own a** financially. Honestly, I wouldn’t be able to live with myself knowing that I screwed somebody over as bad as I was.
All of this had happened when I was just beginning college, so I was completely broke and couldn’t do anything about it at the time. I still drove and washed the car every couple of weeks just to keep it from sinking into the ground, but it would always try to overheat in traffic so I never took it far anymore. My car was a significant motivation for me to do well in college and get a good job. After a few years in school, hard work had finally paid off and I got an internship as a Product Validation Engineer for Cummins last summer. For once I was actually making enough money to finance what it would take to restore my car back into the condition that it deserved to be in. So, enough about all of my BS. More about the rebuild!
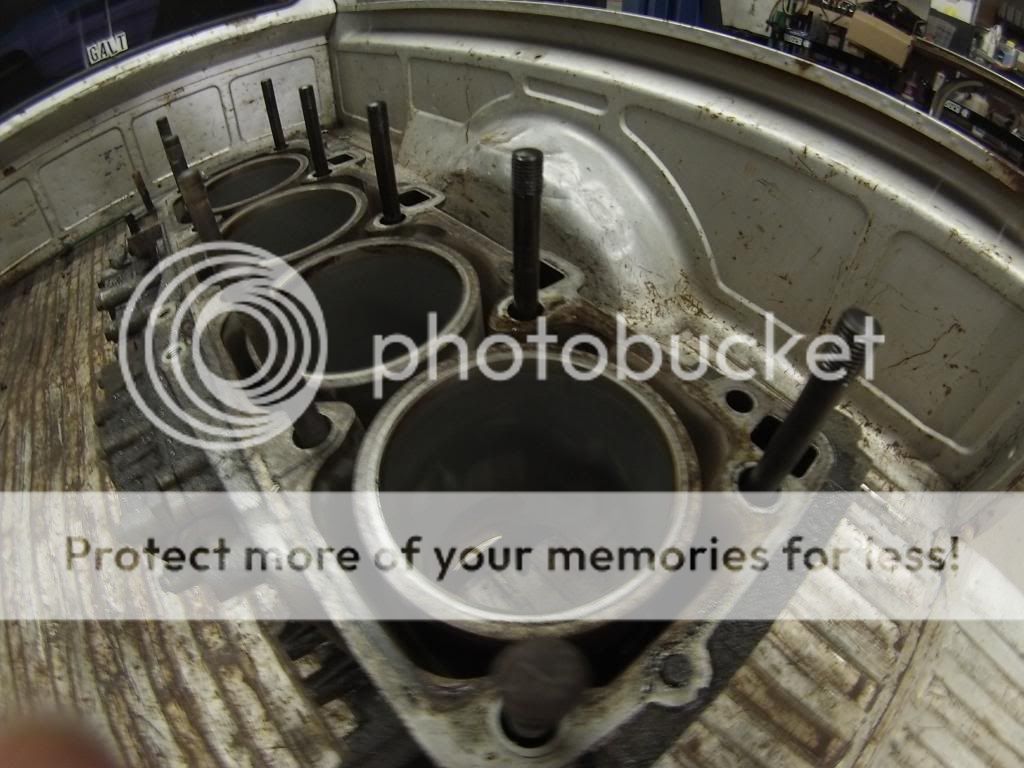
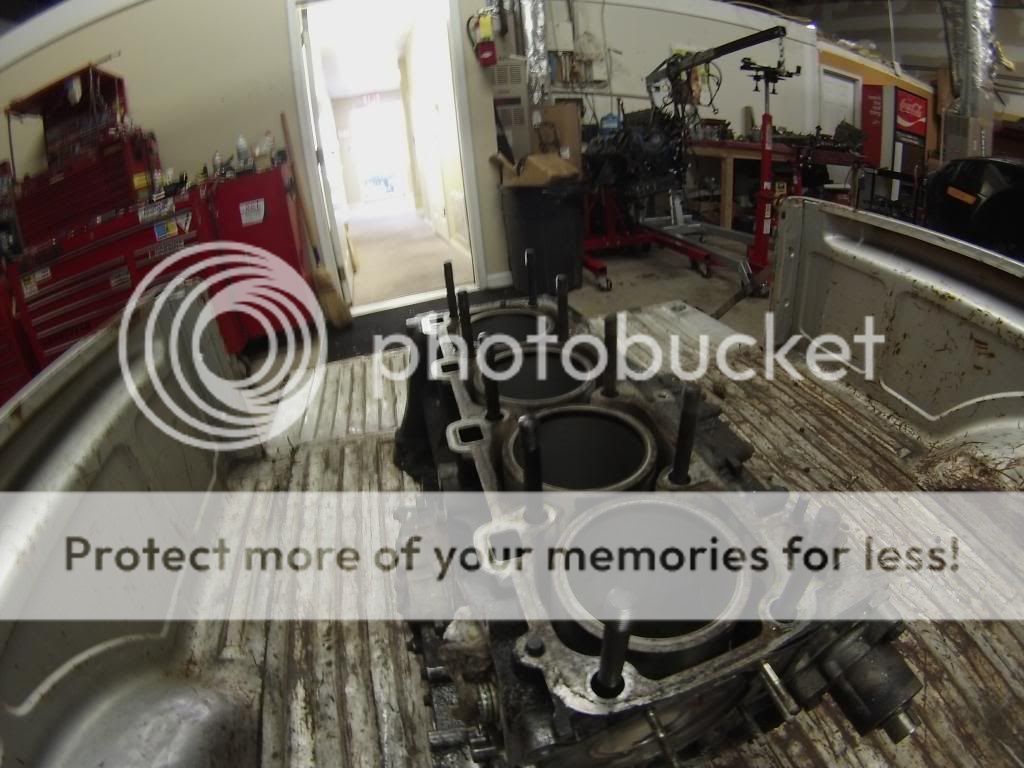
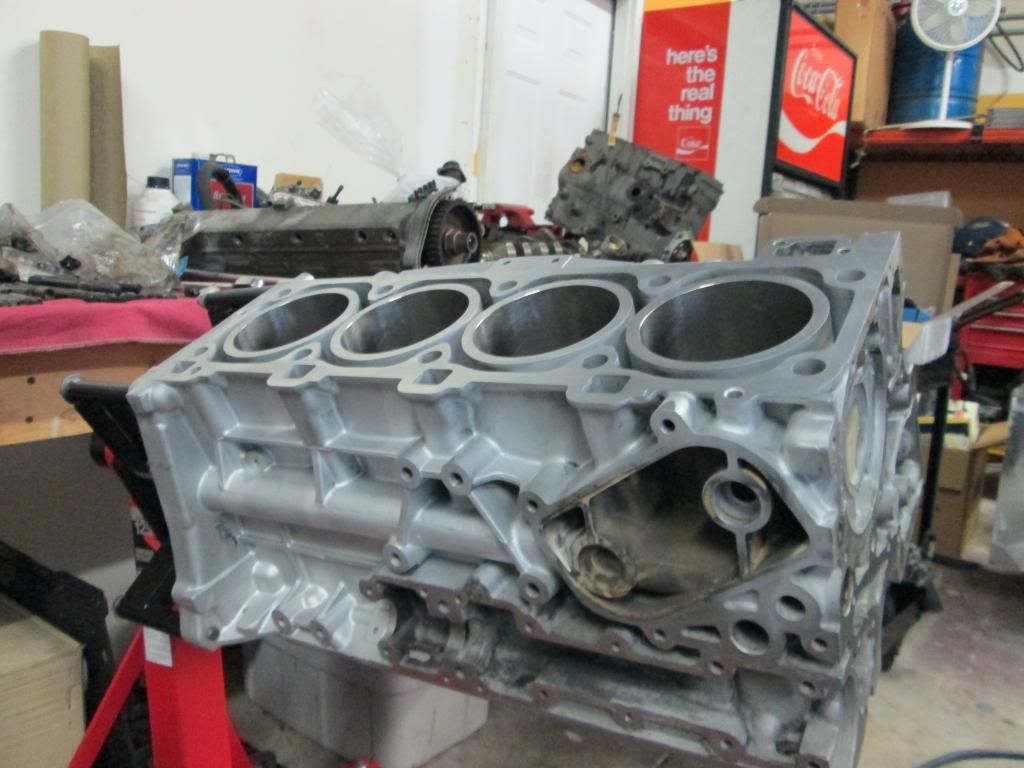
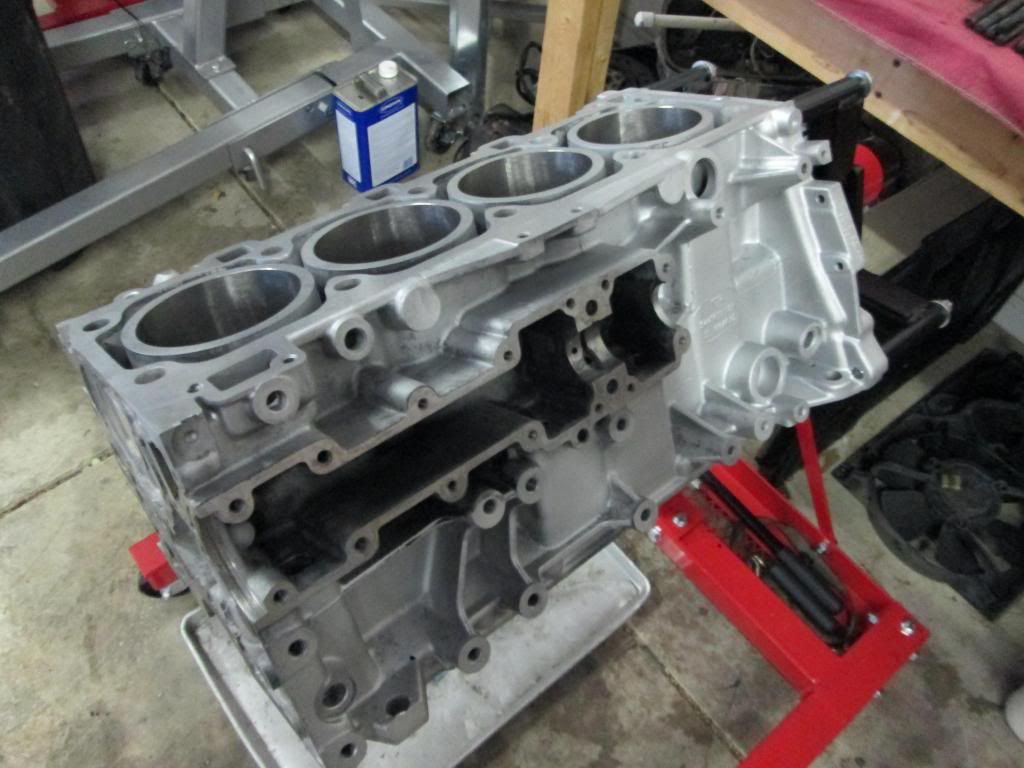
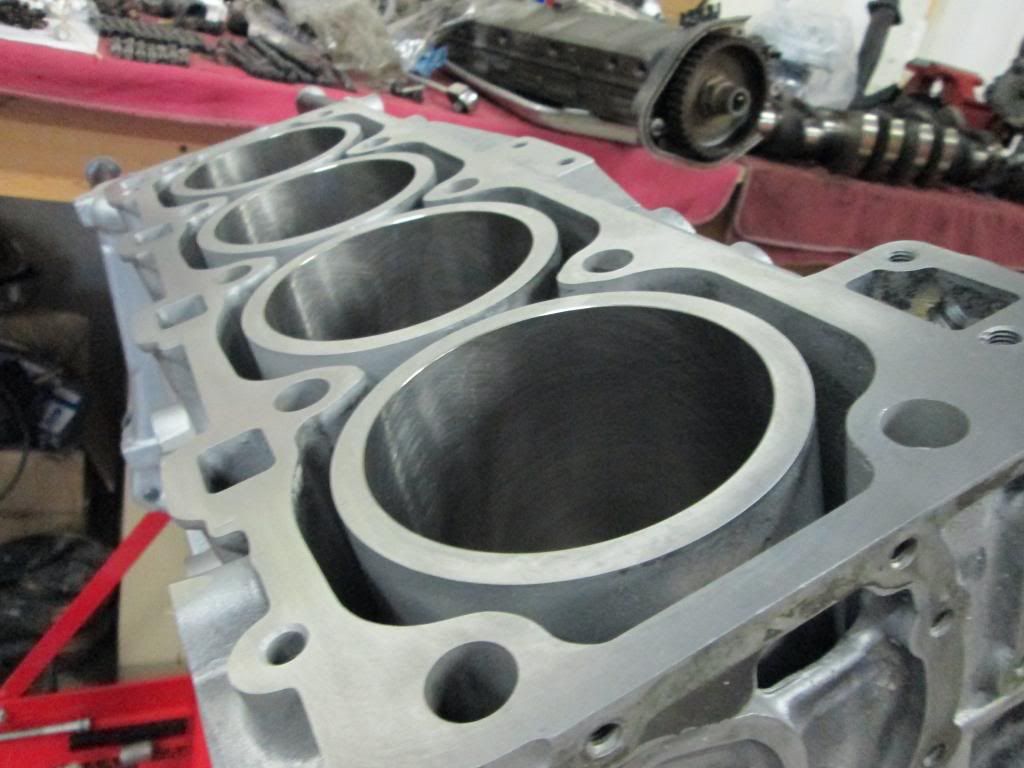
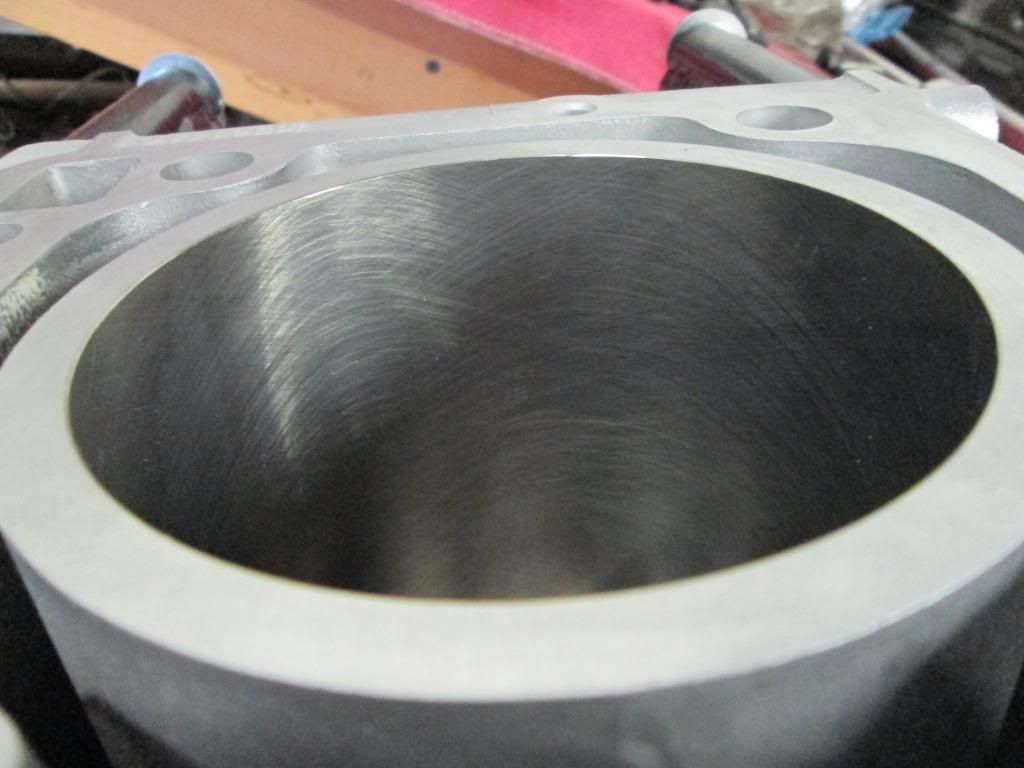
I looked into buying a replacement engine at first, but after what happened to me, I really didn’t want to place my fate into the hands of the used market again. Besides, most of the 951 engines with low miles that appealed to me cost the same or more than it would cost me to rebuild my engine, so I eventually decided to just rebuild it. Midway into the rebuild I found out that my cylinder walls were slightly out of round, so I had to decide on what to do with the block. I could have gone with sleeves, but I really didn’t want to spend the extra money for new pistons since the ones that I had were perfectly fine. Instead, I took Chris White’s suggestion to Nikasil plate the cylinder walls and have them honed back to the stock displacement. I ended up going with this because I have intensions of racing the car one day and I didn’t want to modify my engine in a way where there’s no turning back. I would much rather be competitive in a lightly modified class rather than get lapped by cars that have tens of thousands of dollars more invested into them than my car.
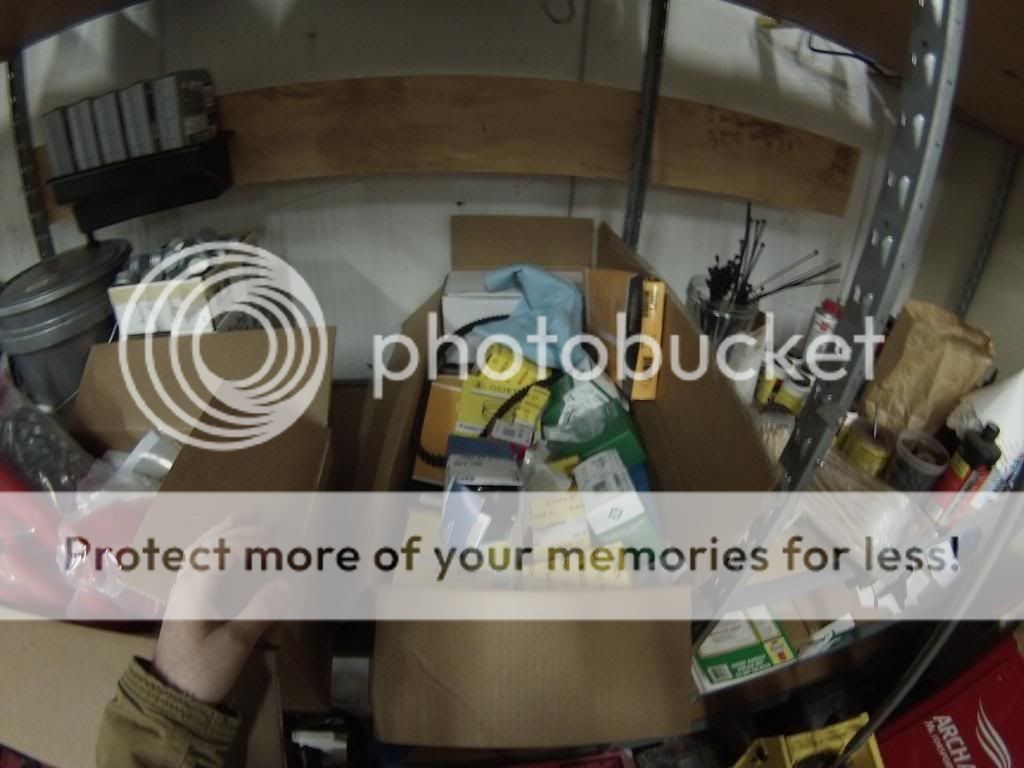
Here’s a list of what was replaced while the engine was apart:
(What, you didn’t think that I was just going to re-ring it did you? Pfft…)
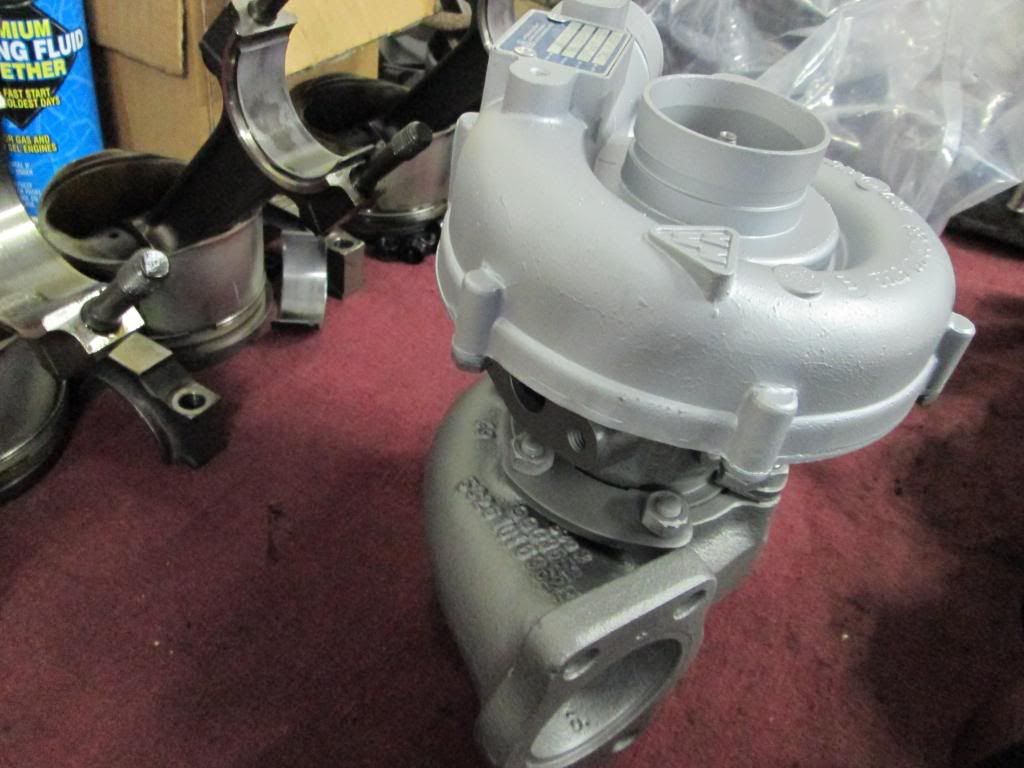
Lindsey Racing fully rebuilt and balanced my K26-6 turbo (or whoever they send their turbo work to)
All threads in the block chased
Rings
Rod bearings
Rod nuts
Main bearings
Alternator belt
P/S belt
Balance shaft belt
Balance shaft tensioner
Timing belt tensioner
Timing belt
Timing belt roller
Aux Roller
Head gasket
Engine front seal kit for cam and countershaft
Cam housing gasket
Valve stem seals
Valve guides
Resurfaced the deck and the head’s mating surface with the deck
Oil filter housing gasket
Front crank seal
Rear crank seal
Aux fan switch 93-88c/85-80c
OEM remanufactured water pump
Distributor cap and rotor
Oil pan gasket
Lindsey Racing oil pan baffle
Oil pump drive sleeve
Rogue A-tune (Autothority chip from P/O went in the garbage, lol )
)
28 pin DME conversion
3 Bar fuel pressure regulator
New OEM fuel jumper line (I already have SS supply/drain lines)
I’ve already replaced all of the damaged vacuum lines before hand
All injectors cleaned and flow tested + new seals by Witch Hunter
Lindsey Racing silicone radiator kit + clamp kit
Lindsey Racing silicone heater control valve kit + clamp kit
Lindsey Racing Silicone intercool hoses
MTX-L wideband A/F gauge
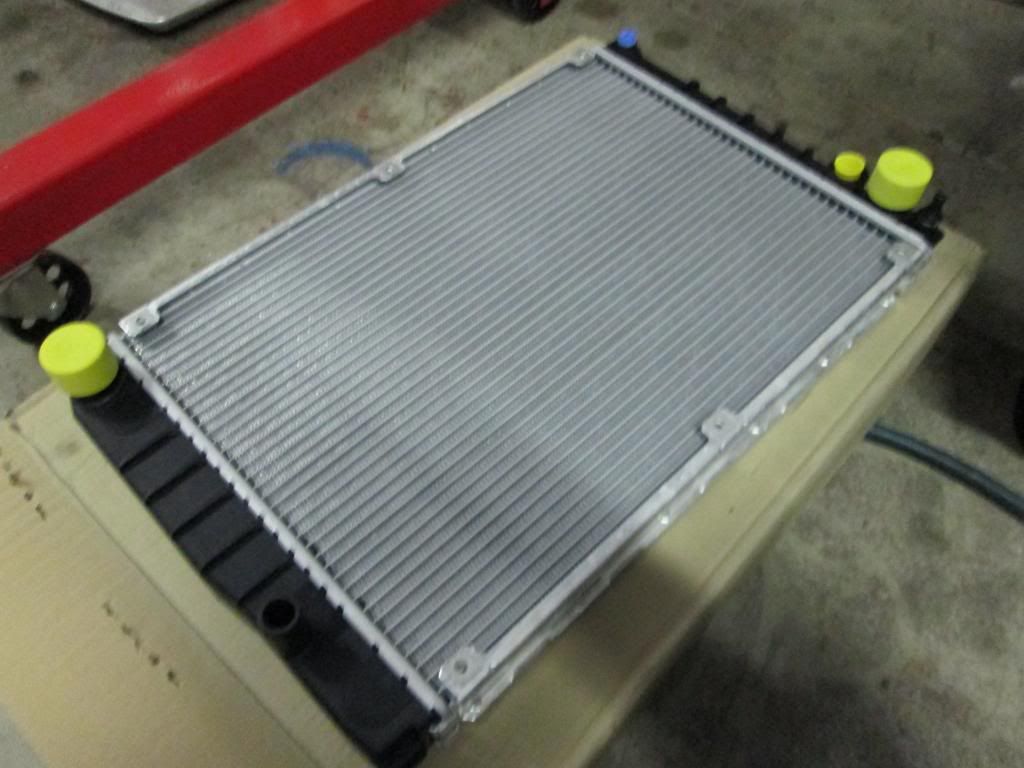
New OEM radiator
ARP Head studs
A number of smaller items like crush washers and o-rings
There are probably over 10 things that I forgot to list, but oh well…my brain hurts now trying to remember all that was done

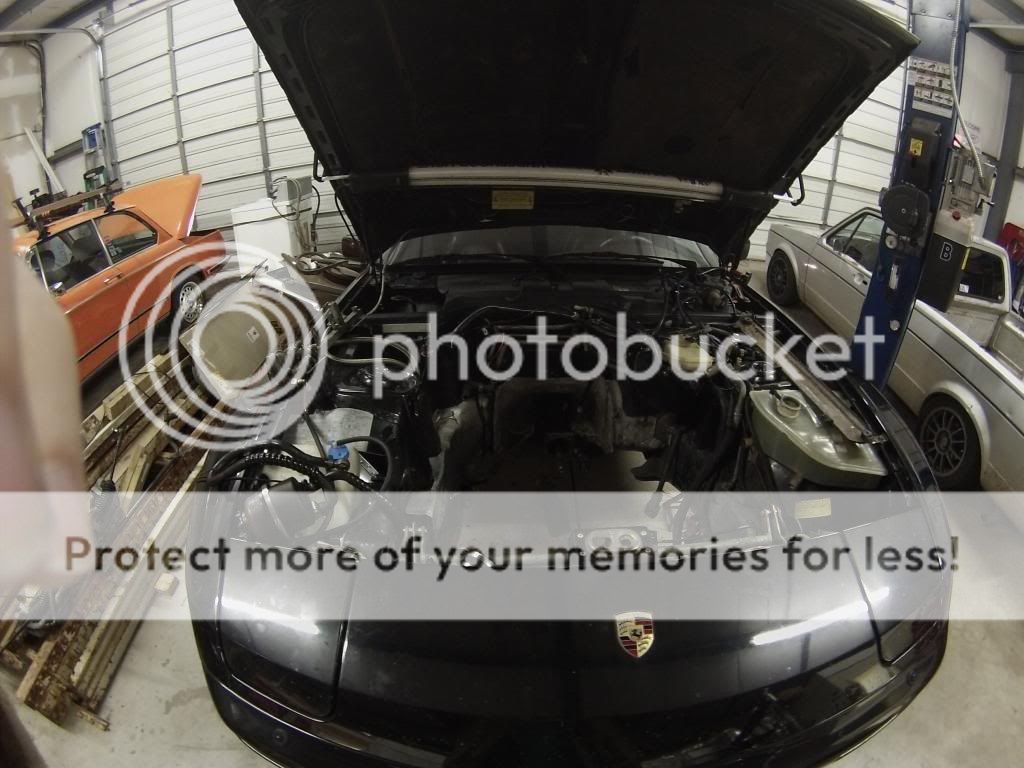
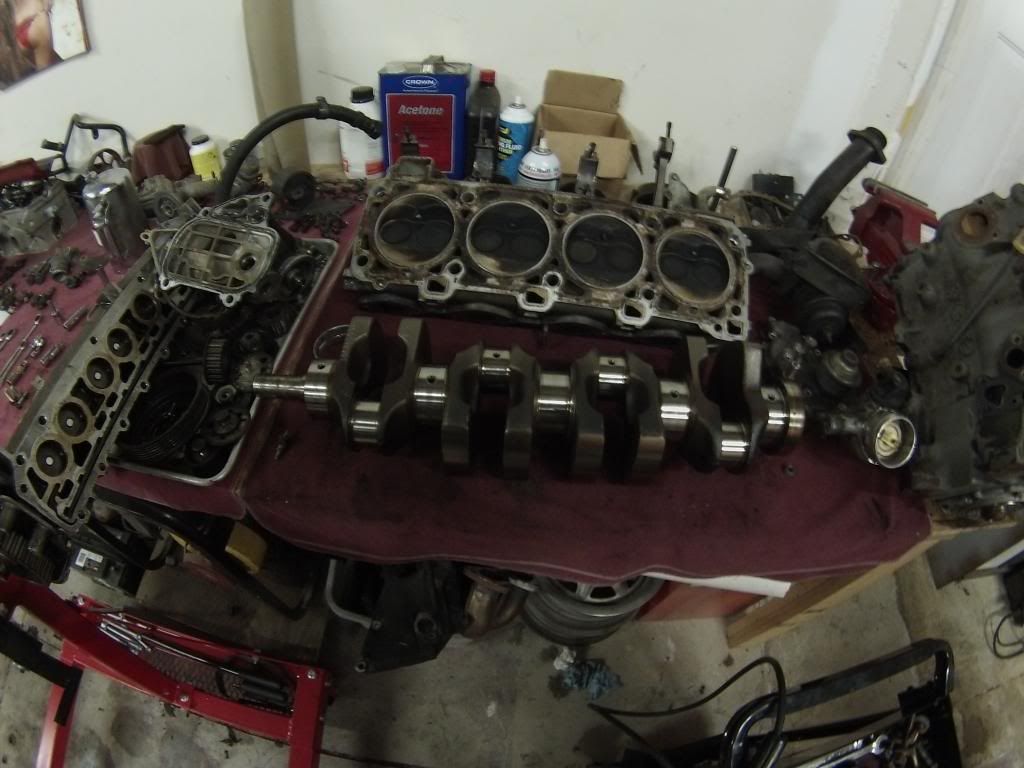
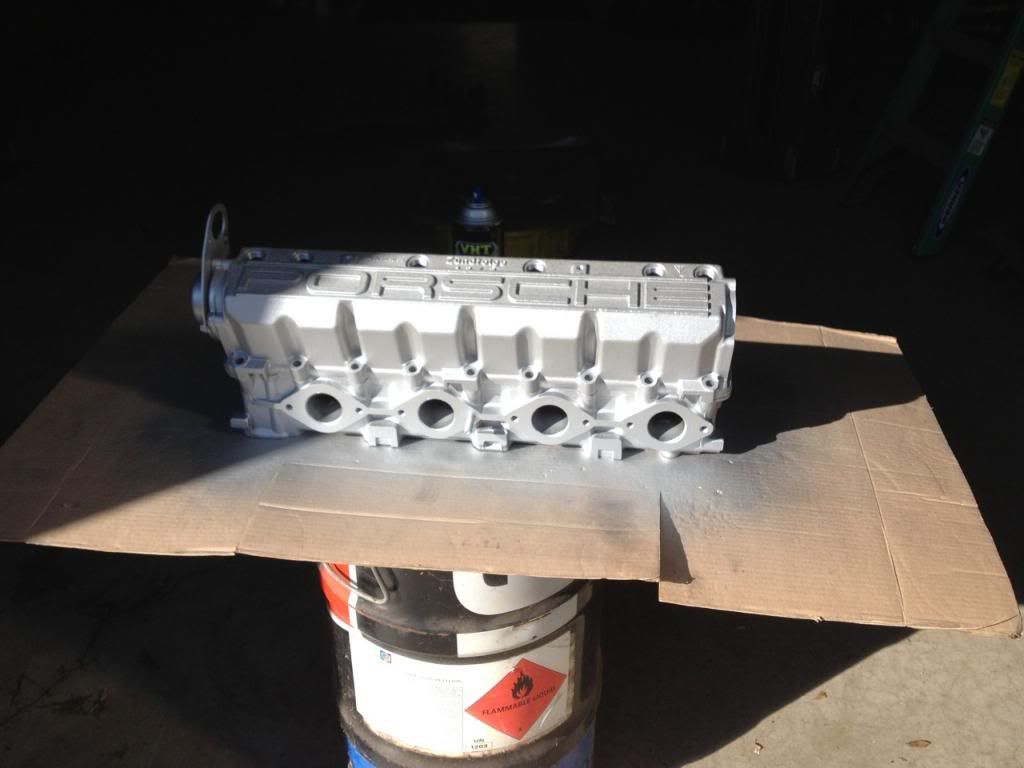
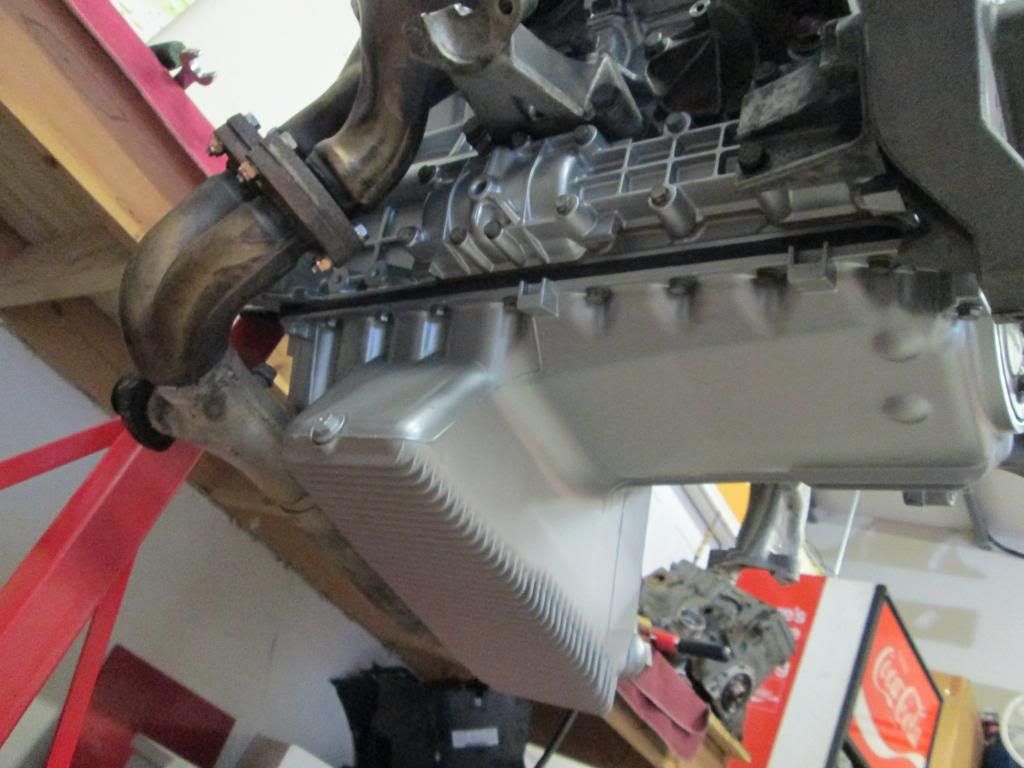
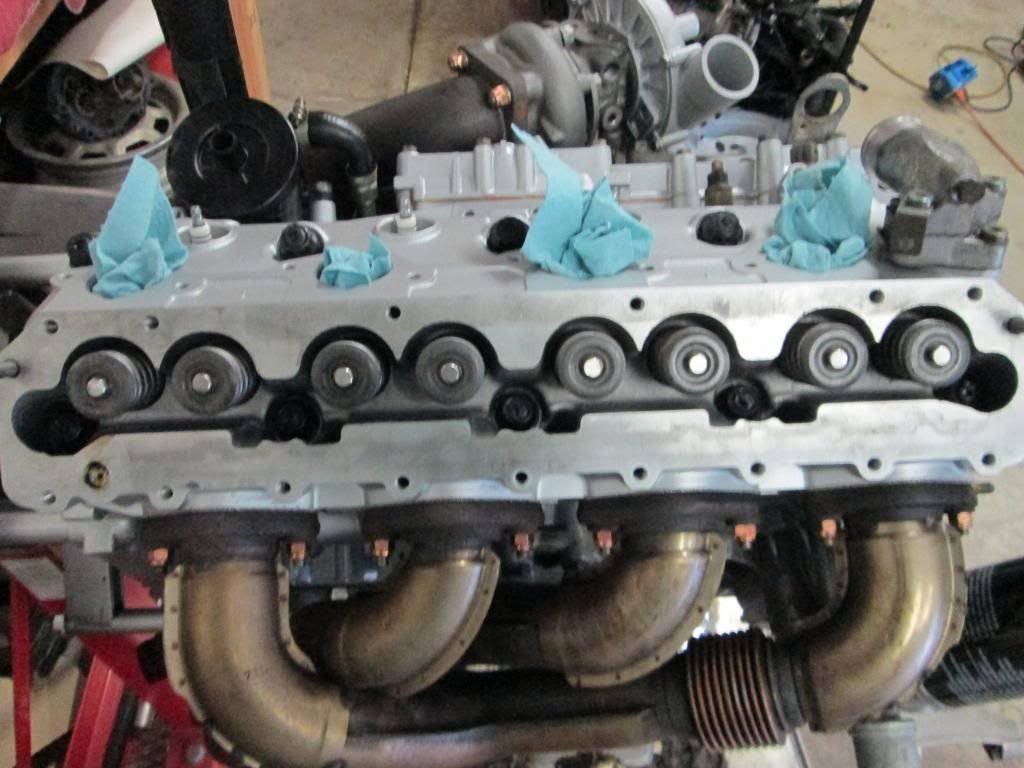
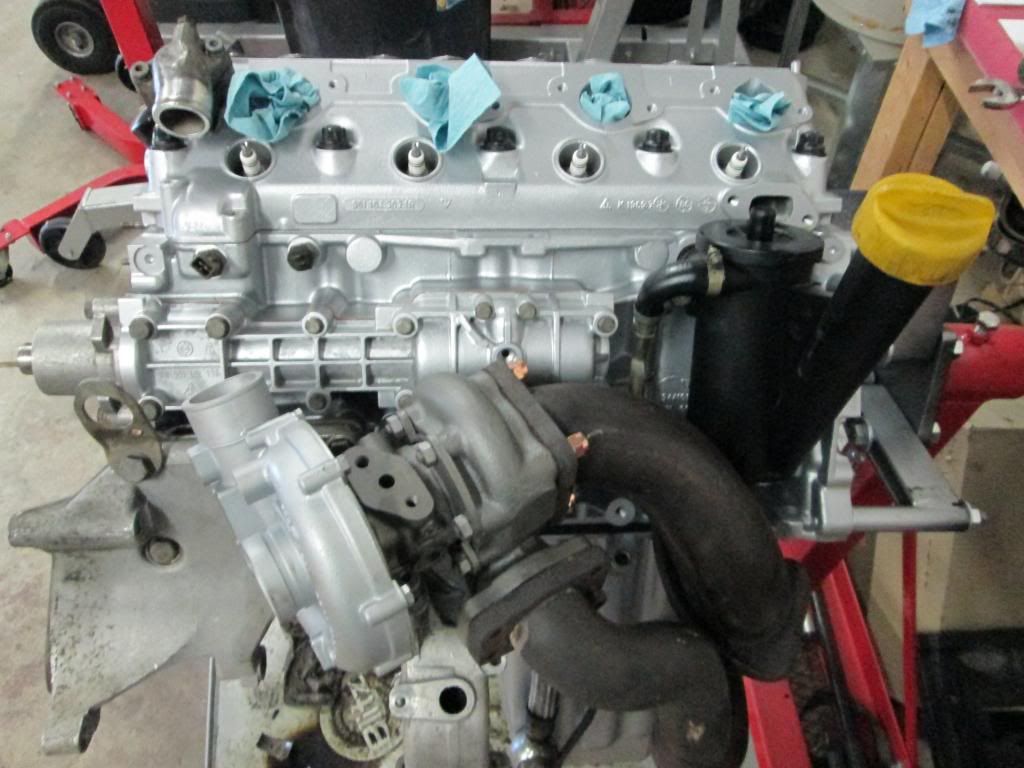
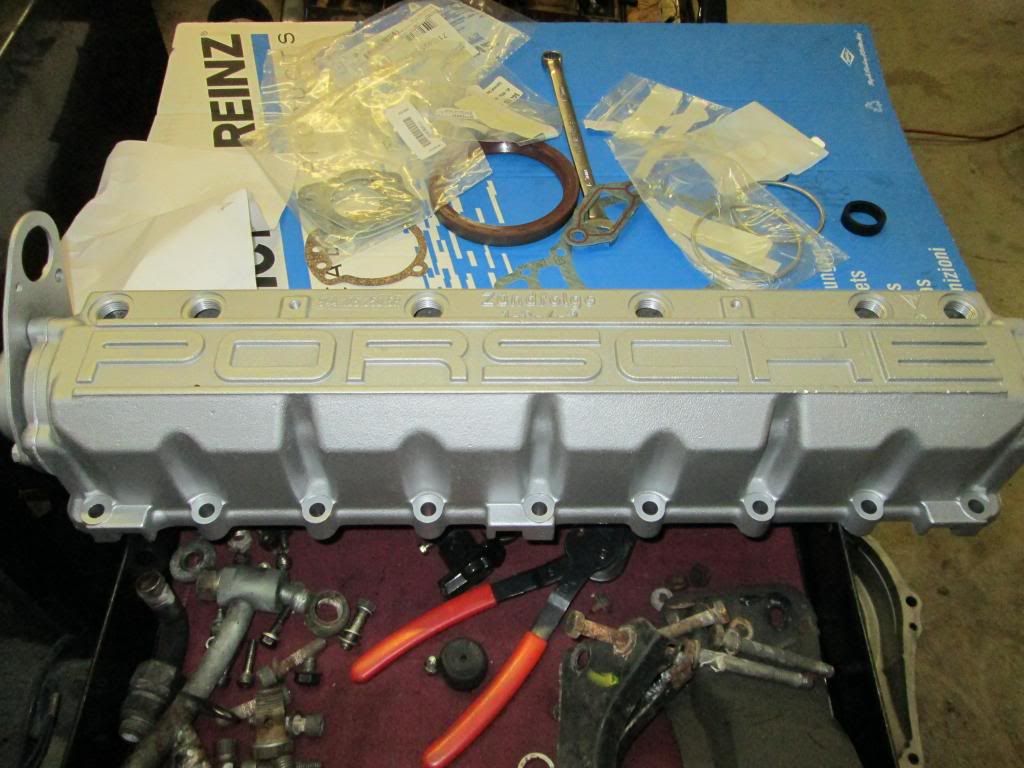
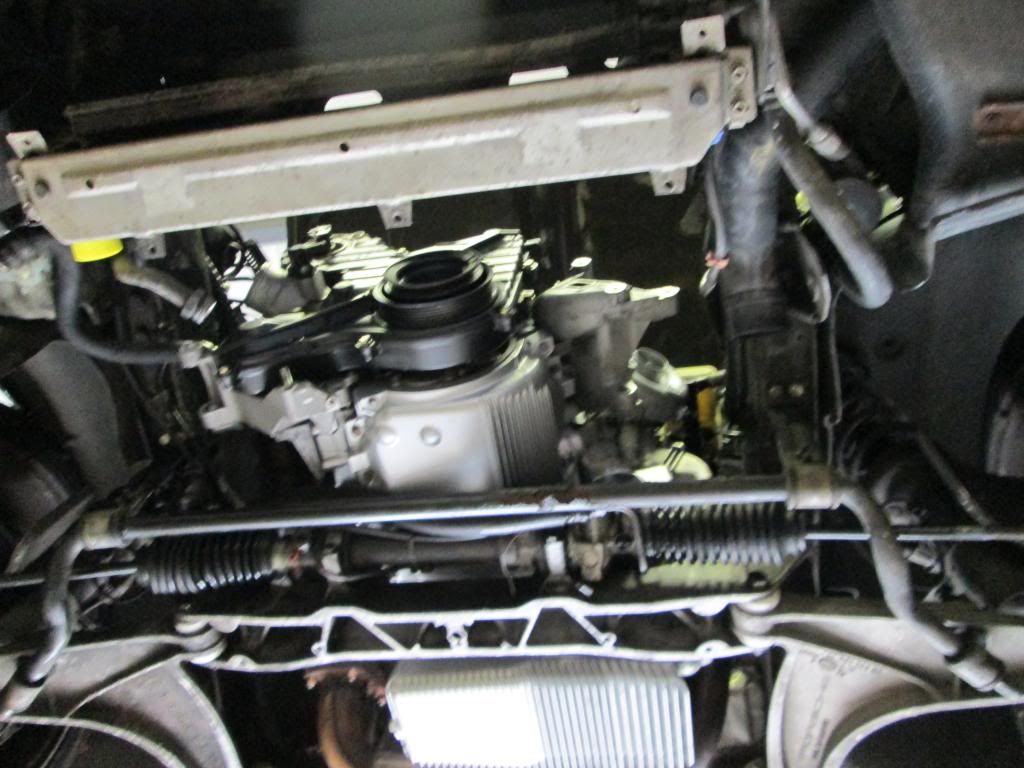
Before:

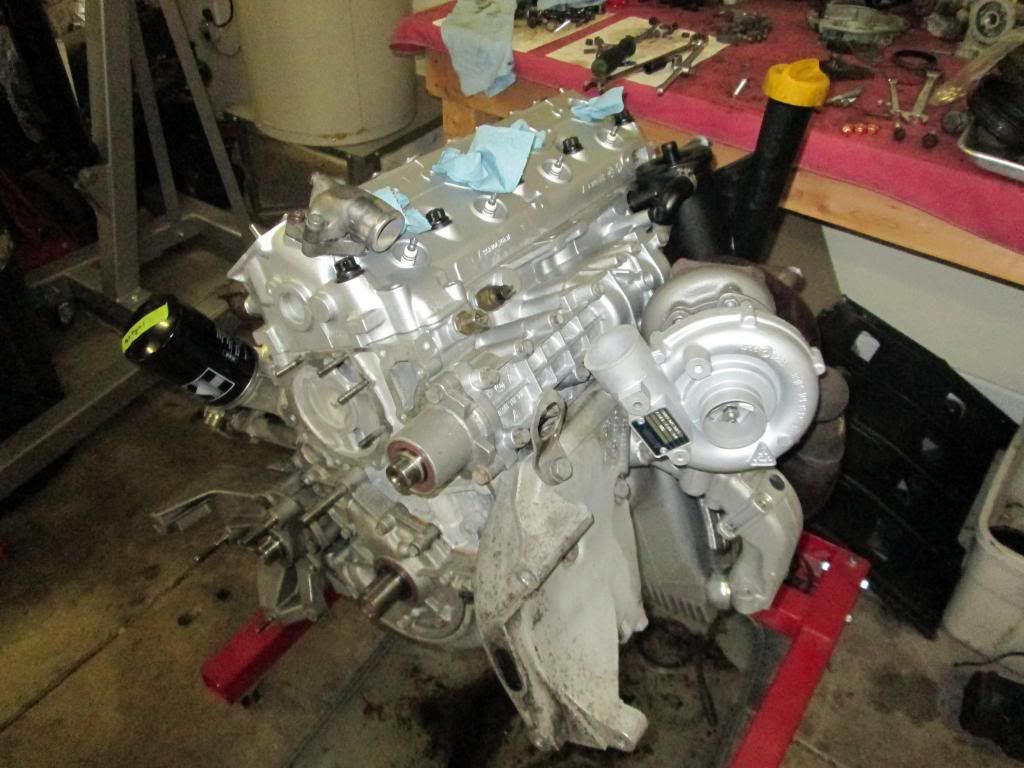
After: (these pictures were before the whole engine was ultrasonically cleaned)
Silicone intercooler hoses
Silicone coolant hoses (replacing old deteriorated rubber hoses)
Here's the rest of the "while your in there" parts. All belts and rollers, tensioner, piston rings, main bearings and connecting rod bearings, all seals and gaskets will be new, valve seals and guides
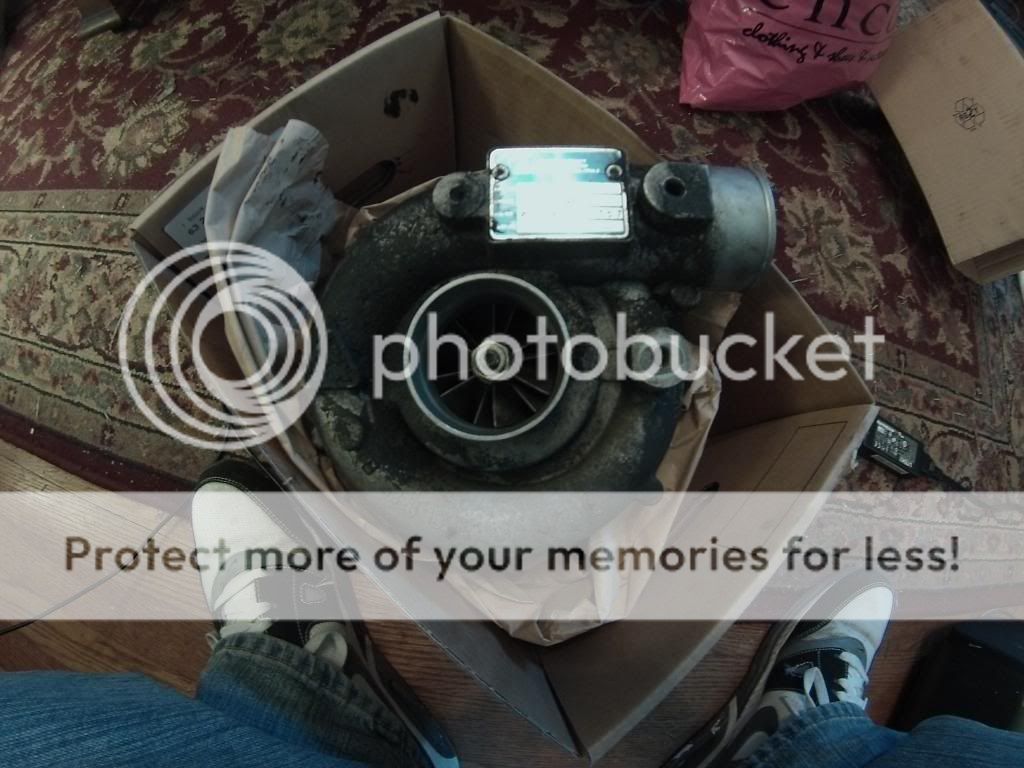
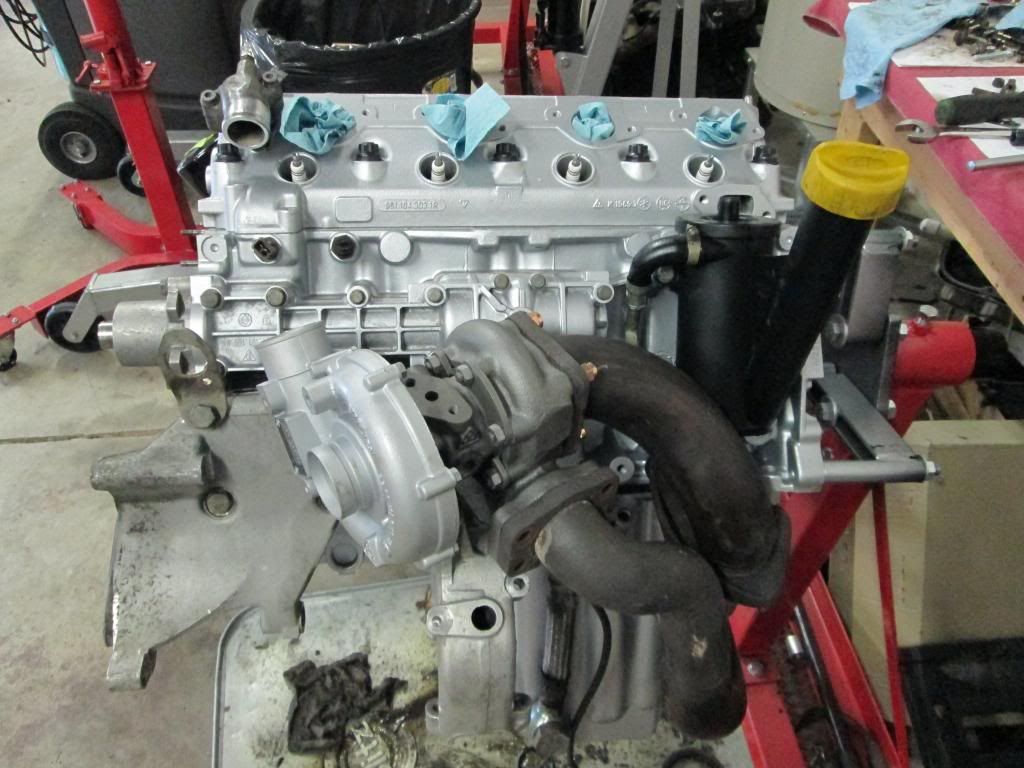
Turbo before the rebuild:
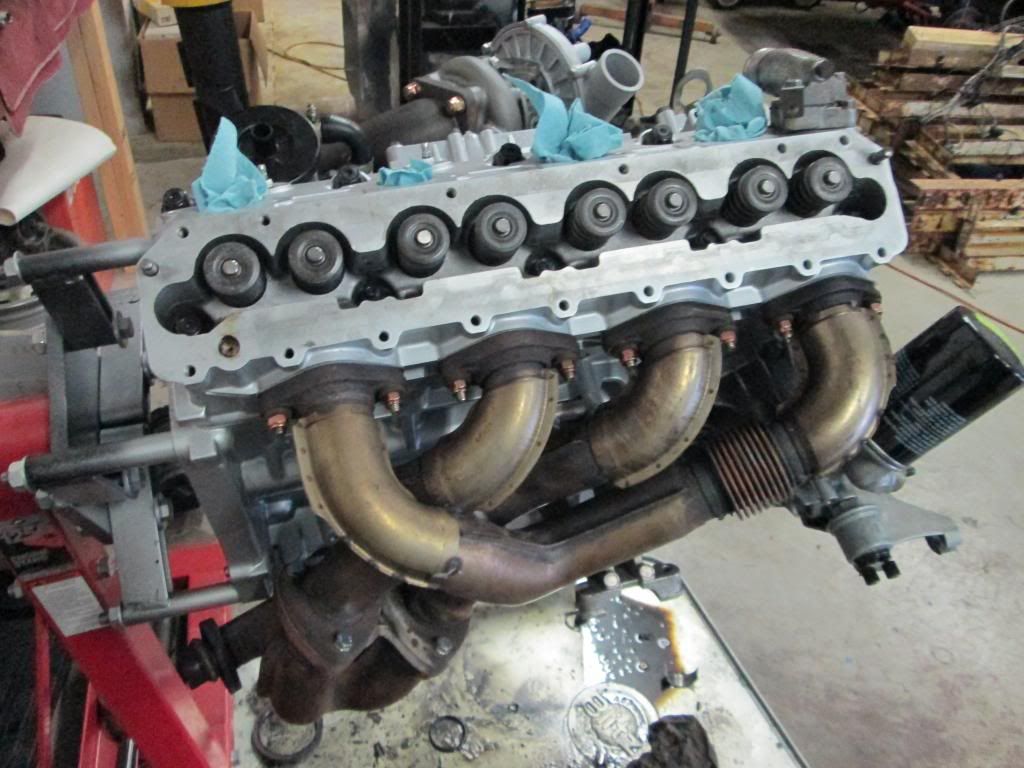
After:


Here are results from my compression test: (The engine has 160K miles on it)
Cyl 1: 130
Cyl 2: 85 (60% leakage)
Cyl 3: 130
Cyl 4: 130
I was pretty pissed at the time. The person who sold me the car had completely lied to me. He sold me a car with low compression in one cylinder that burned oil at a ridiculous rate for a price that was WAY more than it was worth given the condition of the engine. The turbo also had quite a bit of radial play. I know the guy’s name (he said he was a Rennlister) as well as the mechanic that he was referring to, but I don’t know how appropriate it is to list it here. I guess the only thing I had going for me was that the paint and interior were in pretty good shape. So I was faced with two decisions. I could either sell the car for next to nothing and lose thousands of dollars, or I could try to fix what I’ve got. Whatever the choice, I knew that I wasn’t going to turn around and do the same thing to someone else that had happened to me just to save my own a** financially. Honestly, I wouldn’t be able to live with myself knowing that I screwed somebody over as bad as I was.
All of this had happened when I was just beginning college, so I was completely broke and couldn’t do anything about it at the time. I still drove and washed the car every couple of weeks just to keep it from sinking into the ground, but it would always try to overheat in traffic so I never took it far anymore. My car was a significant motivation for me to do well in college and get a good job. After a few years in school, hard work had finally paid off and I got an internship as a Product Validation Engineer for Cummins last summer. For once I was actually making enough money to finance what it would take to restore my car back into the condition that it deserved to be in. So, enough about all of my BS. More about the rebuild!
I looked into buying a replacement engine at first, but after what happened to me, I really didn’t want to place my fate into the hands of the used market again. Besides, most of the 951 engines with low miles that appealed to me cost the same or more than it would cost me to rebuild my engine, so I eventually decided to just rebuild it. Midway into the rebuild I found out that my cylinder walls were slightly out of round, so I had to decide on what to do with the block. I could have gone with sleeves, but I really didn’t want to spend the extra money for new pistons since the ones that I had were perfectly fine. Instead, I took Chris White’s suggestion to Nikasil plate the cylinder walls and have them honed back to the stock displacement. I ended up going with this because I have intensions of racing the car one day and I didn’t want to modify my engine in a way where there’s no turning back. I would much rather be competitive in a lightly modified class rather than get lapped by cars that have tens of thousands of dollars more invested into them than my car.
Here’s a list of what was replaced while the engine was apart:
(What, you didn’t think that I was just going to re-ring it did you? Pfft…)
Lindsey Racing fully rebuilt and balanced my K26-6 turbo (or whoever they send their turbo work to)
All threads in the block chased
Rings
Rod bearings
Rod nuts
Main bearings
Alternator belt
P/S belt
Balance shaft belt
Balance shaft tensioner
Timing belt tensioner
Timing belt
Timing belt roller
Aux Roller
Head gasket
Engine front seal kit for cam and countershaft
Cam housing gasket
Valve stem seals
Valve guides
Resurfaced the deck and the head’s mating surface with the deck
Oil filter housing gasket
Front crank seal
Rear crank seal
Aux fan switch 93-88c/85-80c
OEM remanufactured water pump
Distributor cap and rotor
Oil pan gasket
Lindsey Racing oil pan baffle
Oil pump drive sleeve
Rogue A-tune (Autothority chip from P/O went in the garbage, lol
)28 pin DME conversion
3 Bar fuel pressure regulator
New OEM fuel jumper line (I already have SS supply/drain lines)
I’ve already replaced all of the damaged vacuum lines before hand
All injectors cleaned and flow tested + new seals by Witch Hunter
Lindsey Racing silicone radiator kit + clamp kit
Lindsey Racing silicone heater control valve kit + clamp kit
Lindsey Racing Silicone intercool hoses
MTX-L wideband A/F gauge
New OEM radiator
ARP Head studs
A number of smaller items like crush washers and o-rings
There are probably over 10 things that I forgot to list, but oh well…my brain hurts now trying to remember all that was done
Before:
After: (these pictures were before the whole engine was ultrasonically cleaned)


Silicone intercooler hoses
Silicone coolant hoses (replacing old deteriorated rubber hoses)
Here's the rest of the "while your in there" parts. All belts and rollers, tensioner, piston rings, main bearings and connecting rod bearings, all seals and gaskets will be new, valve seals and guides
Turbo before the rebuild:
After:


 05-22-2013, 12:41 PM
#6
Intermediate
Thread Starter
Join Date: Aug 2009
Location: Athens, GA
Posts: 43
Likes: 0
Received 0 Likes
on
0 Posts
Sean, unfortunately I still haven't driven it yet.  I had to move to Indiana (only for this summer) before it was finished, but I'm sure I will get to drive it soon enough. For the time being, I'm just going to have my Dad break the engine in for me until I come back.
I had to move to Indiana (only for this summer) before it was finished, but I'm sure I will get to drive it soon enough. For the time being, I'm just going to have my Dad break the engine in for me until I come back.

Trending Topics
05-22-2013, 08:40 PM
#8
Rennlist Member
How did you determine/measure that the bores were out of round?
What ring set did you use w/ the nikasil coating?
Had this done by US Chrome directly, or did you go thru an engine builder to have it done?
What ring set did you use w/ the nikasil coating?
Had this done by US Chrome directly, or did you go thru an engine builder to have it done?
05-23-2013, 12:36 AM
#9
Intermediate
Thread Starter
Join Date: Aug 2009
Location: Athens, GA
Posts: 43
Likes: 0
Received 0 Likes
on
0 Posts
I had a local shop do all of the work for me, so I didn't measure the block myself, but the shop owner had a special tool made just for measuring bores. I believe they are called cylinder dial bore gauges. The bores were both out of round and overbore.
As for the rings, the factory rings that you would use in an Alusil bore were used. I spoke to Chris White specifically about this and he assured me that there is no need to change to different rings or pistons with Nikasil.
I had Millenium Technologies take care of Nikasil plating the cylinder walls and then ship the block back to me.
Last edited by Greendomize; 05-23-2013 at 08:36 AM.
05-23-2013, 09:26 AM
#10
Three Wheelin'
I had US Chrome do this on a block. The cylinders turned out beautiful, but UPS broke the block during return shipping. I had it welded and ran it for while, but yanked it after the weld repair was not working out. It ran really strong but is now collecting dust on the shelf. I used the 965 rings based on the recommendation from a JE Piston engineer and they had a nice even wear pattern.
The only real problem to overcome with this method is the removal and replacement of ALL ferrous metal parts from the block. Some of the parts are not available from Porsche, so they have to be created or discovered in the 911 parts bin. Oil galley plugs, bearing retainer pins, locating dowels, head and main girdle studs etc. Prior to plating, the block is dipped in a caustic solution that destroys iron. I learned two things during the process, at least. Strip the block yourself if you want it done right, and ship it FedEx with multiple layers of foam or do the Lart expanding flammable foam packing method.
Thanks for sharing your build. I look forward to your feedback on how it runs.
05-23-2013, 05:07 PM
#11
Intermediate
Thread Starter
Join Date: Aug 2009
Location: Athens, GA
Posts: 43
Likes: 0
Received 0 Likes
on
0 Posts
That sucks. Where did the block break? How bad was it?
Why did the JE Engineer say that the 965 rings were better? I beleive 965's come with Nikasil cylinder walls, don't they?
Why did the JE Engineer say that the 965 rings were better? I beleive 965's come with Nikasil cylinder walls, don't they?