
coming alone nicely, my build, fresh update sept 20

 09-07-2009, 12:39 AM
#47
Rennlist Member
Thread Starter
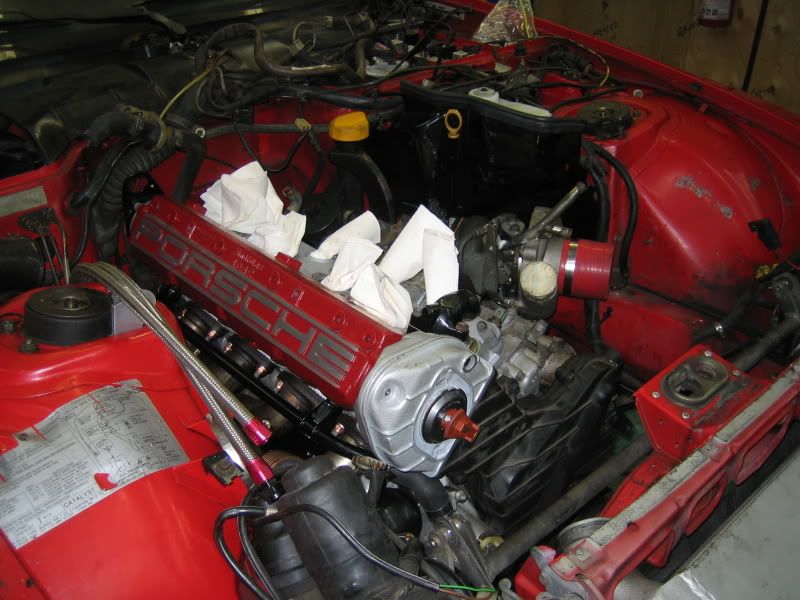
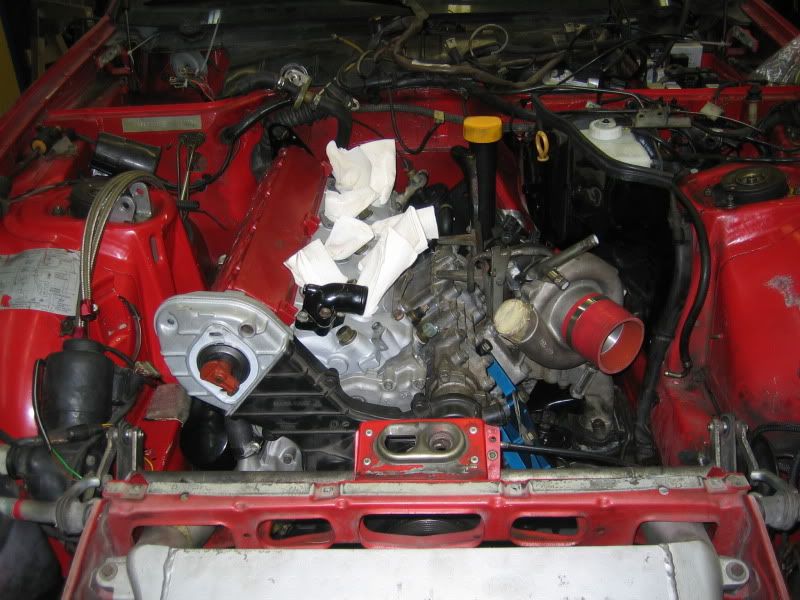
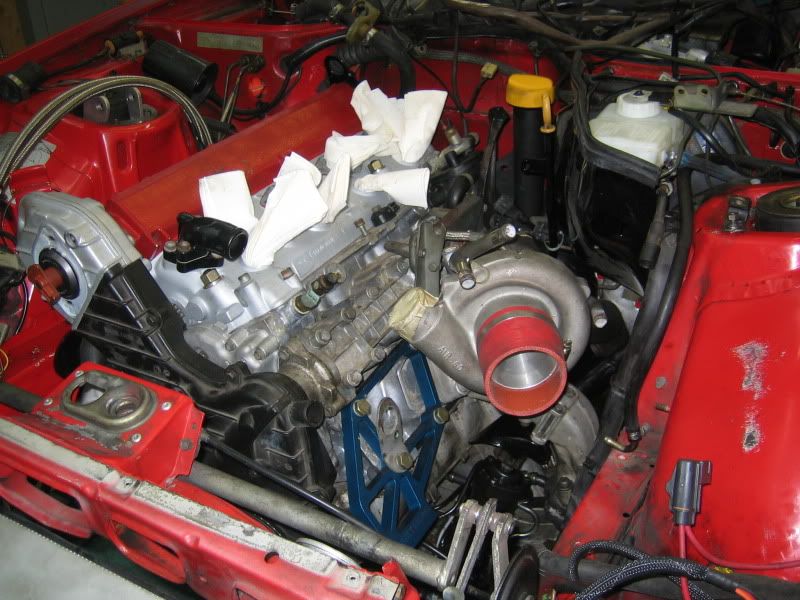
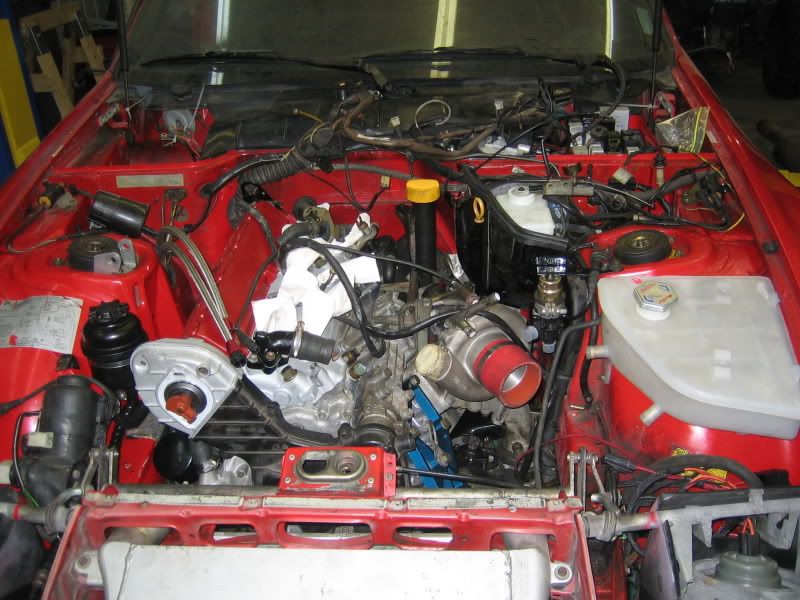
after a lot of work, the motor is finally back in,
big thanks to sysgen(st�phane), daredevil(derek), nick and my mecano simon. Without you guys, it would of be impossible
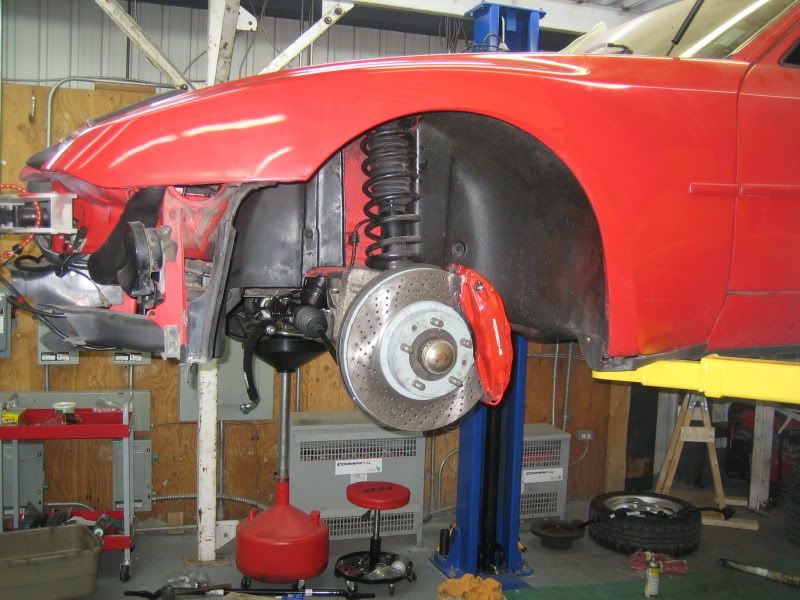
now the pics!
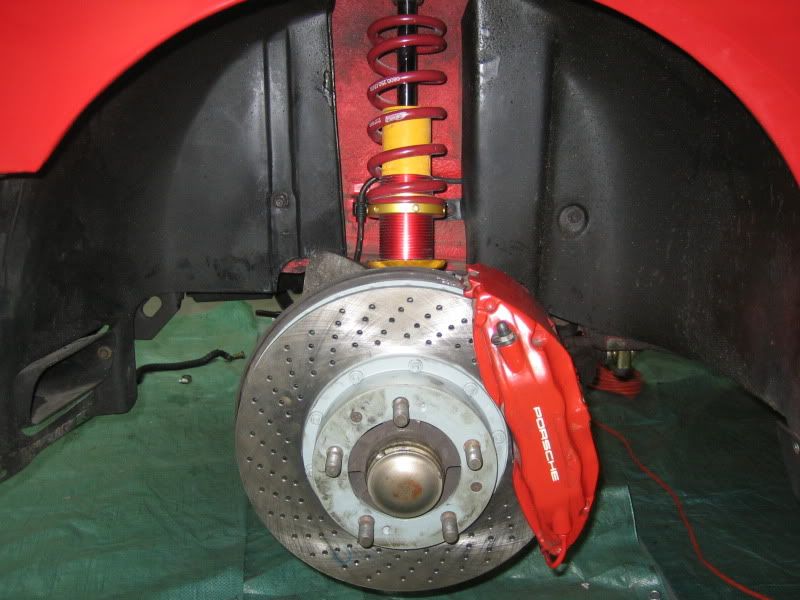
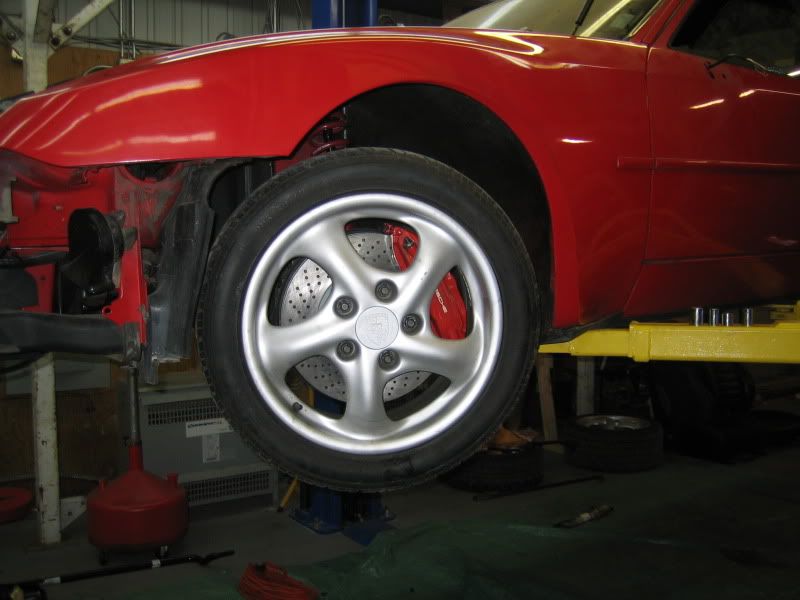
and a picture of the brake upgrade
big thanks to sysgen(st�phane), daredevil(derek), nick and my mecano simon. Without you guys, it would of be impossible
now the pics!
and a picture of the brake upgrade
 09-07-2009, 01:06 AM
#49
Drifting
For paint on my underhood items and mostly everything on the car, I use High temp engine enamel. Can find it at most auto stores. Normally over 5 bucks a can and sprays very nicely and covers awesome. I've painted all my shields and dip sticks tubes along with everything else I could under the hood of both cars and it holds up well. Powdercoat is baked at 400 or so...so I would be iffy having it close to the turbo (even the intake). High temp engine paint is generally 600 or even as high as 1000-1200. My S2 has EVERYTHING painted with it. It cleans things up very nicely.
Good looking motor though. Glad to see someone not afraid to tackle a big project like a heart repair!
Also, may have missed it but what brakes did you go with? Did you refinish the calipers? If so, how?
Good looking motor though. Glad to see someone not afraid to tackle a big project like a heart repair!
Also, may have missed it but what brakes did you go with? Did you refinish the calipers? If so, how?
09-07-2009, 01:32 AM
#50
Rennlist Member
Not long now. Looking very nice!
09-07-2009, 01:46 AM
#51
Burning Brakes
Looks great, but that lift arm is smashing your fender and trim piece… happened to mine too, so I'm trying a heat gun to straiten out the trim piece. I had to bend the fender parts back too.
09-07-2009, 10:03 PM
#52
Rennlist Member
Thread Starter
thx everyone
few other pictures of today's work, ps pump, belt,reservor, alternator install and moding the shroud, radiator, coolant tank, aux water pump...
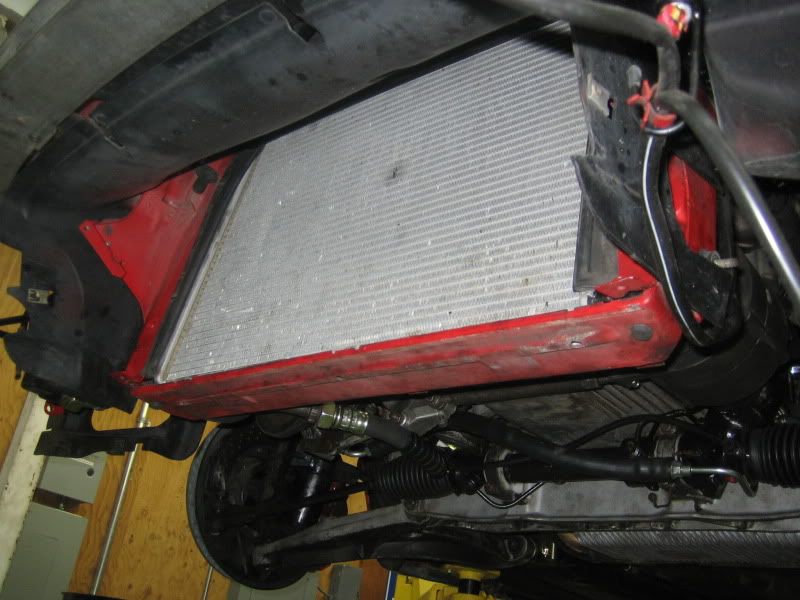
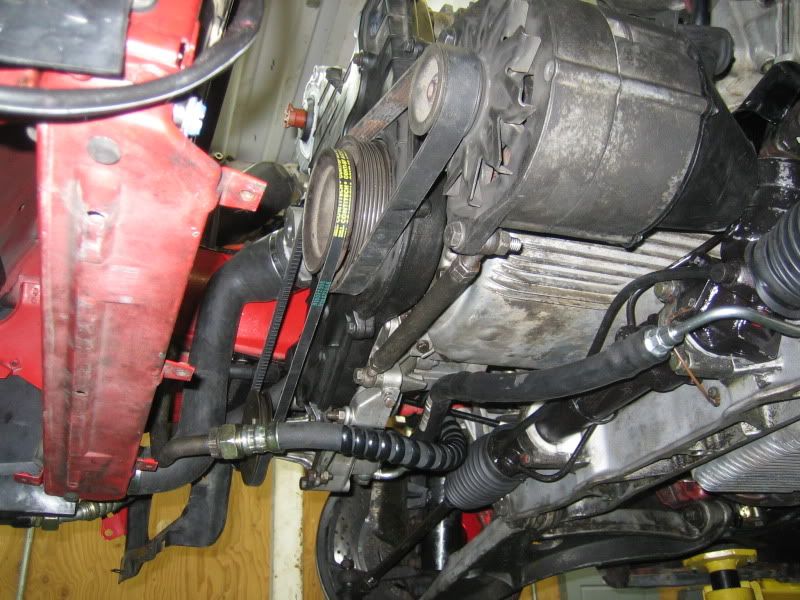
few other pictures of today's work, ps pump, belt,reservor, alternator install and moding the shroud, radiator, coolant tank, aux water pump...
09-20-2009, 05:58 PM
#53
Rennlist Member
Thread Starter
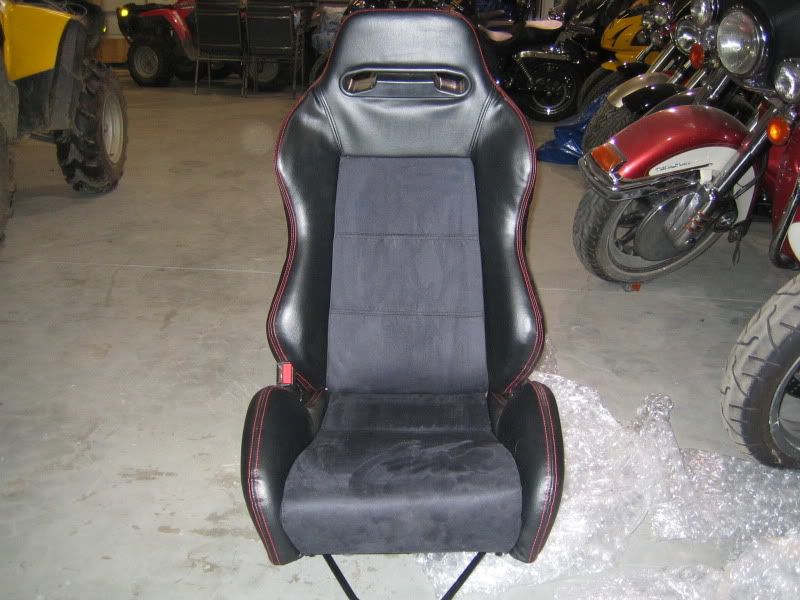
seats arrival
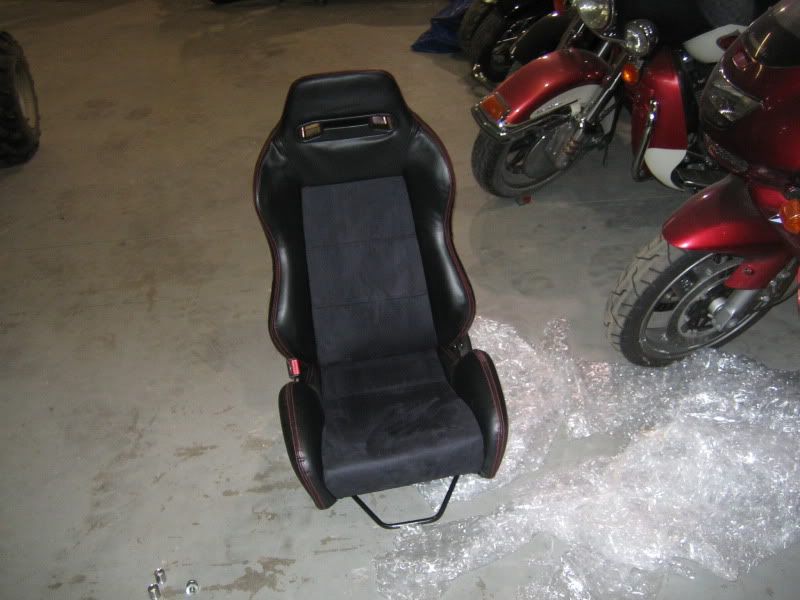

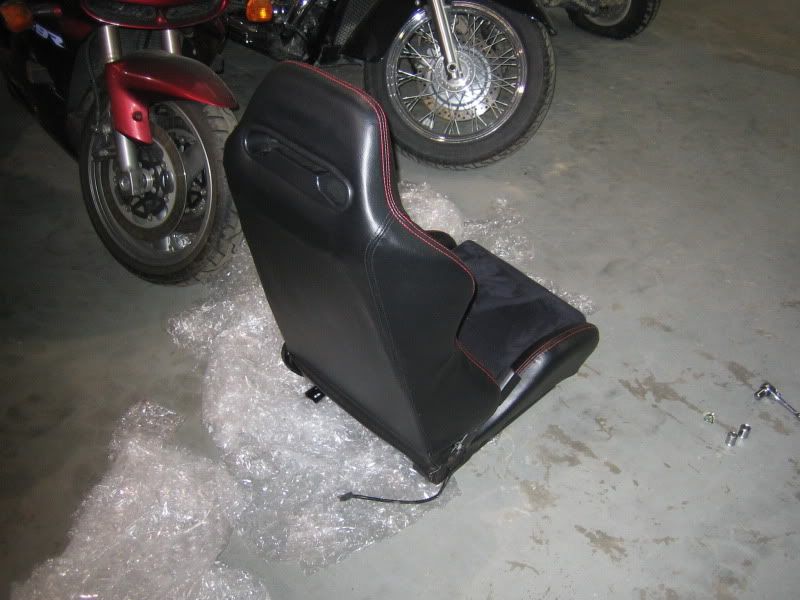
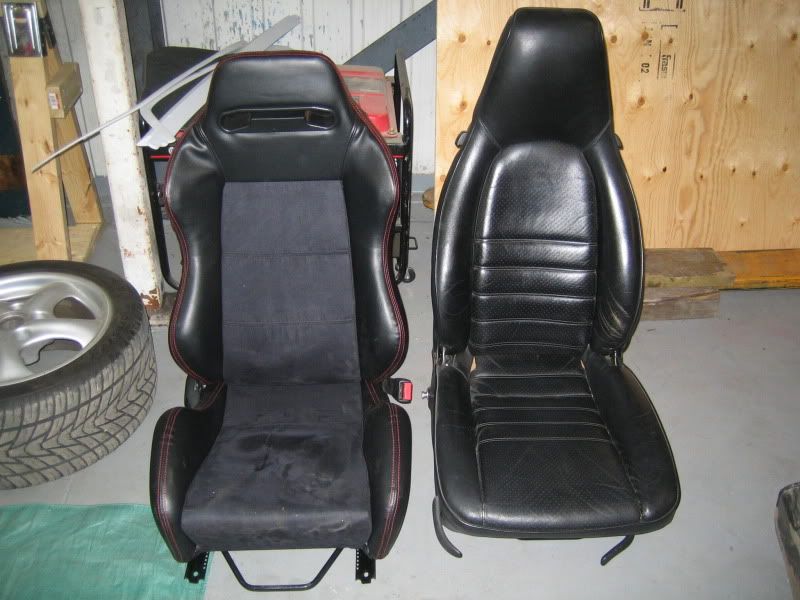
seat difference
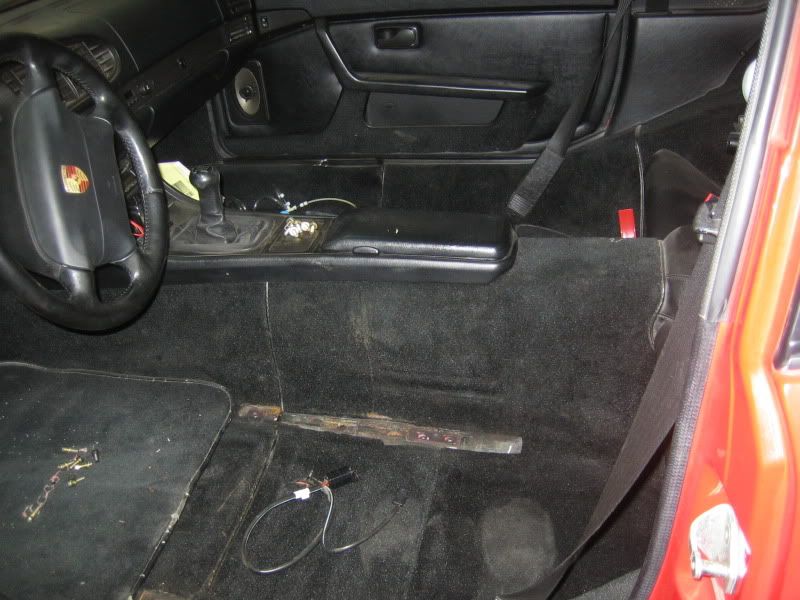
seats delete
968 door handle install
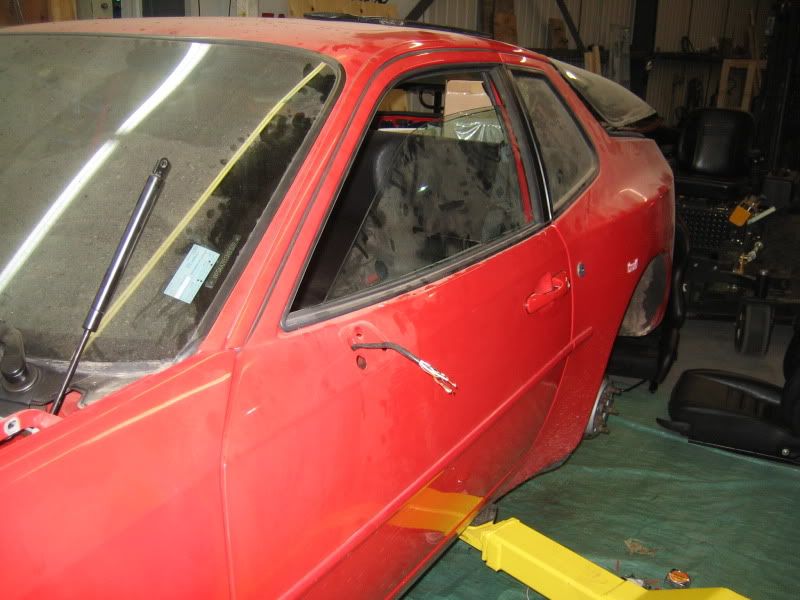
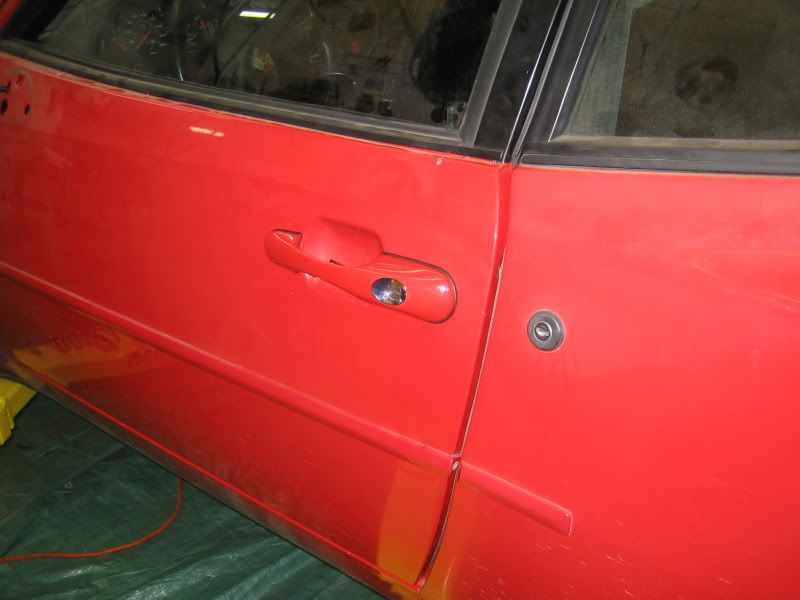
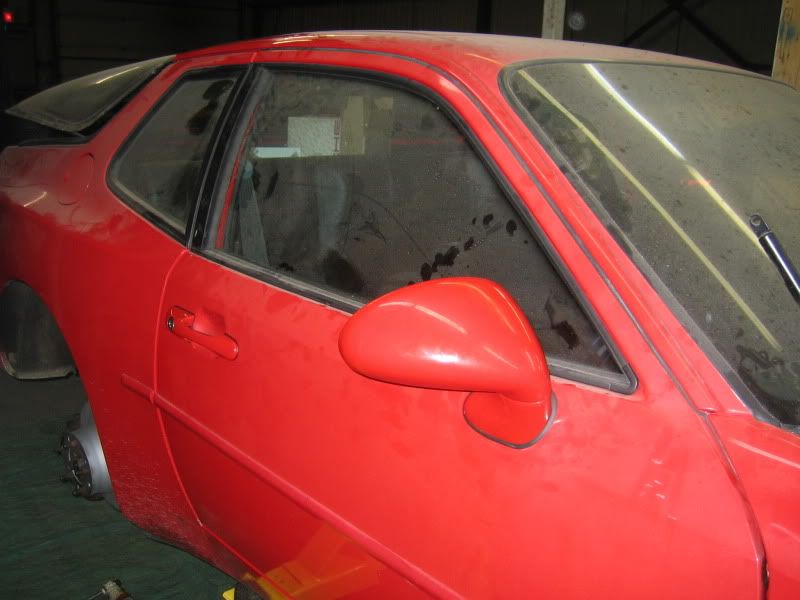
968 door handle install and 1x 968 mirror
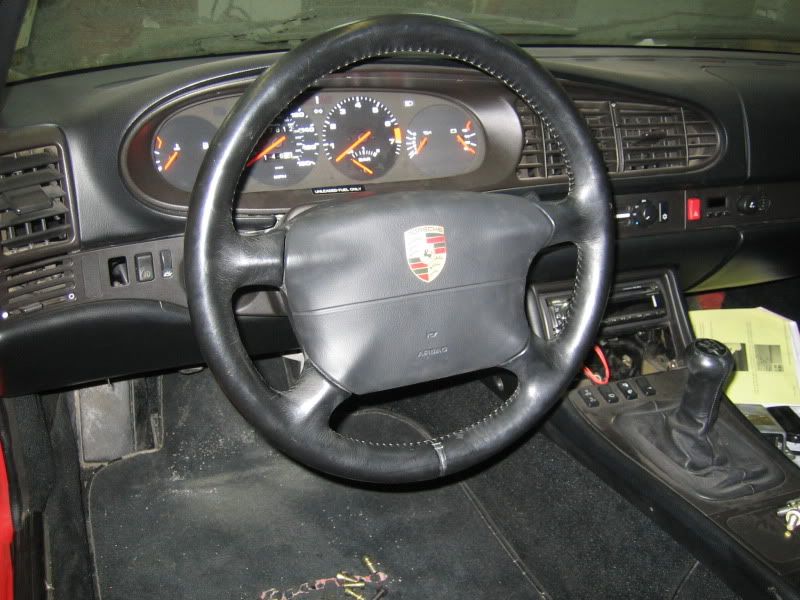
new steering wheel
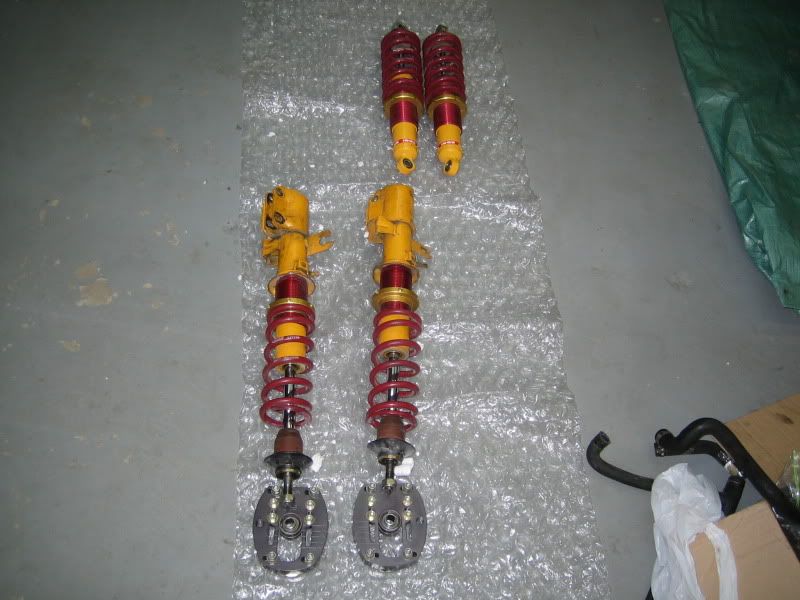
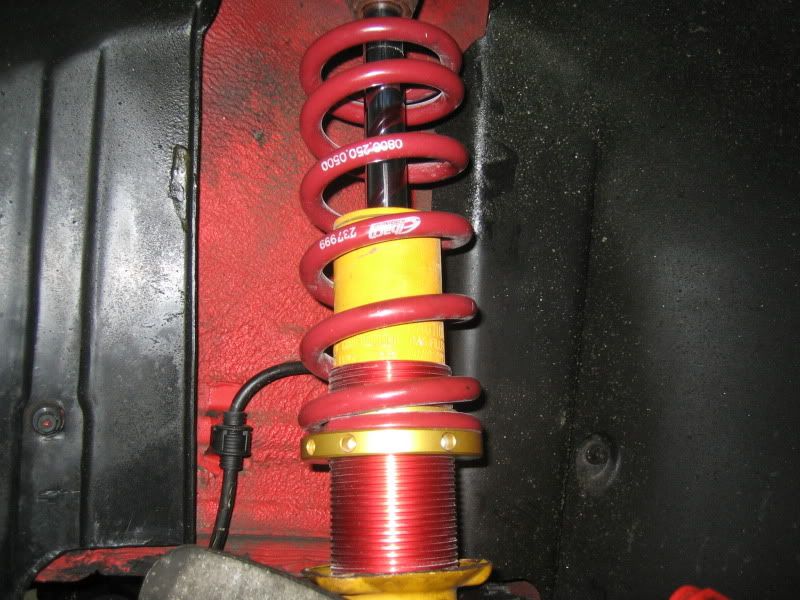
shocks arrival and install
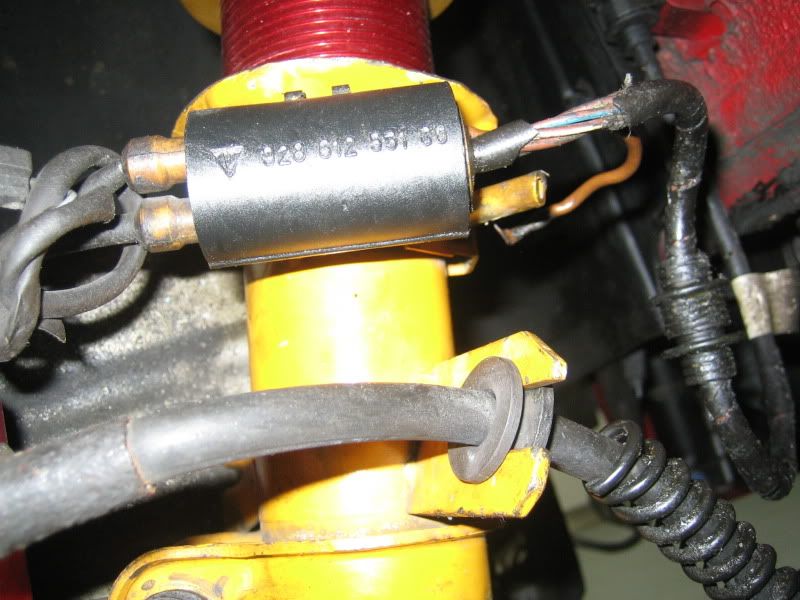
where do I attach the brown wire, there is no screw like my other shock
still a lot to do, but its going good
seat difference
seats delete
968 door handle install
968 door handle install and 1x 968 mirror
new steering wheel
shocks arrival and install
where do I attach the brown wire, there is no screw like my other shock
still a lot to do, but its going good
 09-20-2009, 07:14 PM
#57
Rennlist Member
Thread Starter
 09-20-2009, 07:15 PM
#59
Rennlist Member
Thread Starter
 09-20-2009, 07:17 PM
#60
Rennlist Member
Thread Starter
i received them like that, im really happy of the look and the sitting position/confort
stock seats are heavier for sure, but i dont have any weight
my project is about to finish soon
 thanks