When you click on links to various merchants on this site and make a purchase, this can result in this site earning a commission. Affiliate programs and affiliations include, but are not limited to, the eBay Partner Network.
Or you could make a press using a vice, bolt and socket
Tried this method. One got loose, but the other two, not a chance.
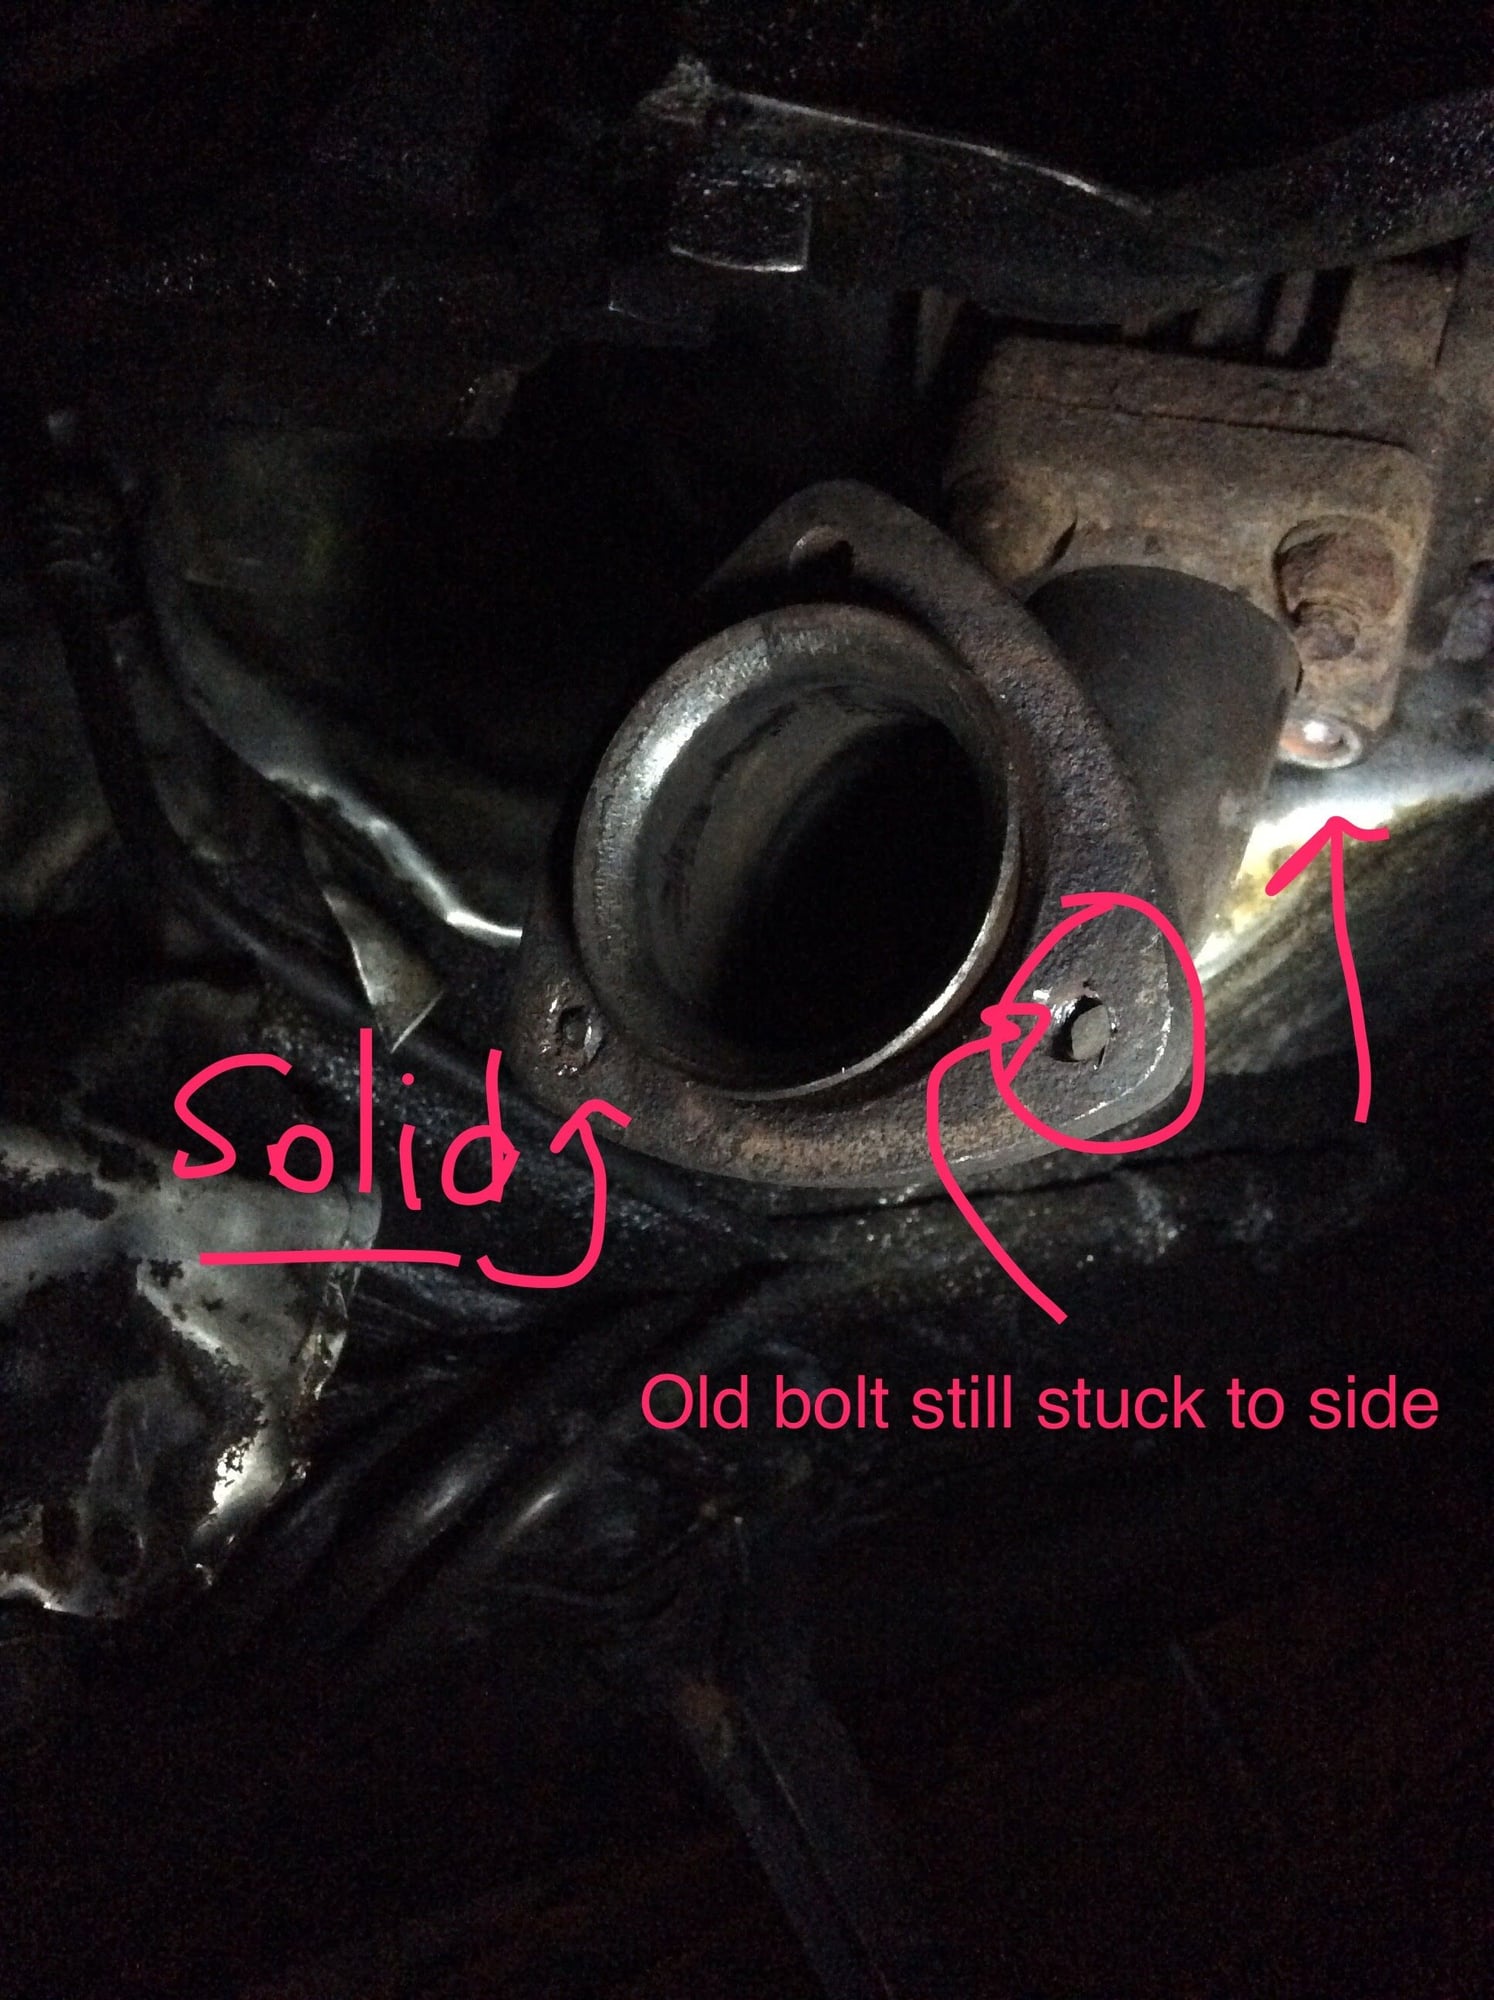
Went to take off the pipe.. despite heating it up, very quickly broke the first stud on the Wastegate. Mr Wastegate, I will leave you alone for now
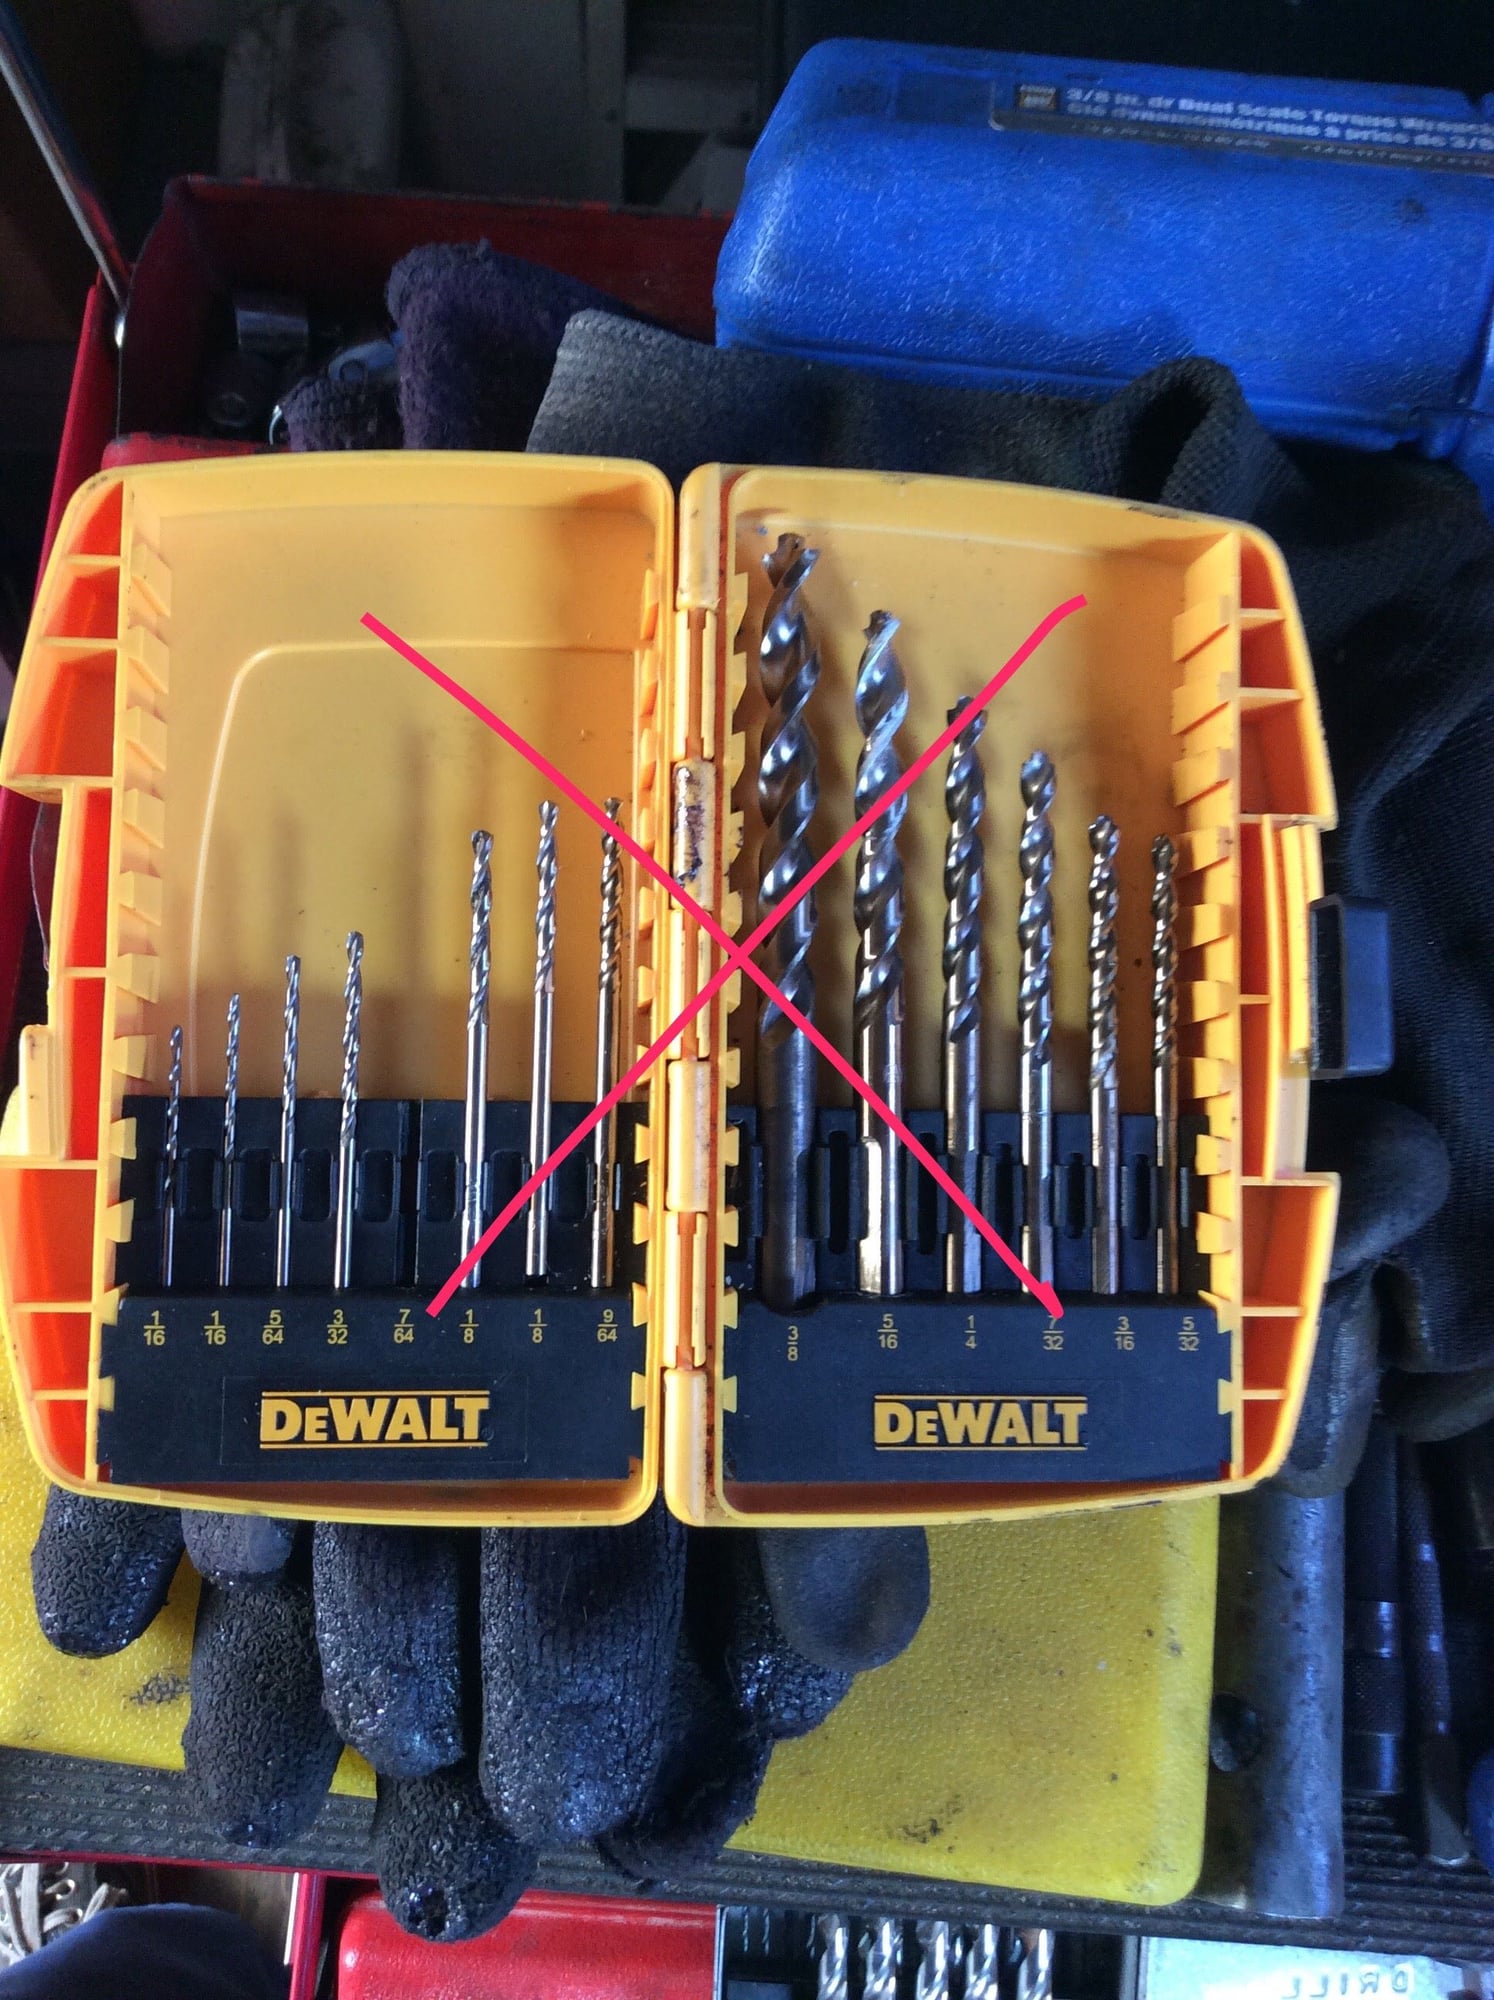
Went for the drill approach. Much time and multiple drill bits later, finally got one hole done. I feel like I'm drilling a solid piece of flange.
You can still see parts of the original bolt (shiny silver) in the hole!
I don't recall this situation in any of the write-ups lol
And.. what are these particular bolts made of? I keep going through drill bits.. HSS and Cobalt.. they dull very quickly, with little progress. What the heck? My drilling of a downpipe stud went very easy (?)
I guess studs are soft while bolts are hard?
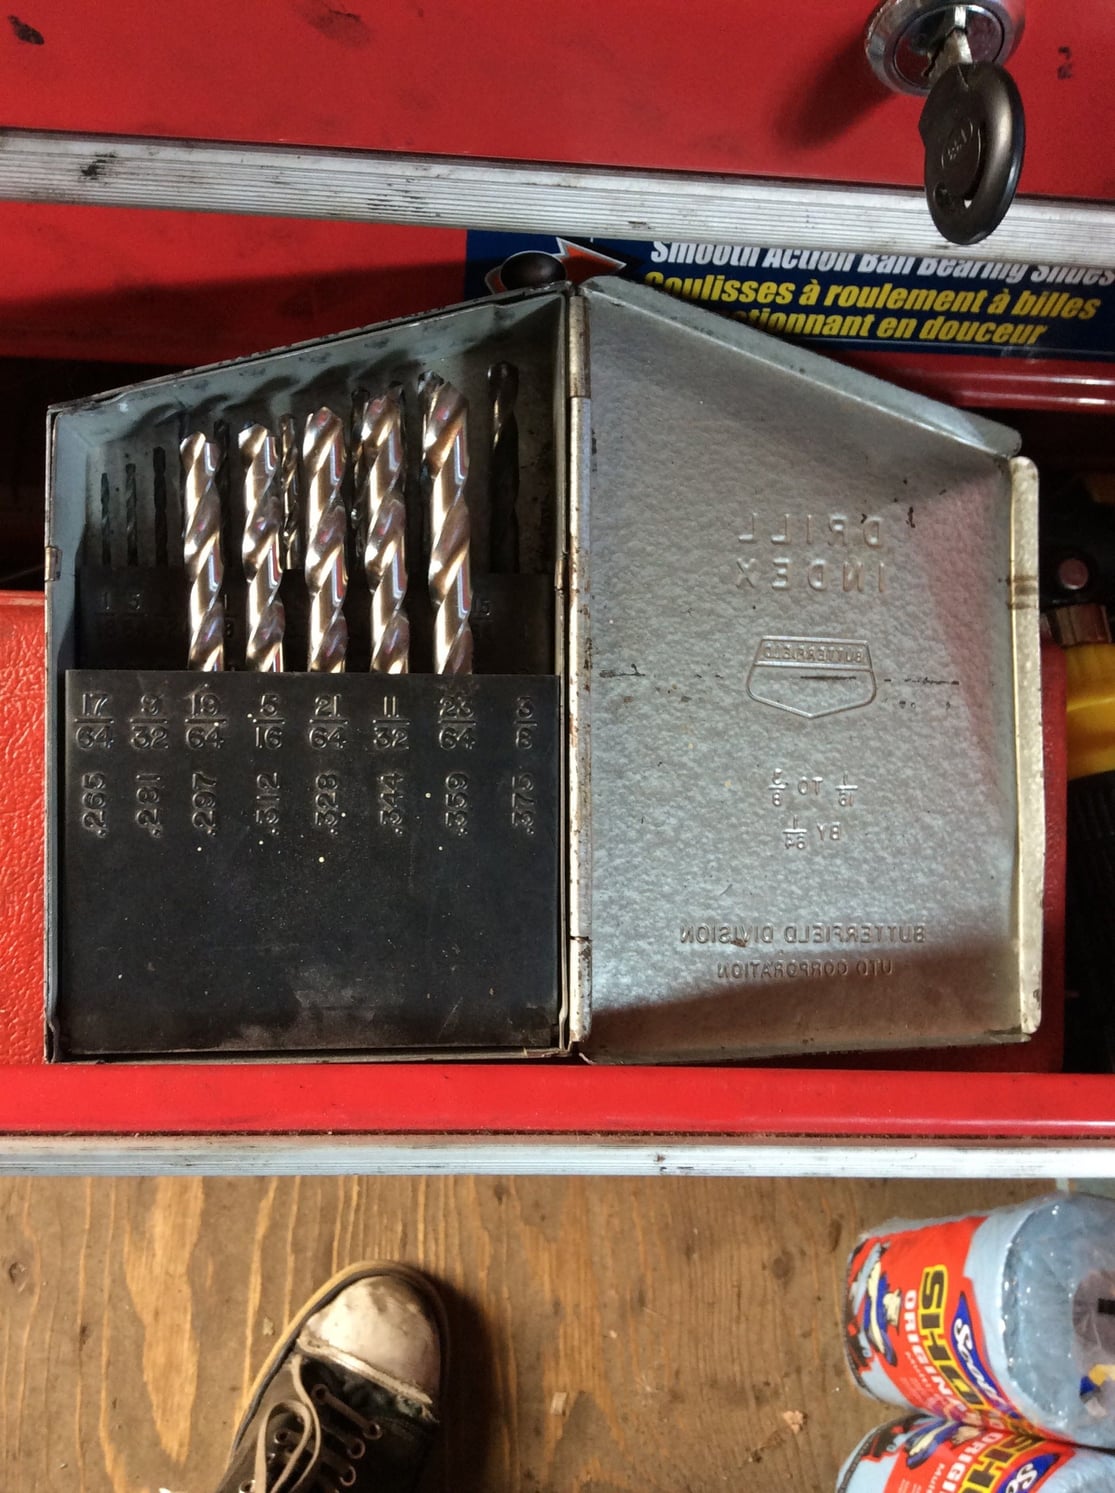
One more hole to go.. but I'm out of bits of a suitable size. This is ridiculas.
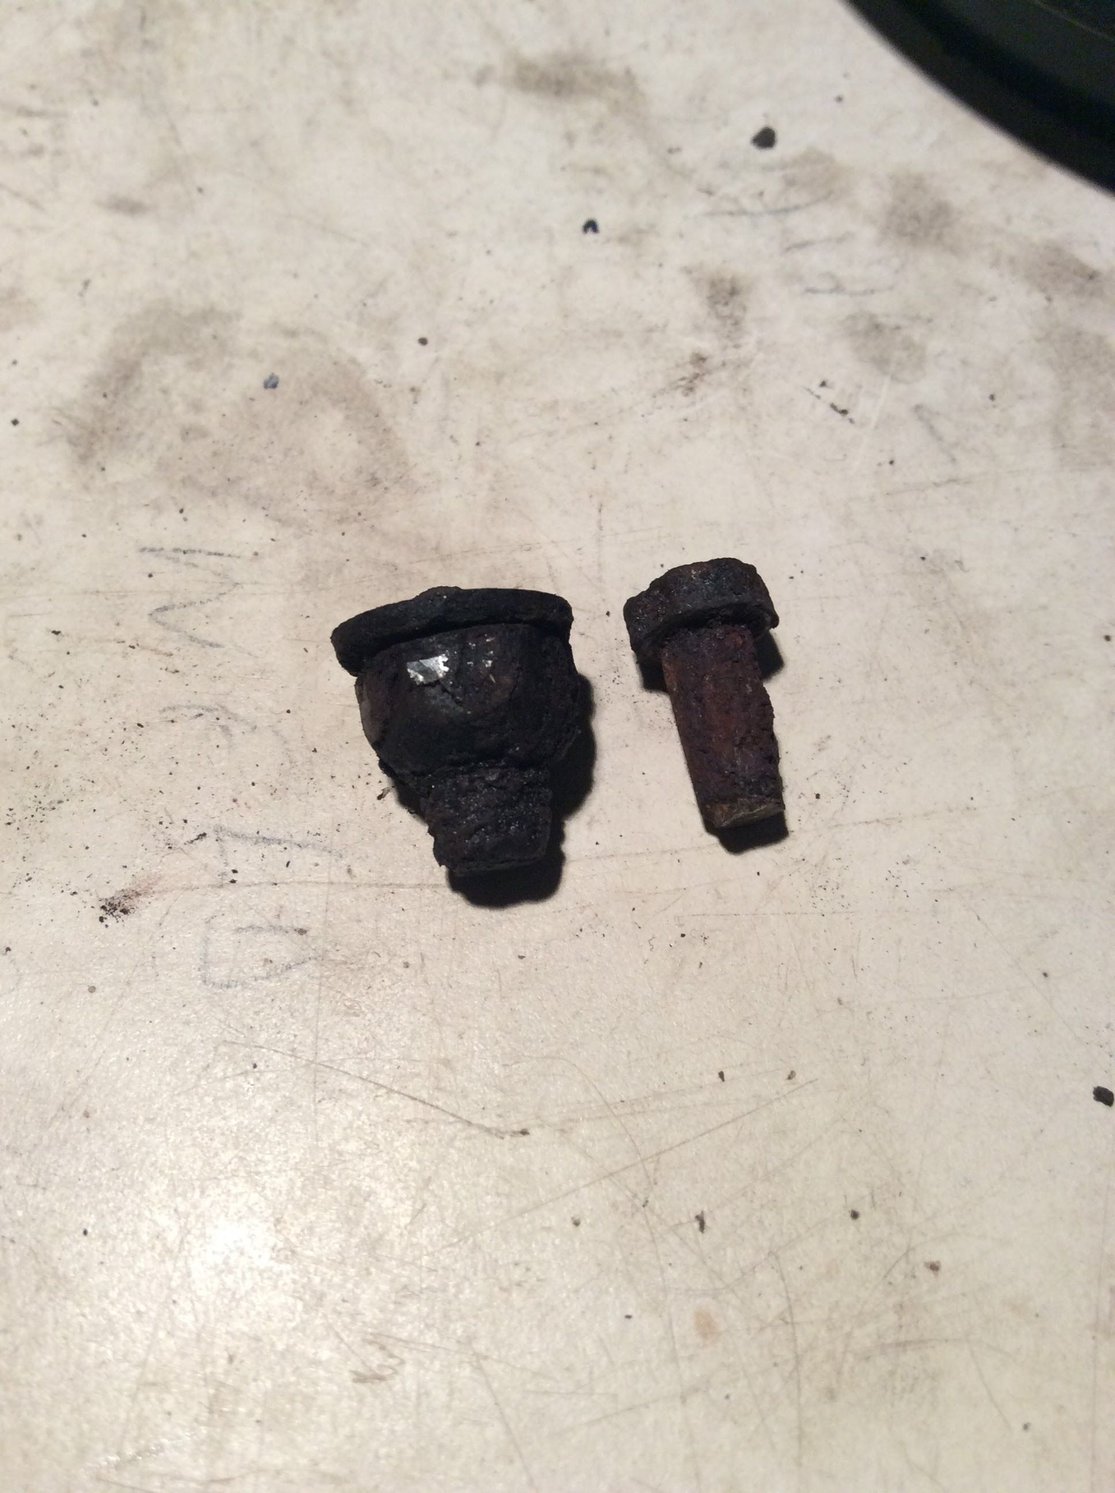
Found some more bits.. drilled out the third flange hole this morning. Plus, I did the helicoil on the downpipe!
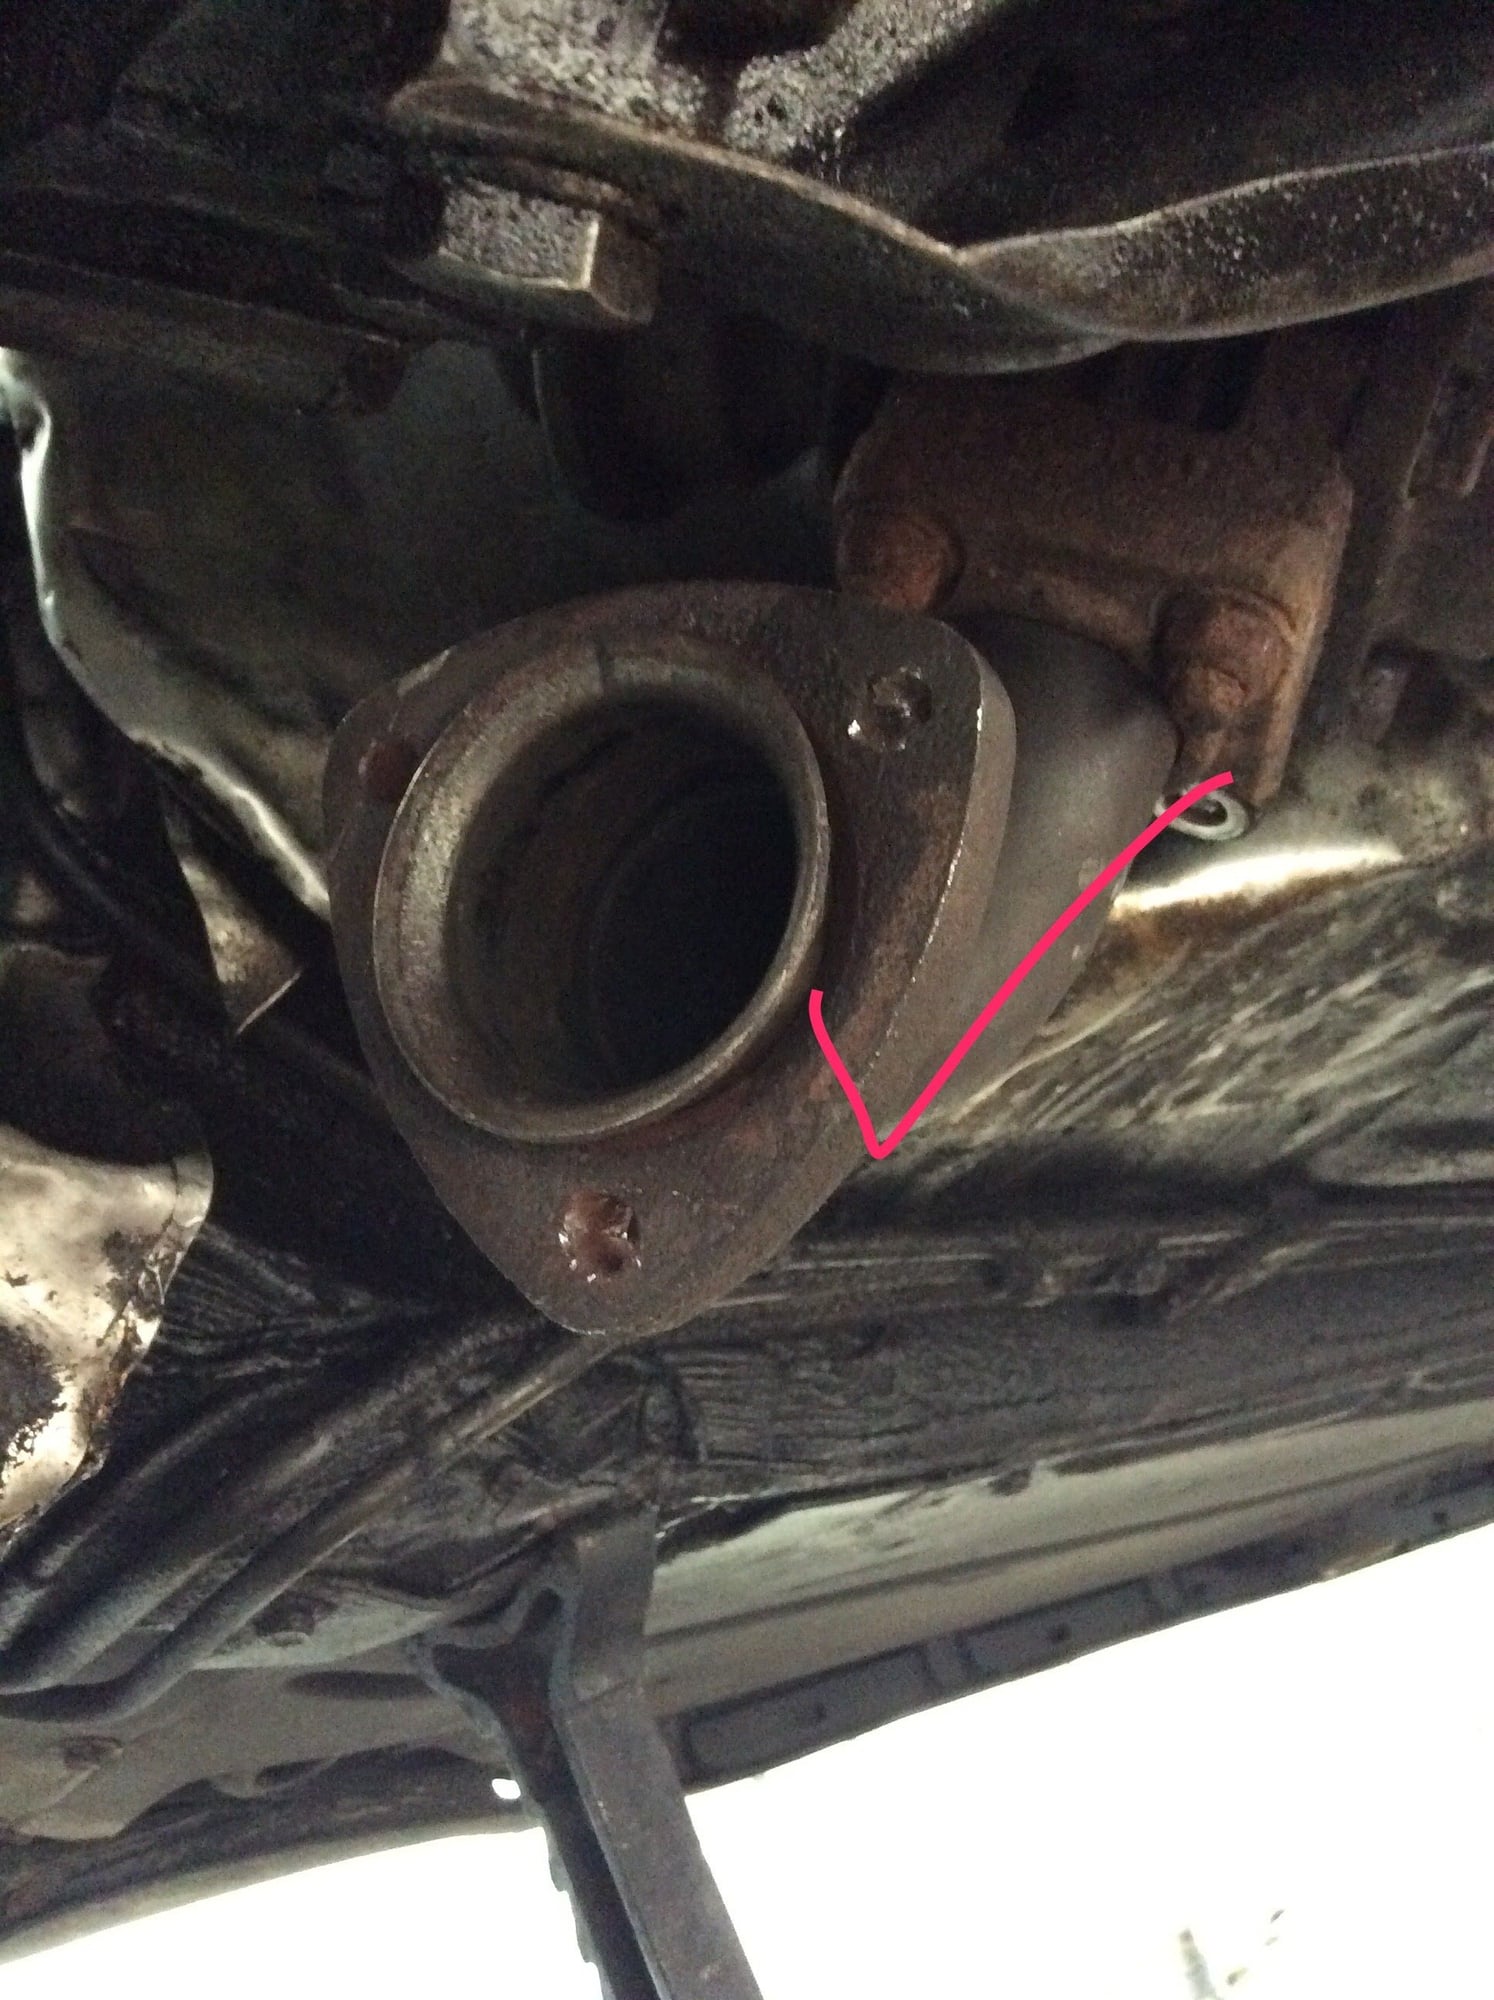
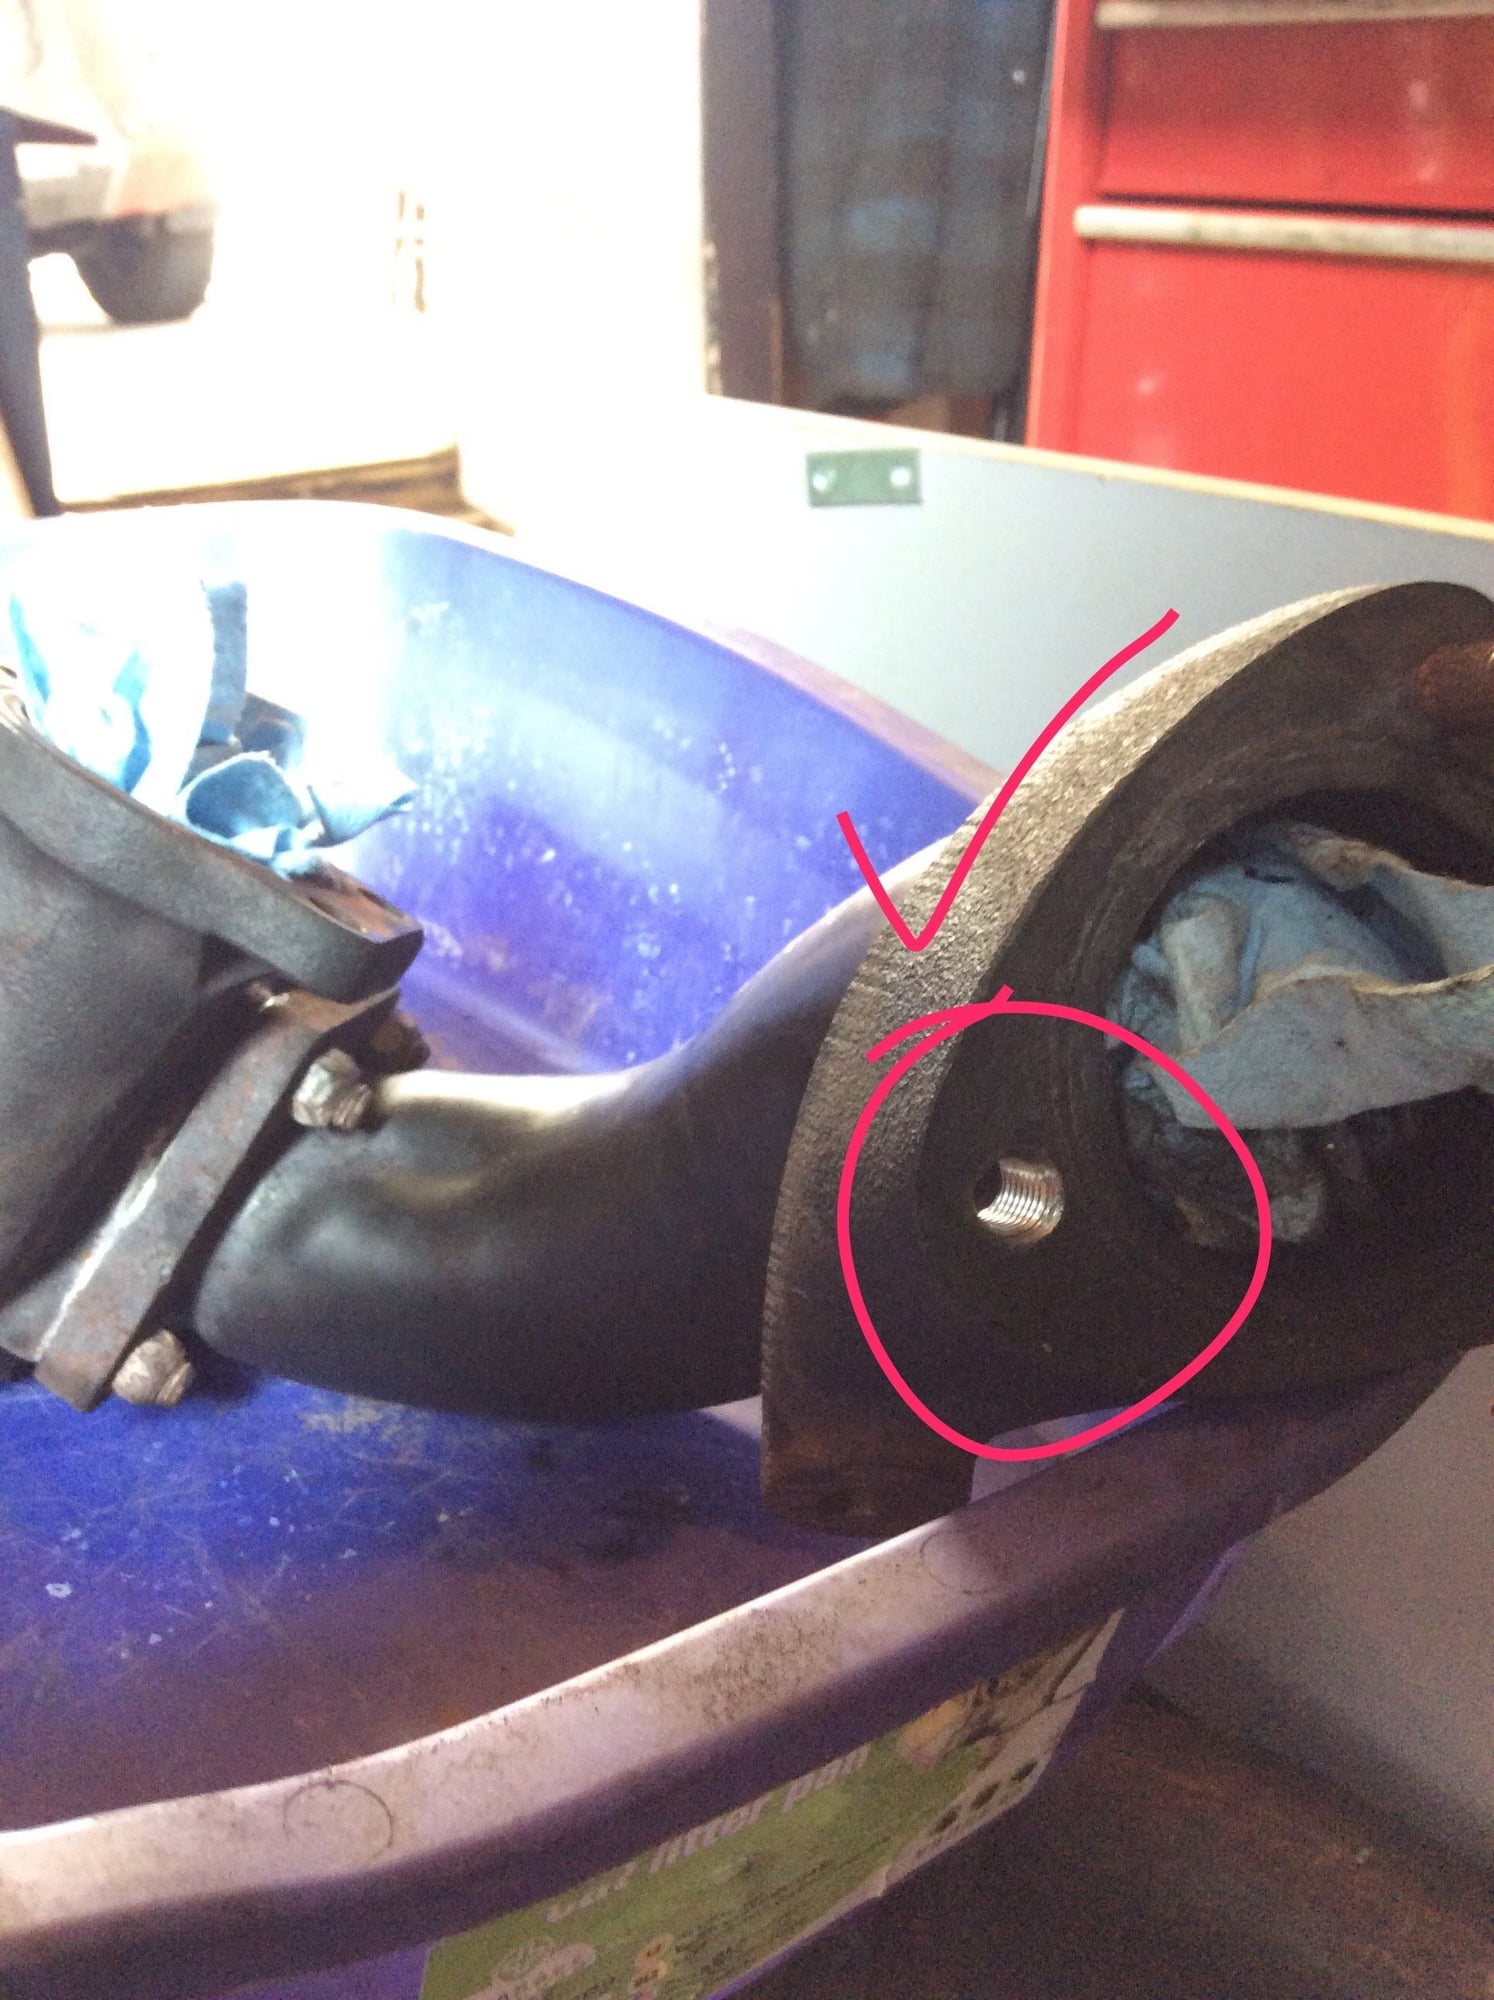
It definitely needed it; even after drilling out the hole to 13/32 & tapping (as instructed by the 10M 1.5 kit), the very last 2 thread turns didn't fully form on the one side. That's how much that bottom part was drilled off.
I will be soaking the crossover broken bolt a day or two (ATF + Acetone apparently works best?--have to buy Acetone) then work on getting that out without stripping the welded nut threads.
Progress
Advice to those who try drilling this stuff first time: do not use the yellow "cobalt" bits! They get dull as soon as you start. My old mismatched set of regular bits worked much better
Look what I got today! Many thanks to Gruhsy and the Calgary sharing spirit. Can't wait to plug it up and get washin' In the meantime... that broken-bolt-in-the-welded-nut has been soaking in 50/50 acetone/atf all week long. Both sides.
Came home from work today ready to go at it. Made some notches and started to tap around to see if it would budge.
After quite some time trying to coax it to move, like an hour, I grew increasingly frustrated. At one point, I heated the nut up real good.
Nothing! Eventually, I pulled out the drill.
First, a tiny hole. Then bigger bits.. purposely getting them "stuck" on the side to see if the drill would shake it loose.
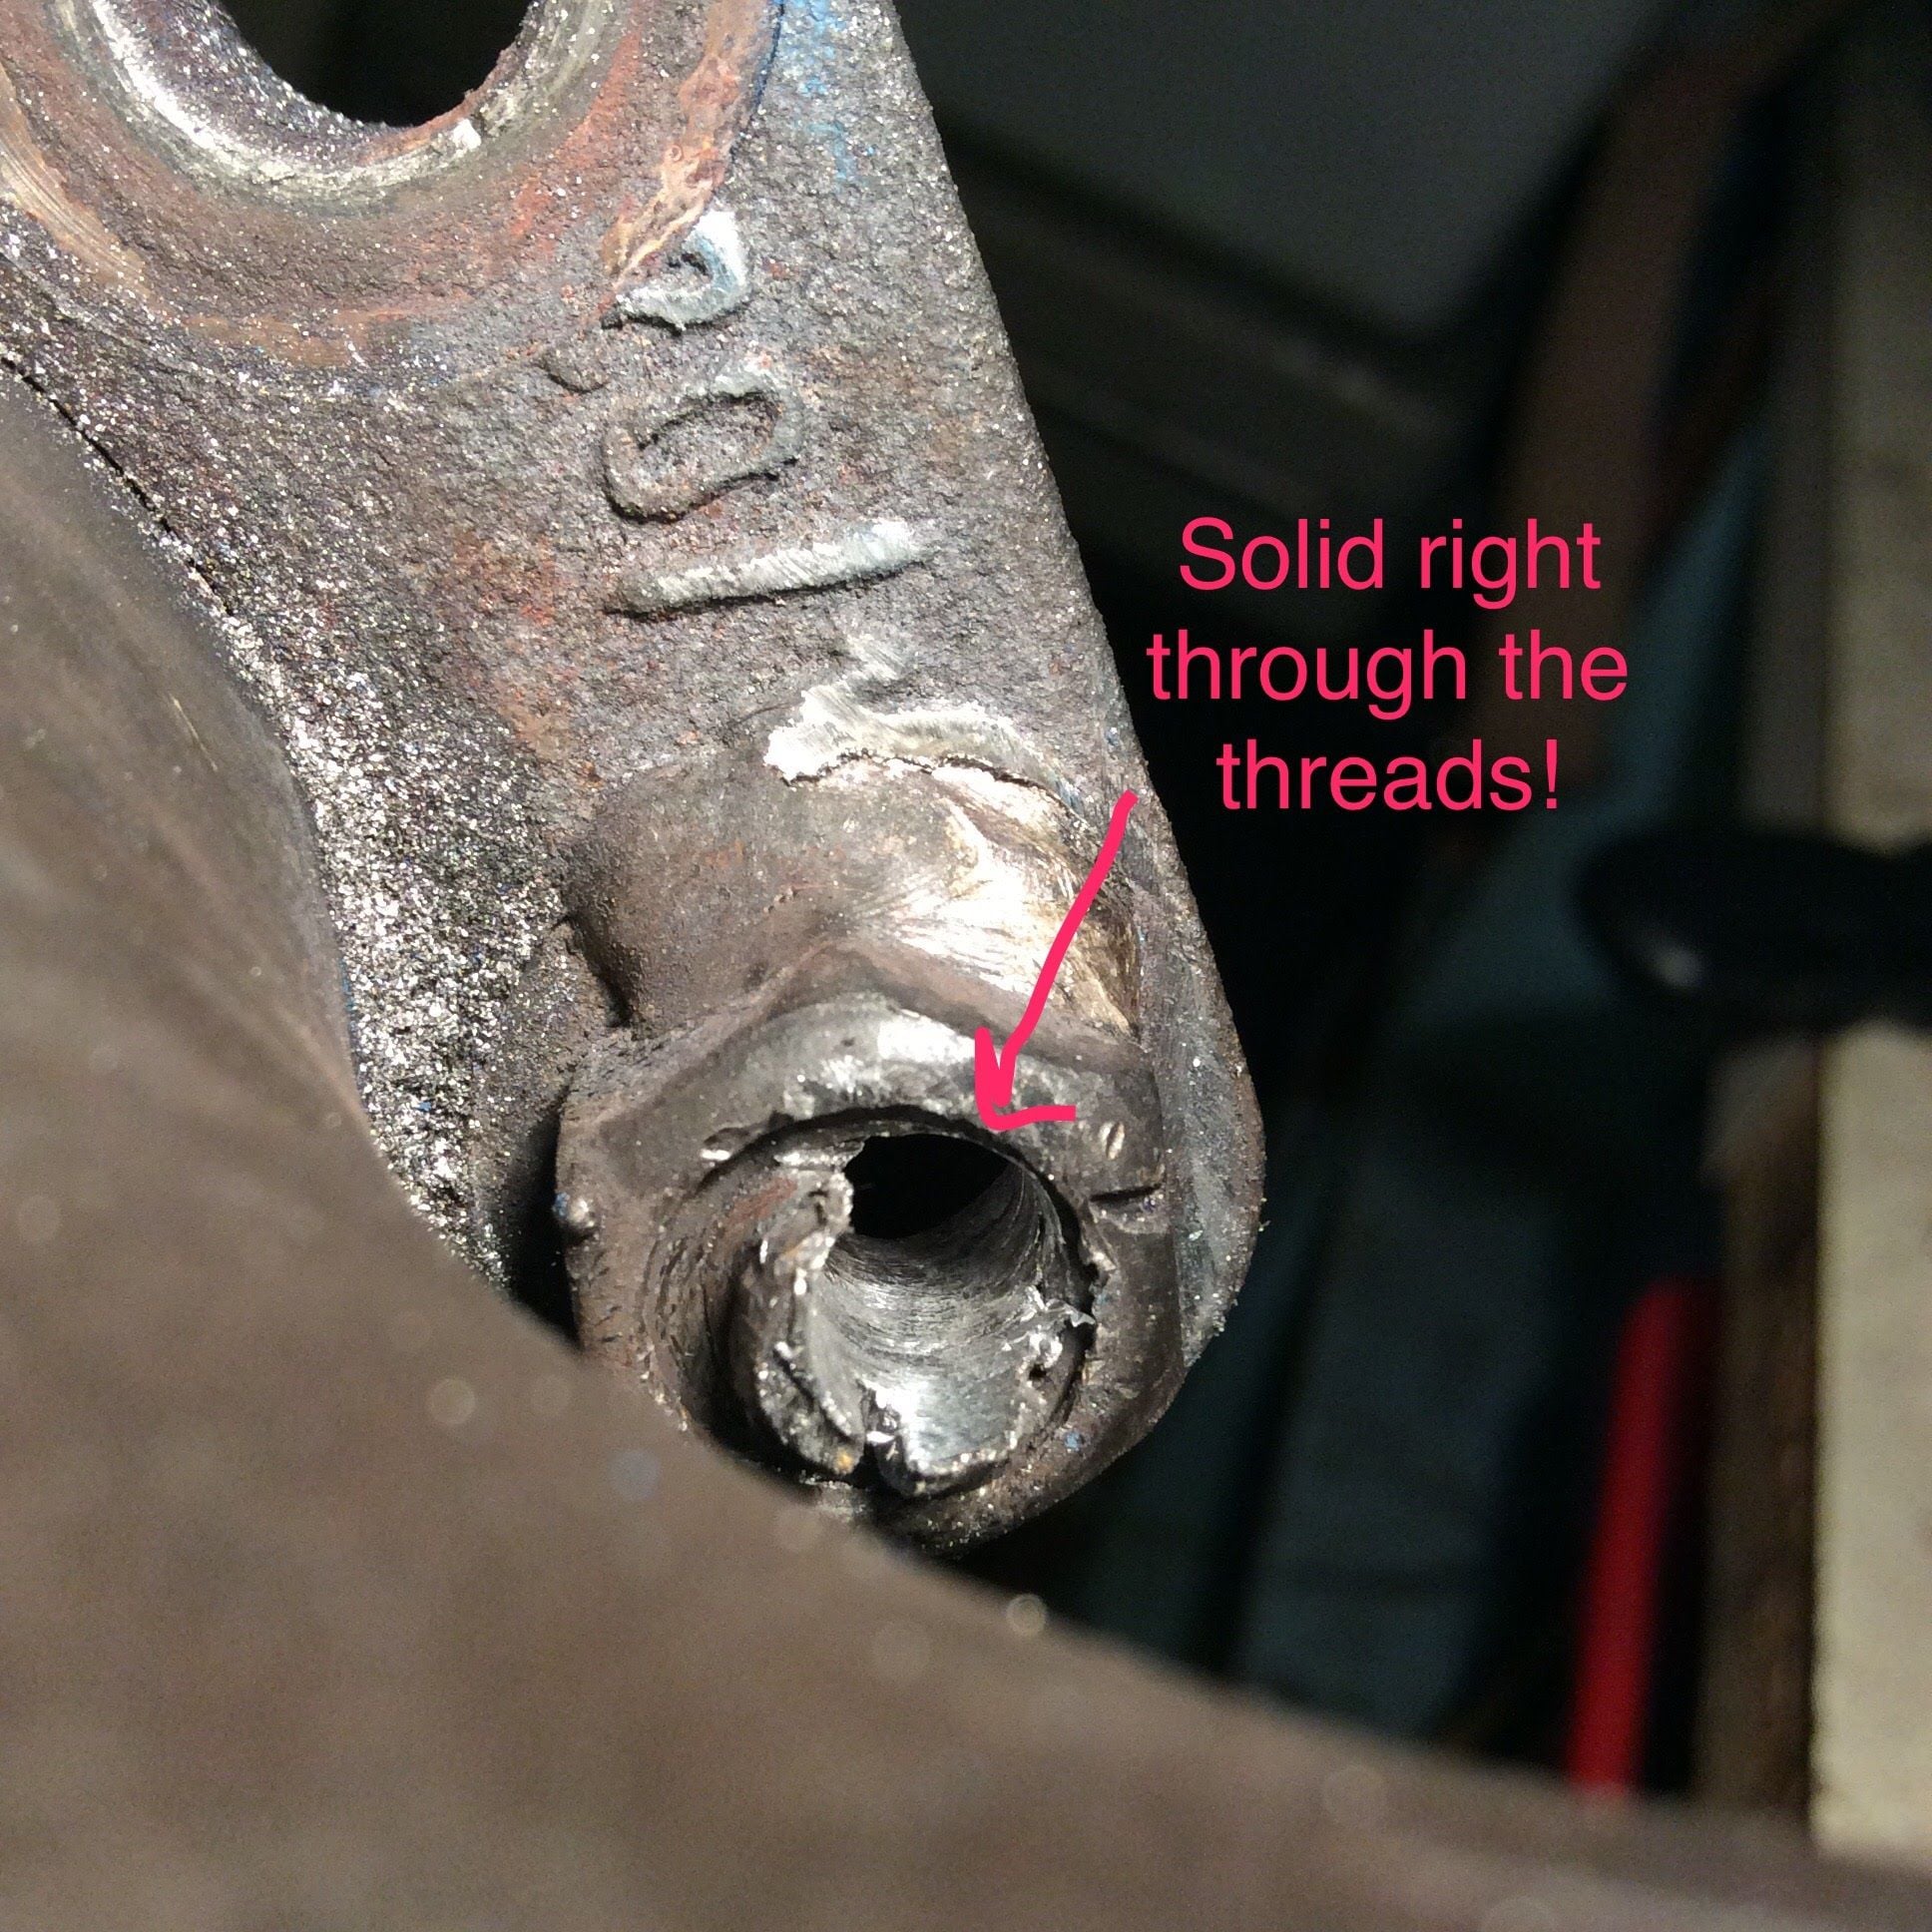
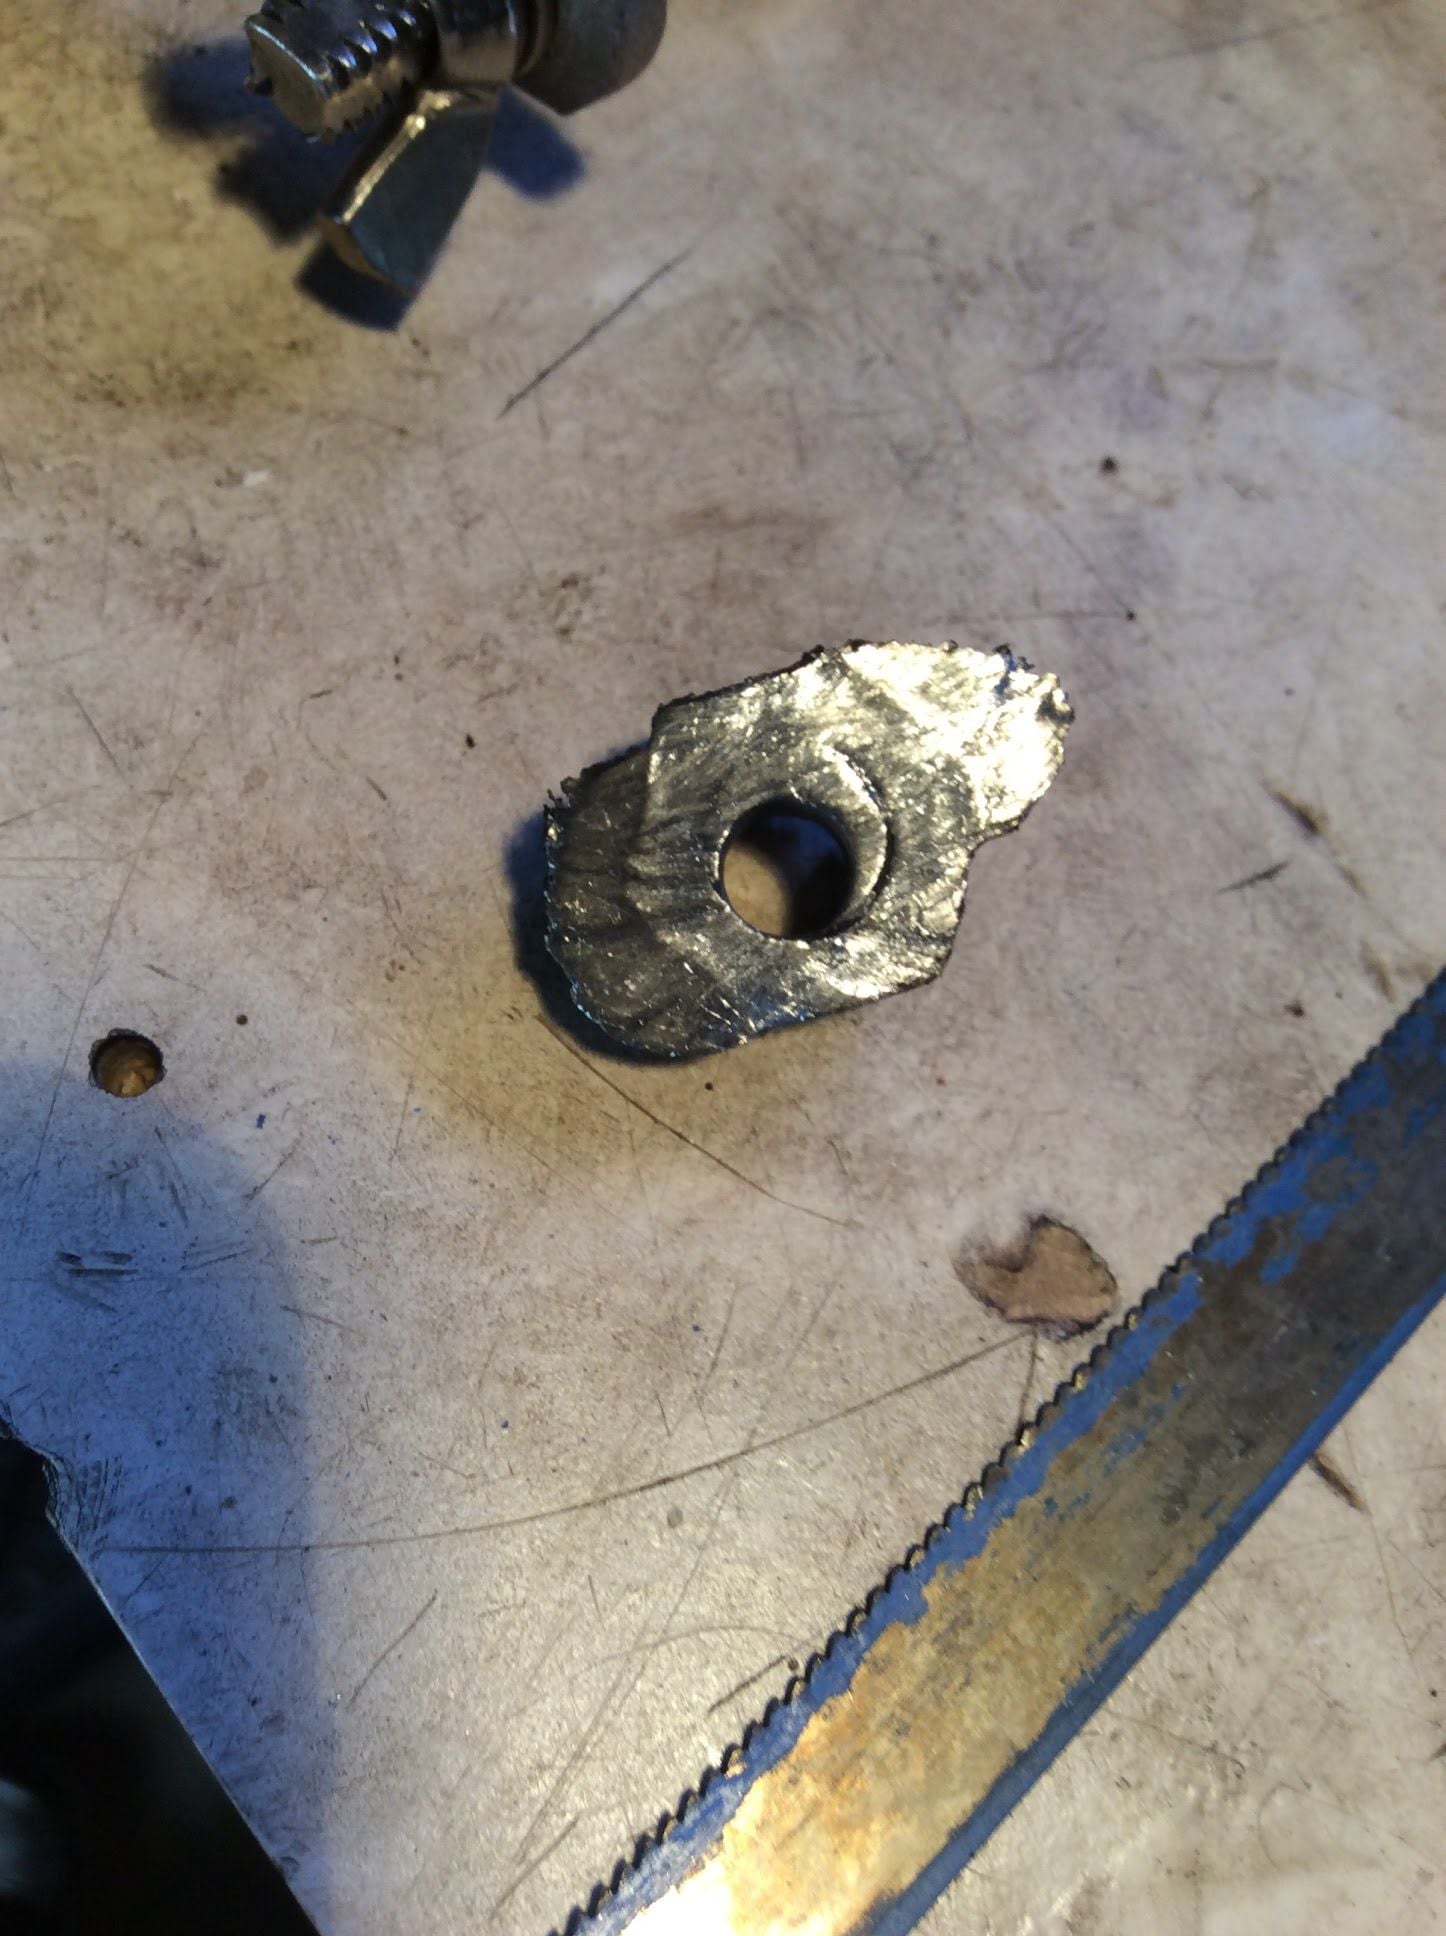
Bigger.. bigger.. and when it was obvious that this was now one solid piece of metal, I lost it and just drilled to see where the thread is. Right through where the thread was supposed to be, it's nothing but solid metal now.
I don't think the atf/acetone had a chance. There wasn't anything for it to separate.
Unbelievable! It's like someone welded it in. I just don't get it. The other three came off nicely (?)
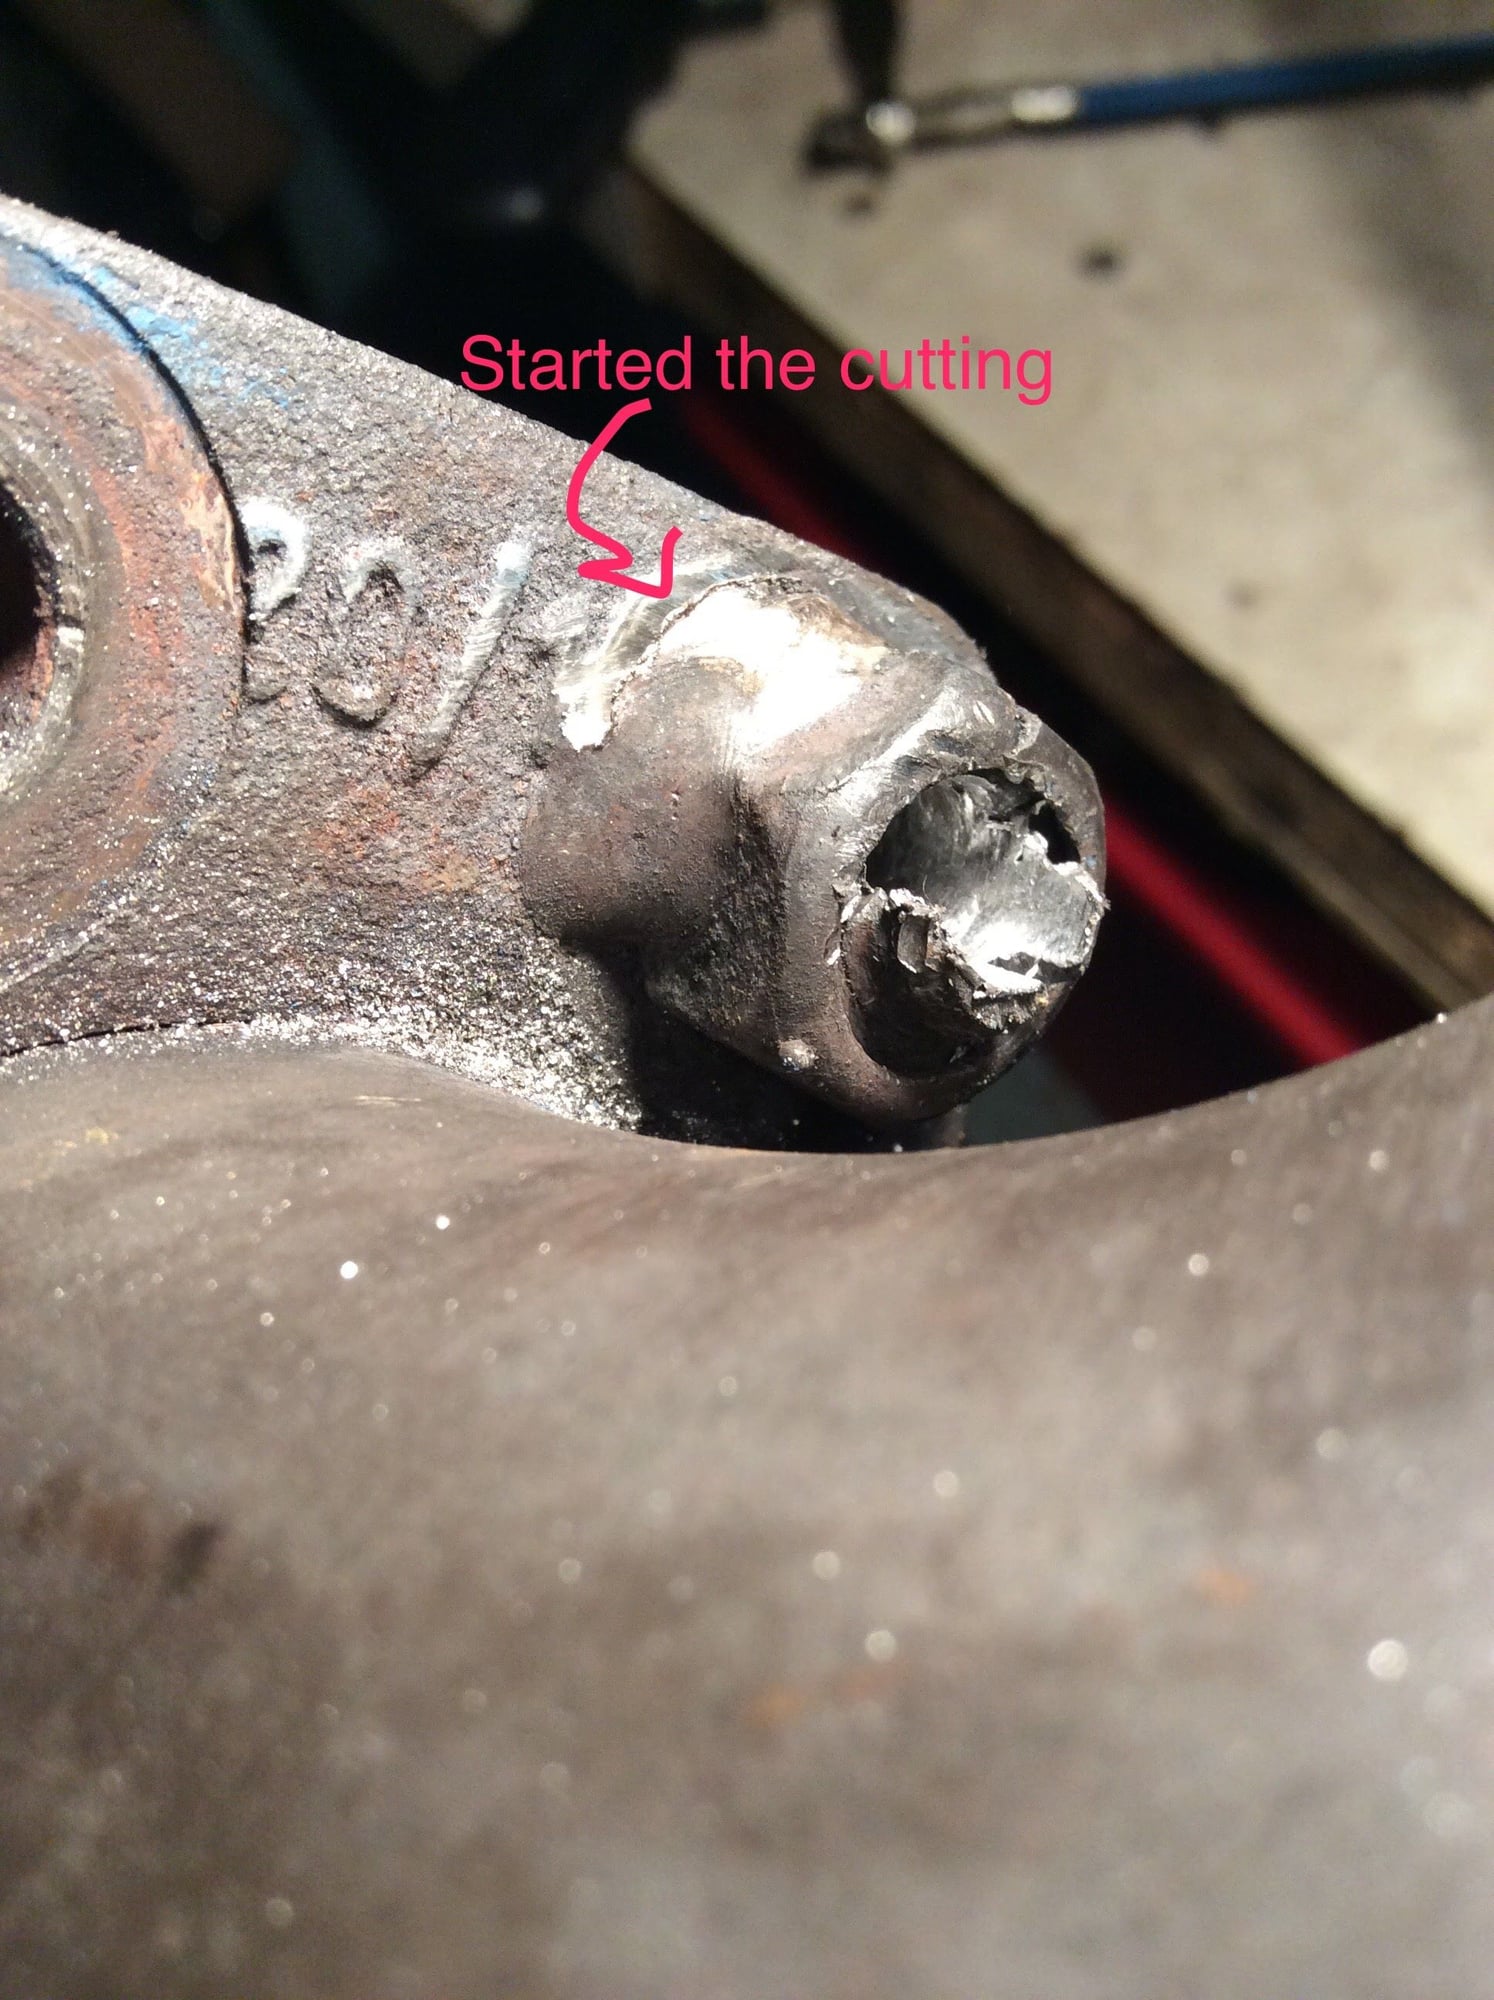
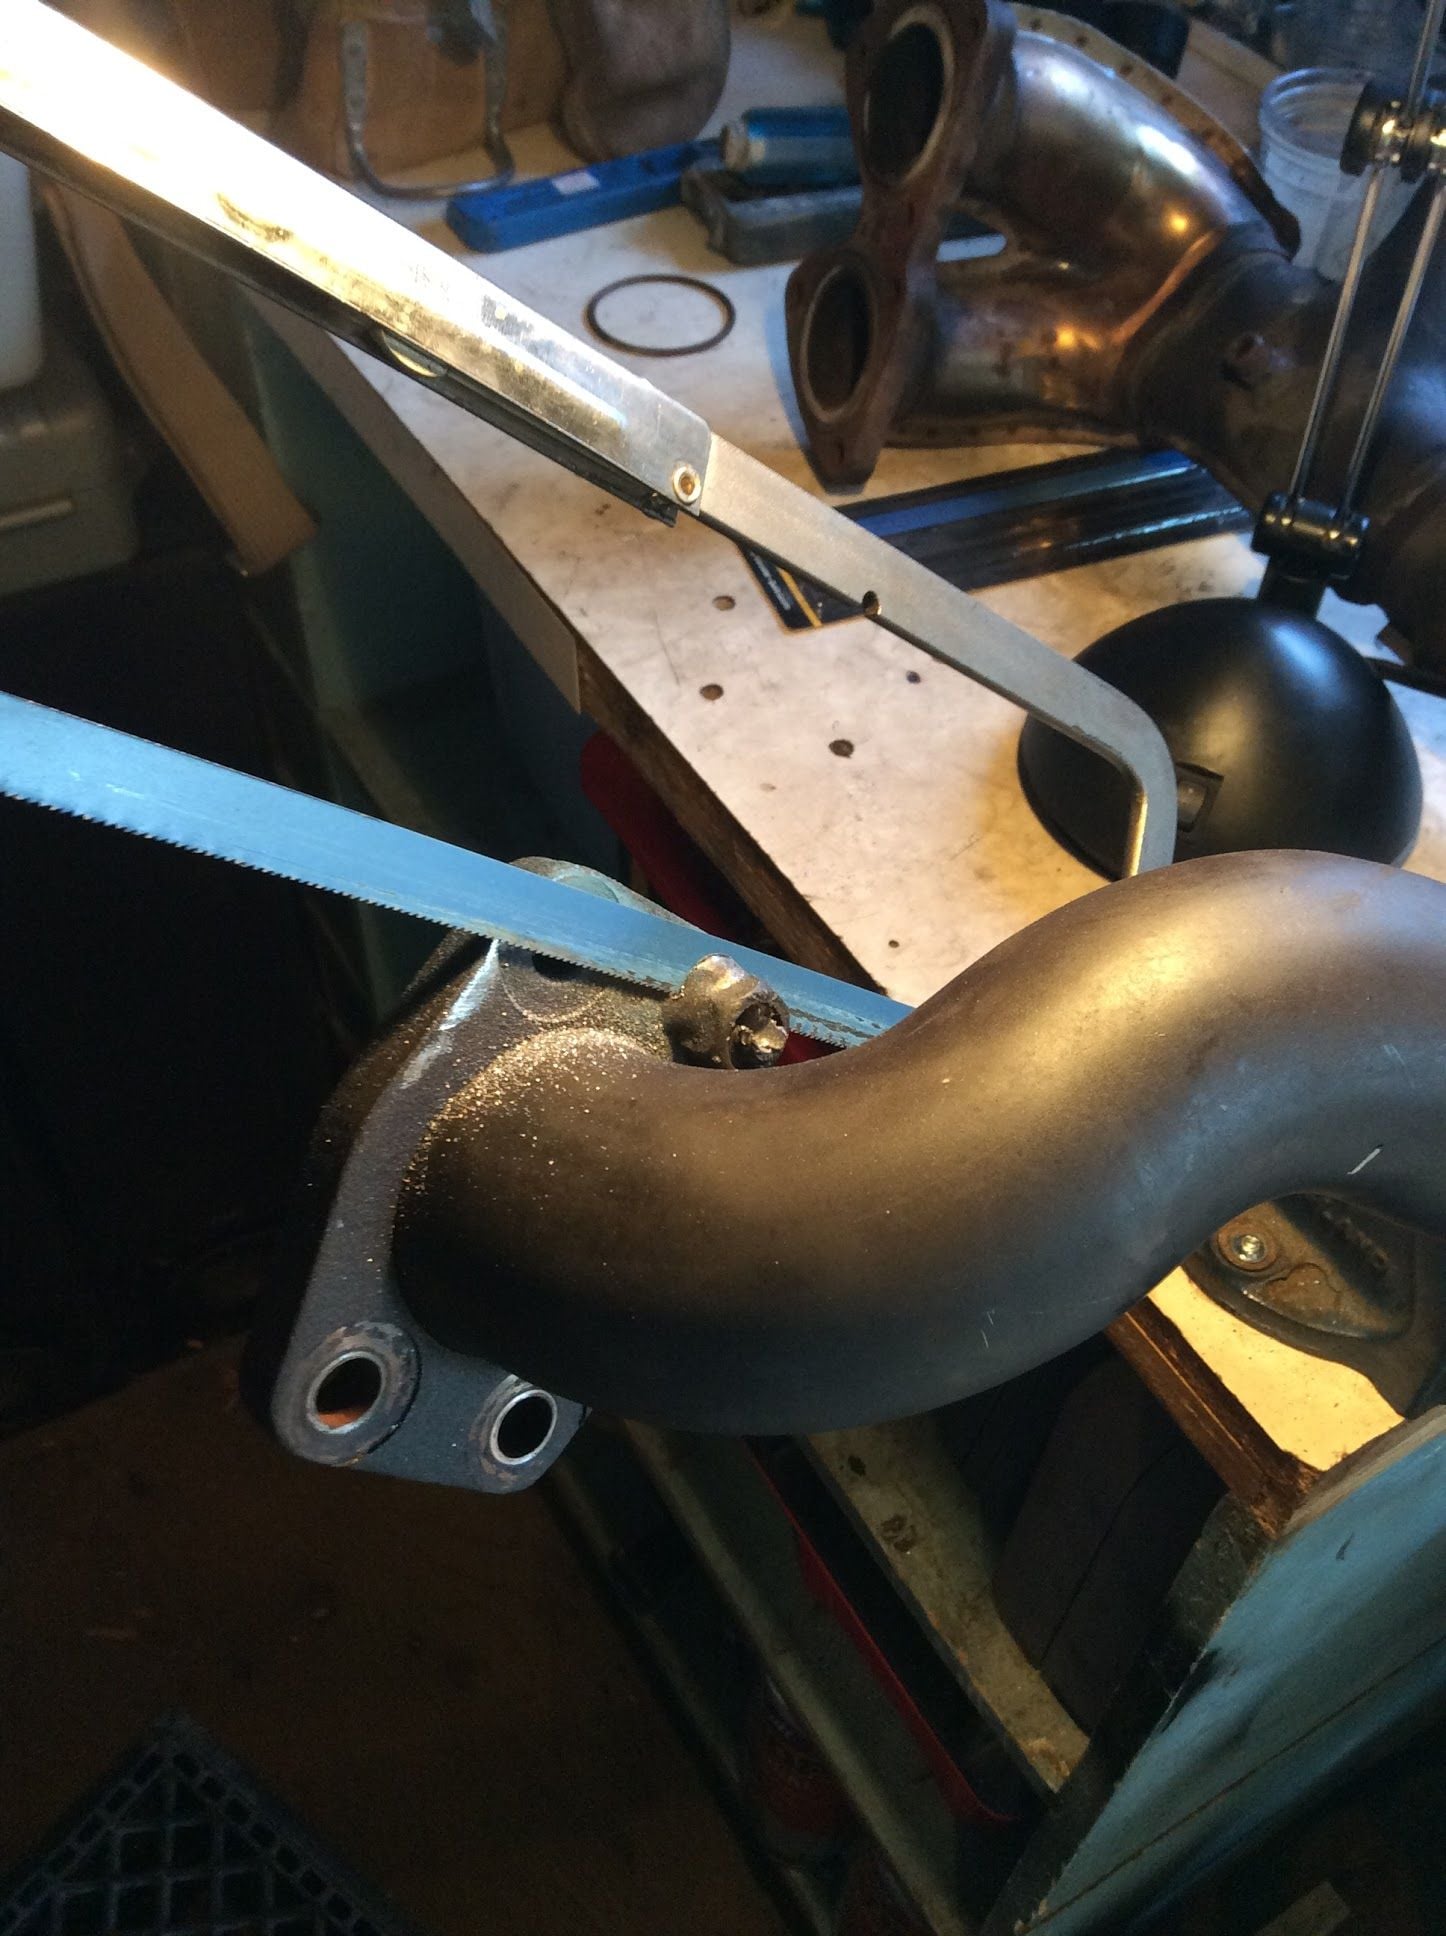
I give up; and as you can see, I've begun sawing it off. With a hacksaw. So I'll never forget this pain.
Poor Man's Sawzall. I have a theory that the weld was applied to the nut *after* the bolt was installed. Yes, I know it makes little sense, but after all that hack saw action, I am dizzy, and to me, it looks like the weld leaked through and filled up the threads.
That's my story and I'm sticking to it
Parts should be coming in some time this week, and by then I should have it all cleaned up.
Can't believe the cost of those exhaust sealing rings!
When I was having turbo issues, I had to take the exhaust down several times. I got paranoid for not using "new" rings. So spent a bunch of money on rings. I was considering making my own out of copper wire or some other hair brained idea, but then just spent the money
Having now taken off the crosspipe, I needed more rings. To save time, I got them at the local Porsche dealer. $47CAN each. Plus tax.
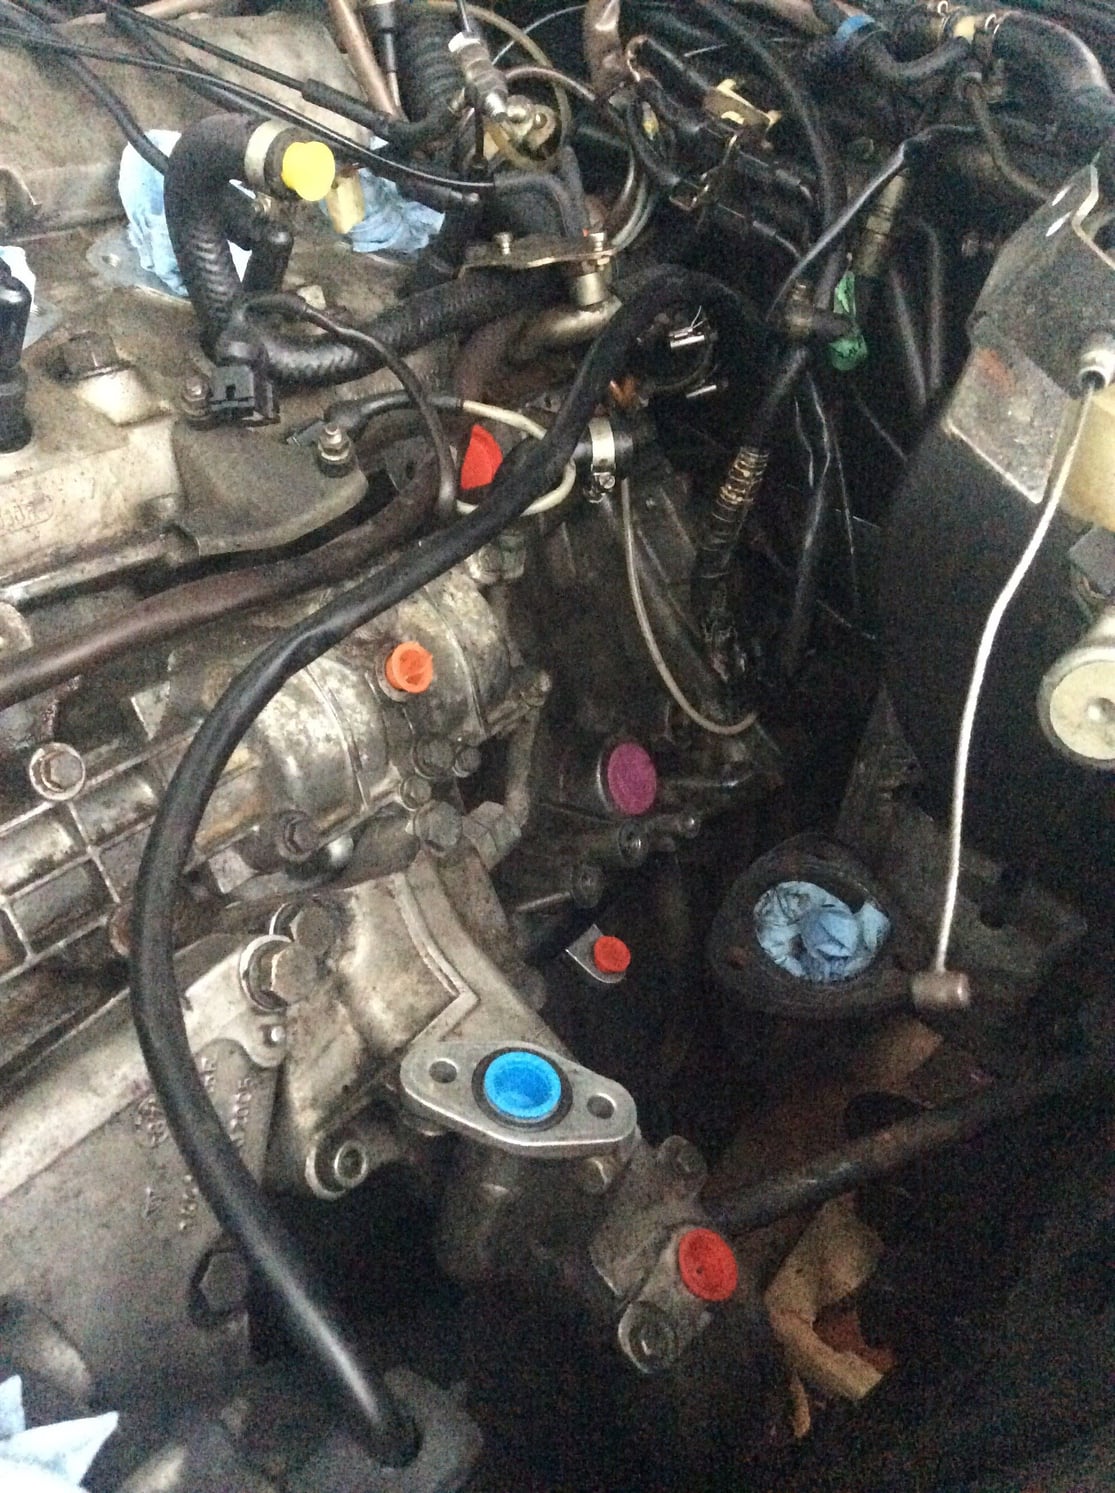
The first stage of cleaning started tonight! Man, those plugs are great. The Naptha is good too, though I have plenty of layers to get through. 80k miles (130k kms) in just over 9 years year-round has taken a toll.
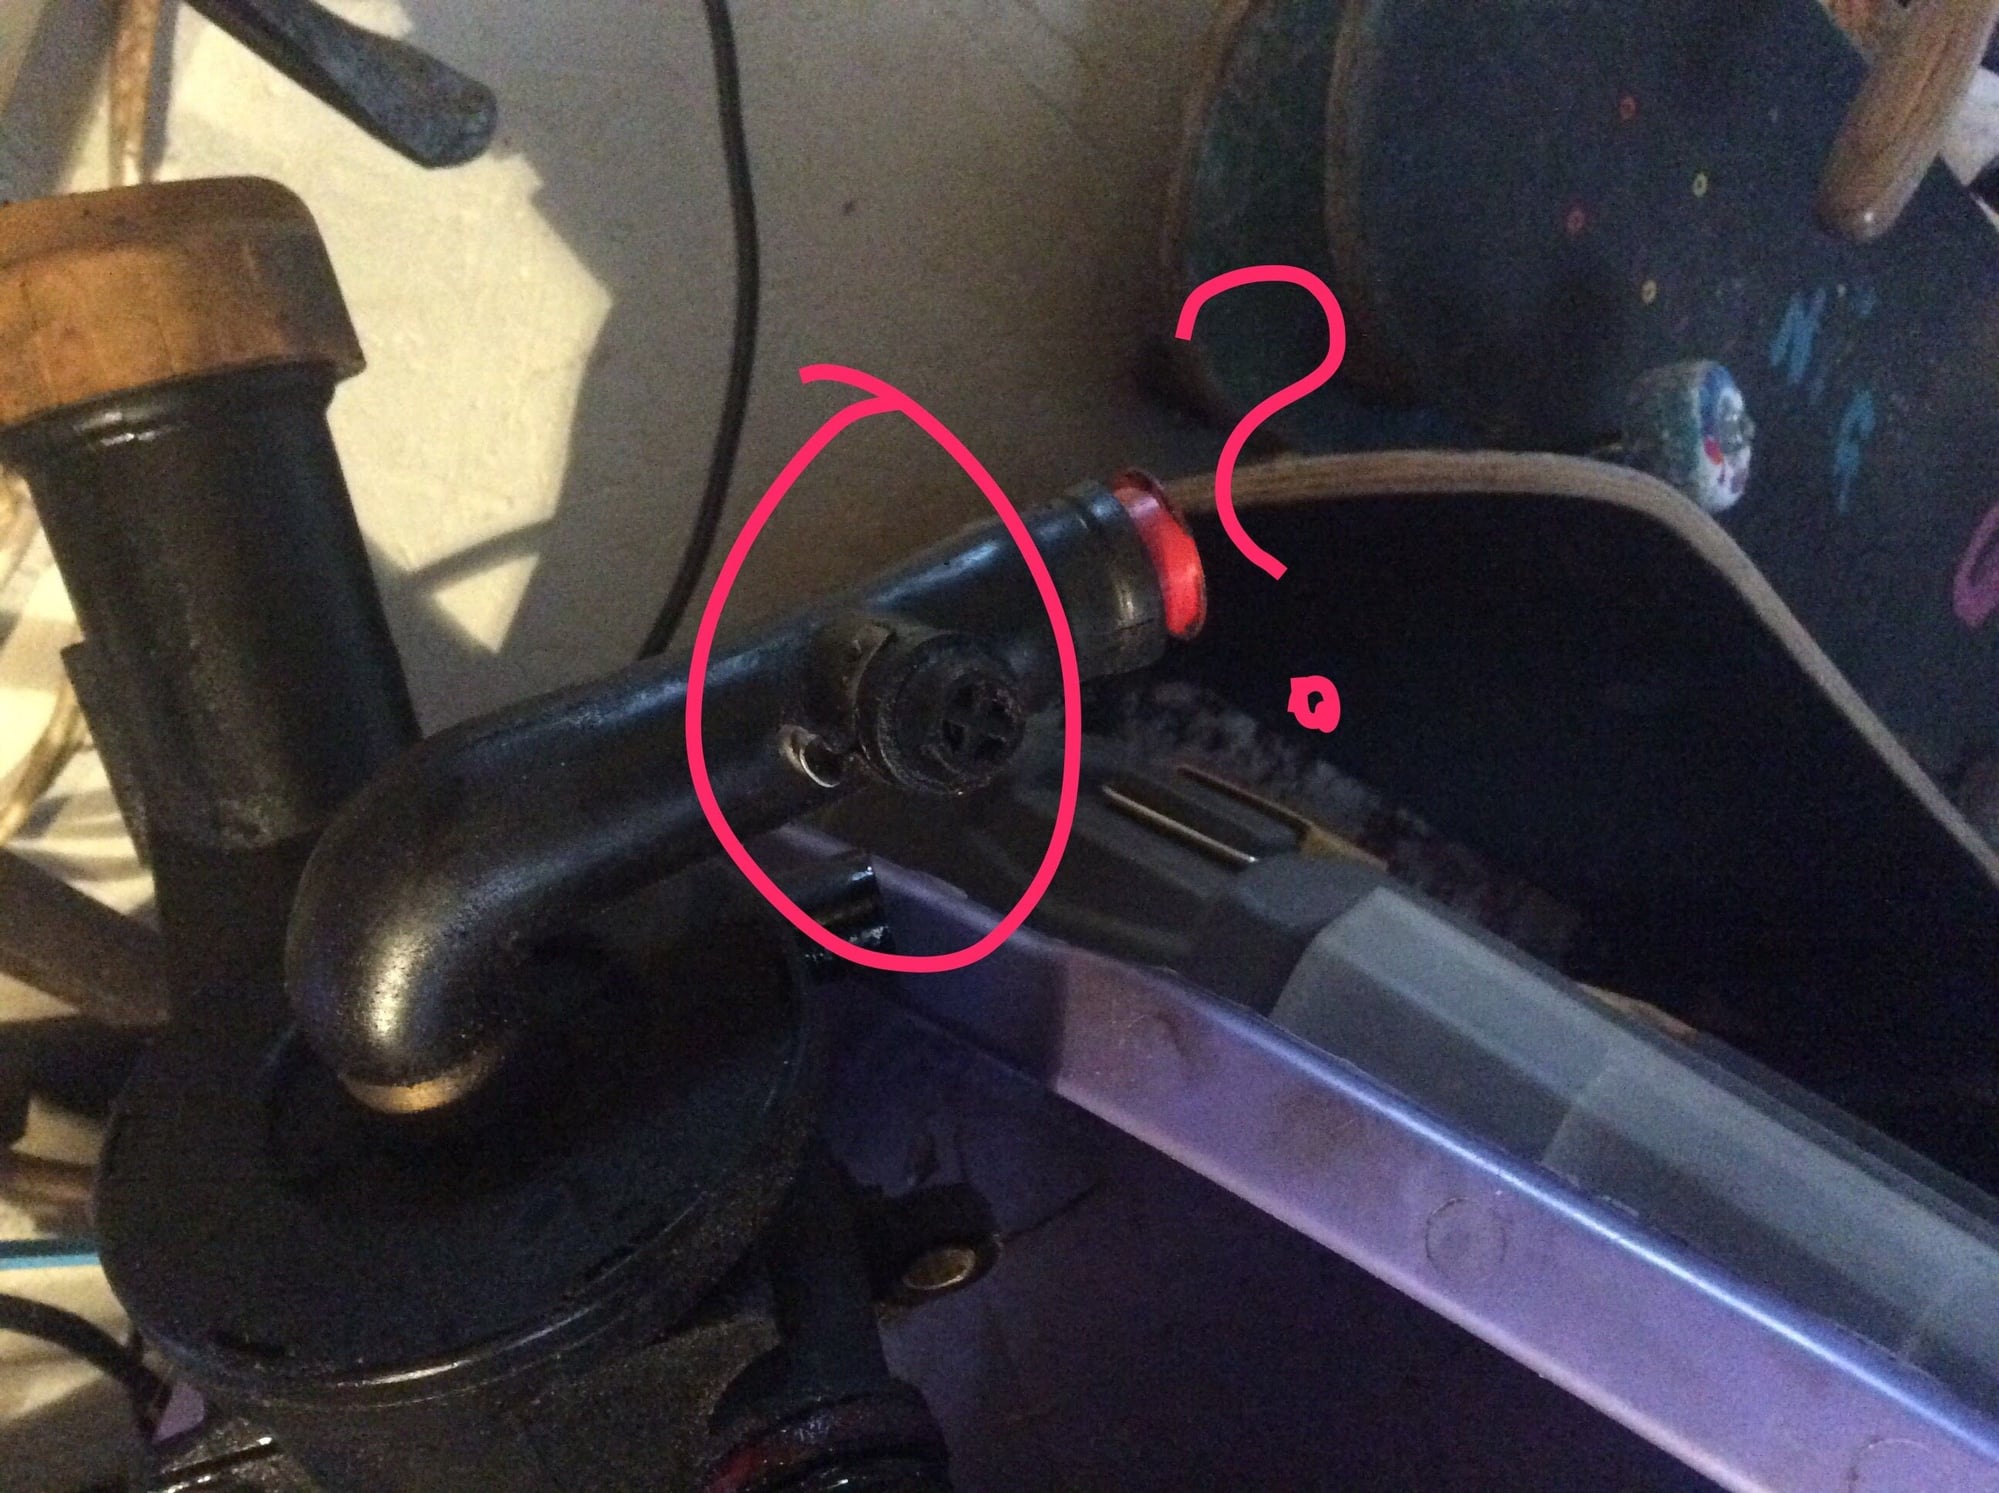
I pulled the AOS.. now.. can anyone tell me what is that extra piece on the top hose??
Since I'm planning to not resuse the metal vacuum tree, I was just going to figure out a new hose for the full length to the J-boot intake. However, looking at this, I wonder: how am I going to replicate this plug thing? It's got some metal piece in it?
I believe this is an additional pressure relieve valve ( or air control valve) that came on the on later turbos. You could keep it or delete it depending on application. I personally deleted and added a catch can, but that is for hard track use. Lindsey Racing offers a silicon option to keep it.
I've decided to keep this hose and just put the metal vac tree back for this line only. I'm out of money and patience buying / waiting for yet one more part lol
Starting reassembly today! And.. time for a new thread. First question coming up. Thanks for following!


 09-03-2017, 01:00 PM