When you click on links to various merchants on this site and make a purchase, this can result in this site earning a commission. Affiliate programs and affiliations include, but are not limited to, the eBay Partner Network.
I saw this car on Craigslist and ignored it. I finish doing an interior refresh on my 89 and this car pops up again on Rennlist... well it was fate that it would follow me home on the u-haul trailer towed by a fellow 928 enthusiast.
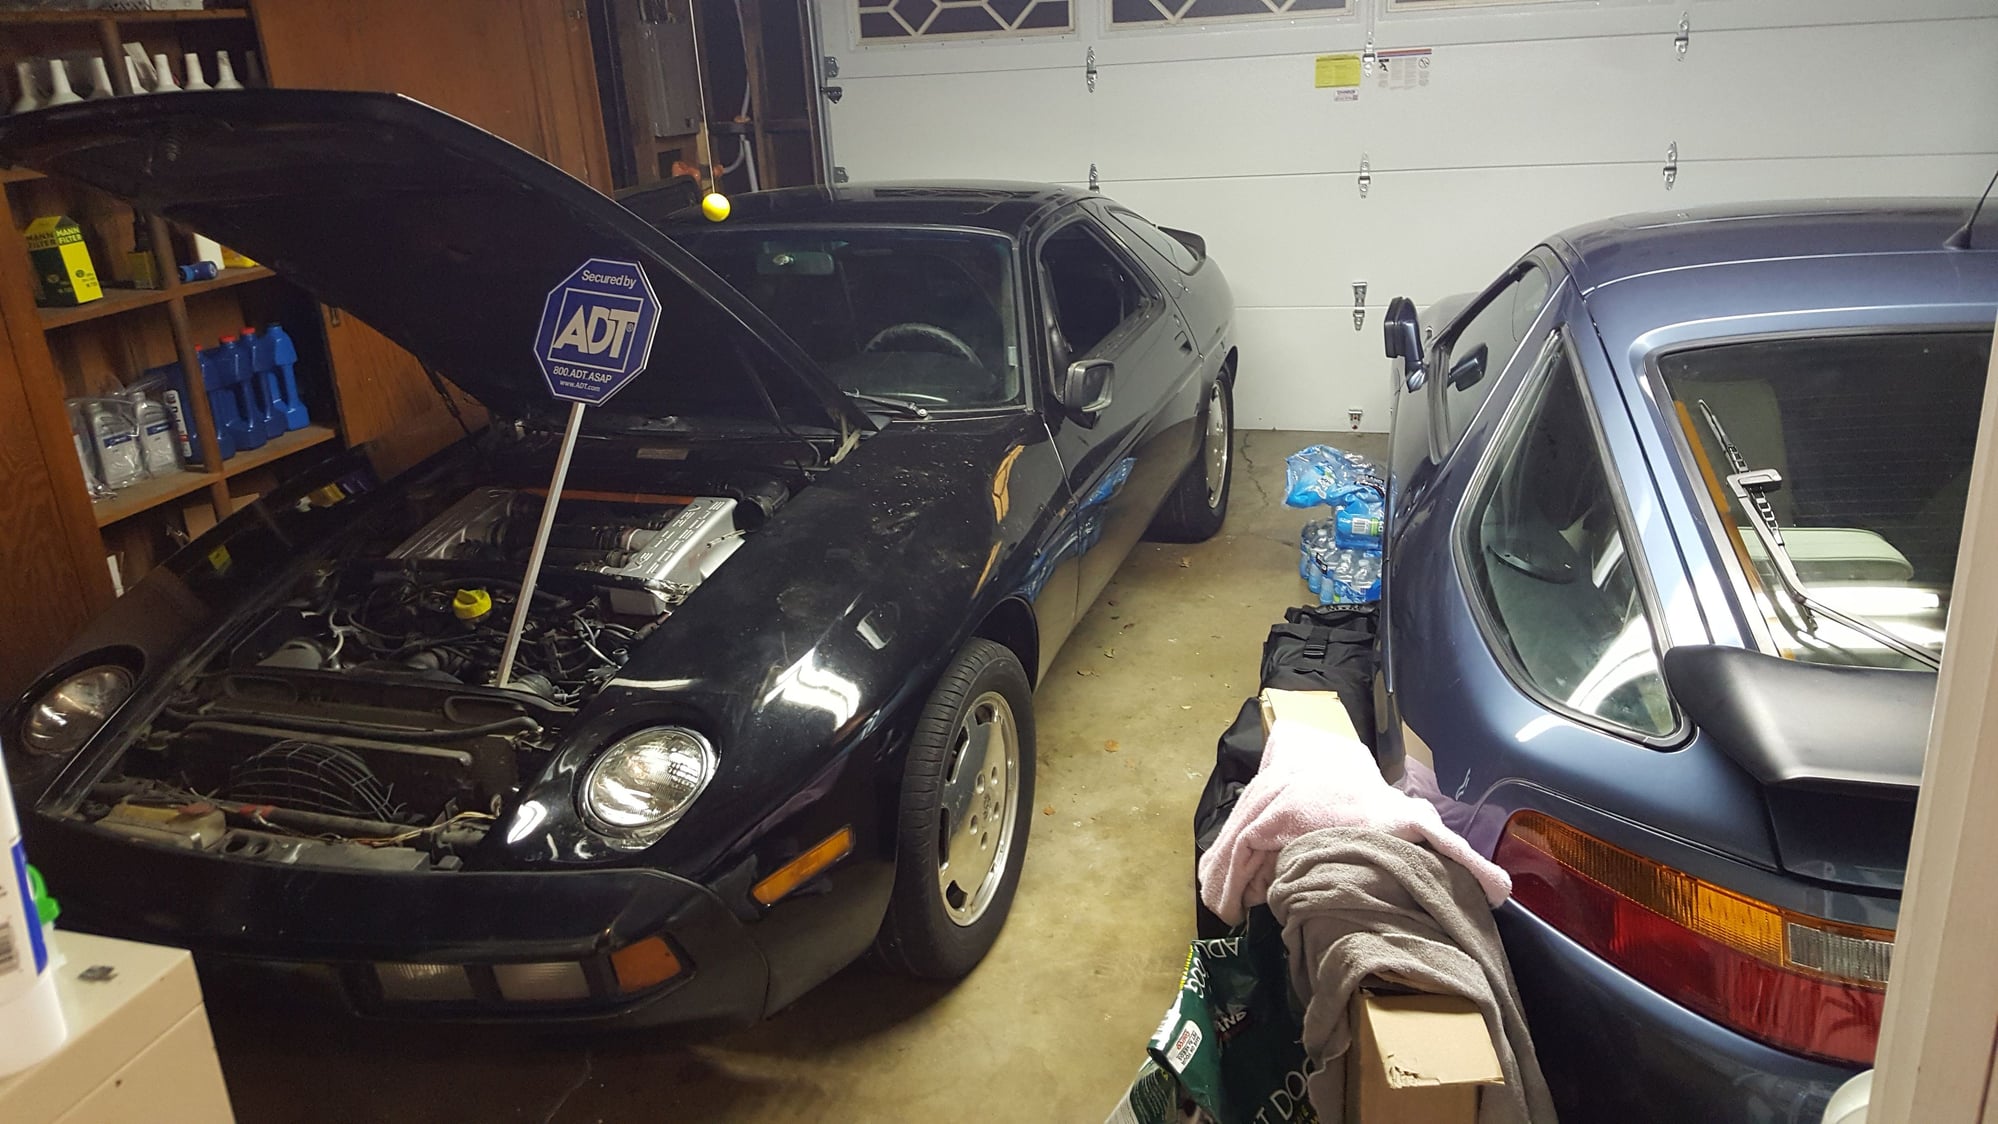
First time sitting in a garage in years. It has the rare ADT security system
Now to dig into it. This car had a hard few years and judging from some of the interesting repairs an owner that really thought of creative ways to fix problems. It was last registered in 2014 and I have a feeling that it failed smog and that is why it sat. I was told the previous owner had replaced the head gasket(s) and looking at the cam covers appeared to use some non-porsche hardware.
Passenger side cam cover. I don't think either of these bolts holding the cover on are Porsche stock
I am going to try and chronicle my journey with this car as it is a toy and long-term project to keep me out of my wife's hair. Yes it would probably be financially wiser to find a fully operational 5 speed but where is the fun in that.
Last edited by nosnow; 04-11-2017 at 12:21 AM.
Reason: spellin
I have a 5 speed early '86 they are fiddly but once you get to know them they are loads of fun I will do my best to watch this thread and will offer any help I can. I've had my car since 2010 and have touched a lot of it.
The rear Center bolt is stock the Upper is not.
Looks like a later '85 as the Fuel recovery valve is mounted to the cross bar, look for a bracket spot welded to the fender behind the Hood switch, if it is there someone moved it.
Too bad you can not remove all that old smog junk and just run hi-pro cats
The state of that valve cover indicates you should have very little faith that the head gasket replacement was performed correctly. Not sure what your plans are but I'd think seriously about pulling the engine and going through it on a stand (been there, done that.)
Clean it all up and check for oil leaks, then do a compression check, a leak down would not hurt too.
Whoever did it may not had or knew a source for the correct bolts.
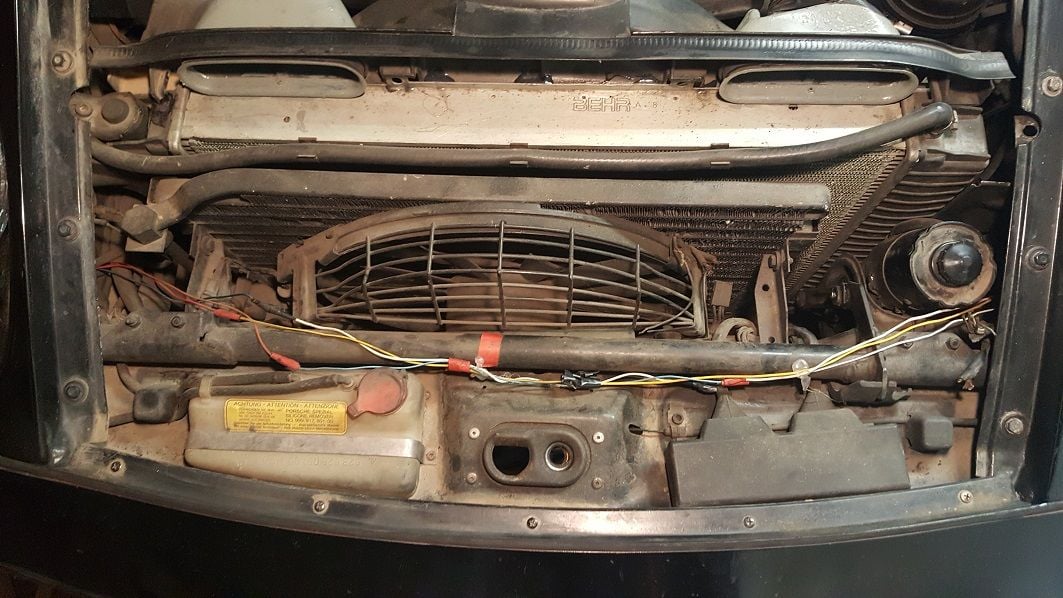
I finally had some time to work on the car. It appears there was a fire in the front left corner, the headlight motor, condenser fan, and left front splash shield were melted. Given some of the previous owners wiring I am not surprised by the fire. The PO actually connected a wire to the jump post and ran it into the cabin of the car. I found out the hard way by picking up a loose wire and getting shocked. I have subsequently disconnected the battery.
Compression Check
I only did a dry reading as I didn't have anything to squirt oil into the cylinder. Also the engine was stone cold
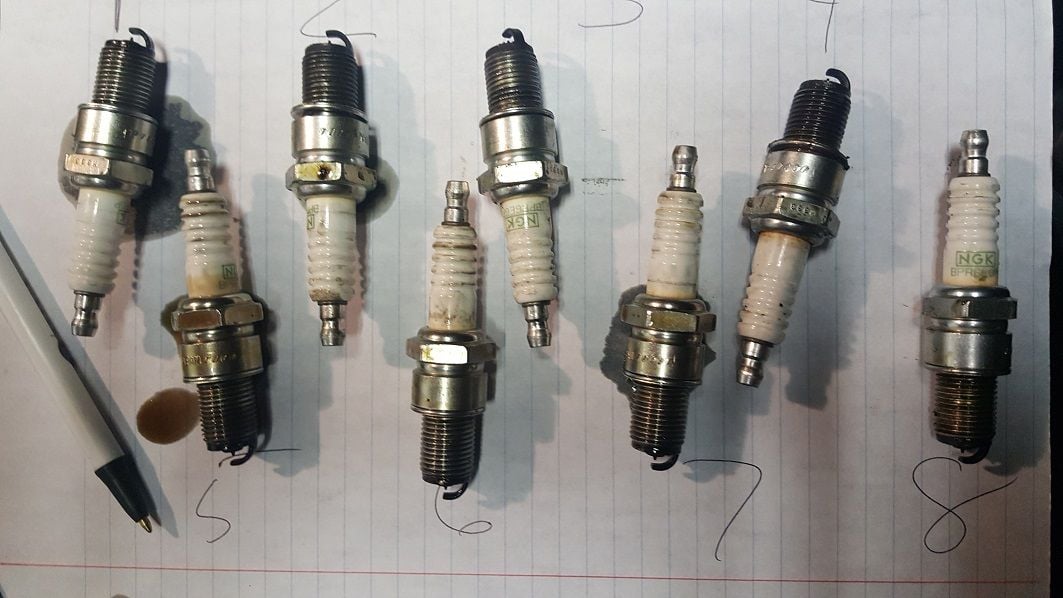
The spark plugs had a lot of carbon but since the MAF was completely shot it isn't too surprising. On Cyl 4 I don't even think it was getting full spark as there was a torn part of the old boot at the base of the plug preventing a good wire seat. The cam covers have leaks given some of the plugs taken out.
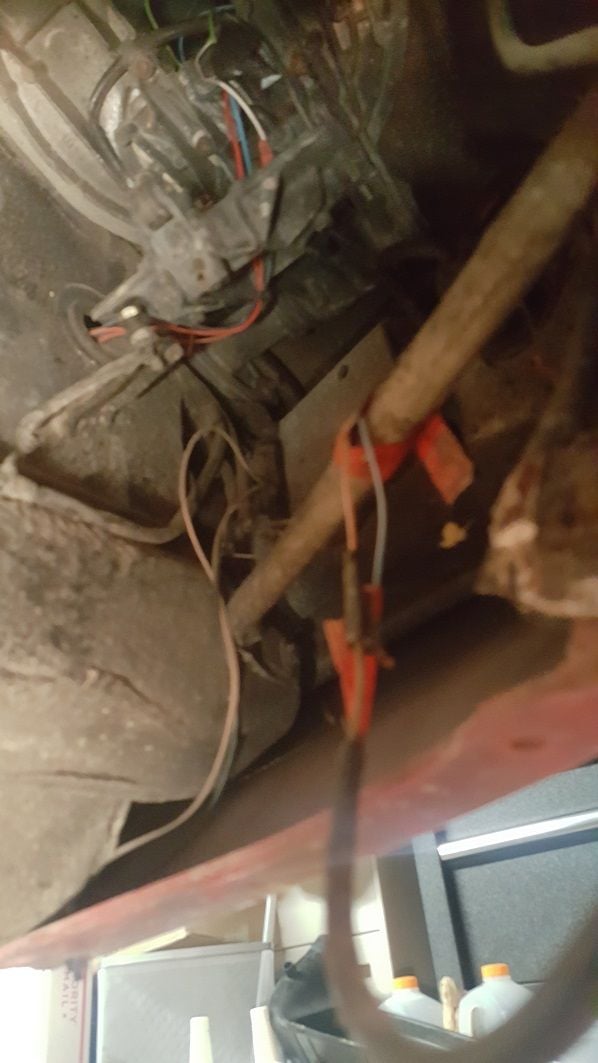
Here are some shots of the wiring that I took out. Notice the hot glue and the speaker wire used to power the lights on the driver side. Not sure what caused the fire but I have a new used front wire harness that I will install before trusting this car to have the battery attached at all times.
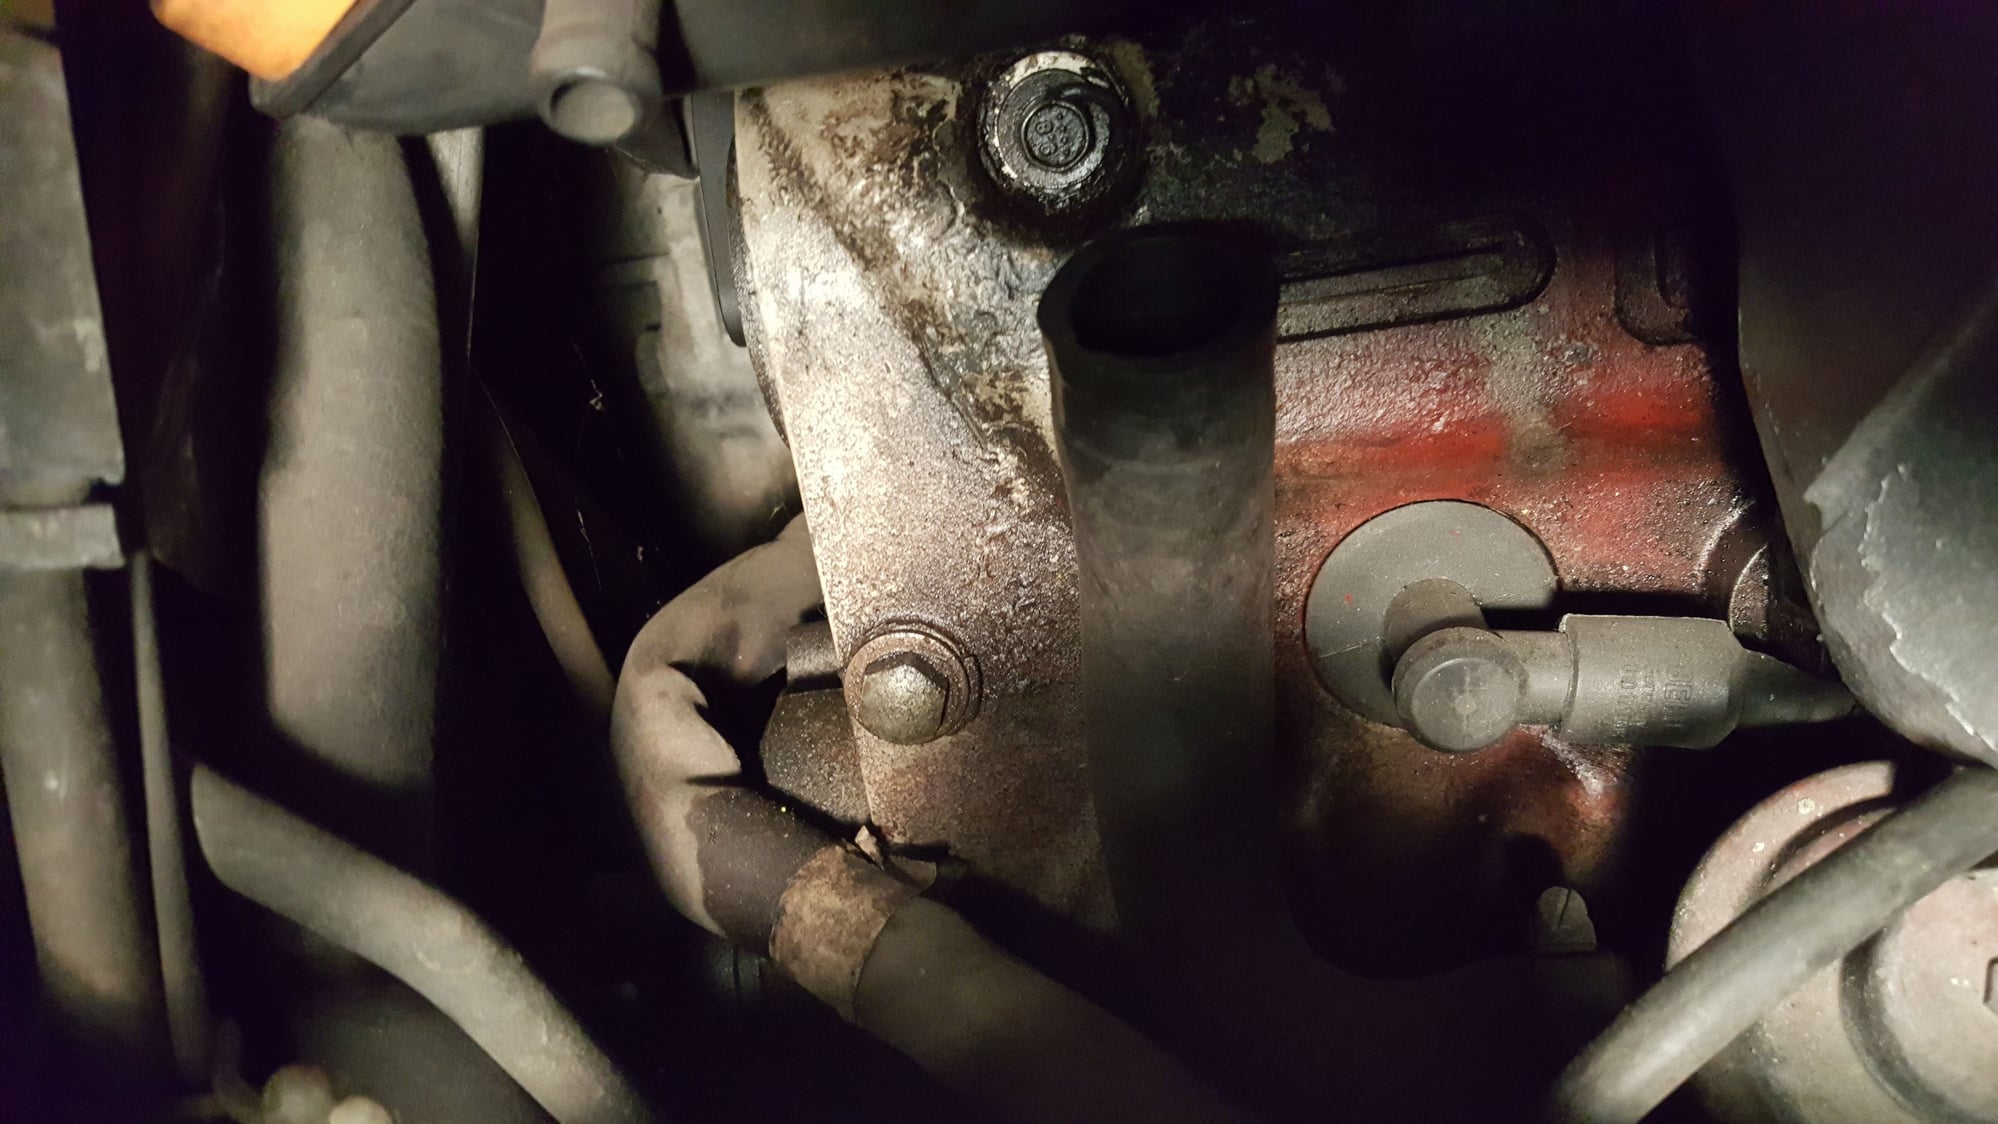
I am waiting for a package from Roger now. The PO thought the vacuum system was optional. I am also struggling with a stuck Crank Shaft Position Sensor. The damn thing came out a quarter of the way and then got stuck and the top part of the sensor snapped but there is a good inch above the block. I
get a left hand 1/8 drill bit and drill down the center put a screw into the hole then pull out the center then grip a side of the sensor with needle nose and twist and pull put PB into the edges of the sensor
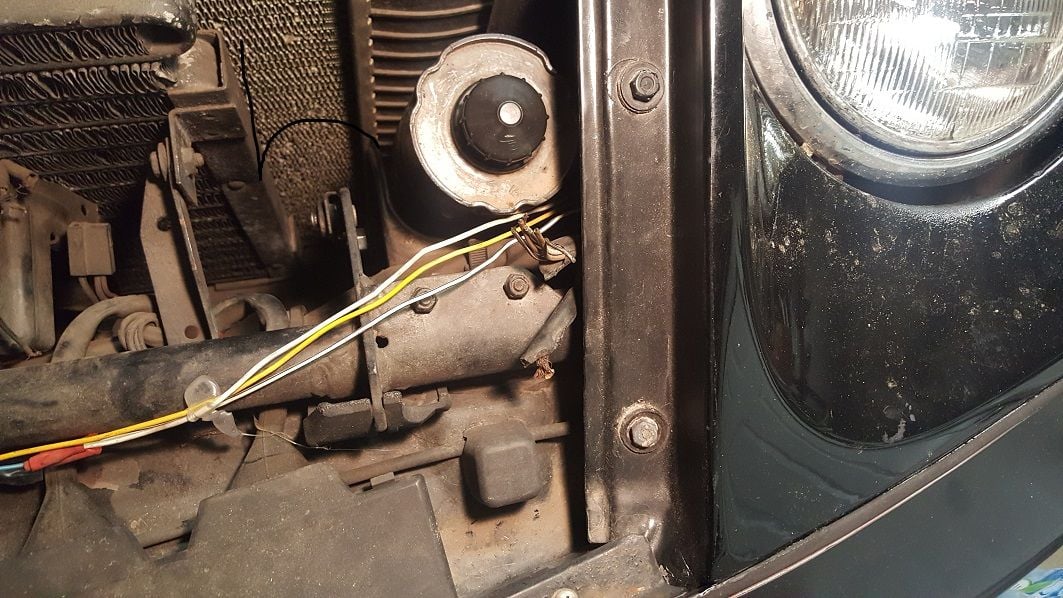
Are the "c-clips" on the ends of the shafts for the headlight connecting rod? In the photo there looks as if someone made a half circle black line around the top one.
If not you're in danger of the bottom of that connecting rod coming loose when the lights are popped up. Then when you go to turn the headlights off, that connecting rod punches a hole in your radiator! Lack of a $0.10 piece can get expensive and leave you stranded.
They're actually called "e-clips". Just thought I should point that out since they can be hard to find.
Are the "c-clips" on the ends of the shafts for the headlight connecting rod? In the photo there looks as if someone made a half circle black line around the top one.
If not you're in danger of the bottom of that connecting rod coming loose when the lights are popped up. Then when you go to turn the headlights off, that connecting rod punches a hole in your radiator! Lack of a $0.10 piece can get expensive and leave you stranded.
I sell a stainless laser cut plate that goes over your radiator that will prevent this. $25 plus shipping. cheap peace of mind.

 04-11-2017, 12:19 AM


 I will do my best to watch this thread and will offer any help I can. I've had my car since 2010 and have touched a lot of it.