When you click on links to various merchants on this site and make a purchase, this can result in this site earning a commission. Affiliate programs and affiliations include, but are not limited to, the eBay Partner Network.
I know there are a few threads on this subject, however another cant hurt.
When I first picked up my car almost a year ago now, the height adjuster, drivers seat power switch did not work, I am 6'3 and always thought my seat was slightly higher than the passengers, even though I still had clearance for the noggin.
So working through my list, this was the next one to cross off.
Some terminology straight off PET.
Firstly I disconnected the battery, love the simple wing nut on the negative terminal.
I watched a couple of videos (do we still call them that...), on the subject, and found most people just pry out the tip switch from the rosette, when I did this I found that the female plug attached to the wiring harness fell back somewhat into the seat, I thought of which would make it extremely difficult to plug the tip switch back in on completion.
SO, I removed the four tapping screws, releasing the rosette, this way I could get some relief away from the seat to grip the female plug and "wiggle" albeit gently, each tip switch free from the female plug (PET does not have a name for these plugs) , about 5 minutes tops.
Then to the bench, for a good old fashioned Deoxit.
I pulled apart the tip switches, a gentle pry with a small screw driver releases the "arrowed panel" from the male plug. All very logical and straight forward when you get to this point really.
HOWEVER take care when you actually remove the arrowed panel, as inside the main body are two very small, approx 3-4mm metal ball bearings that sit directly in the cradle of the contact points, fortunately for I they had been greased, and stayed nicely in position, thereby preventing them from falling out and being lost forever somewhere on my garage floor!!! ALSO attached inside two tubes within the arrowed panel are two small springs, once again these were greased, preventing them from flying out at a great rate of knots, straight outside my garage door!!!!
The springs I assume, apply a nice even pressure to the ball bearings when either end of the tip switch is depressed, I guess to allow longevity in reducing friction and wear, well they certainly achieved that!!!
Ok, the offending HEIGHT ADJUSTER tip switch revealed a completey carboned up set of contact points, I gave them a nice clean up, and of course decided I may as well spend the time and do the other two adjusters as well. I found the longitudinal adjuster was missing the ball bearings, I will rectify this another day.
I also cleaned the female plugs on the wiring harness at the seat.
I applied Deoxit GOLD to all cleaned contact points.
Reassembly was simple as I had plenty of movement to re introduce each tip switch back into its "socket", I then simply pushed the whole rosette back into the seat taking care to fold the excess leather neatly back into the seat, then tightened up the tapping screws.
Then, with a smug glance at Bart, (my dog, and long time garage companion), I moseyed like a Cheshire cat (not a smart move with Bart around!), around the back to hook up the power.
Beaut!!! the height adjuster switch works brilliantly, I sat in the car and lowered my head a full 1.5" from the roof, now this feels better!!!
I will clean the passengers seat in due course.
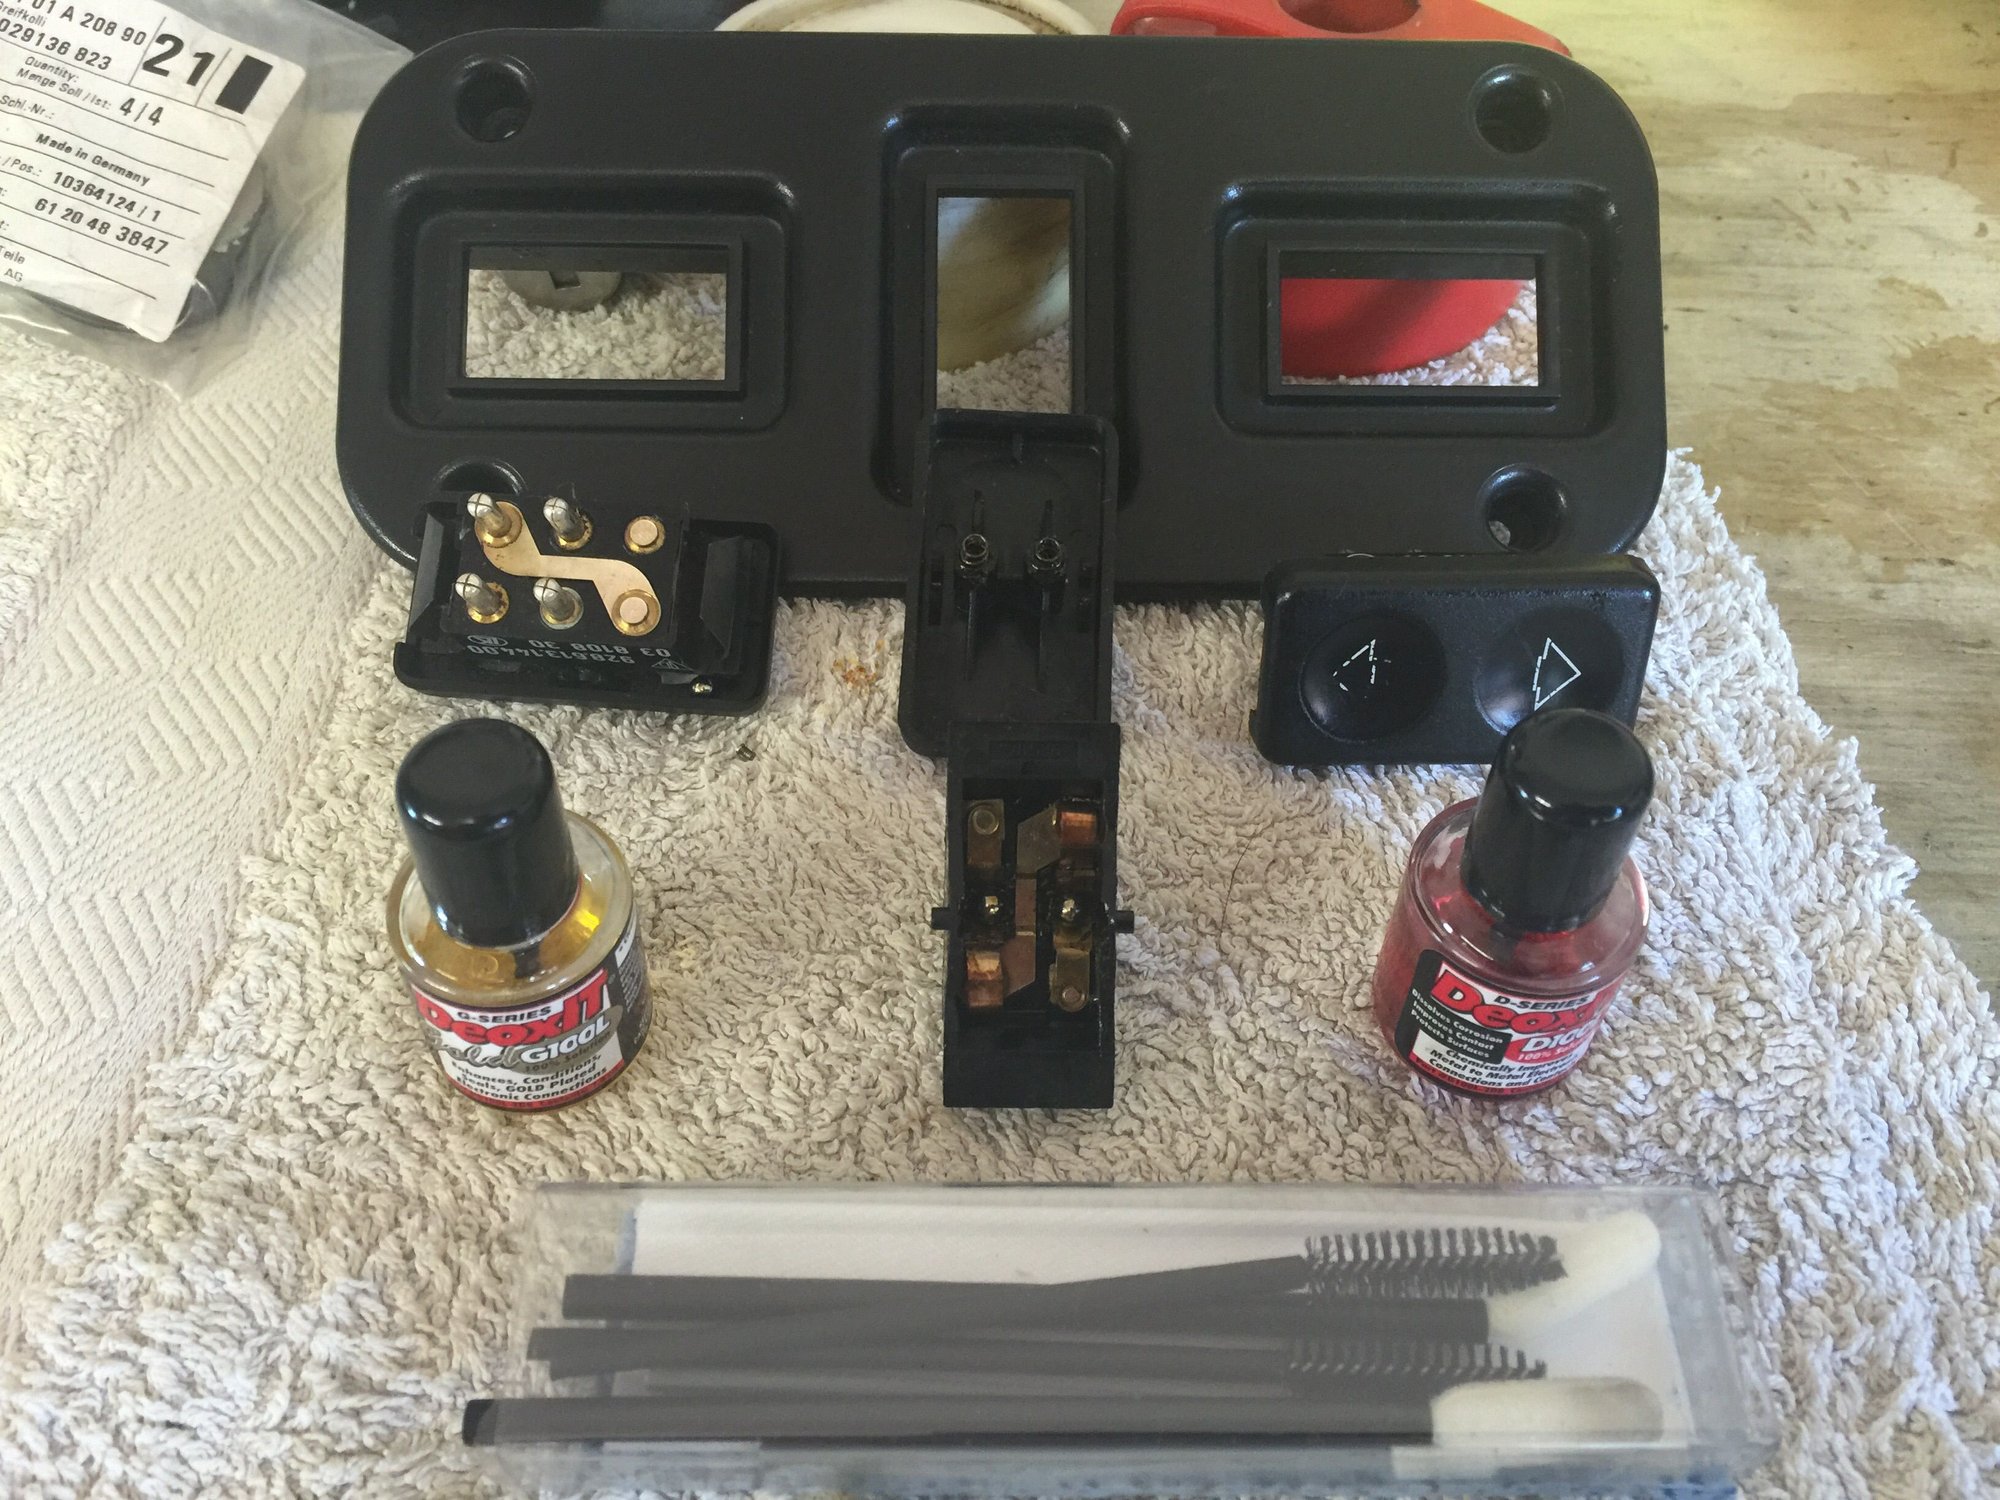
Below are some pics and brief descriptions.
Rosette, tip switches, cleaner,
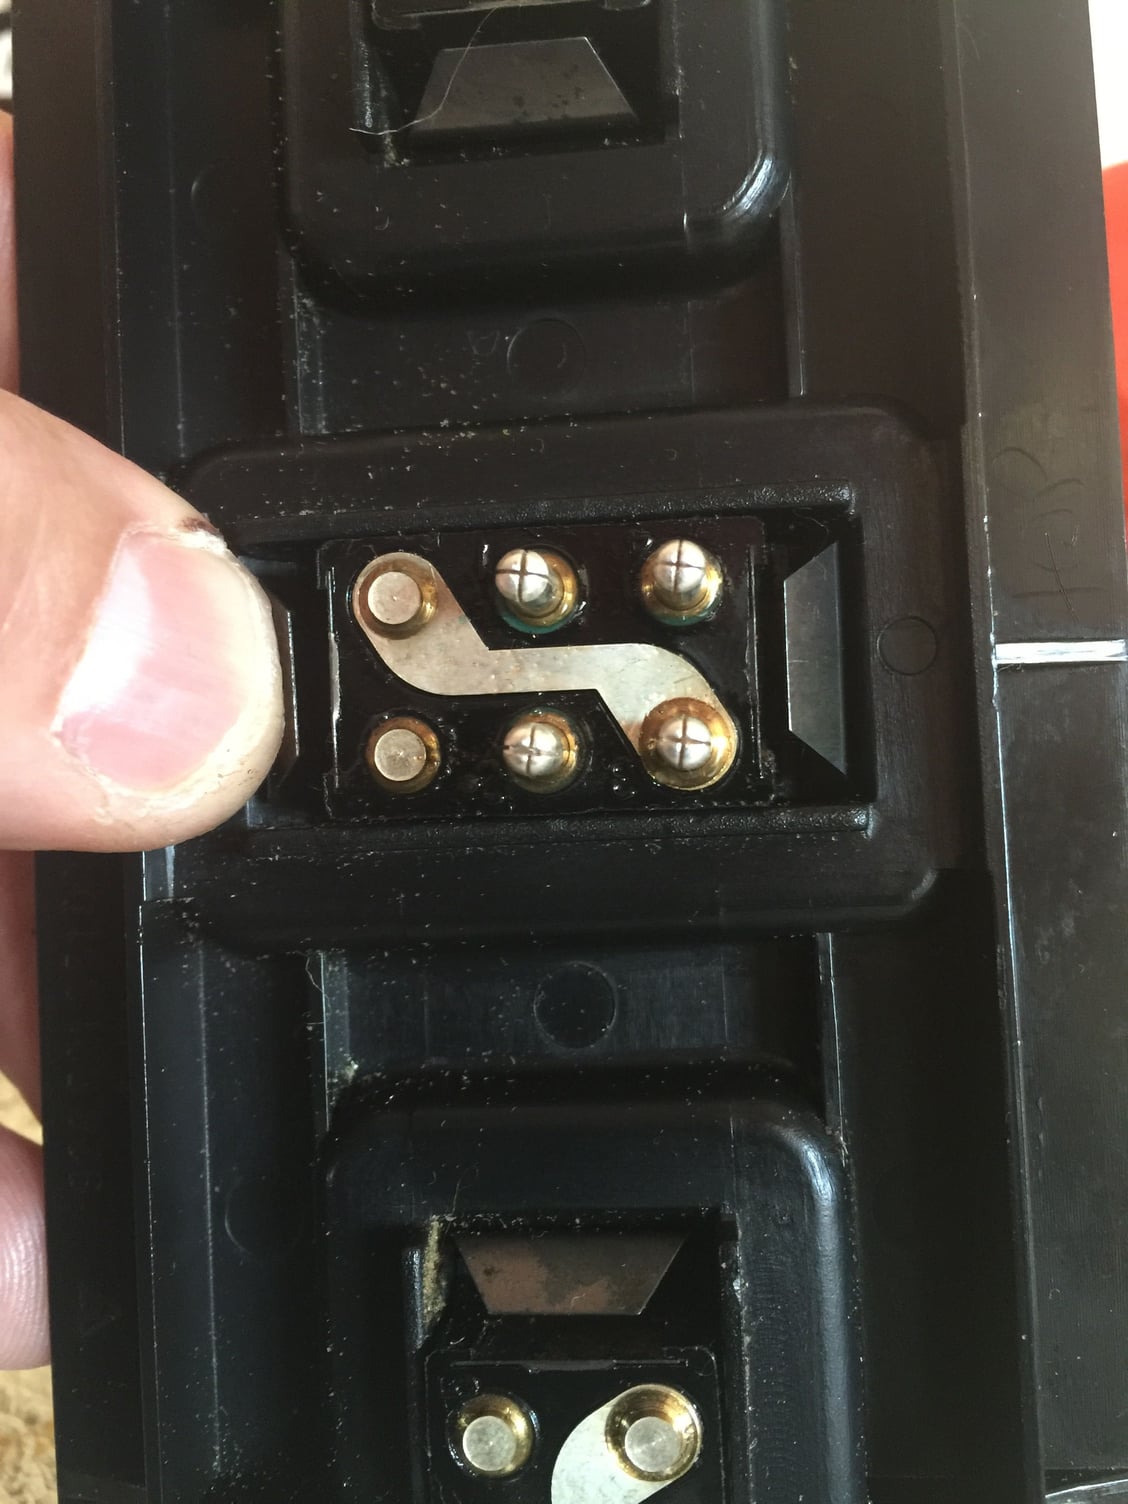
Note two ball bearings, nestled within contact points.
Easy to pop tip switch in/out of rosette whilst whole unit removed, IMO.
Last edited by Kiwi'79; 01-26-2017 at 12:51 AM.
Reason: Text
Nice work, I tried fixing mine and only succeeded in making them work in one direction. Buying three new switches hurt for what they are but working seats are a necessity.


 01-26-2017 | 12:45 AM