When you click on links to various merchants on this site and make a purchase, this can result in this site earning a commission. Affiliate programs and affiliations include, but are not limited to, the eBay Partner Network.
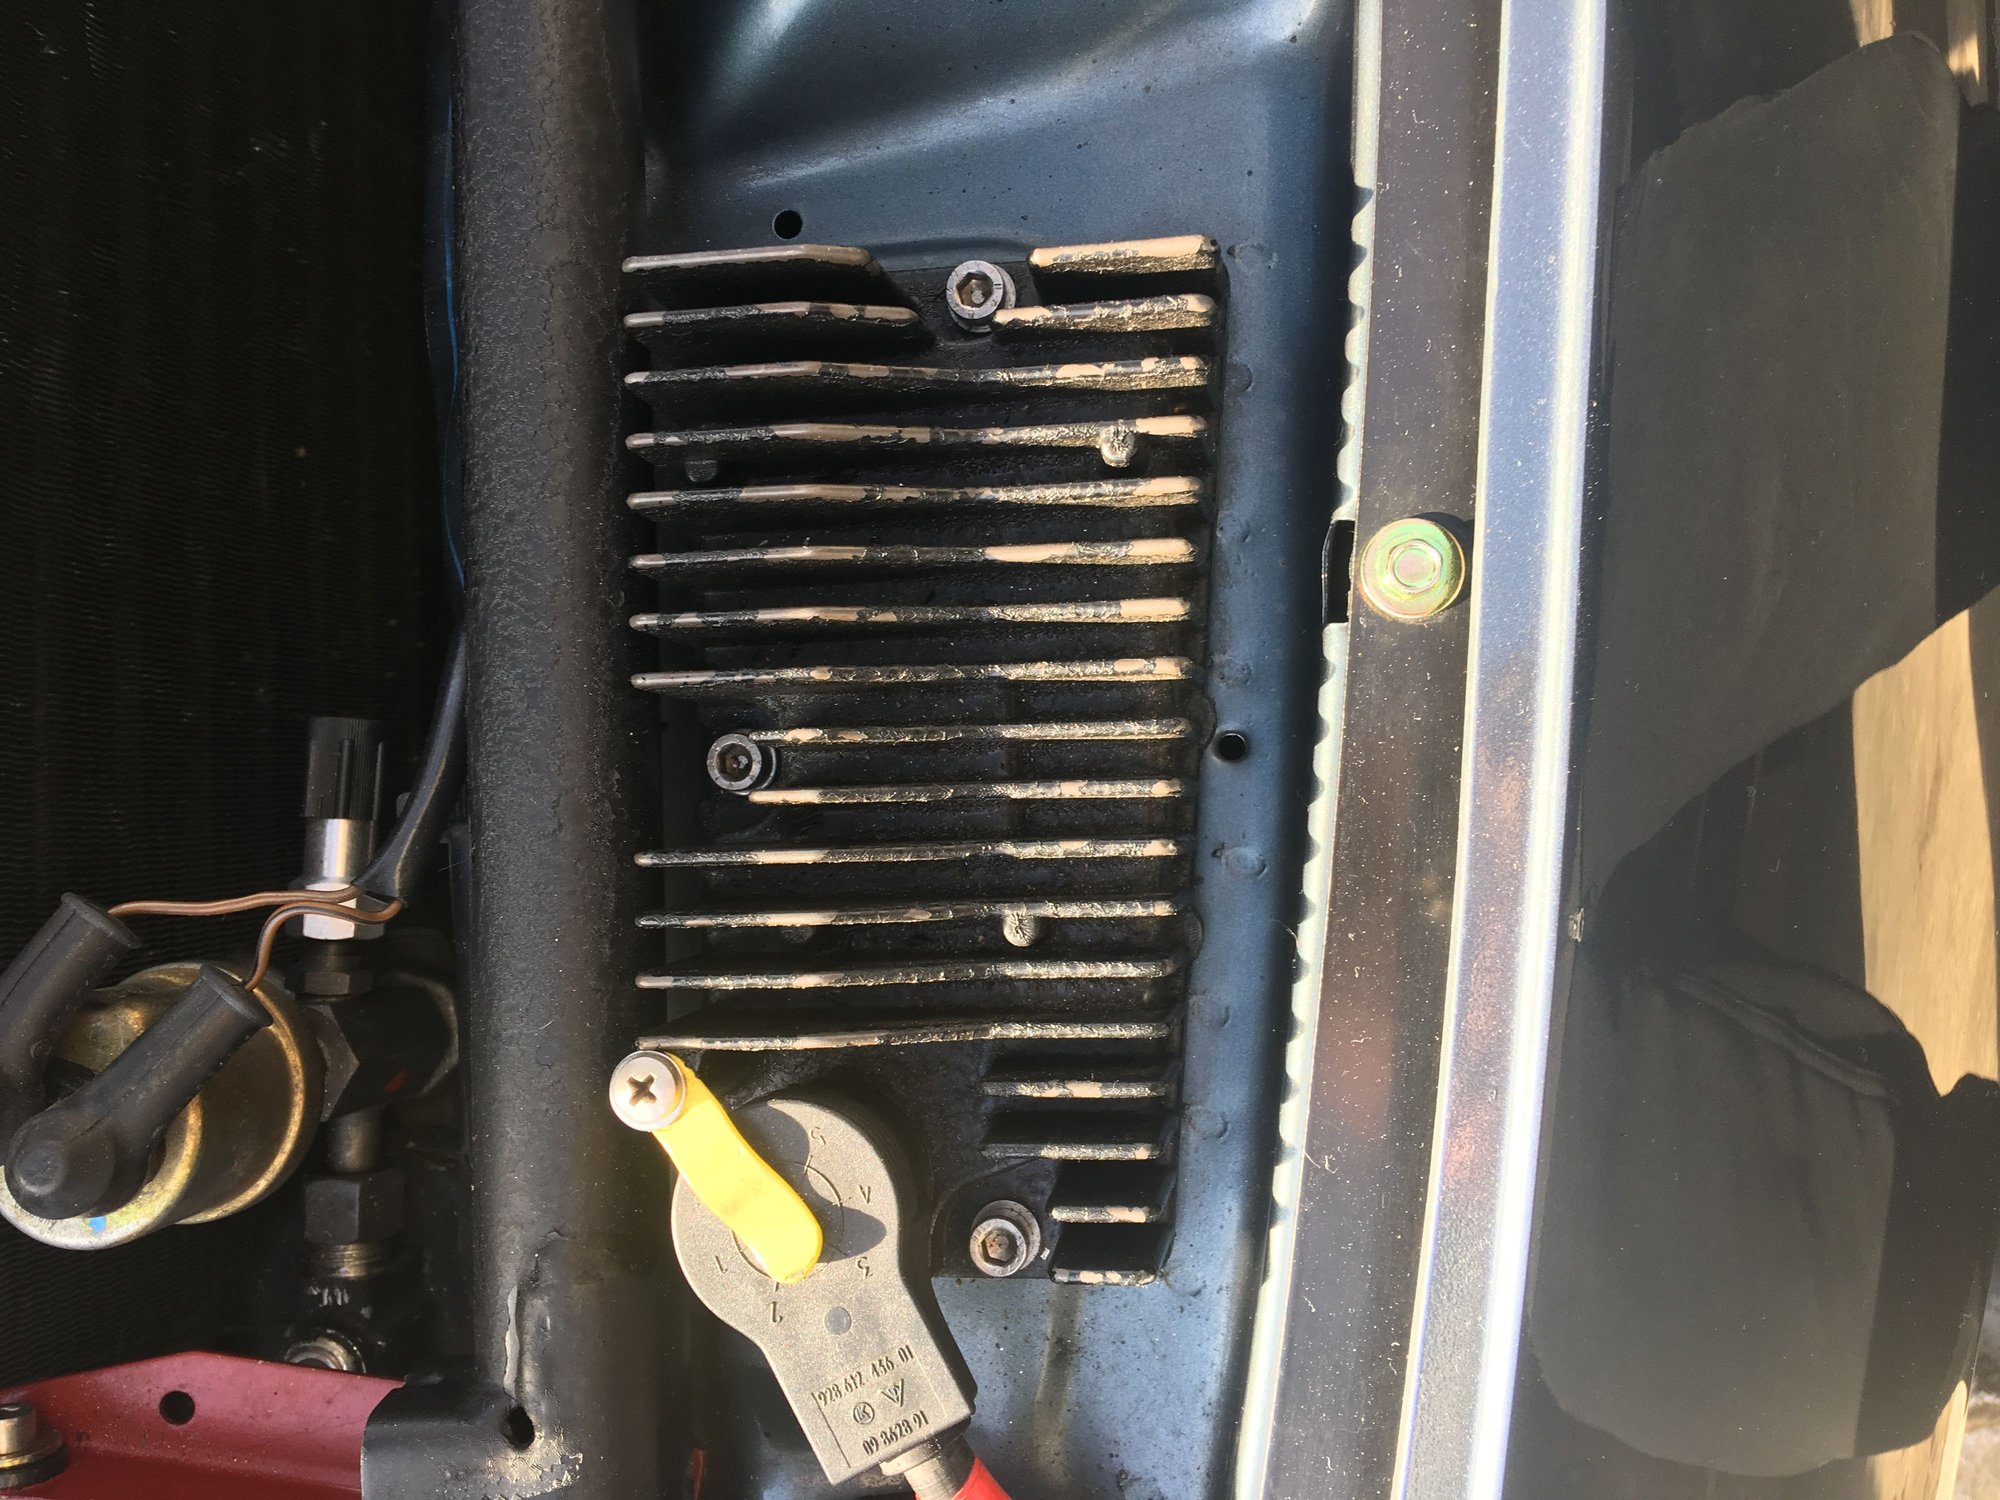
Can someone please share with me what a good original condition looks like. I am specifically interested in the coating on the fins and the mounting hardware.
Mine appears to have been painted by a PO with too much black crinkle coat paint sitting at home and the hardware is saintliness, which is nice but not the best conductor for grounding.
I am a little worried about the paint inhibiting the cooling and the mounting hardware creating grounding resistance if the unit is grounded via the chassis.
My still-original unit is a flat charcoal grey finish, like barbeque paint or flat black exhaust system paint might be. But it isn't paint. Those fins really need to be cleaned up to pass heat to the air. Wrinkle paint qualifies as an insulator in this duty.
The fasteners on mine are standard cad-plated hex-head capscrews. Note that module does not depend on the hold-down fasteners for a ground connection. Grounding is via the plug-in harness. There is no thermal paste or any expectation of heat transfer to the front apron where the module is mounted. Inside though, the thermal paste where the little FET mounting blocks attach does deteriorate and will cause a module failure. If you know what you are doing, it's a worthwhile exercise bringing that stuff back to new condition.
Rich Andrade in Phoenix, Greg Brown in Anaheim, and undoubtedly a few other places offer rebuilding services for the final stages modules. If you haven't tried to fix it yourself already that is. Fixing the known weak spots isn't too bad. Fixing those plus the pieces sacrificed to the tried-to-DIY gods takes a lot more patience and parts.
@rbrtmch, thanks the photos high quality pics. that should be what I need to get the item back to stock appearance.
Originally Posted by dr bob
Michael--
My still-original unit is a flat charcoal grey finish, like barbeque paint or flat black exhaust system paint might be. But it isn't paint. Those fins really need to be cleaned up to pass heat to the air. Wrinkle paint qualifies as an insulator in this duty.
The fasteners on mine are standard cad-plated hex-head capscrews. Note that module does not depend on the hold-down fasteners for a ground connection. Grounding is via the plug-in harness. There is no thermal paste or any expectation of heat transfer to the front apron where the module is mounted. Inside though, the thermal paste where the little FET mounting blocks attach does deteriorate and will cause a module failure. If you know what you are doing, it's a worthwhile exercise bringing that stuff back to new condition.
Rich Andrade in Phoenix, Greg Brown in Anaheim, and undoubtedly a few other places offer rebuilding services for the final stages modules. If you haven't tried to fix it yourself already that is. Fixing the known weak spots isn't too bad. Fixing those plus the pieces sacrificed to the tried-to-DIY gods takes a lot more patience and parts.
@DrBob, thanks for the description of the coating and for the resources on refurb. I noticed a couple good how-to reform writeup's in the archives so I may take that on after I conduct a test. I have good soldering skills from my college days working in IC assembly, I just don't know all the micro electronic terms. But if I am given good instruction, I can do it! Although, I have no reason to believe my final stage is not working properly.
PS, Bob, I see you are in Bend, Im in PDX, we are relatively local. If you come to PDX, we should connect, or vise versa.
If you decide to go for it yourself, I found the FETs and other needed components at Fry's (in Burbank) where we lived at the time. The challenges are mechanical as much as electrical. You'll find that the FETs are in TO220 cases, attched to a sintered-zinc heat-sink block by a little rivet-like protrusion that's part of the block. You'll remove the protrusion to get the component free, then drill & tap holes for tiny (#4 IIRC) screws to hold the new pieces in place. Replace the mica isolators, and reinstall all that stuff with a thin film of heat-sink paste. Observe best practices when handling and particularly when installing and soldering the FETs in place. ESD rules apply, and you'll want to keep the pins shorted together until you are ready to drop it all into the case and seal it all up again.


 01-17-2017, 04:25 PM