When you click on links to various merchants on this site and make a purchase, this can result in this site earning a commission. Affiliate programs and affiliations include, but are not limited to, the eBay Partner Network.
Hi guys, making progress with my pod upgrade (haven't had chance to work on it recently. The Scherer guide I have says to put a 1 / 1.8k ohm resistor in the blue black wire leading off the pod switch on the rear window demist, hazard and front and rear fogs - this is to deliver the correct 'dimmed' behaviour when lights are on but switch not active. I've done the demist switch (works perfectly) but look at the fog switch - it has 2 blue-black wires leading off. Will it still work if I just pick one at random to put the resistor in?
Image shows the 2 blue-black wires on the fog lamp.
Just wanted to check back in and thank everyone for the help and advice. I finished the job last weekend and I am thrilled with it. So I had some free weekend time (rare) and decided to try and finish my interior LED upgrade. I spliced in the resistors to the fog light pod switches and then it was reassembly time.
It was all going swimmingly and I had the steering wheel back on (see smiling selfie) before I then found a long bolt on the floor... ****, that's one of the 2 main bolts holding the pod to the dash. I'll just remove the lower plastic covers and pop that on...
No such luck - I had to start again! Anyway, 4 hours later I got there. Very satisfying - but really really hard to photograph well. You'll have to take it from me that the effect is transformative without being in any way "blingy" or inappropriate for a classic car.
I am going for a "Hunt for Red October" red theme in the interior instruments for restful night driving. So I put a red LED bulb behind the clock which looks SO cool...
While I was about it I also replaced all 4 interior courtesy lights with warm white LEDs. Looks spot on, throws out a lot more light, and won't flatten your battery if you leave the doors open.
I've noticed that both door contact switches don't seem to be doing anything (on door mode, lights on constantly on both sides). I'll start a separate thread on those bad boys...
Good stuff!
Ed is the master at all this stuff for sure!
I did the 79 over 10 years ago and they are still going strong.
Fun project, brings the car up to a modern feel. VS a 60 muscle car with old nasty dash lights..
I think the best (reversable if you want) things I've ever done to the 79 was the Steering wheel upgrade, GTS **** **** with short throw shifter, and the LED upgrade. The touch points and looks of the interior completely change the way you interact with the car. And again, you can reverse back to 70's technology if you want.
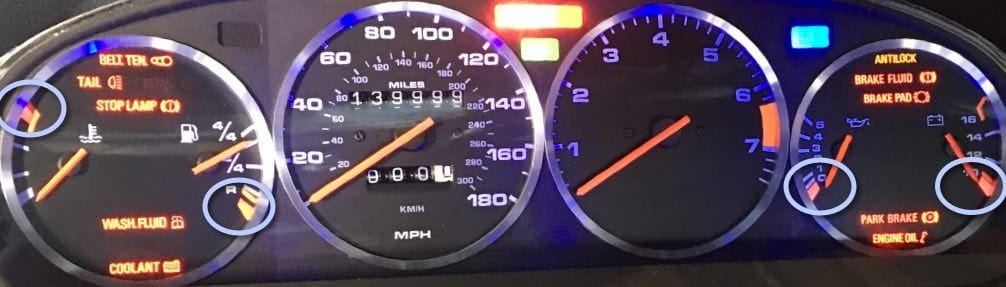
Has anyone found a suitable replacement for the bulbs used in locations to illuminate the following locations:
High coolant temperature (red)
Low fuel (amber)
Low oil pressure (red)
Low voltage (red)
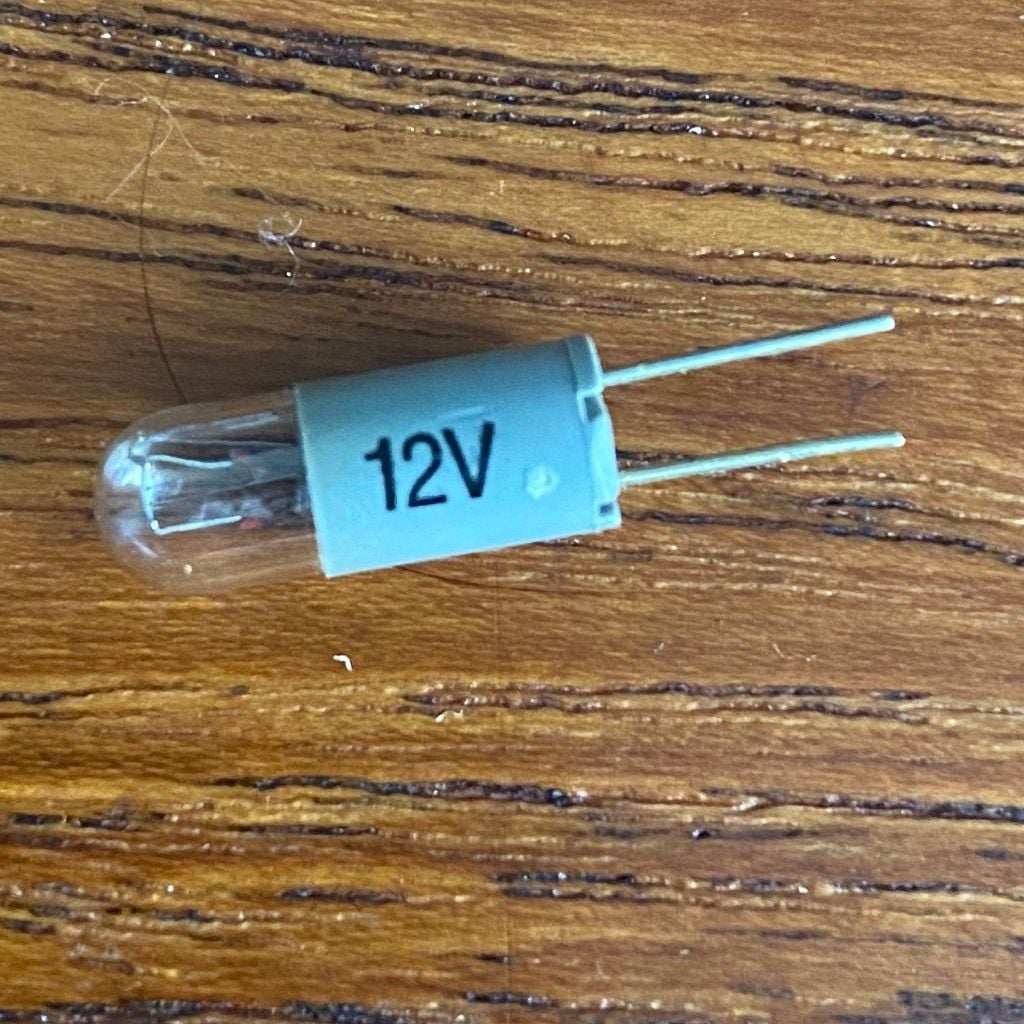
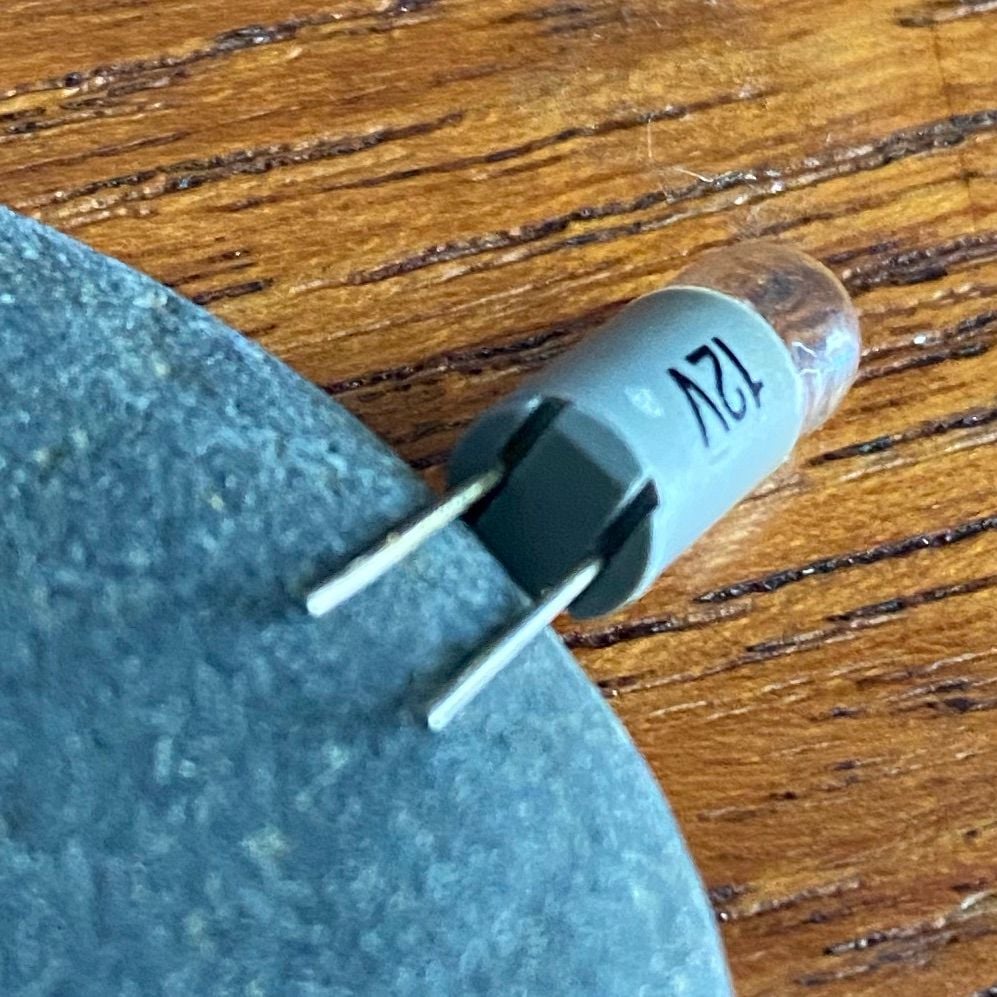
Here is what the incandescent bulbs look like:
I searched few threads on rennlist and did find any reference to these. If you replaced these I'd appreciate a resource.
Mike
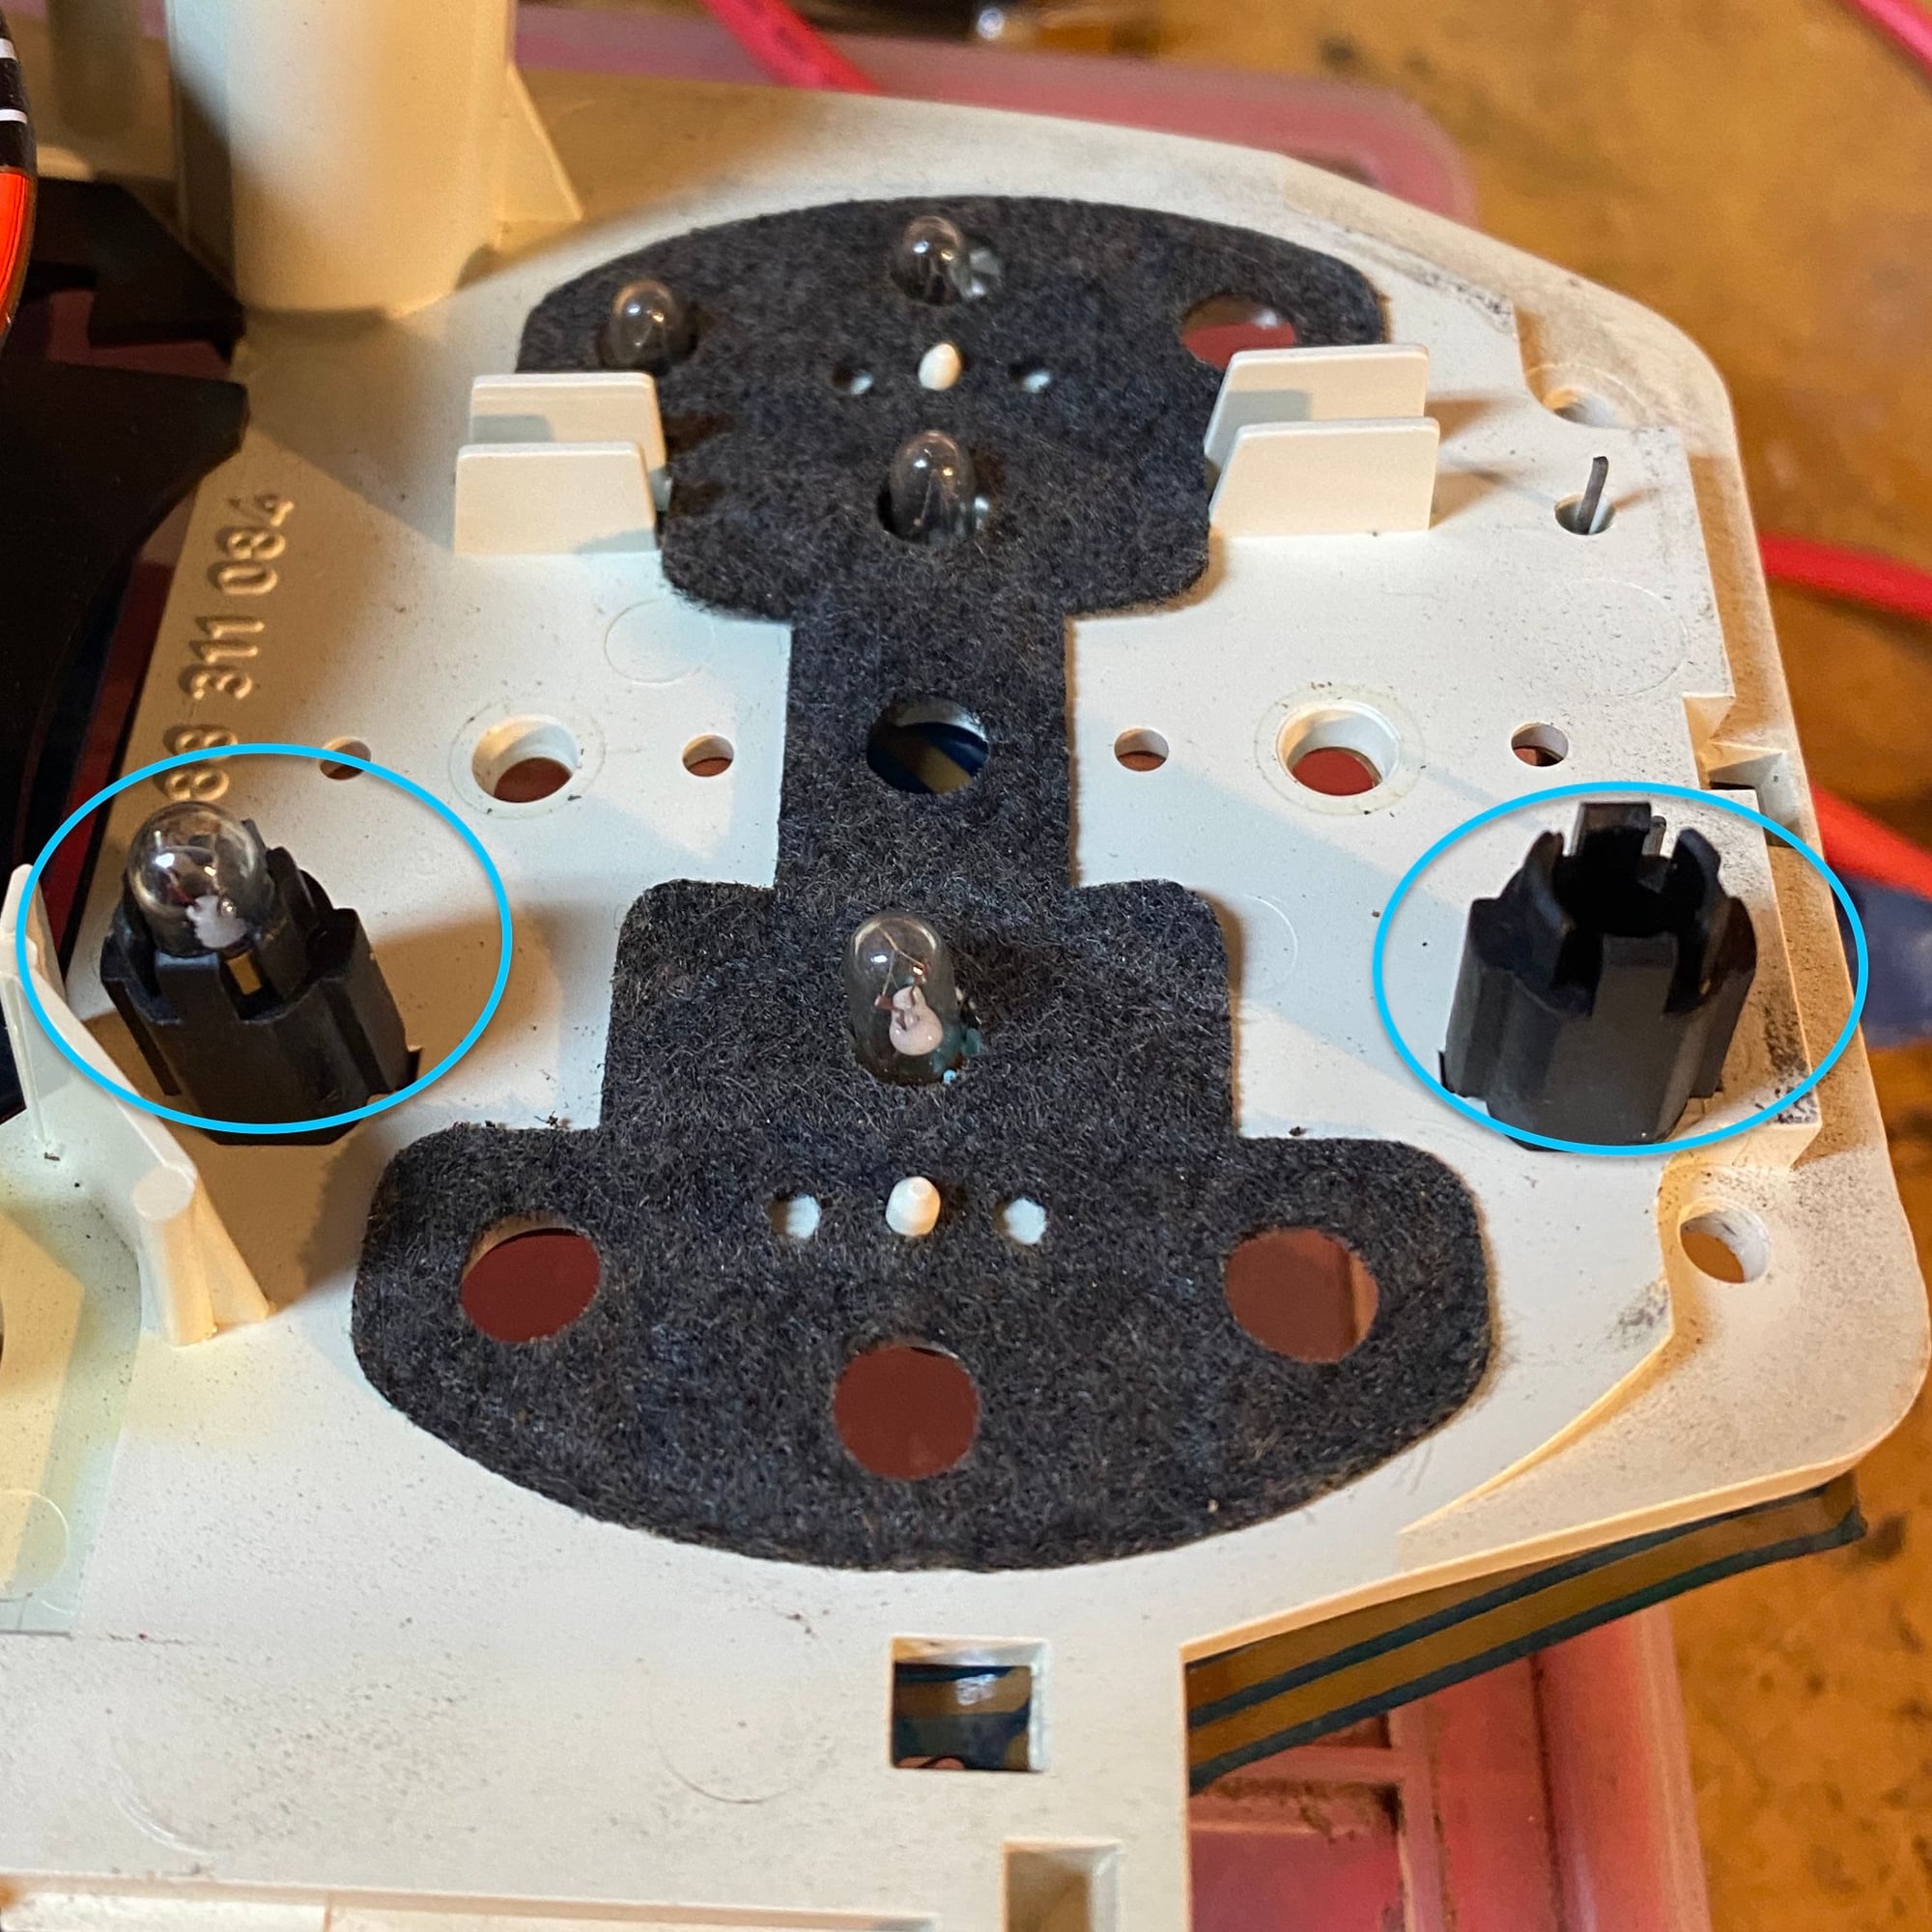
I opted to separate the bulb from the gray housing (wiggling it loose wasnt hard) and then put LEDs with embedded load limiting resistors in their place. Very minor expansion of the lead holes was necessary at the base of the housing. This kept the structure of the housing and direction of the light aligned. I show the digi-key part number around 2:14 below. The video is about the Indicator panel but the part number is there.
I opted to separate the bulb from the gray housing (wiggling it loose wasnt hard) and then put LEDs with embedded load limiting resistors in their place. Very minor expansion of the lead holes was necessary at the base of the housing. This kept the structure of the housing and direction of the light aligned. I show the digi-key part number around 2:14 below. The video is about the Indicator panel but the part number is there.

 03-29-2017, 04:05 AM