When you click on links to various merchants on this site and make a purchase, this can result in this site earning a commission. Affiliate programs and affiliations include, but are not limited to, the eBay Partner Network.
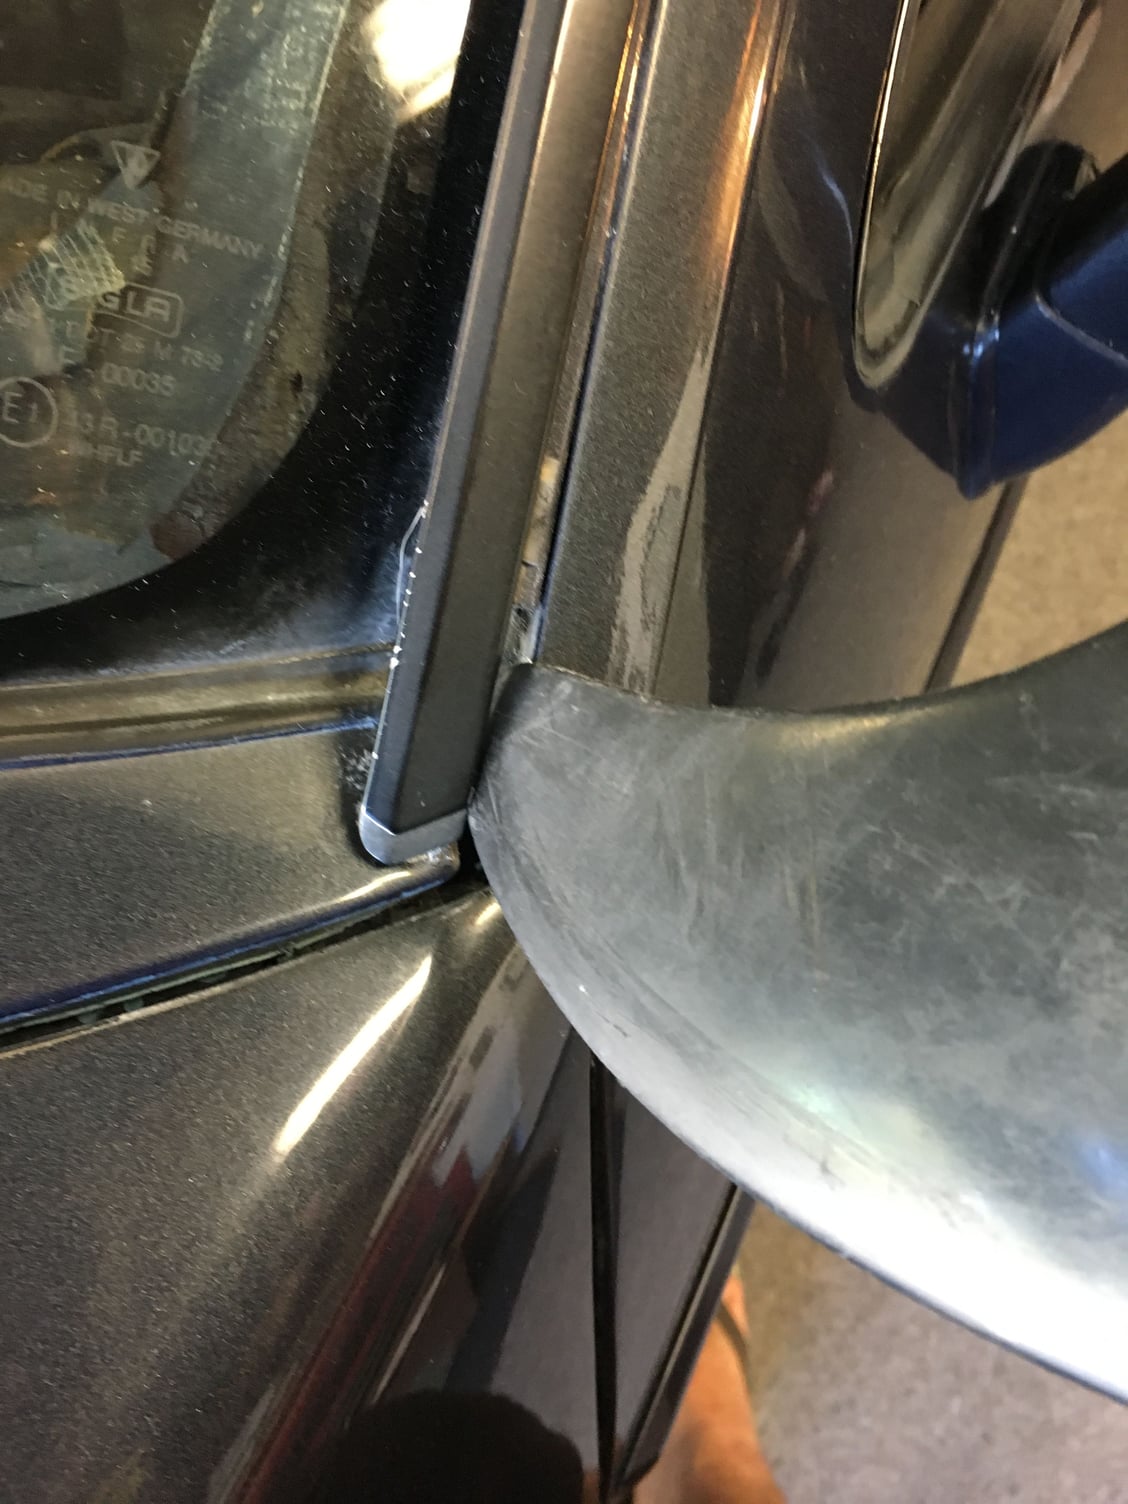
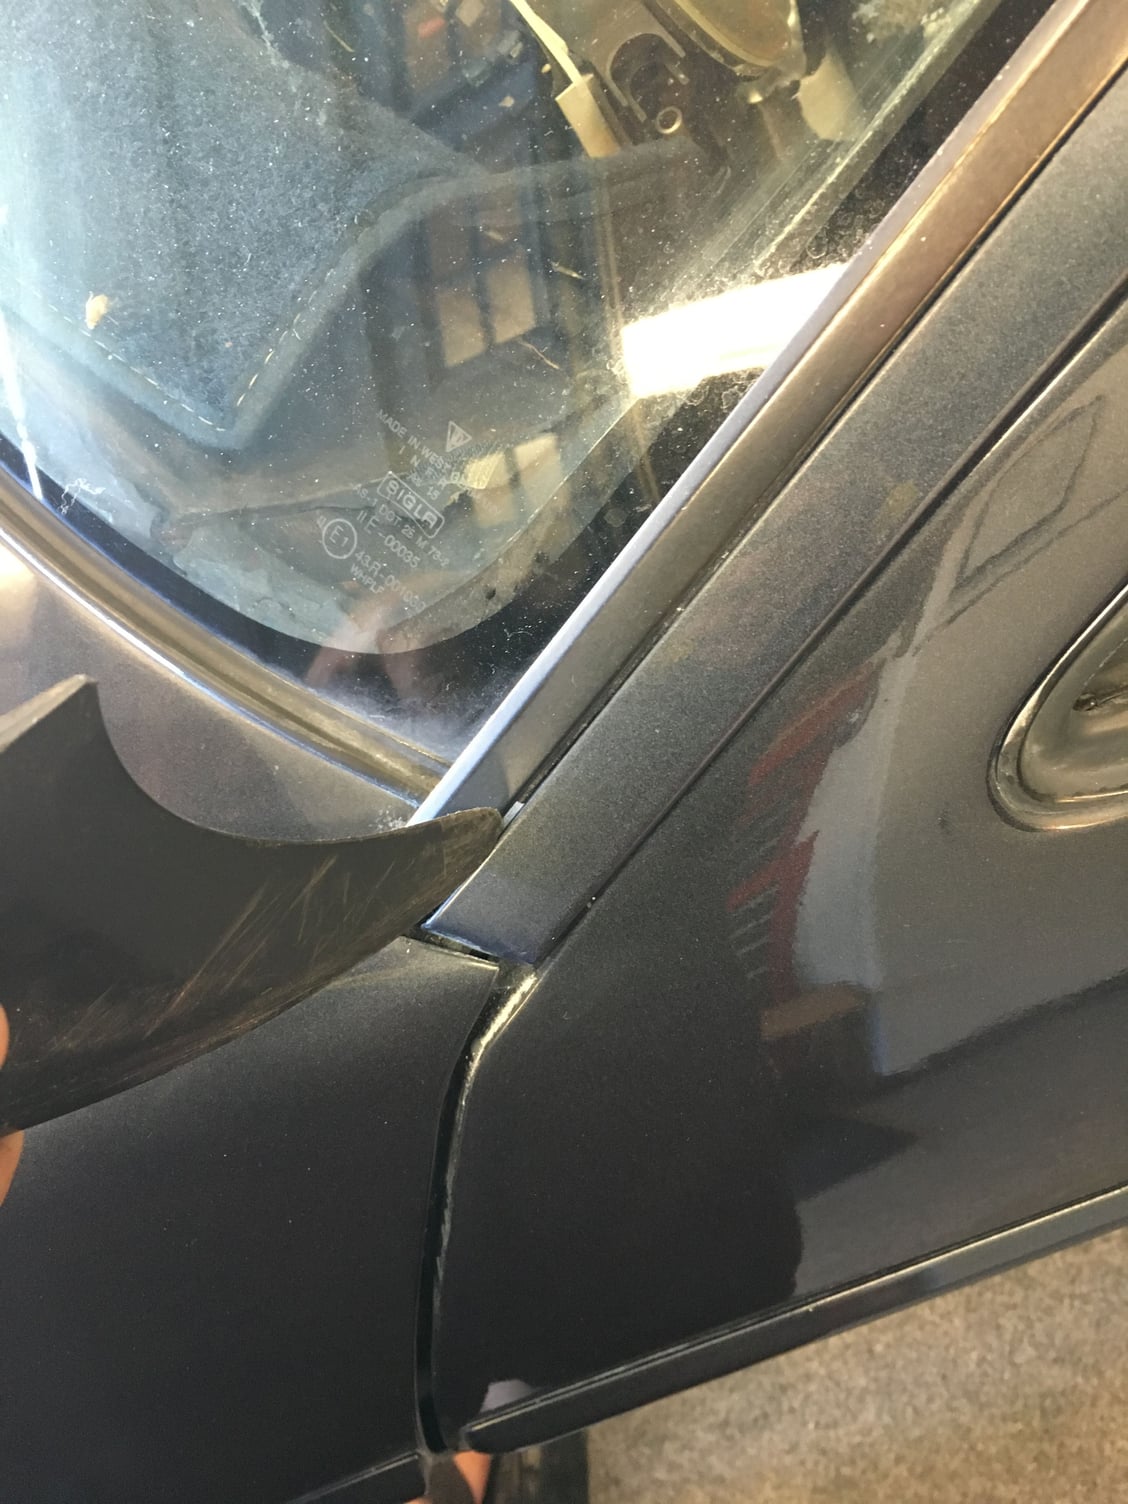
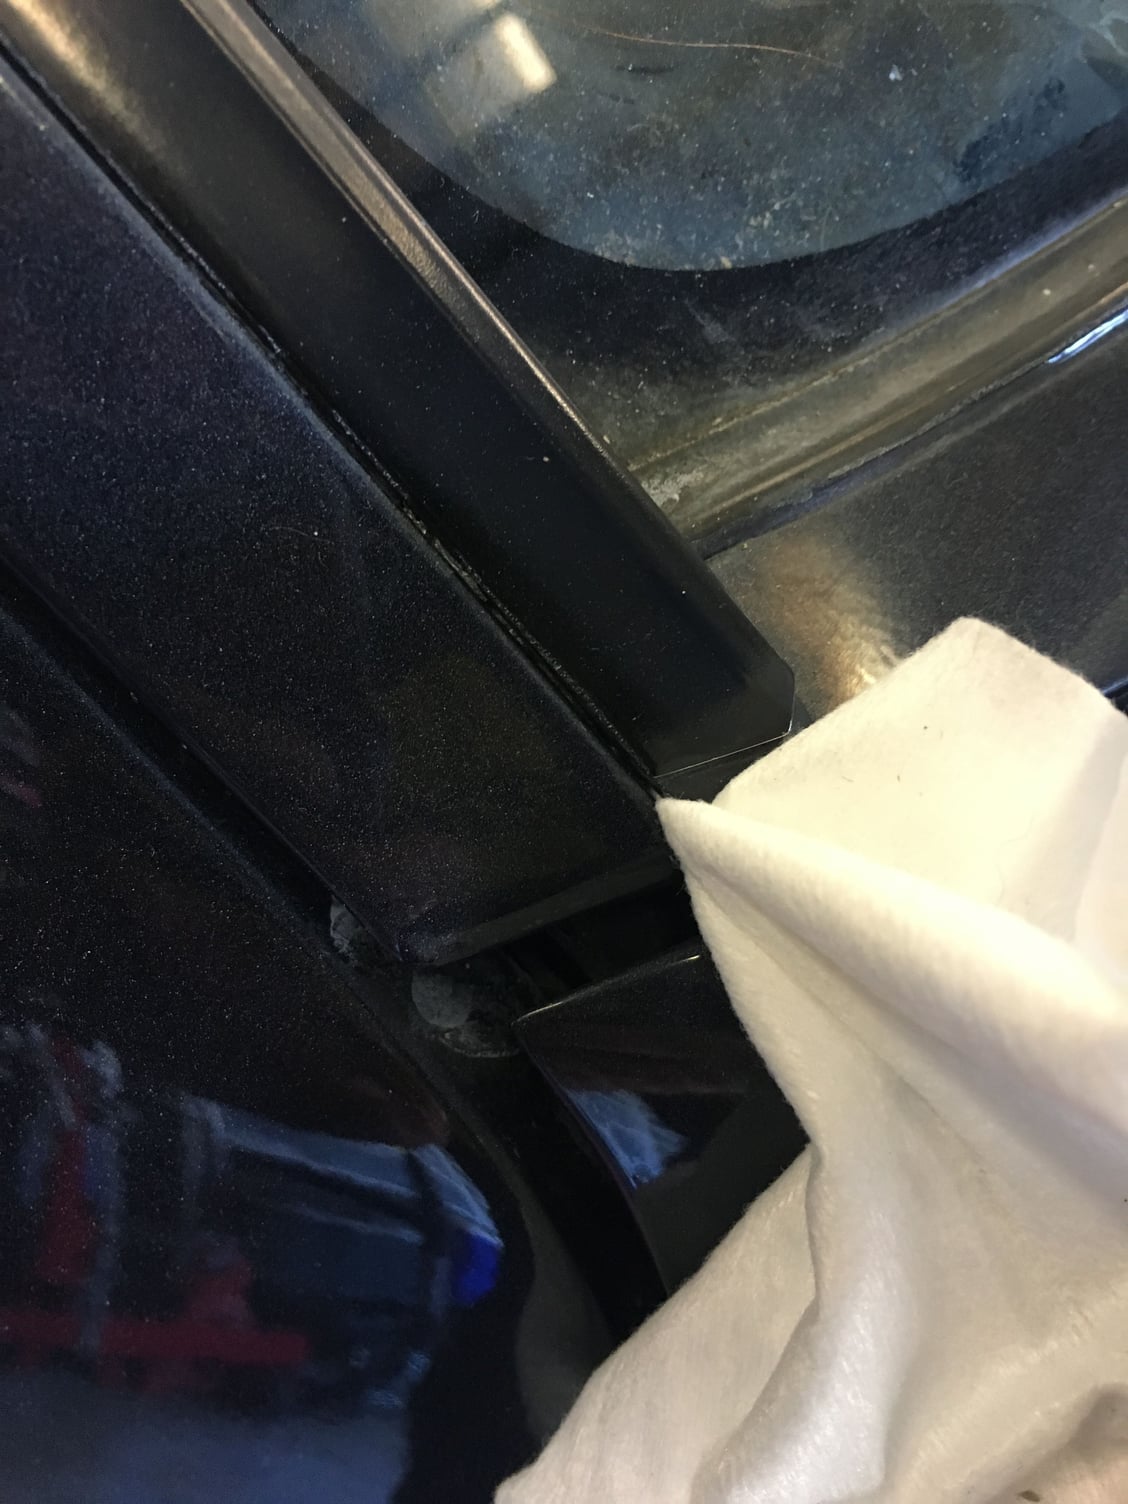
The lower window trim piece has started flaking off black paint/anodization, exposing the shiny aluminum underneath.
Since I've read through nearly all the other threads, but still haven't found a definitive method for safely removing the window trim, I'm asking here.
This is the instruction set I saw pointed to a few times, but I'm not sure I'm comfortable with the 'screwdriver' prying method with a piece of wood. Still not sure how that would work without scratching or denting something.
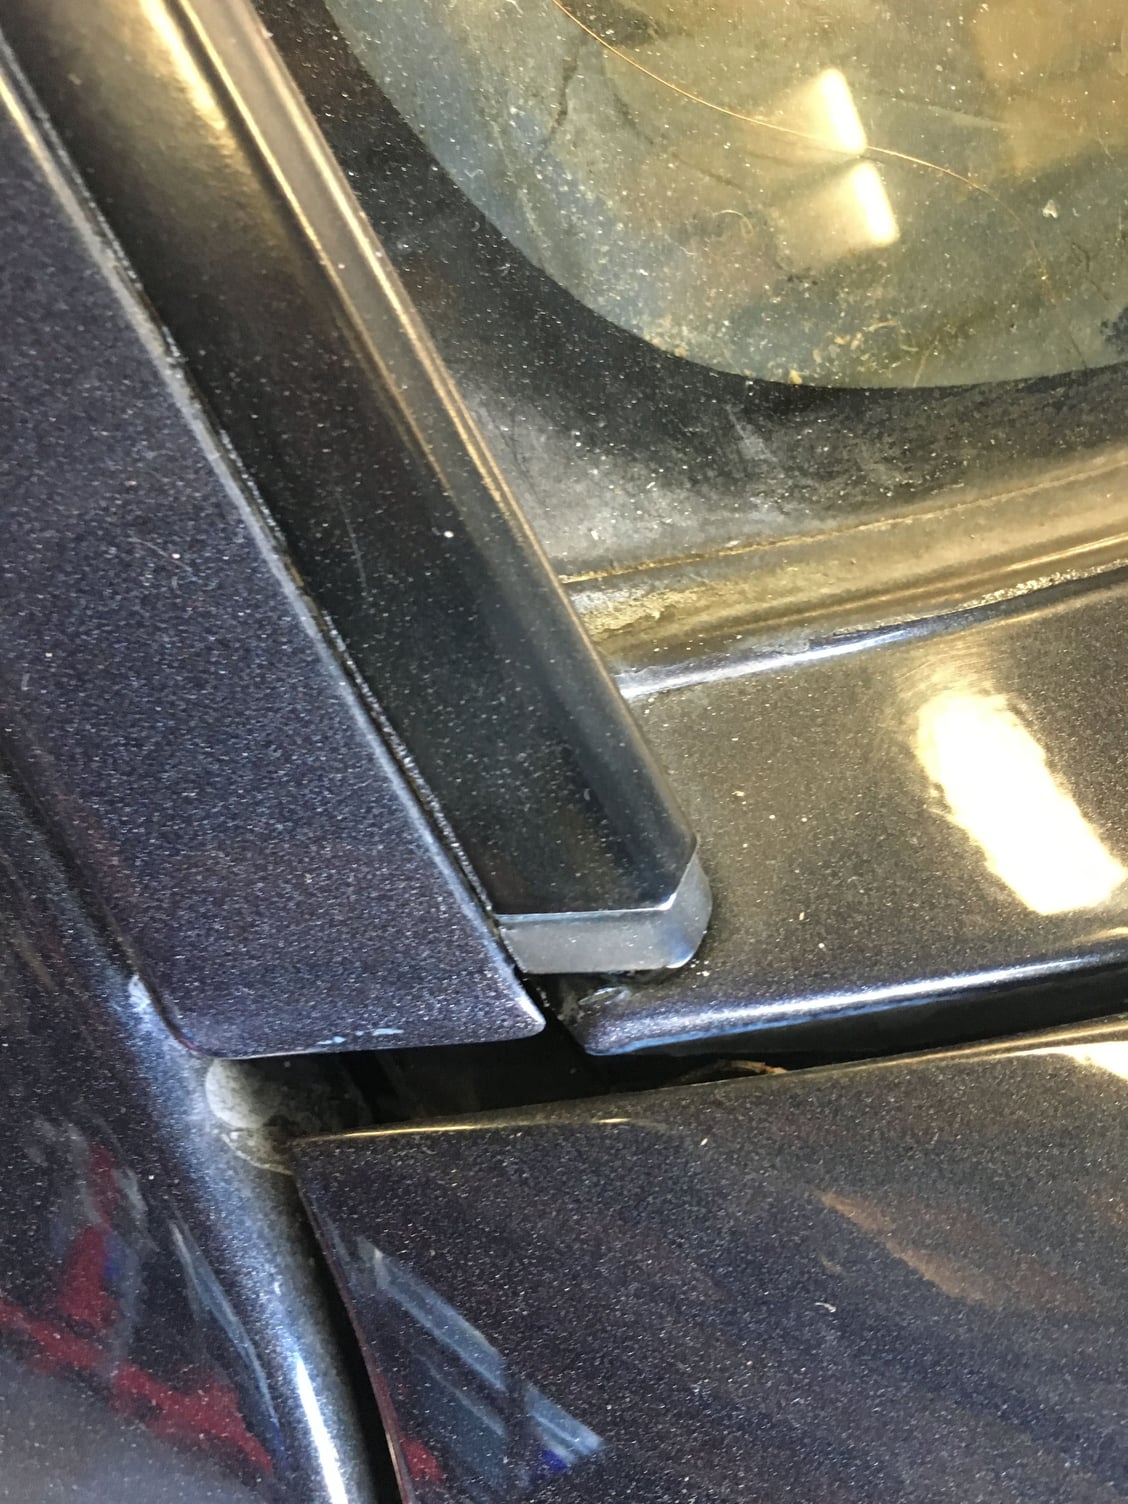
I've already sacrificed the corner piece because of the rivets. Does anyone know about how the replacement corner piece will go on? I haven't ordered it yet, but I also haven't seen anyone mention using a rivet gun to reattach.
Do I have to remove the curved top window trim to remove the bottom piece?
I already have a new scraper seal in the garage, since the one on the car is cracked and needs to be replaced anyway.
I saw a thread that mentioned a slide hammer, but nobody else replied or confirmed how that worked, and it's more than a few years old. Any guidance from people who have removed that trim without seriously bending/damaging anything would be appreciated.
Removing without damage is possible, but a PITA. Installation is no treat either if perfection is your goal. May be easier to carefully mask off the rest of the car and paint in place, if painting the trim is the only task at hand.
OP. Unless you are seriously ****, I'd go with T's re-paint in place method above. If, however, you want to remove the trim you will need:
- plastic wedges and a small hammer
- lots of patience
- even more patience
I did this job last fall preparing a 928 for a windows-out repaint. All the gaskets and interior window-frame trim have to come out. You may be able to get away with leaving some of the gaskets in place. But, the upper trim has to come out from the inside else you run the risk of damaging paint and/or gouging metal.
In hindsight a slide hammer with a 'claw' attachment is probably the easiest.
Putting the painted trim back in is no fun either.
In your case, I'd recommend spending hours masking rather than removing trim.
Hey Traxtar,
I was just thinking about you because I had to remove my windshield side trim so here's how i did it. Dave is right, patience is everything. If you do remove the trim for painting....
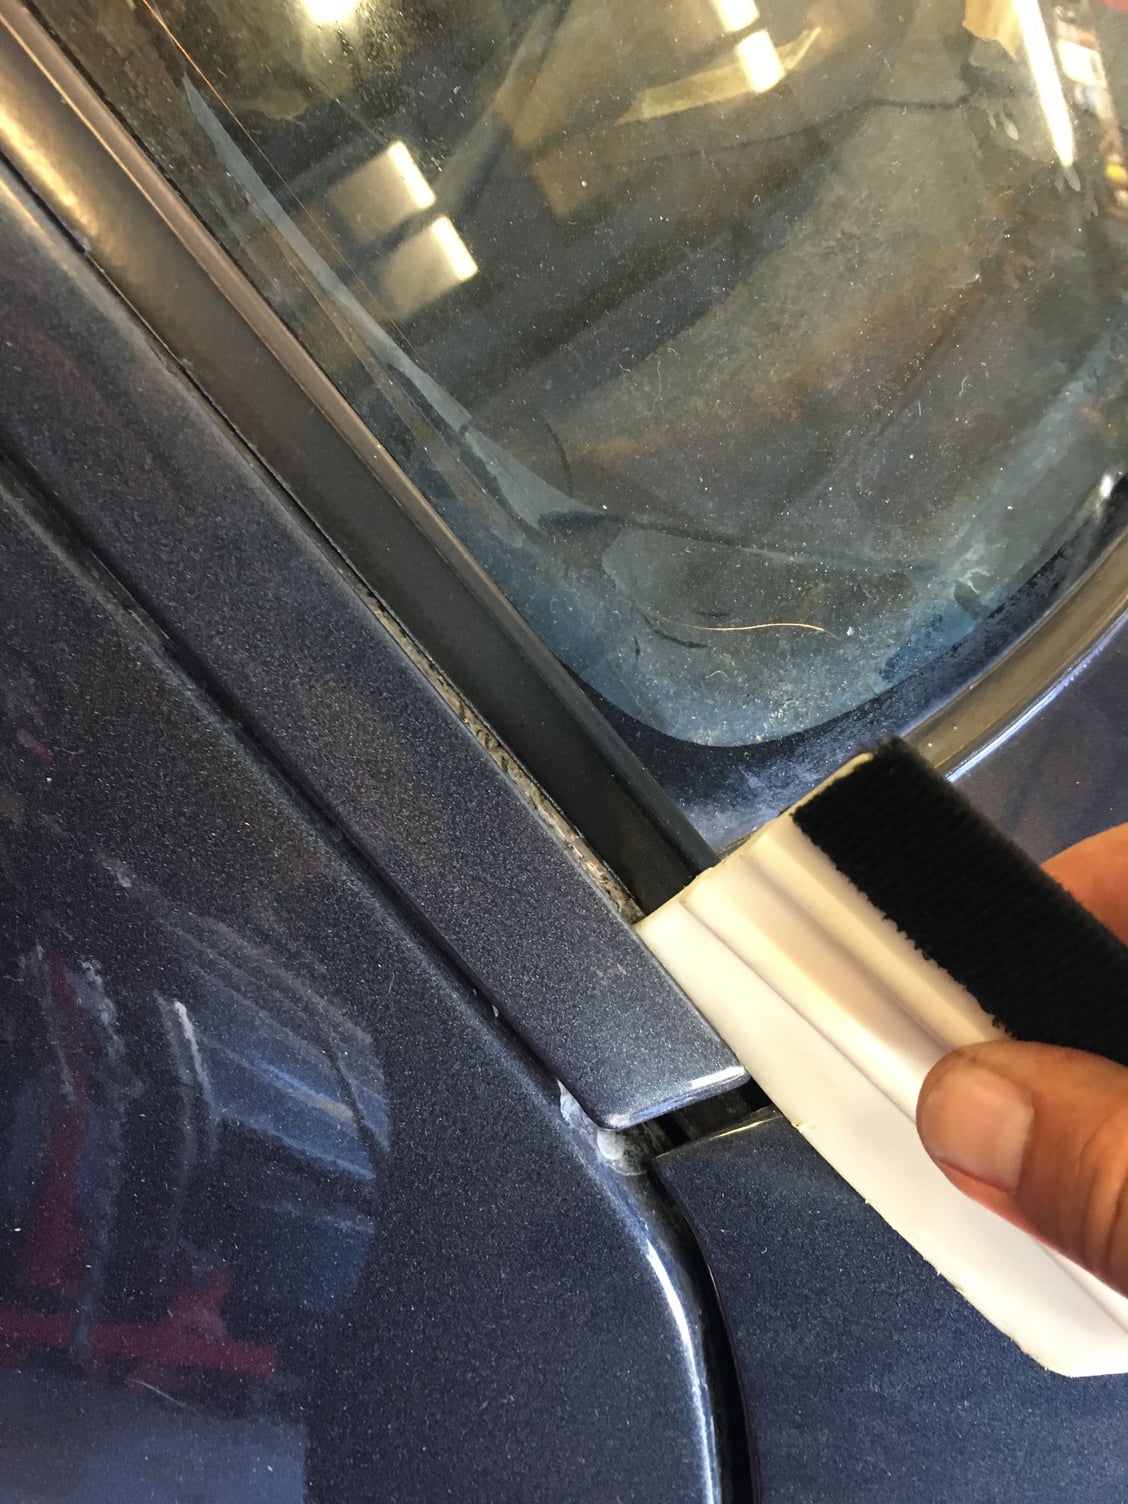
On the left side I had a little wiggle room at the bottom of the trim. So I inserted a surfboard fin in the crack, and just gently twist a little bit so the trim pushes towards the center of the windshield (inward). Any flat stout thin piece of plastic should work.
Once I had a little more wiggle room, I just slid the fin up the rail, and simultaneously pull the trim inward. If it gets stuck, don't pull it harder! Just wiggle it a little, slide your wedge a little, it'll break free, just go slow and like Dave C said, be patient.
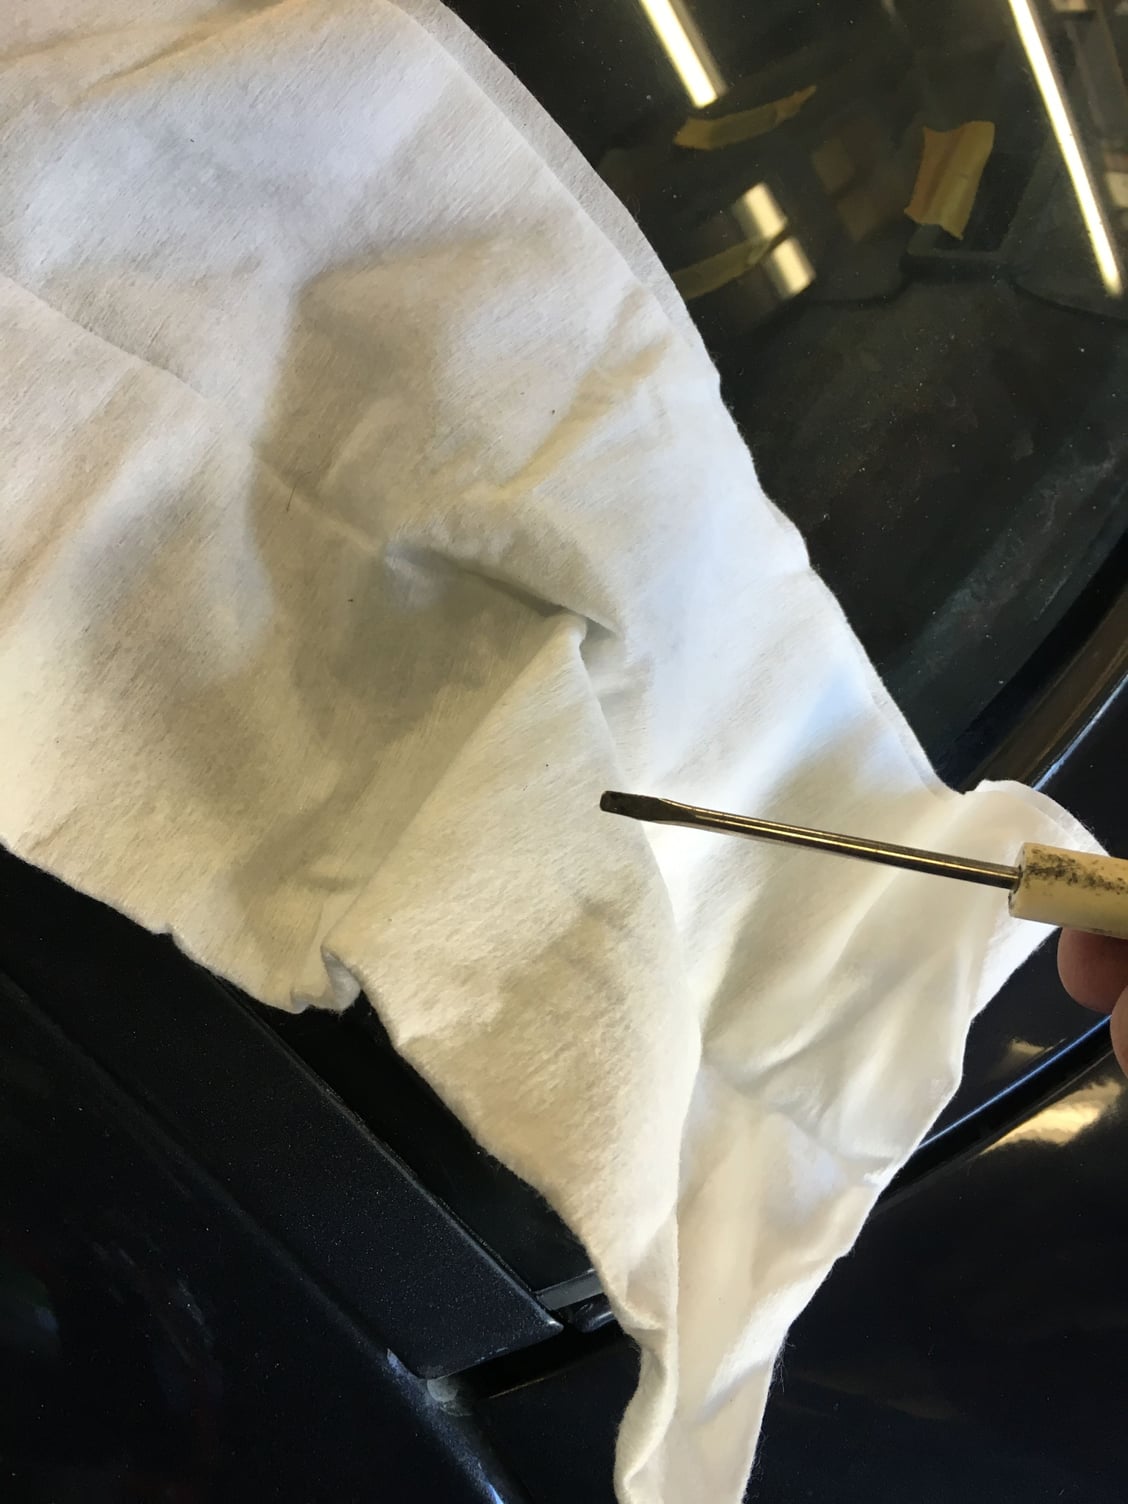
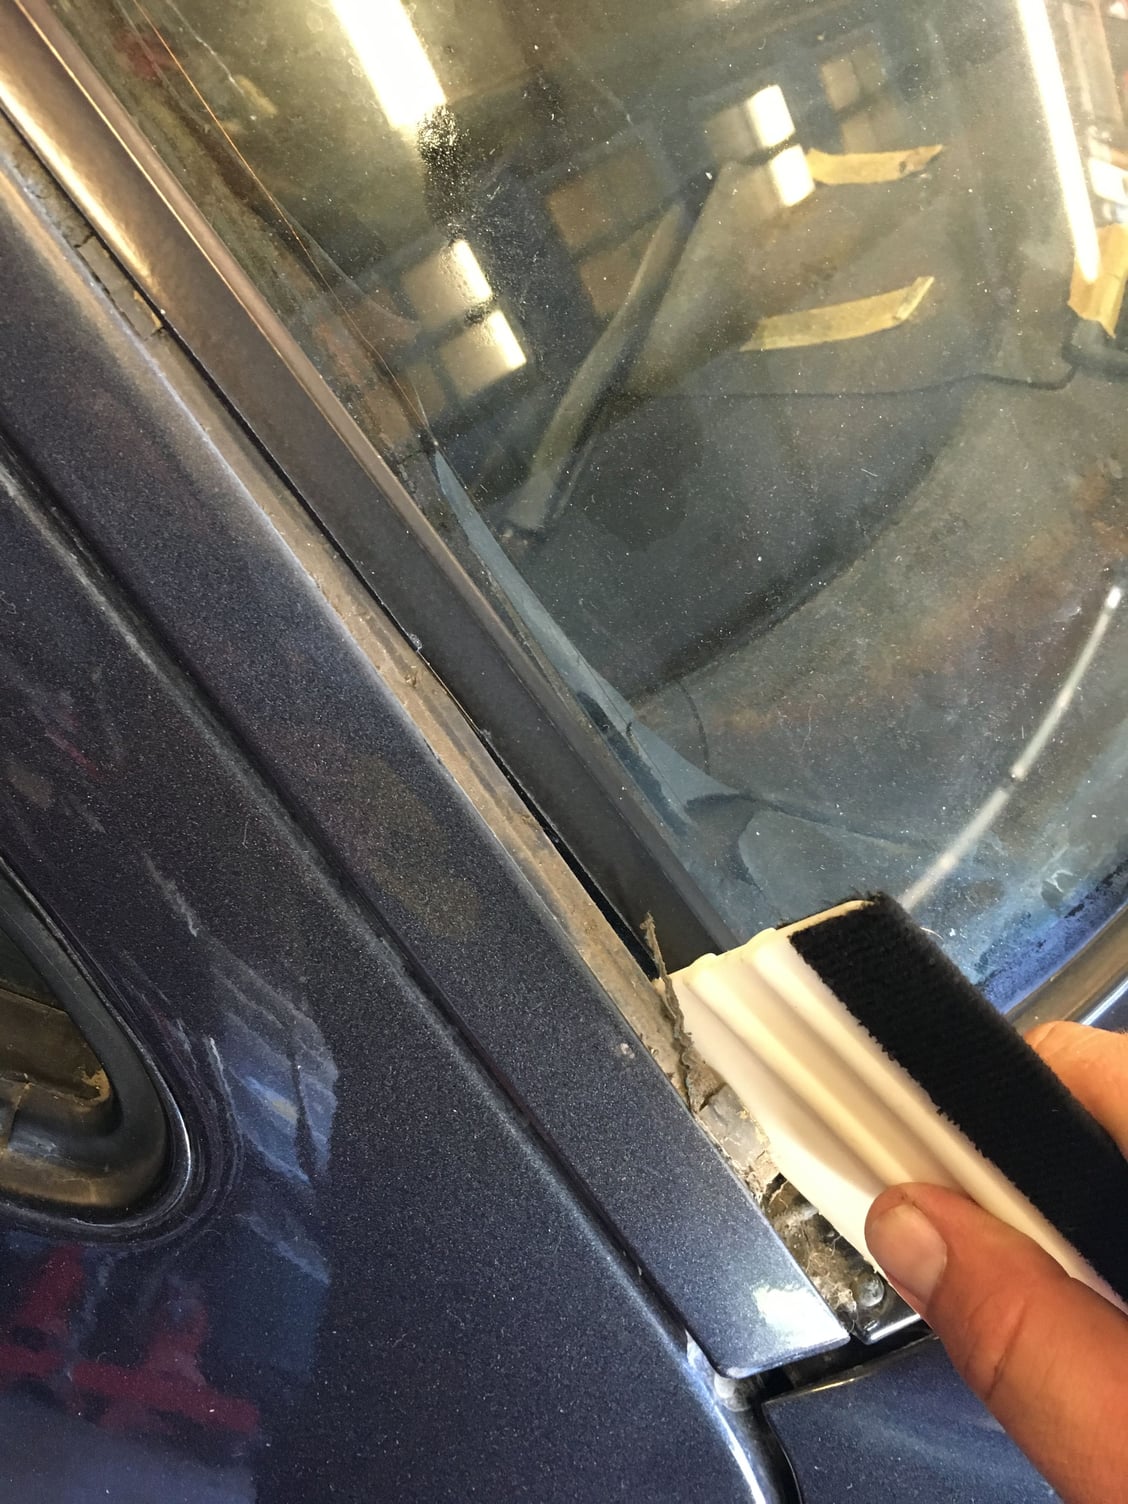
On the opposite side, I had no wiggle room at the bottom. So I used a little flathead pen screwdriver and covered it with a soft thin cloth (a t-shirt would work). I pushed it into the crack from the bottom, so as not to touch the paint.
Once I got a little wiggle room, I used a window tint squeegee to wiggle the trim free, sliding it all the way up the rail and pulling the trim inward.
The key is go slow and have patience and be gentle. The top piece of trim is a little trickier, I did't remove mine. The surfboard fin works good for that too, but the top trim piece pulls upward (towards the ceiling). There are a handful of clips across the length of the trim and you'll need to wiggle wiggle till they come free. It sometimes is even more fidgety if there is windshield caulking holding onto the trim as well so be careful. The top piece is even less stout than the sides and will bend very easily. Hope this helps.


 09-07-2016, 07:35 PM