When you click on links to various merchants on this site and make a purchase, this can result in this site earning a commission. Affiliate programs and affiliations include, but are not limited to, the eBay Partner Network.
I got around to installing Nate’s console temp bezel today, couple of pics to outline the process-
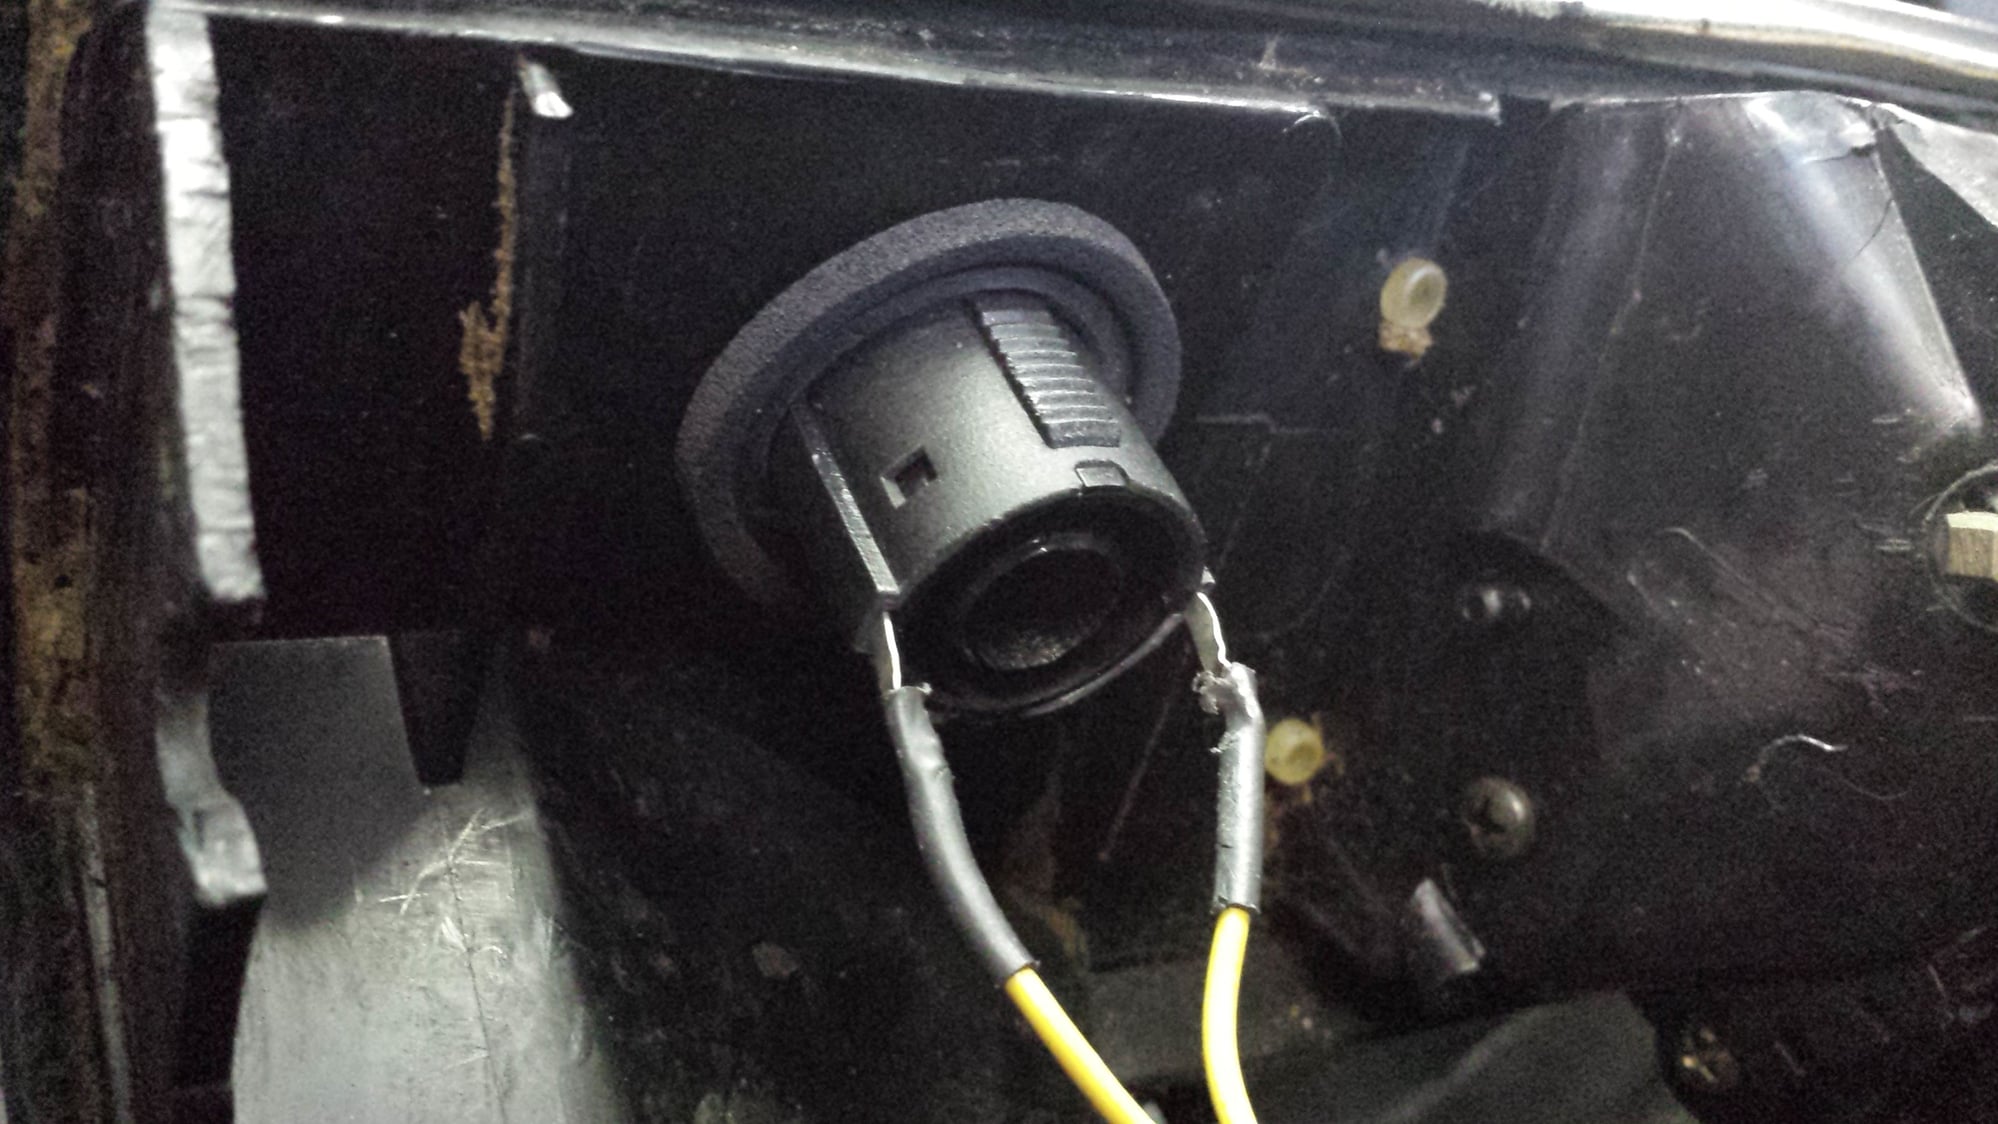
Starting point- sad!!
The bezel is held in with a slip collar that can be backed off, and two white zip ties. The sensor blower motor is held to the console with two screws.
So once the old assembly is out of the console, here's the old bezel next to Nate's-
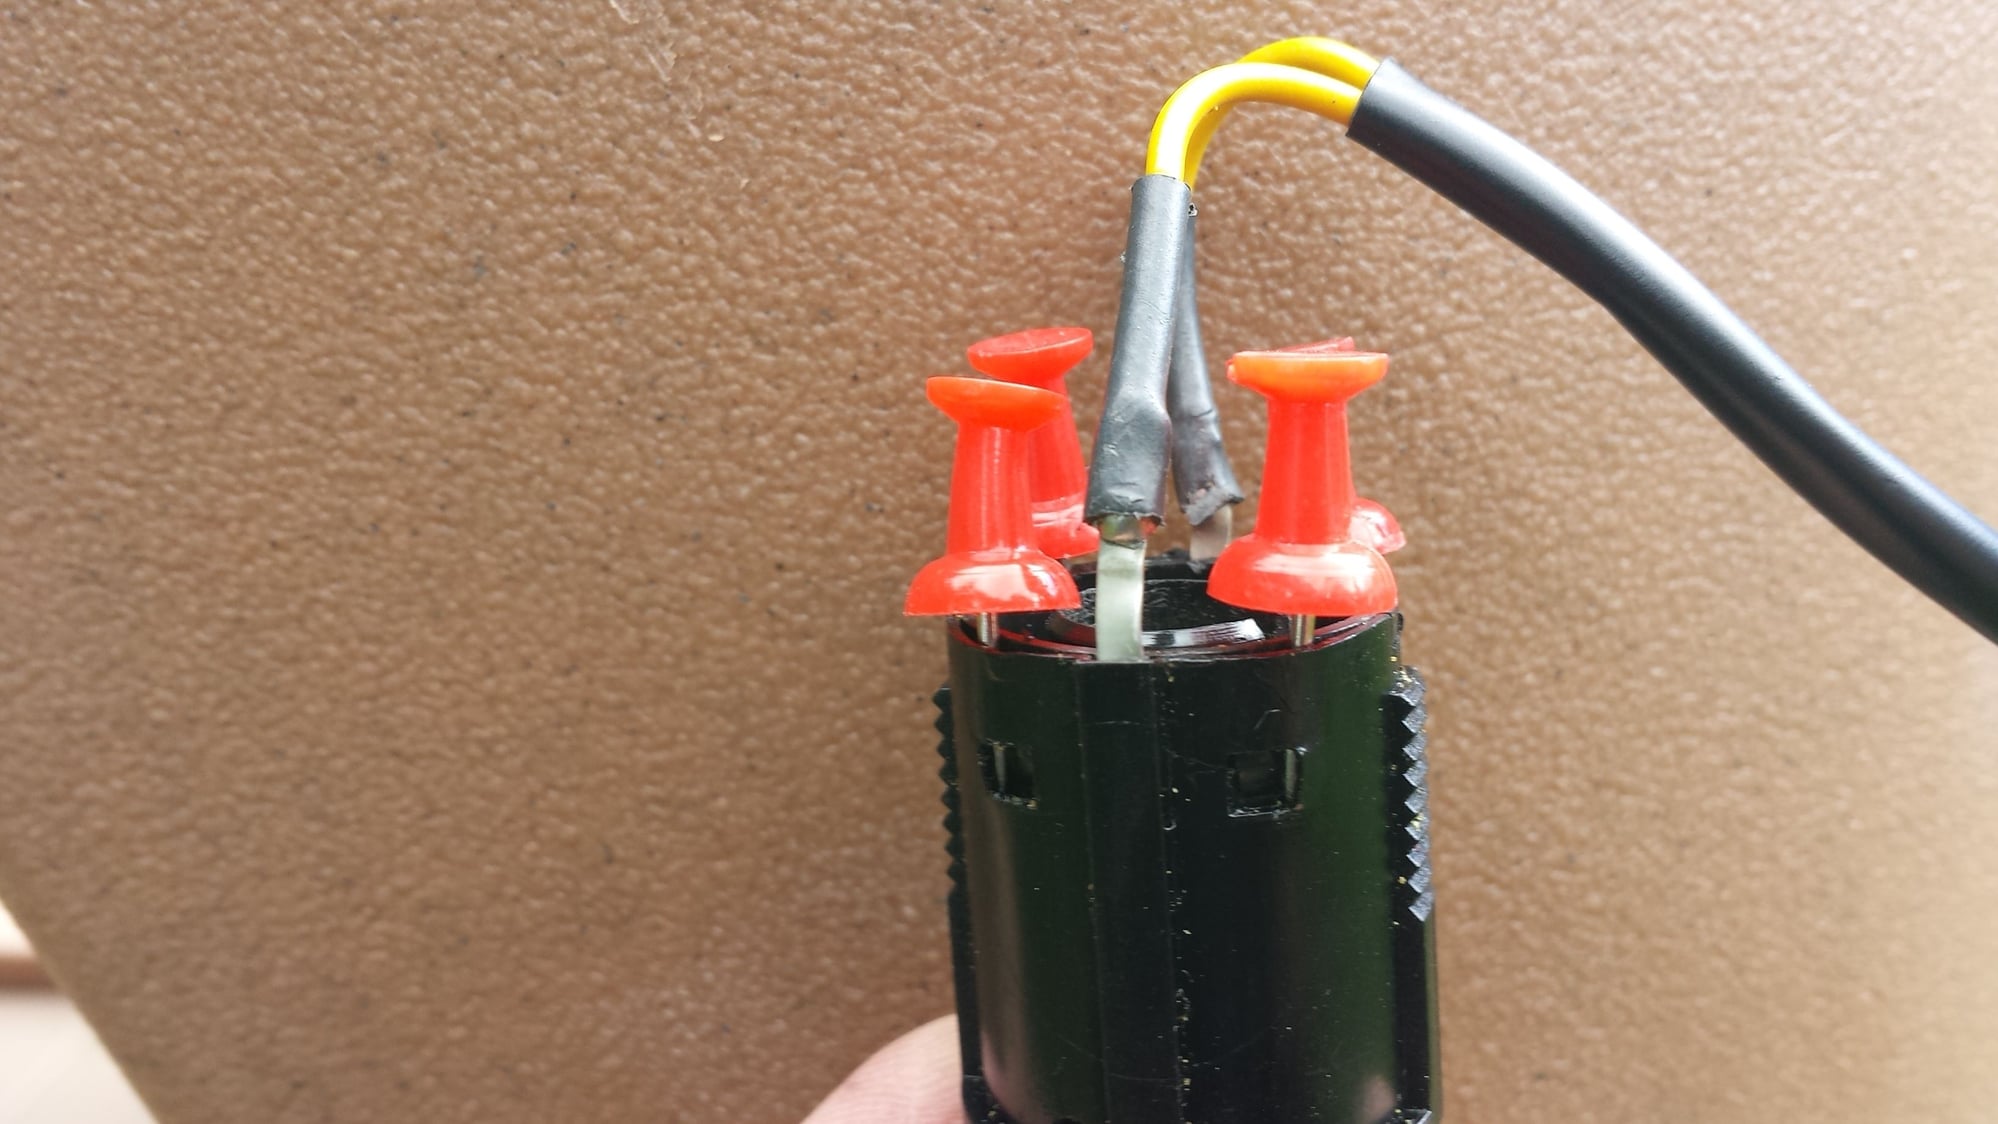
the next step is to get the sensor insert out of the bezel. There are actually two parts inside, the sensor electronics insert, and the duct connector/plug. The insert is held in with 4 little nubs in small holes in the bezel (visible in the old bezel in the pic above),
and 4 square tabs that hold the duct connector in. Since the old bezel is trashed anyway, I took a Dremel to the outside of the old bezel, to get the duct connector out- I cut 4 slots in the plastic and broke out the segments of bezel, to free the tabs so the duct connector could slide out.
(And yes, I did slice into the duct connector a little...)
Here’s the exploded view:
And the inside of Nate’s (perfect) new bezel:
First slide the electronic bits in, can be gently pushed in with a deep socket til it bottoms:
Thanks Rob! To expand on Rob's write-up here are some additional tips when doing the bezel replacement.
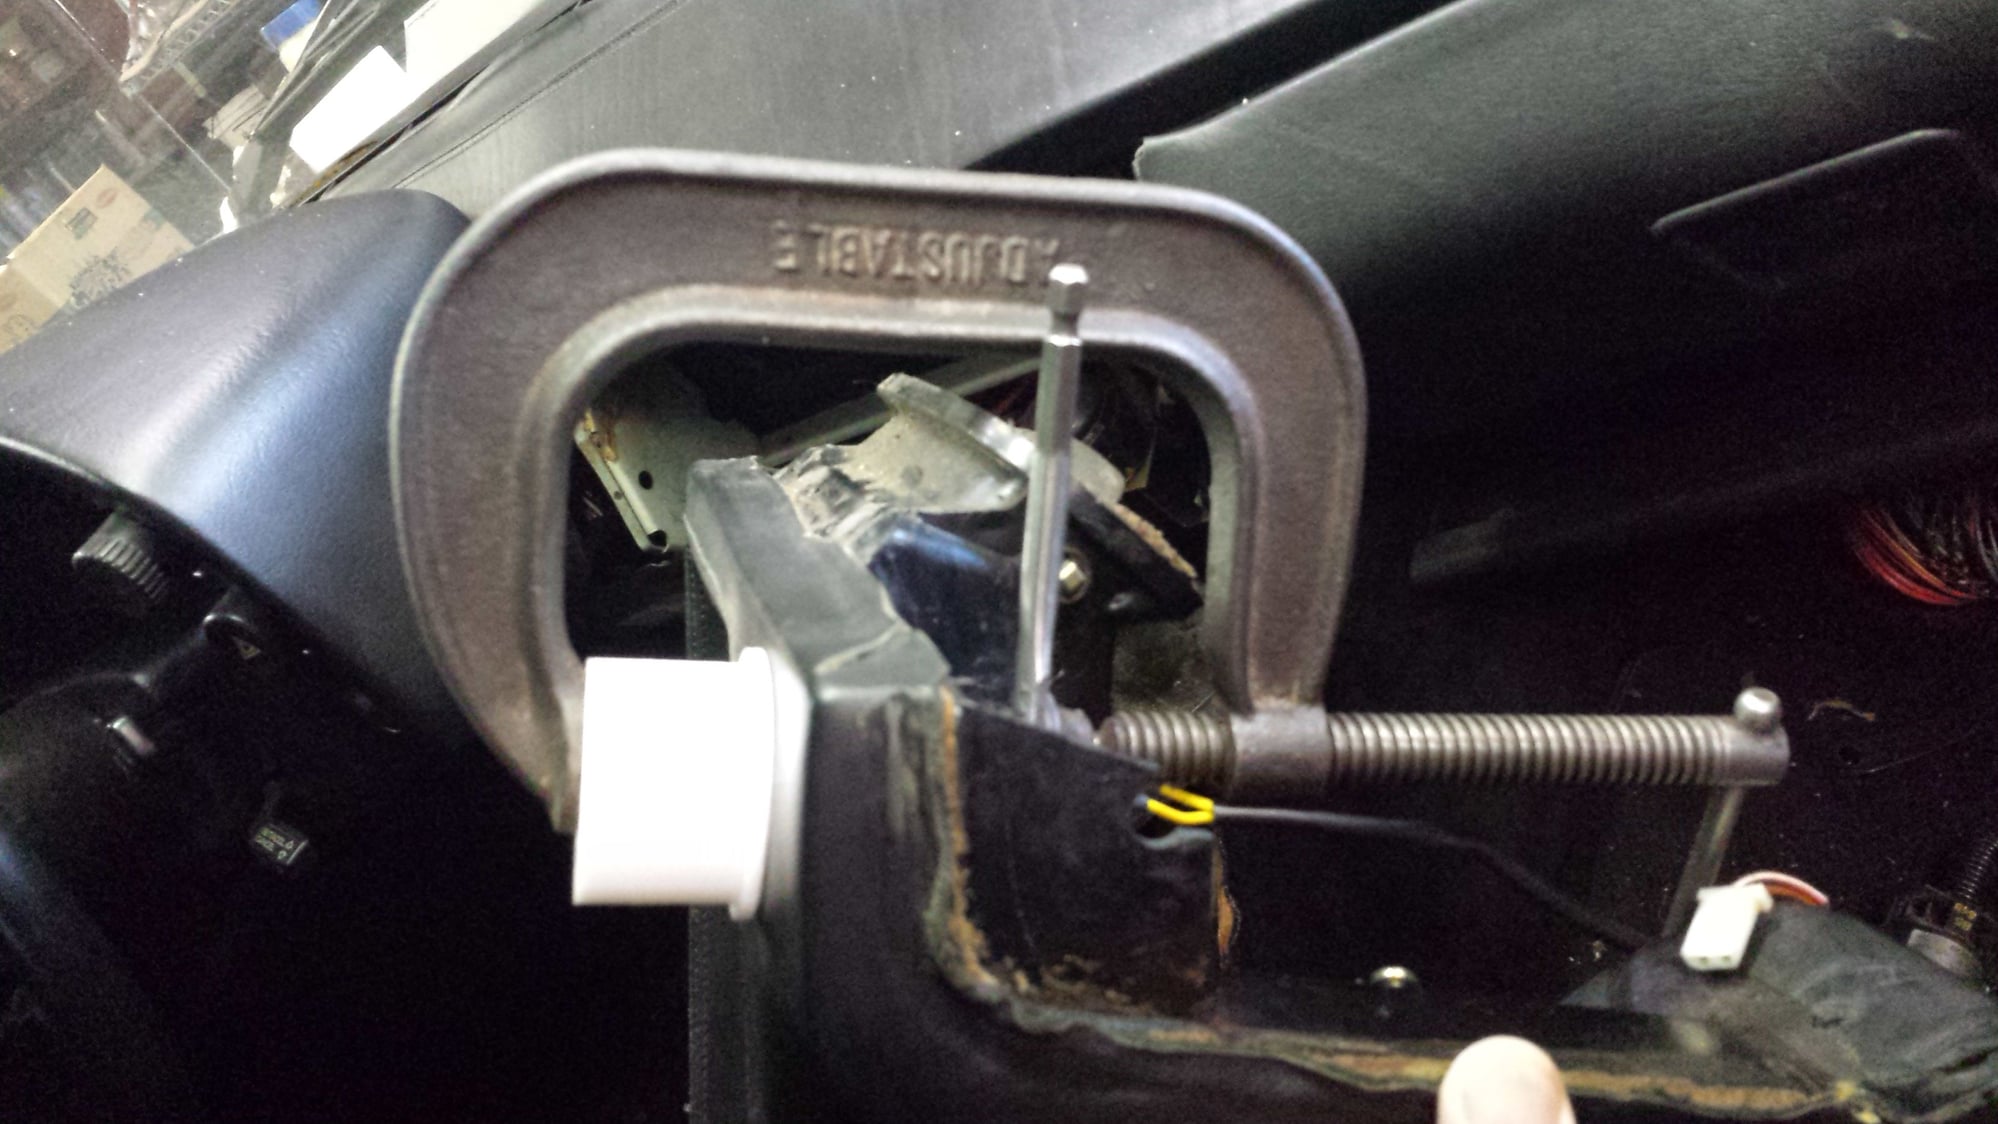
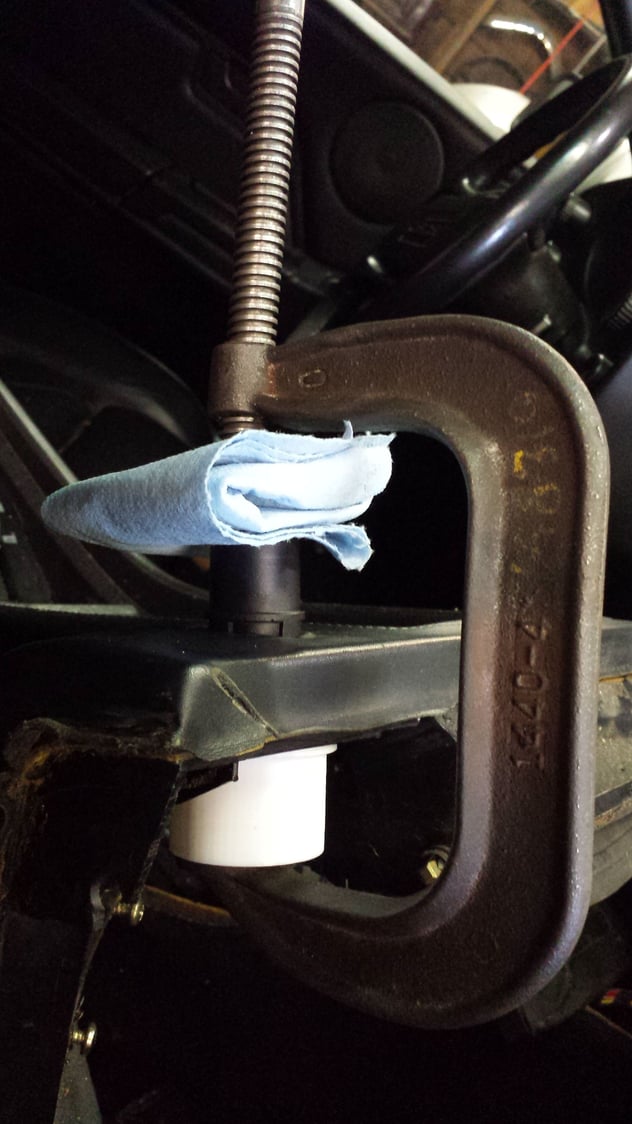
To begin your old bezel may be very difficult to press out through the console by hand, particular if your have a leather wrapped console. In that case using a C-clamp makes the job very easy.
Using a 4" C-clamp and a 1/2" spade bit you can easily press out the old bezel. You will need to use a cap that is about an 1.5 inches deep on the other side as shown here so the bezel has room to press into it. Make sure the rim of the cap is wide enough so as to not leave a mark on the leather or vinyl.
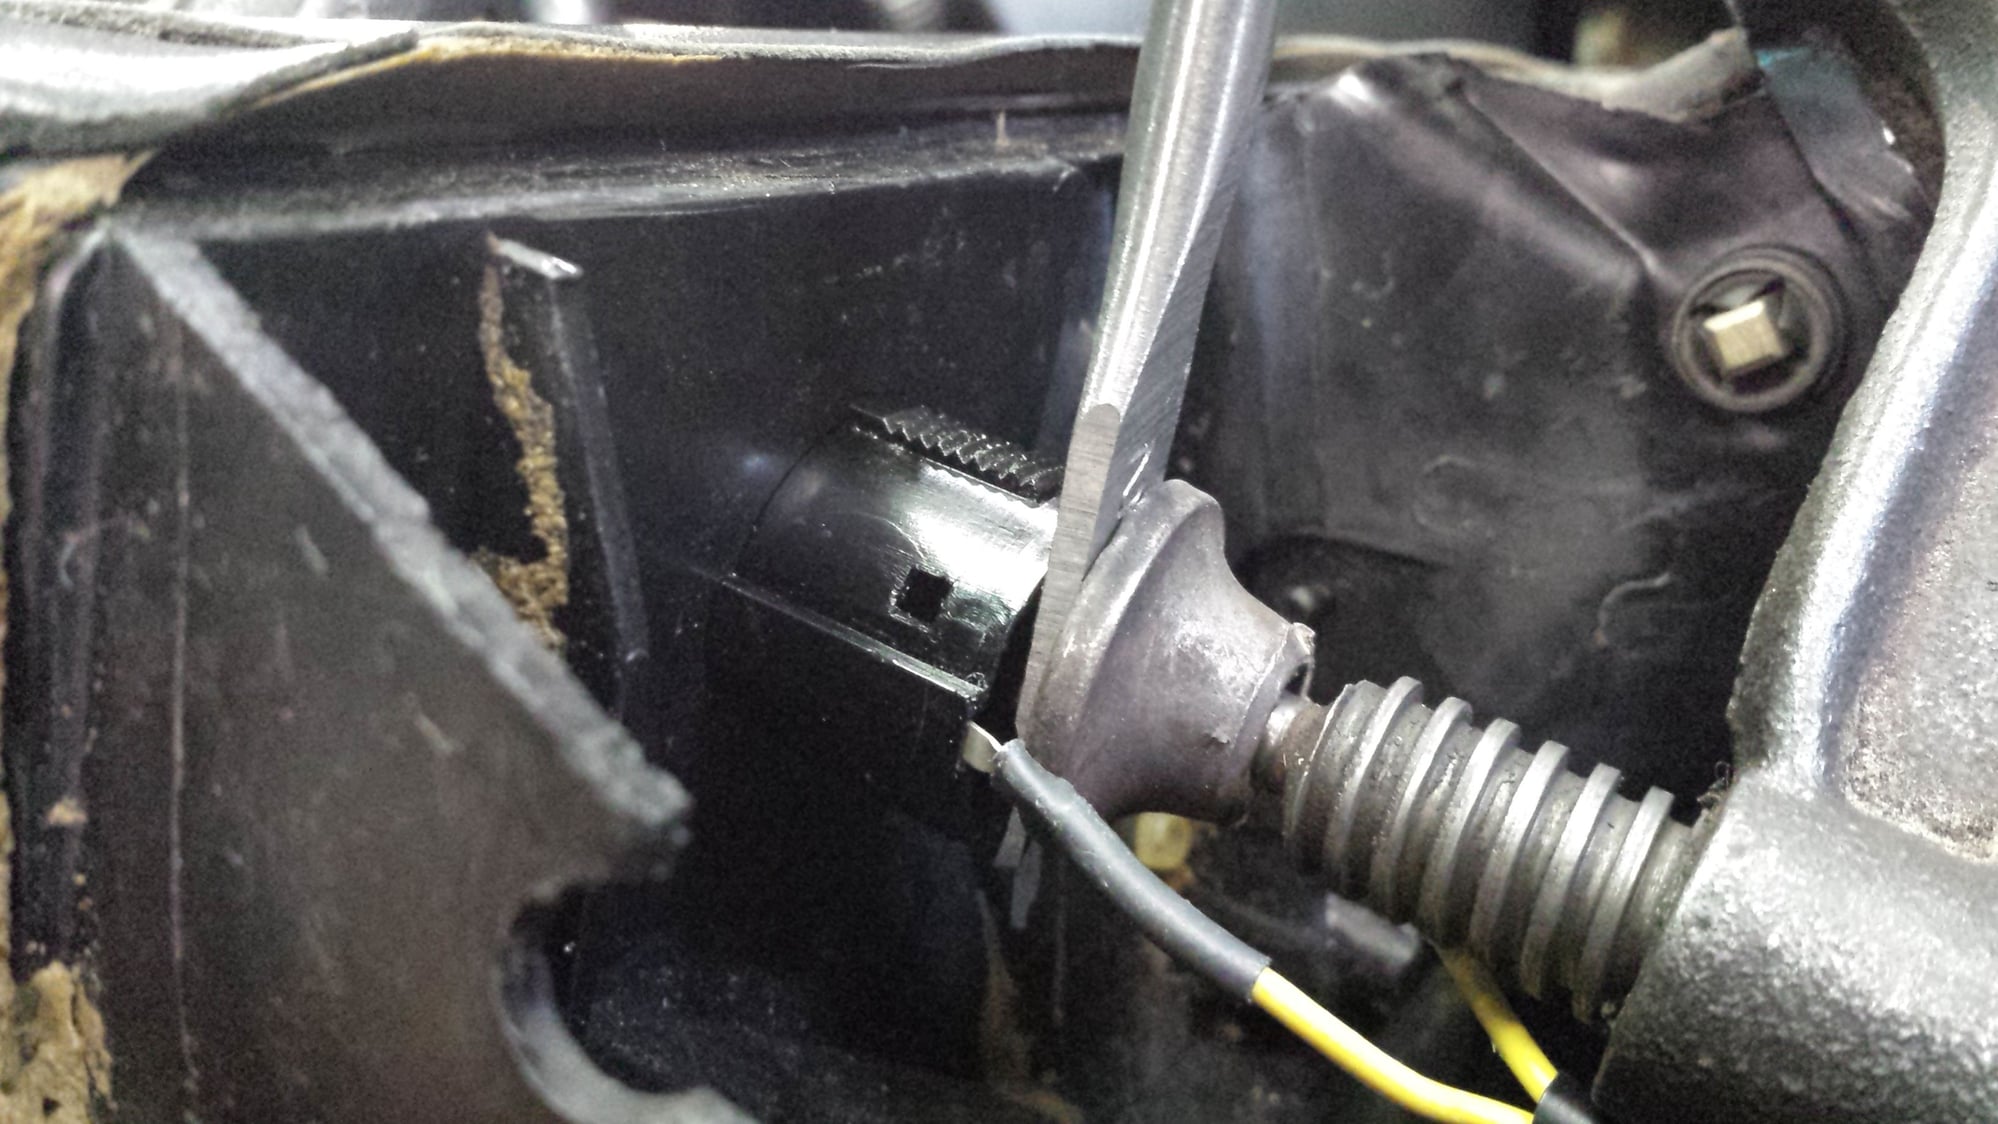
1/2" spade bit on back side of bezel.
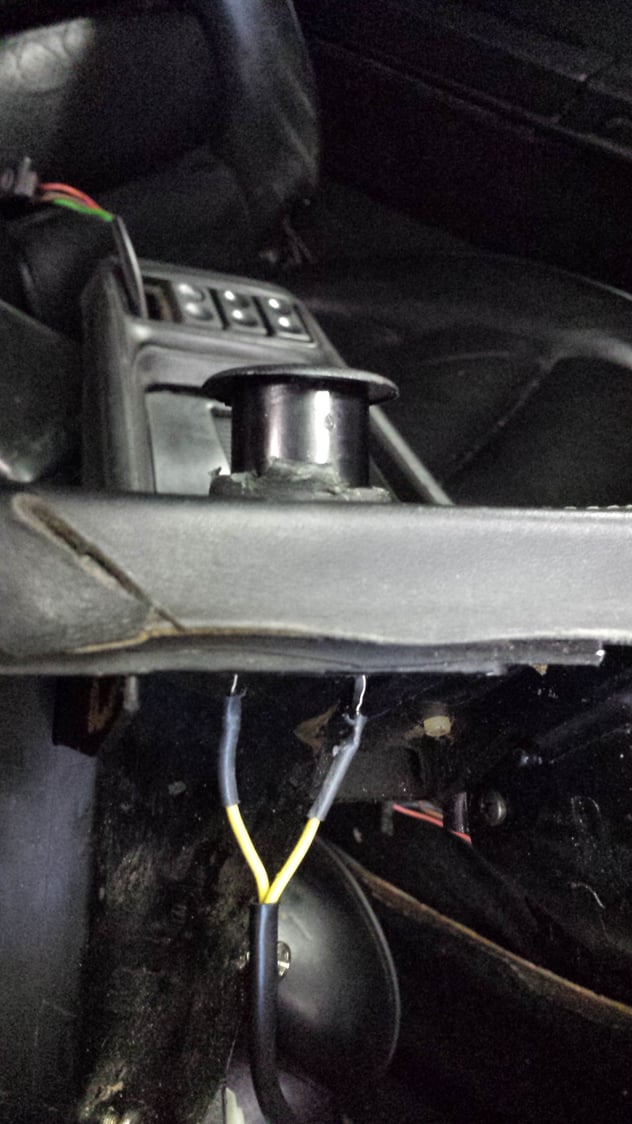
View from the top after the bezel has been pressed through the console.
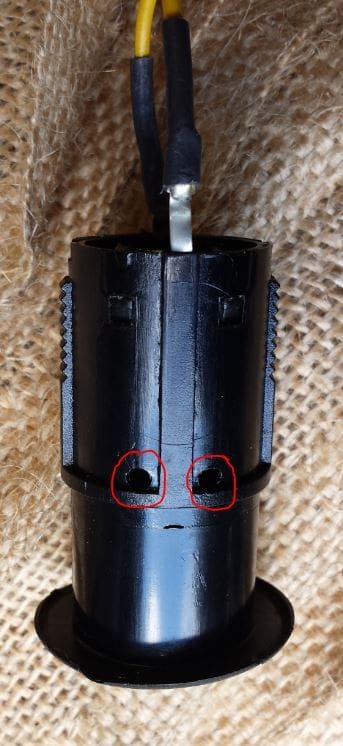
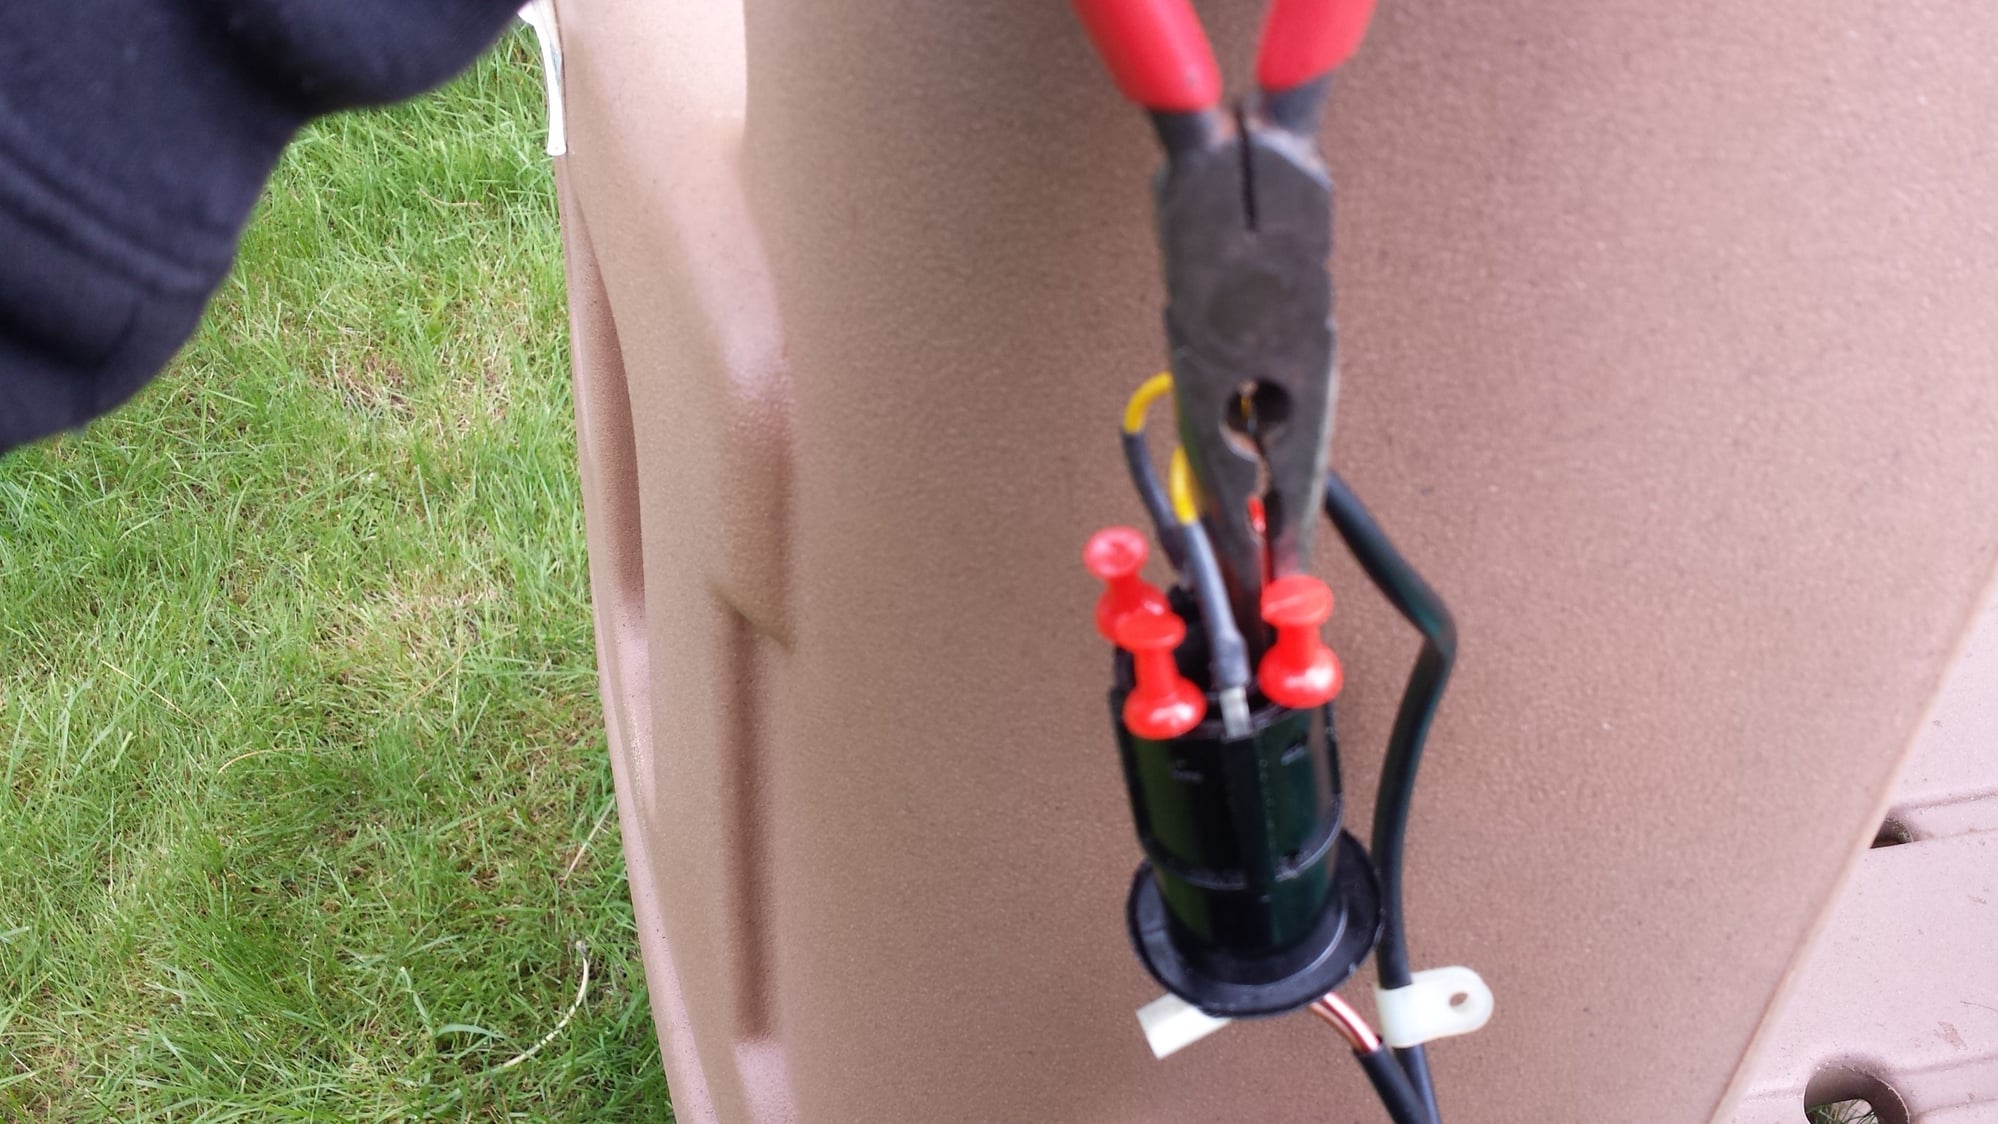
As an alternative to slicing open the old housing in order to get the components out, follow the 3 steps below.
1.) Use a 1/8" drill bit and drill out the 2 nubs on each side where circled.
2.) You can then wedge 4 thumb tacks to expand the square holes beyond the retaining clips of the duct.
3.) Using a pair of needle nose pliers grab on to the inner ring of the duct and then you can pull it out of old bezel housing
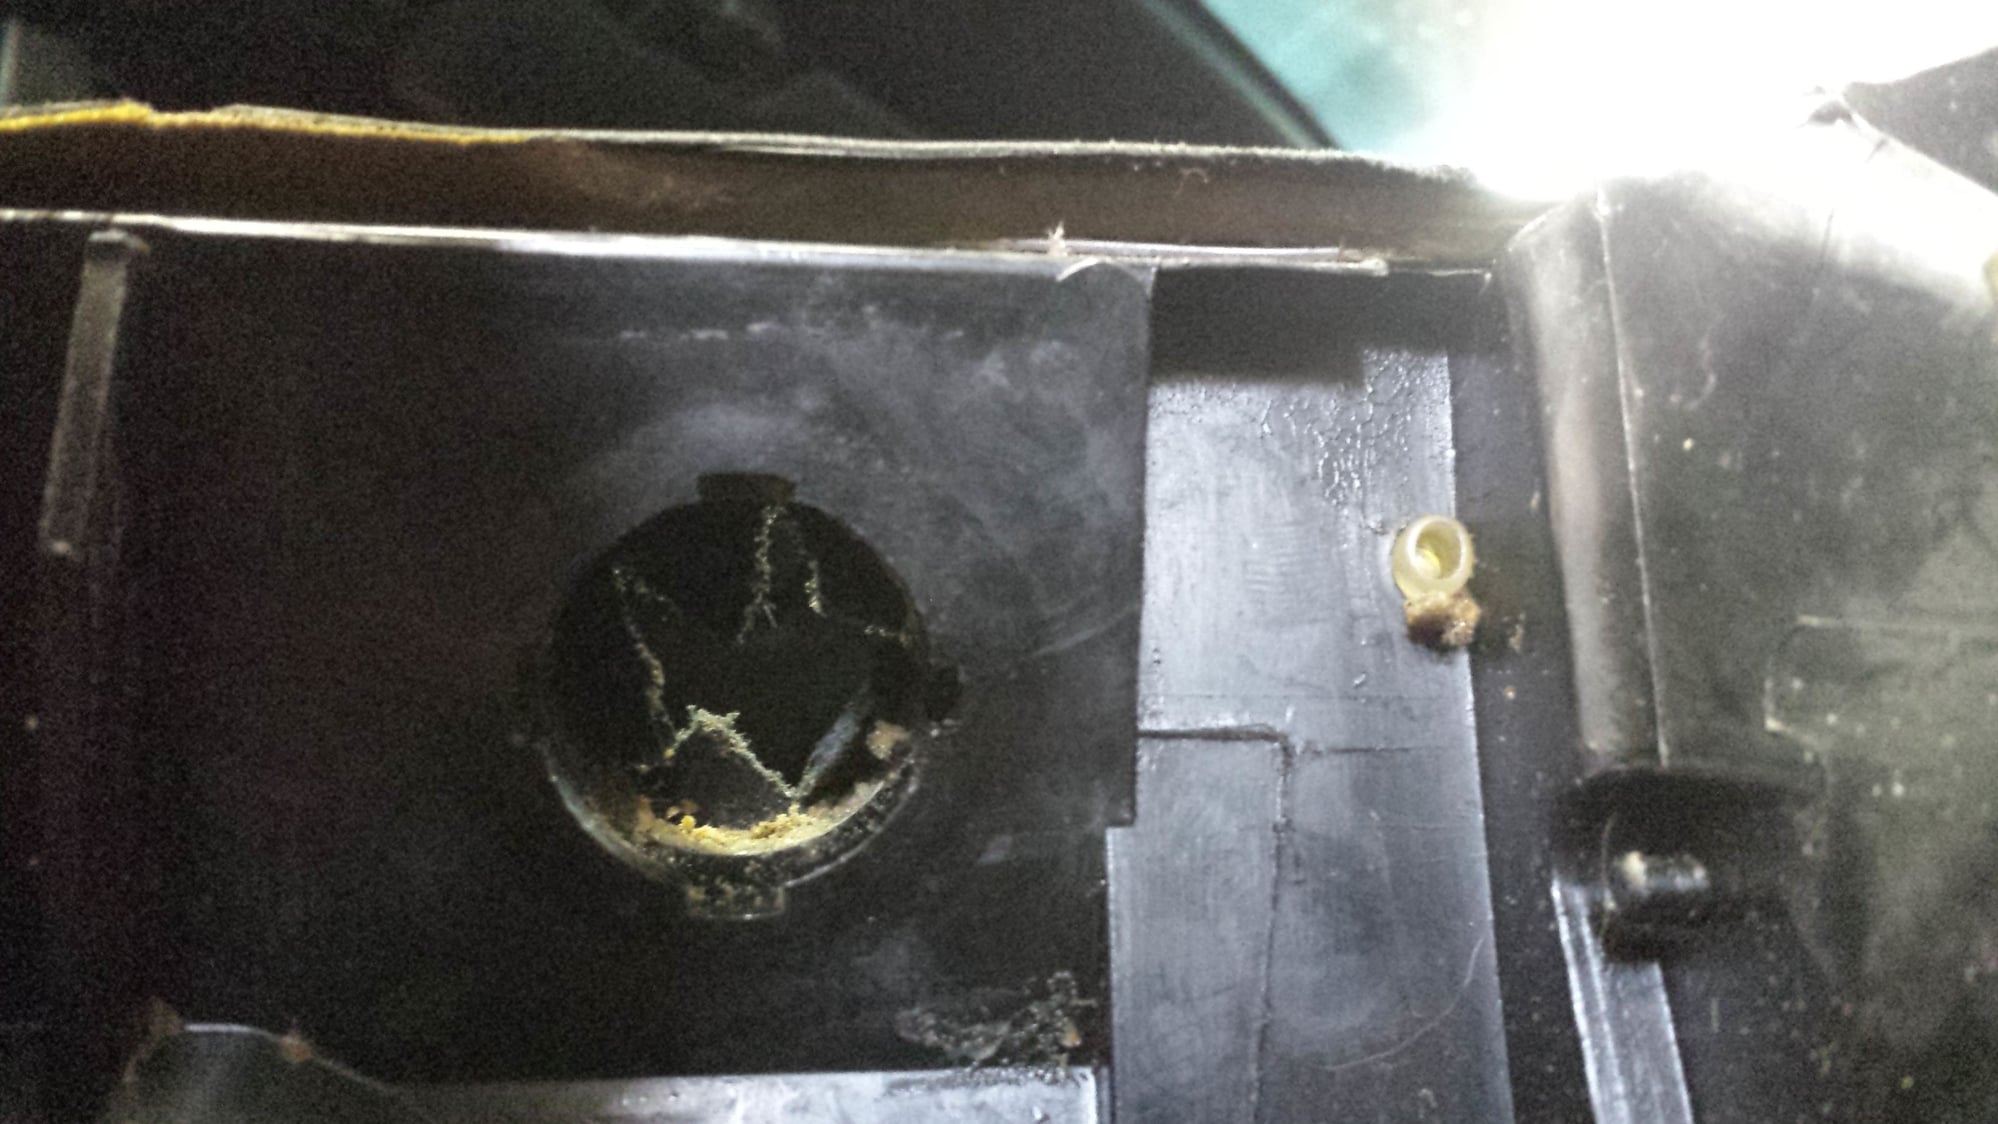
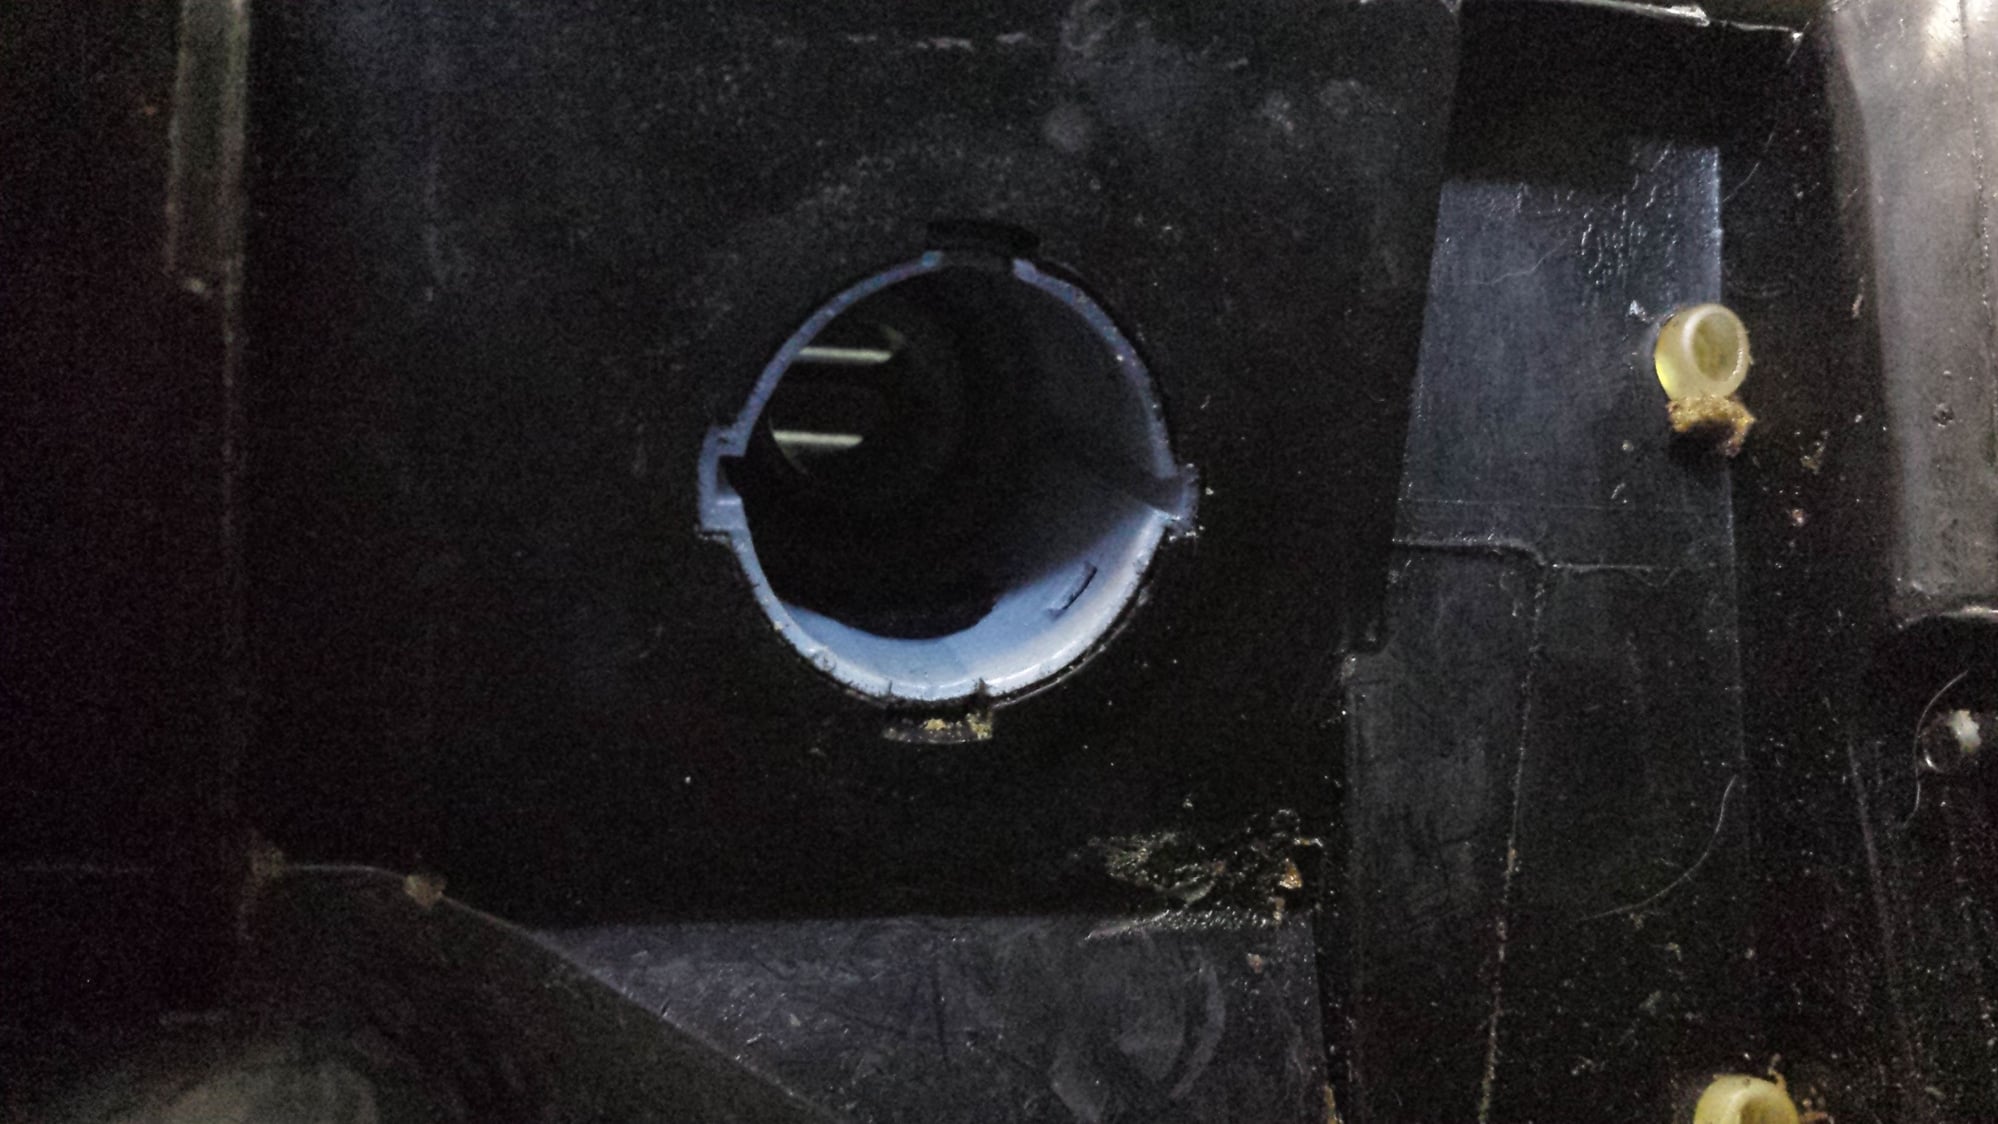
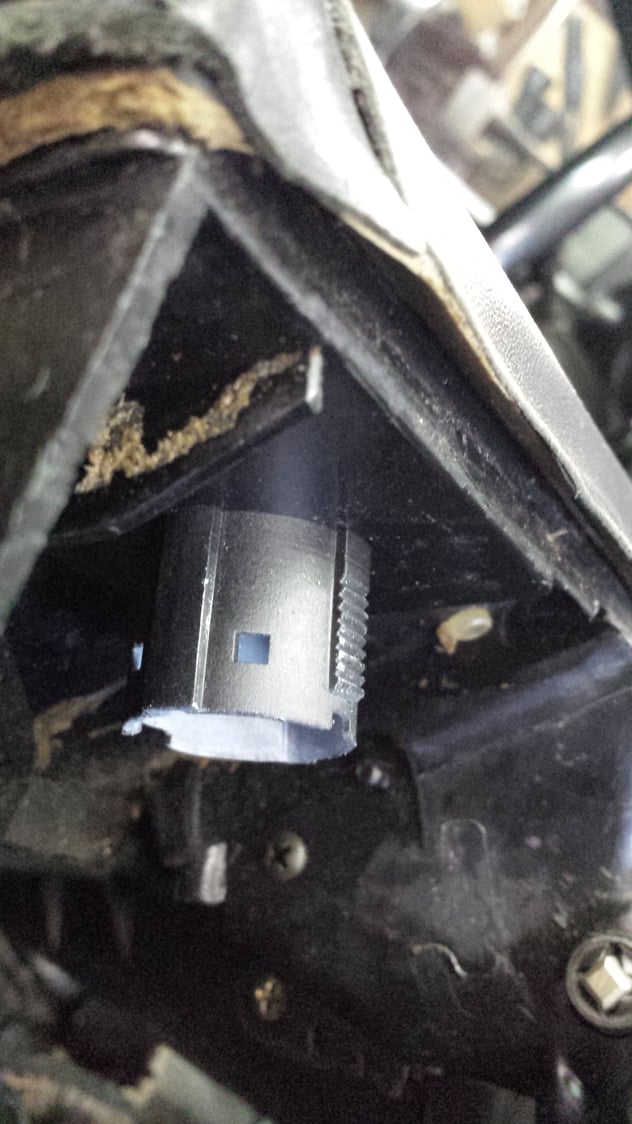
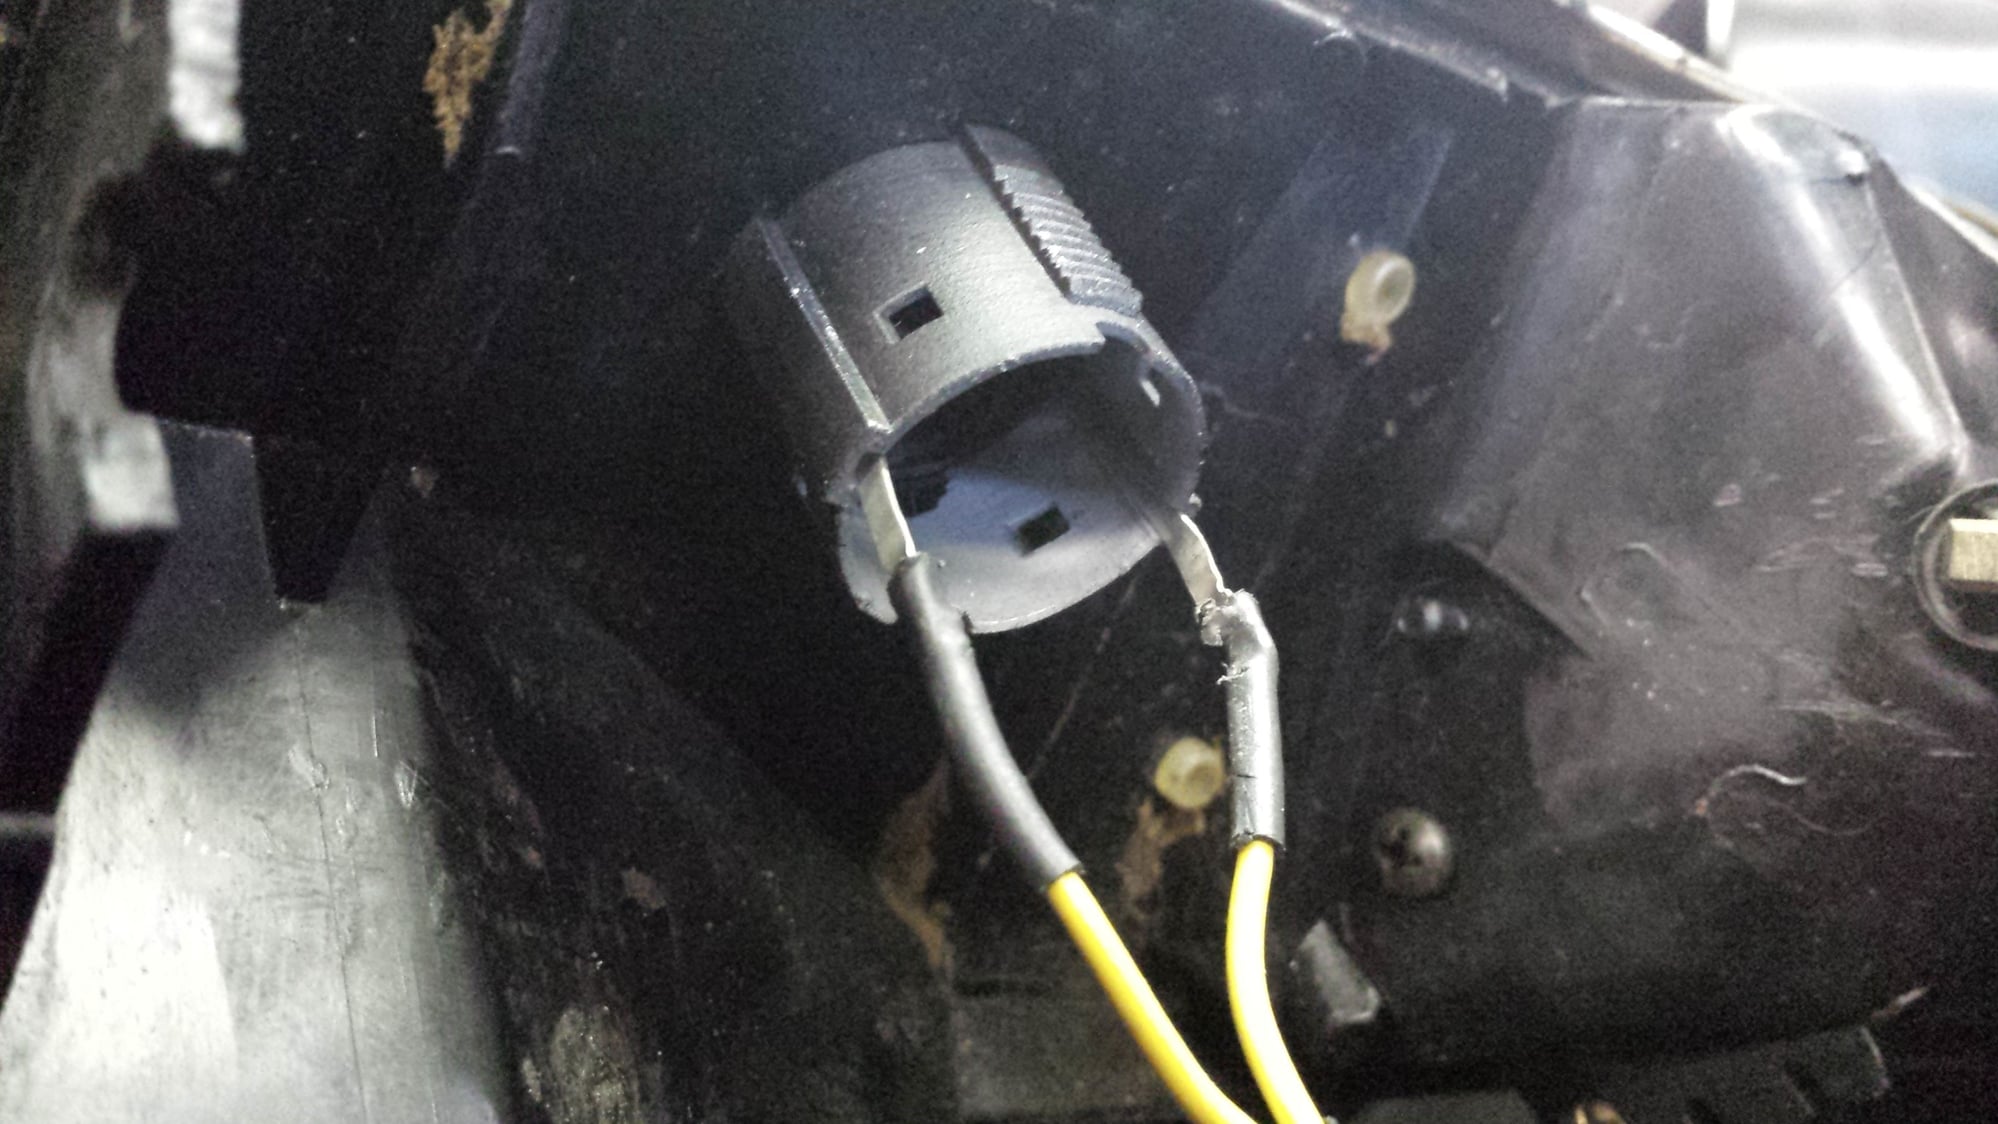
Before attempting to press the to new housing back through the console it is important to have it lined up correctly as the hole on the back side of the console is keyed to match the housing. Thus the housing can only go back through in the orientation shown below.
Looking at the back side of the console you will notice that the left notch cutout for is wider than the right cutout
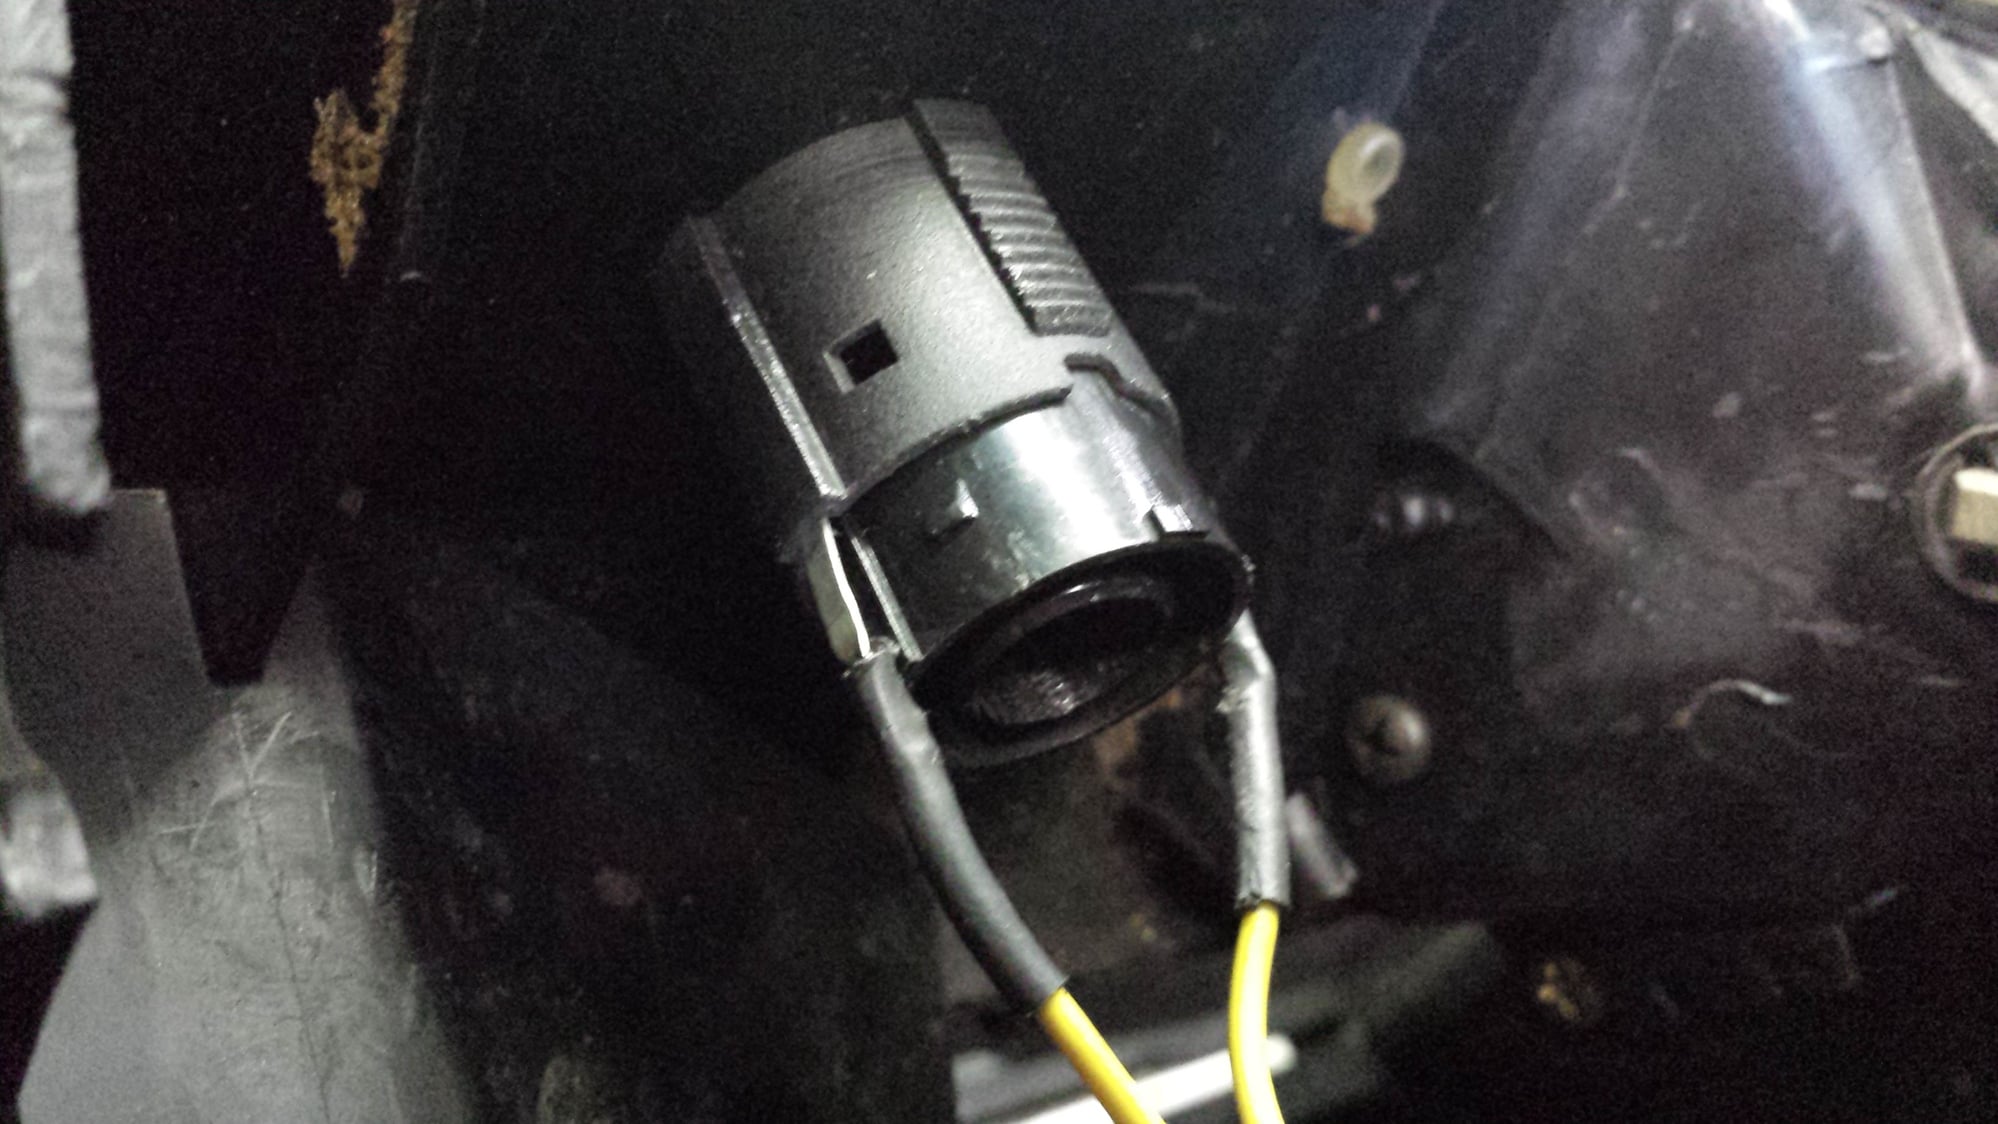
The housing is keyed to the cutout with the left boss wider than the right boss and matched to the cutout notches
Here you can see how the housing and the cutout are keyed.
Just like the removal you may find it very difficult to press the housing back through the console by hand. In that case you can use the C-clamp method in reverse as shown below.
Be sure to use a soft cloth or rag on the face of the bezel to avoid scratching its surface.
The reassembly of the internal components can be done on the bench as Rob showed above or after the housing is pressed through as shown below.
If you run into any problems just send me a PM and I'll help you through it.
great post! just stumbled on this one! nice work! what ever happened to the bumper covers? Last I checked with roger they were going for $50 a piece...
great post! just stumbled on this one! nice work! what ever happened to the bumper covers? Last I checked with roger they were going for $50 a piece...
Thanks! Since Roger has invested in the tooling to recreate the bumper covers I am not going to make them myself. His are OEM reproductions. If someone wanted something custom however I may be able to help out. But primarily I am only interested in trying to come up with solutions for NLA parts.
Bumper hole covers/caps are $20 each if you buy 4 as most peeps do.
$23.50 for one.
__________________
Does it have the "Do It Yourself" manual transmission, or the superior "Fully Equipped by Porsche" Automatic Transmission? George Layton March 2014
928 Owners are ".....a secret sect of quietly assured Porsche pragmatists who in near anonymity appreciate the prodigious, easy going prowess of the 928."


 01-31-2017, 11:29 AM


 George Layton March 2014

