When you click on links to various merchants on this site and make a purchase, this can result in this site earning a commission. Affiliate programs and affiliations include, but are not limited to, the eBay Partner Network.
Good info, thanks....FWIW there are very few things I do on this car that don't result in some cuts here and there!
Originally Posted by SeanR
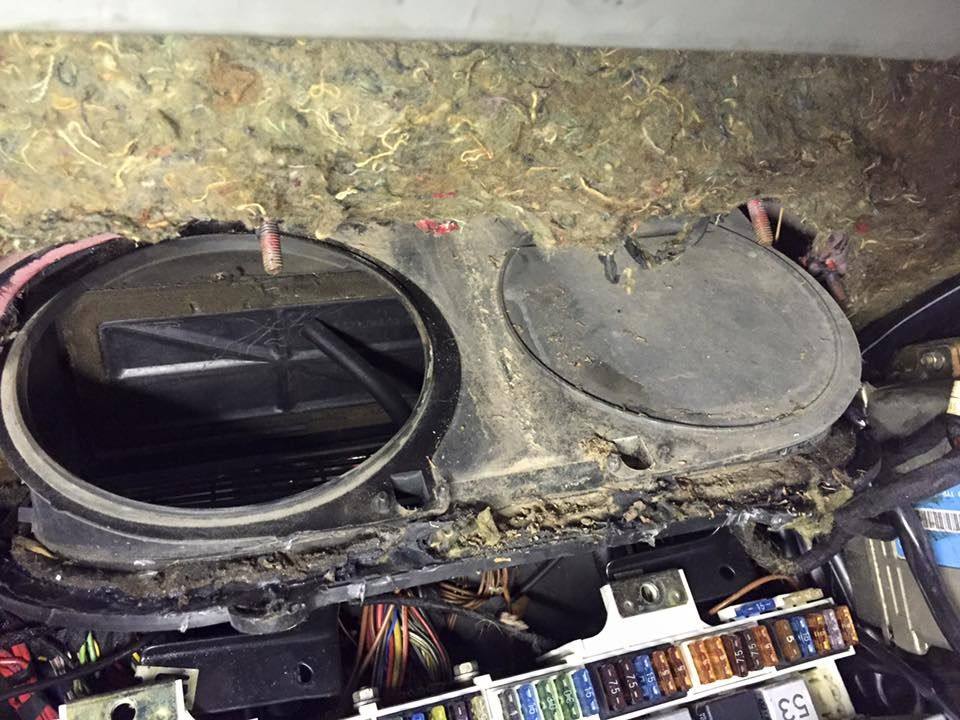
Ya don't have to remove the blower, just unscrew it from the box. Two screws up top, one on the box inside. Remove the parcel tray and glovebox. Pull the CE panel rearward. The hardest part is seperating the box from the car due to the weather caulking. Be sure to put new calk on it, I use 3m weather stripping tar.
It's frustrating; from the description it sounds like my shop went 90% of the distance on this job and got cold feet when it came time to remove the recirc box.
I temporarily pushed the door up from the bottom, under the glove box to give me full recirc during the summer months. A couple paint stir sticks cut to right length worked fine. Greatly improved the A/C effect in the car.
When I finally get to completely dealing with it, I think I will remove the vacuum unit and replace with a small choke cable style unit. Mount small **** in/under the glove box. For me I only need to open or close that flap seasonally.
Is that where the water comes from? I thought it would come directly off the evaporator.
That can happen also if your evaporator drain is clogged and the sealing for that box is, well, bad. You will feel that drip on your feet as you drive.
I did this job at the same time I replaced the blower motor. It's not difficult, but there's a bit of contorting involved in moving the fuse/relay panel, pulling out the recirculation box, and then resealing it with the 3M strip calk Sean mentioned. You really must get the the 3M rope calk. It's extremely sticky and effective. Dwayne has a nice write up about this job. I just finished with the center console flap actuator and the footwell flap actuator. Tedious work...but very satisfying to have it all working again.
Yes I now see that my shop could have handled this, they just lost confidence in themselves because they do not have work shop manuals and can't remember everything. My mistake was leaving them totally on their own; I could have lent them my work shop manual, and started this thread before taking it in.
Yes I now see that my shop could have handled this, they just lost confidence in themselves because they do not have work shop manuals and can't remember everything. My mistake was leaving them totally on their own; I could have lent them my work shop manual, and started this thread before taking it in.
Still living and learning.
There are a lot of things that are not in the WSM's, this is one of them.

 06-03-2016, 02:55 PM